Setup
Tune-O-Matic Bridge
With
Gibson Guitar
The Tune-O-Matic bridge is an indispensable
component of any Gibson guitar, serving as the
linchpin for achieving impeccable intonation and
action. This article will walk you through the steps
of installing a Tune-O-Matic bridge on your prized
Gibson instrument. You'll unlock the full potential
of your guitar's sound capabilities by meticulously
addressing each aspect of this process.
Introduction
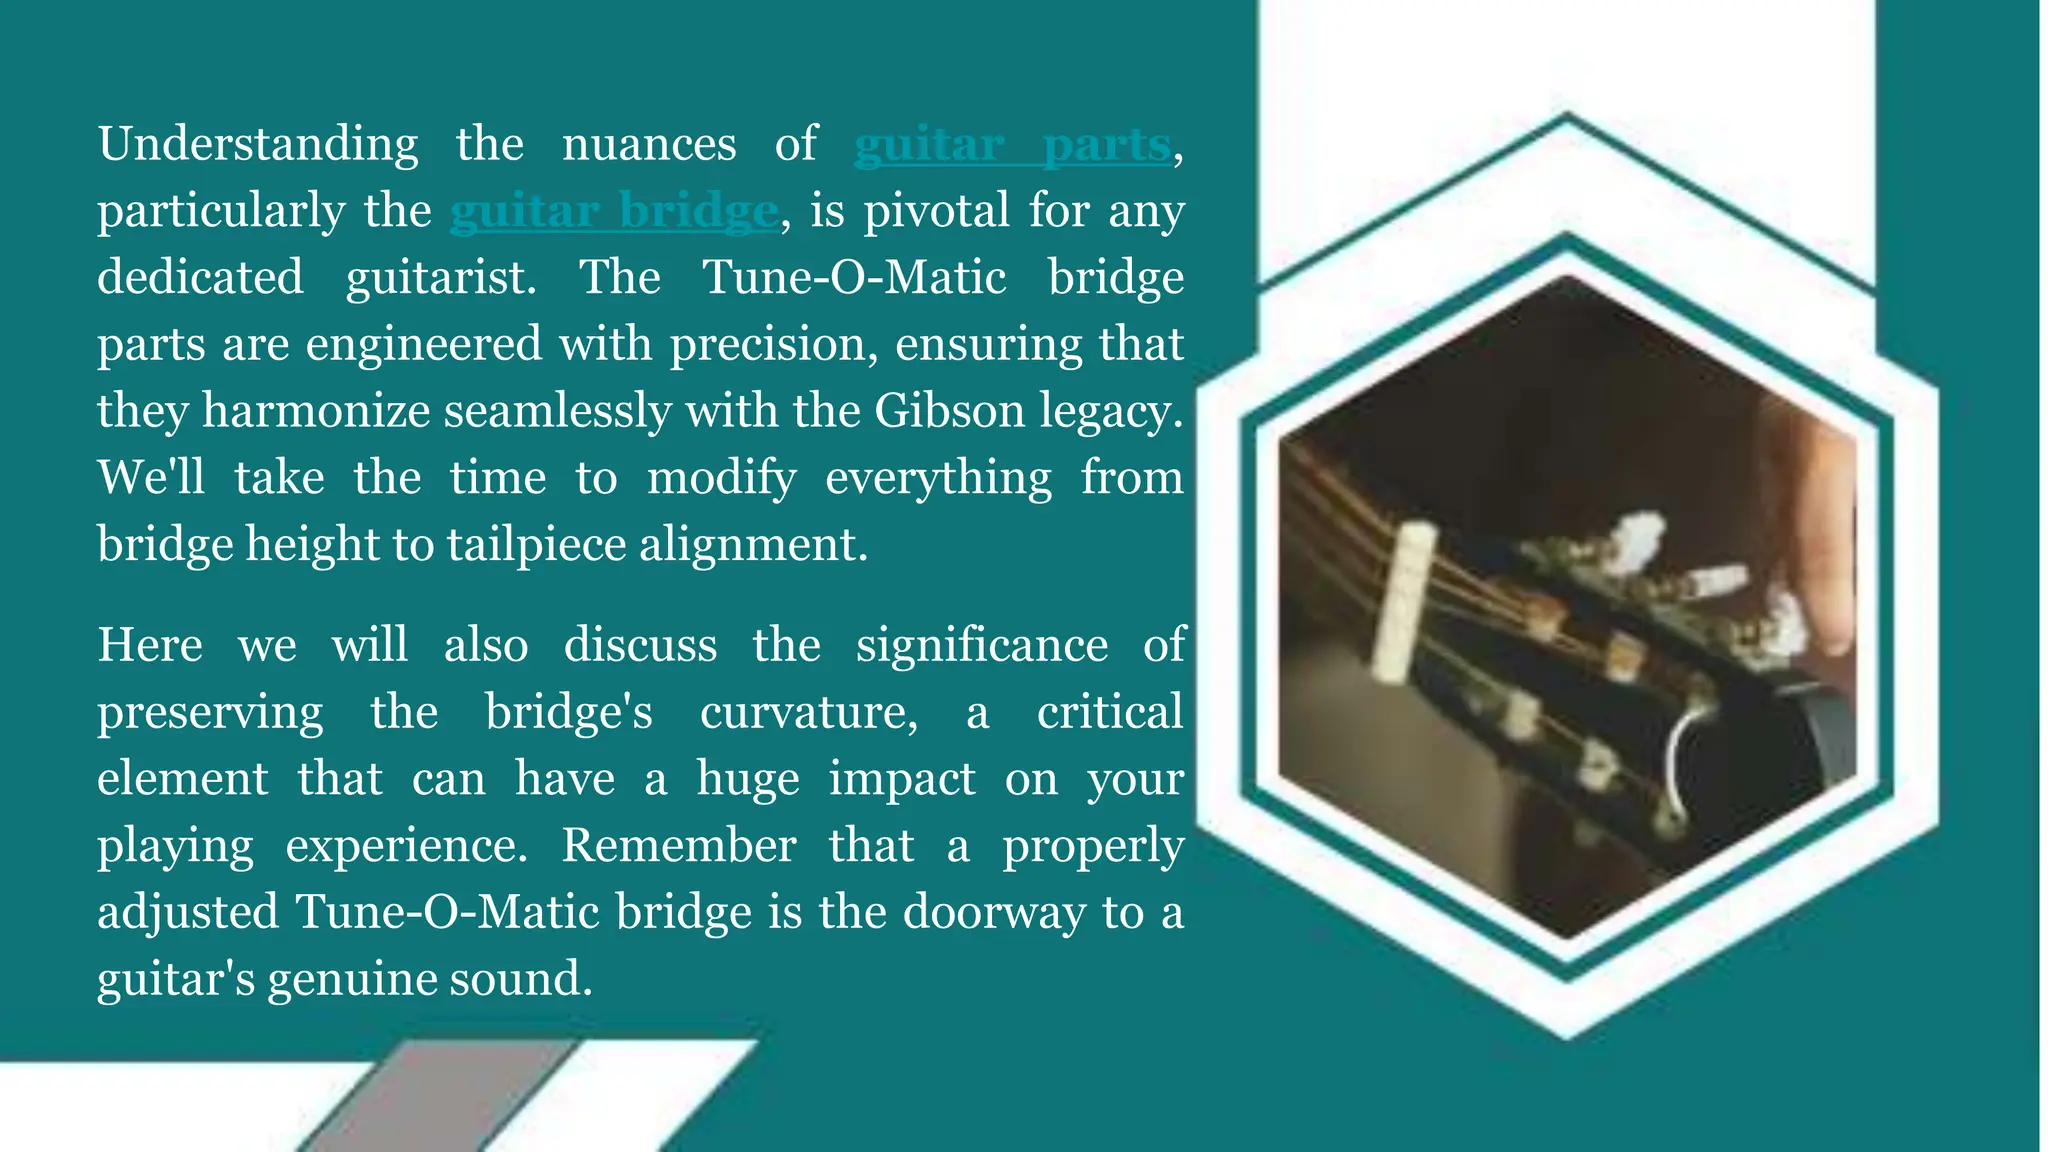
Understanding the nuances of guitar parts,
particularly the guitar bridge, is pivotal for any
dedicated guitarist. The Tune-O-Matic bridge
parts are engineered with precision, ensuring that
they harmonize seamlessly with the Gibson legacy.
We'll take the time to modify everything from
bridge height to tailpiece alignment.
Here we will also discuss the significance of
preserving the bridge's curvature, a critical
element that can have a huge impact on your
playing experience. Remember that a properly
adjusted Tune-O-Matic bridge is the doorway to a
guitar's genuine sound.
Tools and Materials Needed
Before embarking on this
musical journey, you must
gather the following tools and
supplies, as this is the canvas on
which you'll paint your aural
masterpiece - “A Gibson guitar
with a Tune-O-Matic bridge".
The following items will be
essential for the task.
Guitar Tuner:
This tool is the cornerstone of achieving perfect tuning for
your guitar. It makes sure that the strings are at the correct
pitch and that harmonious music is produced when you play
the guitar.
String Winder:
String Winder: An invaluable tool for detuning and
restringing your guitar, so when you change the strings for
maintenance or explore various string gauges, the task is
simplified. You save time and effort in this process.
These are required for altering the bridge height. When you fine-
tune the bridge height, you can tailor the action of the strings,
which means it will affect how easy or hard it is to play the
strings. Hence, you can achieve a comfortable playability.
Screwdrivers and
Allen Wrenches:
While not directly related to the functionality of the guitar,
showing your appreciation for your devoted buddy for keeping it
in pristine condition is important.
Guitar polish and
cloth (optional):
Strings wear out after some time and need to be changed.
Fresh strings can give your instrument a crisp and vibrant
tone. It will breathe new life into the guitar sound.
New String Set
(Optional):
A ruler or measuring tape ensures that your changes are
precise. For the right height and intonation, a ruler and
measuring tape are vital so you can make precise
measurements.
Ruler and
measuring tape:
Begin by slowly detuning
your guitar to relieve string
stress. This can be sped up by
using a string winder. If
you've decided to replace the
strings on your guitar, now is
the time to do so.
Step 1: Loosen the Strings
To fine-tune the action of
your Gibson bridge, we'll
focus on the Tune-O-Matic
bridge.
Step 2: Adjusting Bridge Height
Using a screwdriver or an Allen wrench (depending on
the type of your guitar), crank the screws clockwise to
raise or anticlockwise to lower the bridge. This step is
critical to completing the intended activity.
Raising/Lowering the Bridge:
Maintaining
Radius:
It is vital that the bridge follow
the curve of your guitar's neck. It
should follow the curvature of
the fretboard.
Perfect intonation is
essential for a guitar that
sings in tune across its
whole range.
Step 3: Setting Intonation
Use your trusty guitar tuner to bring each string up to pitch. This
lays the groundwork for perfect intonation.
Tune to Pitch:
Examine the 12th
Fret Harmonic:
Compare the fretted 12th fret note to the 12th fret
harmonic. They should be perfectly in tune. Otherwise,
proceed to the next step.
Using a screwdriver, gently slide the saddles back and forth. A sharp
12th fret note necessitates a shift away from the neck, whereas a flat
note necessitates a shift towards the neck.
Adjusting
Saddle Position:
The tailpiece's proper alignment ensures a harmonious union between strings and
body.
Check the Tailpiece Angle: Confirm that the guitar tailpiece maintains a parallel
alignment with the body of the guitar. Adjust its angle by tightening or loosening the
tailpiece screws.
String Break Angle: Look at the strings as they pass through the tailpiece. They
should be angled slightly towards the bridge. This fine intricacy leads to long-lasting
resonance and improved tone quality.
Step 4: Tailpiece Adjustment
Check the Action: Now that your guitar has been set
up, take it for a test drive. Play around with the strings
to get a sense of how they feel. Make more bridge
height modifications as needed to get your desired
action.
Optional polishing and cleaning: Show your
guitar some affection. Cleanse and maintain the bridge
and tailpiece with a specialized guitar polish and a soft
cloth to keep them in top condition.
Step 5: Fine-Tuning
Conclusion
Setting up the bridge on your Gibson guitar is a
transformative process that yields remarkable
improvements in playability and tone.
For those in pursuit of the best Tune-O-Matic bridge,
consider exploring reputable brands and models
known for their quality and compatibility with Gibson
guitars. Remember, if you ever feel unsure, seeking
the assistance of a professional luthier is always a wise
choice. Your guitar will thank you for it.

How To Setup Tune-O-Matic Bridge With Gibson Guitar.pptx

  • 1.
  • 2.
    The Tune-O-Matic bridgeis an indispensable component of any Gibson guitar, serving as the linchpin for achieving impeccable intonation and action. This article will walk you through the steps of installing a Tune-O-Matic bridge on your prized Gibson instrument. You'll unlock the full potential of your guitar's sound capabilities by meticulously addressing each aspect of this process. Introduction
  • 3.
    Understanding the nuancesof guitar parts, particularly the guitar bridge, is pivotal for any dedicated guitarist. The Tune-O-Matic bridge parts are engineered with precision, ensuring that they harmonize seamlessly with the Gibson legacy. We'll take the time to modify everything from bridge height to tailpiece alignment. Here we will also discuss the significance of preserving the bridge's curvature, a critical element that can have a huge impact on your playing experience. Remember that a properly adjusted Tune-O-Matic bridge is the doorway to a guitar's genuine sound.
  • 4.
    Tools and MaterialsNeeded Before embarking on this musical journey, you must gather the following tools and supplies, as this is the canvas on which you'll paint your aural masterpiece - “A Gibson guitar with a Tune-O-Matic bridge". The following items will be essential for the task.
  • 5.
    Guitar Tuner: This toolis the cornerstone of achieving perfect tuning for your guitar. It makes sure that the strings are at the correct pitch and that harmonious music is produced when you play the guitar. String Winder: String Winder: An invaluable tool for detuning and restringing your guitar, so when you change the strings for maintenance or explore various string gauges, the task is simplified. You save time and effort in this process. These are required for altering the bridge height. When you fine- tune the bridge height, you can tailor the action of the strings, which means it will affect how easy or hard it is to play the strings. Hence, you can achieve a comfortable playability. Screwdrivers and Allen Wrenches:
  • 6.
    While not directlyrelated to the functionality of the guitar, showing your appreciation for your devoted buddy for keeping it in pristine condition is important. Guitar polish and cloth (optional): Strings wear out after some time and need to be changed. Fresh strings can give your instrument a crisp and vibrant tone. It will breathe new life into the guitar sound. New String Set (Optional): A ruler or measuring tape ensures that your changes are precise. For the right height and intonation, a ruler and measuring tape are vital so you can make precise measurements. Ruler and measuring tape:
  • 7.
    Begin by slowlydetuning your guitar to relieve string stress. This can be sped up by using a string winder. If you've decided to replace the strings on your guitar, now is the time to do so. Step 1: Loosen the Strings
  • 8.
    To fine-tune theaction of your Gibson bridge, we'll focus on the Tune-O-Matic bridge. Step 2: Adjusting Bridge Height
  • 9.
    Using a screwdriveror an Allen wrench (depending on the type of your guitar), crank the screws clockwise to raise or anticlockwise to lower the bridge. This step is critical to completing the intended activity. Raising/Lowering the Bridge: Maintaining Radius: It is vital that the bridge follow the curve of your guitar's neck. It should follow the curvature of the fretboard.
  • 10.
    Perfect intonation is essentialfor a guitar that sings in tune across its whole range. Step 3: Setting Intonation
  • 11.
    Use your trustyguitar tuner to bring each string up to pitch. This lays the groundwork for perfect intonation. Tune to Pitch: Examine the 12th Fret Harmonic: Compare the fretted 12th fret note to the 12th fret harmonic. They should be perfectly in tune. Otherwise, proceed to the next step. Using a screwdriver, gently slide the saddles back and forth. A sharp 12th fret note necessitates a shift away from the neck, whereas a flat note necessitates a shift towards the neck. Adjusting Saddle Position:
  • 12.
    The tailpiece's properalignment ensures a harmonious union between strings and body. Check the Tailpiece Angle: Confirm that the guitar tailpiece maintains a parallel alignment with the body of the guitar. Adjust its angle by tightening or loosening the tailpiece screws. String Break Angle: Look at the strings as they pass through the tailpiece. They should be angled slightly towards the bridge. This fine intricacy leads to long-lasting resonance and improved tone quality. Step 4: Tailpiece Adjustment
  • 13.
    Check the Action:Now that your guitar has been set up, take it for a test drive. Play around with the strings to get a sense of how they feel. Make more bridge height modifications as needed to get your desired action. Optional polishing and cleaning: Show your guitar some affection. Cleanse and maintain the bridge and tailpiece with a specialized guitar polish and a soft cloth to keep them in top condition. Step 5: Fine-Tuning
  • 14.
    Conclusion Setting up thebridge on your Gibson guitar is a transformative process that yields remarkable improvements in playability and tone. For those in pursuit of the best Tune-O-Matic bridge, consider exploring reputable brands and models known for their quality and compatibility with Gibson guitars. Remember, if you ever feel unsure, seeking the assistance of a professional luthier is always a wise choice. Your guitar will thank you for it.