This is the whole process of how i created my lip sync video.
It can be viewed on my blog. Just enter the link below to your tool bar and you will be able to view it .
http://a2chcsowendavison.blogspot.co.uk/
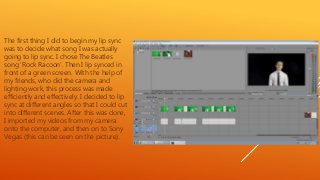
The first thingI did to begin my lip sync
was to decide what song I was actually
going to lip sync. I chose The Beatles
song ‘Rock Racoon’. Then I lip synced in
front of a green screen. With the help of
my friends, who did the camera and
lighting work, this process was made
efficiently and effectively. I decided to lip
sync at different angles so that I could cut
into different scenes. After this was done,
I imported my videos from my camera
onto the computer, and then on to Sony
Vegas (this can be seen on the picture).
3.
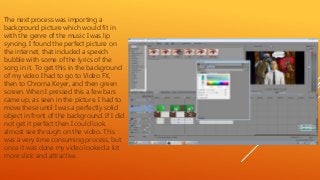
The next processwas importing a
background picture which would fit in
with the genre of the music I was lip
syncing. I found the perfect picture on
the internet, that included a speech
bubble with some of the lyrics of the
song in it. To get this in the background
of my video I had to go to Video FX,
then to Chroma Keyer, and then green
screen. When I pressed this a few bars
came up, as seen in the picture. I had to
move these until I was a perfectly solid
object in front of the background. If I did
not get it perfect then I could look
almost see through on the video. This
was a very time consuming process, but
once it was done my video looked a lot
more slick and attractive.
4.
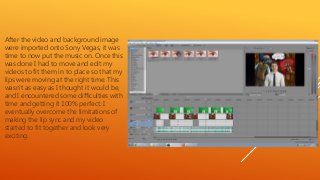
After the videoand background image
were imported onto Sony Vegas, it was
time to now put the music on. Once this
was done I had to move and edit my
videos to fit them in to place so that my
lips were moving at the right time. This
wasn’t as easy as I thought it would be,
and I encountered some difficulties with
time and getting it 100% perfect. I
eventually overcome the limitations of
making the lip sync and my video
started to fit together and look very
exciting.
5.
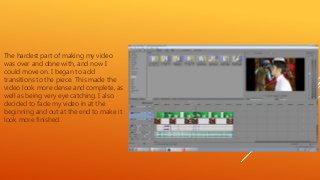
The hardest partof making my video
was over and done with, and now I
could move on. I began to add
transitions to the piece. This made the
video look more dense and complete, as
well as being very eye catching. I also
decided to fade my video in at the
beginning and out at the end to make it
look more finished.
6.
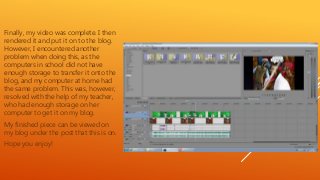
Finally, my videowas complete. I then
rendered it and put it on to the blog.
However, I encountered another
problem when doing this, as the
computers in school did not have
enough storage to transfer it onto the
blog, and my computer at home had
the same problem. This was, however,
resolved with the help of my teacher,
who had enough storage on her
computer to get it on my blog.
My finished piece can be viewed on
my blog under the post that this is on.
Hope you enjoy!