5 ways to Transfer Photos from iPhone to USB Drive
•Download as PPTX, PDF•
1 like•65 views

If you are searching ways to back up your iPhone photos, this presentation will introduce 5 ways to transfer photos from iPhone to USB drive, which may help you.

Recommended
Recommended
More Related Content
Similar to 5 ways to Transfer Photos from iPhone to USB Drive
Similar to 5 ways to Transfer Photos from iPhone to USB Drive (20)
Recently uploaded
Recently uploaded (20)
5 ways to Transfer Photos from iPhone to USB Drive
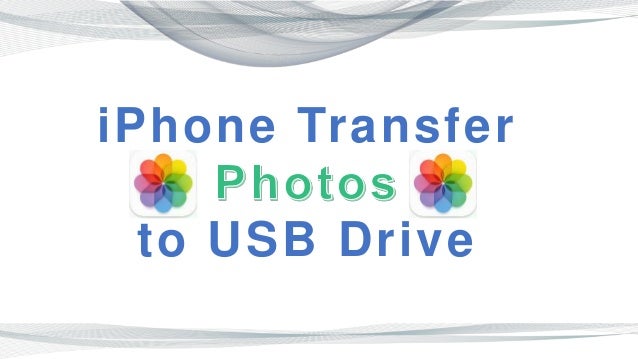
- 1. iPhone Transfer to USB Drive
- 2. 1 Part One Transfer Photosfrom iPhonetoUSB Drive onWindowsFiles Explorer
- 3. onWindowsFiles Explorer Step 1: Connect your device and USB drive to Computer (PS:Fix iPhone not showing on your Windows Explorer here.)
- 4. onWindowsFiles Explorer Step 2. Go to This PC/ This computer > Double-click the iPhone icon > Click on Internal Storage > Enter DCIM folder
- 5. onWindowsFiles Explorer Step 3. Select photos first > Click “Home” on the left top > Expand “Copy to” > ”Choose location” and set USB drive as your location.
- 6. 2 Part Two Transfer Photosfrom iPhoneto USB DriveonMac
- 7. onMac Step 1. Enter Image Capture app > select your device in the Devices or Shared list > Select photos > Click on “import” / ”Import all”. Step 2. Choose save location such as “Pictures” and click“import”. Then plug your USB drive into Mac and drag your photos to your USB drive from Pictures.
- 8. onMac
- 9. 3 Part Three Transfer Photosfrom iPhoneto USB Drivevia iCloud
- 10. via iCloud Step 1. Go to “Settings” > Tap on your ID > Hit iCloud > Enter Photo option > Switch on iCloud Photos. Then your photos will be uploaded to iCloud automatically once you have your iPhone connected to Wi-Fi.
- 11. via iCloud Step 2. Visit iCloud.com on PC > Sign in iCloud > Click “Photos” icon > Select photos > Click the "iCloud Download" button > Set download location> Click on “Save”. > Copy downloaded photos to USB
- 12. 4 Part Four Transfer Photosfrom iPhonetoUSB Drive withiSumsoft BackupTo
- 13. Step 1. Install iSumsoft BackupTo on your PC and connect your iPhone and USB drive to PC.
- 14. Step 2. Click on “Back Up” > Choose “Classified backup” > select “Picture”. In this way, you are able to transfer your photos independently.
- 15. Step 3. Click on “Choose” to set USB drive as backup path. Click on “Start” to begin your backup and when it’s finished, you will successfully transfer your photos from iPhone to USB drive.
- 16. 5 Part Five Transfer Photosfrom iPhoneto USB DrivewithoutaComputer
- 17. Use a flash drive with a lightning connector
- 18. THANKS Here is a video to show it more clearly: https://youtu.be/VNAMhApk0Io