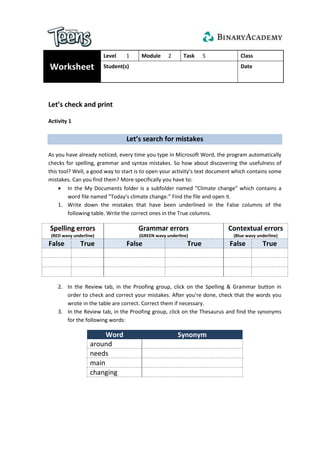
1. Worksheet
Level 1 Module 2 Task 5 Class
Student(s) Date
Let’s check and print
Activity 1
Let’s search for mistakes
As you have already noticed, every time you type in Microsoft Word, the program automatically
checks for spelling, grammar and syntax mistakes. So how about discovering the usefulness of
this tool? Well, a good way to start is to open your activity’s text document which contains some
mistakes. Can you find them? More specifically you have to:
In the My Documents folder is a subfolder named “Climate change” which contains a
word file named “Today's climate change.” Find the file and open it.
1. Write down the mistakes that have been underlined in the False columns of the
following table. Write the correct ones in the True columns.
Spelling errors
(RED wavy underline)
Grammar errors
(GREEN wavy underline)
Contextual errors
(Blue wavy underline)
False True False True False True
2. In the Review tab, in the Proofing group, click on the Spelling & Grammar button in
order to check and correct your mistakes. After you’re done, check that the words you
wrote in the table are correct. Correct them if necessary.
3. In the Review tab, in the Proofing group, click on the Thesaurus and find the synonyms
for the following words:
Word Synonym
around
needs
main
changing
2. 4. There is a wrong word in the text that is not underlined. Can you find which one it is? If
yes, write it here in capital letters:
This is the password that will open the locked document!
View a document in different ways
From the “Climate change” folder, open the file “The_Secret_file”, using the password that you
discovered. As you can see, you have to type in your group’s name. Before typing, think if you
can work more effectively viewing your document in a different way. For example, you could
view your document in outline view and work with the outline tools. To do so, you have to:
Select the Outline view.
Select the part of the text you want to
format and click one of the levels from
the drop-drown list.
Finally, add the name of your group.
Let’s print your document
Now it’s time to print your document! On the file tab click Print. As you can see, on the right side
you can see how your document will appear on paper and on the left side you can change the
different print settings. Now you have to:
Change the orientation of the document to landscape.
Look carefully at the document in Print Preview to check if it has created another page.
In that case, return to the home tab and make the proper format in order for all
contents to fit exactly on one page. Use the zoom slider to ensure that the appearance
of your document is correct.
If it has created another page but it is blank, select “Current page selection” from the
Print settings in order to print only the first page.
Print as many copies of the current page as the number of team members.
Finally, choose computer lab’s printer from the printer list and then print your
document.