1. UploadingdatathroughTririga Data IntegratorModule
Thisdocumentwill discussthe processbywhichwe uploadthe dataintoTririgausingthe Data IntegratorModule.We
have templatesavailableforthe following –Floor,spaces,equipment,employees,vehicles,andjobplansetup.
Templatescanbe foundinthe Wiki @ NewCamis – Data Migration – Data UploadDocumentation Forthisexample,we
have selectedSpace template.While pullingthe locationhierarchyfromTririga,make sure togo to the space level (Level
1, ground floor,etc) if possible.
Step Action Result
1 Import the data into the
template from the spreadsheet
provided by CAMIS team.
***Make sure there is no
space after each entry.
2 Remove the top row
There are 25 records in this
document, which we will
upload and confirm.
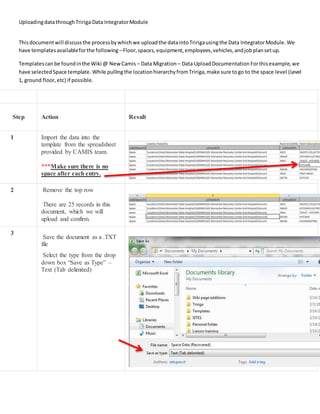
3
Save the document as a .TXT
file
Select the type from the drop
down box “Save as Type” –
Text (Tab delimited)
3. UploadingdatathroughTririga Data IntegratorModule
Step Action Result
8 Select the following from the
table below based on what
you’re uploading.
For Space data, we select
Module – TriHelper
Business Obj –
CstDataMigrationHelper
Form –
CstDataMigrationHelper
Choose file to upload – attach
the .txt file
Click Upload File on the
bottom.
Module BO Form Action
Floor Location TriFloor CstFloor TriCreateDraft
Space triHelper cstDataMigrationHelper cstDataMigration cstCreate
Equipment triHelper cstDataMigrationHelper cstDataMigration cstCreate
Work Procedure triHelper cstDataMigrationHelper cstDataMigration cstCreate
JobPlan triHelper cstDataMigrationHelper cstDataMigration cstCreate
PMSchedules triHelper cstDataMigrationHelper cstDataMigration cstCreate
FacilityPM
Schedules triHelper cstDataMigrationHelper cstDataMigration cstCreate
Work Procedures triHelper cstDataMigrationHelper cstDataMigration cstCreate
Vehicles triHelper cstDataMigrationHelper cstDataMigration cstCreate
Employees triHelper cstDataMigrationHelper cstDataMigration cstCreate
9 You will receive an email
when the upload is complete,
and the window will display
this message.
Click OK.
4. UploadingdatathroughTririga Data IntegratorModule
Step Action Result
10 This is the type of email that
you will receive when the
upload is successful. It will
give you the name of the file
and the number of records
imported. Match it up with the
number of records previously
stated in step 2.
11 Log back into Tririga and
navigate to My Reports -
>System Reports.
12 Find report –
Data Migration Helper report.
Type ‘helper’ under Title, and
“JP” under the Tag, and click
enter.
Run the report by clicking on
the Green symbol on the left of
the name.
5. UploadingdatathroughTririga Data IntegratorModule
Step Action Result
13 On the report, enter “False”
under the Processed Column,
and “Space”(or equipment, or
vehicle,etc) under the BO
name column, click Enter to
reveal all the records that are to
be uploaded.
You can confirm the number
(25 total found) of records to
be uploaded from Step 10.
If there are more than 50, then
select “Show 500” from the
drop down box on the right
side of the portlet; you want to
upload all the records.
14 Use the box to select all
records.
And Click Update from the
action items.
6. UploadingdatathroughTririga Data IntegratorModule
Step Action Result
15 Confirm if the records got
uploaded by navigating to the
portfolio data, based on what
you just uploaded, and
confirming the records got
uploaded.
Steps Completed
16. Activate the records that have
been uploaded. Refer to wiki –
New Camis -> Data Migration
-> Data Upload Documentation
for more details.
Activatingrecordsafterupload
Navigate toMy Reports -> SystemReports -> enterthe title/namefrom
table below
Title Name
Floors Floors - Draft- Activate cstFloor- triDraft- Editable
Spaces Space - Draft - Activate cstSpace - triDraft- Editable
Employee
Employee - draftto
activate (User) cstEmployee - triDraft- Activate
Equipment
BuildingEquipment - Draft
- Edit
cstBuildingEquipment - triDraft-
Editable
JobPlan JobPlan - Draft cstJobPlan - triDraft- Editable
PM
Schedules
PMSchedule - Draftto
Active cstPMSchedule - triDraft- Activate
17. These steps work for uploading
Space, Floor, Equipment, Job
Plans, employees and Vehicles.
For Work procedures and
Procedure Steps, we use the
Data Uploads Documentation
available on wiki.