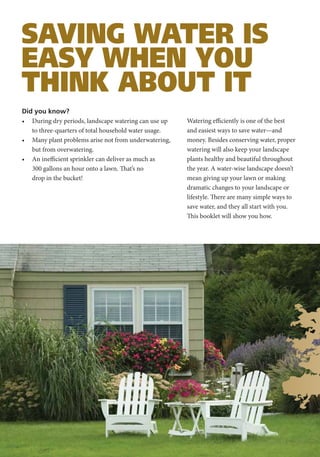
1. The document provides guidelines for creating a water-wise landscape through proper planning, soil improvement, efficient irrigation, and plant selection.
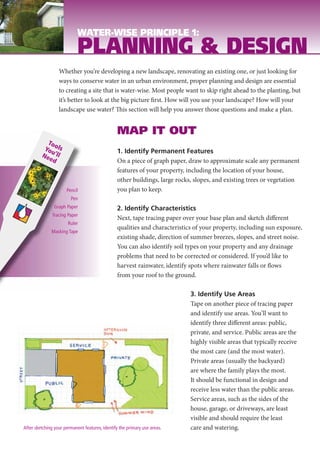
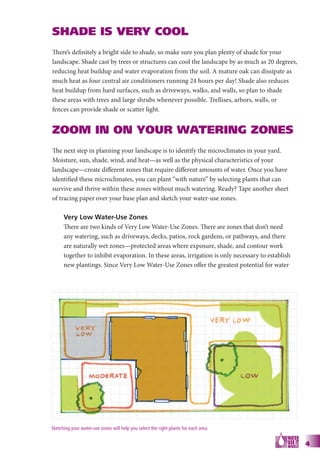
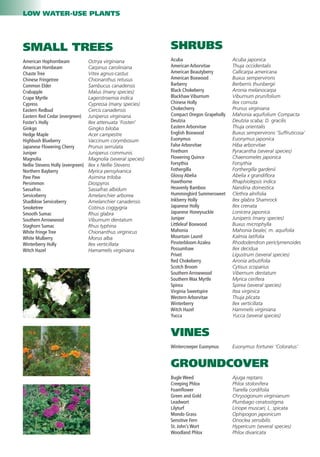
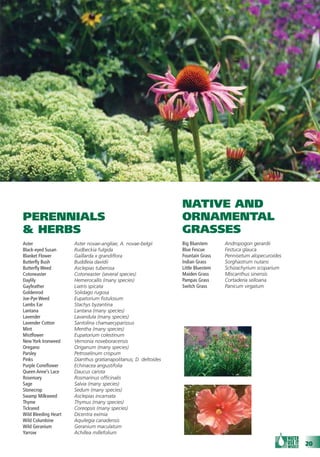
2. Key recommendations include mapping out the property to identify use areas and watering zones, improving soil quality through testing and amendments, reducing lawn areas and choosing drought-resistant grass varieties, and installing efficient irrigation systems.
3. With careful planning and following water-wise principles, homeowners can conserve water while still enjoying an attractive landscape.