Download to read offline

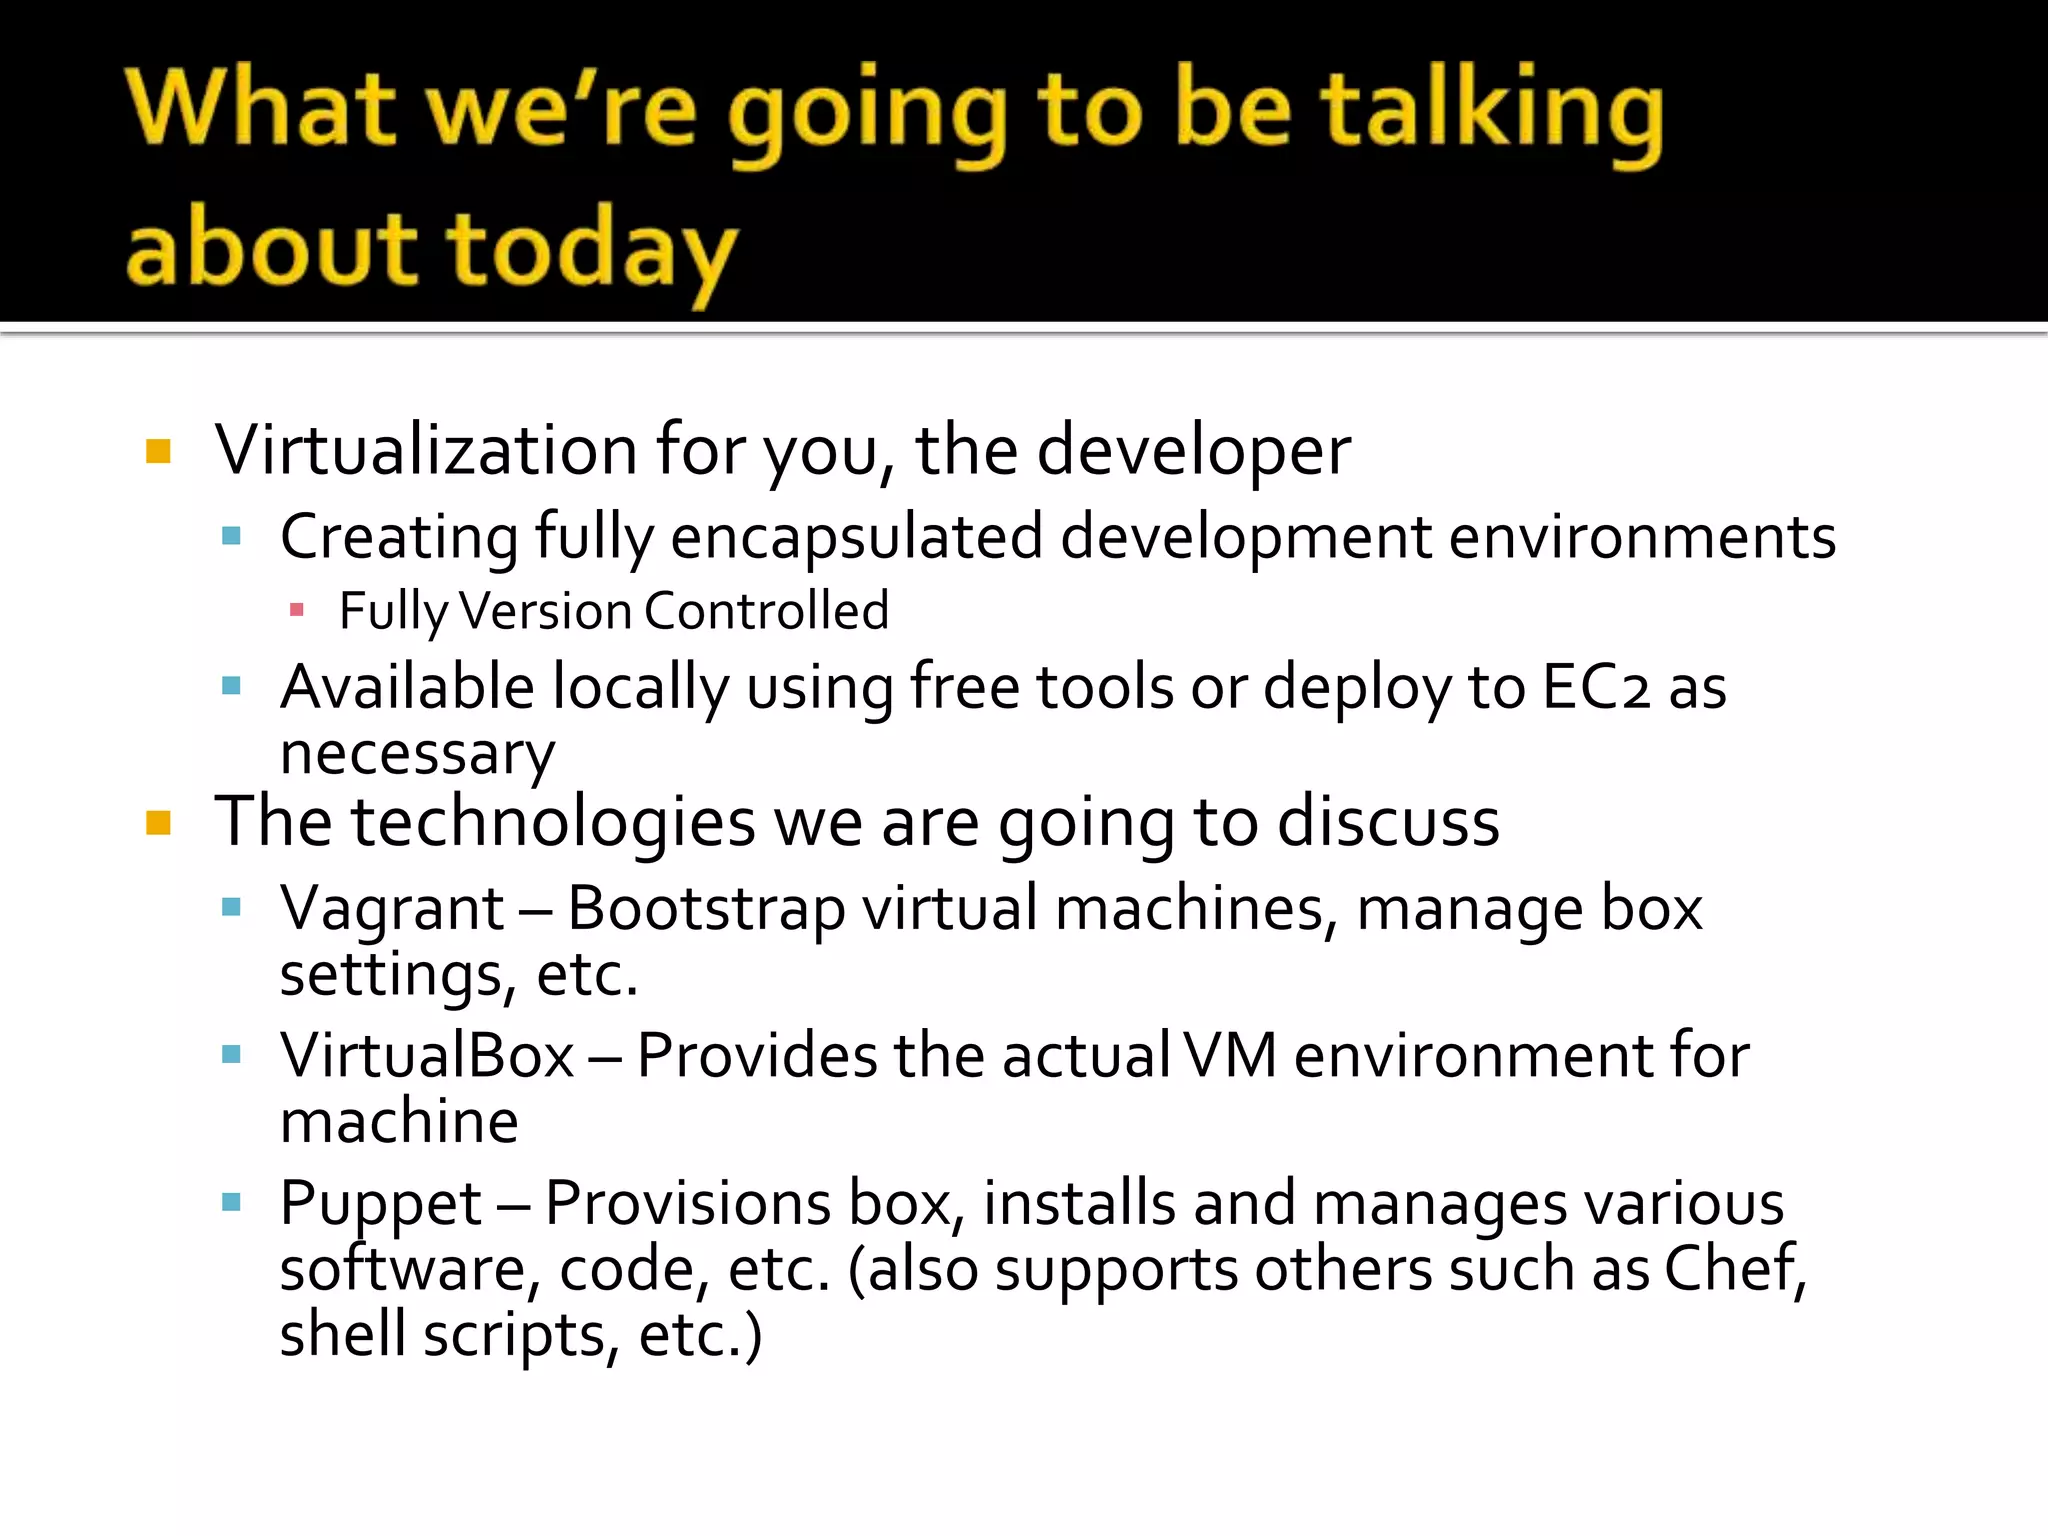
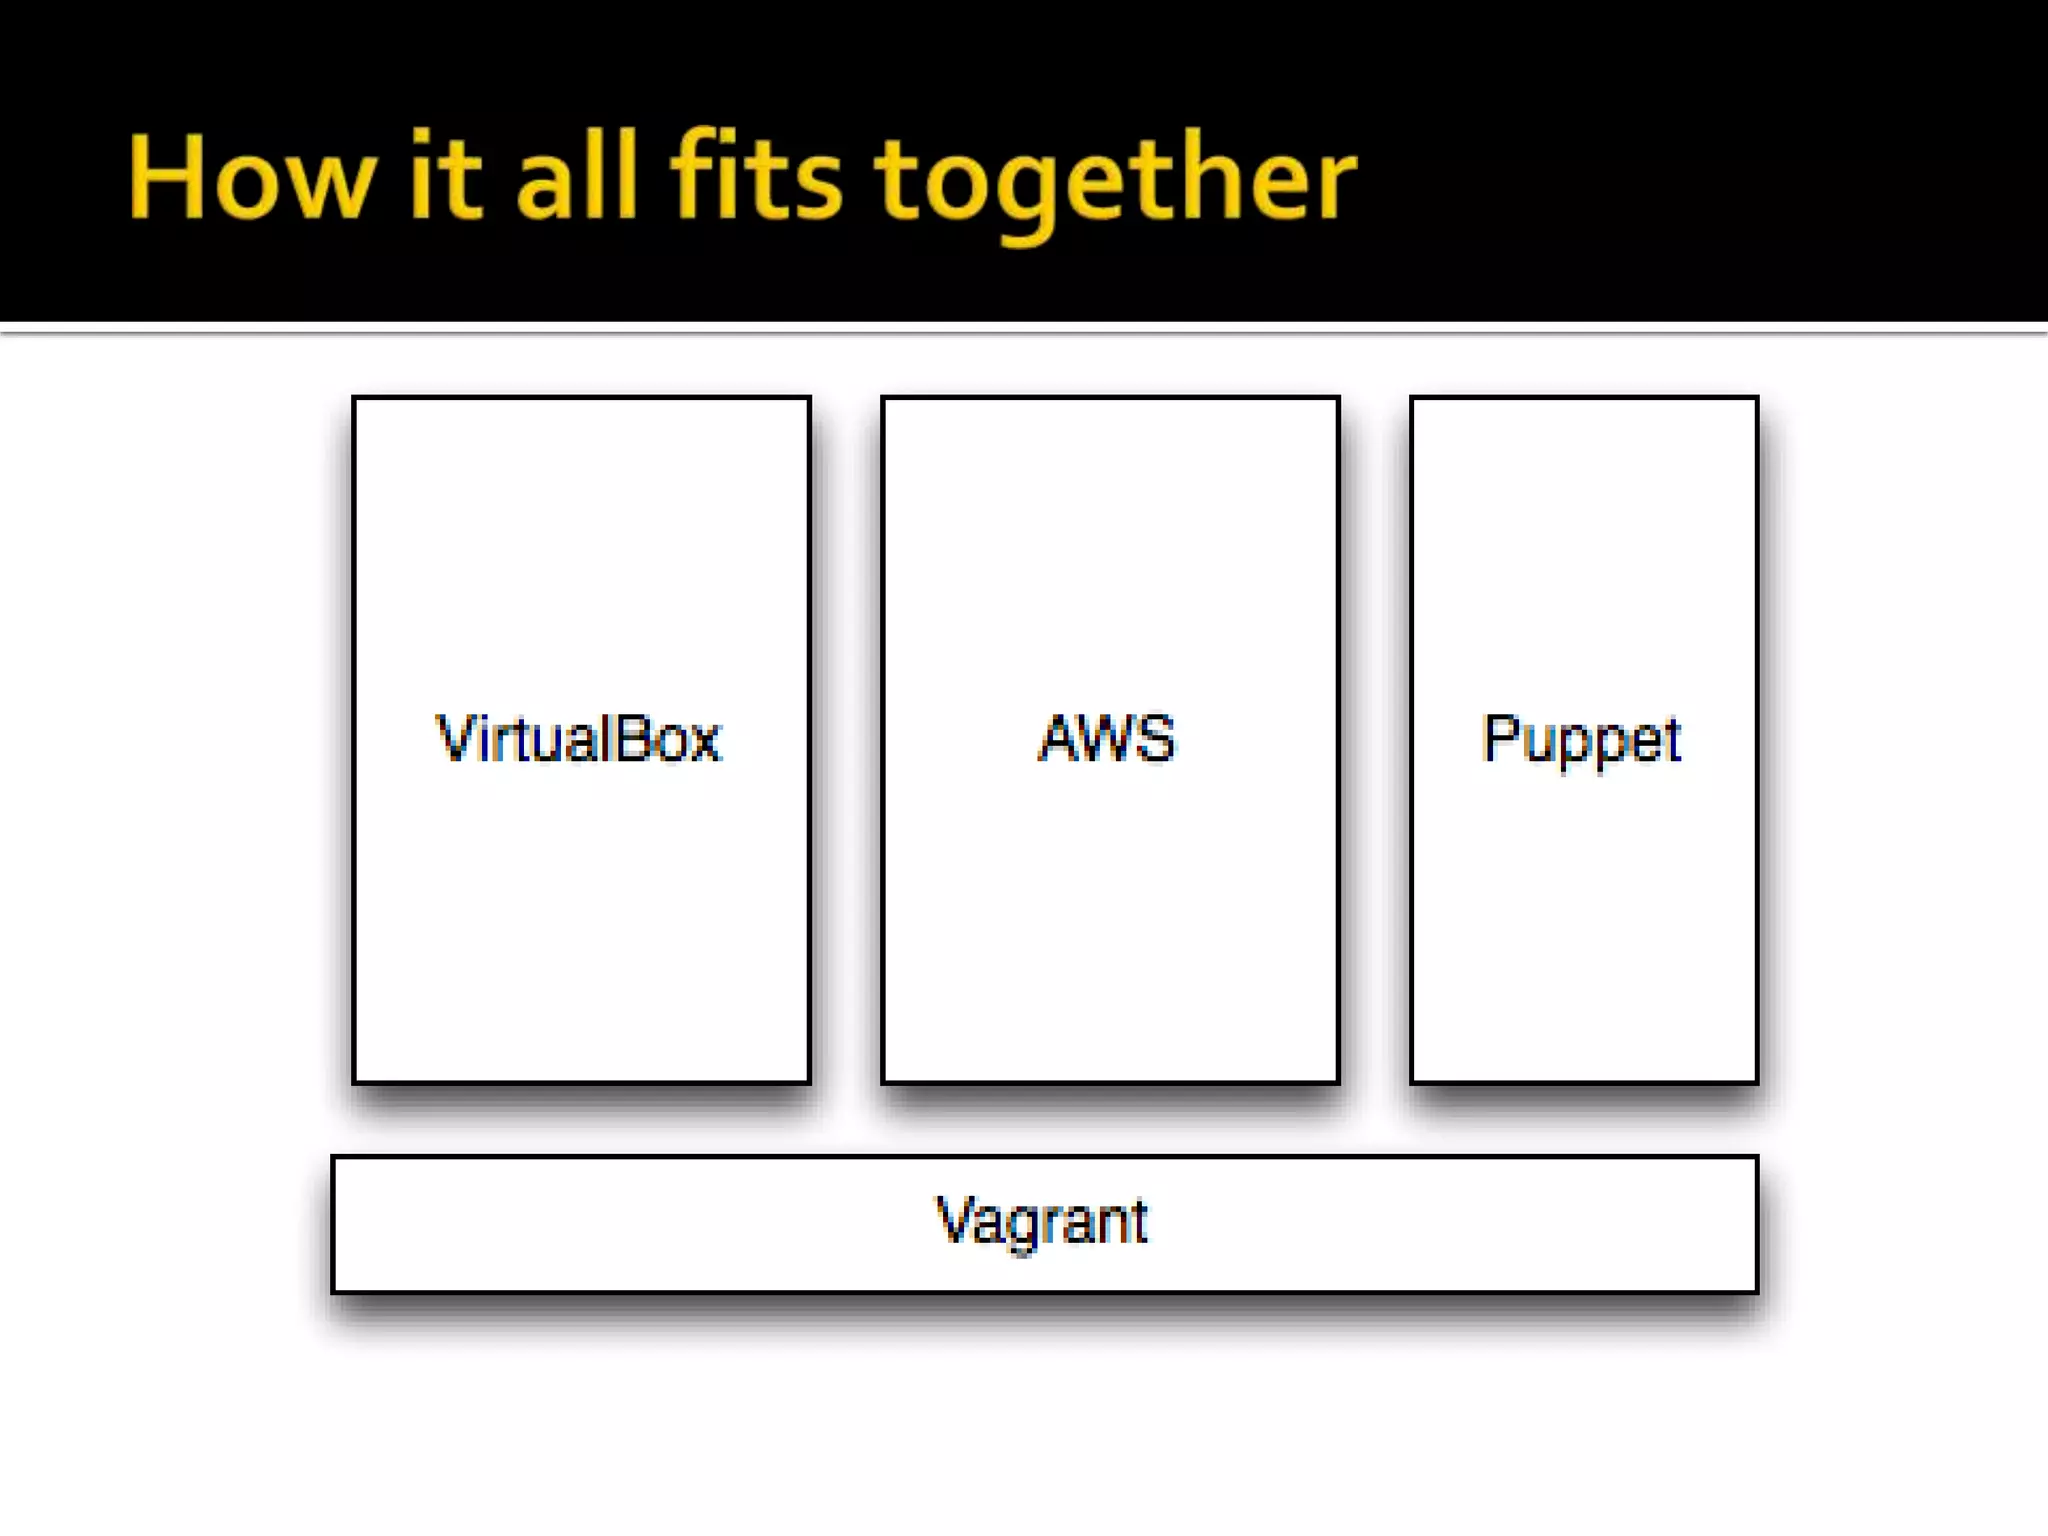
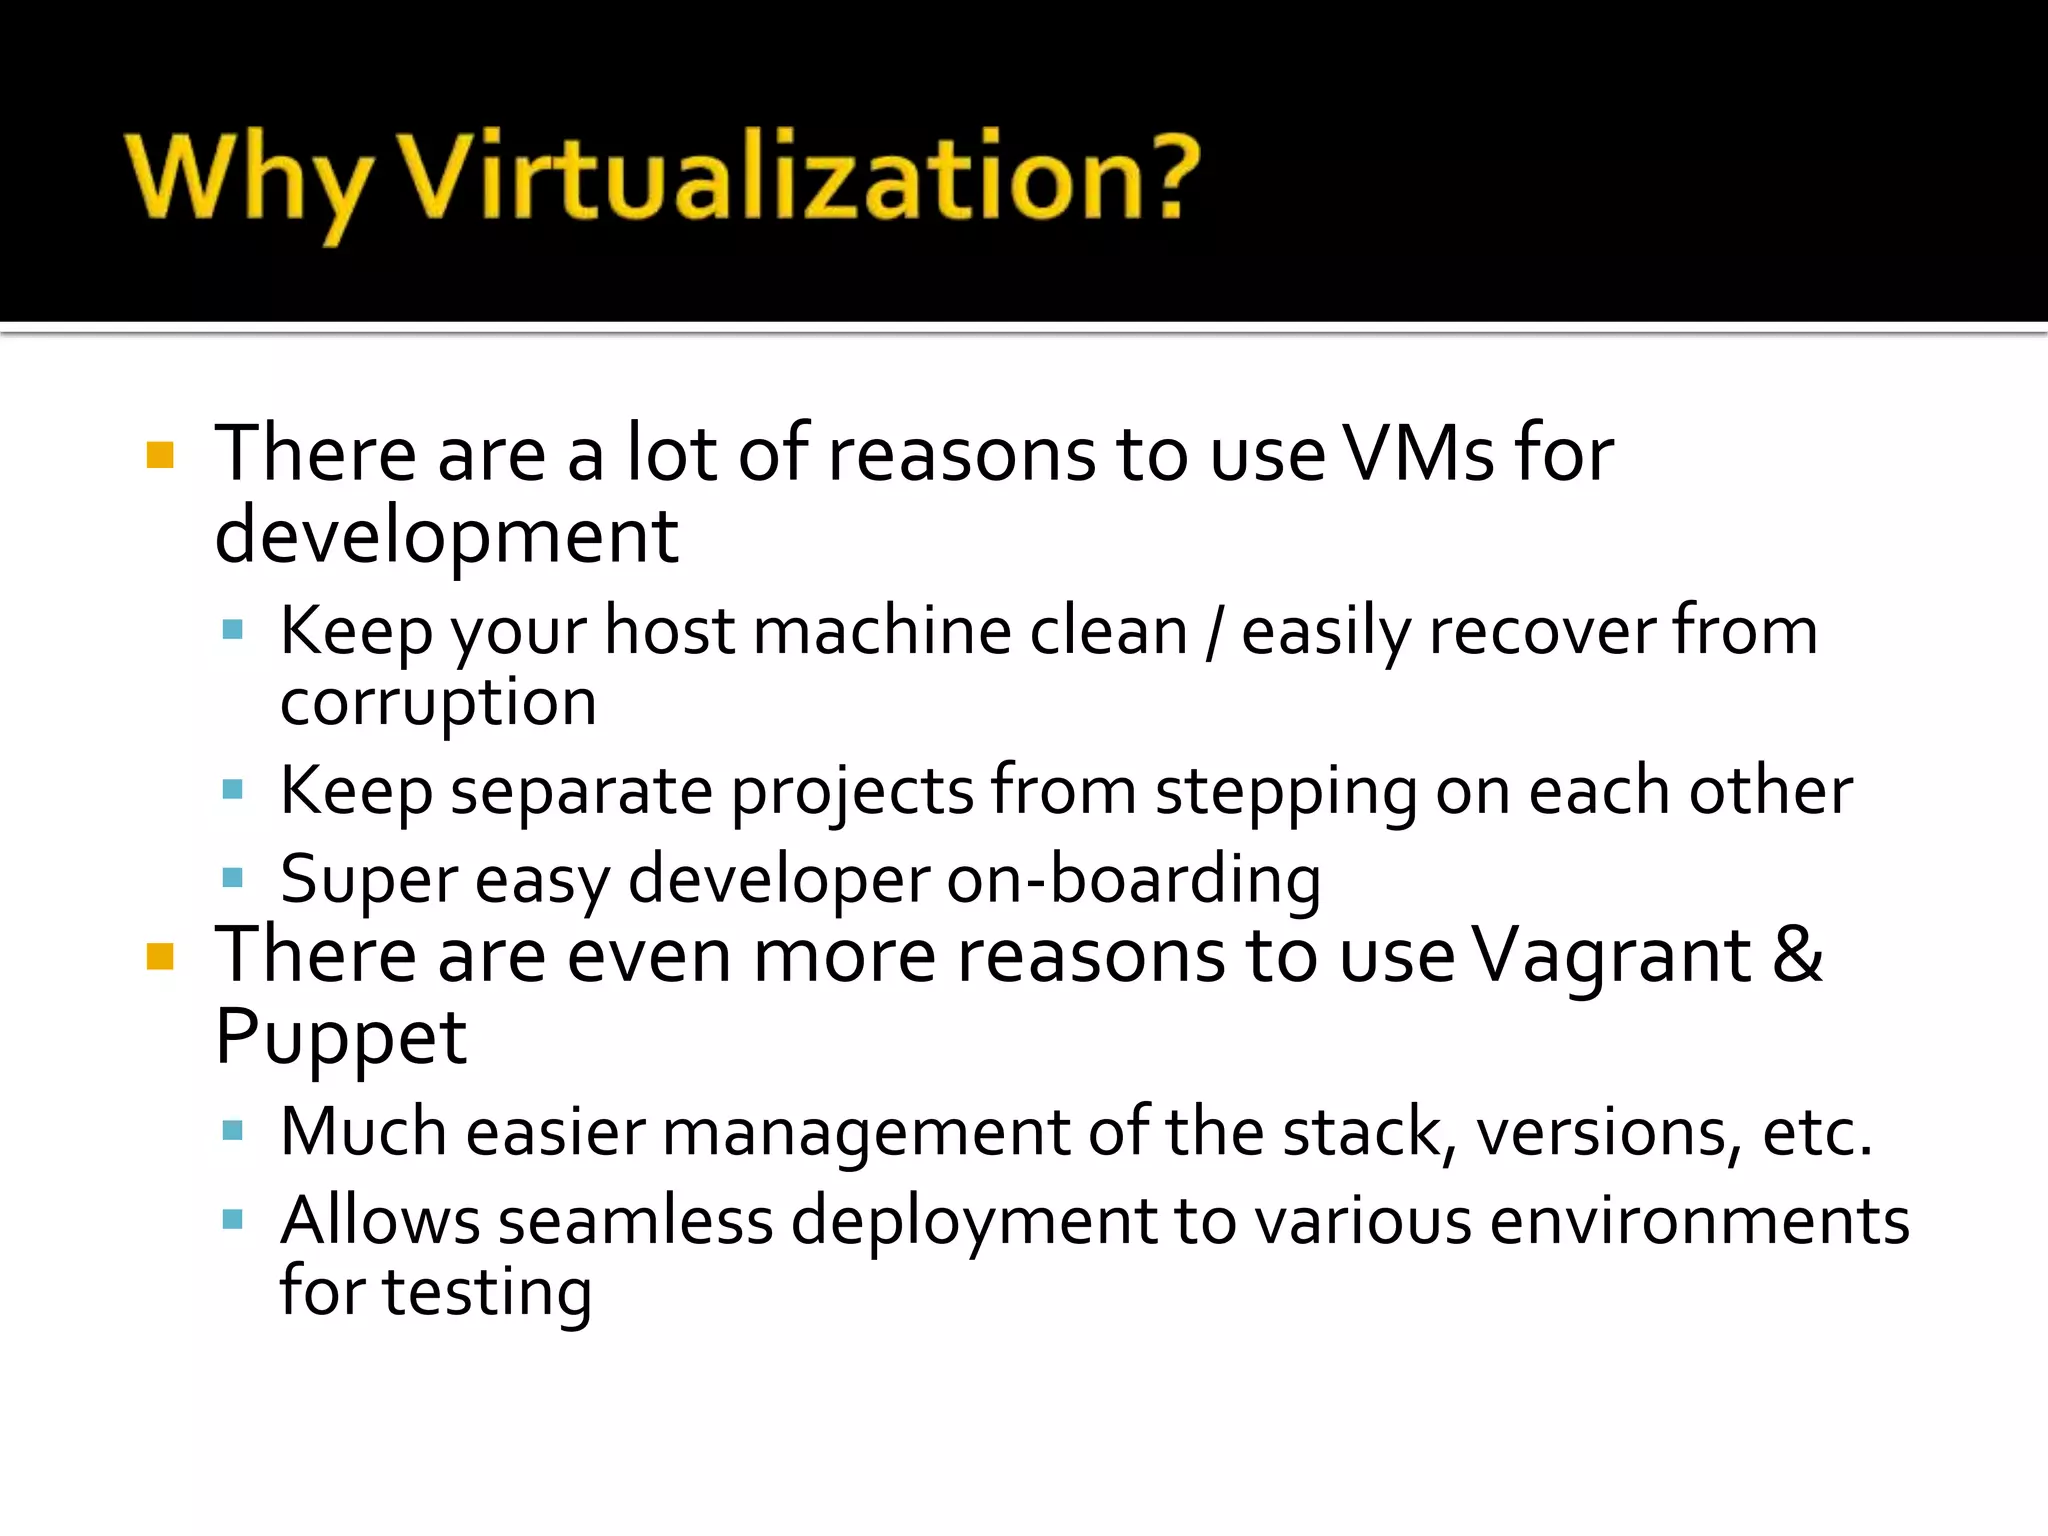
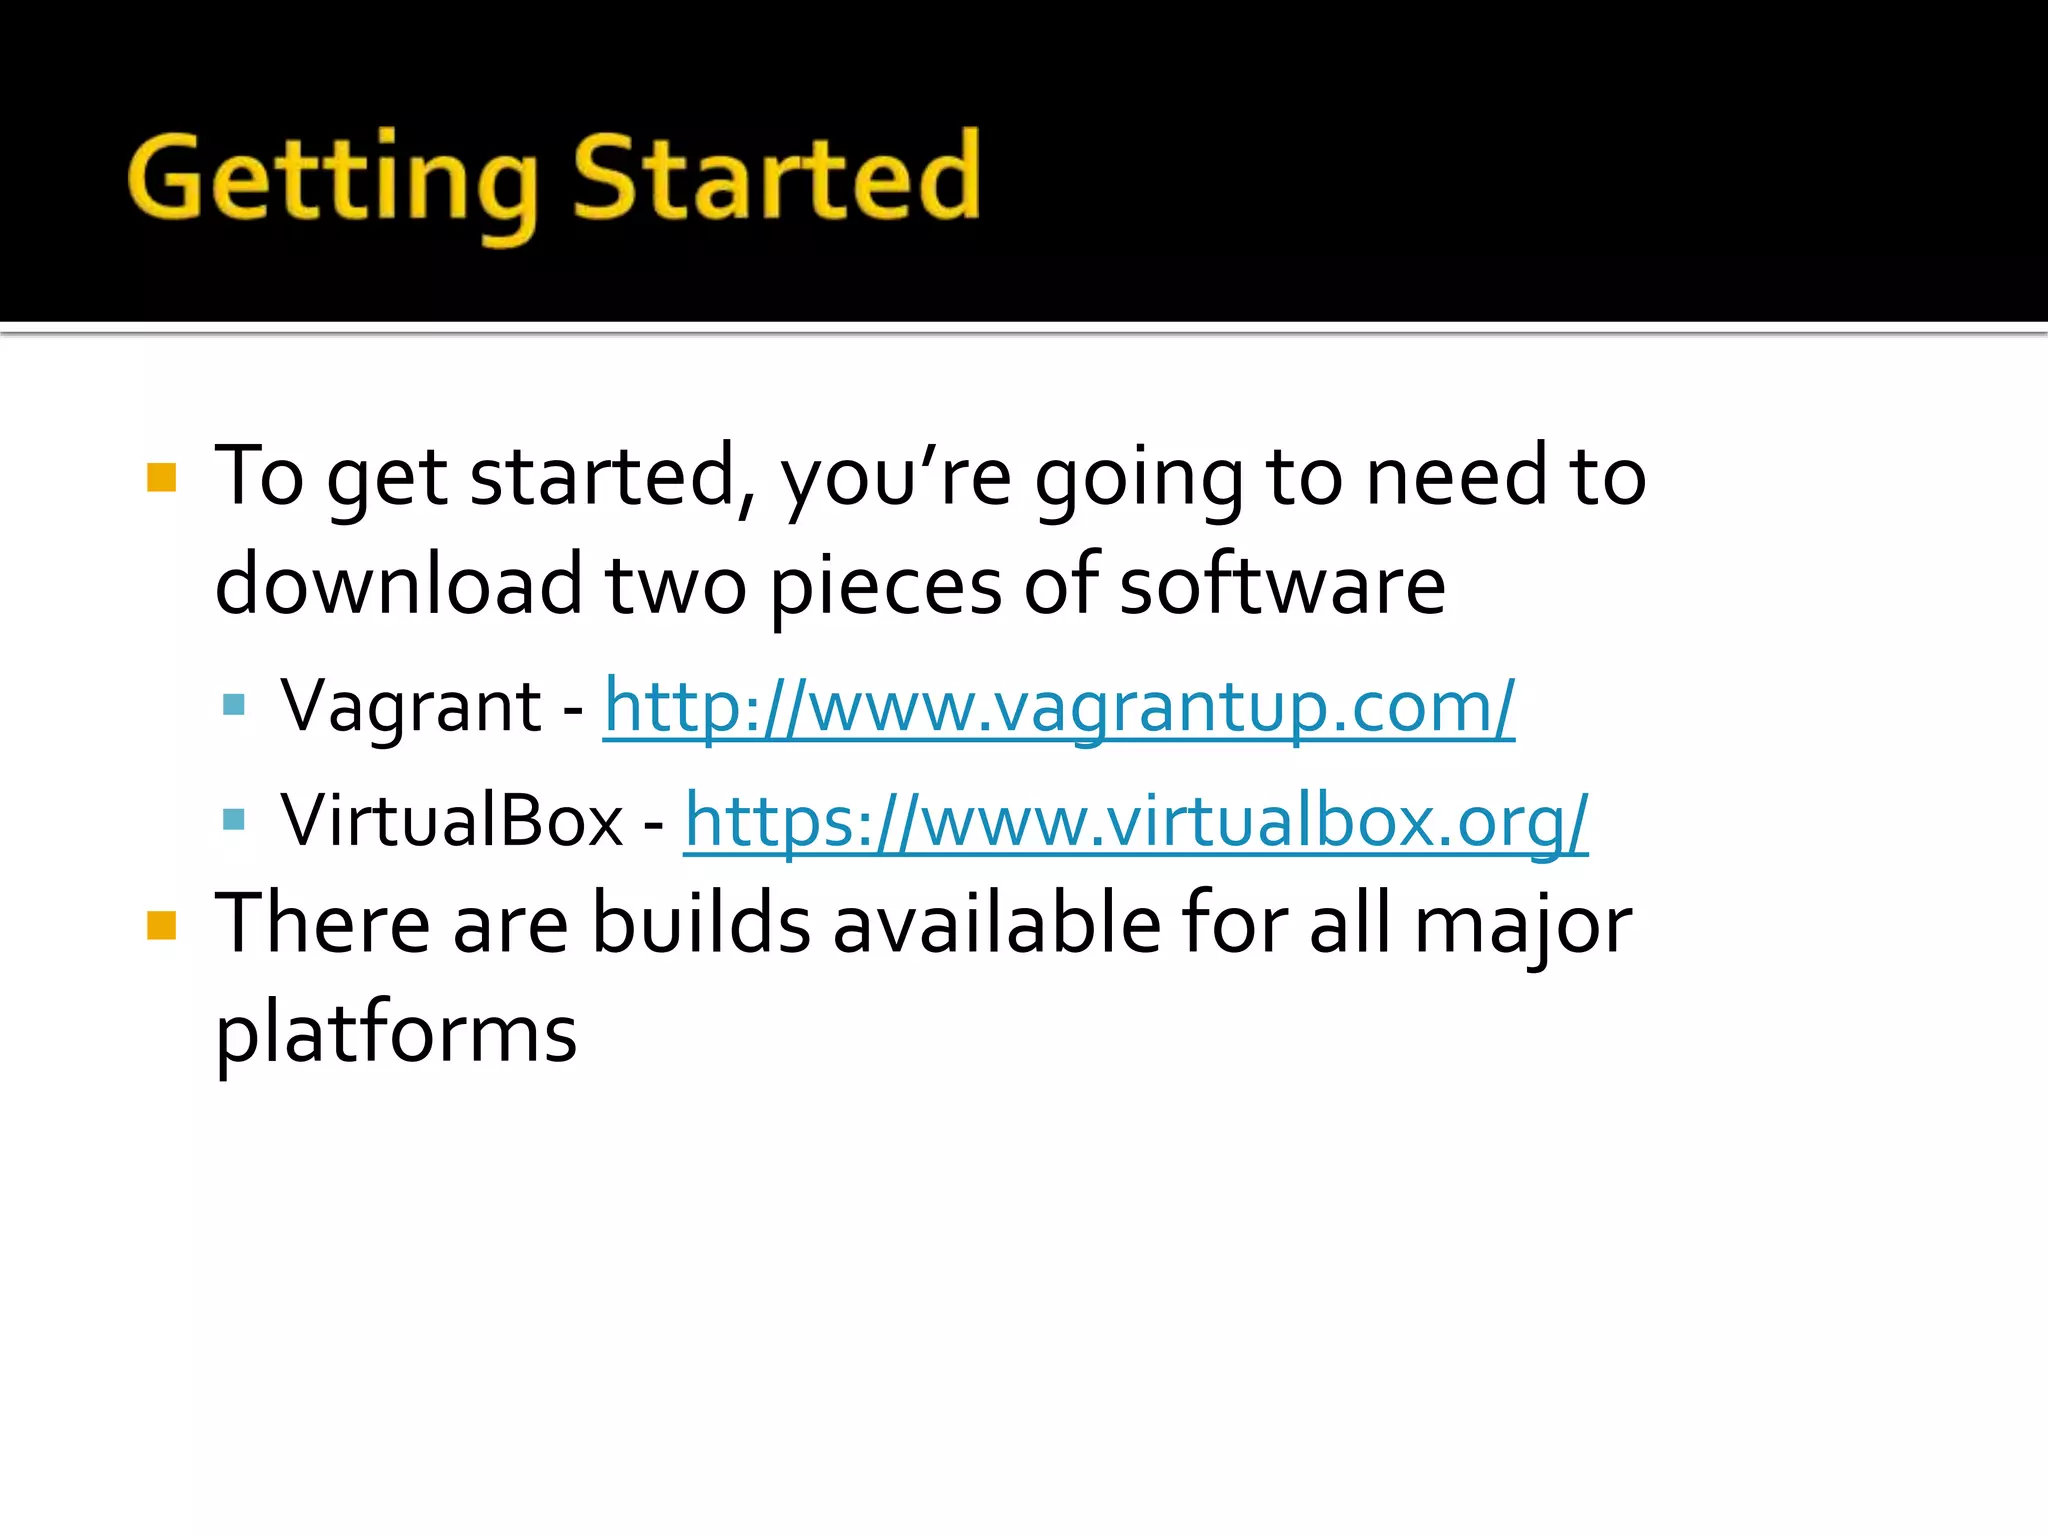
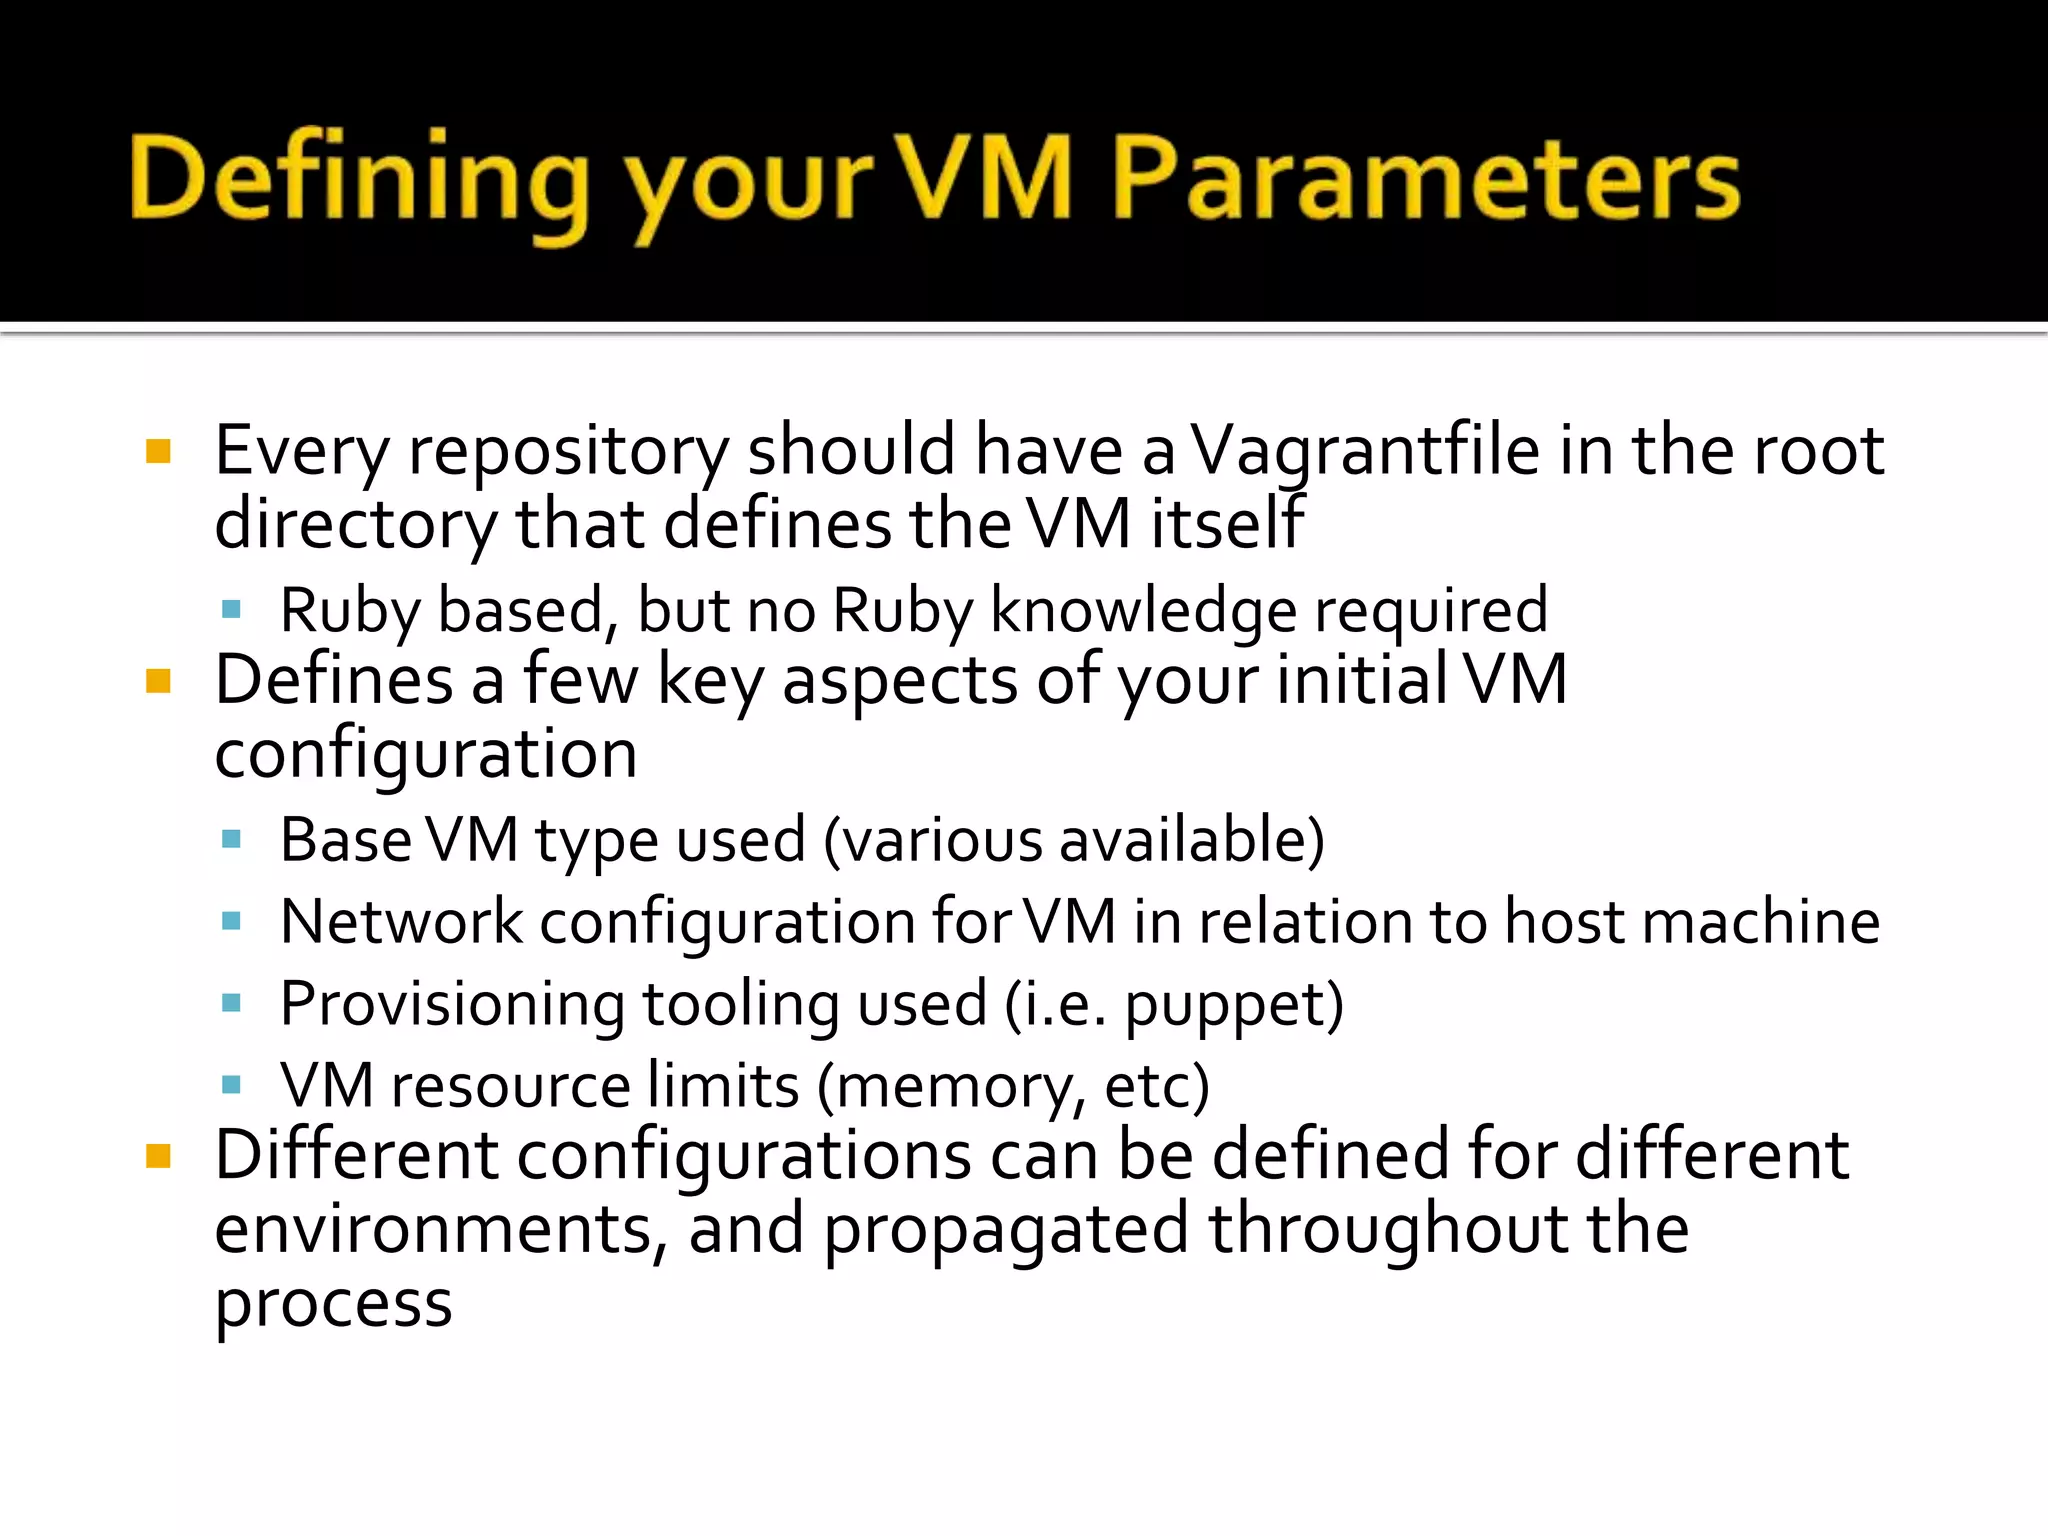
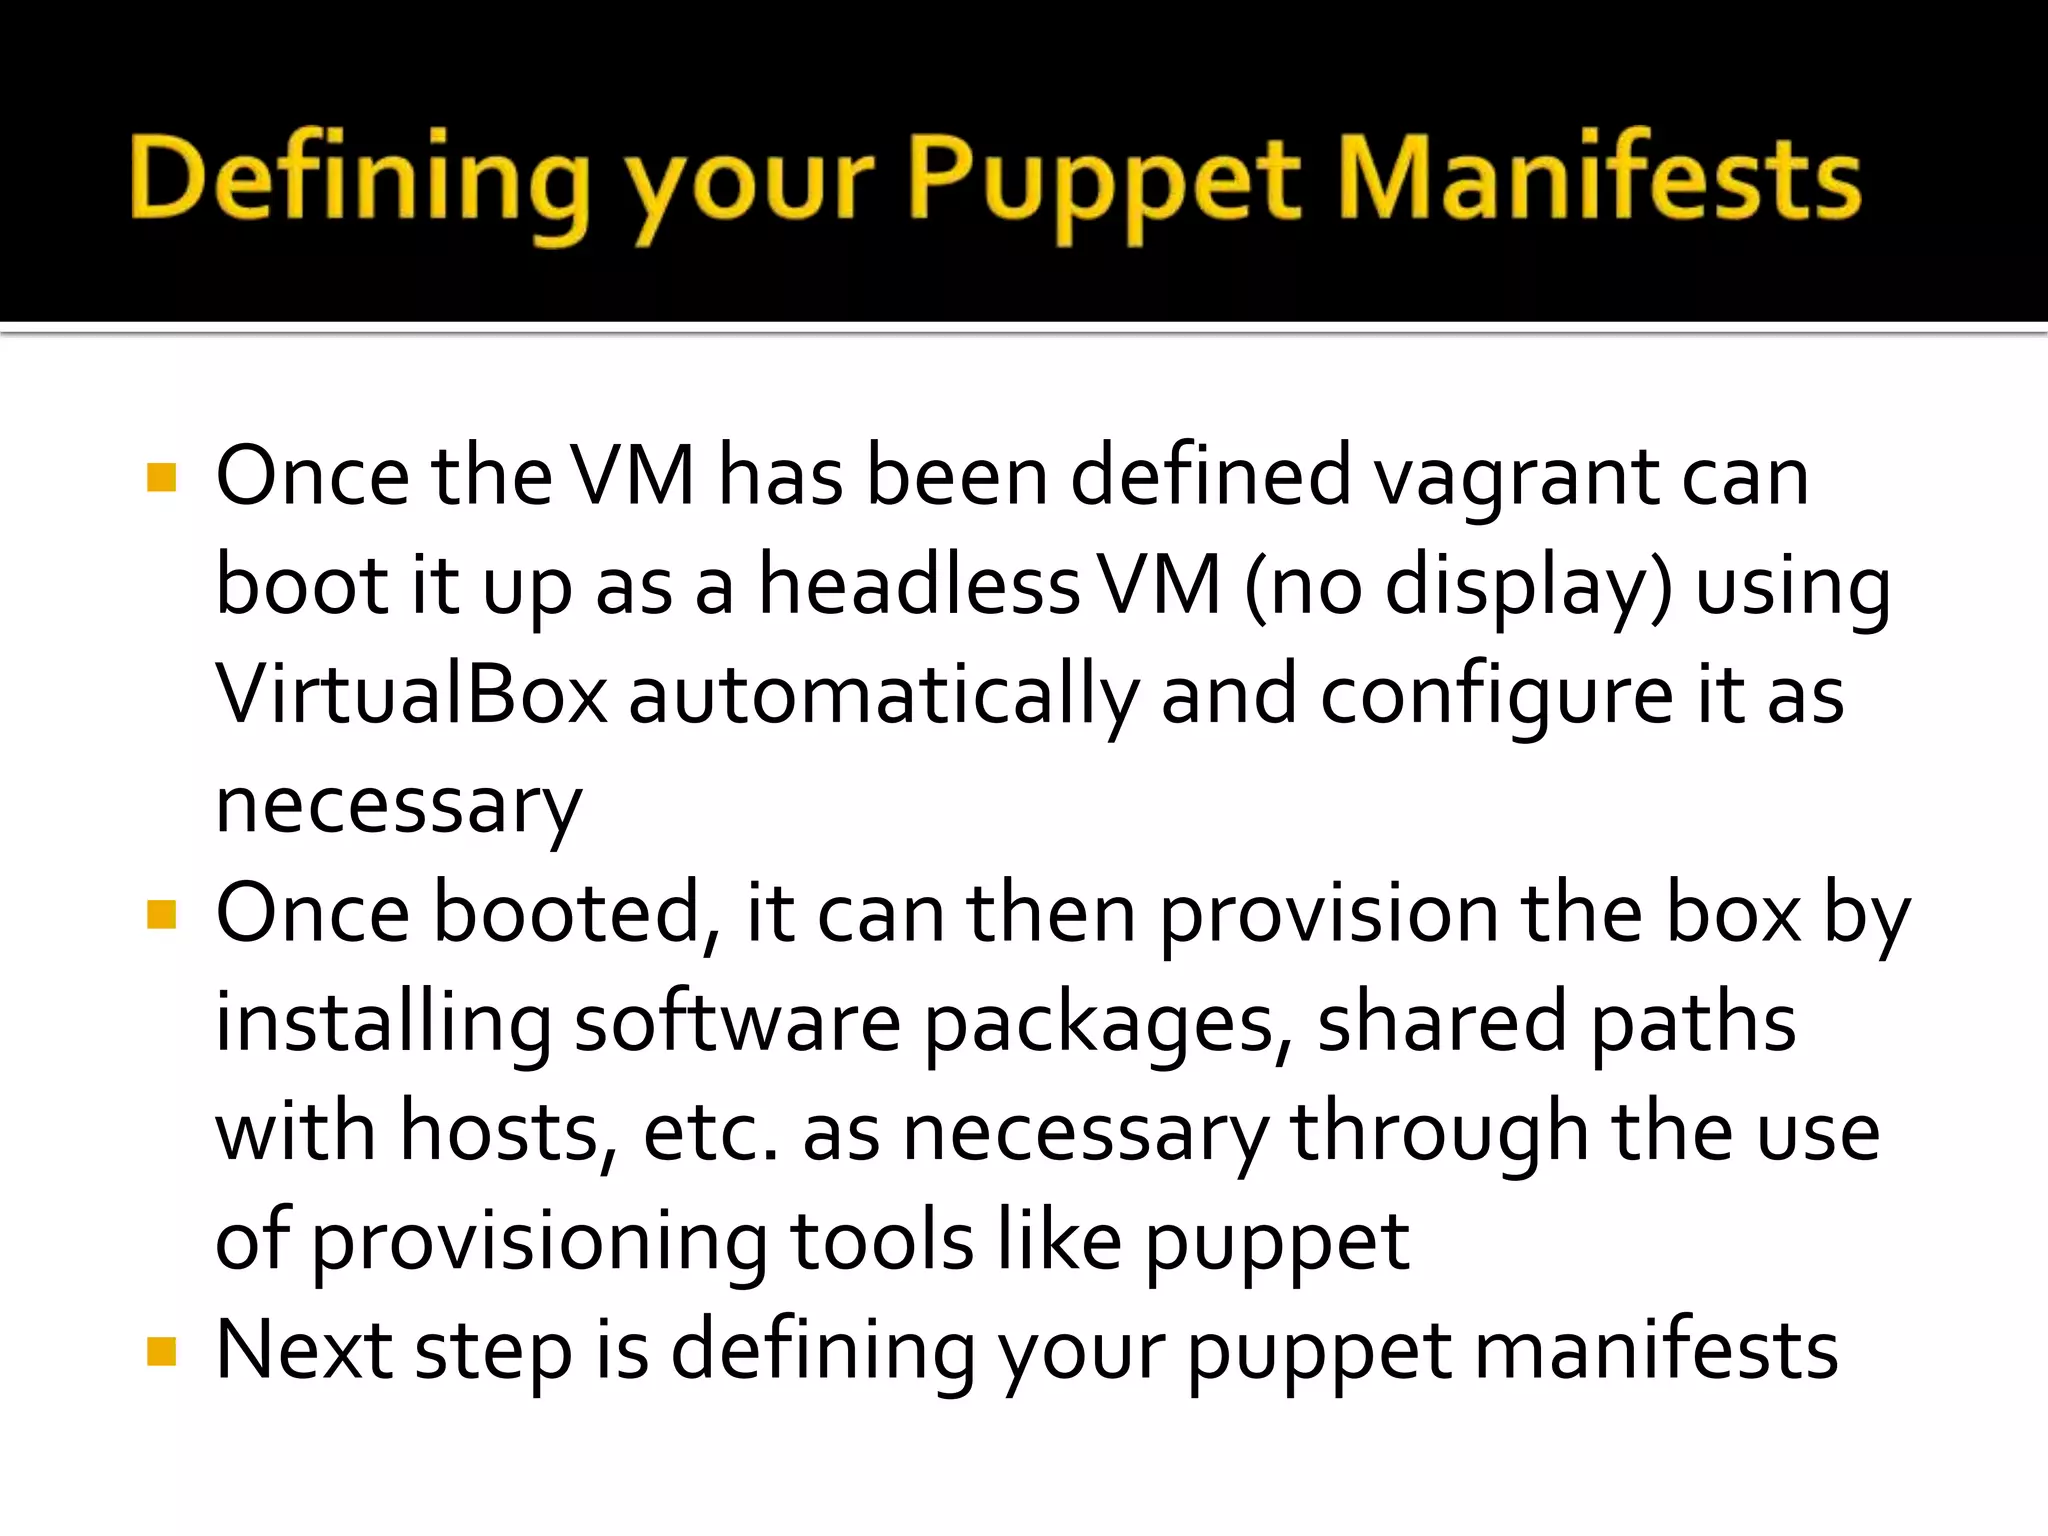
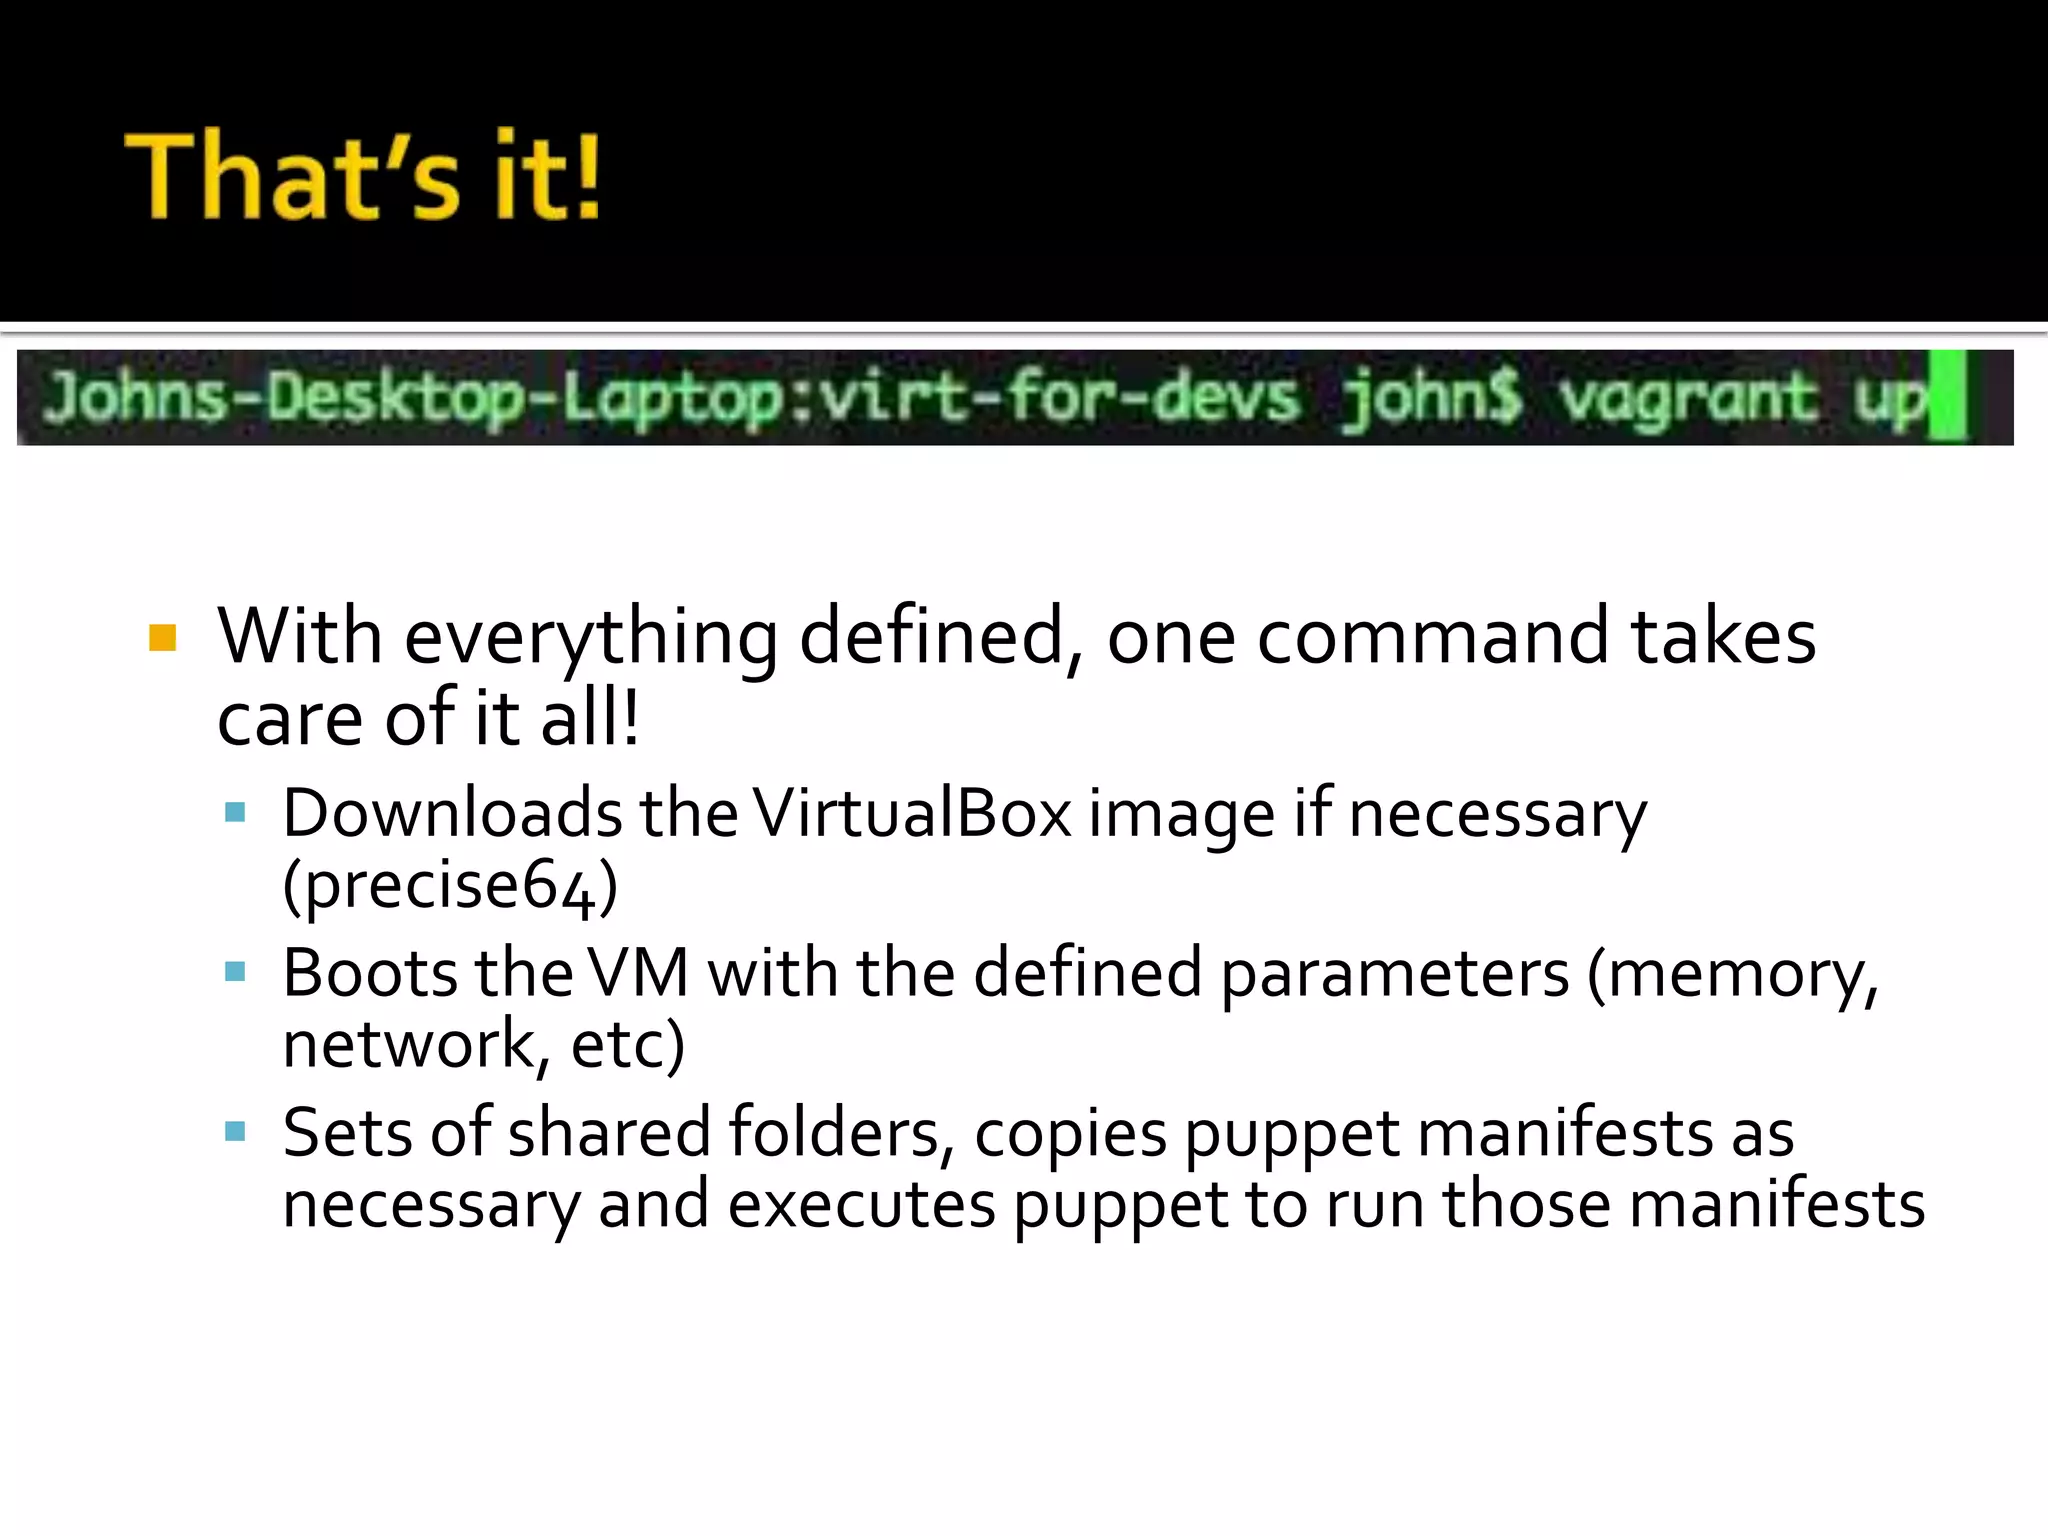
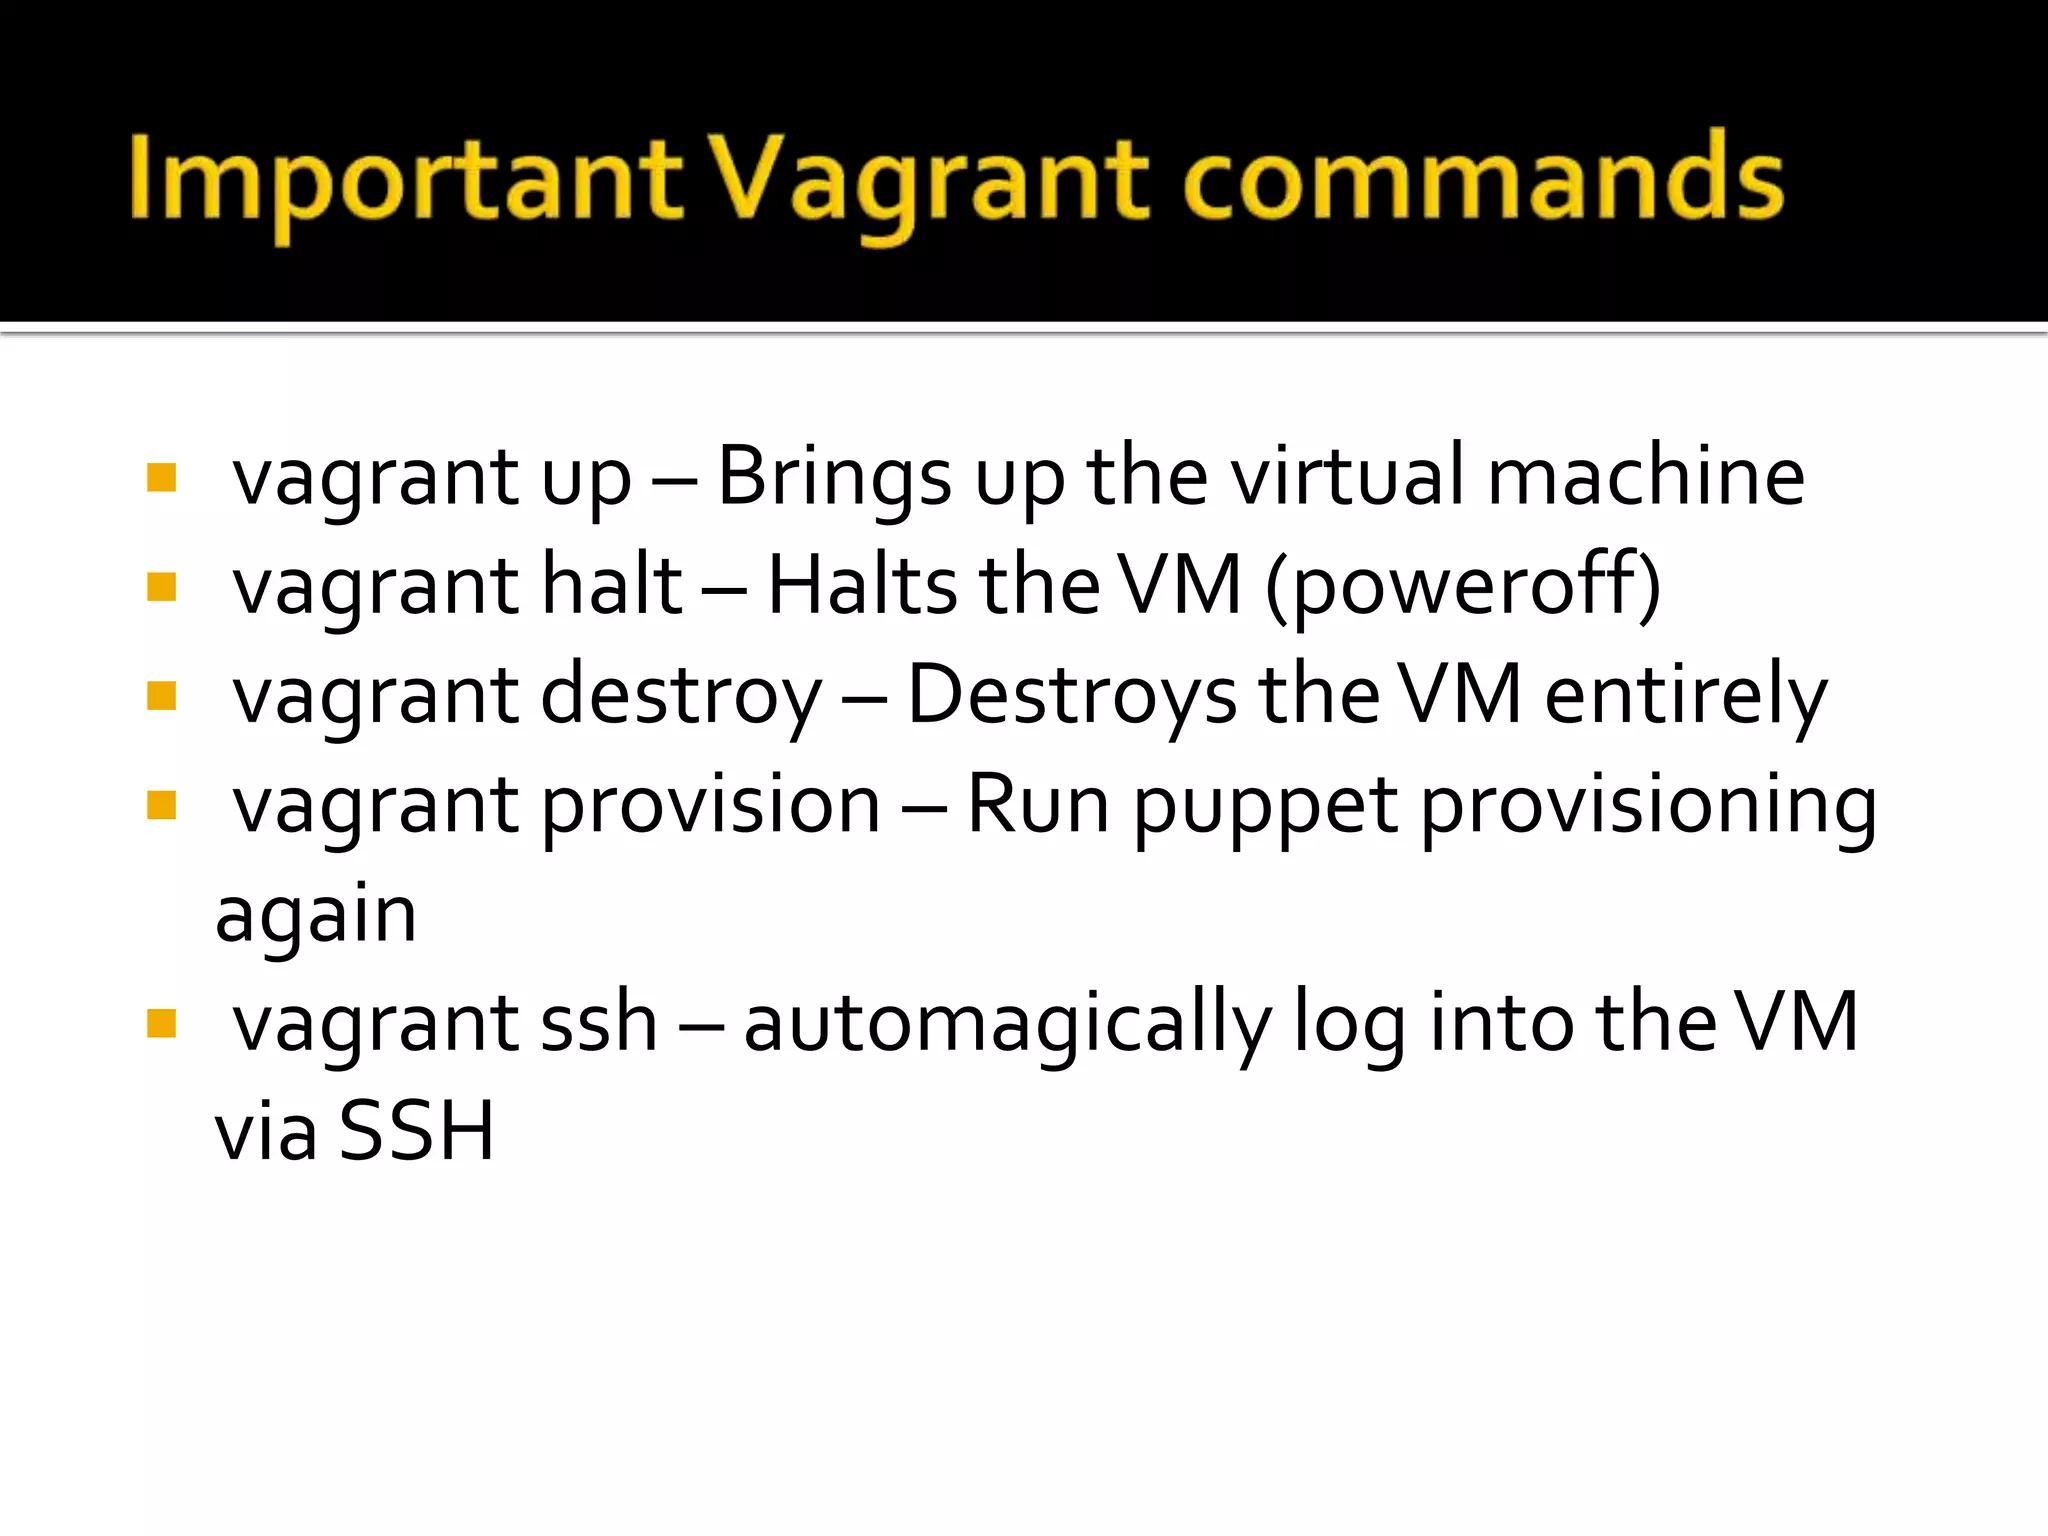
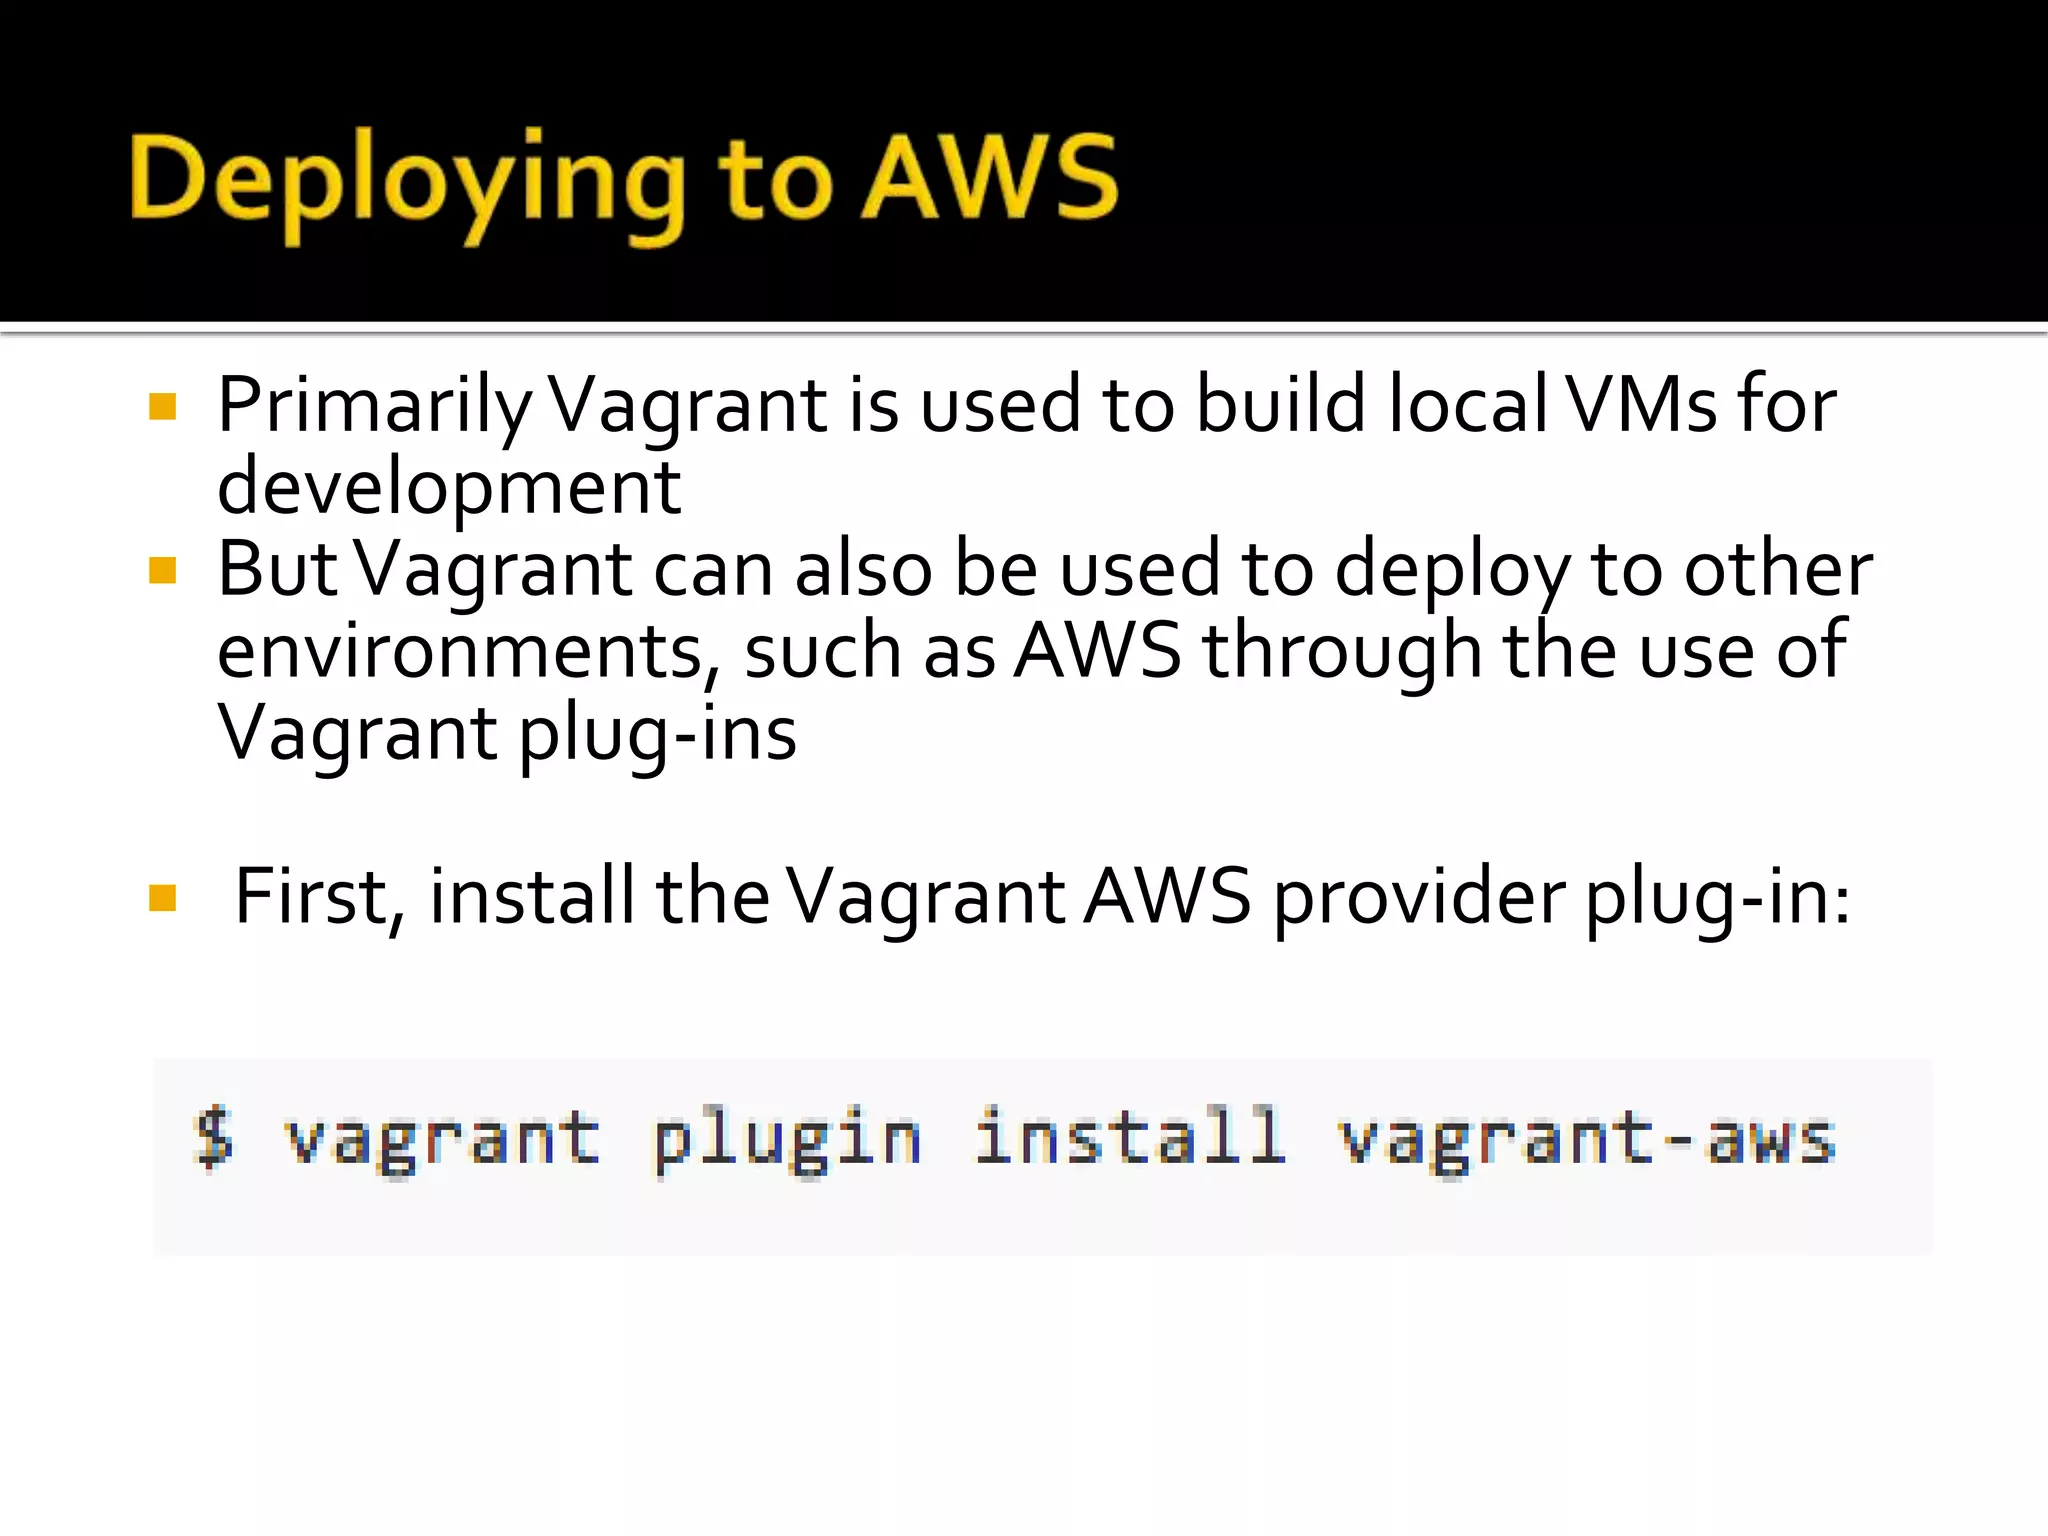
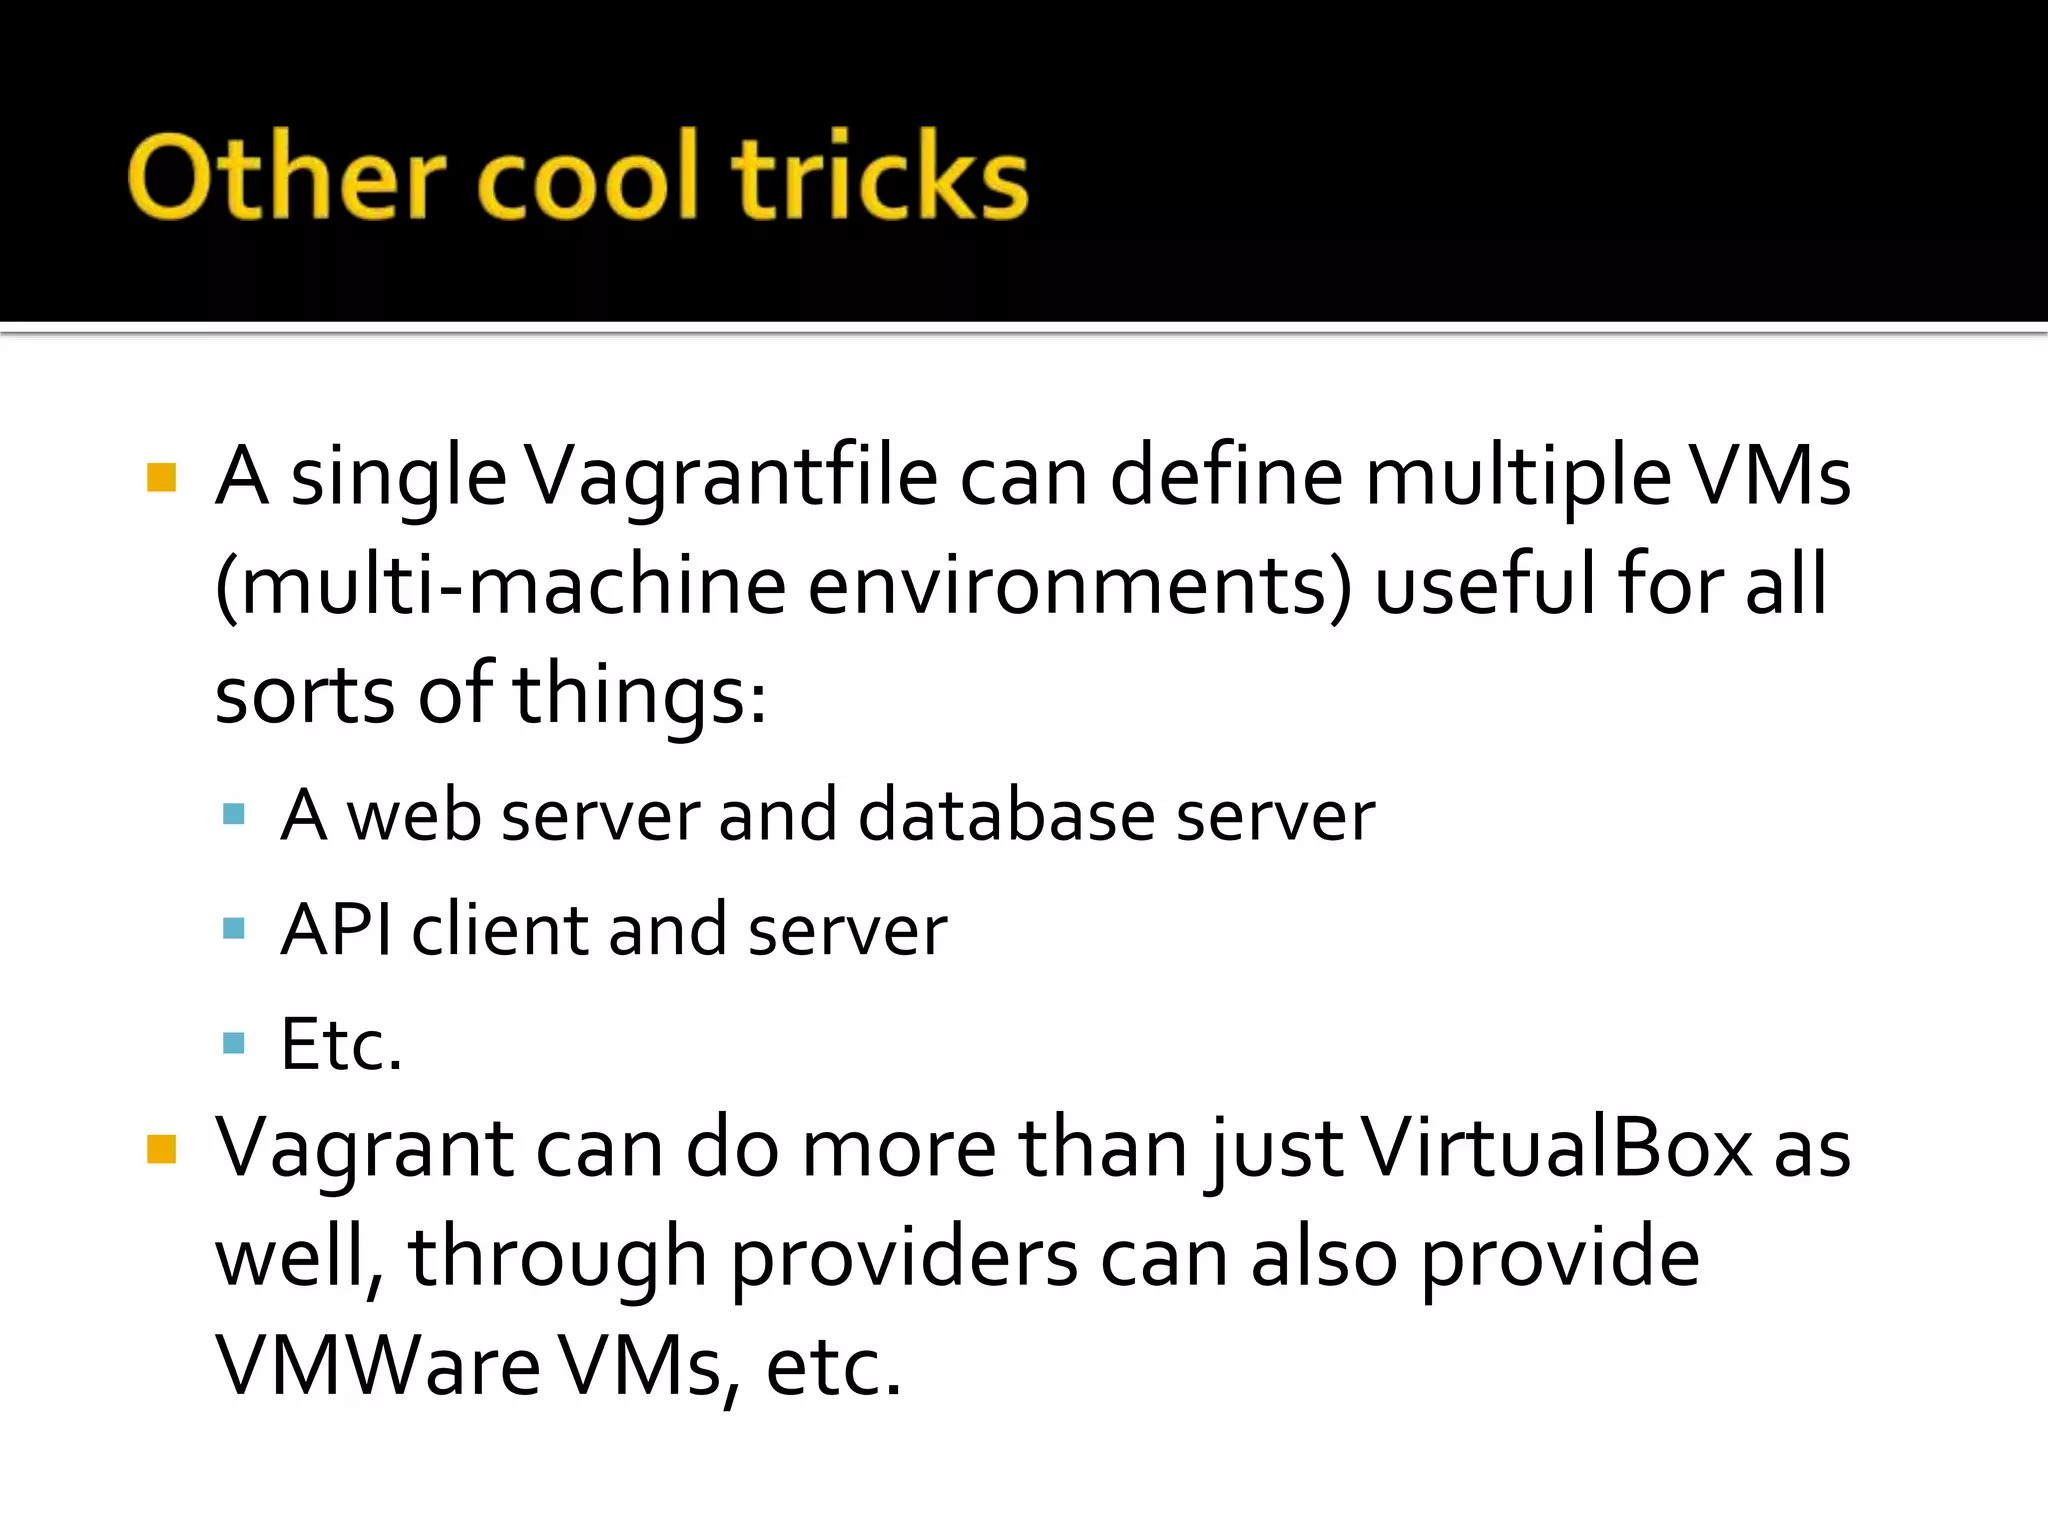
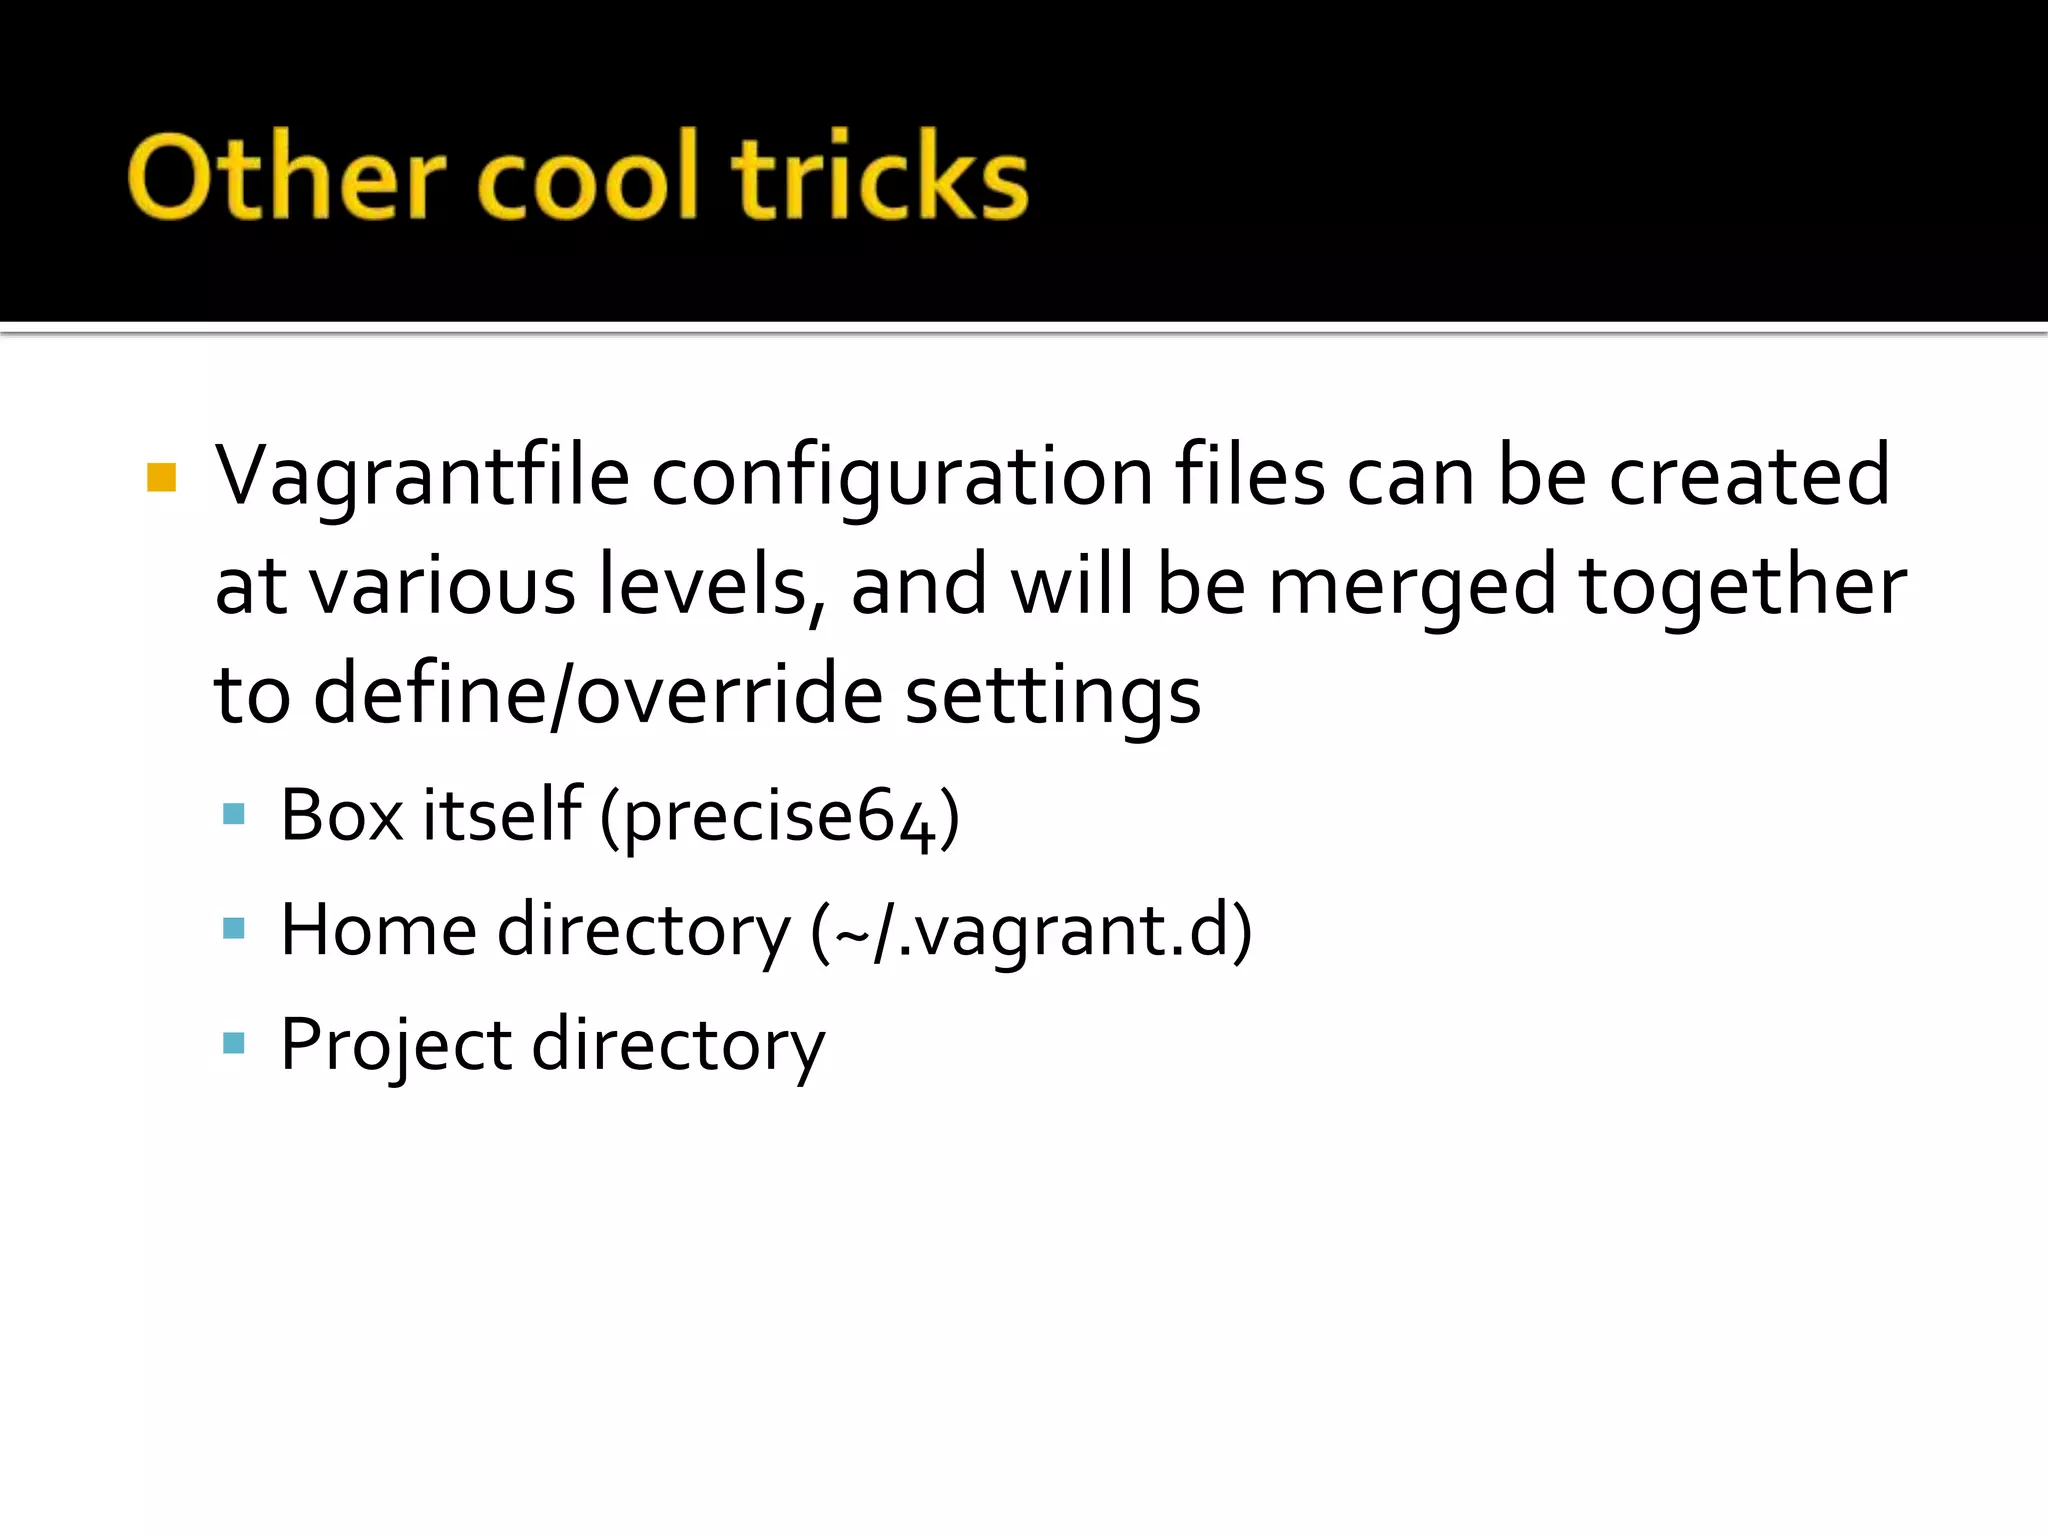


The document discusses using Vagrant and Puppet to create virtual machine environments for development. Vagrant allows defining and provisioning VMs through a Vagrantfile, while Puppet can further configure the VMs by installing software and configuring settings. Benefits include keeping development environments isolated, easy setup for new developers, and ability to deploy VMs to cloud providers like AWS. The key steps are downloading Vagrant and VirtualBox, defining the Vagrantfile, writing Puppet manifests, and running vagrant up to launch and provision the VM.


![Vagrant + Docker provider [+Puppet]](https://cdn.slidesharecdn.com/ss_thumbnails/npoggivagrant-docker-140725100147-phpapp02-thumbnail.jpg?width=640&height=640&fit=bounds)


![Vibe Coding vs. Spec-Driven Development [Free Meetup]](https://cdn.slidesharecdn.com/ss_thumbnails/vibecodingvsspecdrivendevelopment-251209105622-43f455e7-thumbnail.jpg?width=640&height=640&fit=bounds)


