Download to read offline
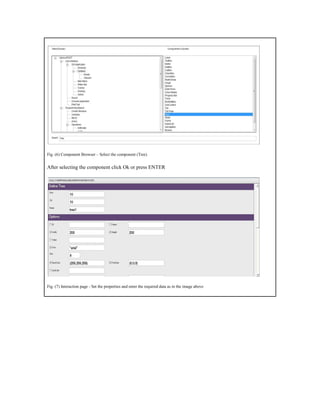
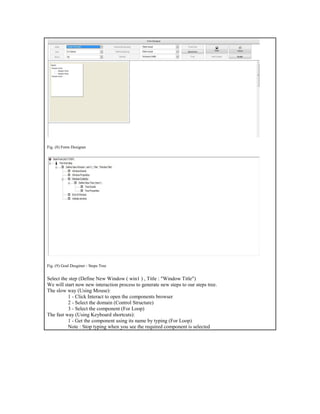
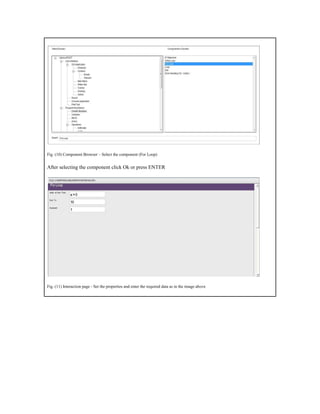
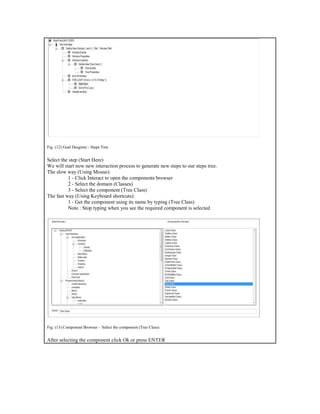

This document discusses how to use a treeview control in an application. It provides steps to: 1. Generate steps in a steps tree to define a new window and add a tree control 2. Generate loops and classes to populate the tree with items 3. View the final steps tree structure and application running


![20260201 [FOSDEM] gomodjail - library sandboxing for Go modules.pdf](https://cdn.slidesharecdn.com/ss_thumbnails/20260201fosdemgomodjail-librarysandboxingforgomodules-260201225659-76609ec4-thumbnail.jpg?width=640&height=640&fit=bounds)
