Download to read offline

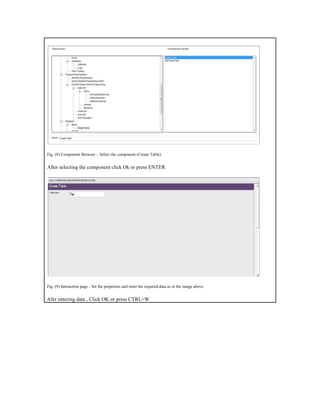
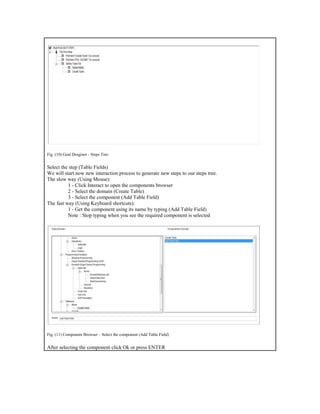
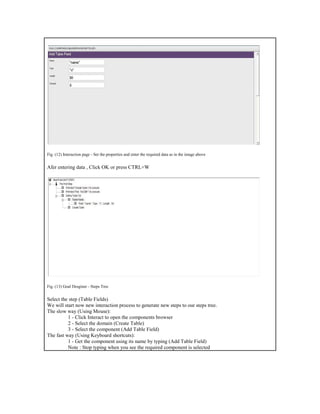
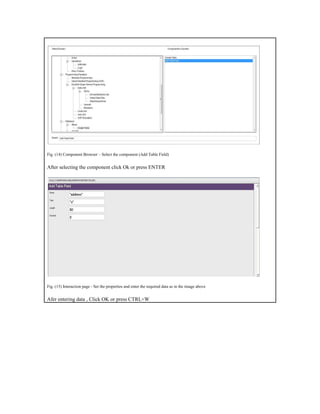
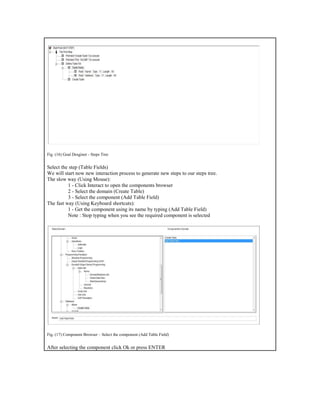


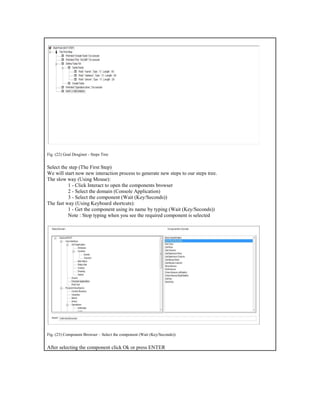
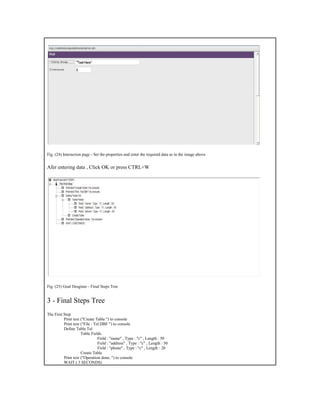
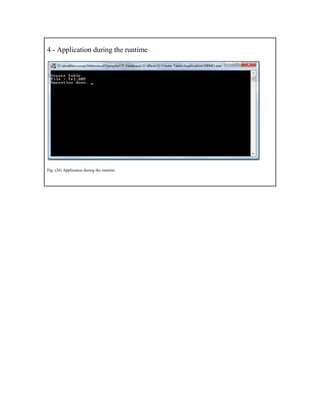

This document discusses creating a database file (.dbf) by generating steps in a steps tree. It provides details on using both mouse and keyboard shortcuts to add components like "Print Text to Console", "Create Table", and "Add Table Field" to build out the steps. Screenshots demonstrate selecting components and setting properties at each step. The final steps tree is shown, which will print text to console, define and create a table with fields, and wait before completing.


![20260201 [FOSDEM] gomodjail - library sandboxing for Go modules.pdf](https://cdn.slidesharecdn.com/ss_thumbnails/20260201fosdemgomodjail-librarysandboxingforgomodules-260201225659-76609ec4-thumbnail.jpg?width=640&height=640&fit=bounds)


