To prepare a client for a phlebotomy (blood draw) procedure, focus on communication, comfort, and safety. Explain the procedure clearly, address any anxieties, ensure proper positioning, and gather necessary equipment, including PPE.
1. Patient Communication and Education:
Introduce yourself and the procedure:
Clearly explain what will happen, why the blood draw is needed, and what to expect (e.g., a small pinch, brief pressure).
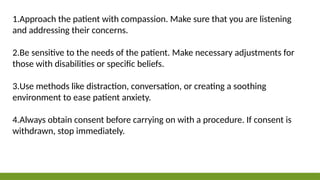
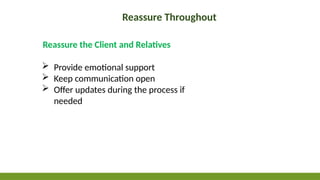
Address anxiety:
Reassure the patient, answer their questions, and use a calm and confident demeanor.
Inquire about allergies and previous experiences:
Ask about any allergies (especially to latex or antiseptics) and if they have had negative experiences with blood draws in the past.
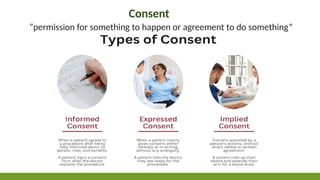
Obtain informed consent:
Explain the procedure and gain verbal consent.
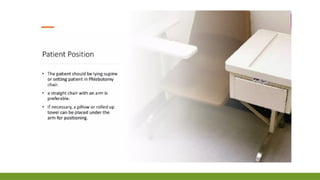
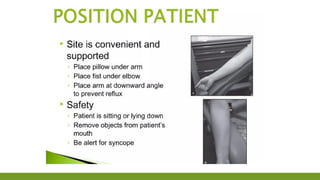
2. Patient Positioning and Comfort:
Position the patient:
Have the patient sit or lie down comfortably. If possible, position them supine (lying on their back) with the arm resting on a flat surface, potentially padded for comfort.
Ensure proper support:
Make sure the patient's arm is well-supported, especially if they are anxious.
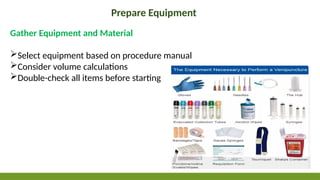
3. Preparation of Equipment and Site:
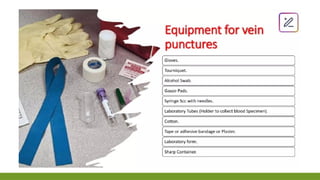
Gather supplies: Assemble all necessary equipment, including needles (appropriate size and type), collection tubes (correct type and number), tourniquet, alcohol wipes, gauze, bandages, and gloves.
Verify patient identity: Double-check the patient's identity against the lab requisition.
Prepare the site: Clean the puncture site with an antiseptic wipe, allow it to dry, and apply a tourniquet.
4. Safety Precautions:
Hand hygiene:
Wash hands thoroughly with soap and water or use an alcohol-based hand sanitizer.
Personal Protective Equipment (PPE):
Wear gloves and consider a face shield or mask if there is a risk of splash.
Needle safety:
Use appropriate safety needles and dispose of them properly in a sharps container.
5. During the Procedure:
Distraction: If the patient is anxious, try distracting them with conversation or a calming activity.
Monitor the patient: Observe the patient for any signs of dizziness, fainting, or discomfort.
Proper technique: Use a smooth, confident technique to minimize pain and trauma.
Apply pressure: After the draw, apply pressure to the puncture site with gauze until bleeding stops.
6. Post-Procedure Care:
Secure the site: Apply a bandage to the puncture site.
Provide instructions: Give the patient any necessary post-procedure instructions, such as keeping the bandage on for a certain amount of time and avoiding strenuous activity with the arm.
Dispose of sharps: Properly dispose of all used needles and other contaminated materials in the sharps container.
Best practices in phlebotomy - NCBI
Check that the laboratory form matches the patient's identity (i.e. match the patient's details with the laboratory form, to ensur...
NCBI
Phlebotomy Periprocedural Care: Patient Education and ...
Apr 17, 2023 — Patient Preparation. To alleviate potential anxiety, approach