Download as DOC, PPTX
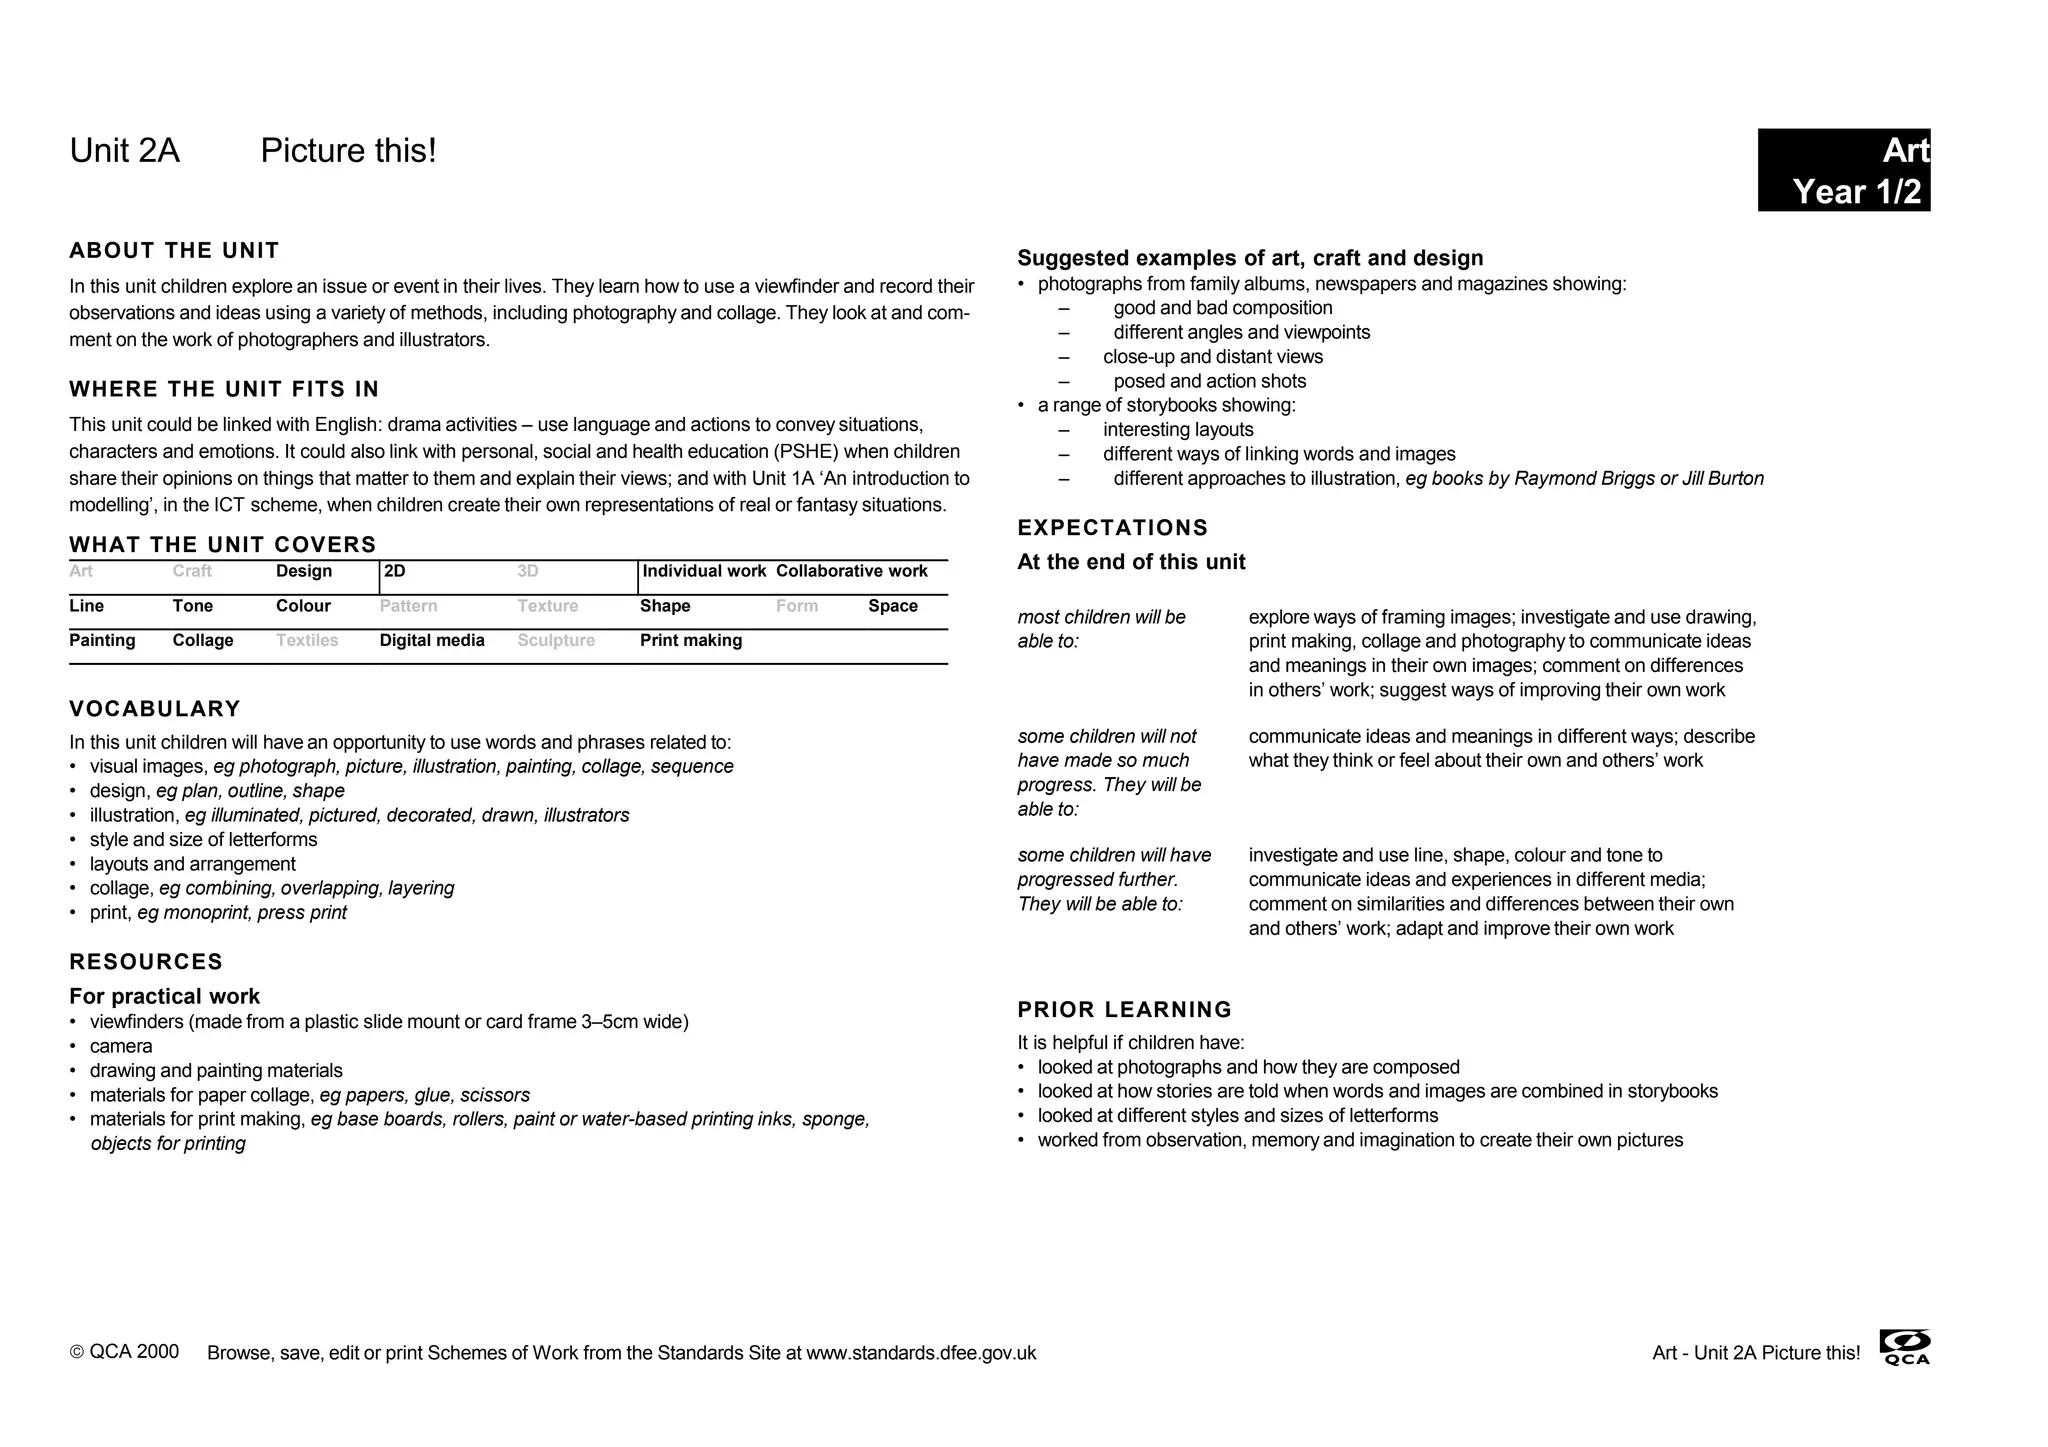
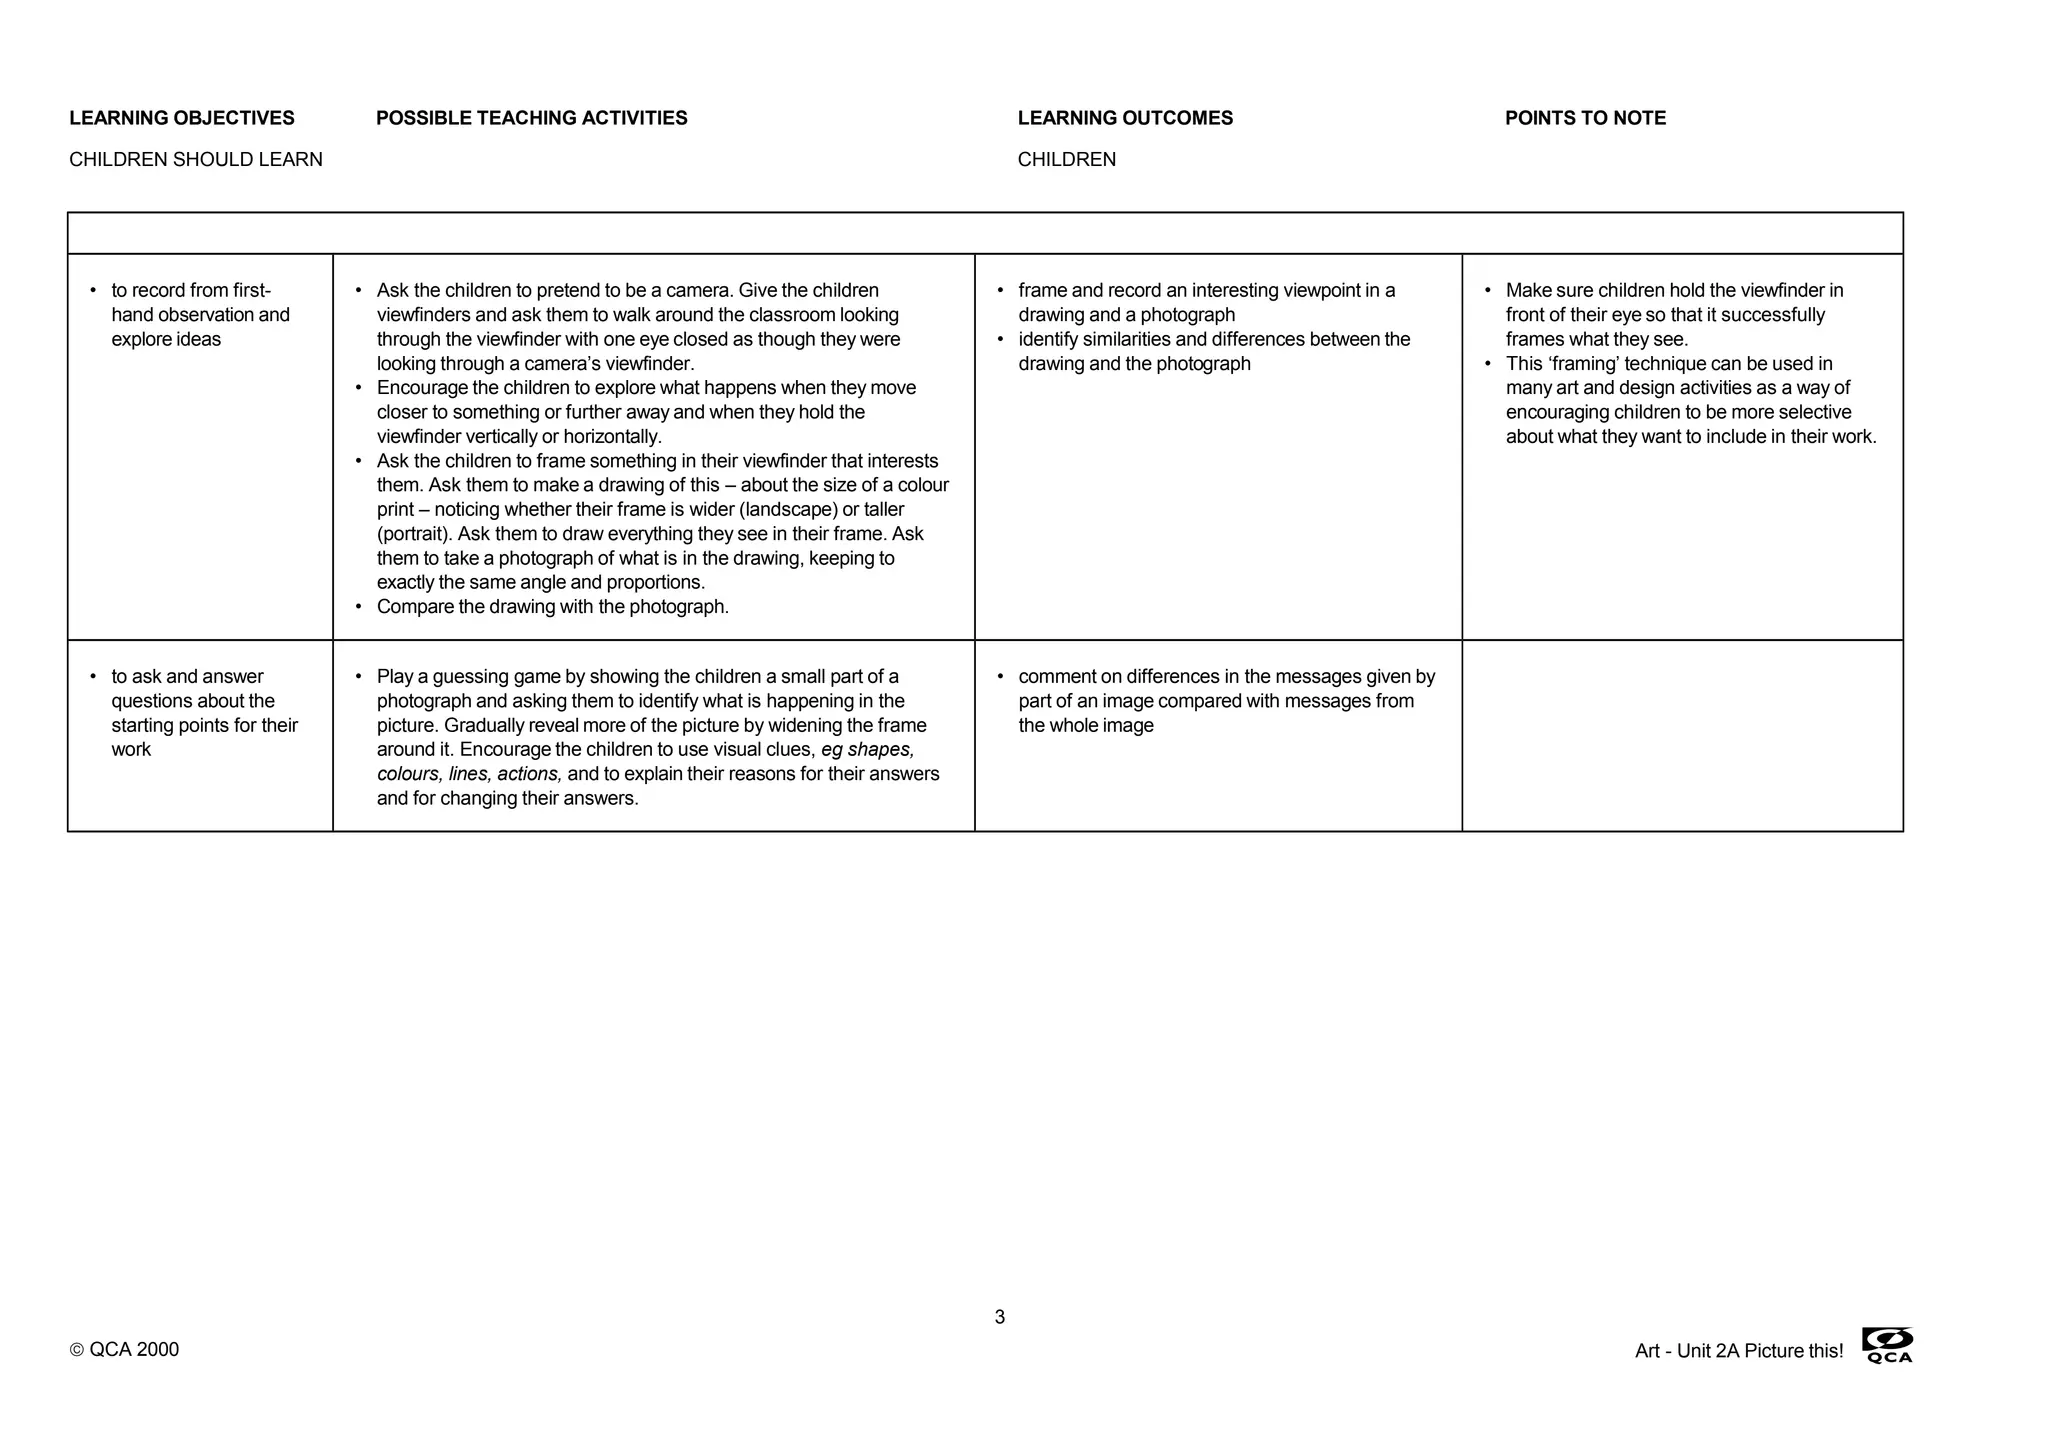
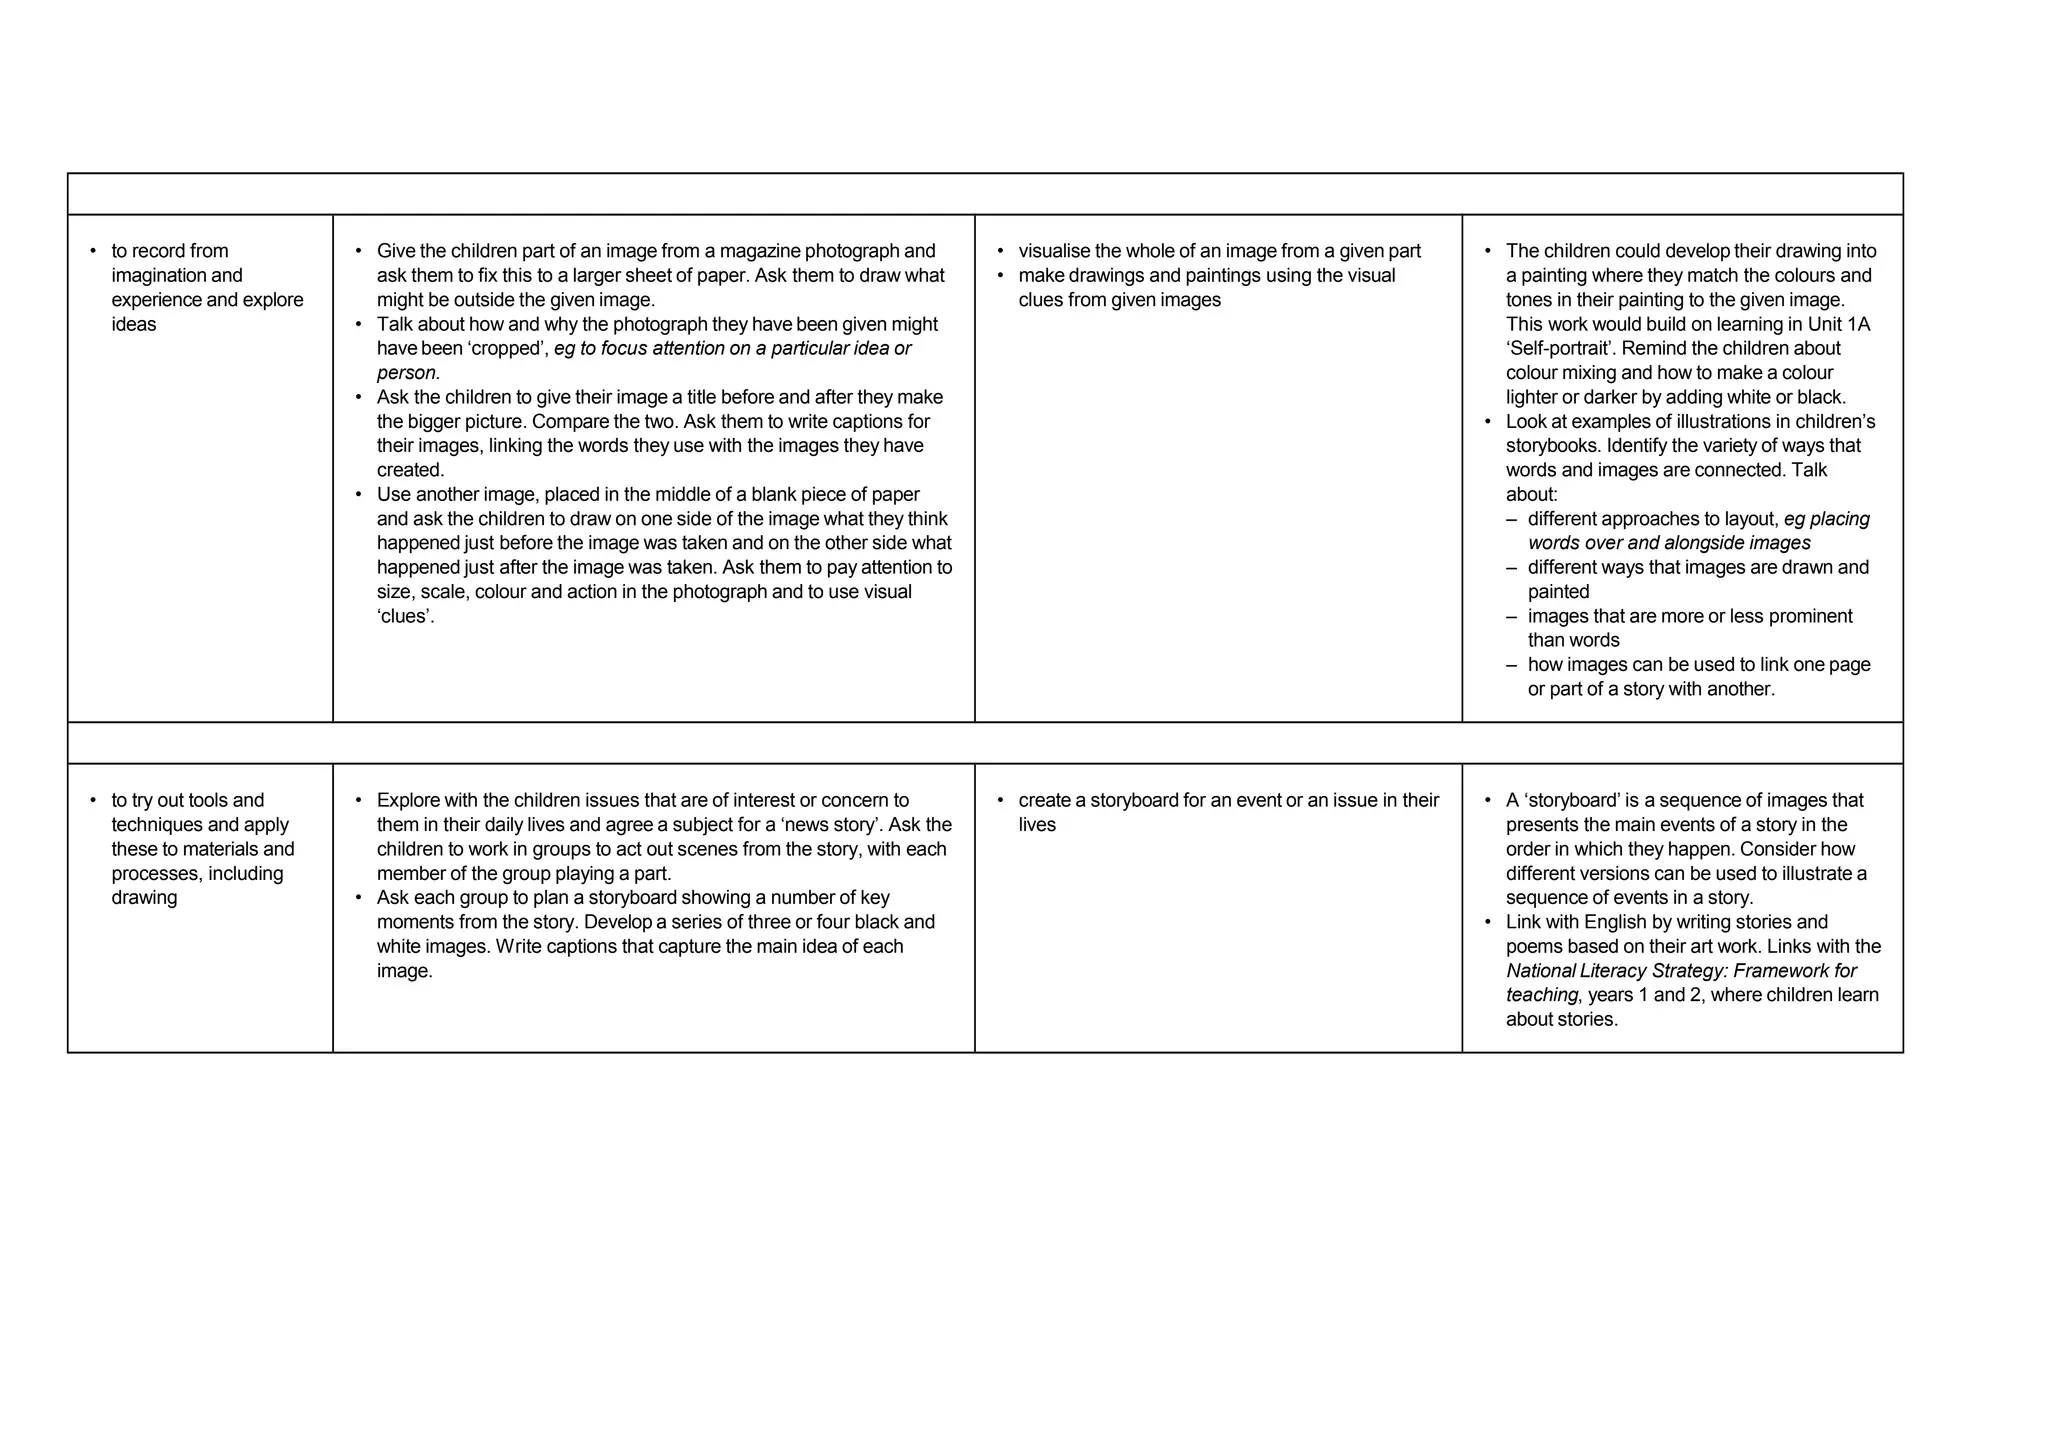
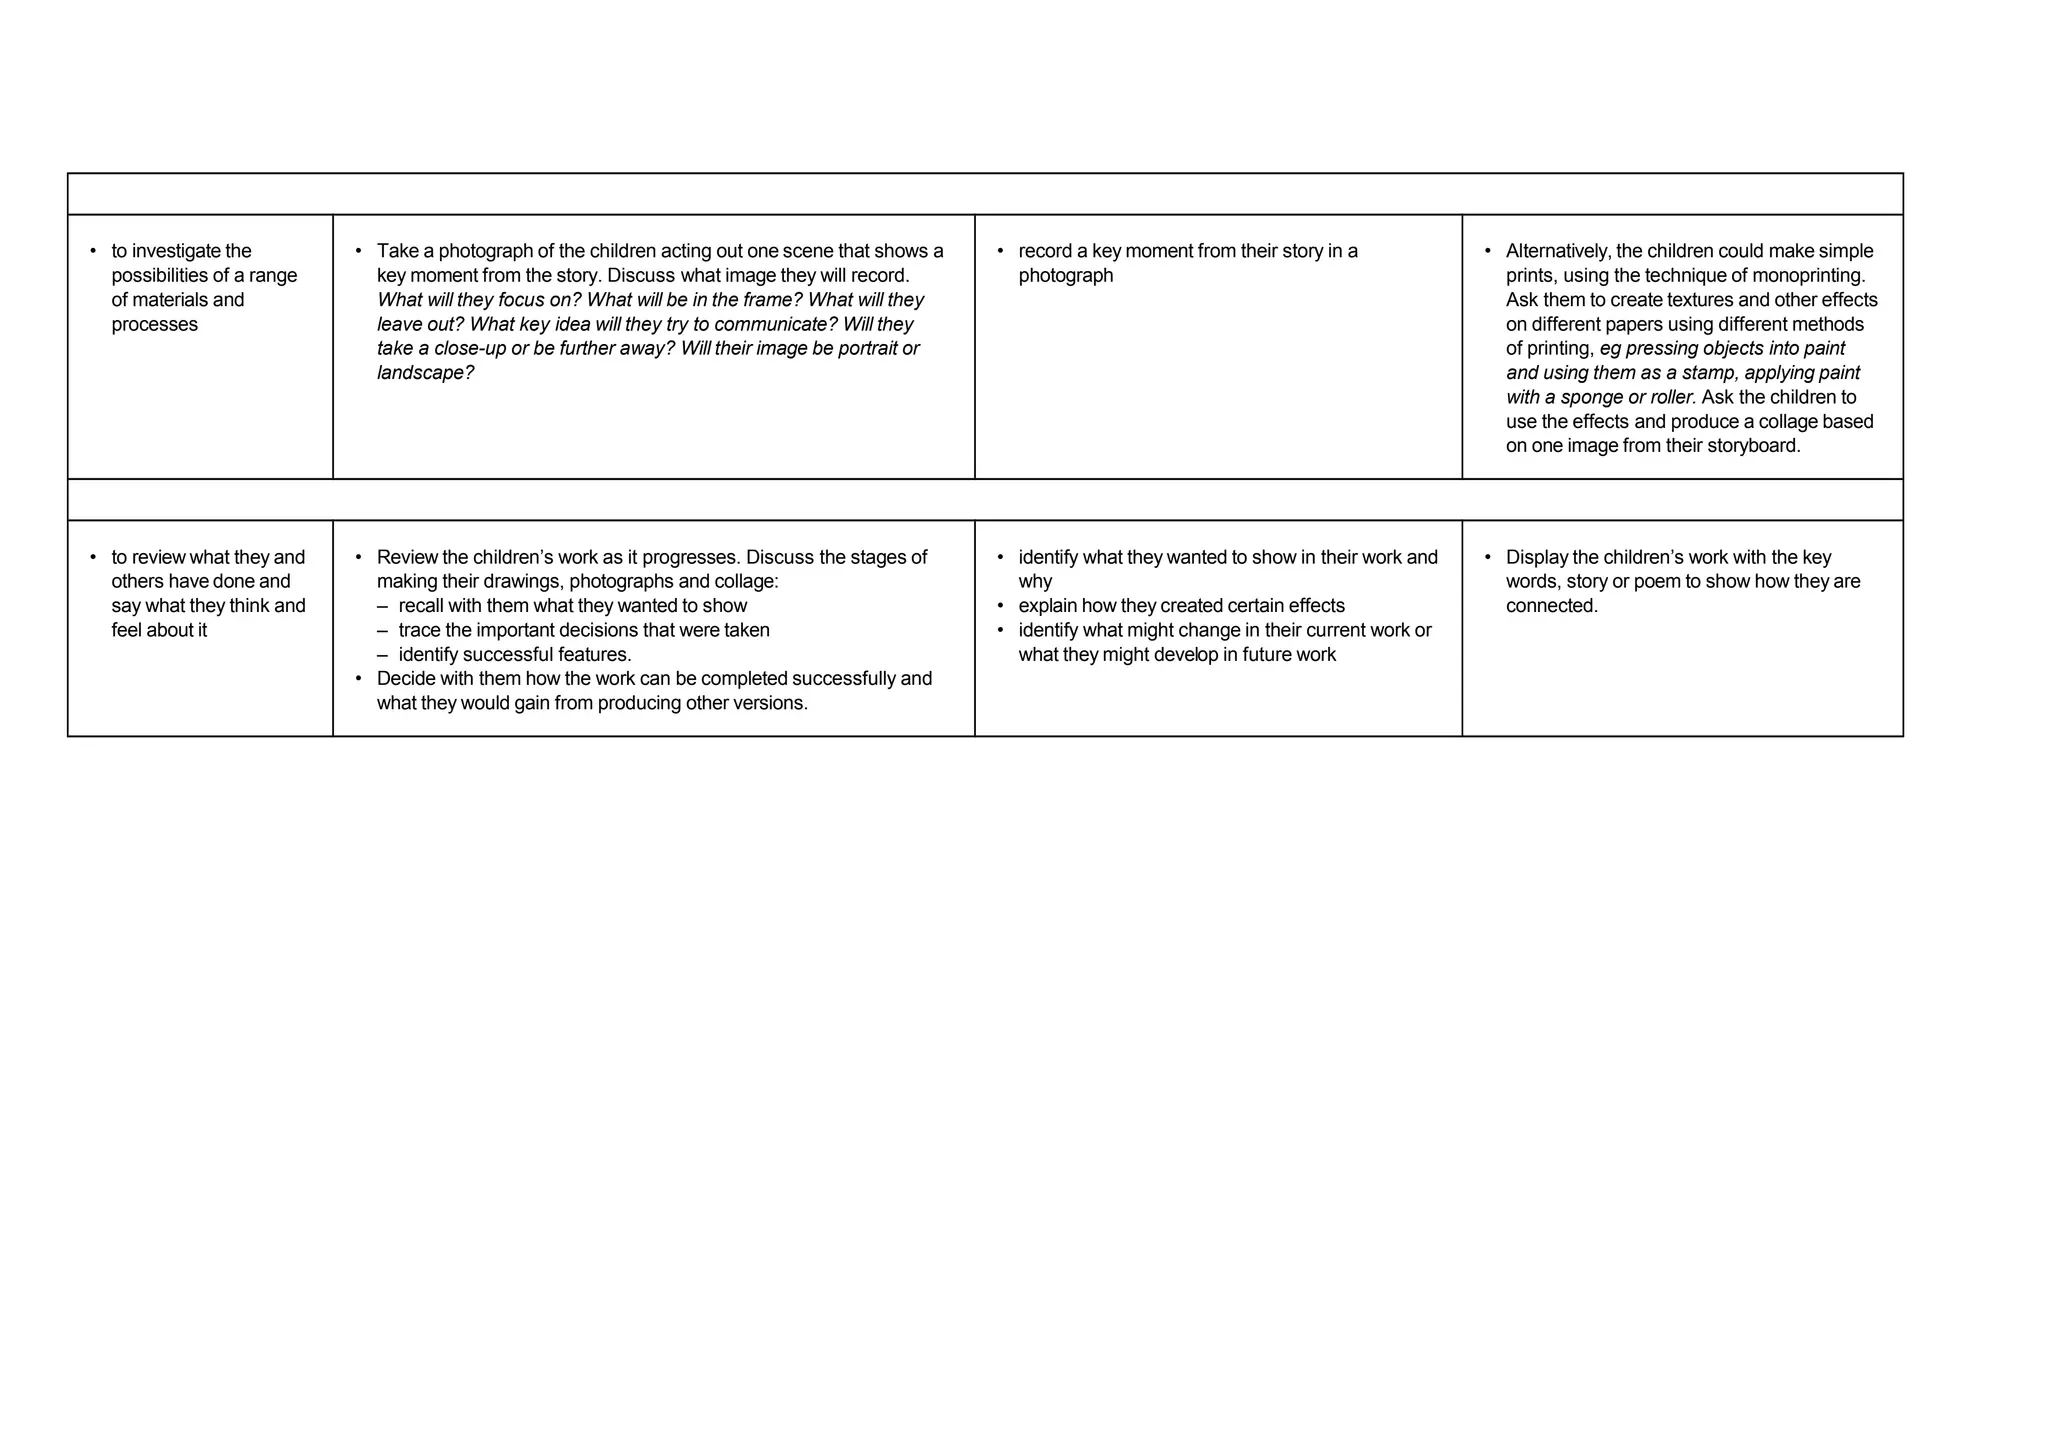


In this unit, children explore issues or events in their lives using photography and collage. They learn to frame images using viewfinders and cameras. They also look at the work of photographers and illustrators. The unit allows children to communicate ideas using different art forms like drawing, printmaking, collage and photography. They are encouraged to comment on similarities and differences between their own work and others'. The expected learning outcomes include exploring ways of framing images and using various media to convey ideas and meanings.