Download as PPSX, PPTX
![Session Functions
Function Explanation
session_start()
Starts new session if one
does not exist. Continues
current session if one exists.
session_unset() Unsets all session variables.
session_destroy() Kills session.
Ex 1.
<?php
//Begin a session and create a session variable in
//the $_SESSION array.
session_start();
$_SESSION['Greeting'] = 'Hello world!';
echo $_SESSION['Greeting'];
?>
<hr>
<a href="Session2.php">Next page</a>](https://image.slidesharecdn.com/phpsession-141101104659-conversion-gate02/75/Php-session-2-2048.jpg)
![Ex 2.
<?php
//Continue session, show that session variable still
//exists and then unset the session variable
session_start();
echo $_SESSION['Greeting'];
unset($_SESSION['Greeting']);
?>
<a href="Session3.php">Next page</a>
Ex 3.
<?php
//Continue session, show that session variable no longer
//exists and then kill session.
session_start();
echo $_SESSION['Greeting'];
session_unset();
session_destroy();
?>](https://image.slidesharecdn.com/phpsession-141101104659-conversion-gate02/75/Php-session-3-2048.jpg)
![Retrieve a Cookie Value?
The PHP $_COOKIE variable is used to retrieve a cookie value.
In the example below, we retrieve the value of the cookie named "user" and display
it on a page:
< ?php
// Print a cookie
echo $_COOKIE["user"];
// A way to view all cookies
print_r($_COOKIE);
?>
In the following example we use the isset() function to find out if a cookie has been
set:
< html>
< body>
< ?php
if (isset($_COOKIE["user"]))
echo "Welcome " . $_COOKIE["user"] . "!<br>";
else
echo "Welcome guest!<br>";
?>
< /body>
< /html>](https://image.slidesharecdn.com/phpsession-141101104659-conversion-gate02/75/Php-session-6-2048.jpg)
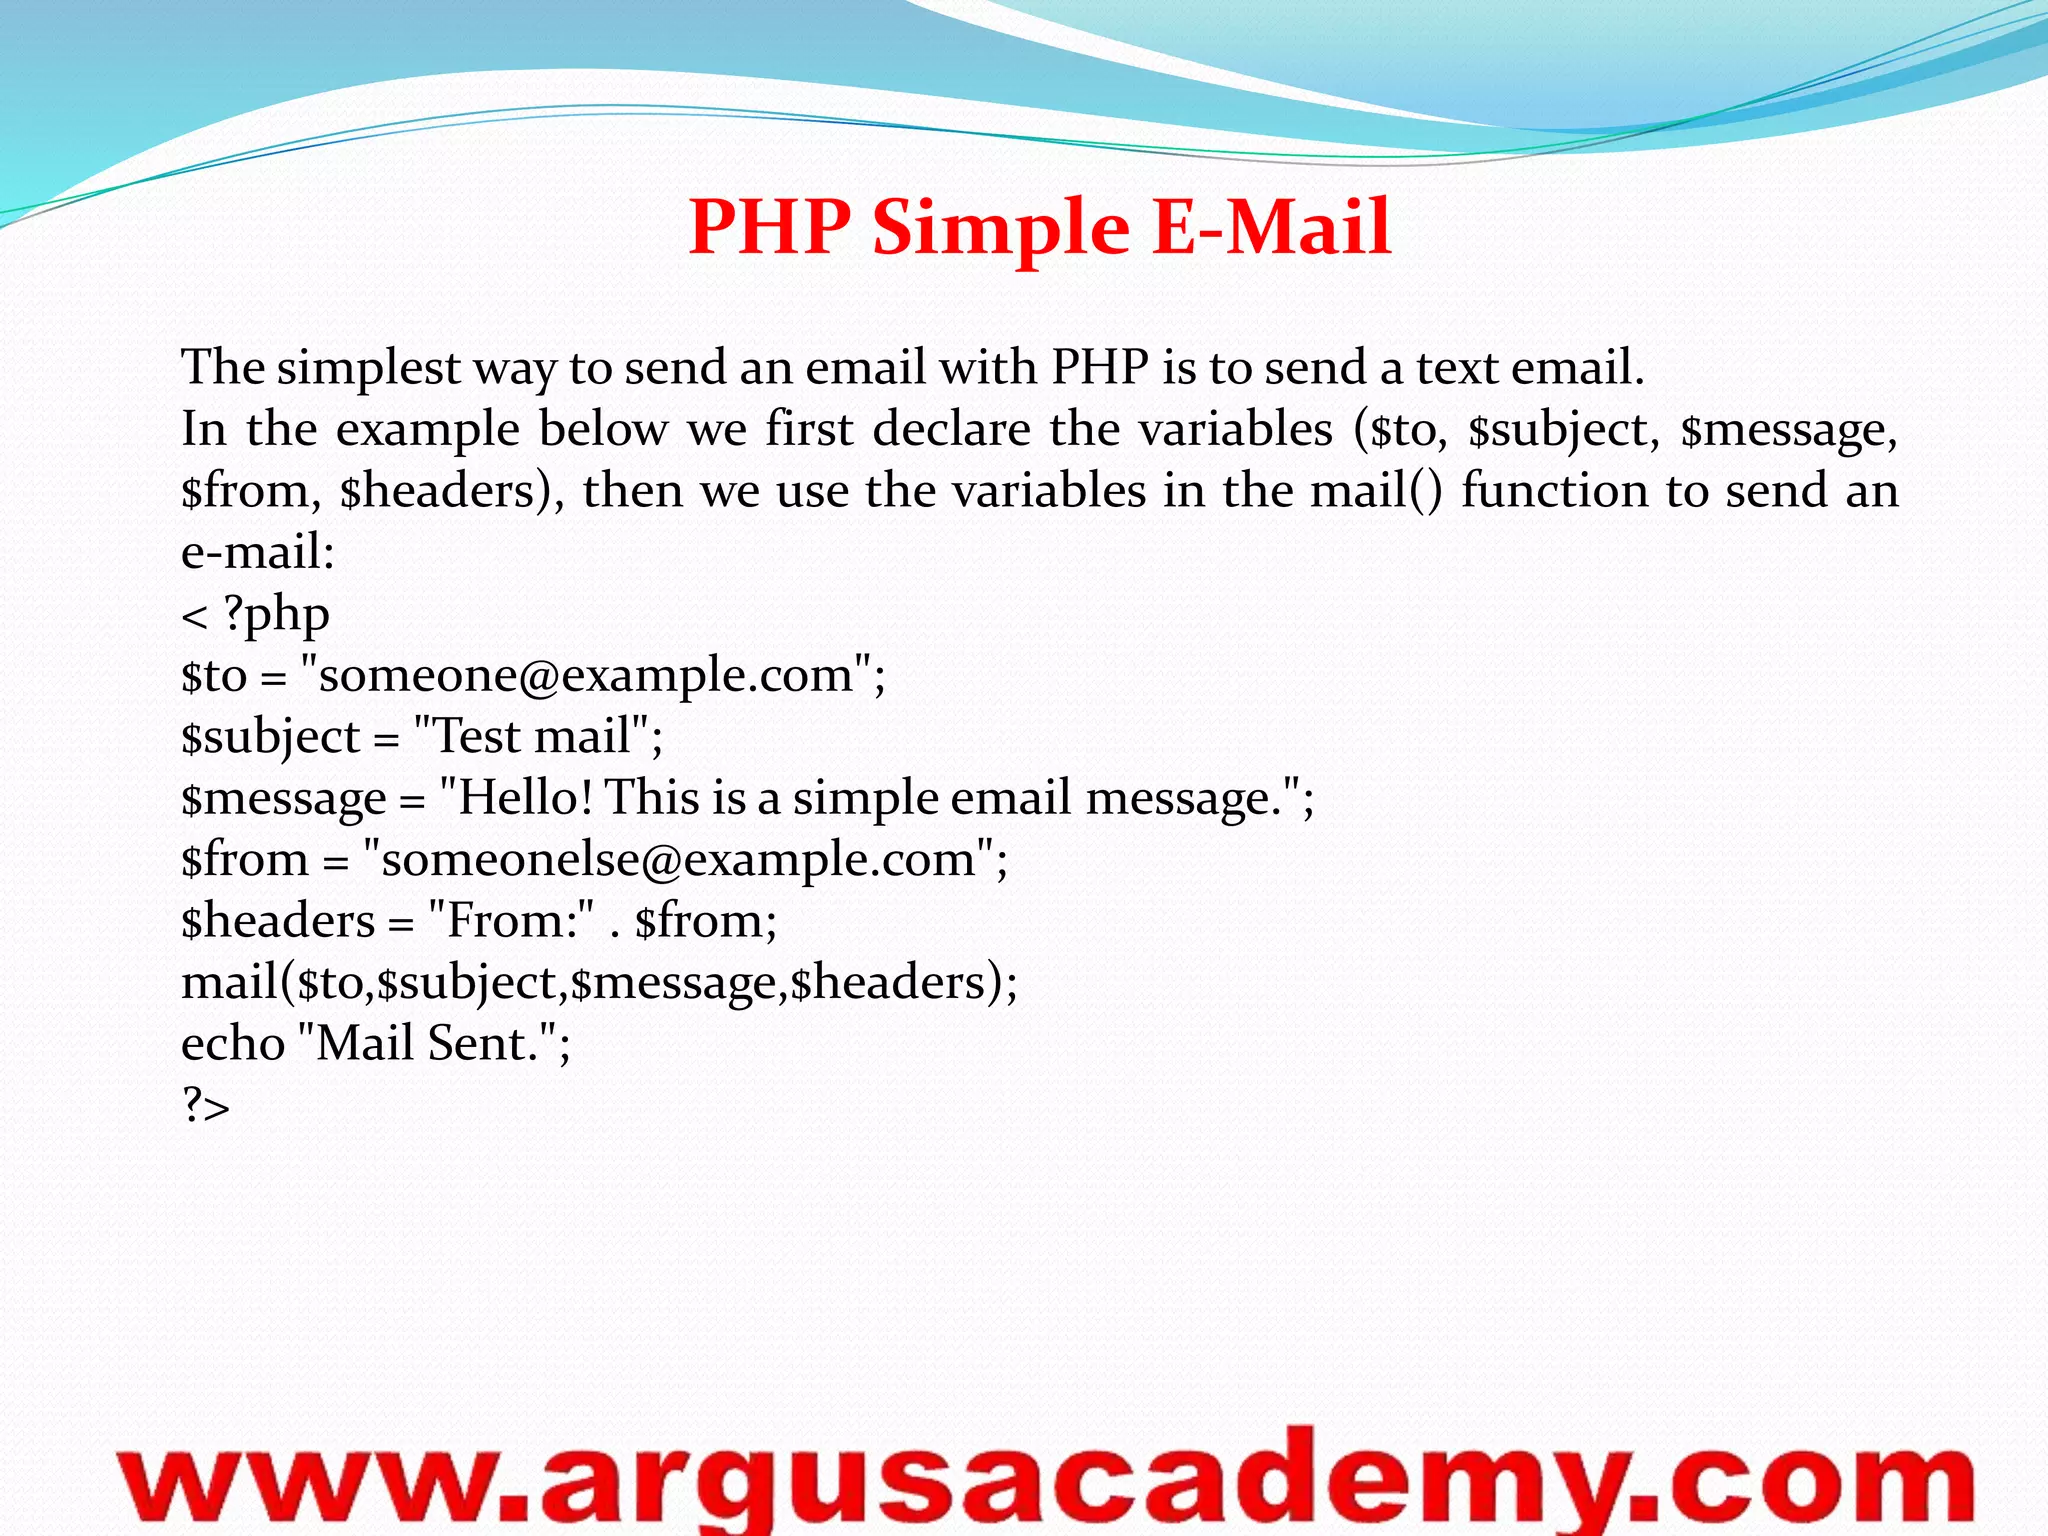
![PHP Mail Form
With PHP, you can create a feedback-form on your website. The example below
sends a text message to a specified e-mail address:
< html>
< body>
< ?php
if (isset($_REQUEST['email']))
//if "email" is filled out, send email
{
//send email
$email = $_REQUEST['email'] ;
$subject = $_REQUEST['subject'] ;
$message = $_REQUEST['message'] ;
mail("someone@example.com", $subject,
$message, "From:" . $email);
echo "Thank you for using our mail form";
}](https://image.slidesharecdn.com/phpsession-141101104659-conversion-gate02/75/Php-session-8-2048.jpg)

![// Loop the recordset $rs
// Each row will be made into an array ($row) using mysql_fetch_array
while($row = mysql_fetch_array($rs))
{
// Write the value of the column FirstName (which is now in the array $row)
echo $row['FirstName'] . "<br />";
}
// Close the database connection
mysql_close();
?>
</body>
</html>](https://image.slidesharecdn.com/phpsession-141101104659-conversion-gate02/75/Php-session-19-2048.jpg)

Sessions allow a web server to identify clients between page requests. The server assigns each client a unique session ID stored in a cookie. This ID associates multiple requests from the same client as part of the same session. Sessions expire after a period of inactivity to prevent unauthorized access to a logged-in user's session by another user. PHP manages sessions through the session.auto_start and session.gc_maxlifetime settings in php.ini. Session functions like session_start(), session_unset(), and session_destroy() control session behavior.