Download to read offline


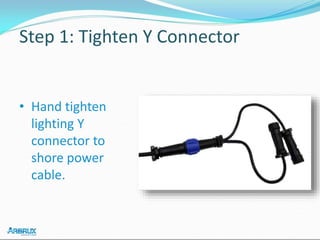
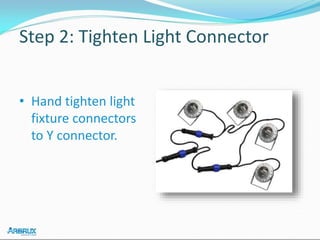
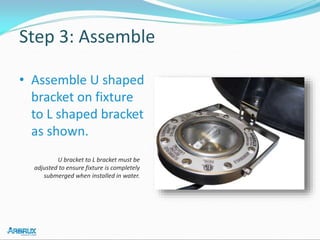
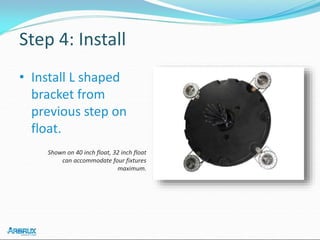

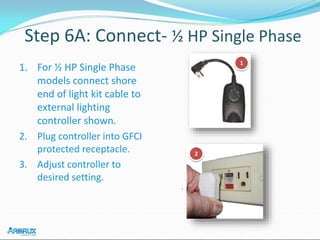
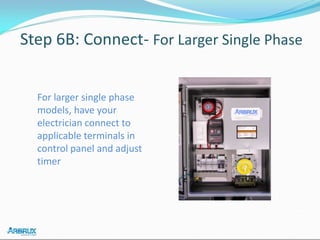
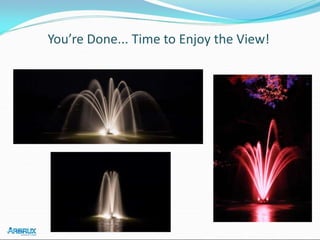


This document outlines a six-step installation guide for a four light fixture kit from Arbrux, emphasizing ease of installation. It details steps including connecting the y connector, assembling brackets, installing on a float, and connecting to power sources. The guide encourages users to share photos of their installed lights for potential feature on the company's website.


