Downloaded 14 times

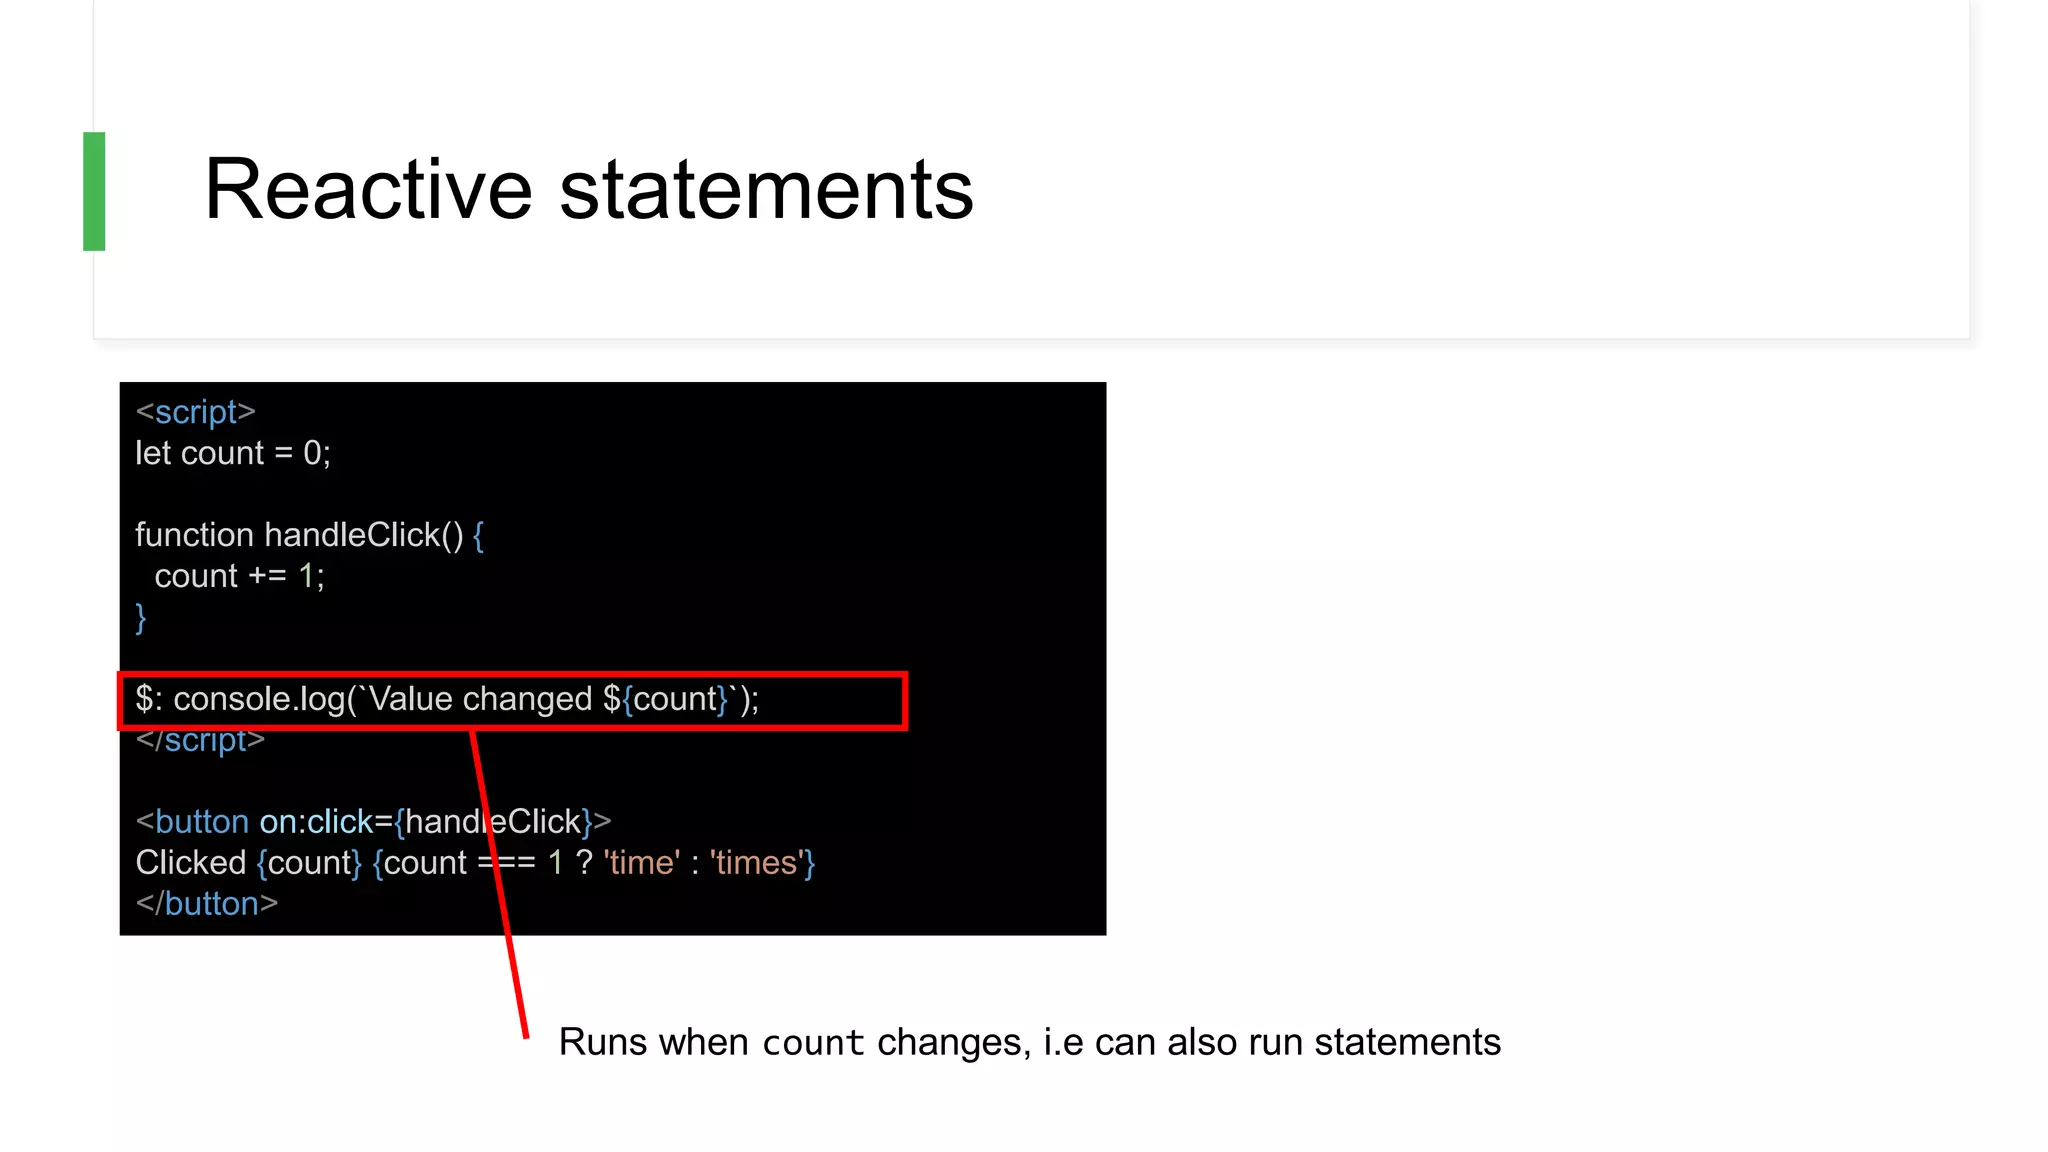
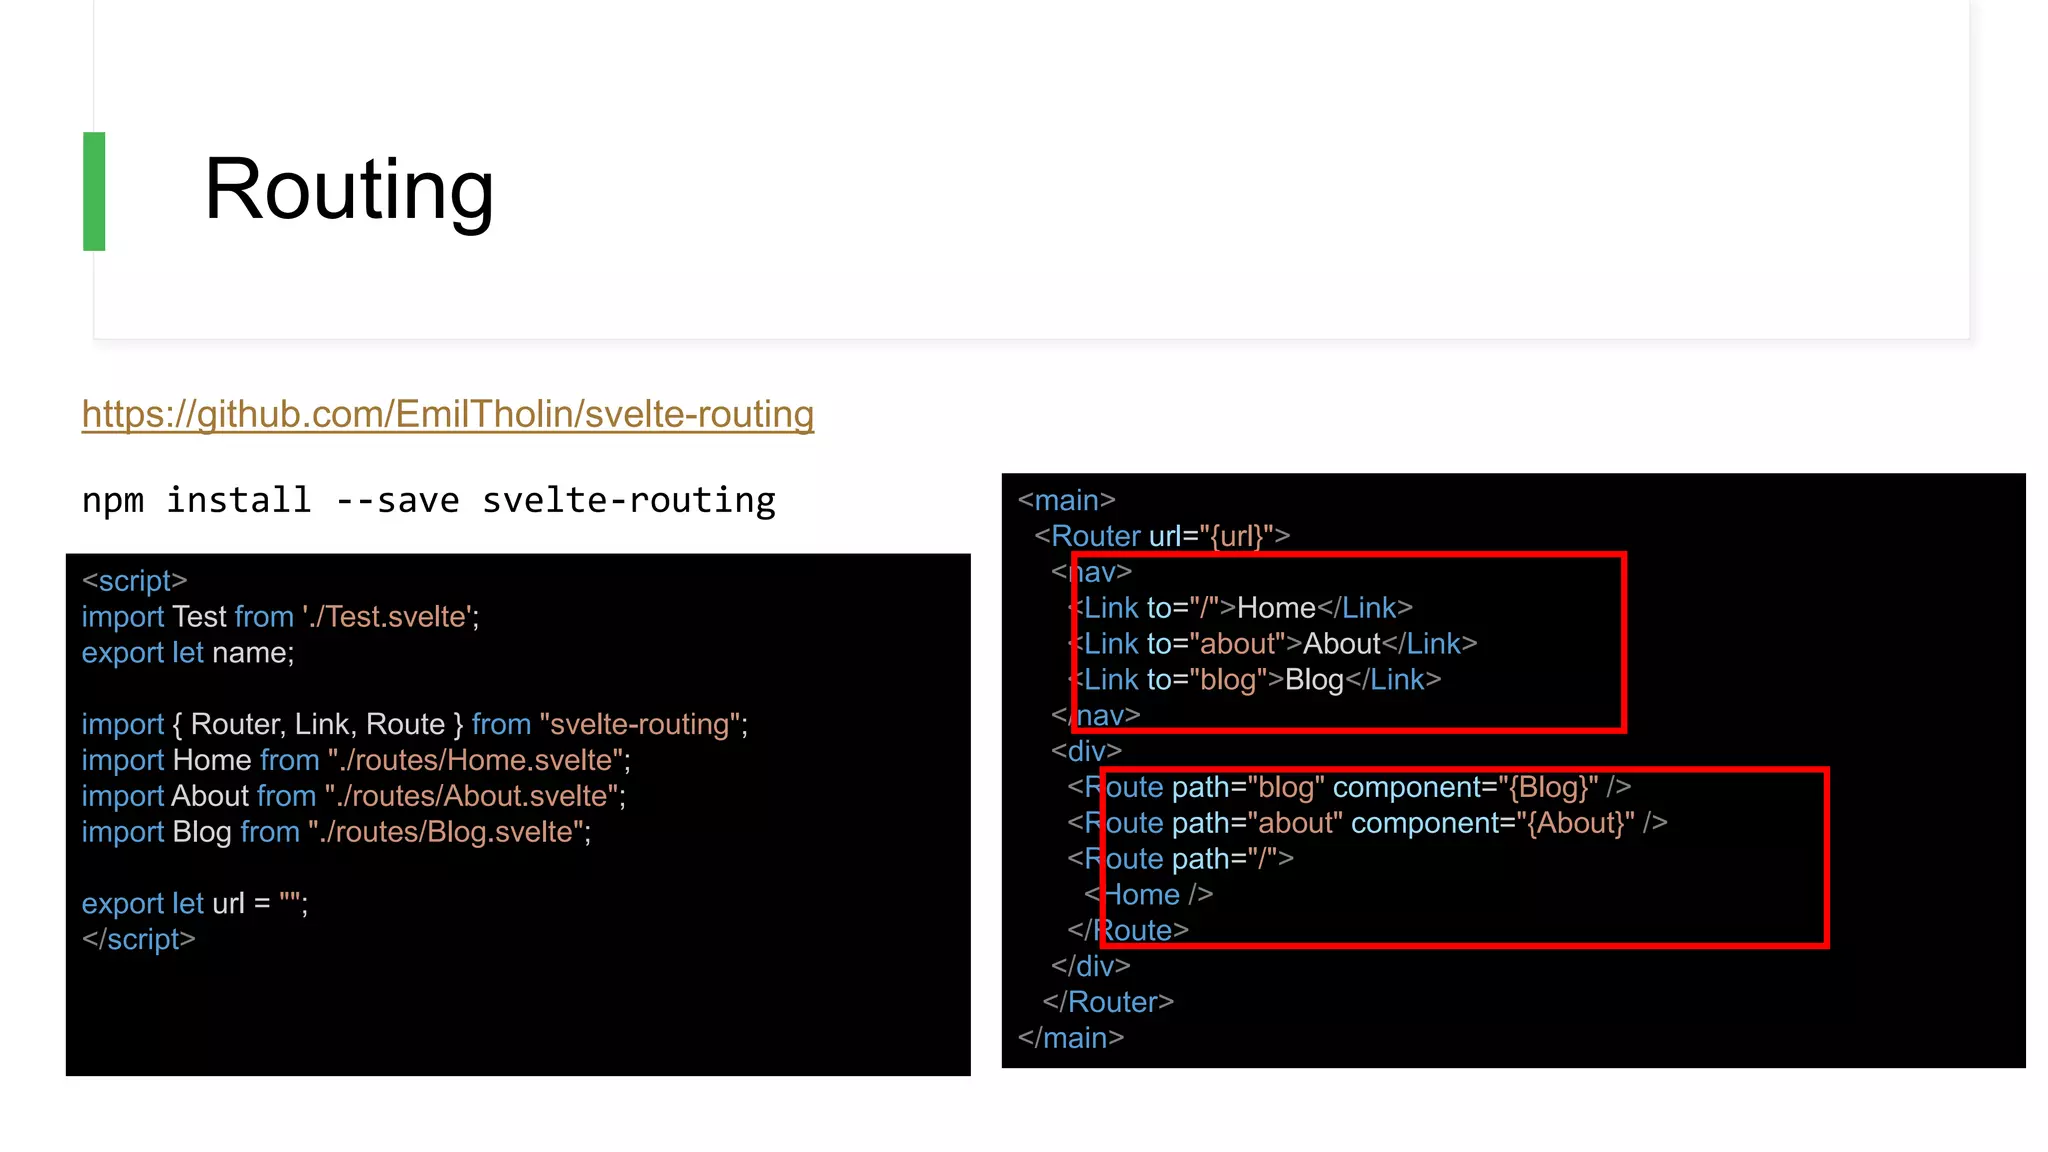
![Reactivity and assignments
Svelte triggers on assignments. This means that the
following code WONT update the UI:
array.push(1)
but this will:
array = [...array, 1]](https://image.slidesharecdn.com/svelte-200114233402/75/Learning-Svelte-17-2048.jpg)

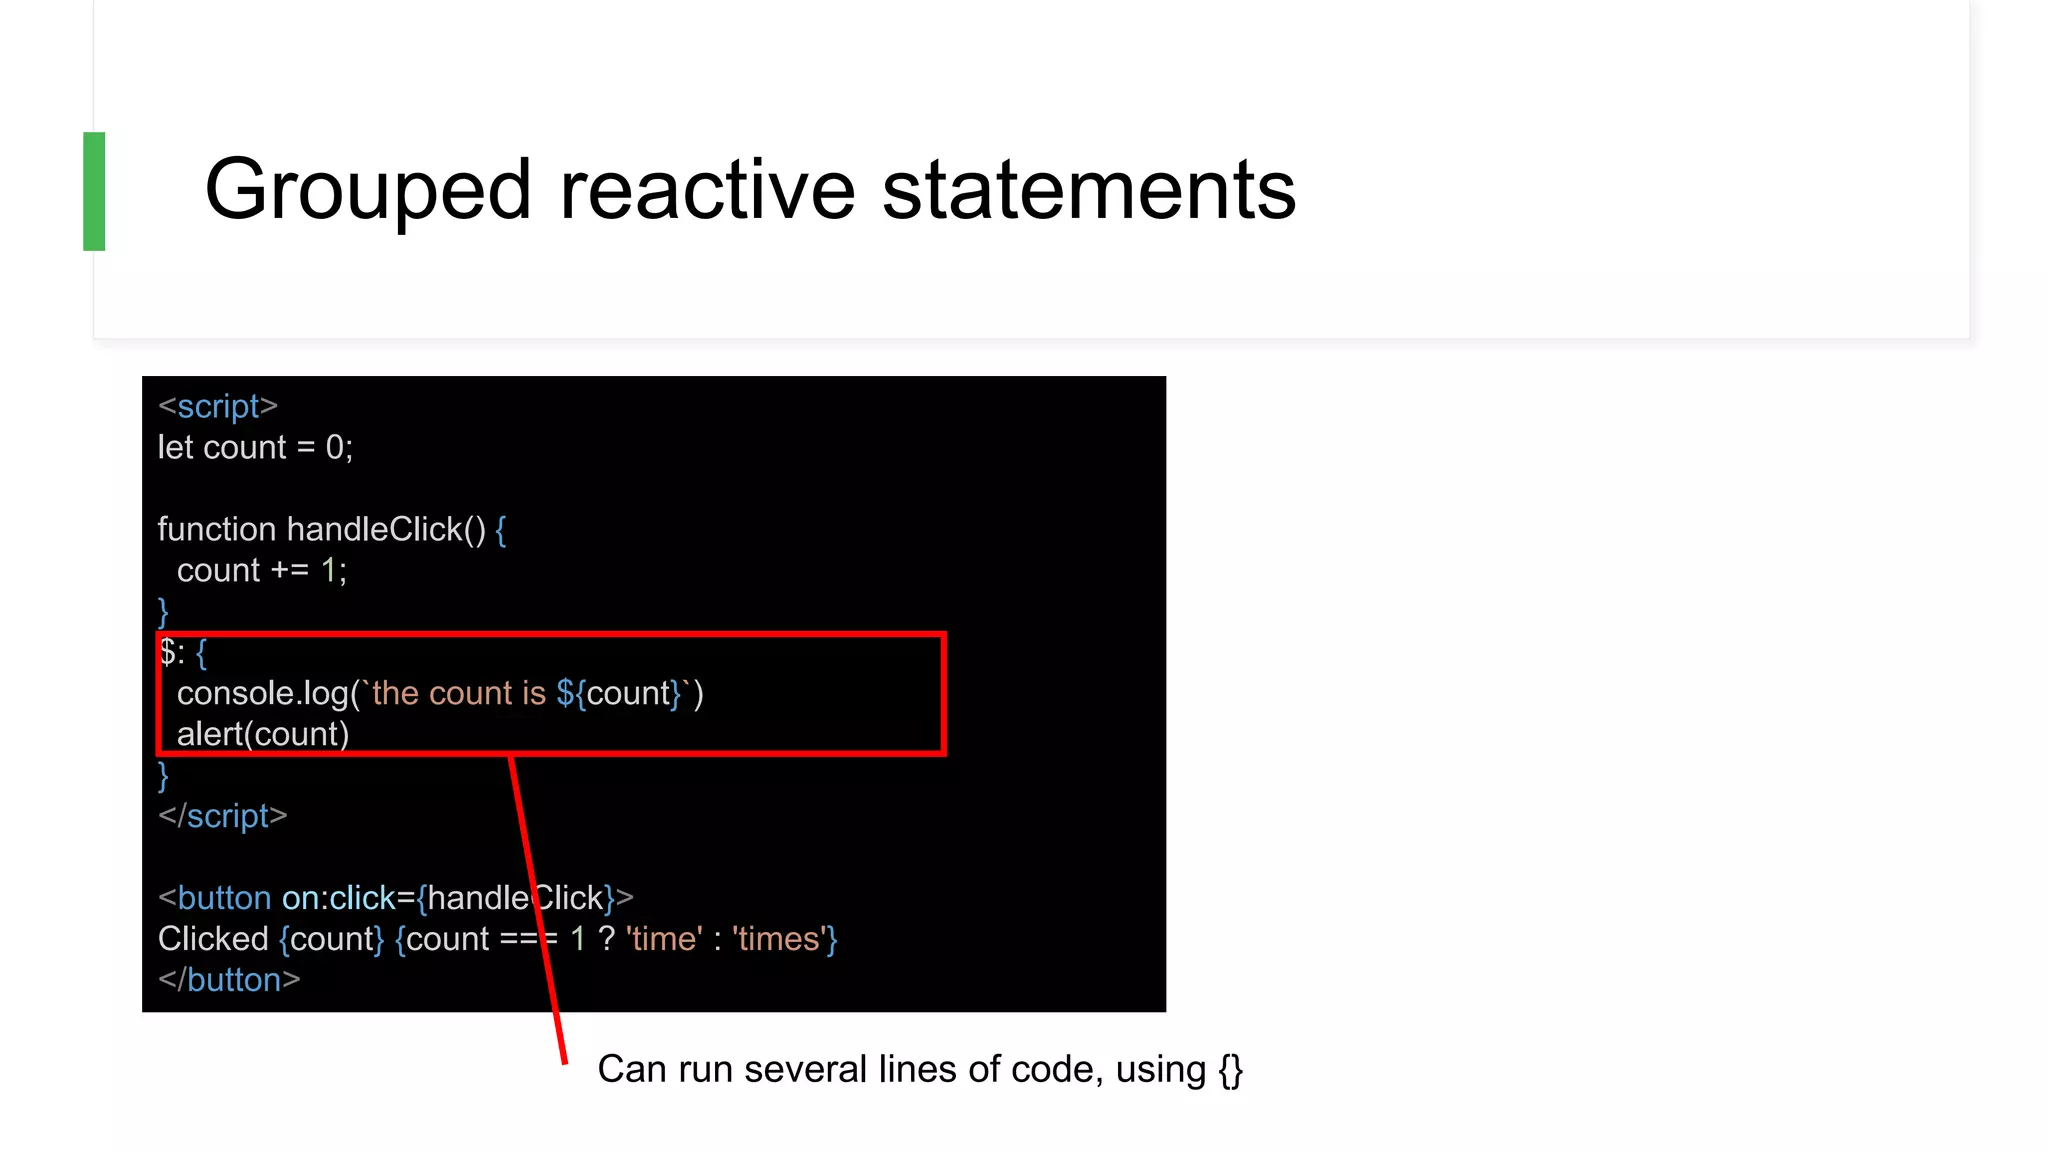
![Grouped bindings
<script>
let menu = [
'Cookies and cream’,
'Mint choc chip’,
'Raspberry ripple’
];
let flavours = [];
let selectedFlavour = '';
</script>
<h2>Pick many</h2>
{#each menu as flavour}
<label>
<input type=checkbox
bind:group={flavours}
value={flavour}>
{flavour}
</label>
{/each}
<h2>Pick one</h2>
{#each menu as flavour}
<label>
<input type=radio
bind:group={selectedFlavour}
value={flavour}>
{flavour}
</label>
{/each}
<div>
Selected Flavours: {flavours}
</div>
<div>
Selected flavour: {selectedFlavour}
Checkbox binds to array
[]
Radio binds to string](https://image.slidesharecdn.com/svelte-200114233402/75/Learning-Svelte-28-2048.jpg)
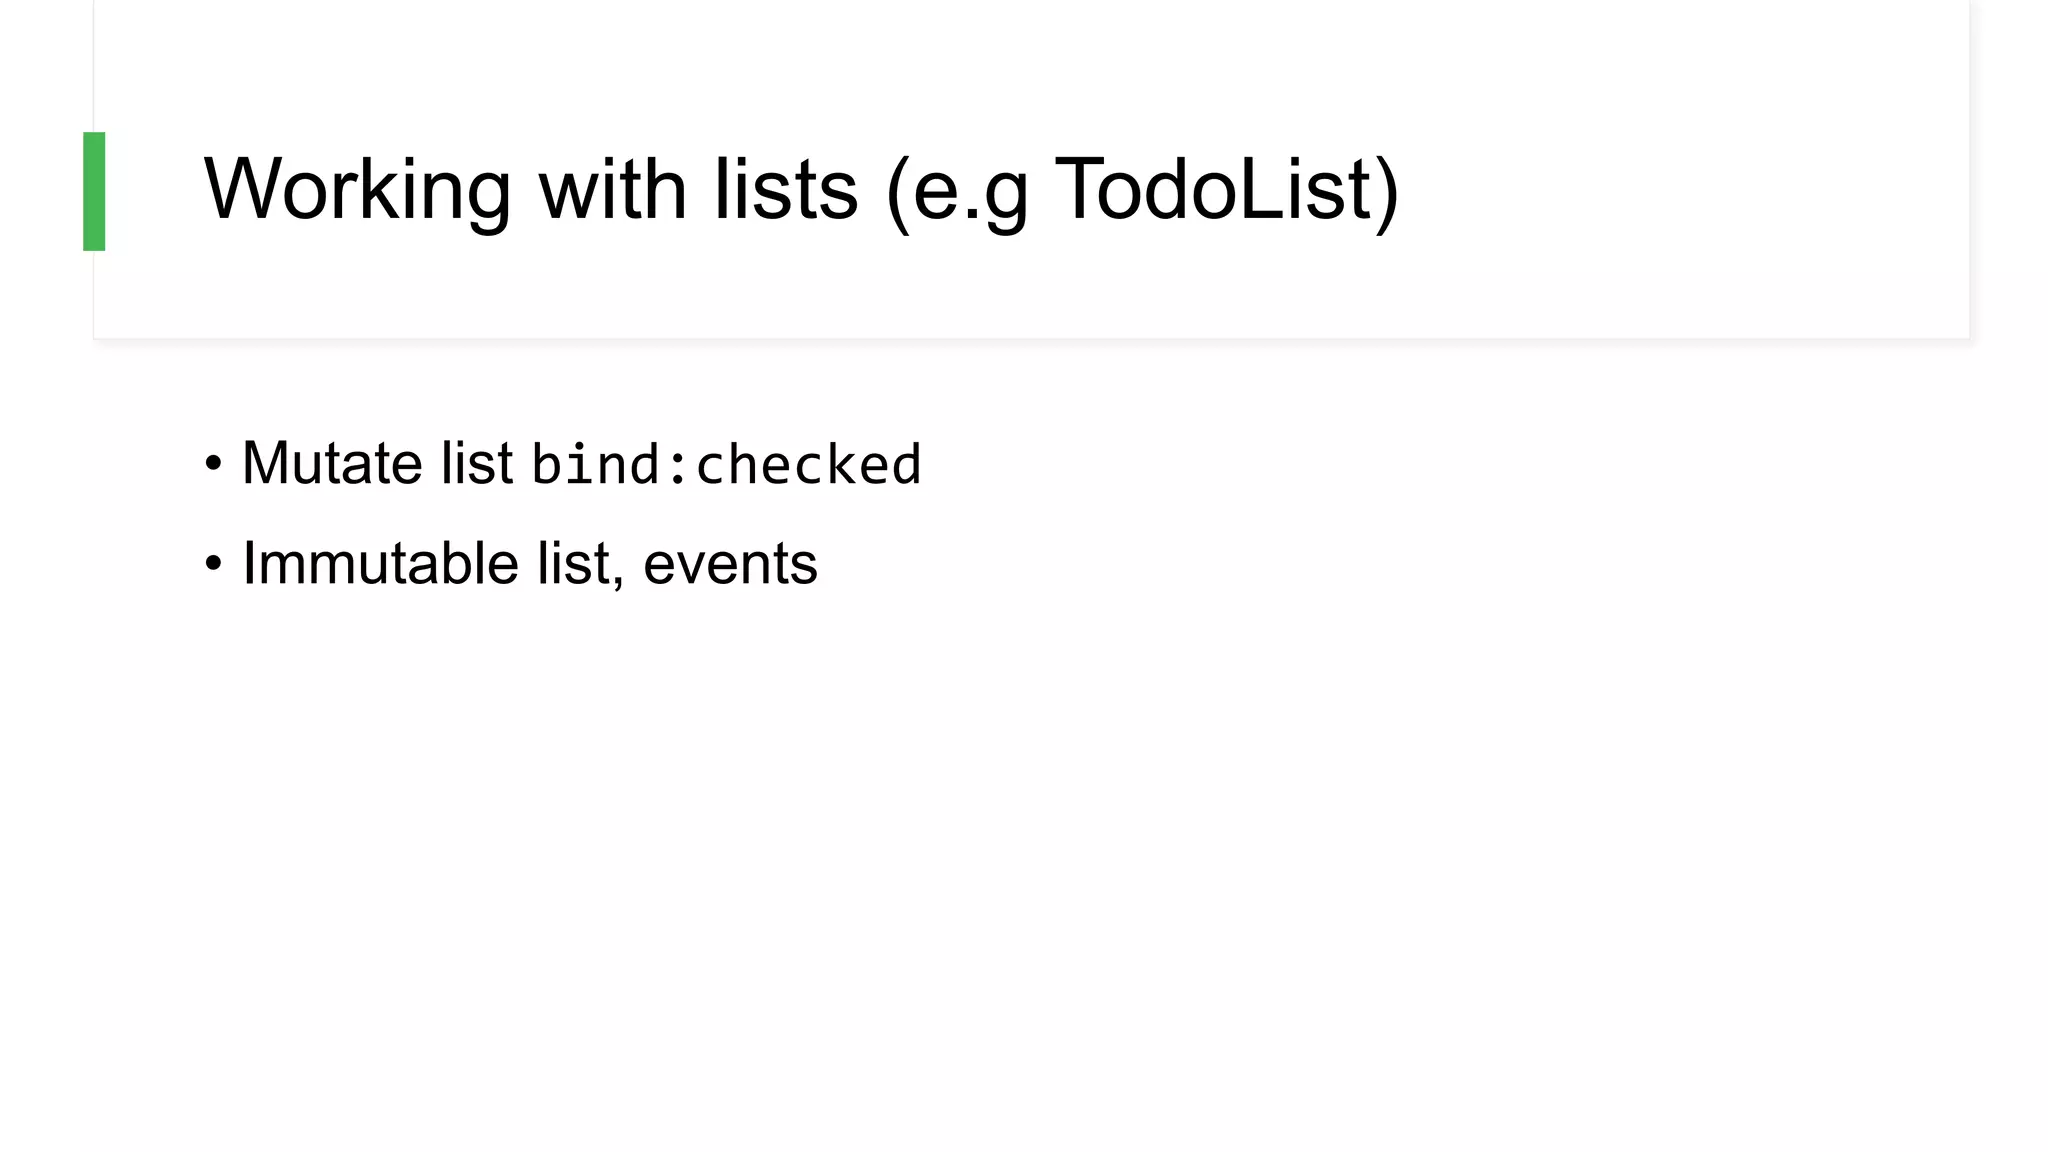
![Mutating list with bind:checked
<script>
let todos = [
{ done: false, text: 'finish Svelte tutorial' },
{ done: false, text: 'build an app' },
{ done: false, text: 'world domination' }
];
function add() {
todos = todos.concat({ done: false, text: '' });
}
function clear() {
todos = todos.filter(t => !t.done);
}
$: remaining = todos.filter(t => !t.done).length;
</script>
<style>
.done {
opacity: 0.4;
}
</style>
<h1>Todos</h1>
{#each todos as todo}
<div class:done={todo.done}>
<input
type=checkbox
bind:checked={todo.done}
>
<input
placeholder="What needs to be done?"
bind:value={todo.text}
>
</div>
{/each}
<p>{remaining} remaining</p>
<button on:click={add}>Add new</button>
<button on:click={clear}>Clear completed</button>
{#each todos as todo}
<div>{todo.text} {todo.done}</div>
{/each}](https://image.slidesharecdn.com/svelte-200114233402/75/Learning-Svelte-31-2048.jpg)
![Immutable list, event
<script>
let todos = [
{ done: false, text: 'finish Svelte tutorial' },
{ done: false, text: 'build an app' },
{ done: false, text: 'world domination' }
];
function add() {
todos = todos.concat({ done: false, text: '' });
}
function handleChanged(e, todo) {
console.log('changed', e.target.checked);
console.log('changed todo', todo)
}
function clear() {
todos = todos.filter(t => !t.done);
}
$: remaining = todos.filter(t => !t.done).length;
</script>
<style>
.done { opacity: 0.4; }
</style>
<h1>Todos</h1>
{#each todos as todo}
<div class:done={todo.done}>
<input
type=checkbox
on:change={(e) => handleChanged(e, todo)}
checked={todo.done}
>
<input
placeholder="What needs to be done?"
bind:value={todo.text}
>
</div>
{/each}
<p>{remaining} remaining</p>
<button on:click={add}>Add new</button>
<button on:click={clear}>Clear completed</button>
{#each todos as todo}
<div>{todo.text} {todo.done}</div>
{/each}](https://image.slidesharecdn.com/svelte-200114233402/75/Learning-Svelte-32-2048.jpg)
![Testing - https://testing-library.com/docs/svelte-
testing-library/setup
Svelte Testing Library
npm install --save-dev @testing-library/svelte
Jest is recommended with it
npm install --save-dev jest
// package.json
{ "scripts": {
"test": "jest src",
"test:watch": "npm run test -- --watch"
}
}
npm install --save-dev svelte-jester
// package.json
{
"jest": {
"transform": { "^.+.svelte$": "svelte-jester" },
"moduleFileExtensions": ["js", "svelte”]
}
}](https://image.slidesharecdn.com/svelte-200114233402/75/Learning-Svelte-34-2048.jpg)

Svelte is a compiler that optimizes code by avoiding unnecessary updates. It allows building standalone components without dependencies on frameworks. Svelte compiles code to plain JavaScript that can run anywhere. Key features include bindings that sync state between components and templates, reusable components, and directives like if/else and each that control the template.