This document provides instructions for several basic functions in WPS Presentation:
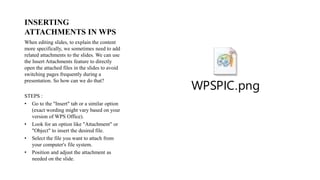
- Inserting attachments by going to the Insert tab and selecting the attachment to add more context to slides.
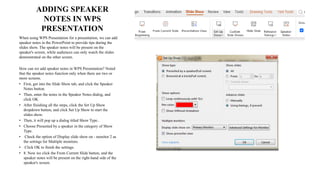
- Adding speaker notes visible only to the presenter by accessing the Speaker Notes button and view in two monitor presentations.
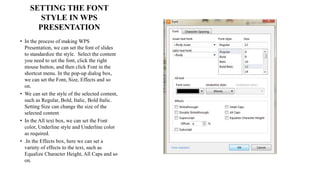
- Setting font styles by selecting text and changing font, size, color, and effects in the font dialog box.
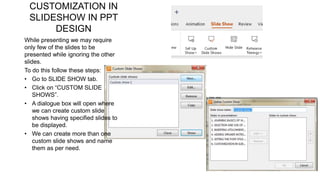
- Creating custom slideshows to choose which slides to display by accessing the Custom Slide Shows option in the Slide Show tab.