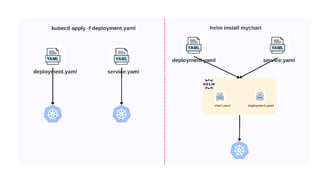
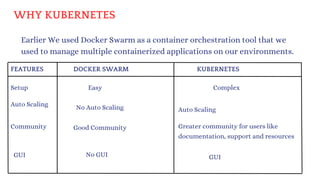
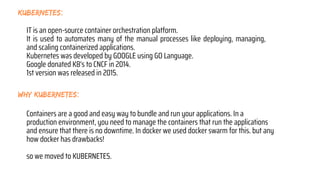
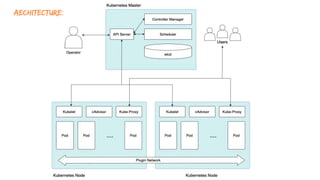
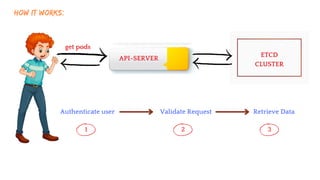
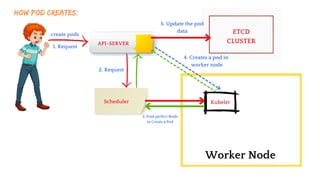
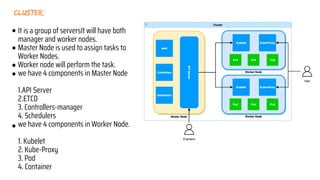
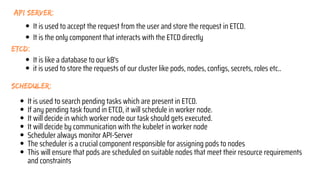
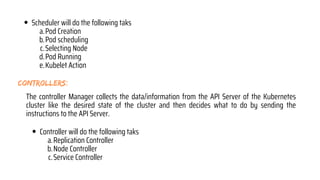
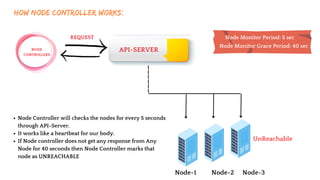
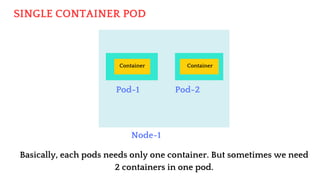
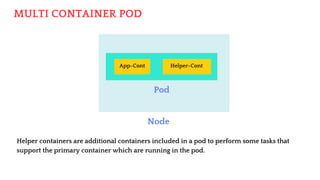
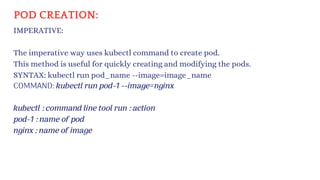
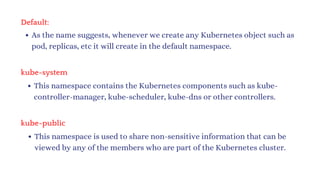
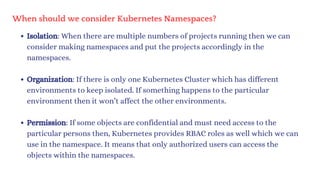
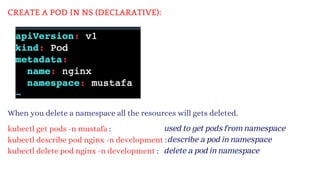
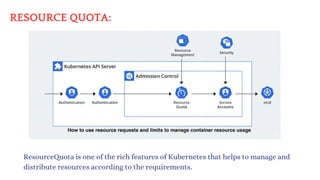
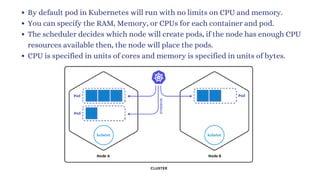
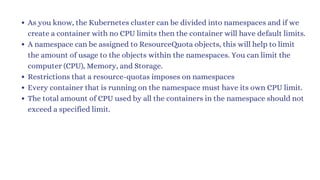
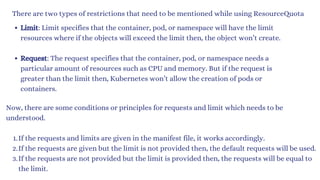
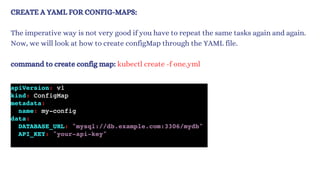
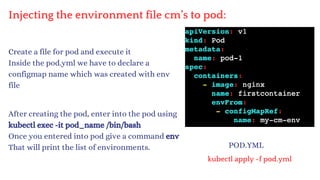
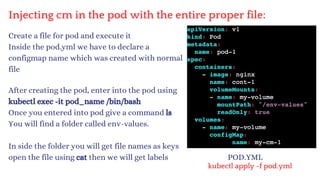
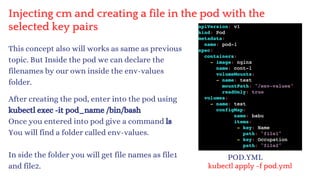
The document discusses Kubernetes as an open-source container orchestration platform developed by Google, highlighting its advantages over Docker Swarm for managing containerized applications. It describes Kubernetes architecture, components such as API server, scheduler, and kubelet, as well as pod creation and management using both imperative and declarative methods. Additionally, it covers the setup of a Kubernetes cluster, deployment practices, services types, and label management for organizing and selecting Kubernetes objects.


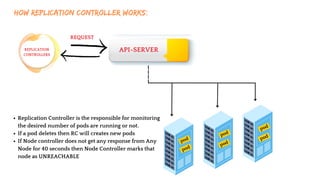


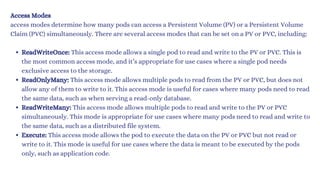
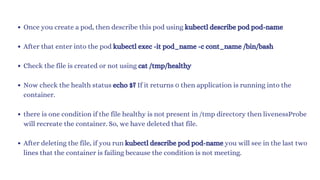
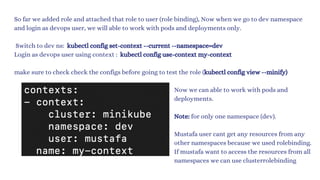
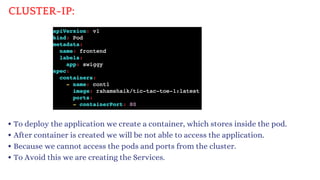
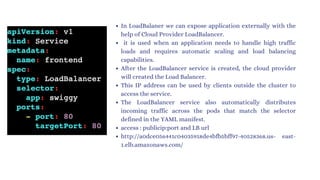
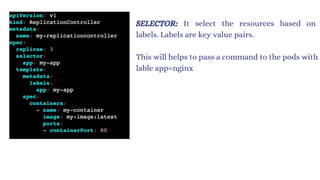
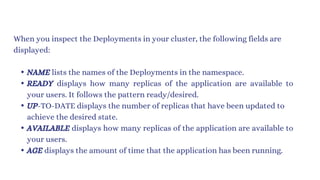
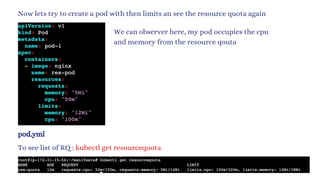
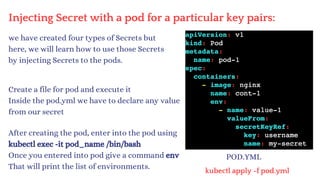
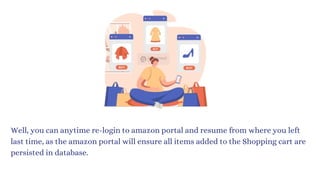
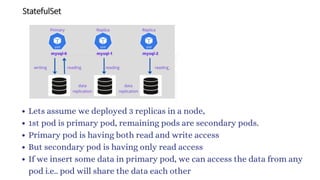
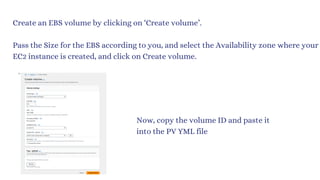
![KUBECTL:
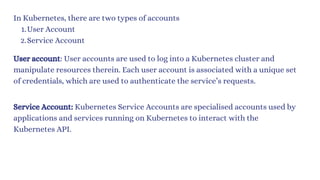
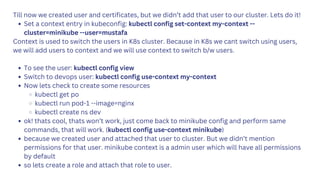
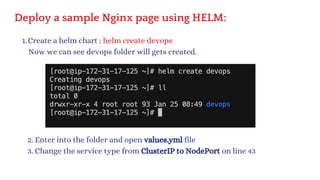
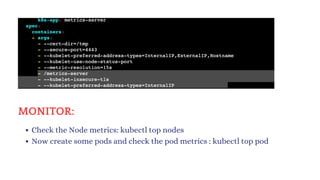
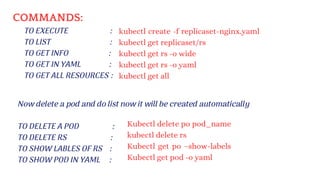
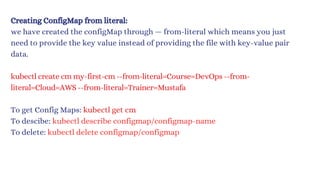
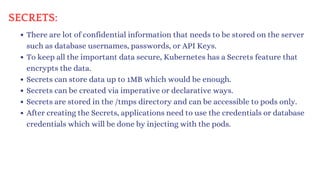
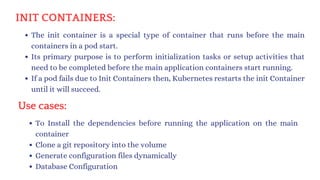
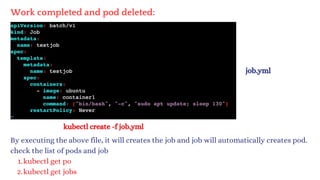
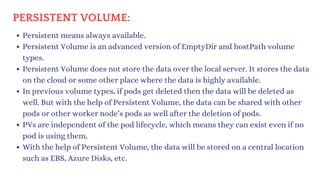
kubectl [command] [TYPE] [NAME] [flags]
kubectl api-resources : to list all api resources
kubectl is the CLI which is used to interact with a Kubernetes cluster.
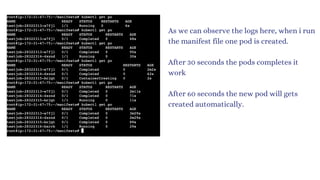
We can create, manage pods, services, deployments, and other resources
We can also monitoring, troubleshooting, scaling and updating the pods.
To perform these tasks it communicates with the Kubernetes API server.
It has many options and commands, to work on.
The configuration of kubectl is in the $HOME/.kube directory.
The latest version is 1.28
SYNTAX:](https://image.slidesharecdn.com/kubernetes-250129182932-c706e035/85/Kubernetes111111111111111111122233334334-22-320.jpg)


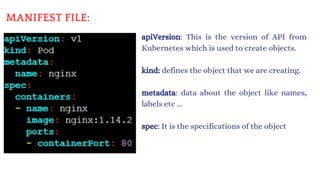

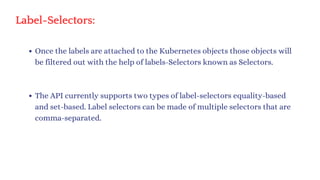
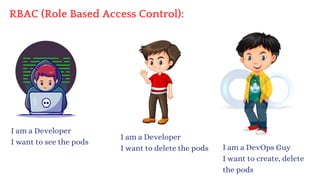
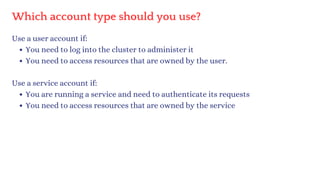
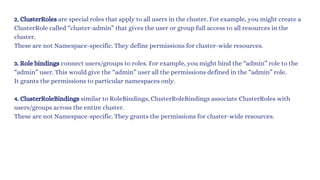
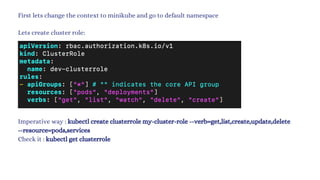
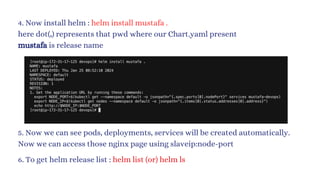
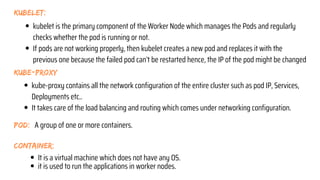
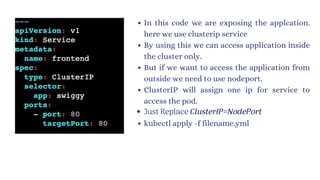
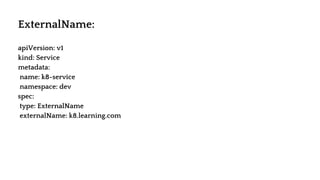
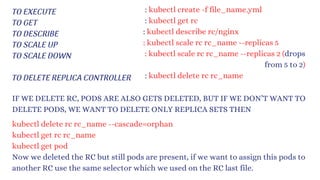
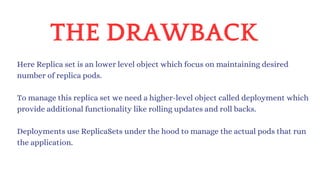
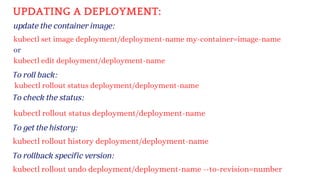
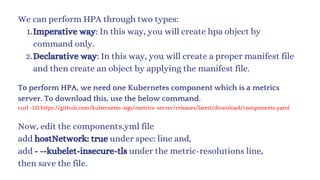
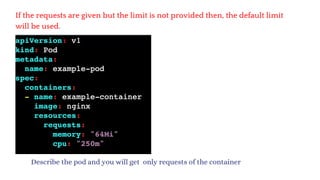
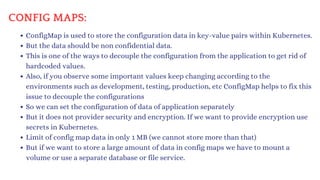
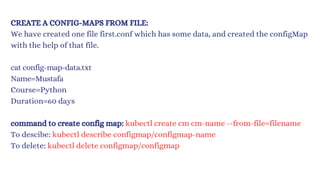
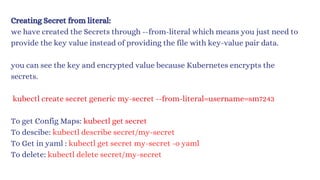
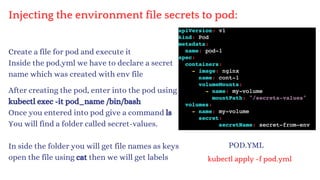
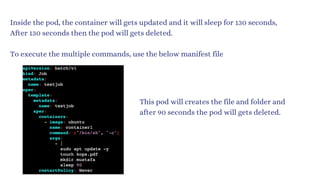
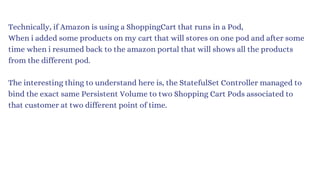
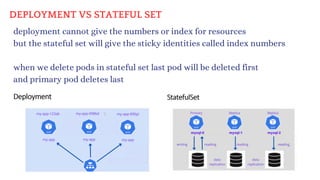
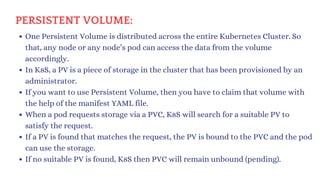
![To see the list of pods with labels: kubectl get pods --show-labels
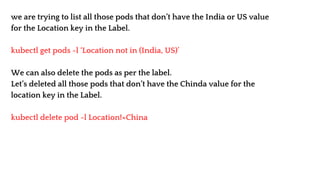
Now, I want to list those pods that have the label env=testing.
kubectl get pods -l env=testing
kubectl get pods -l depar
tment!=DevOps
As we have discussed earlier, there are two types of label-selectors
equality and set-based.
This is the example of equality based where we used equalsTo(=).
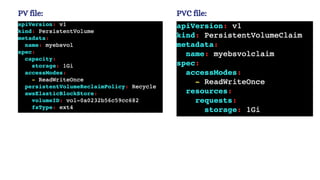
apiVersion: v1
kind: Pod
metadata:
name: pod-1
labels:
env: testing
department: DevOps
spec:
containers:
- name: containers1
image: ubuntu
command: ["/bin/bash", "-c", "while true; do echo This is our Pod; sleep 5 ; done"]](https://image.slidesharecdn.com/kubernetes-250129182932-c706e035/85/Kubernetes111111111111111111122233334334-37-320.jpg)


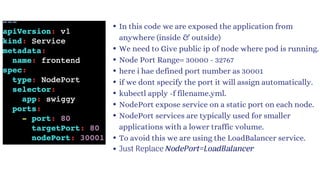

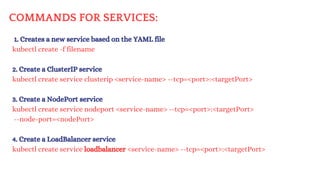

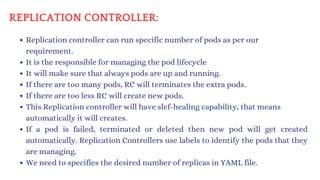
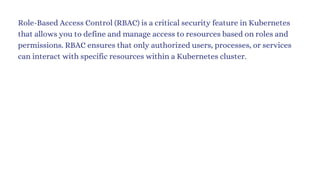
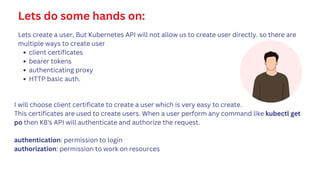
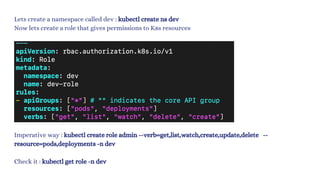
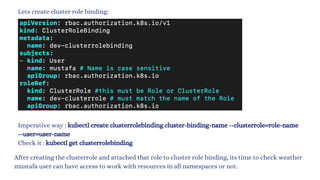
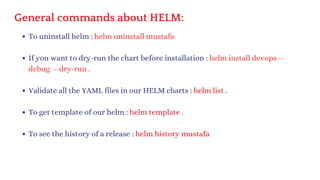
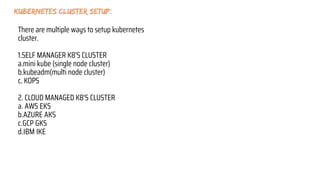
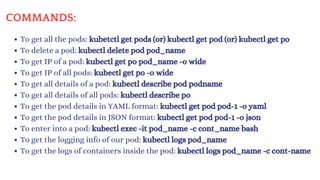
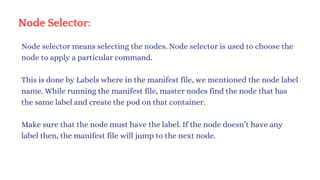
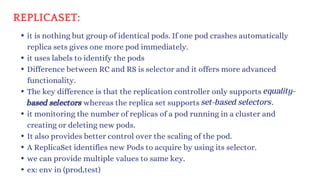
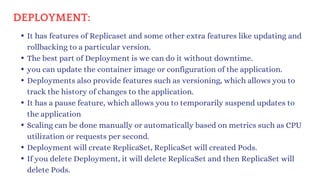
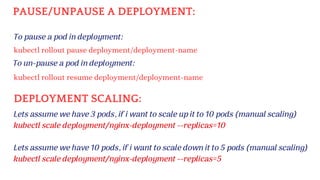
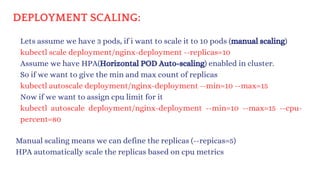
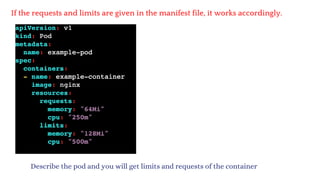
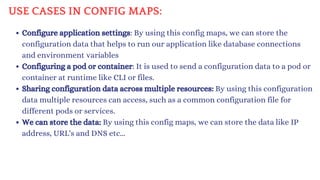
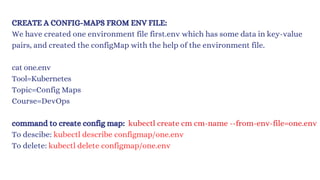
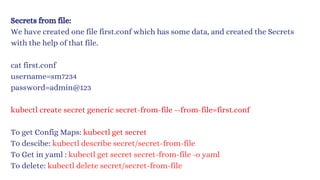
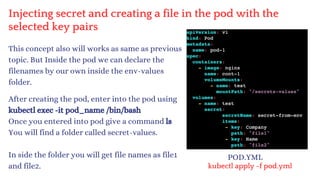
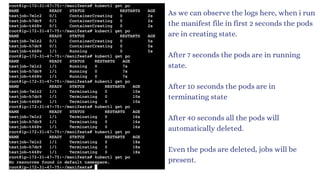
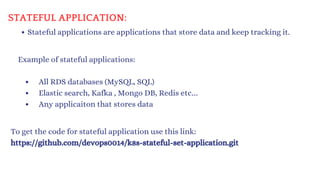
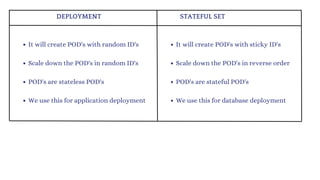
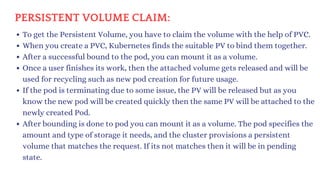
![apiVersion: v1
kind: ReplicationController
metadata:
name: myreplica
spec:
replicas: 2
selector:
Location: India
template:
metadata:
name: testpod6
labels:
Location: India
spec:
containers:
- name: c00
image: ubuntu
command: ["/bin/bash", "-c", "while true; do echo ReplicationController Example; sleep 5 ; done"]](https://image.slidesharecdn.com/kubernetes-250129182932-c706e035/85/Kubernetes111111111111111111122233334334-61-320.jpg)

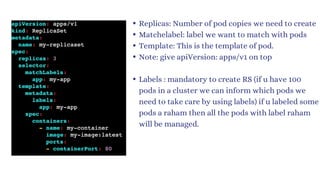
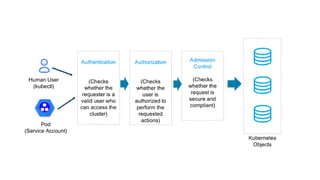
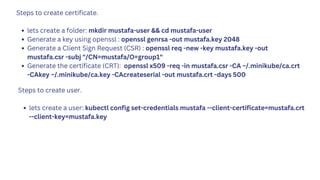
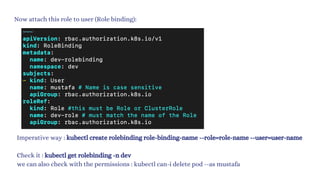
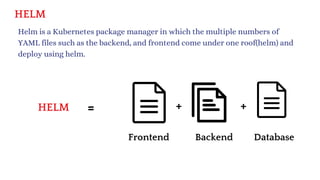
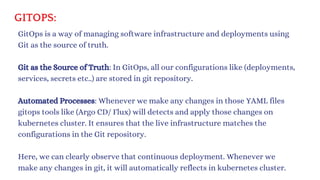
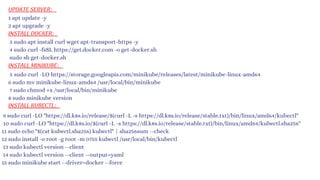
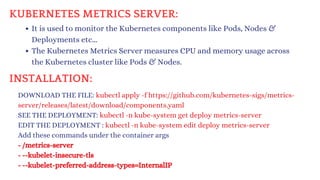
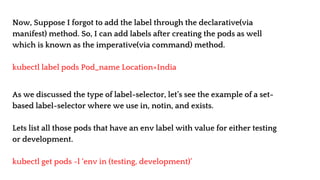
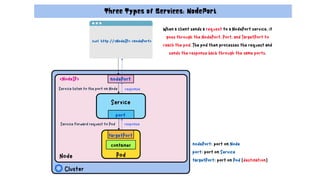
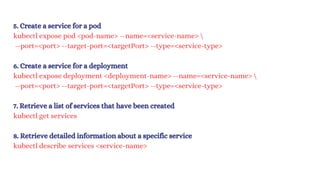
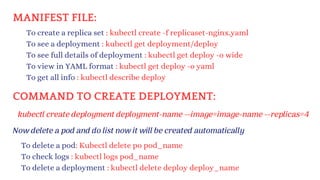
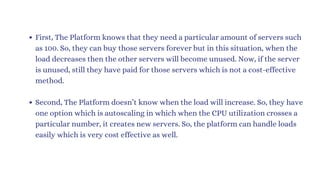
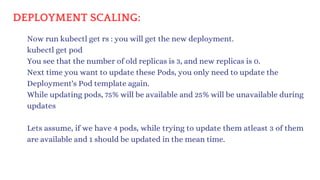
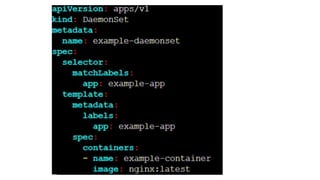
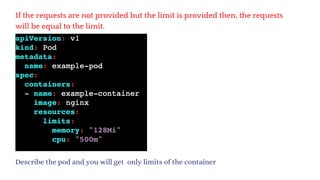
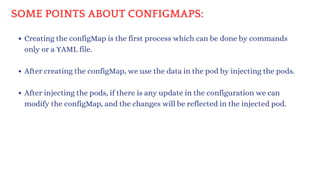
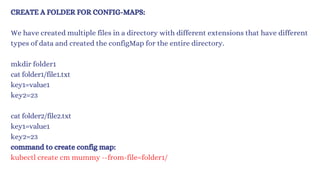
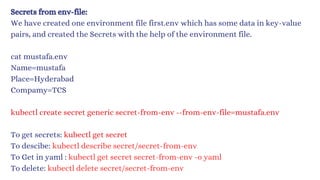
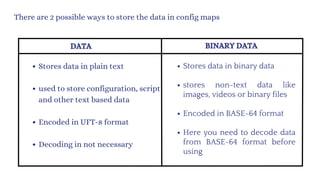
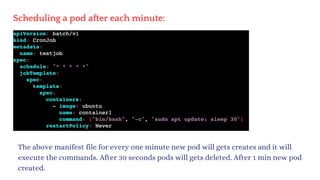
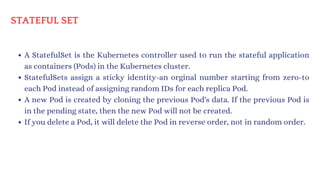
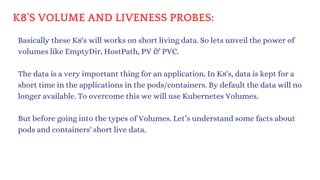
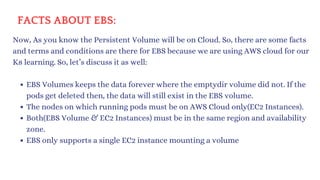
![apiVersion: apps/v1
kind: ReplicaSet
metadata:
name: myrs
spec:
replicas: 2
selector:
matchExpressions:
- {key: Location, operator: In, values: [India, US, Russia]}
- {key: env, operator: NotIn, values: [testing]}
template:
metadata:
name: testpod7
labels:
Location: Russia
spec:
containers:
- name: container1
image: ubuntu
command: ["/bin/bash", "-c", "while true; do echo ReplicaSet Example; sleep 5 ; done"]](https://image.slidesharecdn.com/kubernetes-250129182932-c706e035/85/Kubernetes111111111111111111122233334334-66-320.jpg)


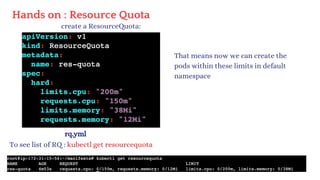


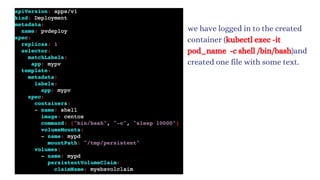
![vim deploy.yml
apiVersion: apps/v1
kind: Deployment
metadata:
name: pvdeploy
spec:
replicas: 1
selector:
matchLabels:
app: swiggy
template:
metadata:
labels:
app: swiggy
spec:
containers:
- name: raham
image: centos
command: ["bin/bash", "-c", "sleep 10000"]
volumeMounts:
- name: mypd
mountPath: "/tmp/persistent"
volumes:
- name: mypd
persistentVolumeClaim:
claimName: my-pvc
kubectl apply -f deploy.yml
kubectl get deploy
kubectl get rs
kubectl get po
kubectl exec pvdeploy-86c99cf54d-d8rj4 -it -- /bin/bash
cd /tmp/persistent/
ls
vim raham
exit
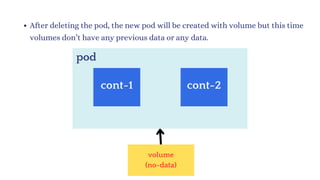
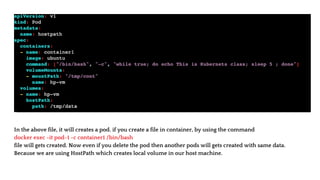
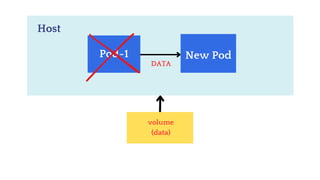
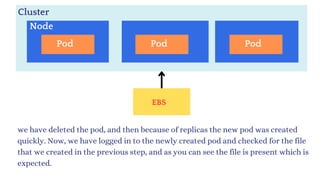
now delete the pod and new pod will created then in that
pod you will see the same content.](https://image.slidesharecdn.com/kubernetes-250129182932-c706e035/85/Kubernetes111111111111111111122233334334-181-320.jpg)