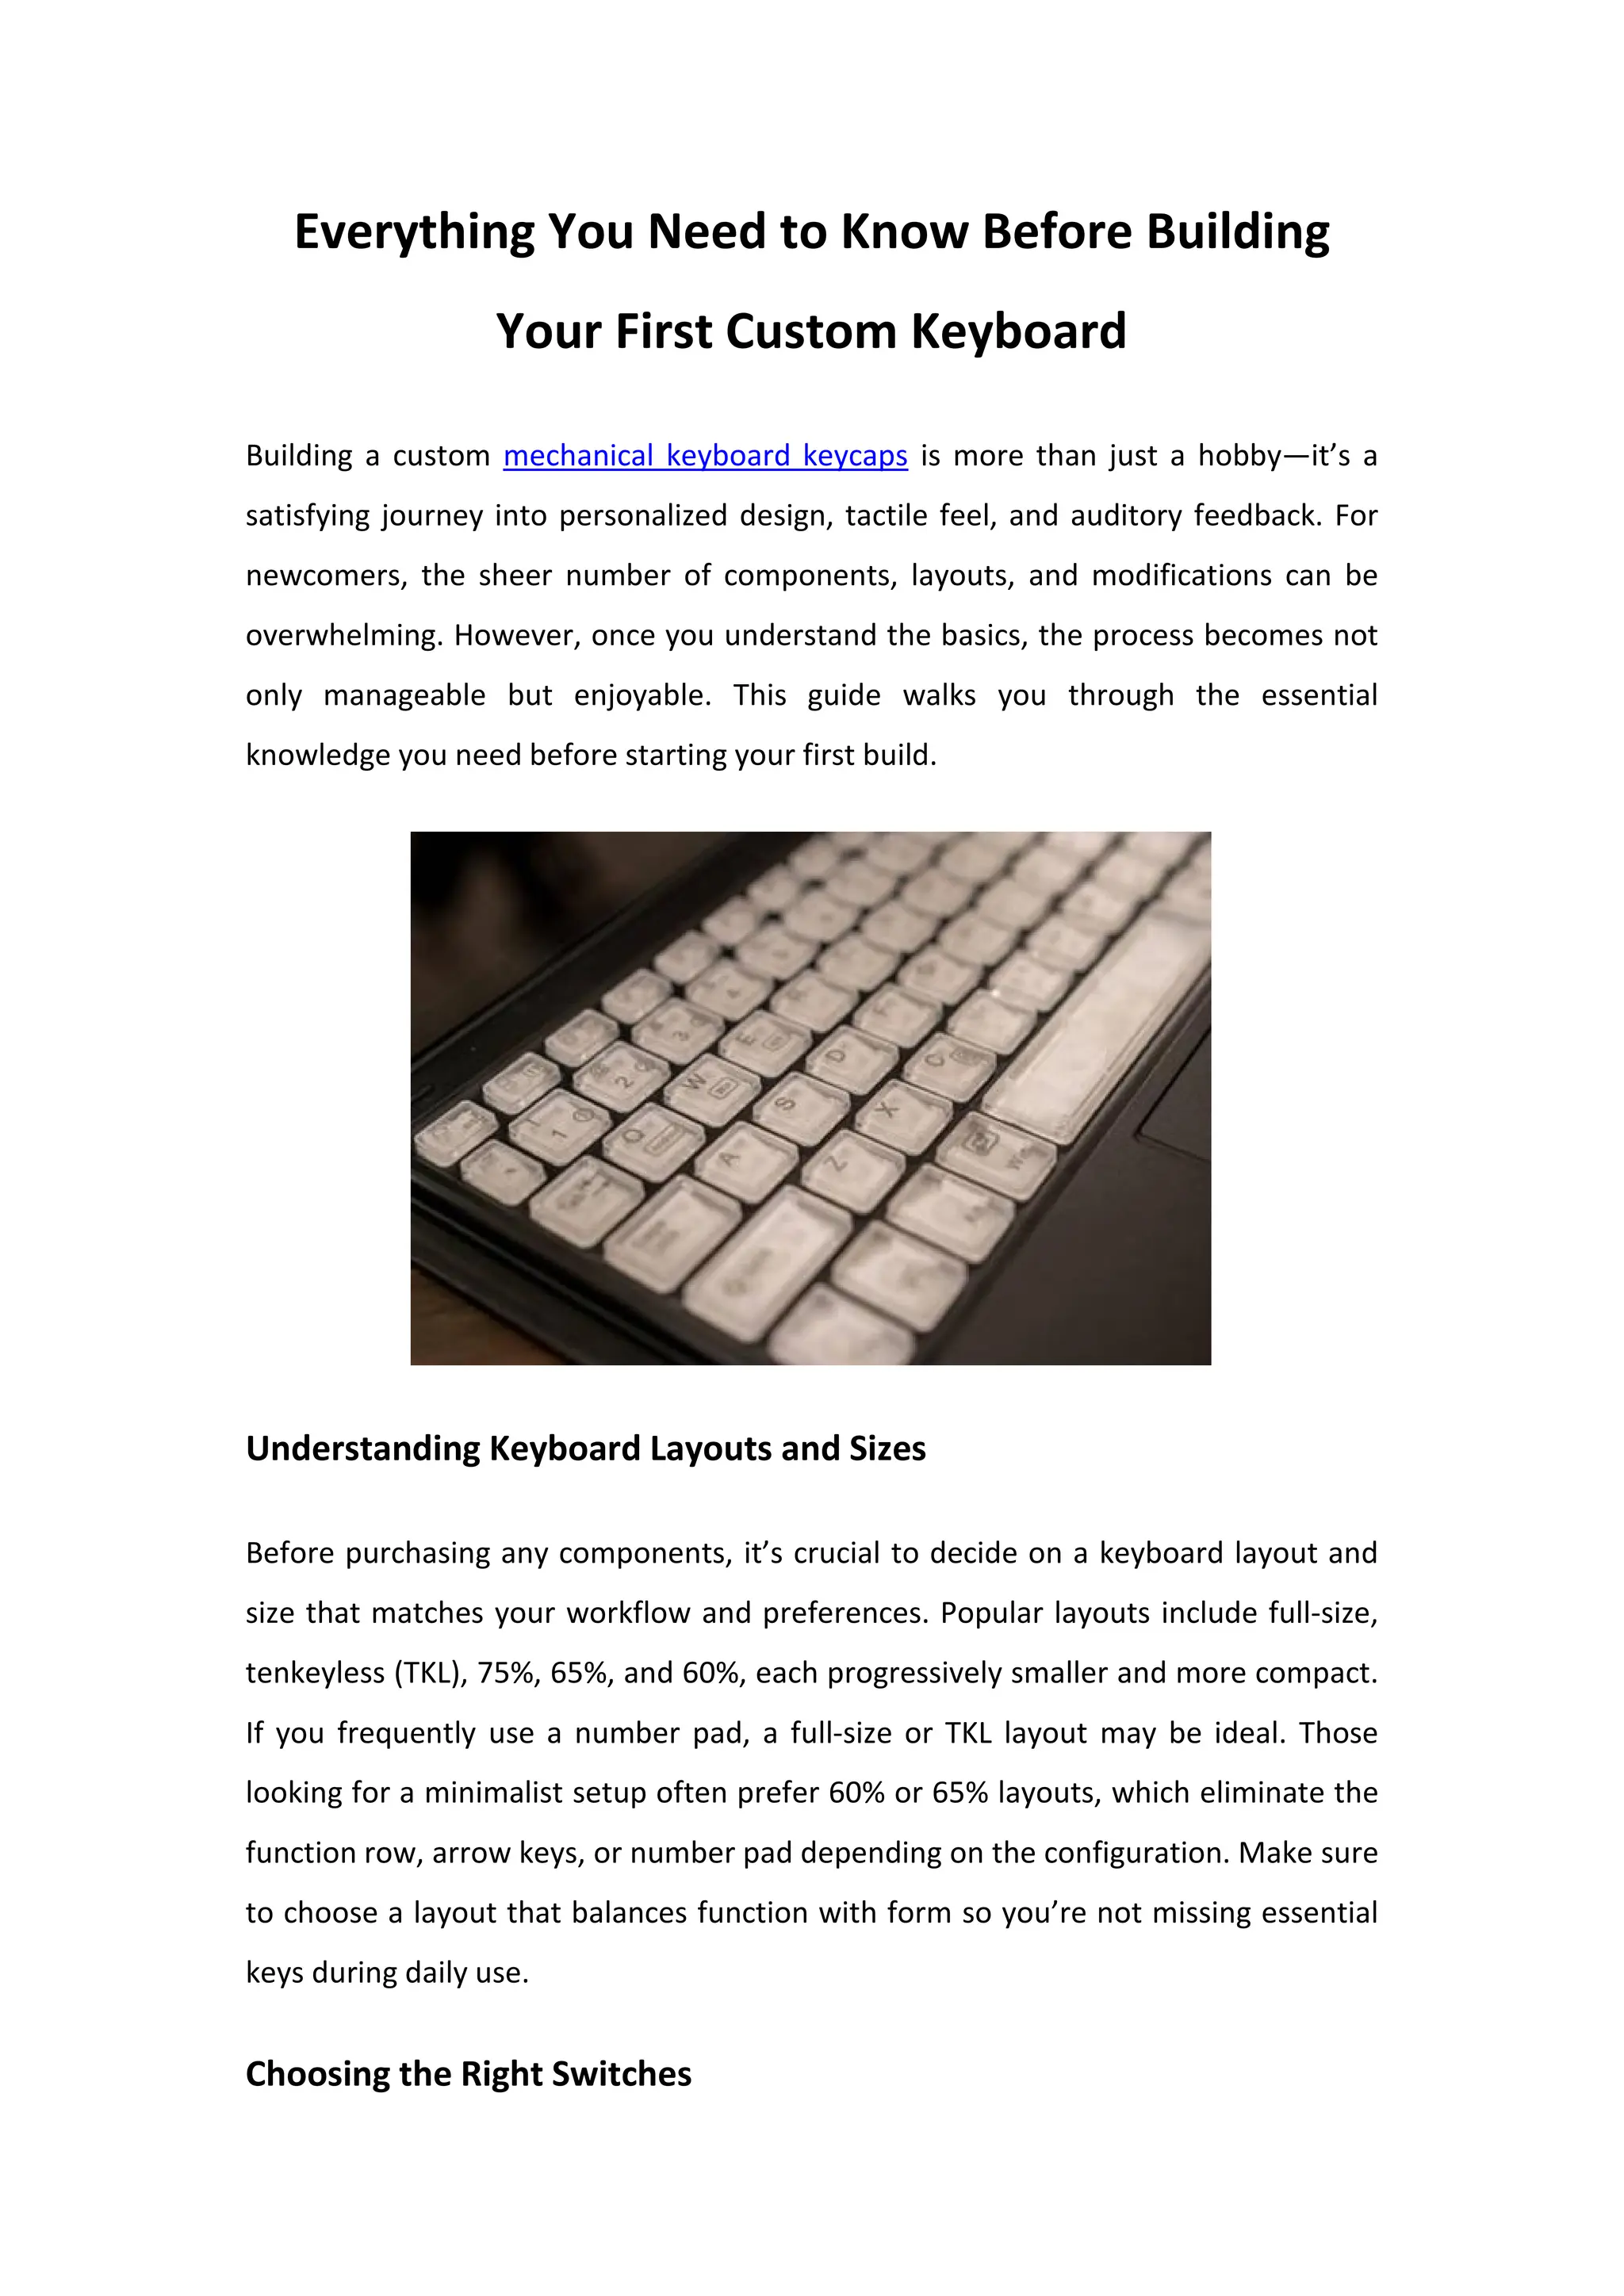
Building a custom mechanical keyboard keycaps is more than just a hobby—it’s a satisfying journey into personalized design, tactile feel, and auditory feedback. For newcomers, the sheer number of components, layouts, and modifications can be overwhelming. However, once you understand the basics, the process becomes not only manageable but enjoyable. This guide walks you through the essential knowledge you need before starting your first build.