Downloaded 46 times

![Dojo < 1.7 (synchronous):
dojo.require("dojo.cookie");
dojo.require("my.widget");
dojo.addOnLoad(function(){
alert("DOM is ready");
})
Dojo >= 1.7 (AMD asynchronous):
require(["dojo/cookie", "my/widget",
"dojo/domReady!"], function(cookie, myWidget){
alert("DOM is ready");
})
](https://image.slidesharecdn.com/dojo1-131102190545-phpapp01/75/Dojo-1-7-Kickstart-8-2048.jpg)
![Dojo < 1.7 (Class Declaration):
dojo.provide("my.widget");
dojo.require("dijit._Widget");
dojo.declare("my.widget", dijit._Widget, {
// ...
});
Dojo >= 1.7 (Class Declaration):
define(["dojo/_base/declare", "dijit/_Widget"],
function(declare, _Widget){
return declare(“my.widget”, [_Widget], {
// ...
});
});
](https://image.slidesharecdn.com/dojo1-131102190545-phpapp01/75/Dojo-1-7-Kickstart-9-2048.jpg)
![
Doubler class (Doubler.js under “custom” folder):
define([
"dojo/dom", "dojo/_base/declare"
], function(dom, declare){
return declare("Doubler", null, {
calculate: function(divID, number){
var node = dom.byId(divID);
node.innerHTML = "Double value (" + number + "):
" + (number * 2);
}
});
});](https://image.slidesharecdn.com/dojo1-131102190545-phpapp01/75/Dojo-1-7-Kickstart-11-2048.jpg)
![factorial object (Factorial.js under “custom” folder):
define([
"dojo/dom"
], function(dom){
return {
calculate: function(divID, number){
var node = dom.byId(divID);
var factorial = 1;
for (i = 1; i <= number; ++i) {
factorial *= i;
}
node.innerHTML = "Factorial value (" + number + "): " + factorial;
}
};
});](https://image.slidesharecdn.com/dojo1-131102190545-phpapp01/75/Dojo-1-7-Kickstart-12-2048.jpg)
![
In order to use the “custom” module in the page,
you need to change Dojo config before Dojo script
include as follows:
<script>
var dojoConfig = {
async: true,
packages: [{
name: "custom",
location: location.href.replace(//[^/]*$/, '') +
"/custom"
}]
};
</script>](https://image.slidesharecdn.com/dojo1-131102190545-phpapp01/75/Dojo-1-7-Kickstart-13-2048.jpg)
![Use the module objects and classes peacefully:
require([..., "custom/Factorial",
"custom/Doubler", ...],
function(..., factorial, Doubler, ...) {
// ...
factorial.calculate("result1", 6);
new Doubler().calculate("result2", 6);
// ...
});
](https://image.slidesharecdn.com/dojo1-131102190545-phpapp01/75/Dojo-1-7-Kickstart-14-2048.jpg)
![
There are useful packages which are facilitating
DOM processing:
DOM retrieval:
require(["dojo/dom", "dojo/domReady!"],
function(dom) {
//Get DOM element by Id.
var one = dom.byId("one");
});](https://image.slidesharecdn.com/dojo1-131102190545-phpapp01/75/Dojo-1-7-Kickstart-16-2048.jpg)
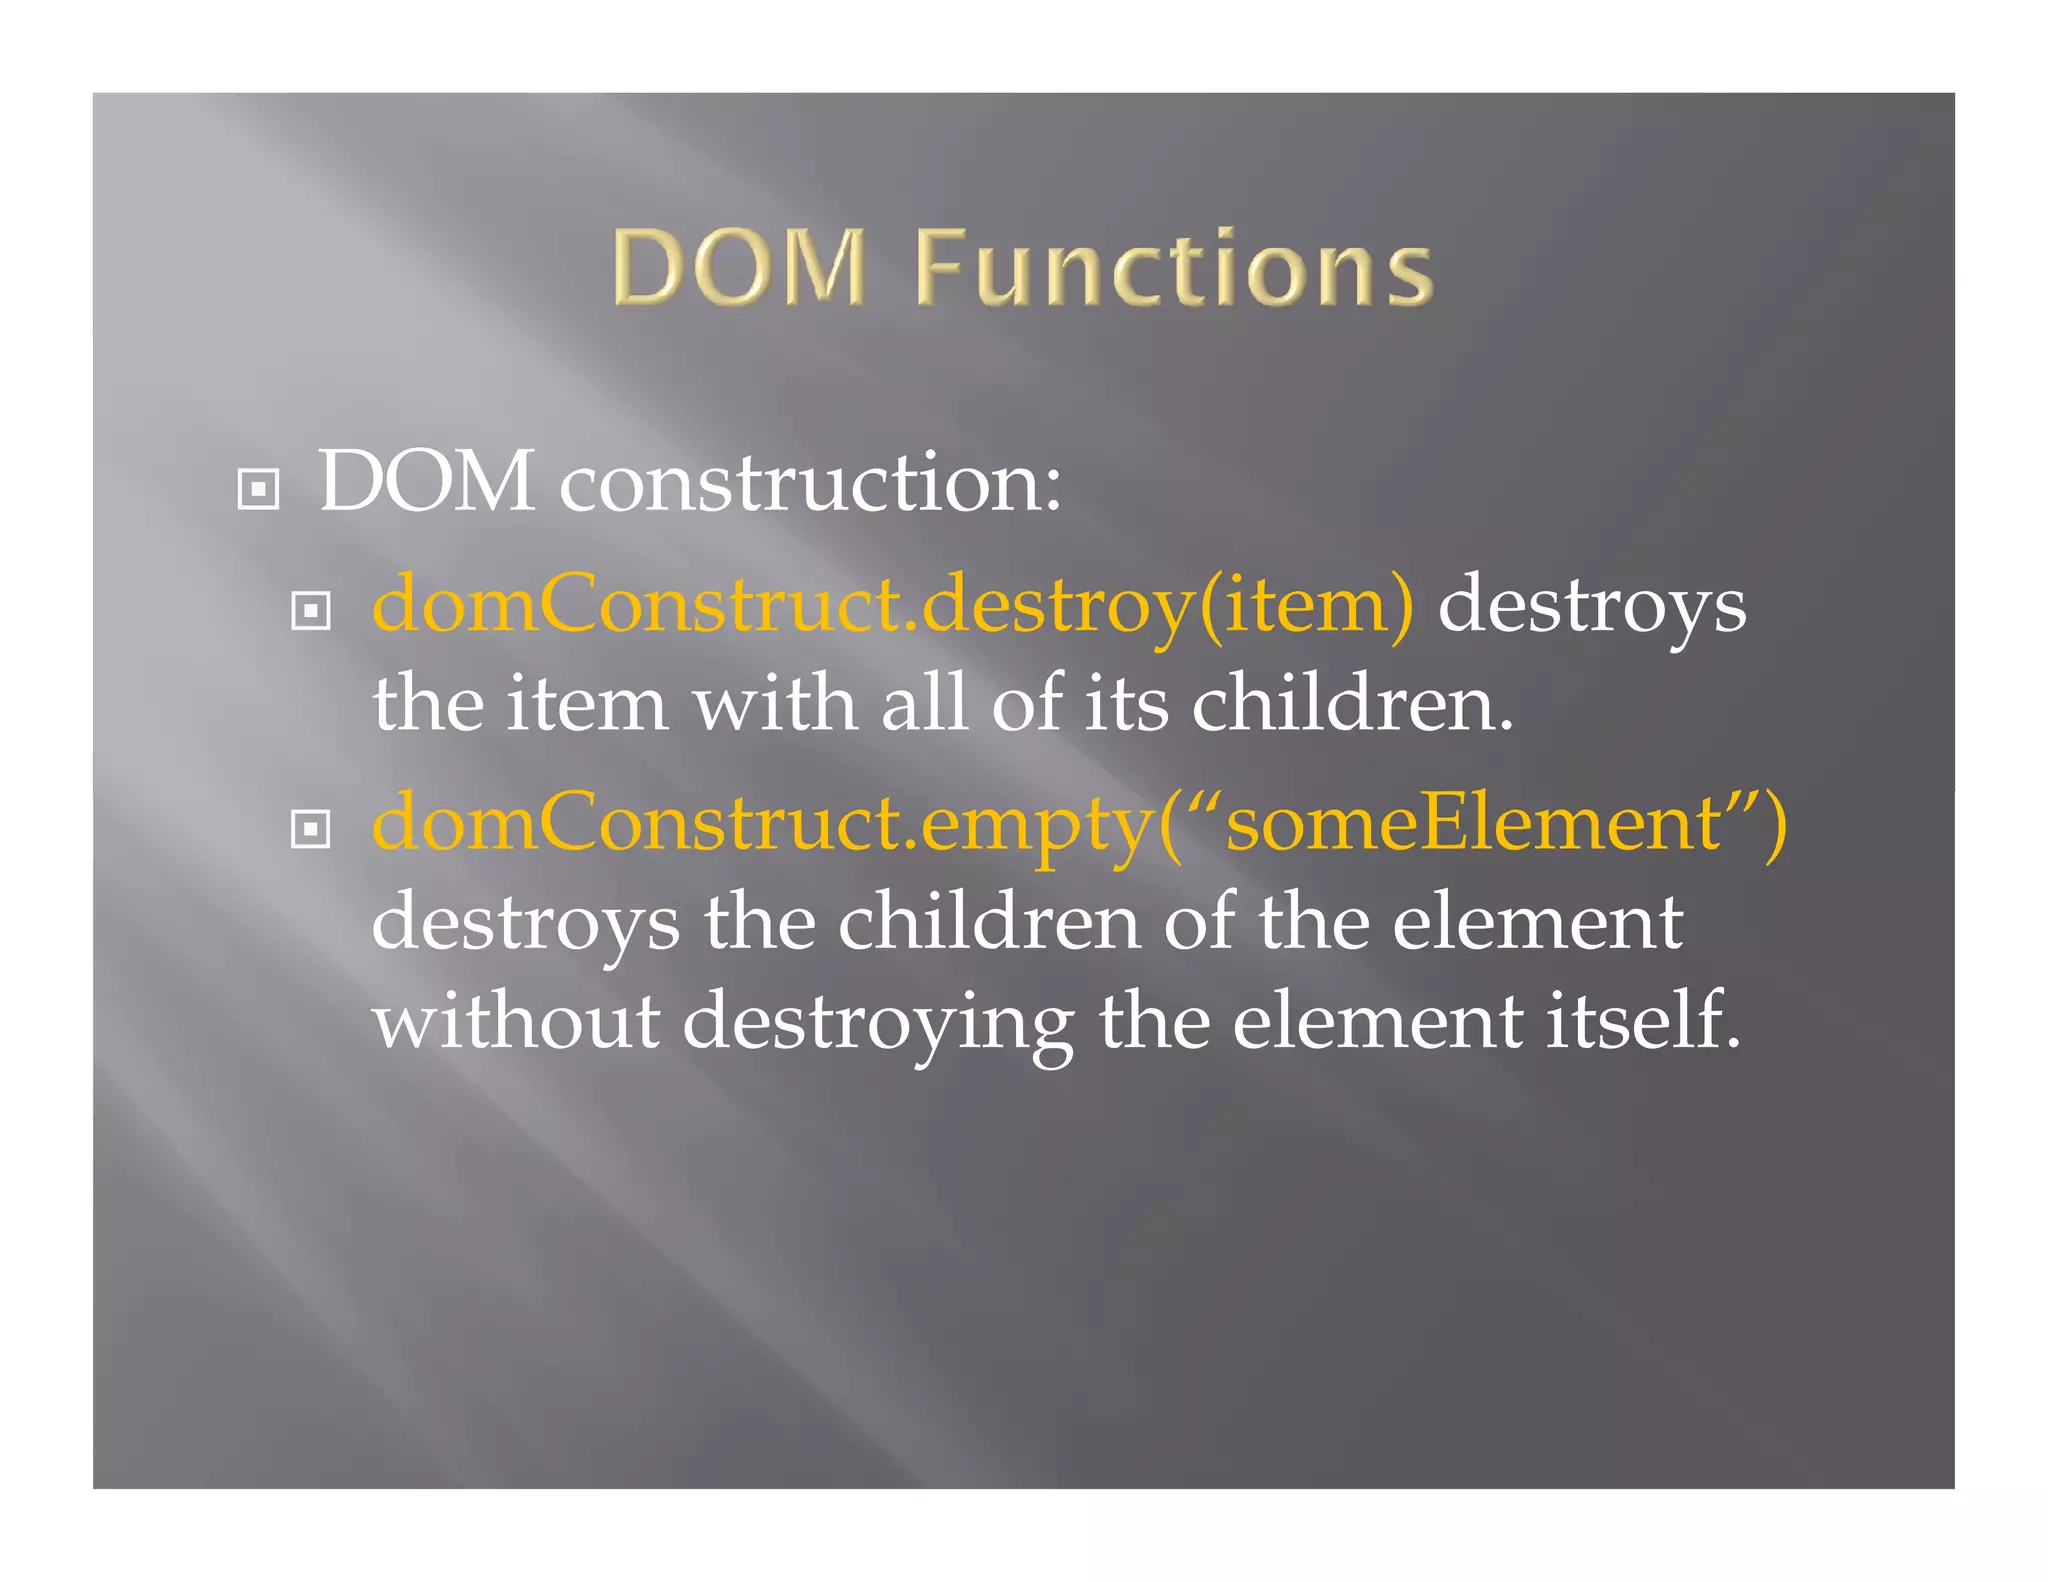
![DOM Construction:
require(["dojo/dom", "dojo/dom-construct",
"dojo/domReady!"],
function(dom, domConstruct) {
var list = dom.byId("list");
domConstruct.create("li", {
innerHTML: "Seven",
className: "seven",
style: {
fontWeight: "bold"
}
}, list);
});](https://image.slidesharecdn.com/dojo1-131102190545-phpapp01/75/Dojo-1-7-Kickstart-17-2048.jpg)
![Simple Action:
require(["dojo/on", "dojo/dom",
"dojo/domReady!"],
function(on, dom) {
var myButton = dom.byId("myButton");
on (myButton, "click", function(evt){
alert("Iam clicked");
});
});](https://image.slidesharecdn.com/dojo1-131102190545-phpapp01/75/Dojo-1-7-Kickstart-19-2048.jpg)
![
Publish/Subscribe model:
require(["dojo/on", "dojo/topic", "dojo/dom", "dojo/domReady!"],
function(on, topic, dom) {
var alertButton = dom.byId("alertButton");
on(alertButton, "click", function() {
// When this button is clicked,
// publish to the "alertUser" topic
topic.publish("alertUser", "I am alerting you.");
});
// Register the alerting routine with the "alertUser" topic.
topic.subscribe("alertUser", function(text){
alert(text);
});
});](https://image.slidesharecdn.com/dojo1-131102190545-phpapp01/75/Dojo-1-7-Kickstart-20-2048.jpg)
![
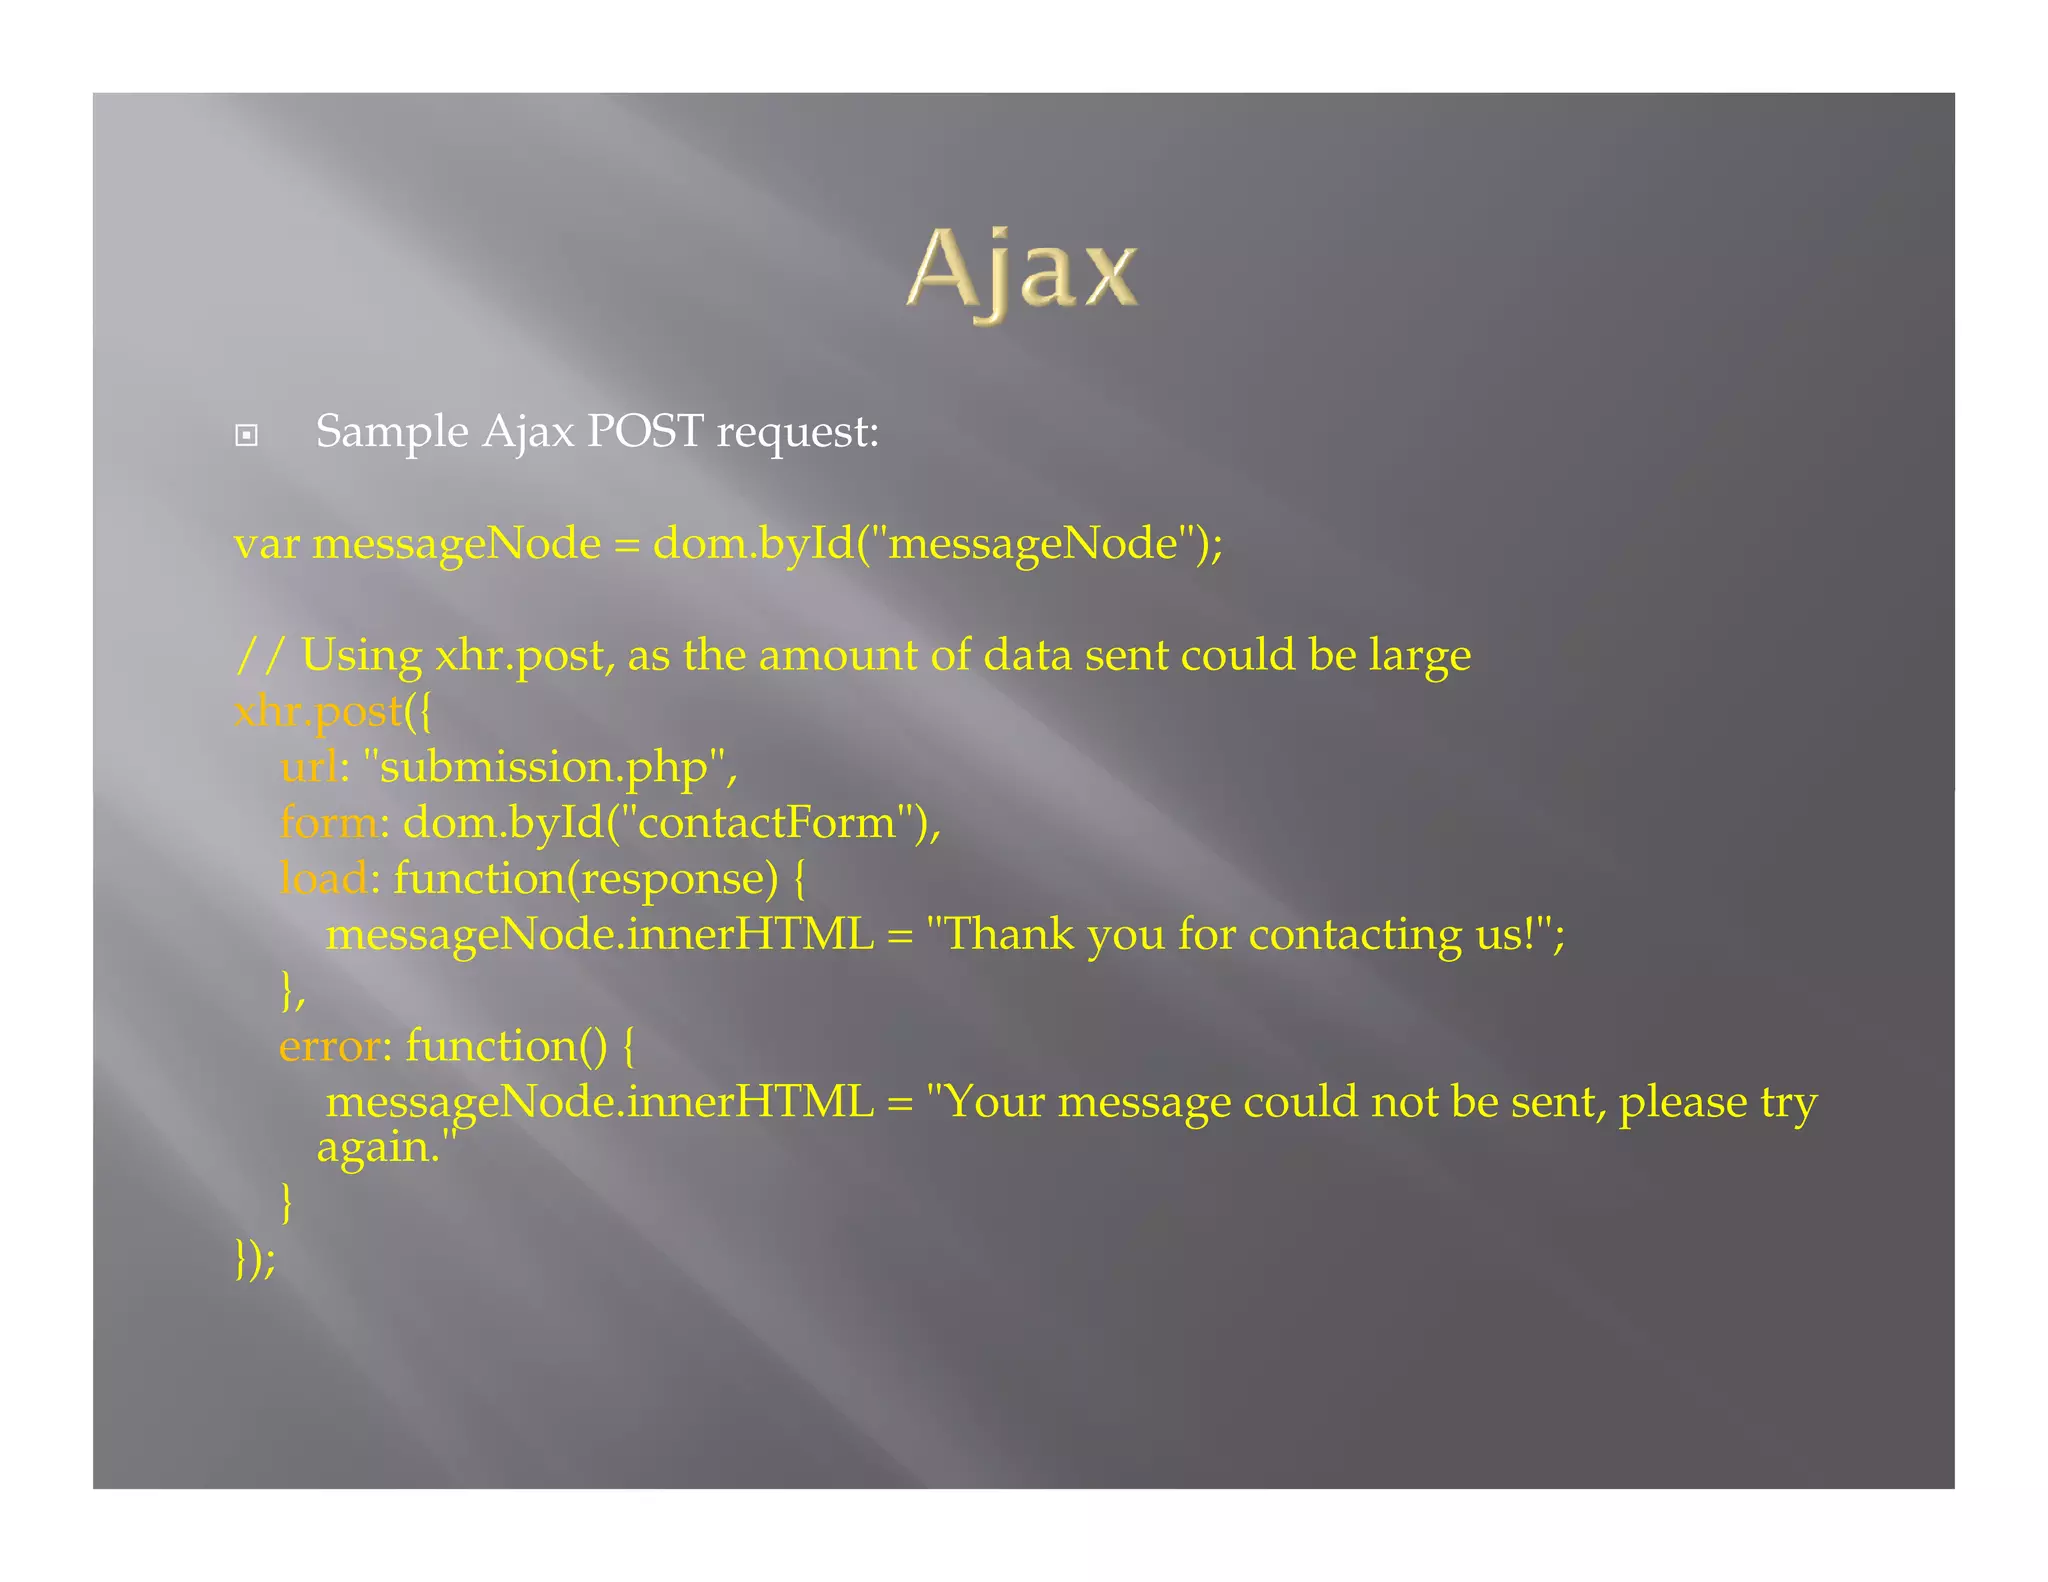
“dojo/_base/xhr” module wraps the complexity of Ajax request
creation and response retrieval. Sample Ajax GET request:
require(["dojo/_base/xhr", "dojo/dom", "dojo/domReady!"],
function(xhr, dom) {
// Using xhr.get, as very little information is being sent
xhr.get({
// The URL of the request
url: "get-content.php",
// The success callback with result from server
load: function(newContent) {
dom.byId("contentNode").innerHTML = newContent;
},
// The error handler
error: function() {
// Do nothing -- keep old content there
}
});
});](https://image.slidesharecdn.com/dojo1-131102190545-phpapp01/75/Dojo-1-7-Kickstart-21-2048.jpg)
![If you work with Dojo >= 1.8, use “dojo/request” module instead.
require(["dojo/dom", "dojo/on", "dojo/request", "dojo/domReady!"],
function(dom, on, request){
var resultDiv = dom.byId("resultDiv");
request.get("/someServlet").then(
function(response){
// Display the text file content
resultDiv.innerHTML = "<pre>"+response+"</pre>";
},
function(error){
// Display the error returned
resultDiv.innerHTML = "<div class="error">"+error+"<div>";
}
);
}
);](https://image.slidesharecdn.com/dojo1-131102190545-phpapp01/75/Dojo-1-7-Kickstart-23-2048.jpg)


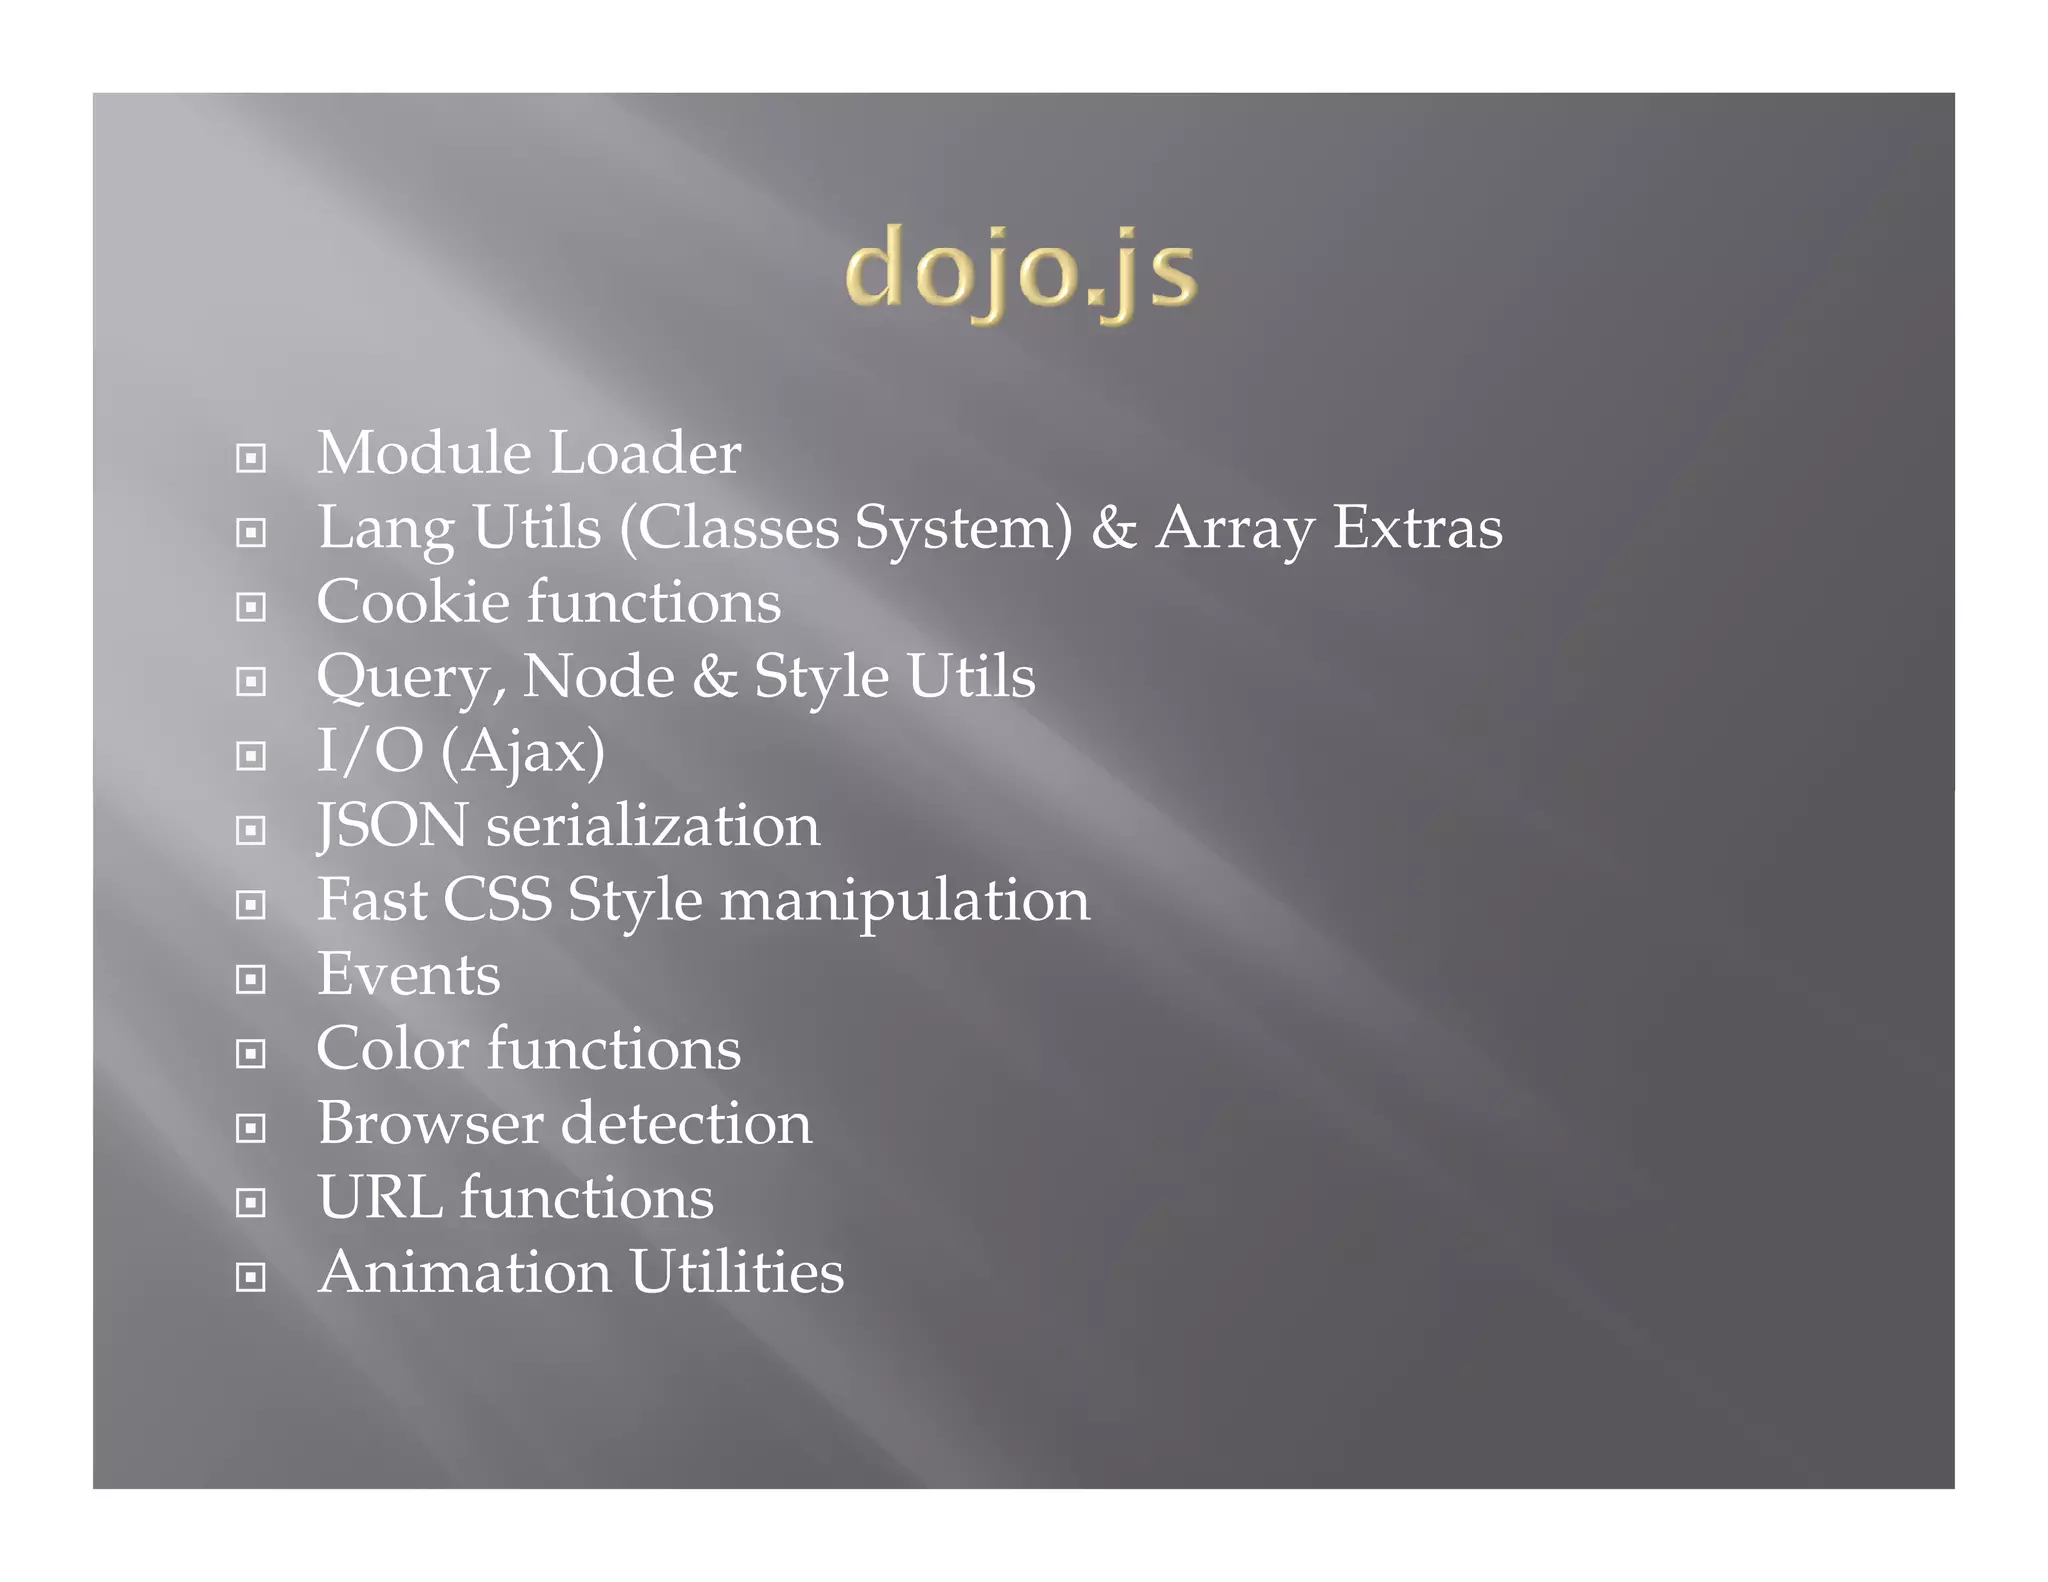
Dojo is an open source JavaScript framework for building interactive web applications. It includes utilities for DOM manipulation, Ajax requests, events, animation and more. Dojo has adopted the AMD (Asynchronous Module Definition) standard, allowing code to be organized into modular and reusable components. Popular Dojo components include Dijit for widgets and Dojox for extensions. Common tasks like DOM selection, event handling and Ajax calls can be simplified using Dojo utilities.


![[ApacheCon 2016] Advanced Apache Cordova](https://cdn.slidesharecdn.com/ss_thumbnails/apachecon2016advancedapachecordova-160512193548-thumbnail.jpg?width=640&height=640&fit=bounds)


![[AnDevCon 2016] Mutation Testing for Android](https://cdn.slidesharecdn.com/ss_thumbnails/hazems-andevconandroidmutationtesting-161209035617-thumbnail.jpg?width=640&height=640&fit=bounds)

![[JMaghreb 2014] Developing JavaScript Mobile Apps Using Apache Cordova](https://cdn.slidesharecdn.com/ss_thumbnails/javascriptmoibleappsdevelopment-141106091920-conversion-gate02-thumbnail.jpg?width=640&height=640&fit=bounds)
![[Devoxx Morocco 2015] Apache Cordova In Action](https://cdn.slidesharecdn.com/ss_thumbnails/devoxxmorocco2015apachecordovainaction-151118135527-lva1-app6892-thumbnail.jpg?width=640&height=640&fit=bounds)
![[JavaLand 2015] Developing JavaScript Mobile Apps Using Apache Cordova](https://cdn.slidesharecdn.com/ss_thumbnails/javaland2015javascriptmobileapps-150330083550-conversion-gate01-thumbnail.jpg?width=640&height=640&fit=bounds)


![[FullStack NYC 2019] Effective Unit Tests for JavaScript](https://cdn.slidesharecdn.com/ss_thumbnails/effectiveunittestsforjavascript-190607225853-thumbnail.jpg?width=640&height=640&fit=bounds)


![[JavaOne 2010] Abstract Mashups for Enterprise Java](https://cdn.slidesharecdn.com/ss_thumbnails/s314070burnssalehmashups-100926093453-phpapp01-thumbnail.jpg?width=640&height=640&fit=bounds)


