Conda is a package manager that installs, runs, and updates packages and dependencies. Bioconda is a channel for conda specializing in bioinformatics software, containing over 2700 packages. It has advantages over traditional packaging including easy installation and virtual environments. To add a new package, one creates recipes defining metadata, builds packages, and submits a pull request after local and automated testing.
Introduction to Conda as a package manager and Bioconda as its bioinformatics channel. Anaconda and Miniconda are defined as distributions that include Conda.
Highlights two key advantages of Conda: easy installation and seamless management of virtual environments, particularly for different Python versions.
Step-by-step instructions for setting up Bioconda, including installing Miniconda, adding channels, and addressing installation issues.
Detailed process for creating and submitting a new package to Bioconda, including understanding recipes, creating files, and the workflow of testing and submitting.Summarization of lessons learned during the package submission process, emphasizing the need for proper requirements and avoiding hard-coded names.
●
Conda is apackage manager application that quickly installs,
runs, and updates packages and their dependencies.
●
The conda command is the primary interface for managing
installations of various packages. It can query and search the
package index and current installation, create new environments,
and install and update packages into existing conda
environments.
Conda
3.
Bioconda is achannel for the conda package manager
specializing in bioinformatics software. Bioconda consists of:
●
a repository of recipes hosted on GitHub
●
a build system that turns these recipes into conda packages
●
a repository of >2700 bioinformatics packages ready to use
with the conda install command
Bioconda
4.
Anaconda is theoriginal scientific Python distribution that
includes Conda.
Conda is a package manager, and became so useful and
important on its own that the developers decided to create a
separate open source package for it
Miniconda is the name of the installer package of conda, to
differentiate it from the full-size Anaconda
Bioconda is a channel of bioinformatics packages for Conda
Conda, Bioconda, Anaconda, Miniconda
5.
Two main advantagesof using Conda as a package manager,
compared to the traditional approach (installing packages
independently):
1 – The installation of Conda packages is easy, fast, and
smooth. Conda also installs all the dependencies quite easily.
2 – It has a virtual environment similar to virtualenv, which is
used in the Python community. You can have any Python
environment on your system (e.g. 2.6, 3.4 and so on) without
the need to have to install the specific Python version yourself
(e.g. “Project X depends on version 1.x but, Project Y needs
4.x”).
Conda advantages
(1) Manually installMiniconda
Bioconda: how to use it
https://conda.io/miniconda.html
8.
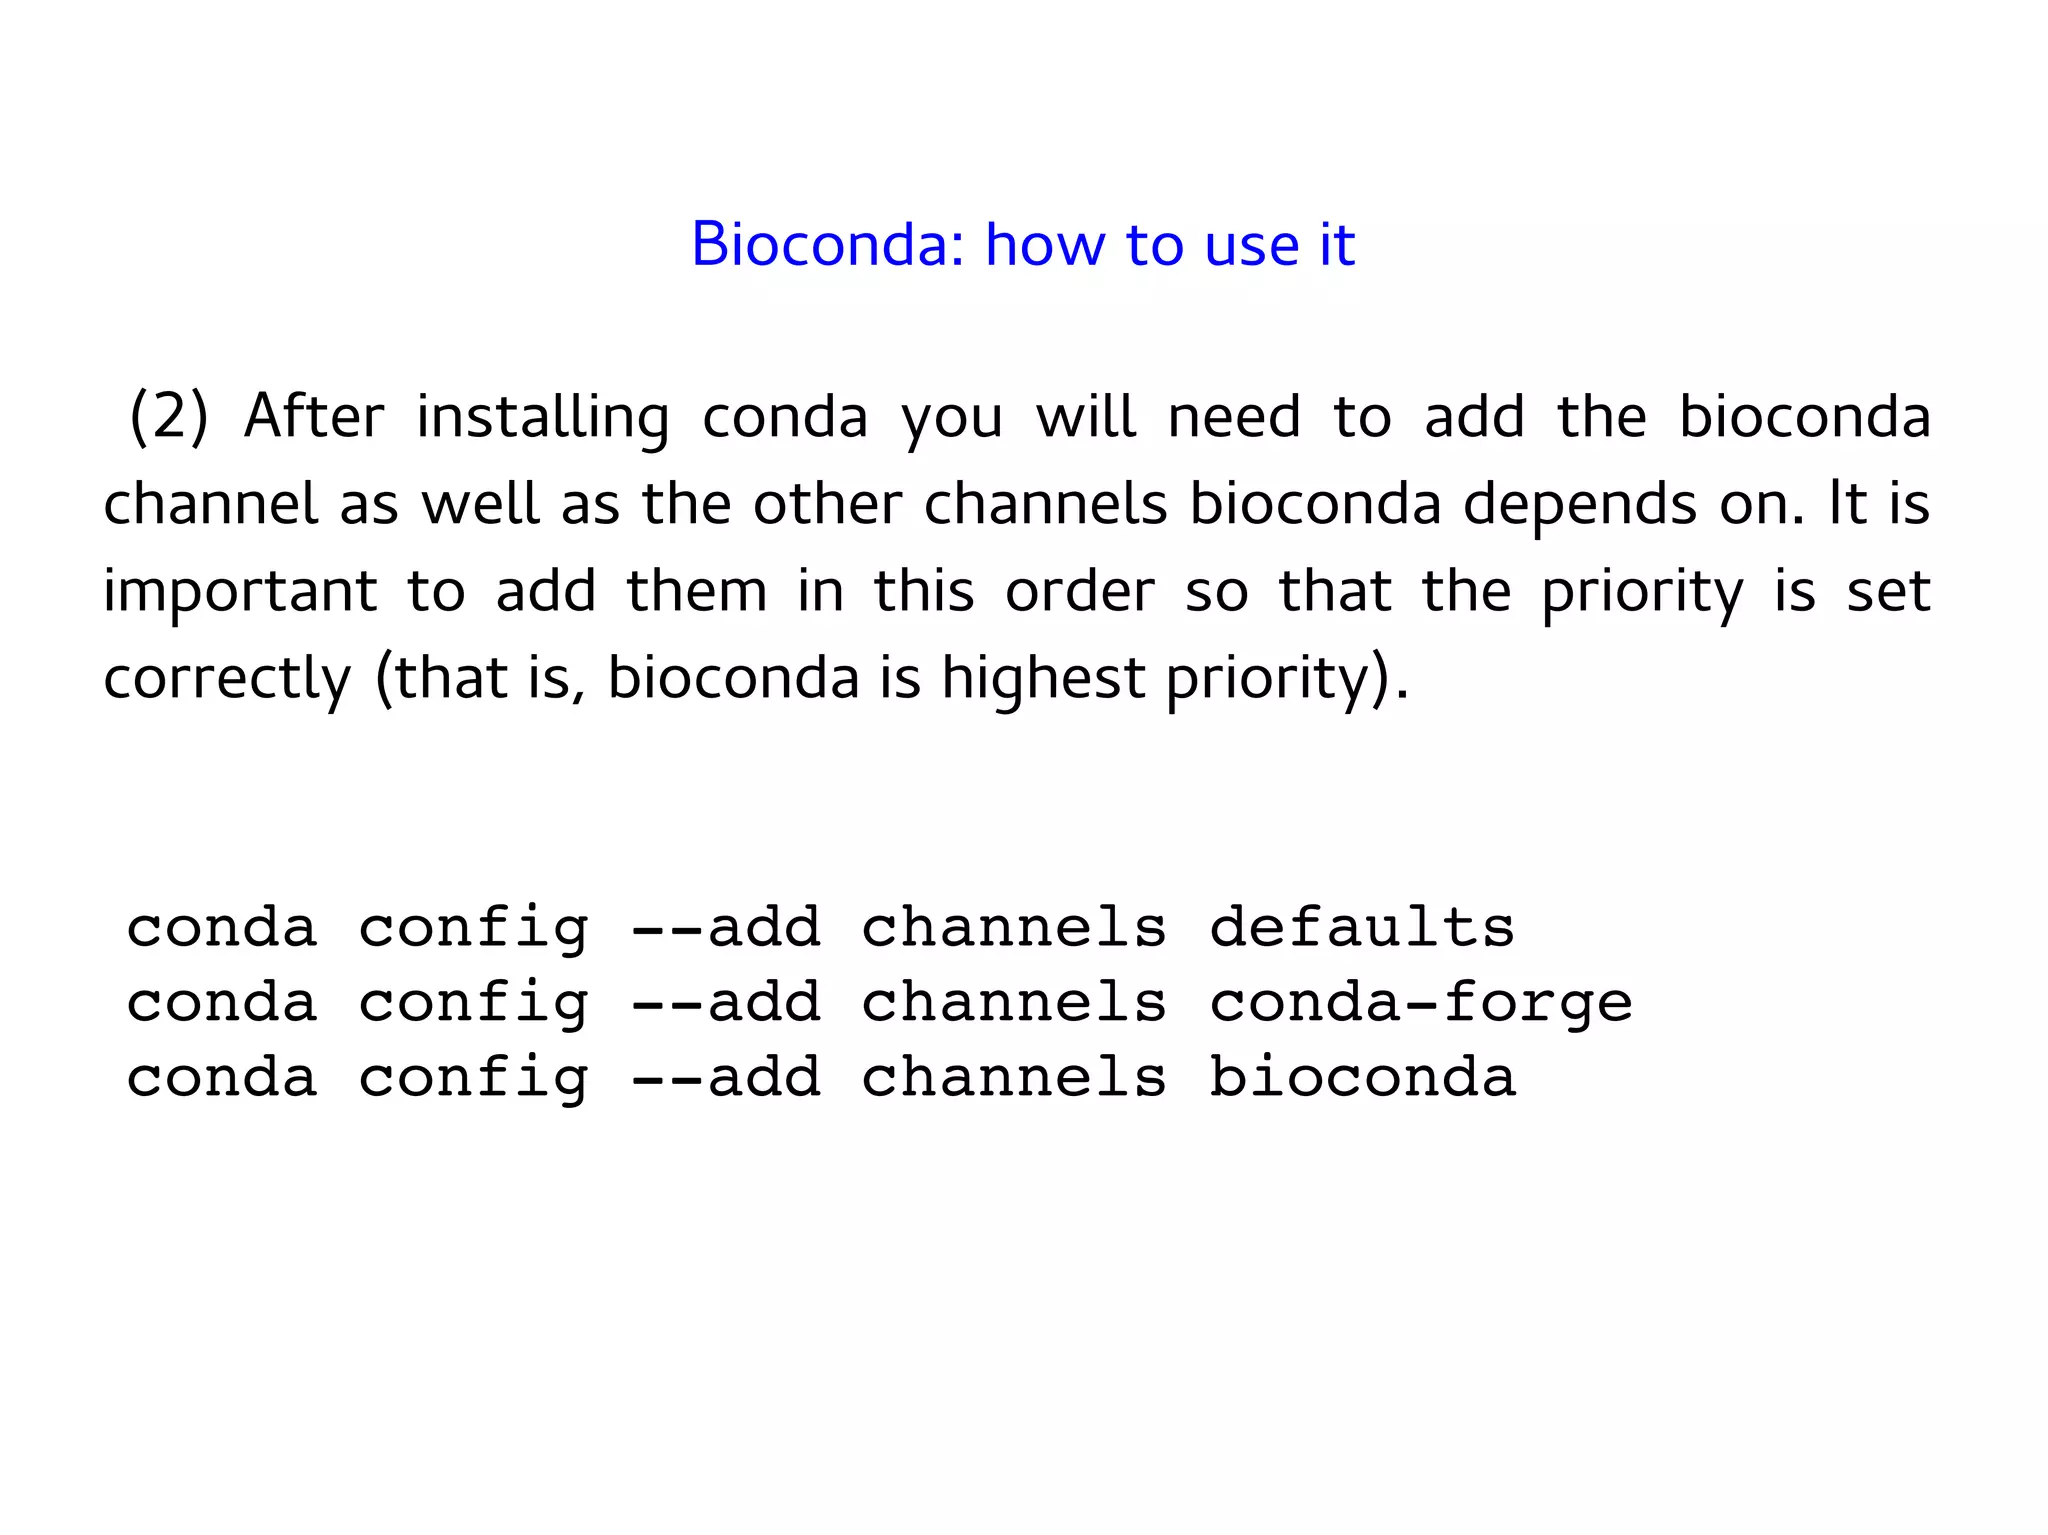
(2) After installingconda you will need to add the bioconda
channel as well as the other channels bioconda depends on. It is
important to add them in this order so that the priority is set
correctly (that is, bioconda is highest priority).
conda config --add channels defaults
conda config --add channels conda-forge
conda config --add channels bioconda
Bioconda: how to use it
9.
(3) Bioconda isnow enabled, so it's possible to install new
packages into the current Conda enrivorment:
conda install new_package
Bioconda: how to use it
That's it!
10.
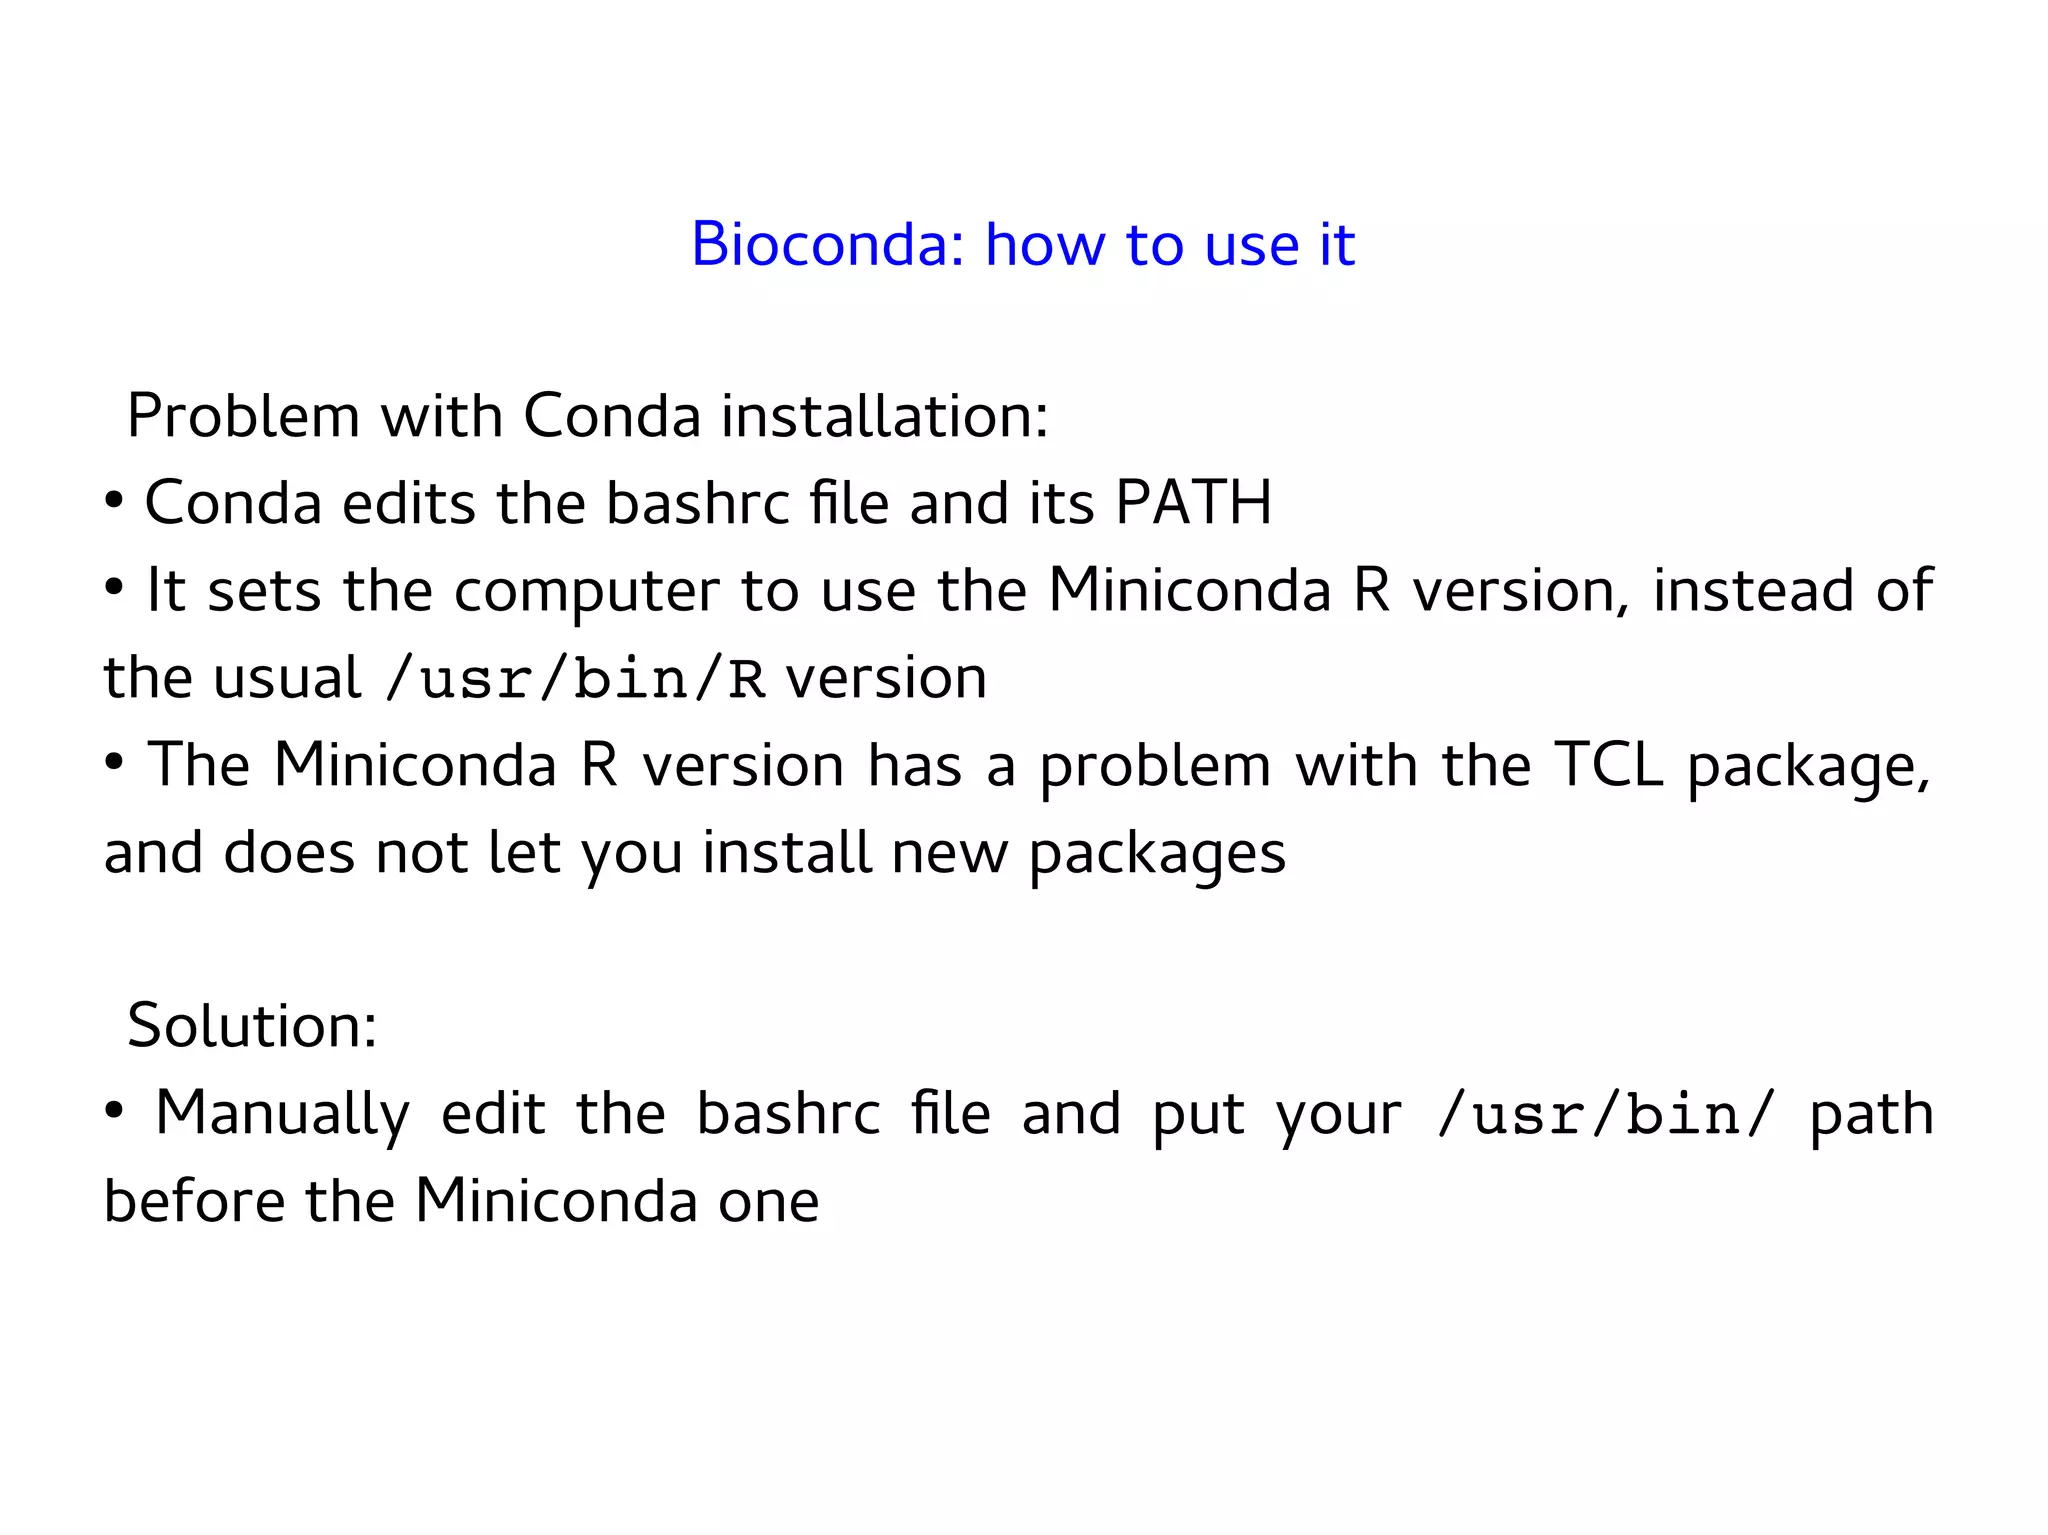
Problem with Condainstallation:
●
Conda edits the bashrc file and its PATH
●
It sets the computer to use the Miniconda R version, instead of
the usual /usr/bin/R version
●
The Miniconda R version has a problem with the TCL package,
and does not let you install new packages
Solution:
●
Manually edit the bashrc file and put your /usr/bin/ path
before the Miniconda one
Bioconda: how to use it
First, understand thedifference between recipe and package:
●
A recipe is a directory containing small set of files that defines
name, version, dependencies, and URL for source code. A recipe
typically contains a meta.yaml file that defines these settings and
a build.sh script that builds the software.
●
A recipe is converted into a package by running conda-build on
the recipe. A package is a bgzipped tar file (.tar.bz2) that
contains the built software. Packages are uploaded to
anaconda.org so that users can install them with conda
install
Bioconda: how to add a new package
13.
Then create arecipe for your new package (
https://bioconda.github.io/guidelines.html ). Requirements:
●
Have a stable URL for the source package (for example, from
GitHub, or BitBucket)
●
Separate the download of the data files into another script
●
Remove comments and prints
●
Add md5 or sha256 hash for the source package
●
No hard-coded paths in the code
Bioconda: how to add a new package
Example: BEHST recipebuild.sh file
mkdir -p $PREFIX/bin
cp $SRC_DIR/bin/* $PREFIX/bin
cd $PREFIX/bin
# downloads the BEHST default data files
./download_behst_data.sh ~/thisBEHSTdataFolder
Bioconda: how to add a new package
16.
Example: BEHST reciperun_test.sh file
# download a minimal data set for testing
./download_behst_data.sh
~/thisBEHSTdataFolder --small
# runs a BEHST test in few minutes
./behst.py
~/thisBEHSTdataFolder/pressto_LIVER_enhancers
.bed ~/thisBEHSTdataFolder
Bioconda: how to add a new package
17.
Example: BEHST recipemeta.yaml file
package:
name: behst
version: 0.7
source:
fn: 3b1d38405007.zip
url: https://bitbucket.org/hoffmanlab/behst/get/3b1d38405007.zip
sha256:67d554adbb765ec53cb557e4ed9fbe8b6fc1dff133352e2c64f3a3c85797fe7a
Bioconda: how to add a new package
1 / 4
18.
Example: BEHST recipemeta.yaml file
build:
number: 0
skip: True # [not py27 or osx]
requirements:
build:
- python
- pandas
- zlib
- libpng
- gnu-wget
Bioconda: how to add a new package
2 / 4
19.
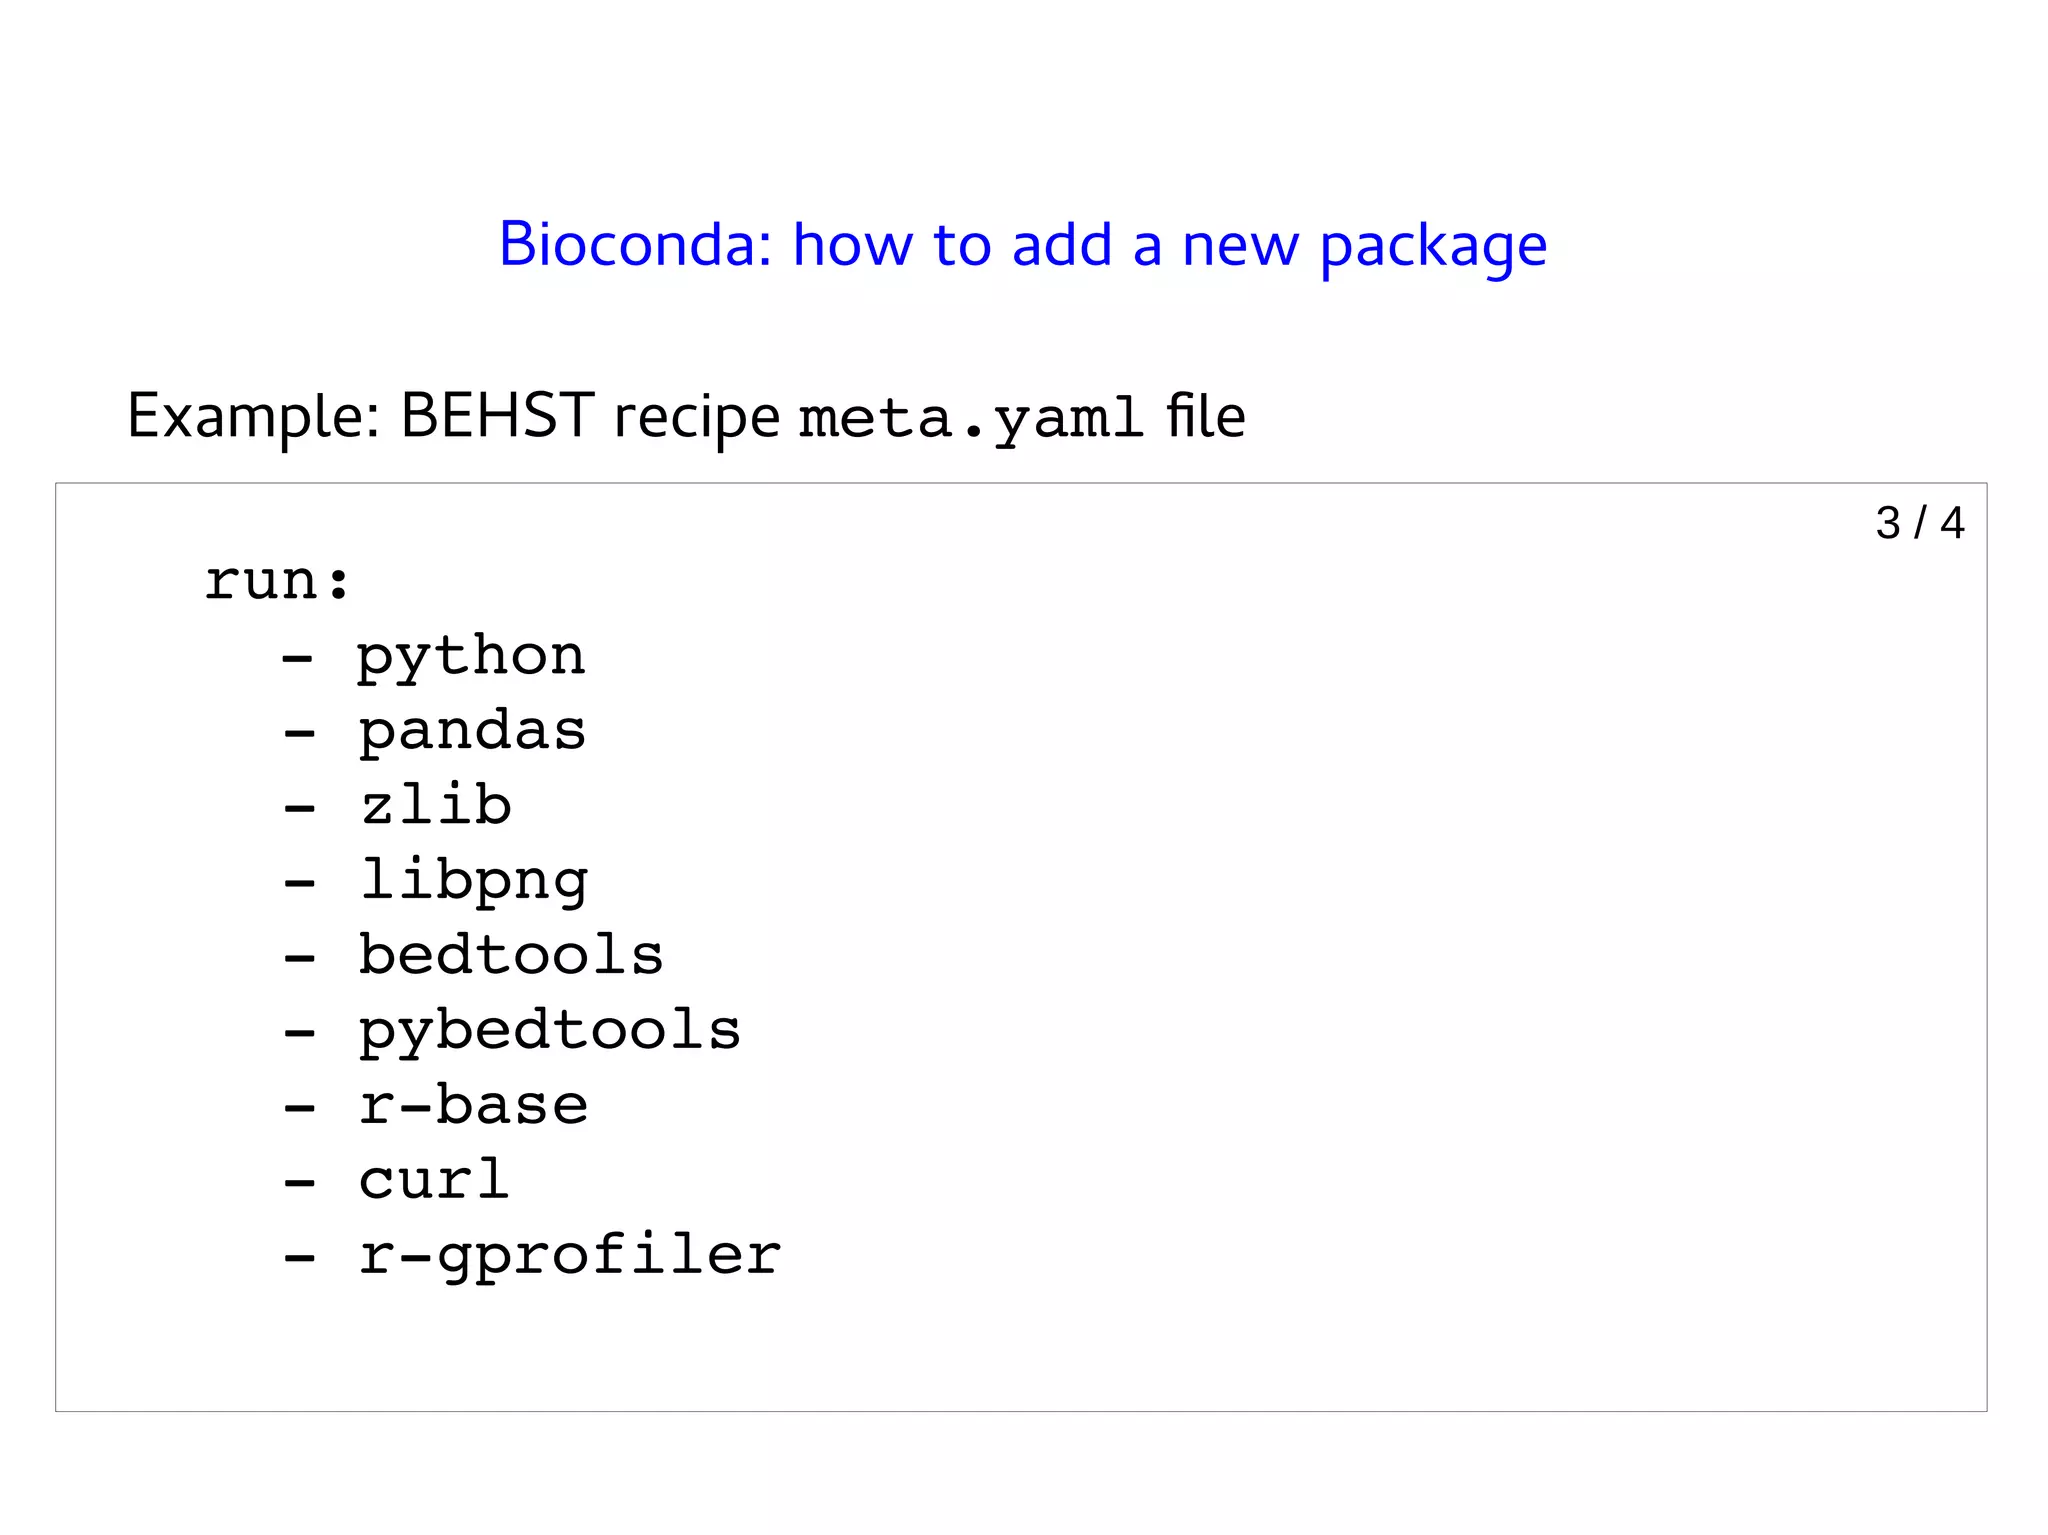
Example: BEHST recipemeta.yaml file
run:
- python
- pandas
- zlib
- libpng
- bedtools
- pybedtools
- r-base
- curl
- r-gprofiler
Bioconda: how to add a new package
3 / 4
20.
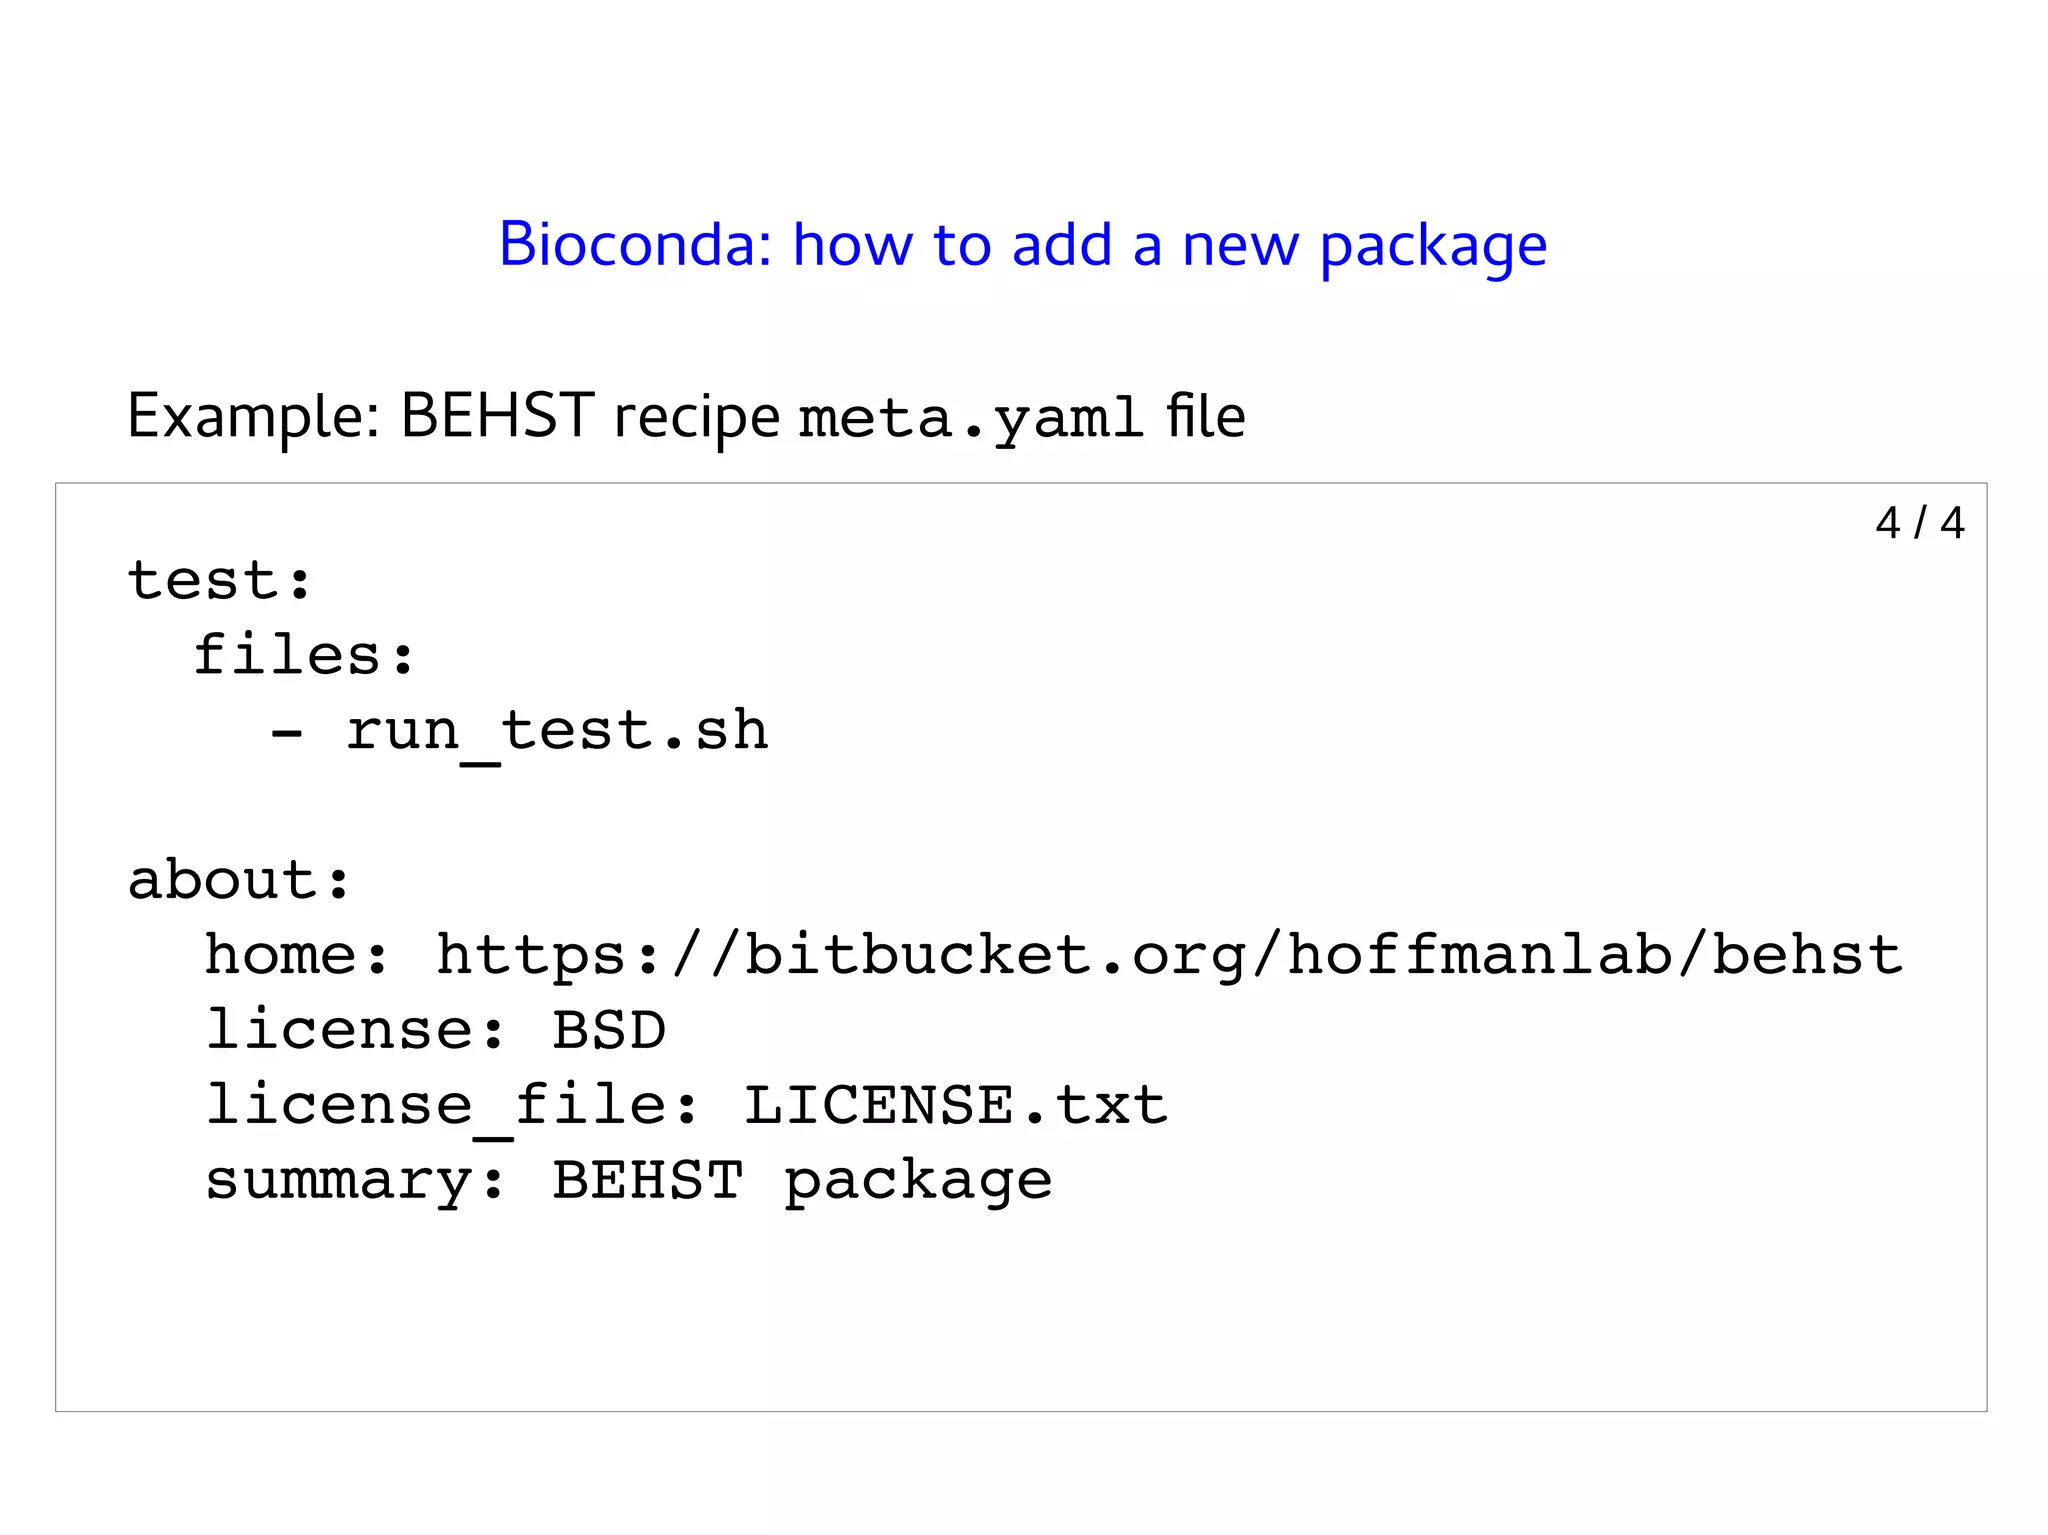
Example: BEHST recipemeta.yaml file
test:
files:
- run_test.sh
about:
home: https://bitbucket.org/hoffmanlab/behst
license: BSD
license_file: LICENSE.txt
summary: BEHST package
Bioconda: how to add a new package
4 / 4
21.
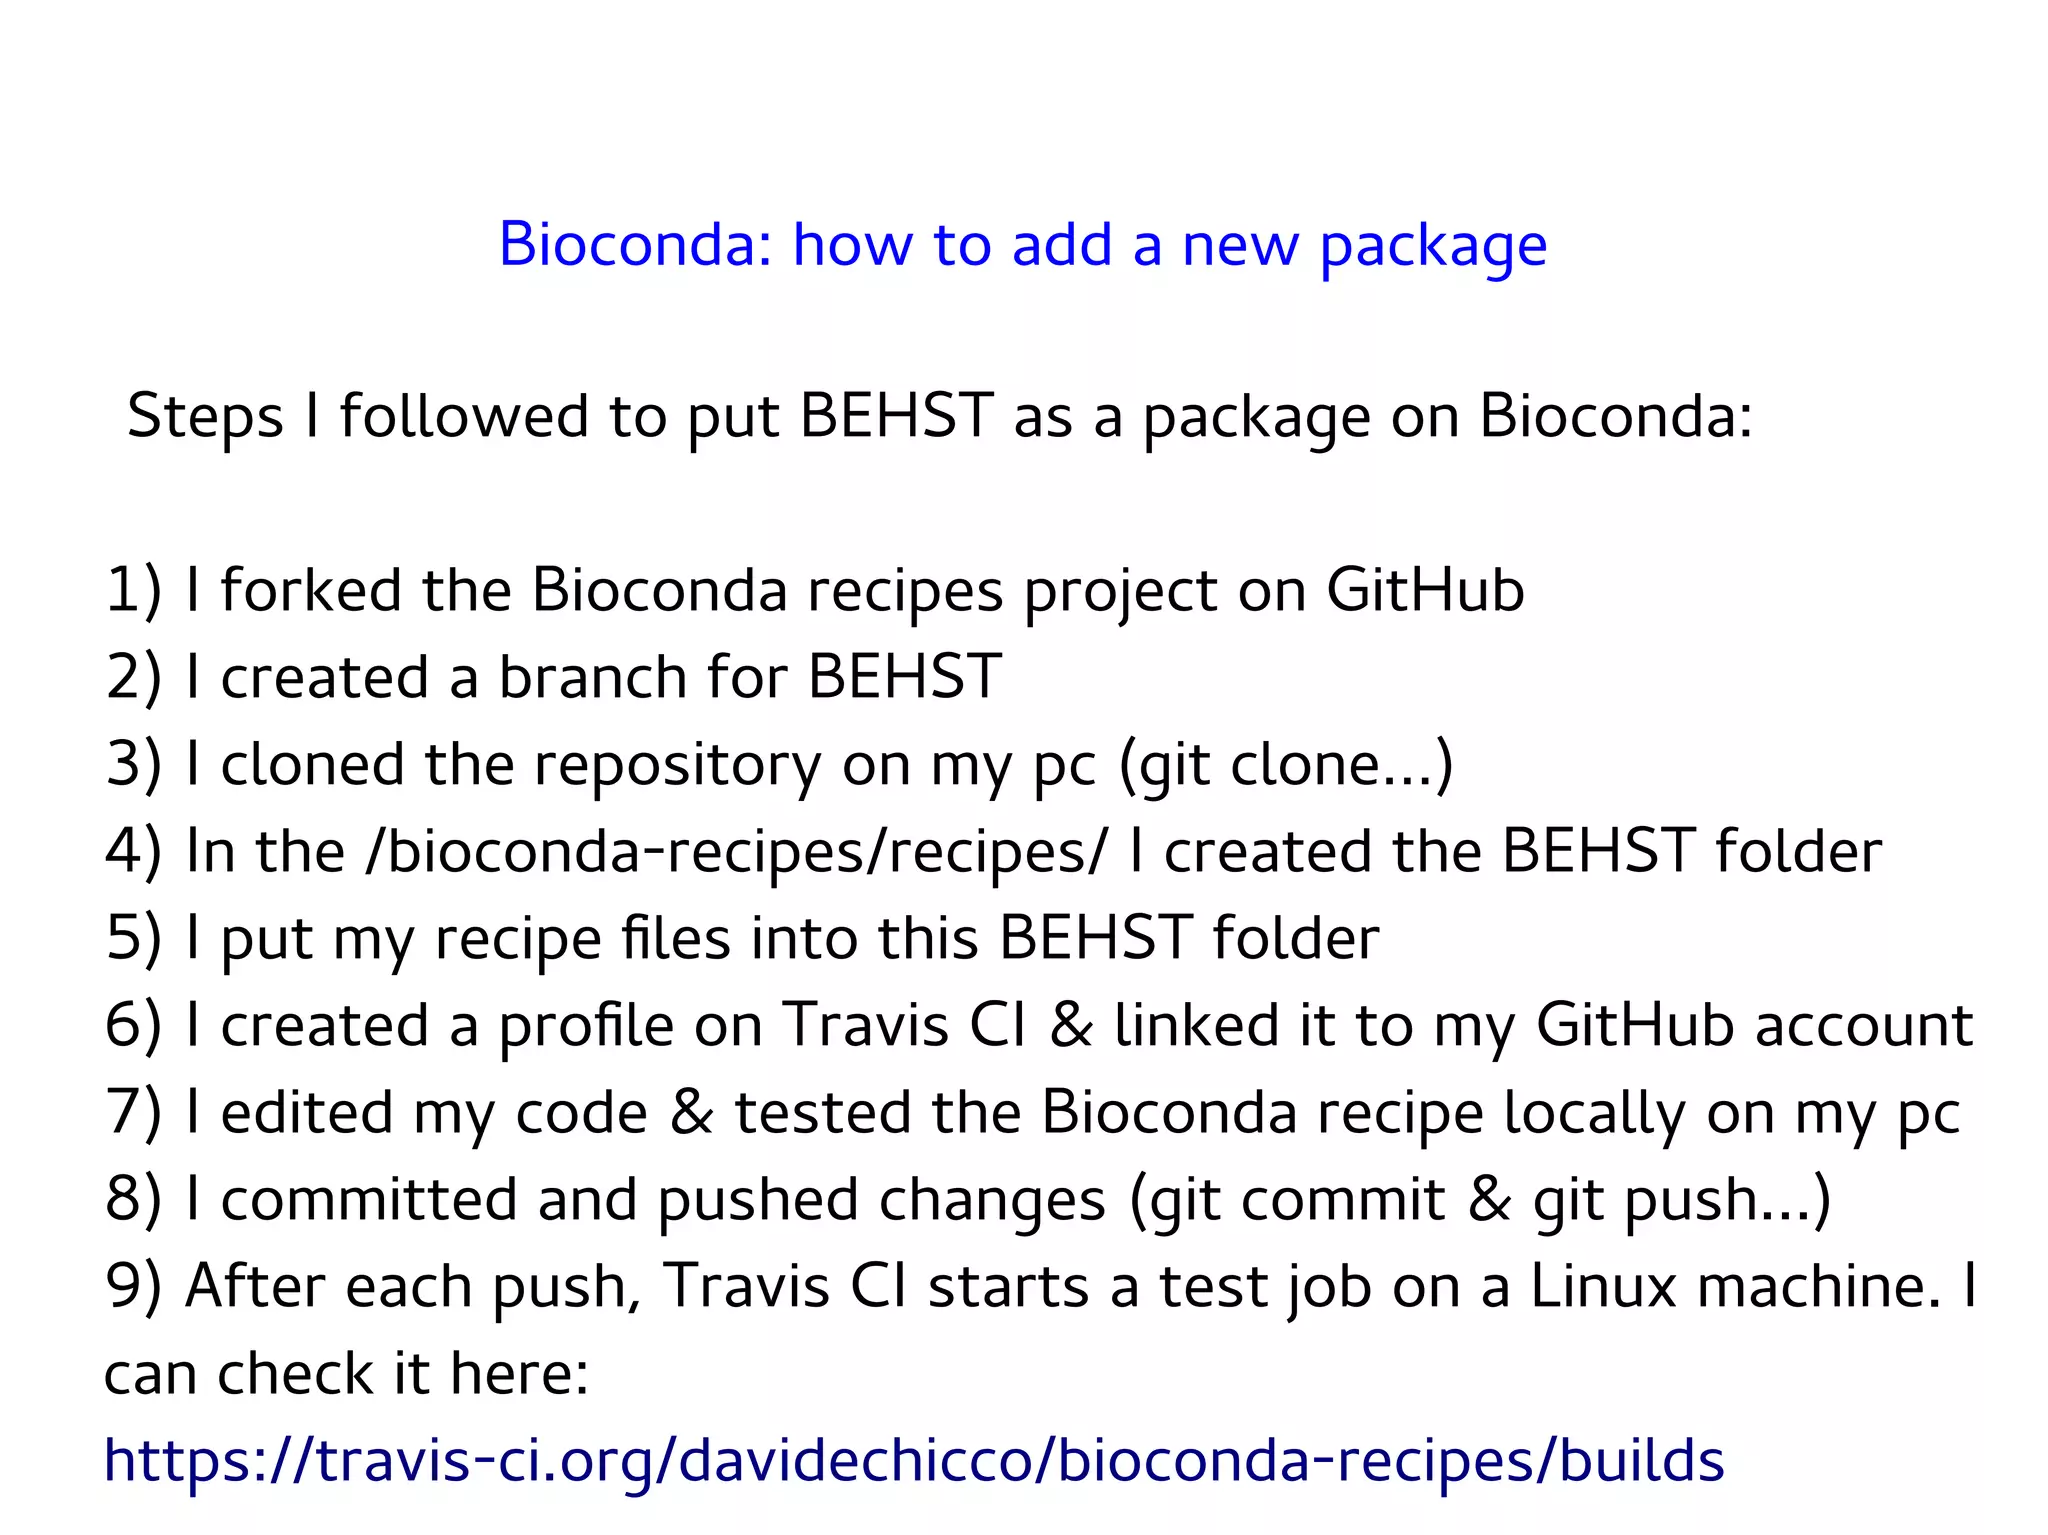
Steps I followedto put BEHST as a package on Bioconda:
1) I forked the Bioconda recipes project on GitHub
2) I created a branch for BEHST
3) I cloned the repository on my pc (git clone…)
4) In the /bioconda-recipes/recipes/ I created the BEHST folder
5) I put my recipe files into this BEHST folder
6) I created a profile on Travis CI & linked it to my GitHub account
7) I edited my code & tested the Bioconda recipe locally on my pc
8) I committed and pushed changes (git commit & git push...)
9) After each push, Travis CI starts a test job on a Linux machine. I
can check it here:
https://travis-ci.org/davidechicco/bioconda-recipes/builds
Bioconda: how to add a new package
22.
Steps I followedto put BEHST as a package on Bioconda:
10) Once I had a working version of the recipe, working
locally and on Travis CI, I asked to make a pull request to the
Bioconda developers
11) They finally added it to the official list of recipes of
Bioconda
12) Now it's freely available and it can be installed easily:
conda config --add channels defaults
conda config --add channels conda-forge
conda config --add channels bioconda
conda install -c bioconda behst
Bioconda: how to add a new package
23.
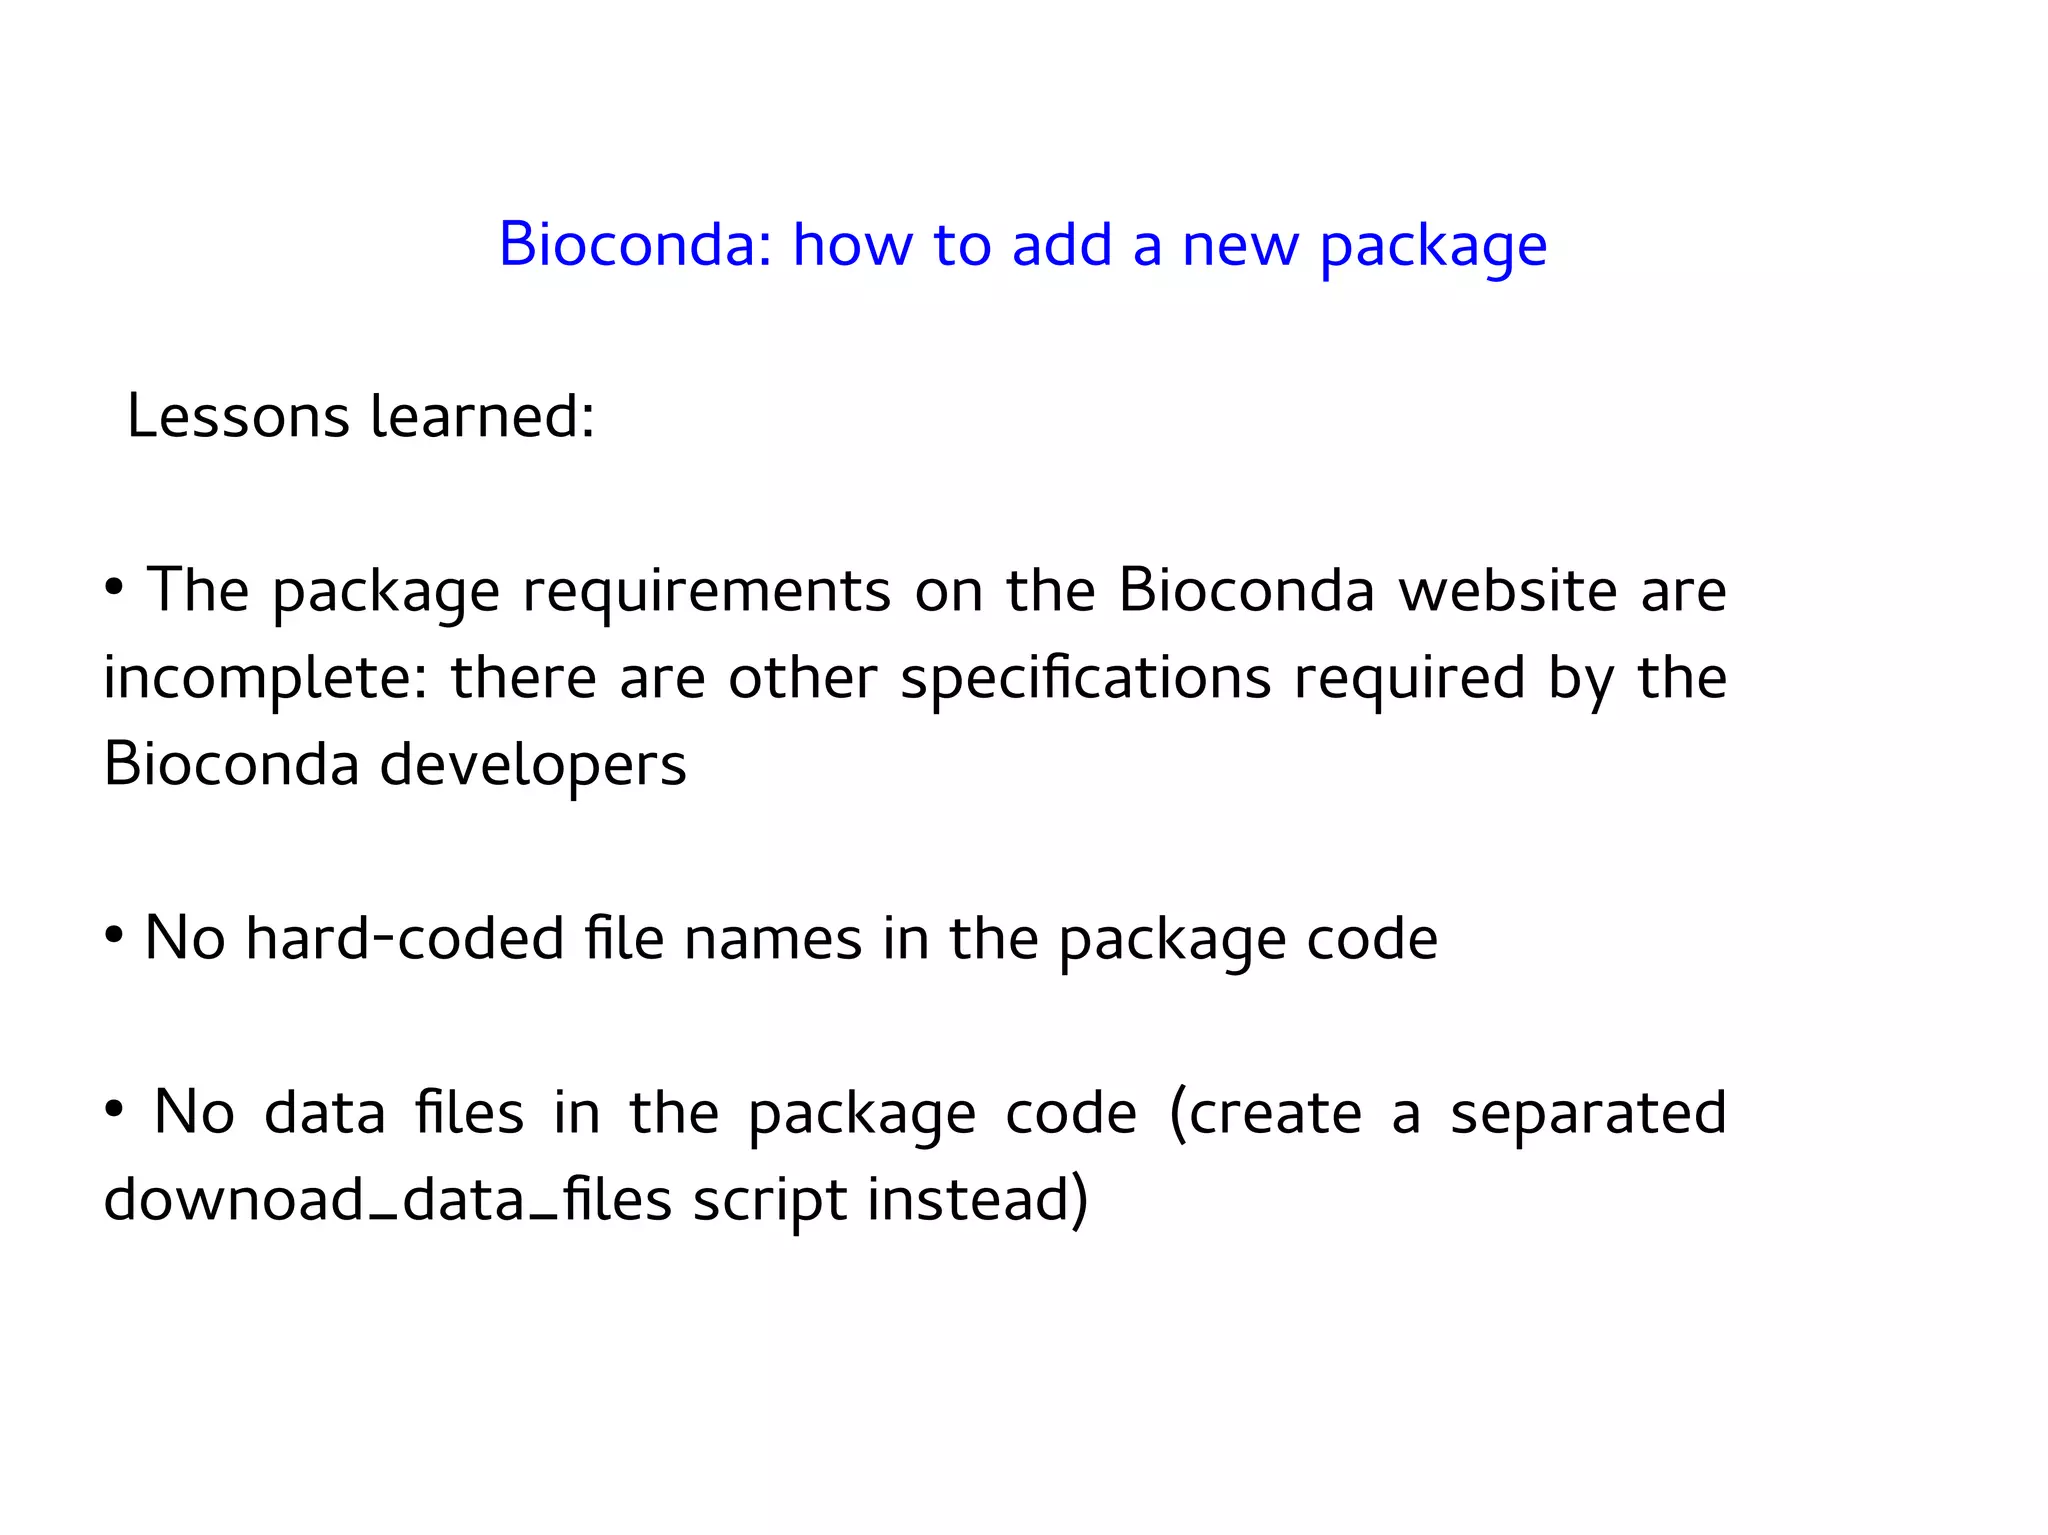
Lessons learned:
●
The packagerequirements on the Bioconda website are
incomplete: there are other specifications required by the
Bioconda developers
●
No hard-coded file names in the package code
●
No data files in the package code (create a separated
downoad_data_files script instead)
Bioconda: how to add a new package


![Example: BEHST recipe meta.yaml file
build:
number: 0
skip: True # [not py27 or osx]
requirements:
build:
- python
- pandas
- zlib
- libpng
- gnu-wget
Bioconda: how to add a new package
2 / 4](https://image.slidesharecdn.com/groupmeetingtechbioconda2017-08-09-200124172052/75/Conda-and-Bioconda-18-2048.jpg)


![[OpenStack Days Korea 2016] Track1 - 카카오는 오픈스택 기반으로 어떻게 5000VM을 운영하고 있을까?](https://cdn.slidesharecdn.com/ss_thumbnails/16kakao-160226171853-thumbnail.jpg?width=640&height=640&fit=bounds)


![Vibe Coding vs. Spec-Driven Development [Free Meetup]](https://cdn.slidesharecdn.com/ss_thumbnails/vibecodingvsspecdrivendevelopment-251209105622-43f455e7-thumbnail.jpg?width=640&height=640&fit=bounds)


