Download to read offline
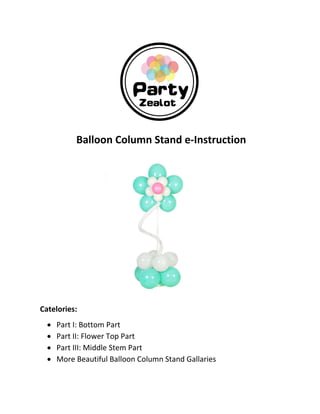


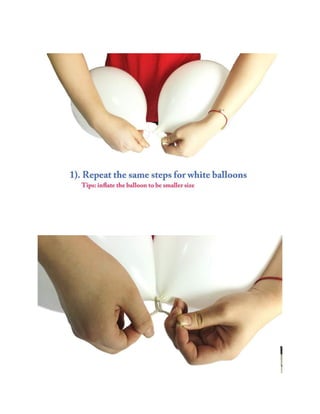
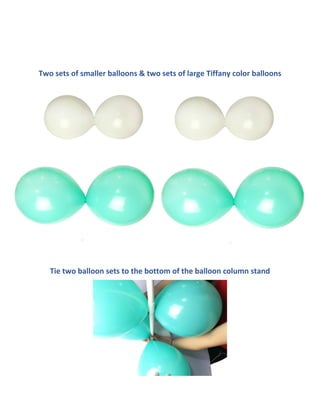

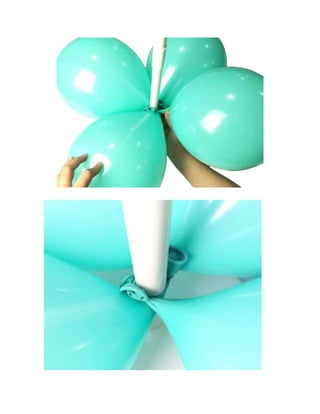
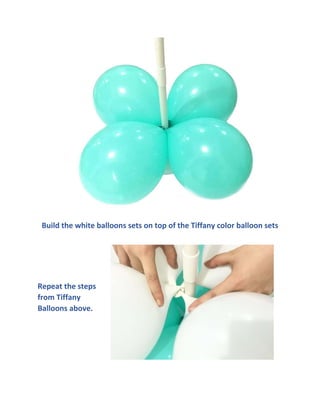
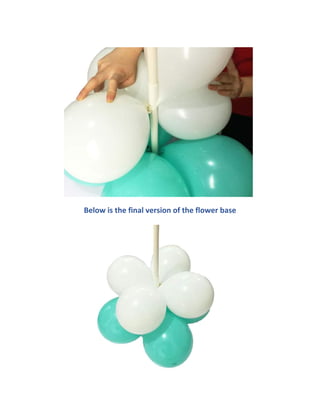
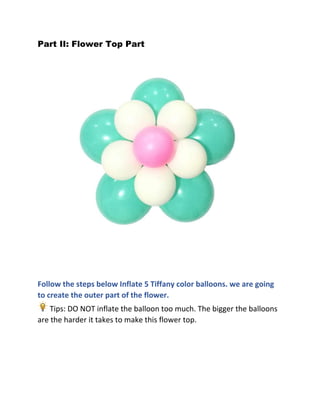
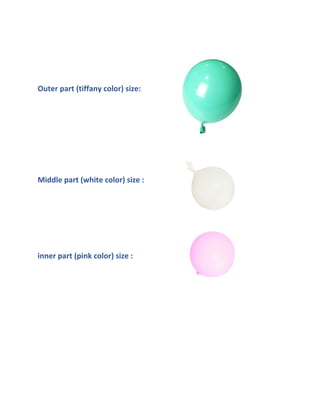
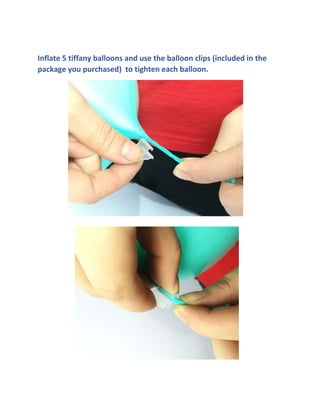
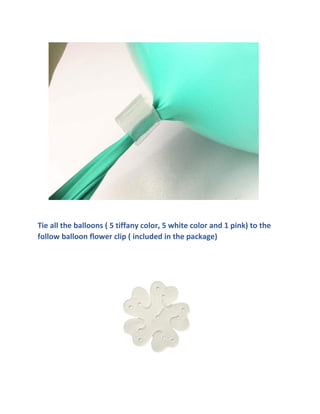
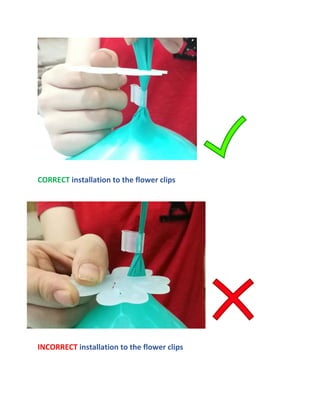
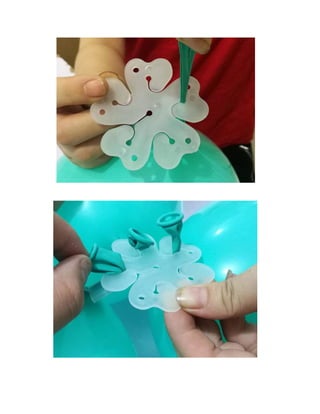
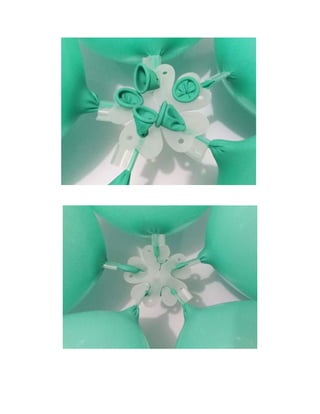


This document provides a detailed guide on building a balloon column stand, outlining the construction of the bottom part, flower top part, and middle stem. It includes tips for balloon inflation and assembly, as well as decoration advice to enhance stability and aesthetic appeal. The instructions emphasize careful balloon handling and step-by-step assembly for a successful finished product.


