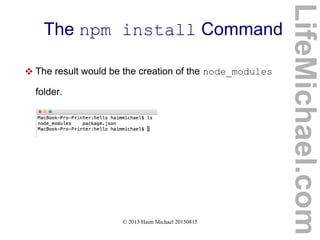
Downloaded 230 times


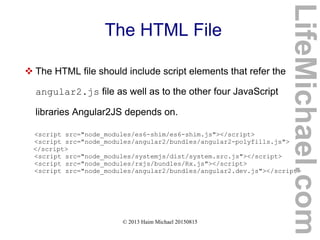
![© 2013 Haim Michael, lifemichael.com
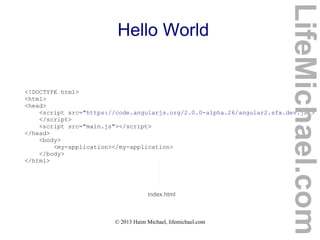
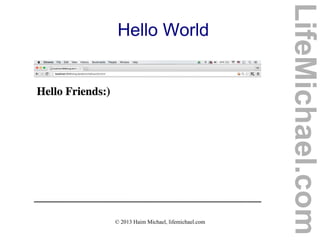
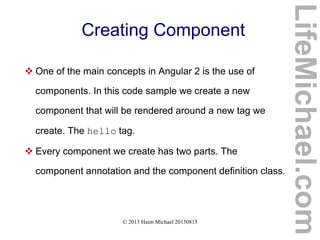
Hello World
function AppComponent() {}
AppComponent.annotations = [
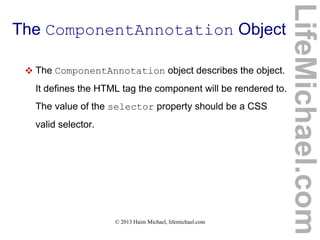
new angular.ComponentAnnotation({
selector: 'my-application'
}),
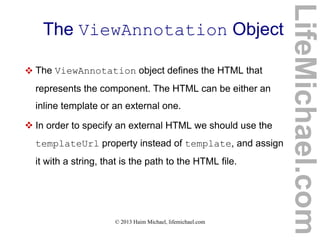
new angular.ViewAnnotation({
template: '<h1>Hello Friends:)</h1>'
})
];
document.addEventListener('DOMContentLoaded', function() {
angular.bootstrap(AppComponent);
});
main.js
LifeMichael.com](https://image.slidesharecdn.com/angular2seminar20151230-151230153742/85/Angular-2-Seminar_-December-7-12-2015-51-320.jpg)

![© 2013 Haim Michael 20150815
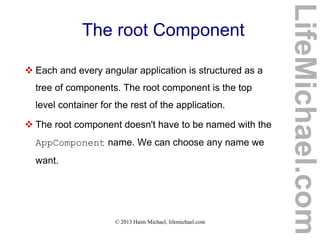
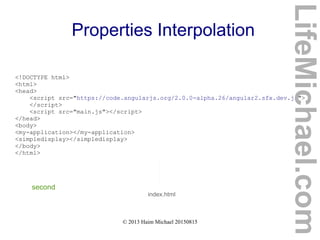
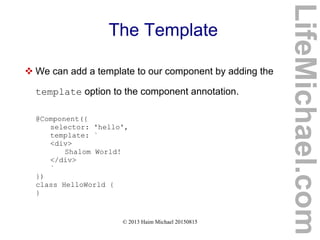
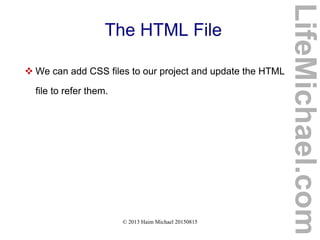
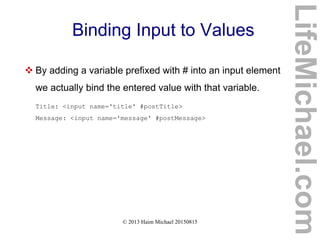
Properties Interpolation
function AppComponent() {}
AppComponent.annotations = [
new angular.ComponentAnnotation({
selector: 'my-application'
}),
new angular.ViewAnnotation({
template: '<h1>Hello World:)</h1>'
})
];
main.js
LifeMichael.com](https://image.slidesharecdn.com/angular2seminar20151230-151230153742/85/Angular-2-Seminar_-December-7-12-2015-62-320.jpg)
![© 2013 Haim Michael 20150815
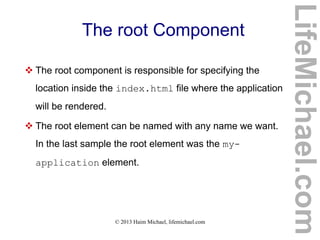
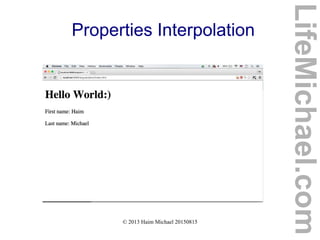
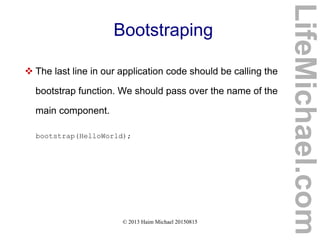
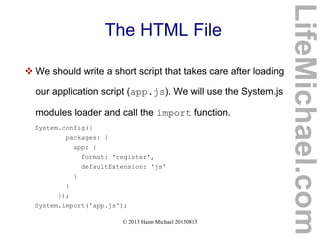
Properties Interpolation
function DisplayComponent() {
this.firstName = "Haim";
this.lastName = "Michael";
}
DisplayComponent.annotations = [
new angular.ComponentAnnotation({
selector: "simpledisplay"
}),
new angular.ViewAnnotation({
template:
<p>First name: {{ firstName }}</p><p>Last name: {{ lastName }}</p>'
})
];
document.addEventListener('DOMContentLoaded', function() {
angular.bootstrap(AppComponent);
angular.bootstrap(DisplayComponent);
});
LifeMichael.com](https://image.slidesharecdn.com/angular2seminar20151230-151230153742/85/Angular-2-Seminar_-December-7-12-2015-63-320.jpg)

![© 2013 Haim Michael 20150815
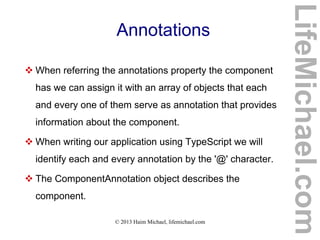
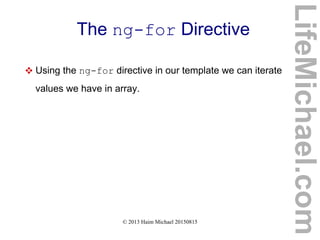
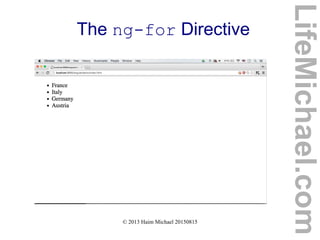
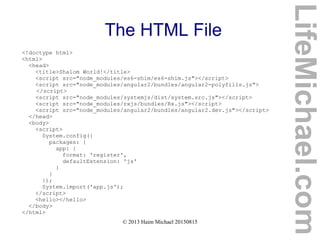
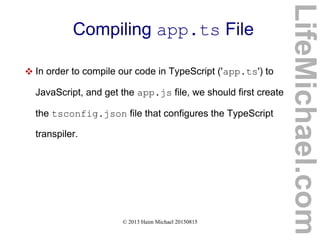
The ng-for Directive
main.js
function AppComponent() {
this.countries = ['France','Italy','Germany','Austria'];
}
AppComponent.annotations = [
new angular.ComponentAnnotation({
selector: 'my-app'
}),
new angular.ViewAnnotation({
directives: [angular.NgFor],
template:
'<ul>' +
'<li *ng-for="#country of countries">' + '{{ country }}' +
'</li>' +
'</ul>'
})
];
document.addEventListener('DOMContentLoaded', function() {
angular.bootstrap(AppComponent);
});
LifeMichael.com](https://image.slidesharecdn.com/angular2seminar20151230-151230153742/85/Angular-2-Seminar_-December-7-12-2015-67-320.jpg)
![© 2013 Haim Michael 20150815
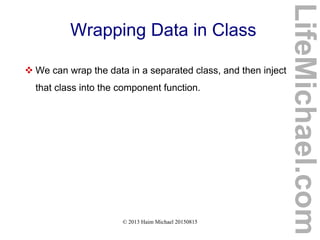
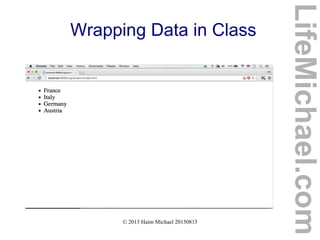
Wrapping Data in Class
function AppComponent(data) {
this.countries = data.countries;
}
function CountriesService() {
this.countries = ['France','Italy','Germany','Austria'];
}
AppComponent.annotations = [
new angular.ComponentAnnotation({
selector: 'my-app',
appInjector: [CountriesService]
}),
new angular.ViewAnnotation({
directives: [angular.NgFor],
template:
'<ul>' +
'<li *ng-for="#country of countries">' +
'{{ country }}' +
'</li>' +
'</ul>'
})
];
AppComponent.parameters = [[CountriesService]];
document.addEventListener('DOMContentLoaded', function() {
angular.bootstrap(AppComponent);
});
LifeMichael.com](https://image.slidesharecdn.com/angular2seminar20151230-151230153742/85/Angular-2-Seminar_-December-7-12-2015-71-320.jpg)

![© 2013 Haim Michael 20150815
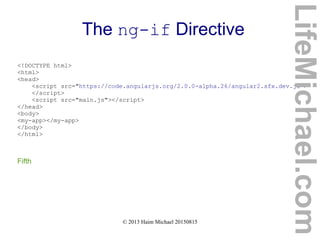
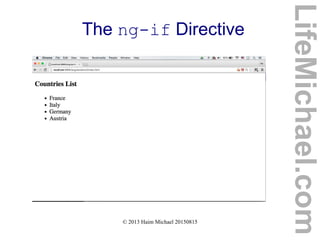
The ng-if Directive
function AppComponent(data)
{
this.countries = data.countries;
}
function CountriesService() {
this.countries = ['France','Italy','Germany','Austria'];
}
AppComponent.annotations = [
new angular.ComponentAnnotation({
selector: 'my-app',
appInjector: [CountriesService]
}),
new angular.ViewAnnotation({
directives: [angular.NgFor,angular.NgIf],
template:
'<h3 *ng-if="countries.length>1">Countries List</h3>' +
'<ul>' +
'<li *ng-for="#country of countries">' +
'{{ country }}' +
'</li>' +
'</ul>'
})
];
LifeMichael.com](https://image.slidesharecdn.com/angular2seminar20151230-151230153742/85/Angular-2-Seminar_-December-7-12-2015-75-320.jpg)
![© 2013 Haim Michael 20150815
The ng-if Directive
AppComponent.parameters = [[CountriesService]];
document.addEventListener('DOMContentLoaded', function() {
angular.bootstrap(AppComponent);
});
LifeMichael.com](https://image.slidesharecdn.com/angular2seminar20151230-151230153742/85/Angular-2-Seminar_-December-7-12-2015-76-320.jpg)

![© 2013 Haim Michael 20150815
Introduction
function ChildComponent() {
this.message = "This is a Child Component";
}
ChildComponent.annotations = [
new angular.ComponentAnnotation({
selector: "child-component"
}),
new angular.ViewAnnotation({
template: '<p> {{ message }} </p>'
})
];
LifeMichael.com](https://image.slidesharecdn.com/angular2seminar20151230-151230153742/85/Angular-2-Seminar_-December-7-12-2015-81-320.jpg)
![© 2013 Haim Michael 20150815
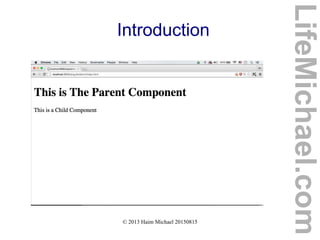
Introduction
function ParentComponent() {
this.msg = "This is The Parent Component";
}
ParentComponent.annotations = [
new angular.ComponentAnnotation({
selector: "main-component"
}),
new angular.ViewAnnotation({
template: '<h1>{{msg}}</h1>' +
'<child-component></child-component>'
})
];
document.addEventListener('DOMContentLoaded', function(){
angular.bootstrap(ParentComponent);
angular.bootstrap(ChildComponent);
});
LifeMichael.com](https://image.slidesharecdn.com/angular2seminar20151230-151230153742/85/Angular-2-Seminar_-December-7-12-2015-82-320.jpg)
![© 2013 Haim Michael 20150815
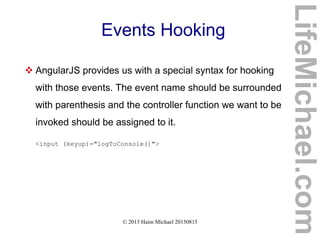
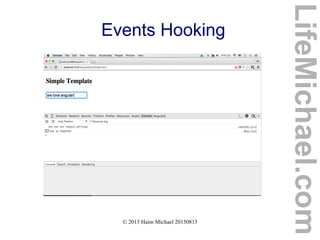
Events Hooking
function AppComponent() {
this.logToConsole = function() {
console.log("key up happened");
};
}
AppComponent.annotations = [
new angular.ComponentAnnotation({
selector: 'my-app'
}),
new angular.ViewAnnotation({
template:
'<h3>Simple Template</h3>' +
'<input (keyup)="logToConsole()">'
})
];
document.addEventListener('DOMContentLoaded', function() {
angular.bootstrap(AppComponent);
});
LifeMichael.com](https://image.slidesharecdn.com/angular2seminar20151230-151230153742/85/Angular-2-Seminar_-December-7-12-2015-88-320.jpg)
![© 2013 Haim Michael 20150815
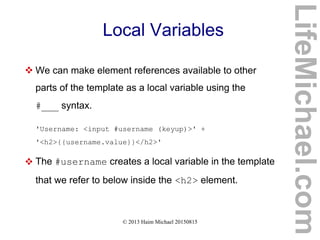
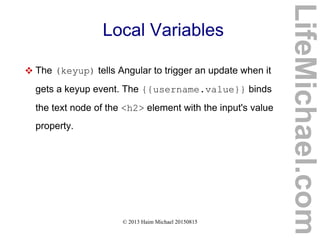
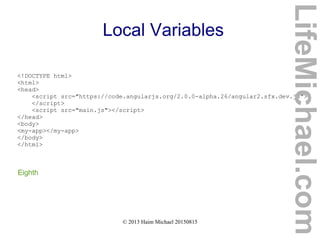
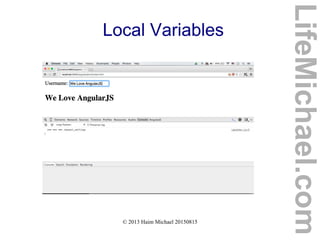
Local Variables
function AppComponent() {
}
AppComponent.annotations = [
new angular.ComponentAnnotation({
selector: 'my-app'
}),
new angular.ViewAnnotation({
template:
'Username: <input #username (keyup)>' +
'<h2>{{username.value}}</h2>'
})
];
document.addEventListener('DOMContentLoaded', function() {
angular.bootstrap(AppComponent);
});
LifeMichael.com](https://image.slidesharecdn.com/angular2seminar20151230-151230153742/85/Angular-2-Seminar_-December-7-12-2015-93-320.jpg)
![© 2013 Haim Michael 20150815
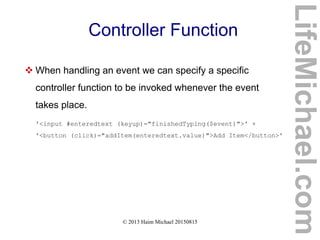
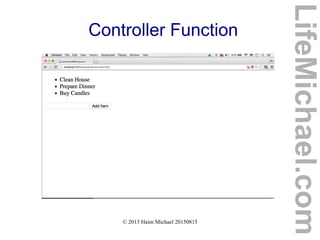
Controller Function
function TodoListController() {
this.items = ["Clean House", "Prepare Dinner", "Buy Candles"];
this.addItem = function(item) {
this.items.push(item);
};
this.finishedTyping = function($event) {
if($event.which === 13) {
this.addItem($event.target.value);
}
}
}
LifeMichael.com](https://image.slidesharecdn.com/angular2seminar20151230-151230153742/85/Angular-2-Seminar_-December-7-12-2015-97-320.jpg)
![© 2013 Haim Michael 20150815
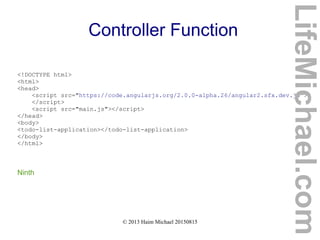
Controller Function
TodoListController.annotations = [
new angular.ComponentAnnotation({
selector: "todo-list-application"
}),
new angular.ViewAnnotation({
template:
'<ul>' +
'<li *ng-for="#item of items">' +
'{{ item }}' +
'</li>' +
'</ul>' +
'<input #enteredtext (keyup)="finishedTyping($event)">' +
'<button (click)="addItem(enteredtext.value)">Add Item</button>',
directives: [angular.NgFor, angular.NgIf]
})
];
document.addEventListener("DOMContentLoaded", function() {
angular.bootstrap(TodoListController);
});
LifeMichael.com](https://image.slidesharecdn.com/angular2seminar20151230-151230153742/85/Angular-2-Seminar_-December-7-12-2015-98-320.jpg)


![© 2013 Haim Michael 20150815
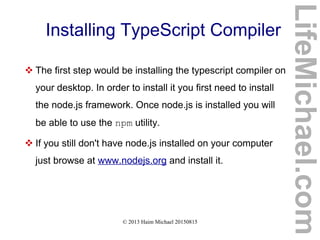
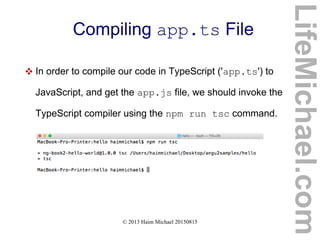
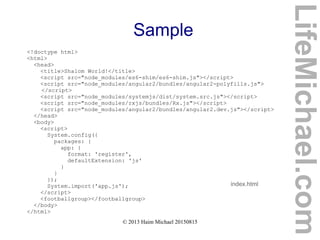
Compiling tsconfig.json File
LifeMichael.com
{
"compilerOptions": {
"target": "ES5",
"module": "system",
"moduleResolution": "node",
"sourceMap": true,
"emitDecoratorMetadata": true,
"experimentalDecorators": true,
"removeComments": false,
"noImplicitAny": false
},
"exclude": [
"node_modules"
]
}
tsconfig.json](https://image.slidesharecdn.com/angular2seminar20151230-151230153742/85/Angular-2-Seminar_-December-7-12-2015-124-320.jpg)


![© 2013 Haim Michael 20150815
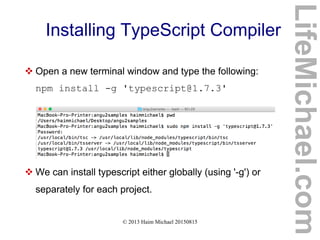
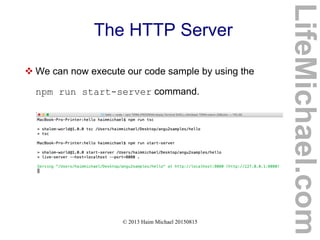
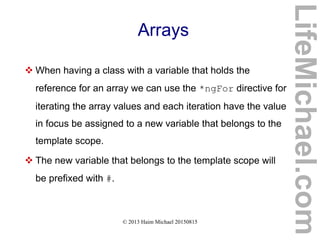
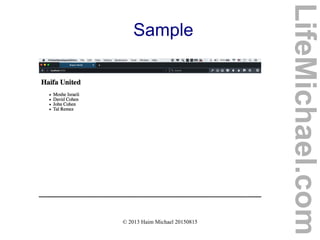
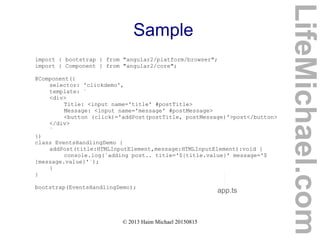
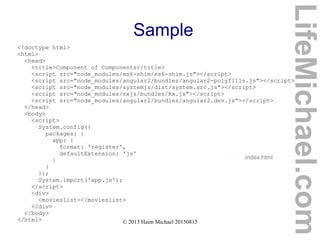
Sample
import { bootstrap } from "angular2/platform/browser";
import { Component } from "angular2/core";
@Component({
selector: 'footballgroup',
template: `
<div>
<h2>{{groupName}}</h2>
<ul>
<li *ngFor="#player of players">{{player}}</li>
</ul>
</div>
`
})
class GreetingSomeone {
groupName:string;
players:string[];
constructor() {
this.groupName = "Haifa United";
this.players = ['Moshe Israeli','David Cohen','John Cohen','Tal Remez'];
}
}
bootstrap(GreetingSomeone);
app.ts
LifeMichael.com](https://image.slidesharecdn.com/angular2seminar20151230-151230153742/85/Angular-2-Seminar_-December-7-12-2015-139-320.jpg)

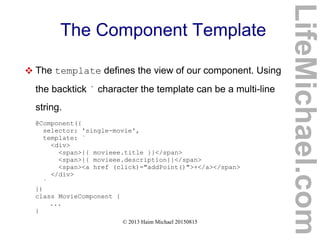
![© 2013 Haim Michael 20150815
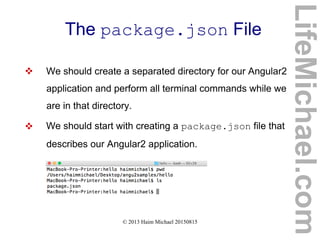
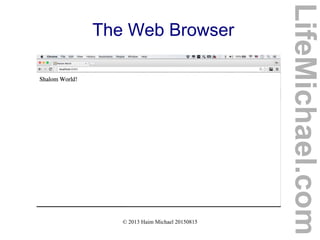
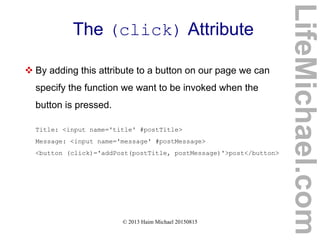
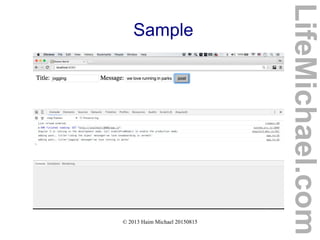
The directives Property
@Component({
selector: 'movieslist',
directives: [MovieComponent],
template: `
<form>
<h3>Add a Movie</h3>
...
</form>
<div>
<single-movie
*ngFor="#moviesingle of sortedMovies()"
[movieee]="moviesingle">
</single-movie>
</div>
`
})
class MoviesList {
movies: Movie[];
constructor() {
...
}
}
LifeMichael.com](https://image.slidesharecdn.com/angular2seminar20151230-151230153742/85/Angular-2-Seminar_-December-7-12-2015-148-320.jpg)
![© 2013 Haim Michael 20150815
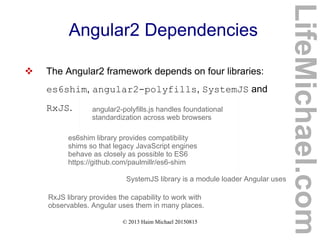
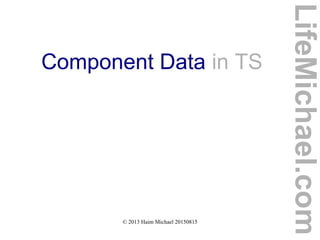
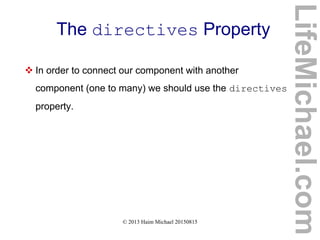
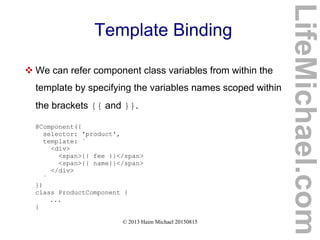
The directives Property
@Component({
selector: 'single-movie',
inputs: ['movieee'],
template: `
<div>
<span>{{ movieee.points }} Points</span>
<span>{{ movieee.title }}</span>
<span>{{ movieee.description}}</span>
<span><a href (click)="addPoint()">+</a></span>
<span><a href (click)="removePoint()">-</a></span>
</div>
`
})
class MovieComponent {
movieee: Movie;
addPoint(): boolean {
this.movieee.addPoint();
return false;
}
...
}
LifeMichael.com](https://image.slidesharecdn.com/angular2seminar20151230-151230153742/85/Angular-2-Seminar_-December-7-12-2015-149-320.jpg)
![© 2013 Haim Michael 20150815
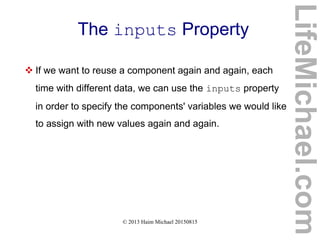
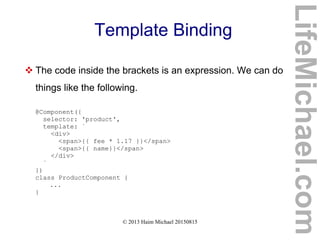
The inputs Property
class Movie {
title: string;
description: string;
points: number;
...
}
@Component({
selector: 'single-movie',
inputs: ['movieee'],
template: `
<div>
...
</div>
`
})
class MovieComponent {
movieee: Movie;
addPoint(): boolean {
...
}
...
}
LifeMichael.com](https://image.slidesharecdn.com/angular2seminar20151230-151230153742/85/Angular-2-Seminar_-December-7-12-2015-151-320.jpg)
![© 2013 Haim Michael 20150815
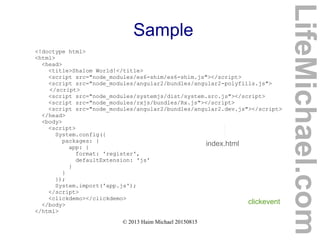
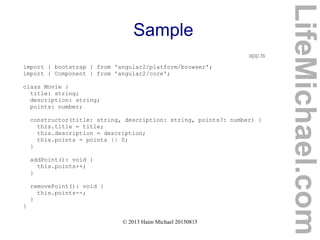
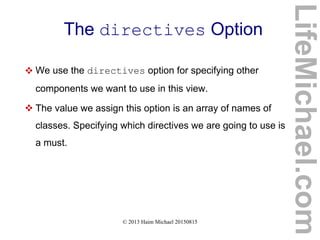
Sample
@Component({
selector: 'single-movie',
inputs: ['movieee'],
template: `
<div>
<span>{{ movieee.points }} Points</span>
<span>{{ movieee.title }}</span>
<span>{{ movieee.description}}</span>
<span><a href (click)="addPoint()">+</a></span>
<span><a href (click)="removePoint()">-</a></span>
</div>
`
})
class MovieComponent {
movieee: Movie;
addPoint(): boolean {
this.movieee.addPoint();
return false;
}
removePoint(): boolean {
this.movieee.removePoint();
return false;
}
}
LifeMichael.com](https://image.slidesharecdn.com/angular2seminar20151230-151230153742/85/Angular-2-Seminar_-December-7-12-2015-154-320.jpg)
![© 2013 Haim Michael 20150815
Sample
@Component({
selector: 'movieslist',
directives: [MovieComponent],
template: `
<form>
<h3>Add a Movie</h3>
<span>
<label for="title">Title:</label>
<input name="title" #newtitle>
</span>
<span class="field">
<label for="description">Description:</label>
<input name="description" #newDescription>
</span>
<button (click)="addMovie(newtitle, newDescription)">
Add Movie
</button>
</form>
<div>
<single-movie
*ngFor="#moviesingle of sortedMovies()"
[movieee]="moviesingle">
</single-movie>
</div>
`
})
LifeMichael.com](https://image.slidesharecdn.com/angular2seminar20151230-151230153742/85/Angular-2-Seminar_-December-7-12-2015-155-320.jpg)
![© 2013 Haim Michael 20150815
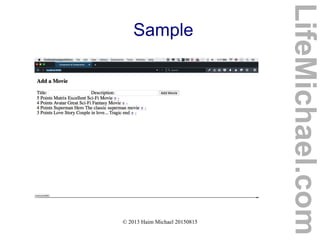
Sample
class MoviesList {
movies: Movie[];
constructor() {
this.movies = [
new Movie('Love Story', 'Couple in love... Tragic end', 3),
new Movie('Matrix', 'Excellent Sci-Fi Movie', 5),
new Movie('Avatar', 'Great Sci-Fi Fantasy Movie', 4),
];
}
addMovie(title: HTMLInputElement, description: HTMLInputElement): void {
this.movies.push(new Movie(title.value, description.value, 0));
title.value = '';
description.value = '';
}
sortedMovies(): Movie[] {
return this.movies.sort((a: Movie, b: Movie) => b.points - a.points);
}
}
bootstrap(MoviesList);
LifeMichael.com](https://image.slidesharecdn.com/angular2seminar20151230-151230153742/85/Angular-2-Seminar_-December-7-12-2015-156-320.jpg)

![© 2013 Haim Michael 20150815
The directives Option
LifeMichael.com
@Component({
selector: 'movieslist',
directives: [MovieComponent],
template: `
<form>
<h3>Add a Movie</h3>
...
</form>
<div>
<single-movie
*ngFor="#moviesingle of sortedMovies()"
[movieee]="moviesingle">
</single-movie>
</div>
`
})
class MoviesList {
movies: Movie[];
constructor() {
...
}
}](https://image.slidesharecdn.com/angular2seminar20151230-151230153742/85/Angular-2-Seminar_-December-7-12-2015-168-320.jpg)


![© 2013 Haim Michael 20150815
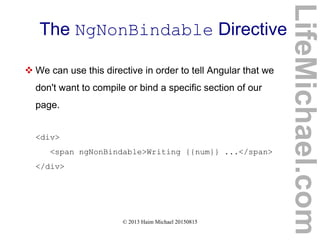
The NgIf Directive
This directive is used when we want to display or hide a
specific element based on a specific condition.
<div [ngIf] = 'check()'>...</div>
LifeMichael.com](https://image.slidesharecdn.com/angular2seminar20151230-151230153742/85/Angular-2-Seminar_-December-7-12-2015-171-320.jpg)
![© 2013 Haim Michael 20150815
The NgSwitch Directive
This directive is used when we need to render different
elements depends on the value of a given condition.
<div [ngSwitch]='number'>
<div *ngSwitchWhen='1'>number is one</div>
<div *ngSwitchWhen='2'>number is two</div>
<div *ngSwitchWhen='3'>number is three</div>
<div *ngSwitchDefault>Default Value</div>
</div>
LifeMichael.com](https://image.slidesharecdn.com/angular2seminar20151230-151230153742/85/Angular-2-Seminar_-December-7-12-2015-172-320.jpg)
![© 2013 Haim Michael 20150815
The NgStyle Directive
Using this directive we can set a given DOM element with
CSS properties.
<div [ngStyle]='{color:red}'>
We Love Text in White!
</div>
LifeMichael.com](https://image.slidesharecdn.com/angular2seminar20151230-151230153742/85/Angular-2-Seminar_-December-7-12-2015-173-320.jpg)
![© 2013 Haim Michael 20150815
The NgClass Directive
Using this directive we can set a given DOM element with
a specific CSS class.
<div [ngClass]='{ourdesign: false}'>
We Love Text in White!
</div>
LifeMichael.com](https://image.slidesharecdn.com/angular2seminar20151230-151230153742/85/Angular-2-Seminar_-December-7-12-2015-174-320.jpg)
![© 2013 Haim Michael 20150815
The NgFor Directive
Using this directive a specific DOM element will be
repeated, each time with a different value taken from an
array.
Let's assume we are having an array of countries in our
component:
this.countries = ['France','Canada','Italy']
LifeMichael.com](https://image.slidesharecdn.com/angular2seminar20151230-151230153742/85/Angular-2-Seminar_-December-7-12-2015-175-320.jpg)


![© 2013 Haim Michael 20150815
The @RouteConfig Annotation
Angular 2 provides us with the @RouteConfig
annotation that simplifies the routes definition.
@RouteConfig( [
{path: '/', name:'root', redirectTo ['/Home'],
{path: '/about', name:'About', component: AboutComponnet,
...
] )
LifeMichael.com](https://image.slidesharecdn.com/angular2seminar20151230-151230153742/85/Angular-2-Seminar_-December-7-12-2015-186-320.jpg)

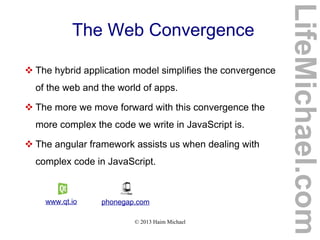
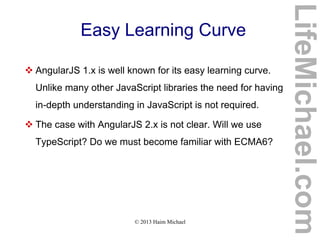
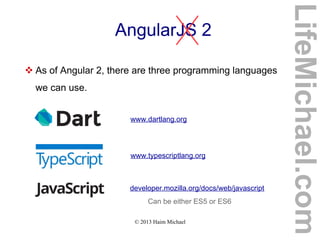
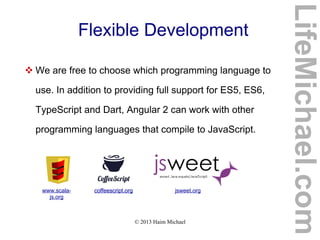
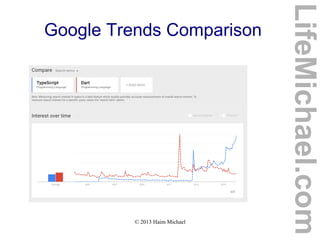
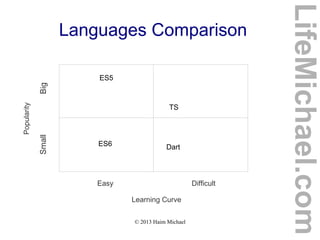
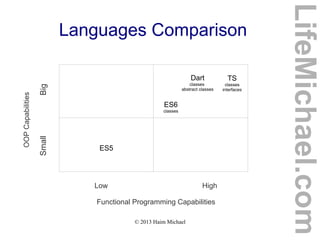
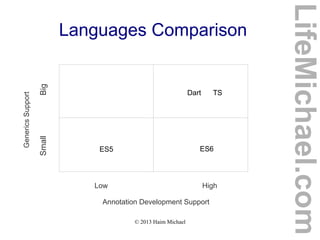
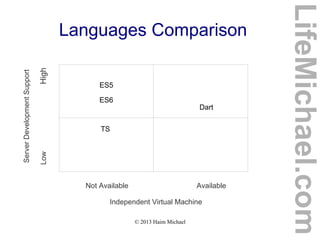
The document provides an introduction to AngularJS 2.x, detailing features, capabilities, and programming languages including TypeScript and Dart used in the framework. It emphasizes the benefits of Angular 2 in terms of performance, cross-platform support, and modular development while outlining the evolution from Angular 1.x. Additionally, it discusses the easy learning curve and practical applications of the framework in software development education and professional training.


![Getting Started with Apache Spark: Big Data Made Simple [Free Meetup]](https://cdn.slidesharecdn.com/ss_thumbnails/apachesparkgettingstarted-260203175547-8361bcc3-thumbnail.jpg?width=640&height=640&fit=bounds)


![Vibe Coding vs. Spec-Driven Development [Free Meetup]](https://cdn.slidesharecdn.com/ss_thumbnails/vibecodingvsspecdrivendevelopment-251209105622-43f455e7-thumbnail.jpg?width=640&height=640&fit=bounds)

![Learning Programming with ChatGPT [Free Meetup]](https://cdn.slidesharecdn.com/ss_thumbnails/learningprogrammingwithchatgpt20250930-250930090922-6c25145f-thumbnail.jpg?width=640&height=640&fit=bounds)
![Getting Started with Typer: Building Modern CLIs in Python [Free Meetup]](https://cdn.slidesharecdn.com/ss_thumbnails/typer20250902-250902092143-083883db-thumbnail.jpg?width=640&height=640&fit=bounds)
![Prompt Engineering Jump Start [Free Meetup]](https://cdn.slidesharecdn.com/ss_thumbnails/promptengineeringbasics20250708-250807095210-d5891b09-thumbnail.jpg?width=640&height=640&fit=bounds)

![The Visitor Classic Design Pattern [Free Meetup]](https://cdn.slidesharecdn.com/ss_thumbnails/thevisitordesignpattern20250603-250603091504-a29cefc7-thumbnail.jpg?width=640&height=640&fit=bounds)
![Typing in Python: Bringing Clarity, Safety and Speed to Your Code [Free Meetup]](https://cdn.slidesharecdn.com/ss_thumbnails/haimpythontypes20250401-250401101822-2acdbf8f-thumbnail.jpg?width=640&height=640&fit=bounds)
![Introduction to Pattern Matching in Java [Free Meetup]](https://cdn.slidesharecdn.com/ss_thumbnails/javapatternmatchingmeetup20250304-250304131144-9588cdc2-thumbnail.jpg?width=640&height=640&fit=bounds)
![Mastering The Collections in JavaScript [Free Meetup]](https://cdn.slidesharecdn.com/ss_thumbnails/javascriptcollections20250204-250205161759-5a1365e2-thumbnail.jpg?width=640&height=640&fit=bounds)

![JavaScript Promises Simplified [Free Meetup]](https://cdn.slidesharecdn.com/ss_thumbnails/promises20241001-241001092110-ceaab0a2-thumbnail.jpg?width=640&height=640&fit=bounds)
![Scala Jump Start [Free Online Meetup in English]](https://cdn.slidesharecdn.com/ss_thumbnails/scalajumpstart202407-240806123226-086f5431-thumbnail.jpg?width=640&height=640&fit=bounds)
![The MVVM Architecture in Java [Free Meetup]](https://cdn.slidesharecdn.com/ss_thumbnails/themvvmarchitecture20230702-240709115838-c4912ba1-thumbnail.jpg?width=640&height=640&fit=bounds)


