Il documento presenta una panoramica sul Test Driven Development (TDD) in Android, evidenziando la distinzione tra unit testing e functional testing. Vengono descritti strumenti come Android Debug Bridge (adb) e framework di testing integrati nell'ambiente Android, che supportano la creazione e l'esecuzione di test per diverse componenti dell'applicazione. Inoltre, il testo discute strategie per il refactoring del codice e l'importanza di scrivere test per evitare errori di regressione.
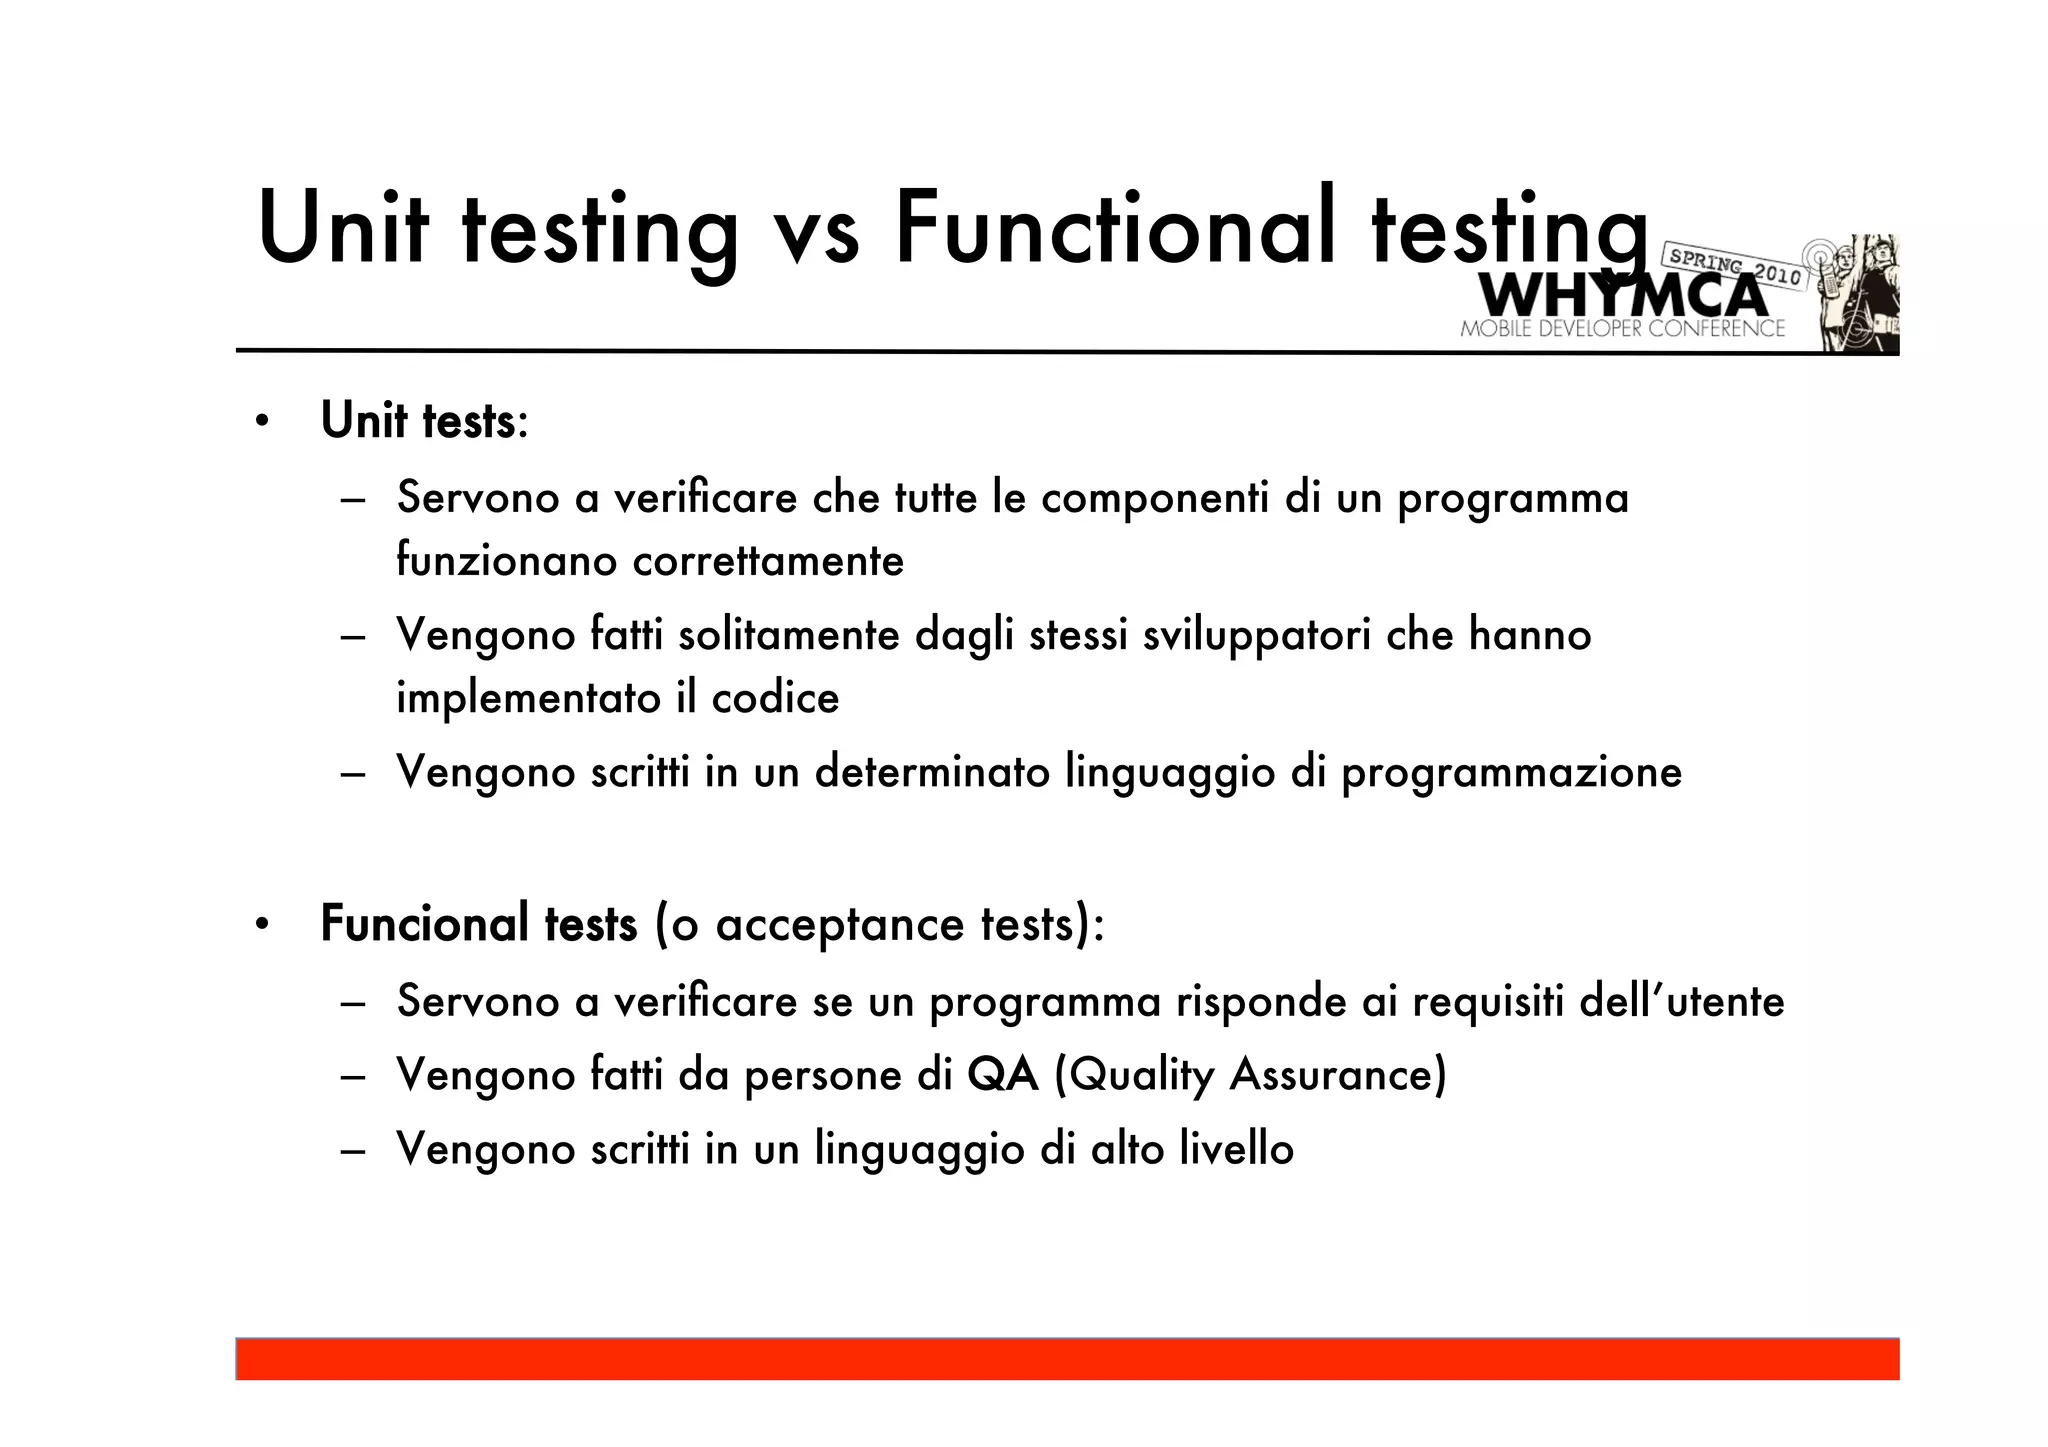

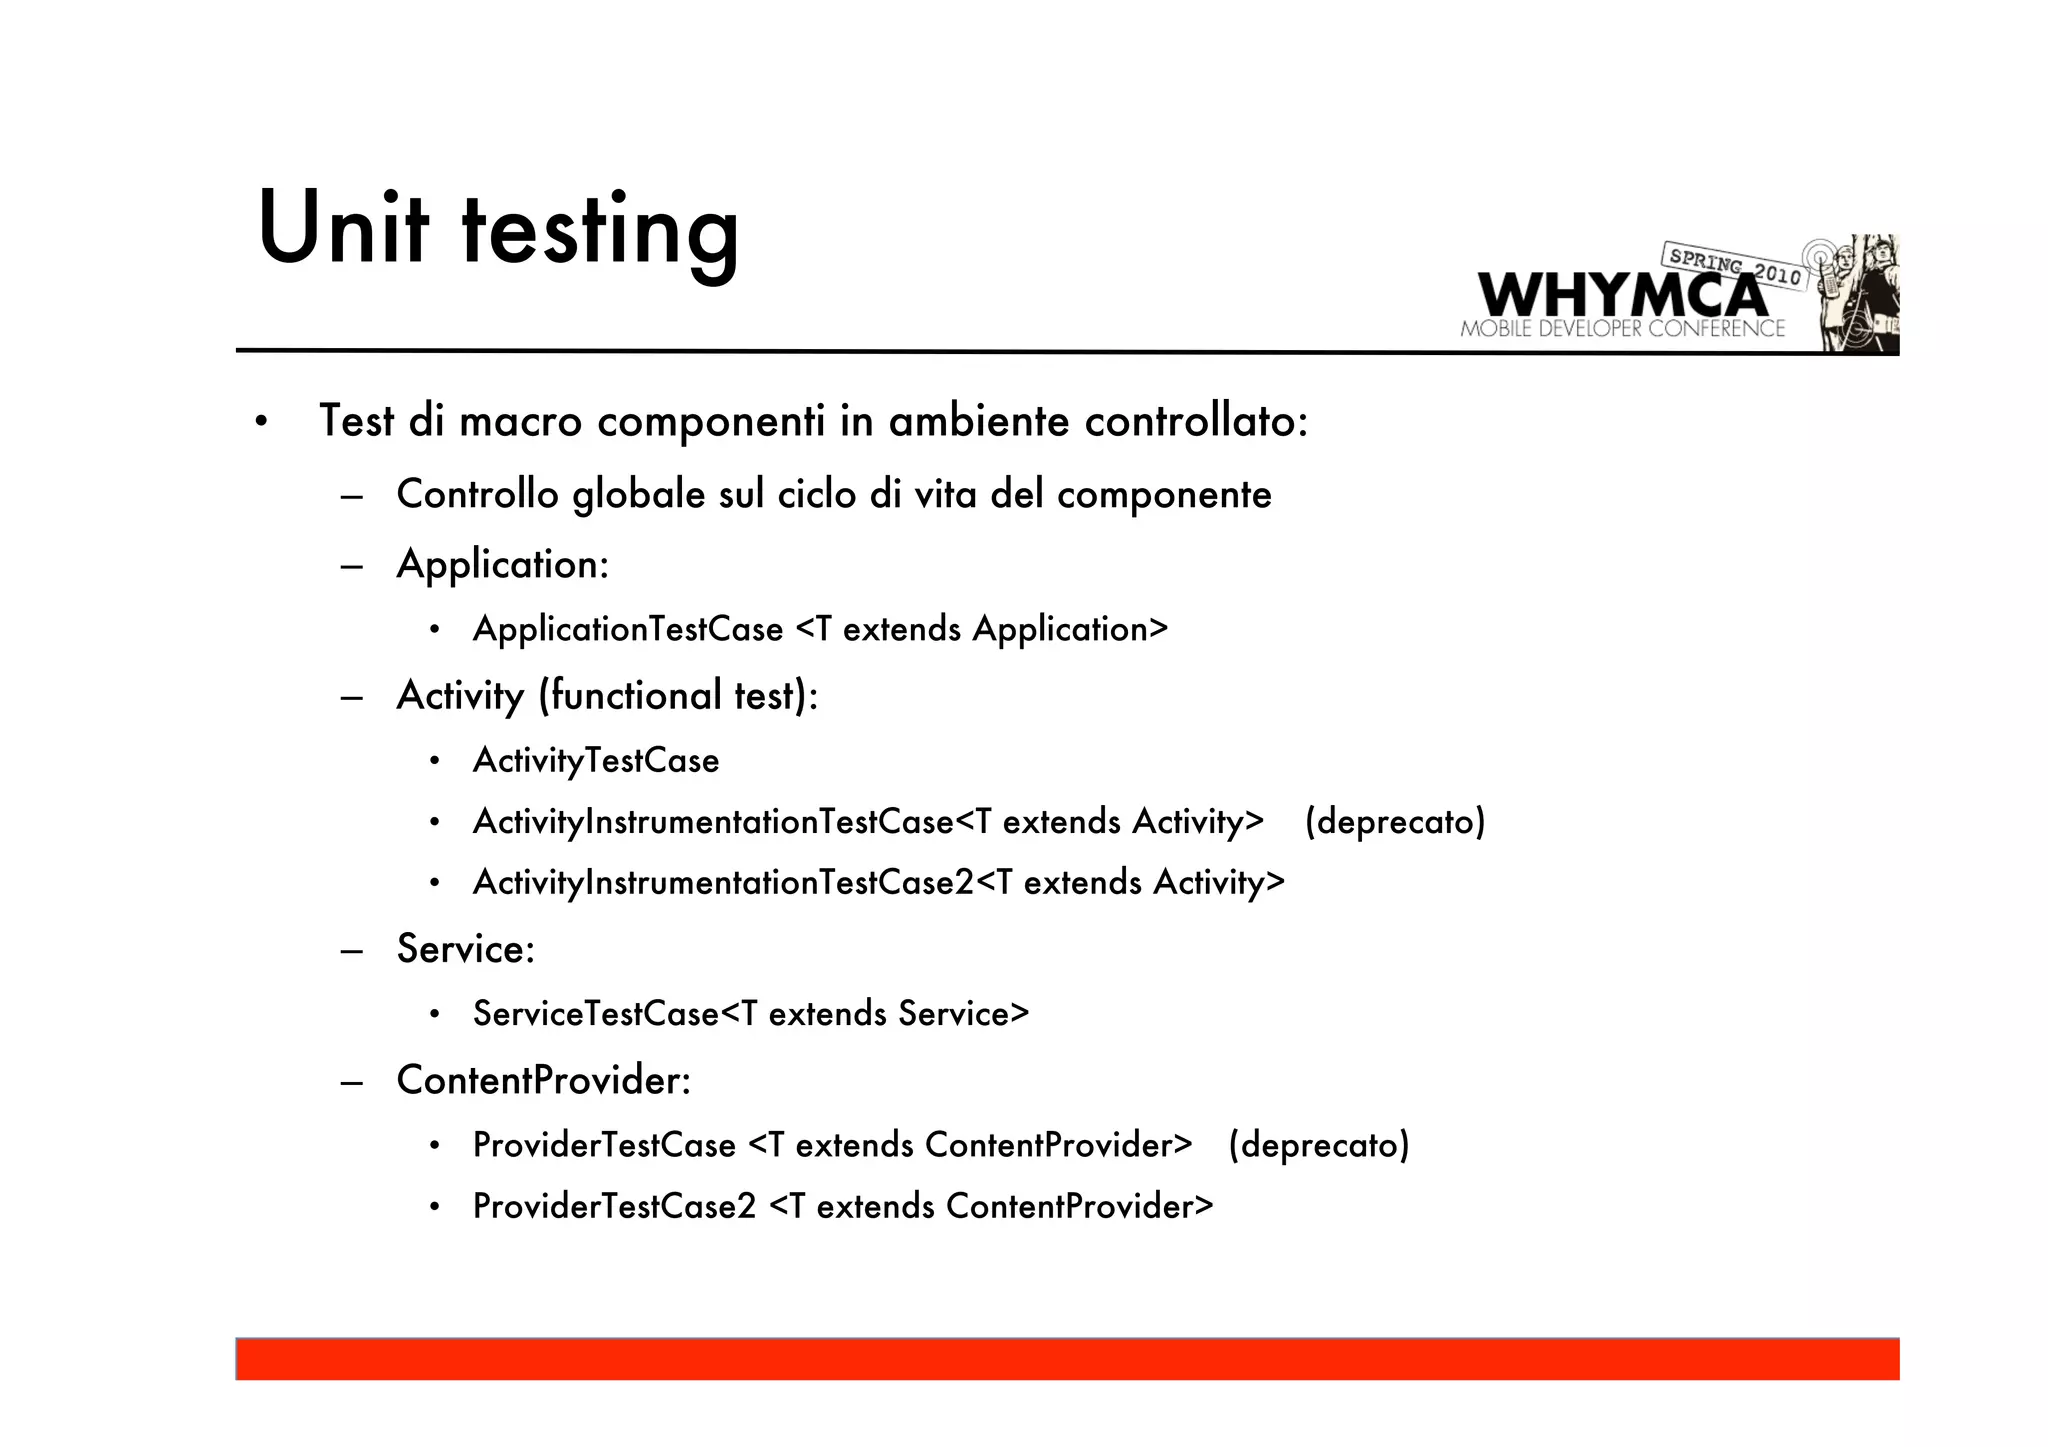
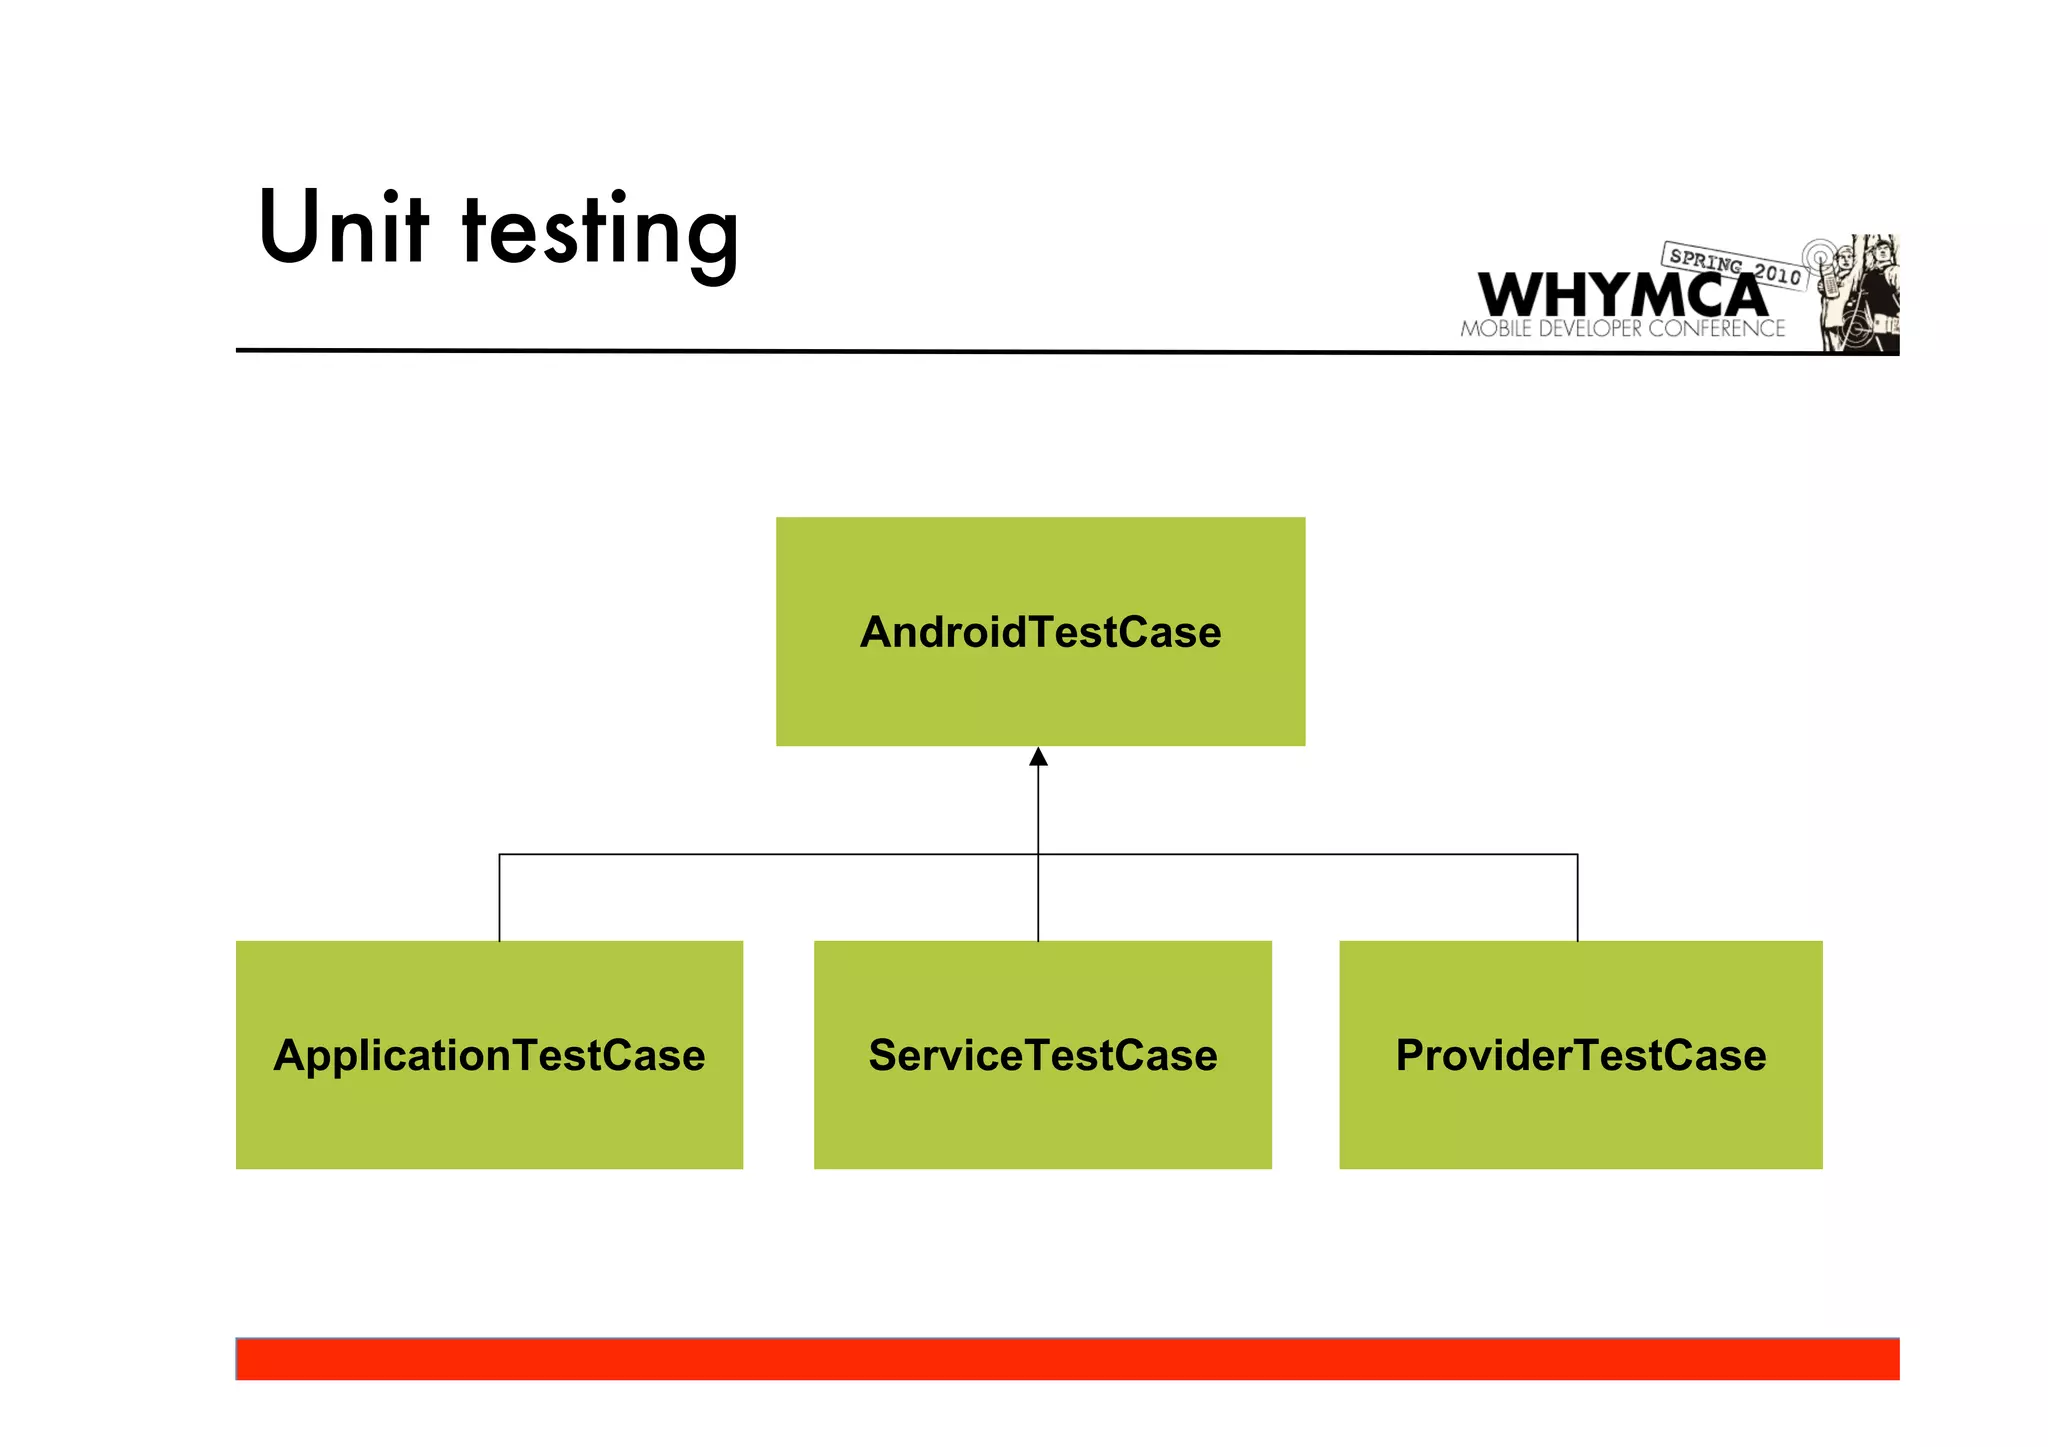
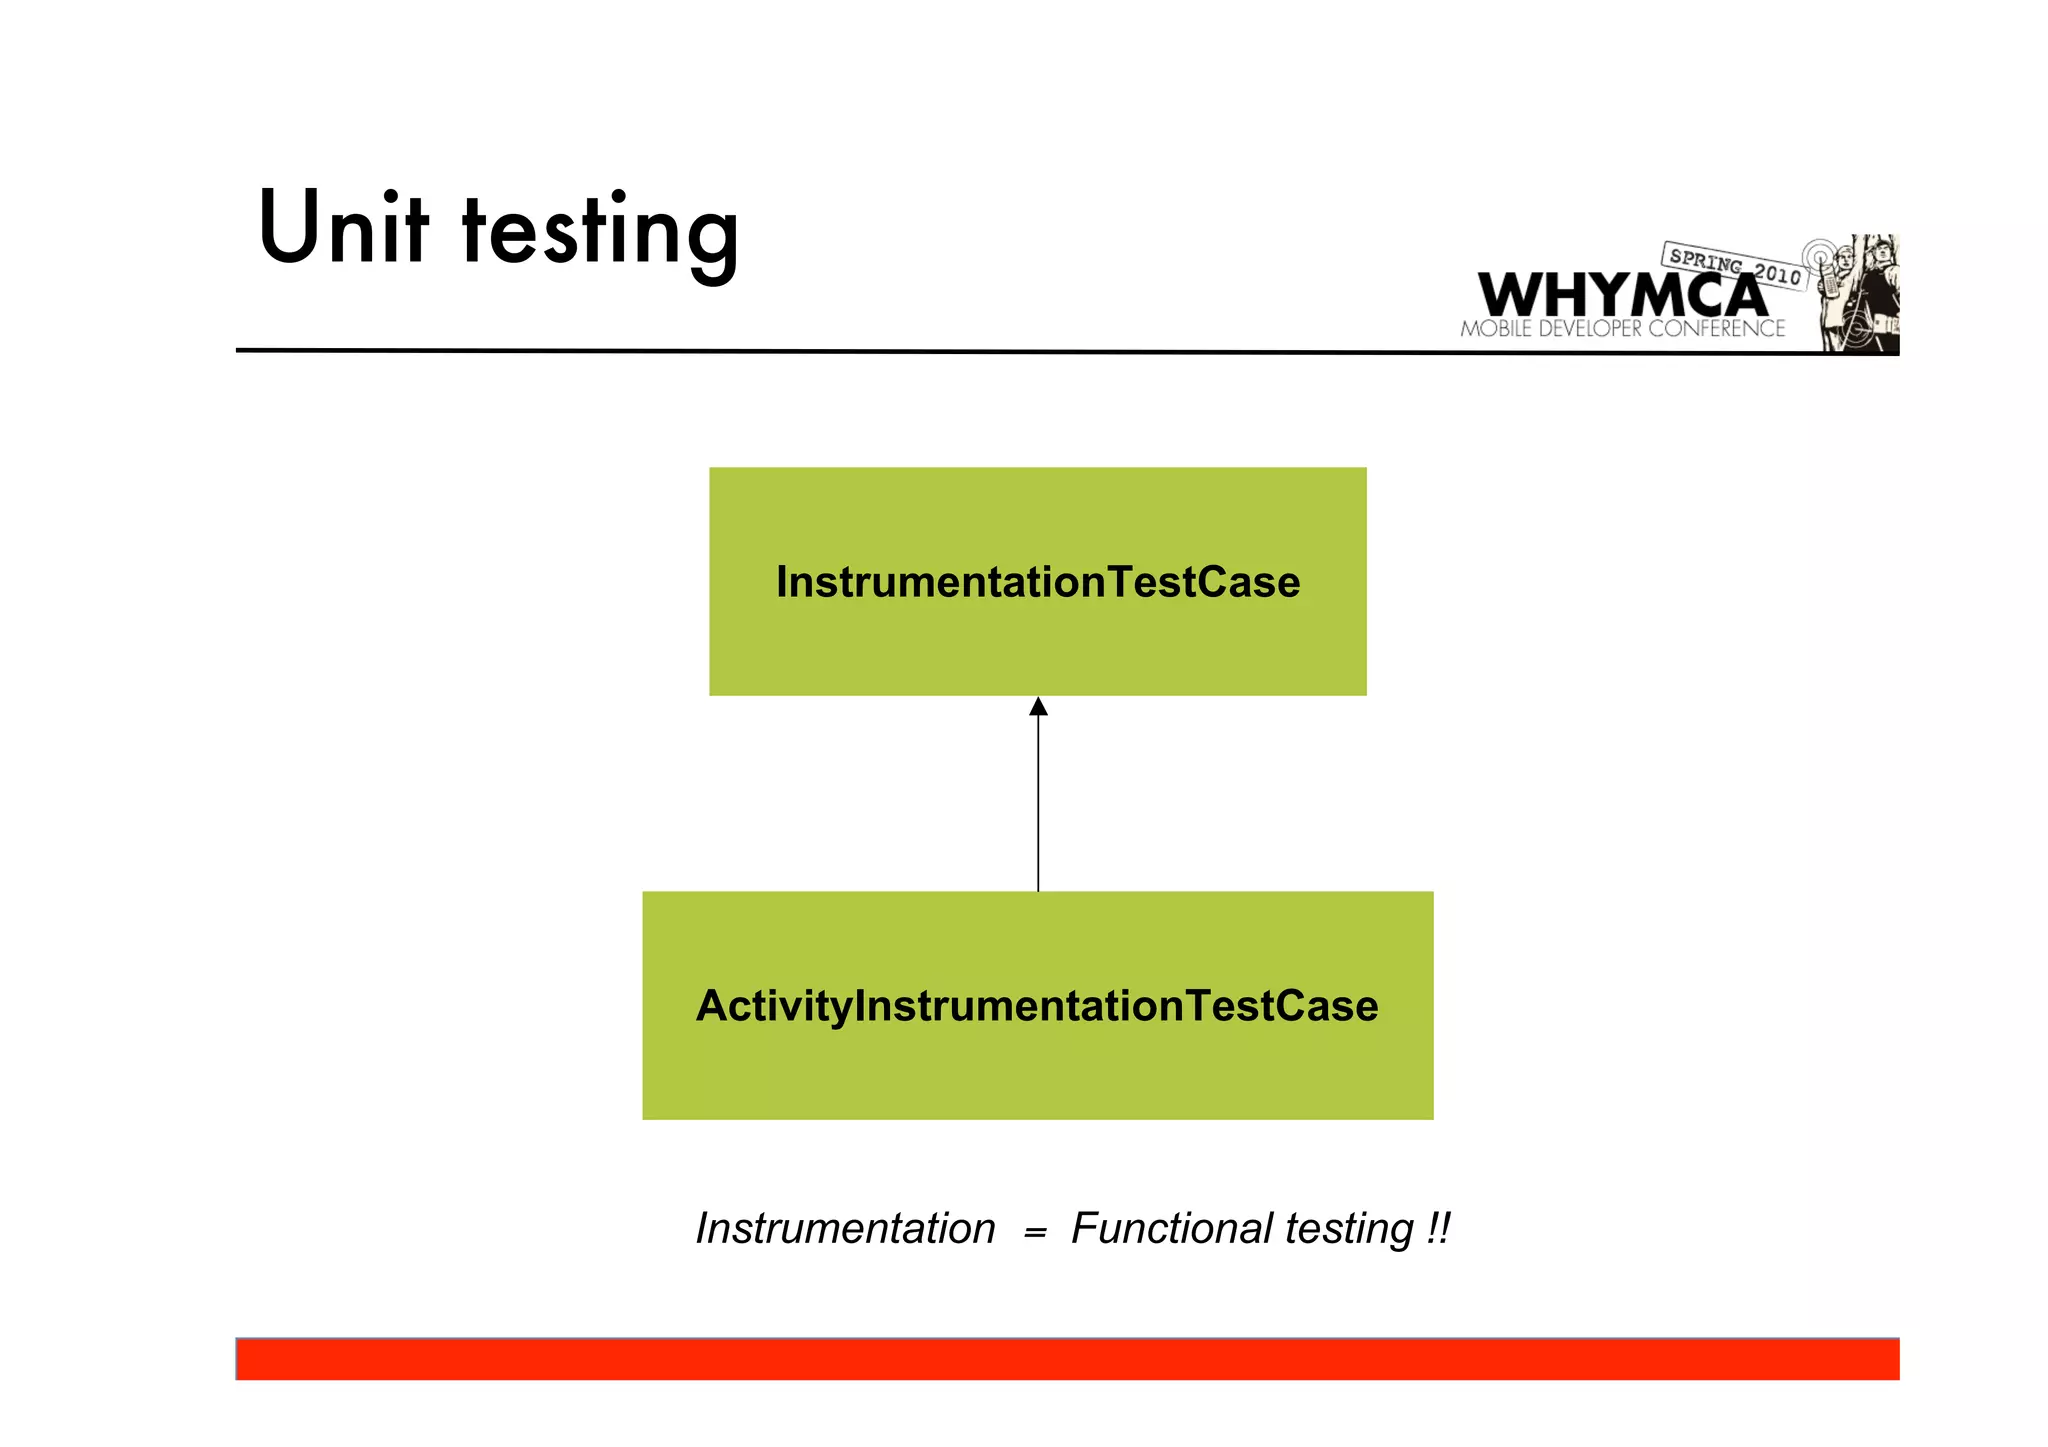
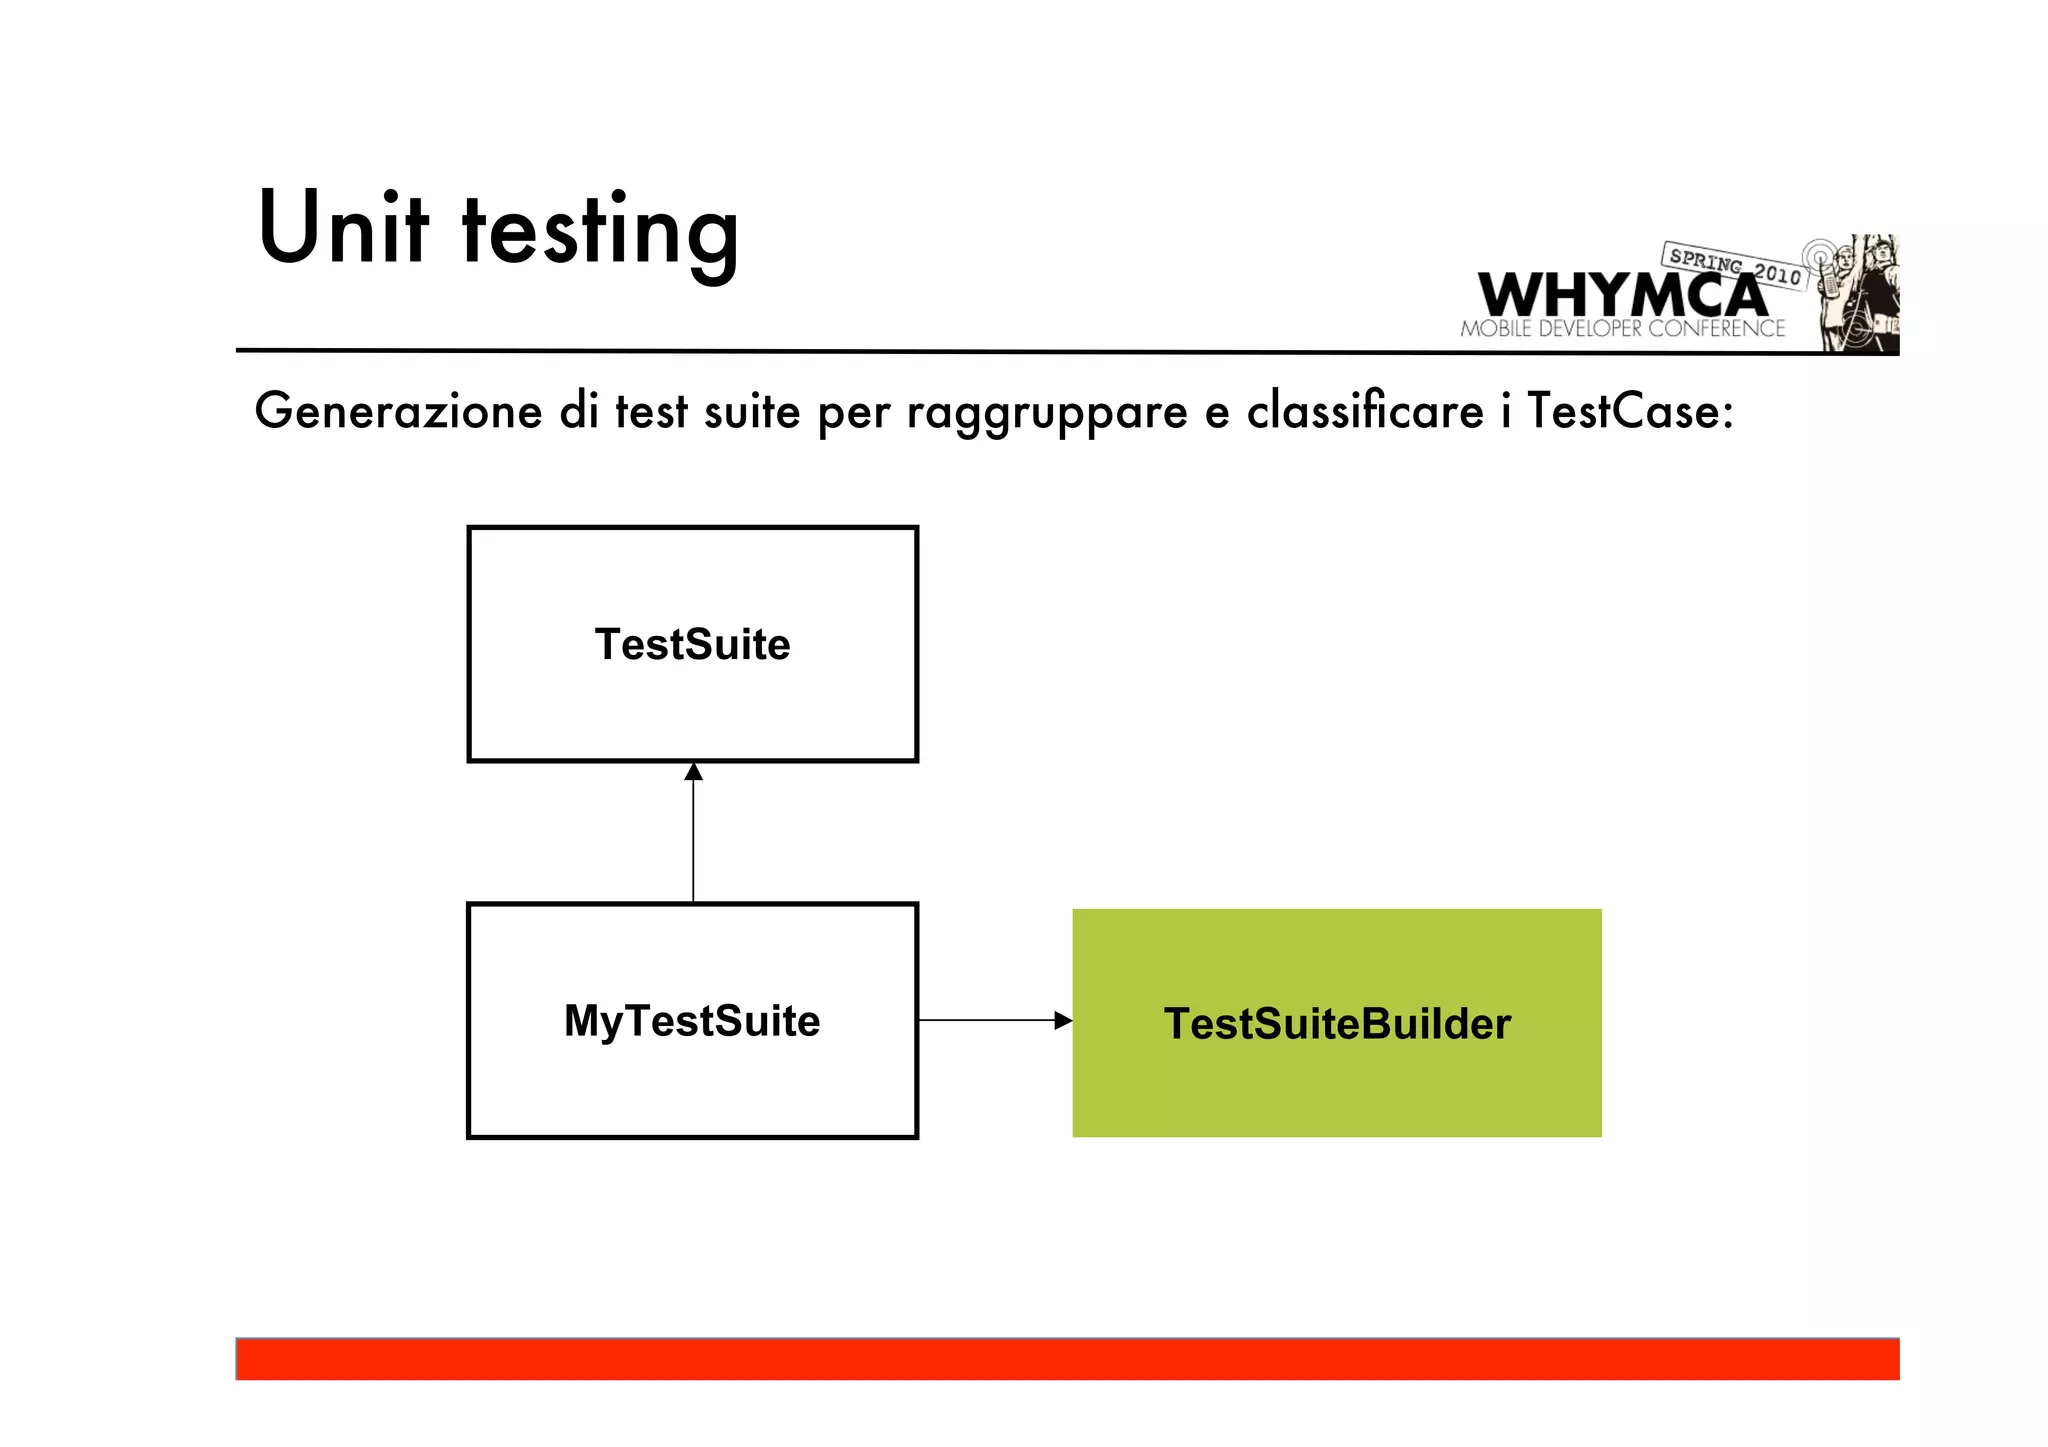
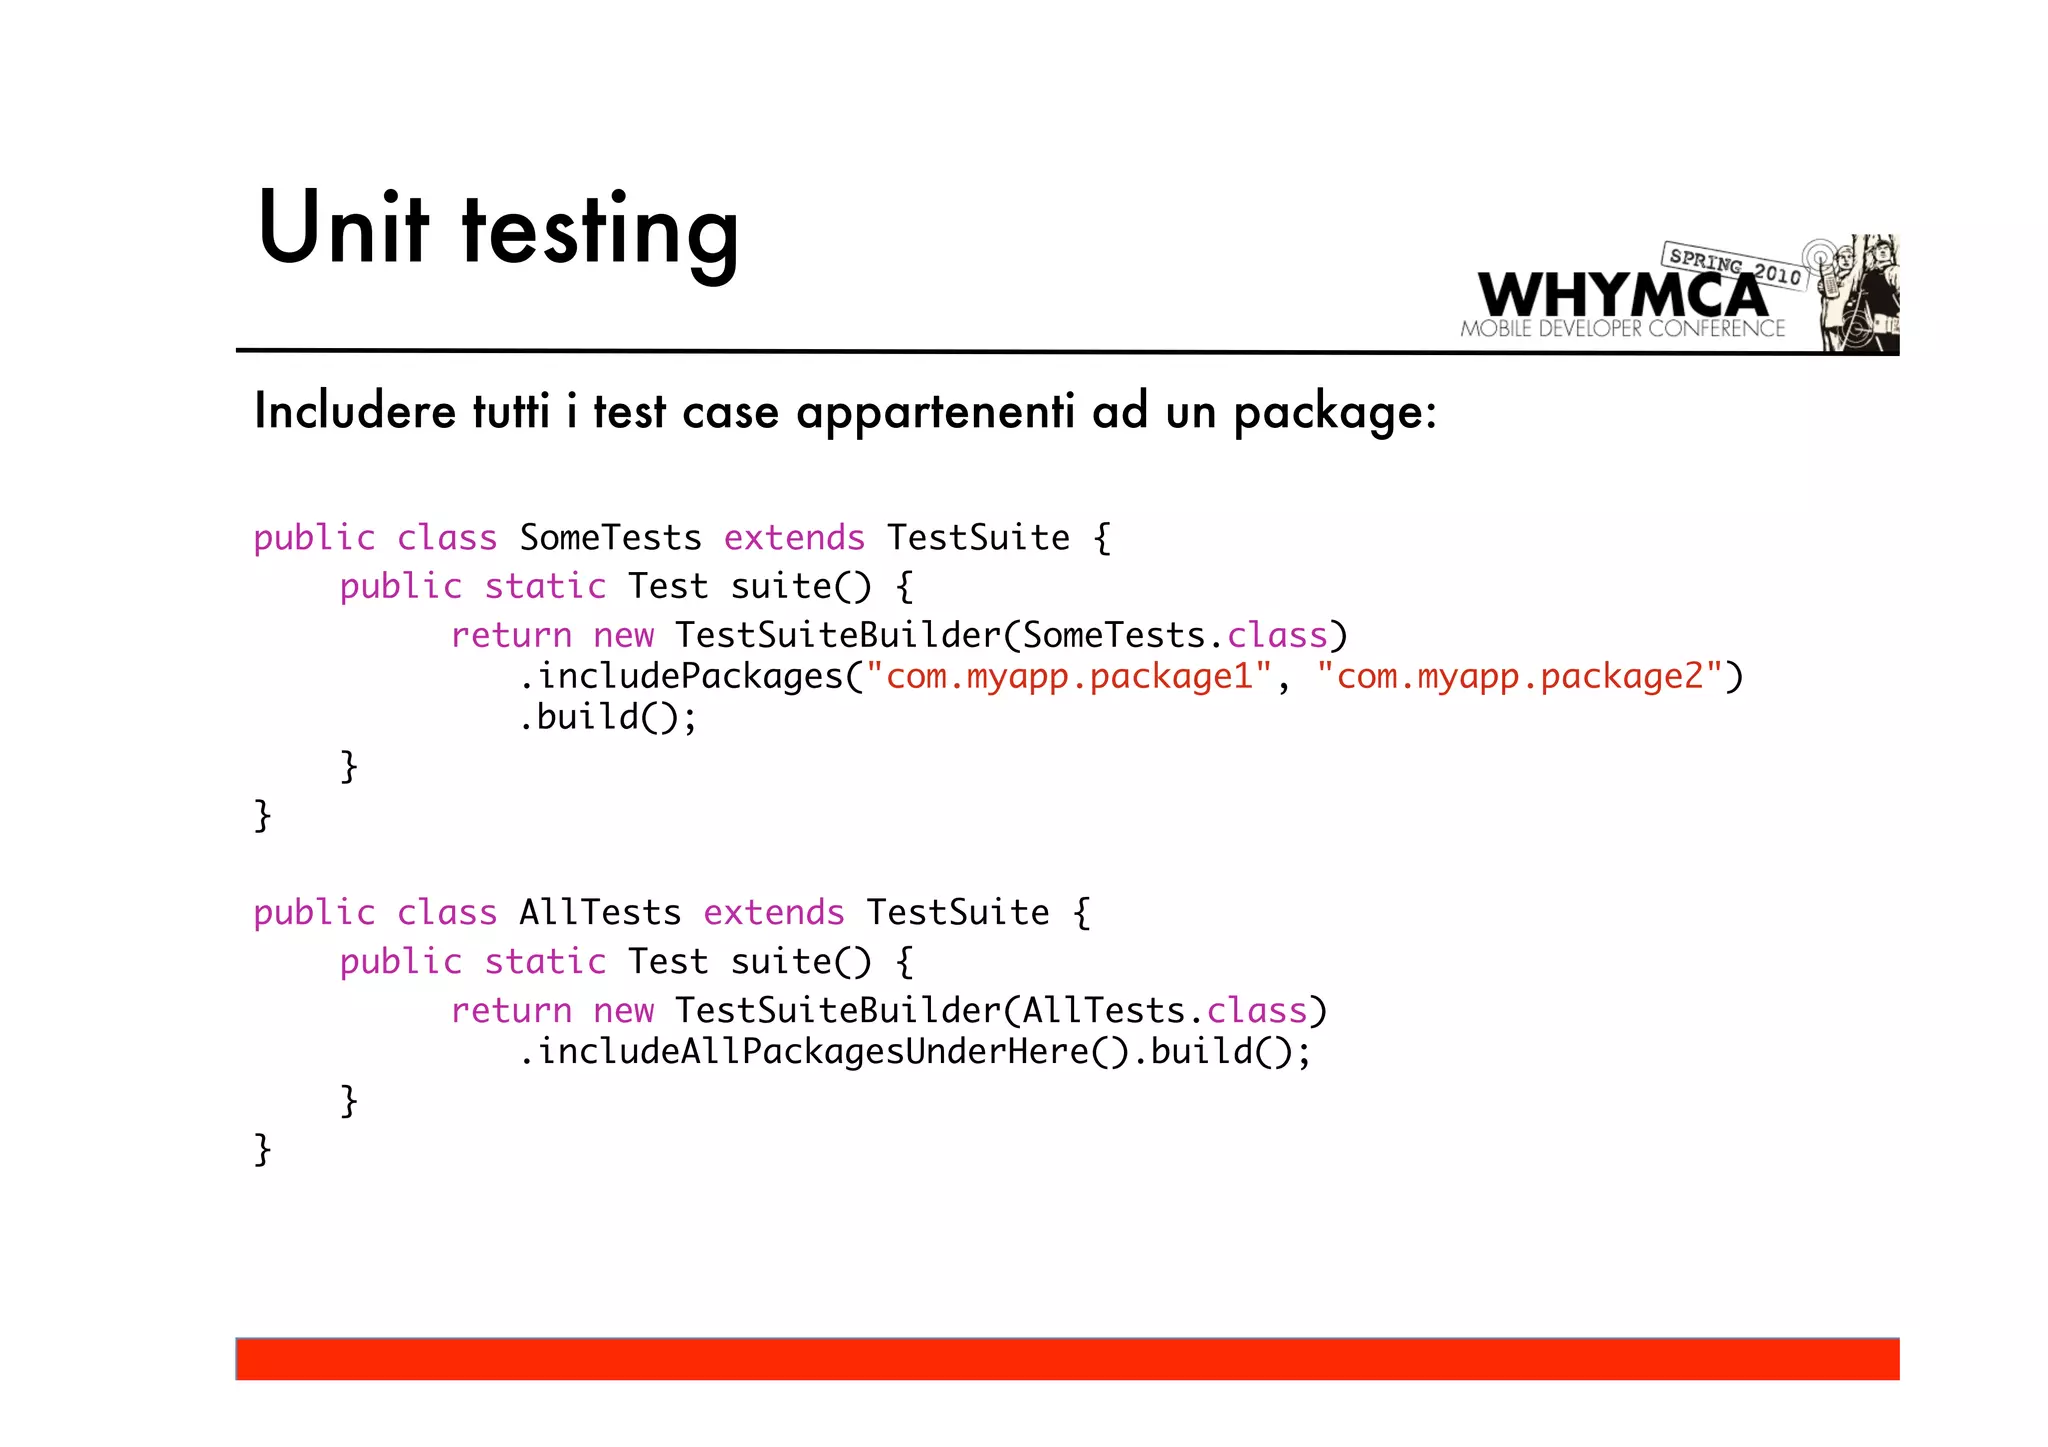
![Unit testing
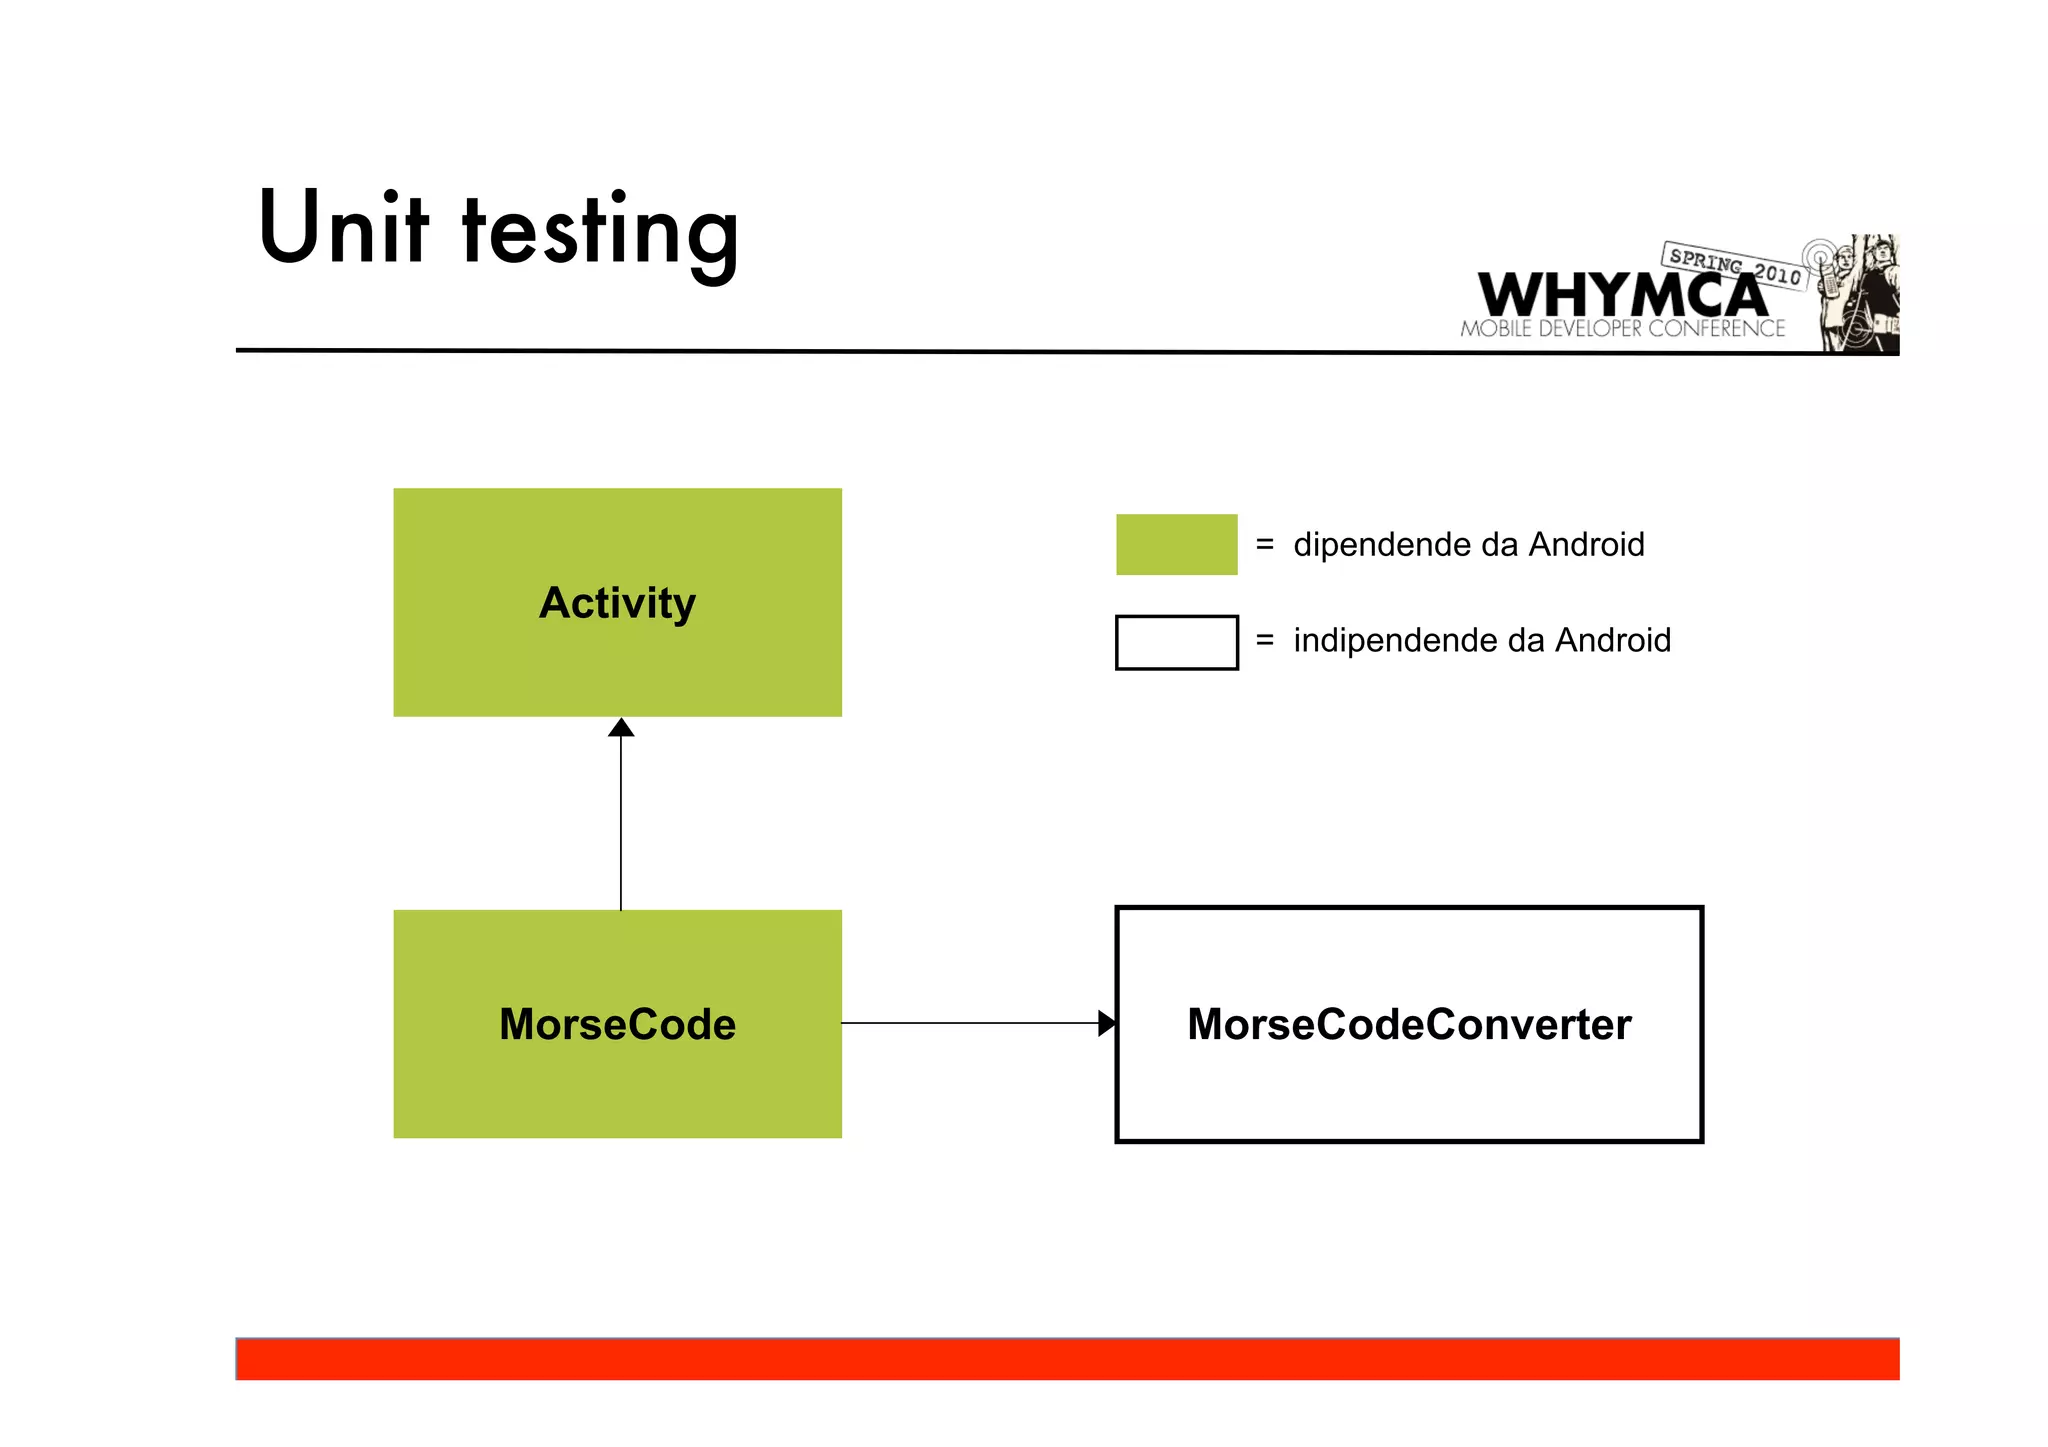
class MorseCodeConverter {
static final long SPEED_BASE = 100;
static final long DOT = SPEED_BASE;
static final long DASH = SPEED_BASE * 3;
static final long GAP = SPEED_BASE;
/** The characters from 'A' to 'Z' */
private static final long[][] LETTERS = new long[][] {
/* A */ new long[] { DOT, GAP, DASH },
/* B */ new long[] { DASH, GAP, DOT, GAP, DOT, GAP, DOT },
/* C */ new long[] { DASH, GAP, DOT, GAP, DASH, GAP, DOT },
...
};
/** The characters from '0' to '9' */
private static final long[][] NUMBERS = new long[][] {
/* 0 */ new long[] { DASH, GAP, DASH, GAP, DASH, GAP, DASH },
/* 1 */ new long[] { DOT, GAP, DASH, GAP, DASH, GAP, DASH },
...
};](https://image.slidesharecdn.com/androidtdd-100527175416-phpapp01/75/Android-Test-Driven-Development-10-2048.jpg)
![Unit testing
/** Return the pattern data for a given character */
static long[] pattern(char c) {
...
}
/** Return the pattern data for a given string */
static long[] pattern(String str) {
...
}
}](https://image.slidesharecdn.com/androidtdd-100527175416-phpapp01/75/Android-Test-Driven-Development-11-2048.jpg)
![Unit testing
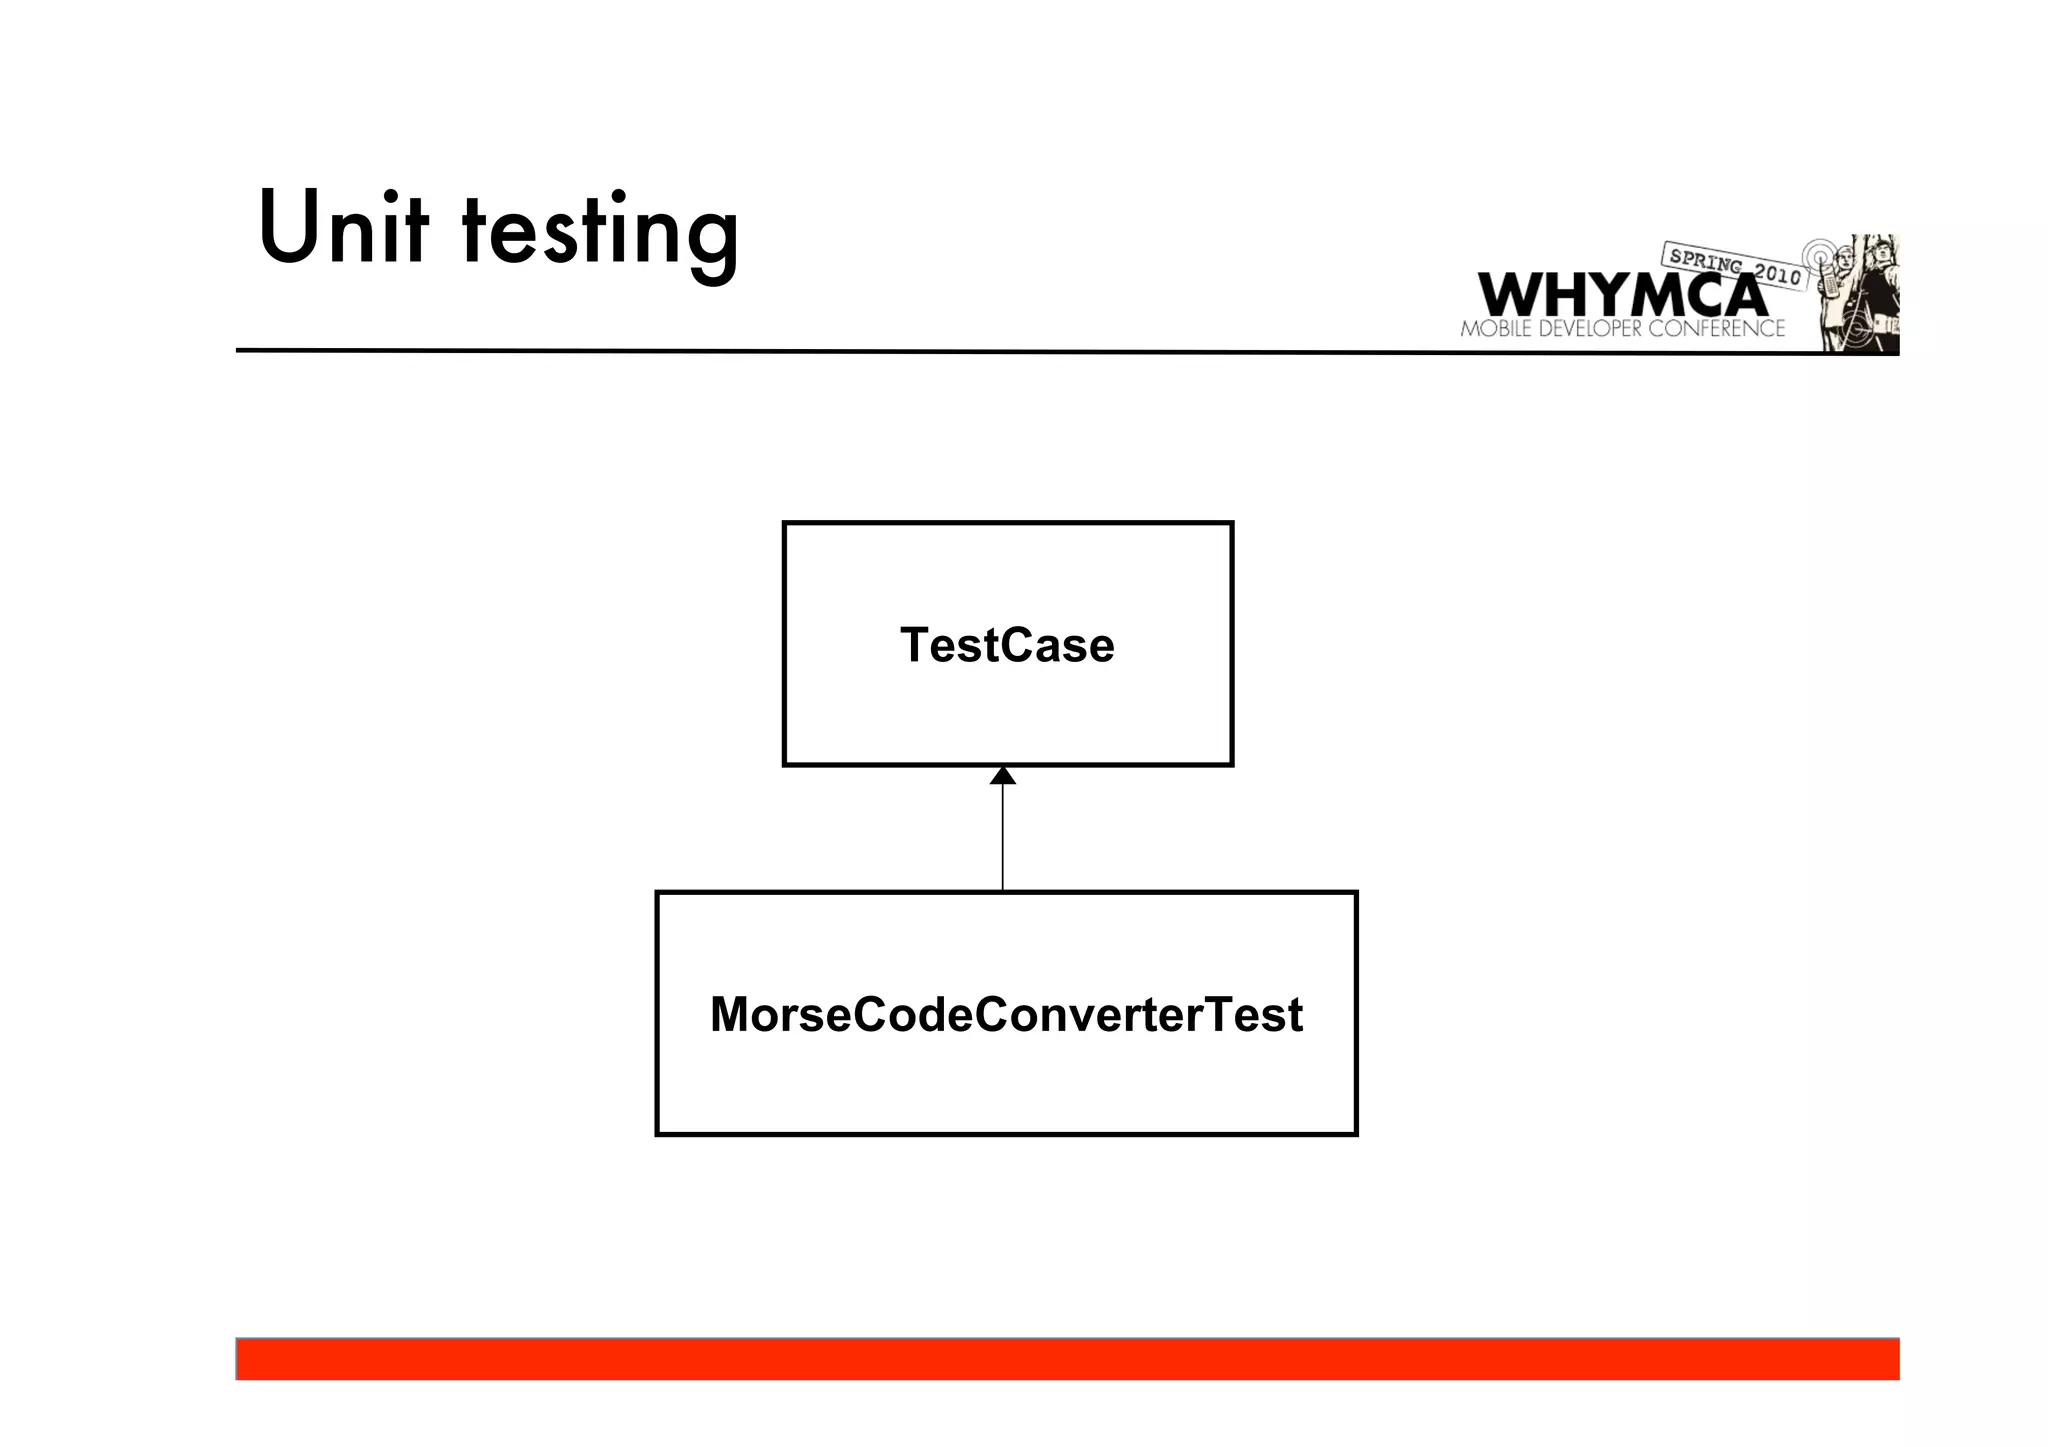
public class MorseCodeConverterTest extends TestCase {
public void testCharacterS() throws Exception {
long[] expectedBeeps = { MorseCodeConverter.DOT,
MorseCodeConverter.DOT,
MorseCodeConverter.DOT,
MorseCodeConverter.DOT,
MorseCodeConverter.DOT };
long[] beeps = MorseCodeConverter.pattern('s');
assertEquals(expectedBeeps, beeps);
}
}](https://image.slidesharecdn.com/androidtdd-100527175416-phpapp01/75/Android-Test-Driven-Development-13-2048.jpg)


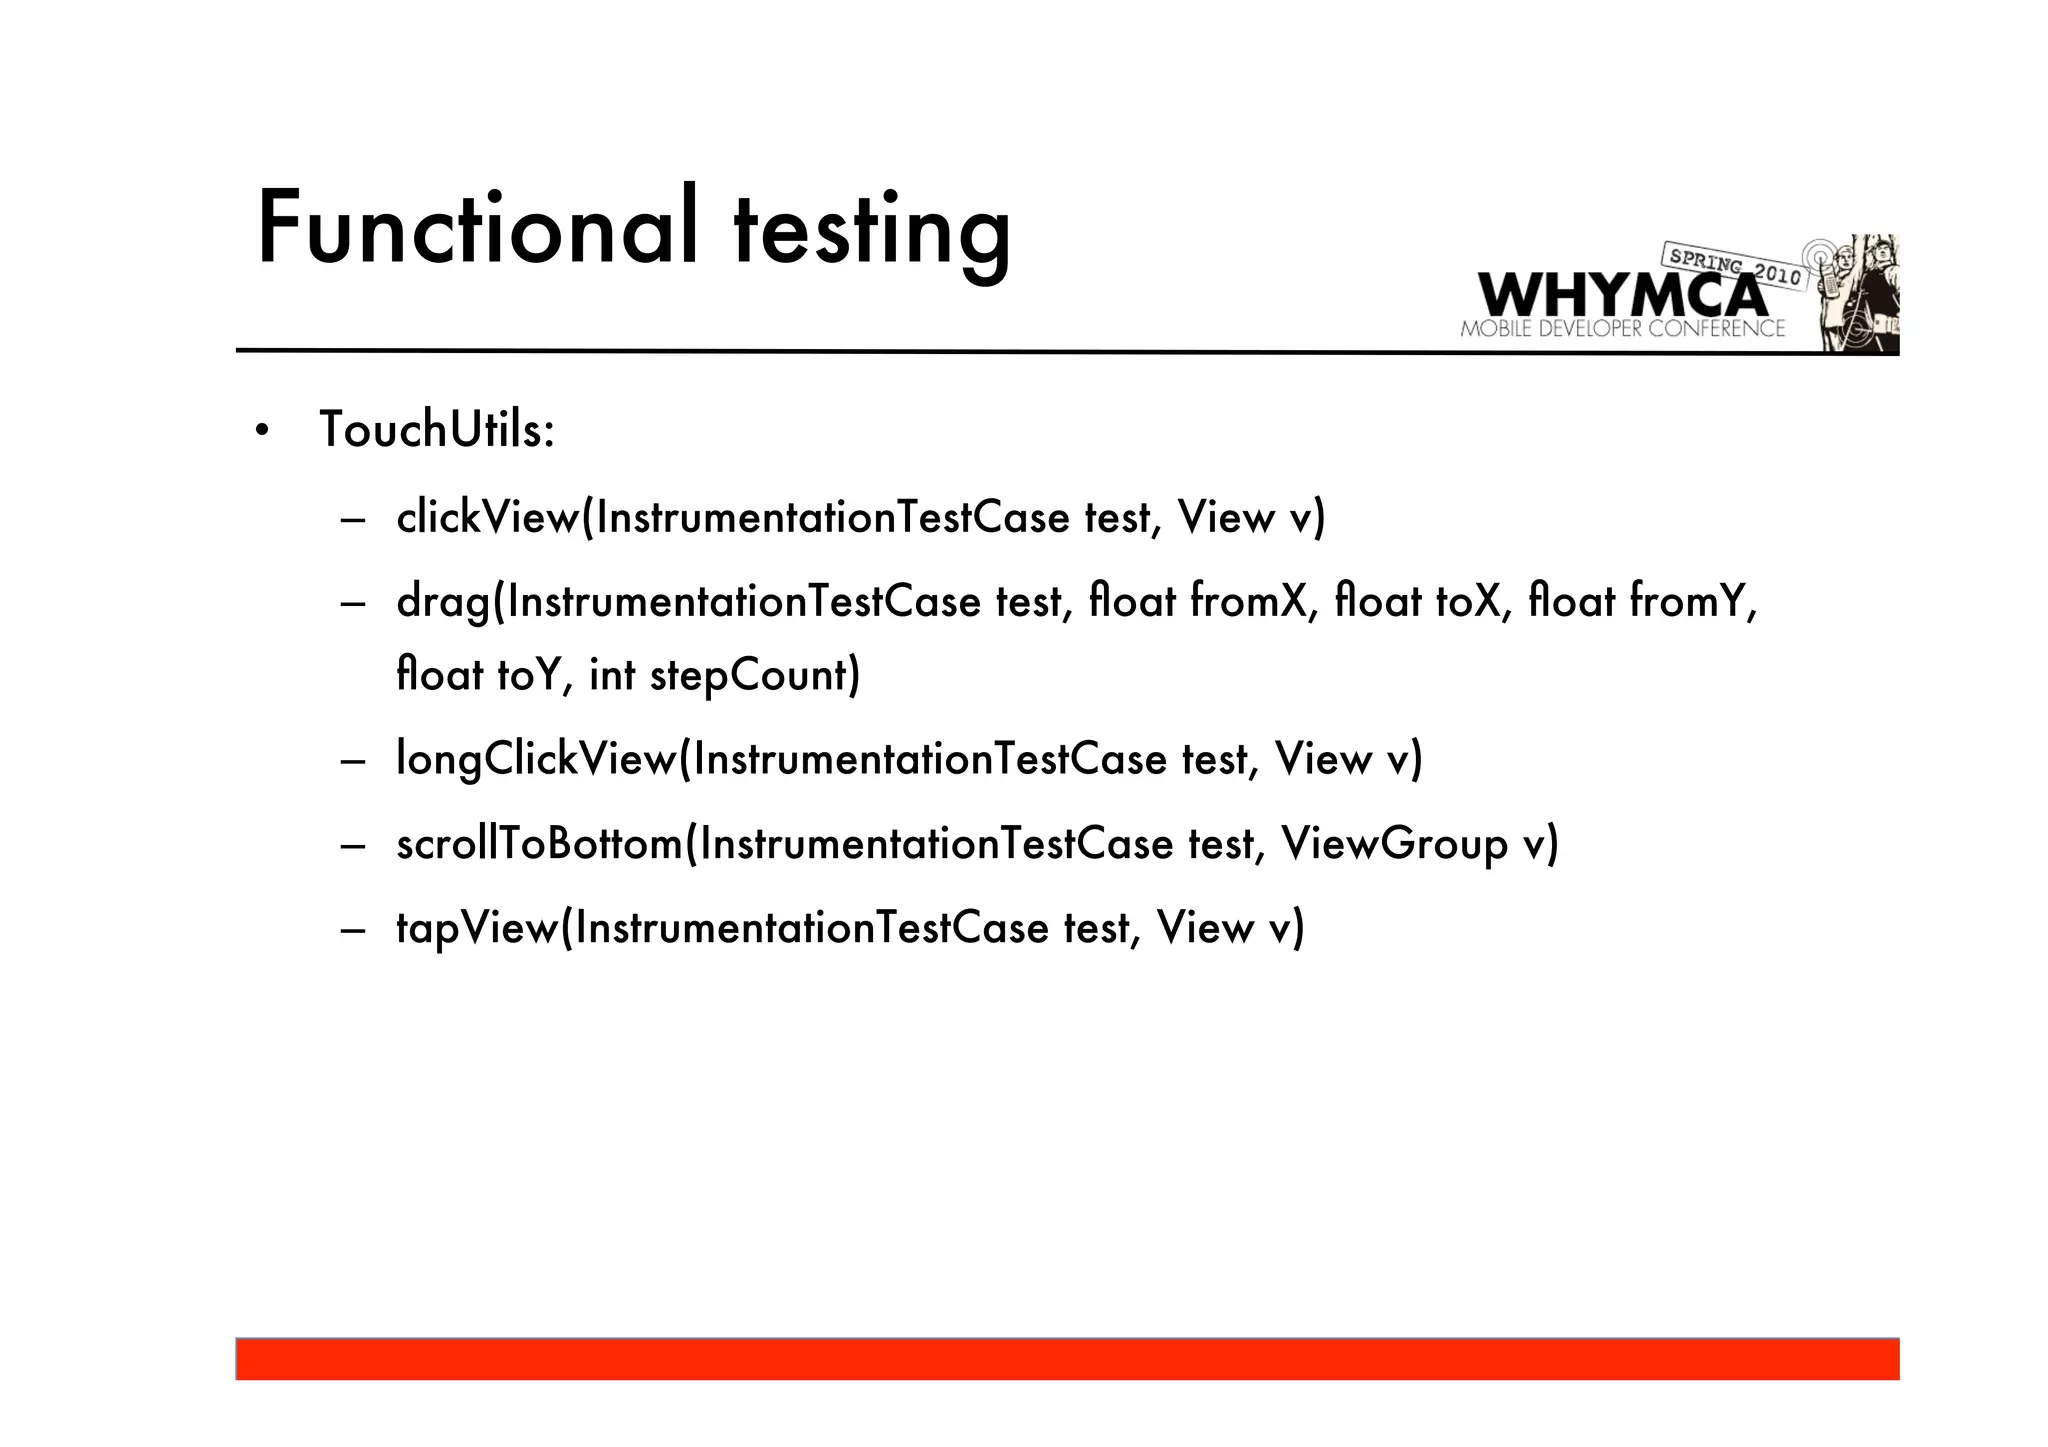
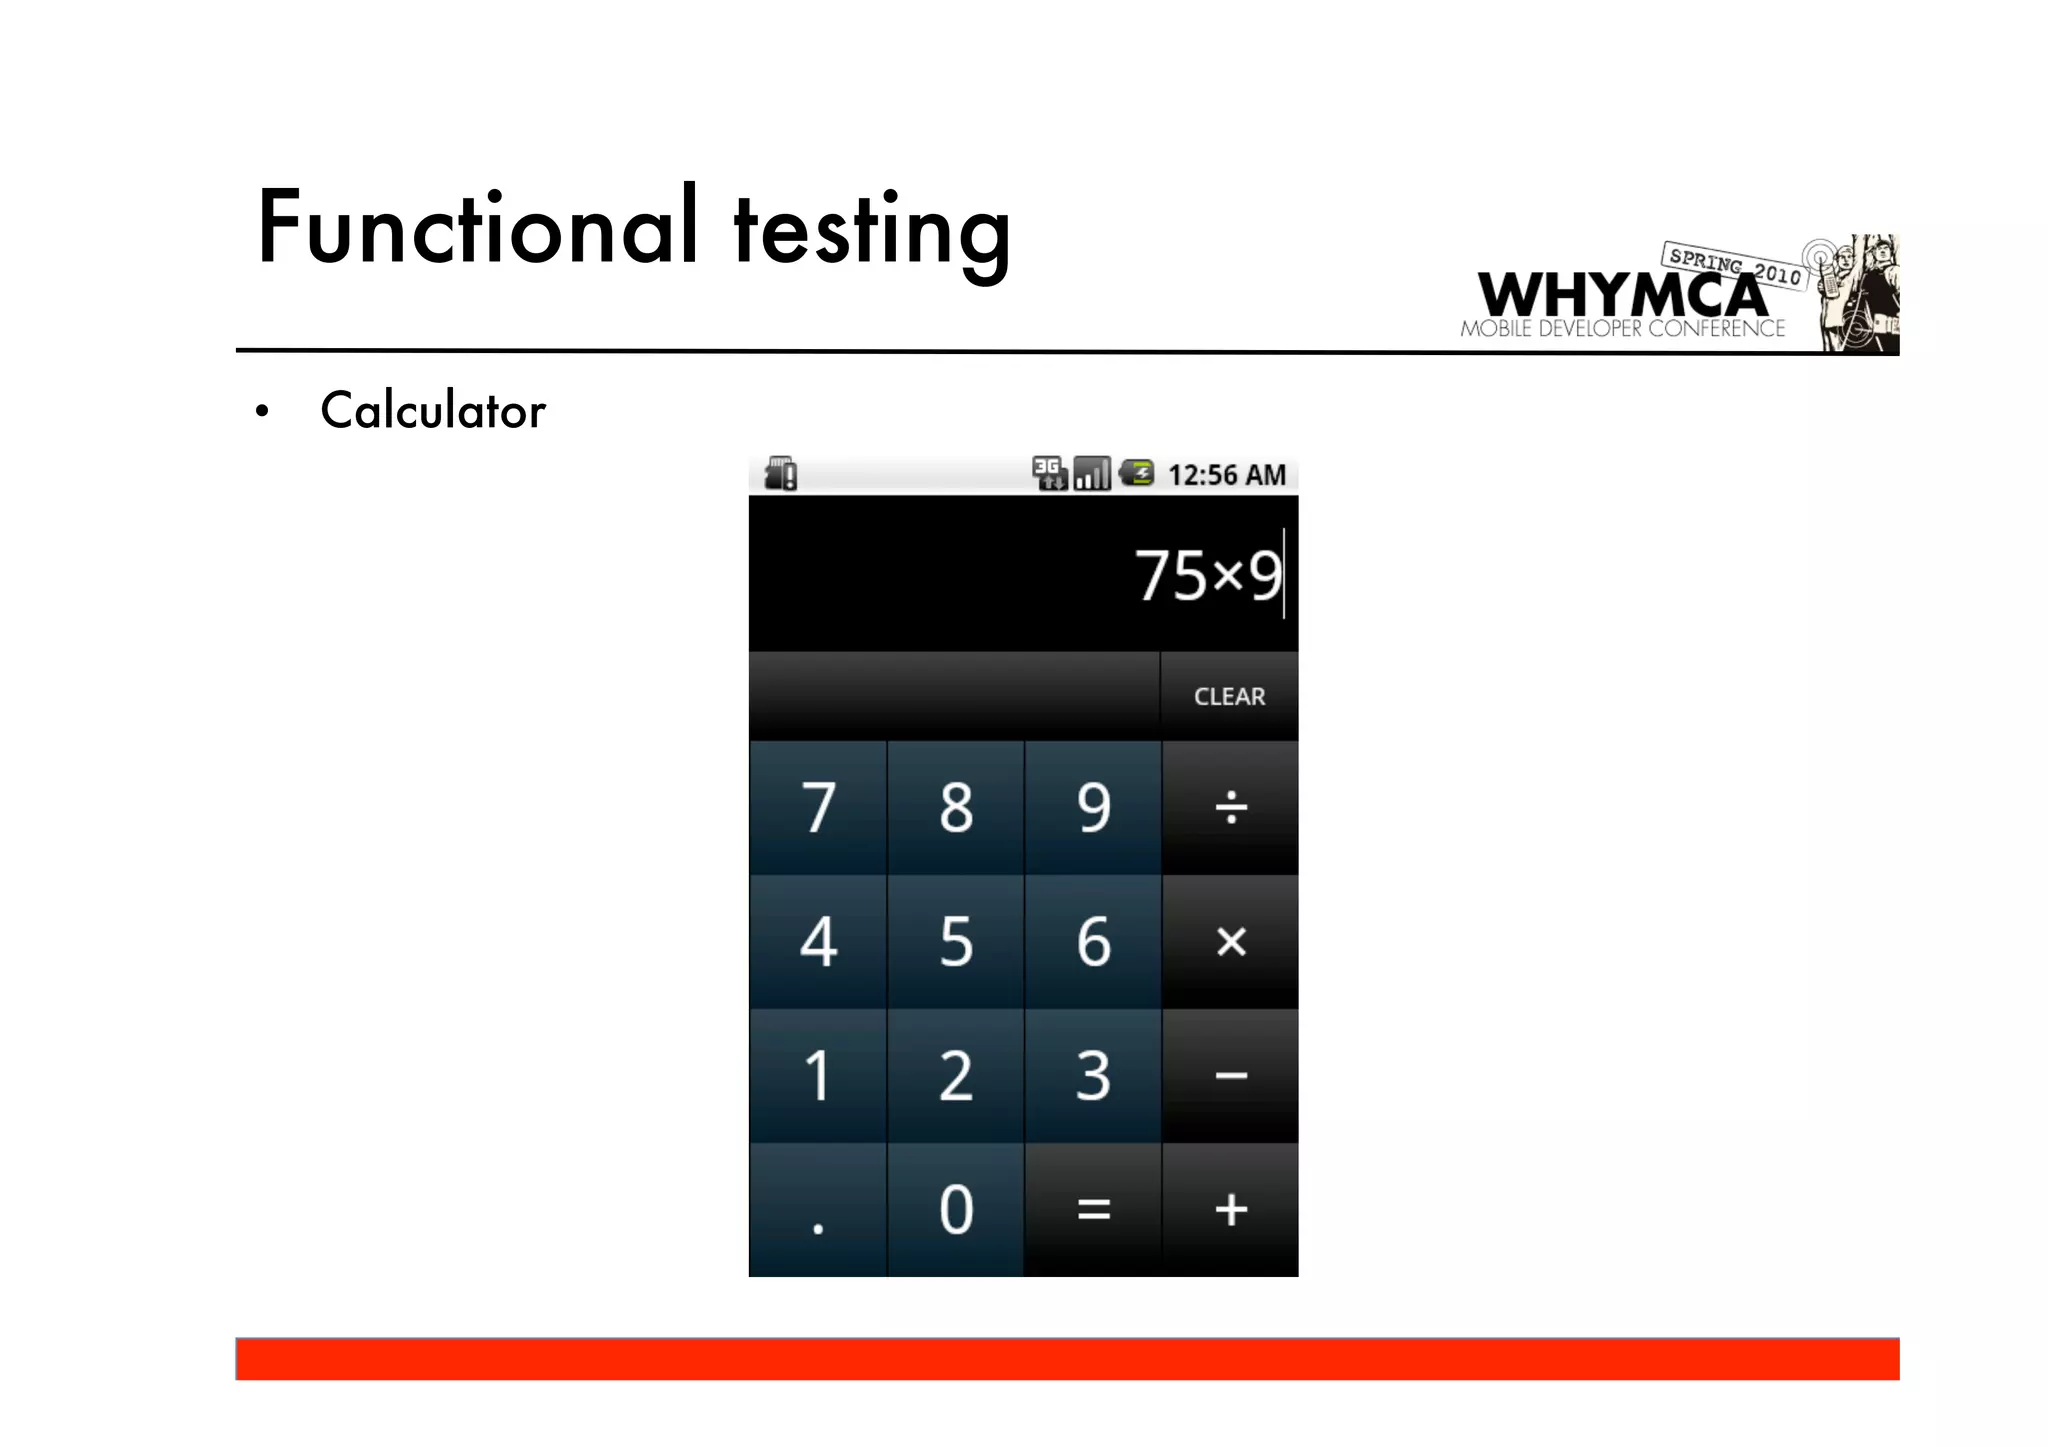
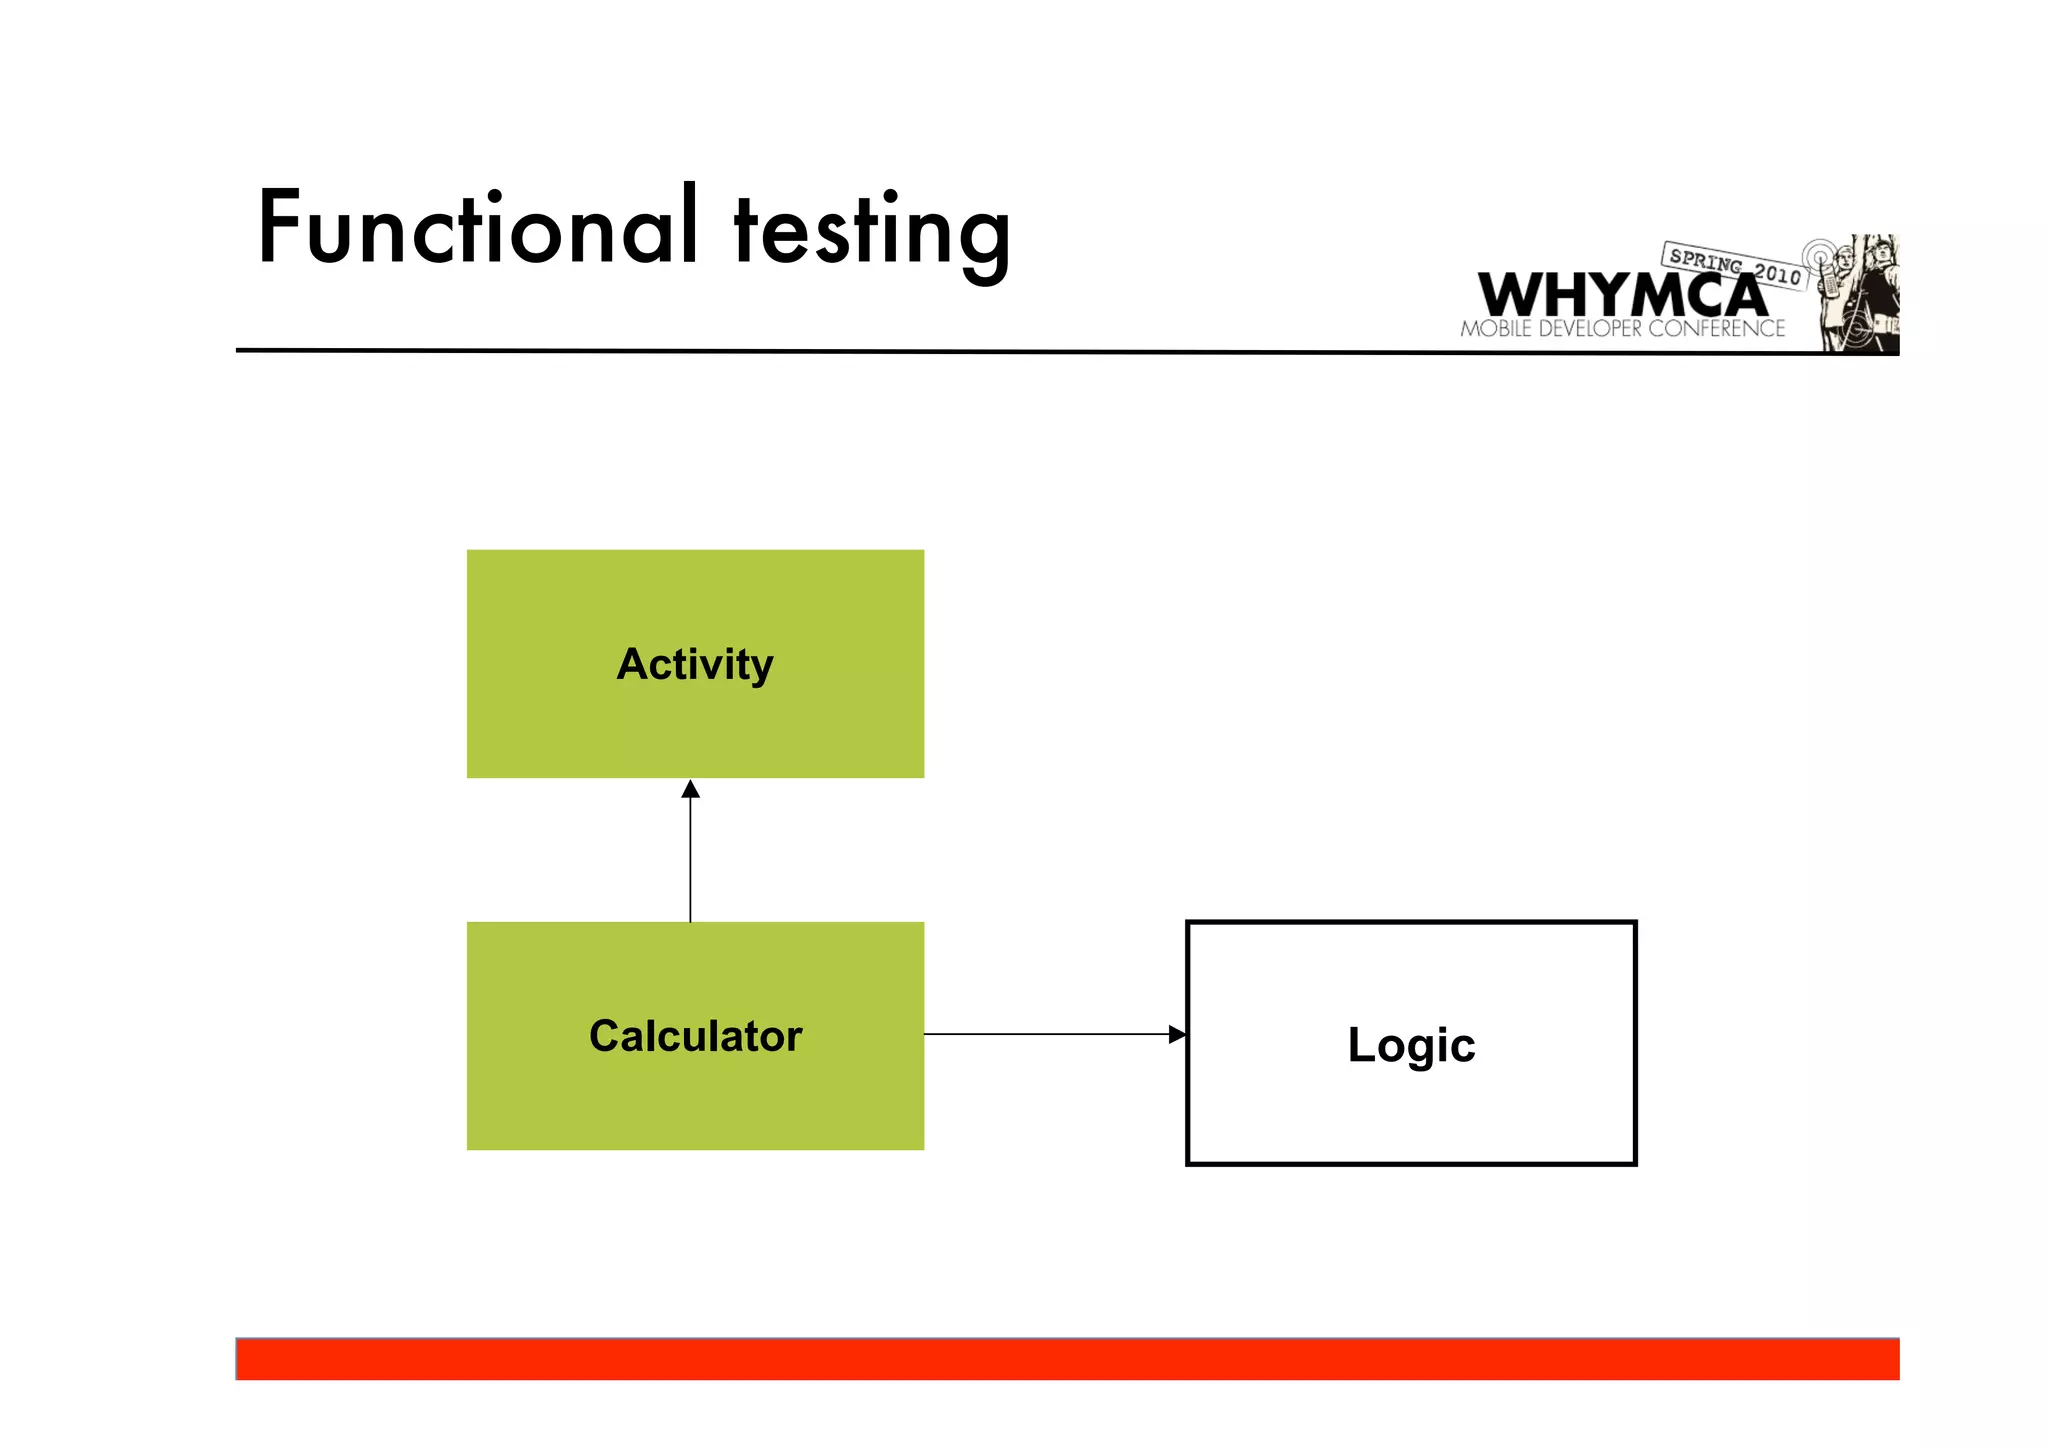
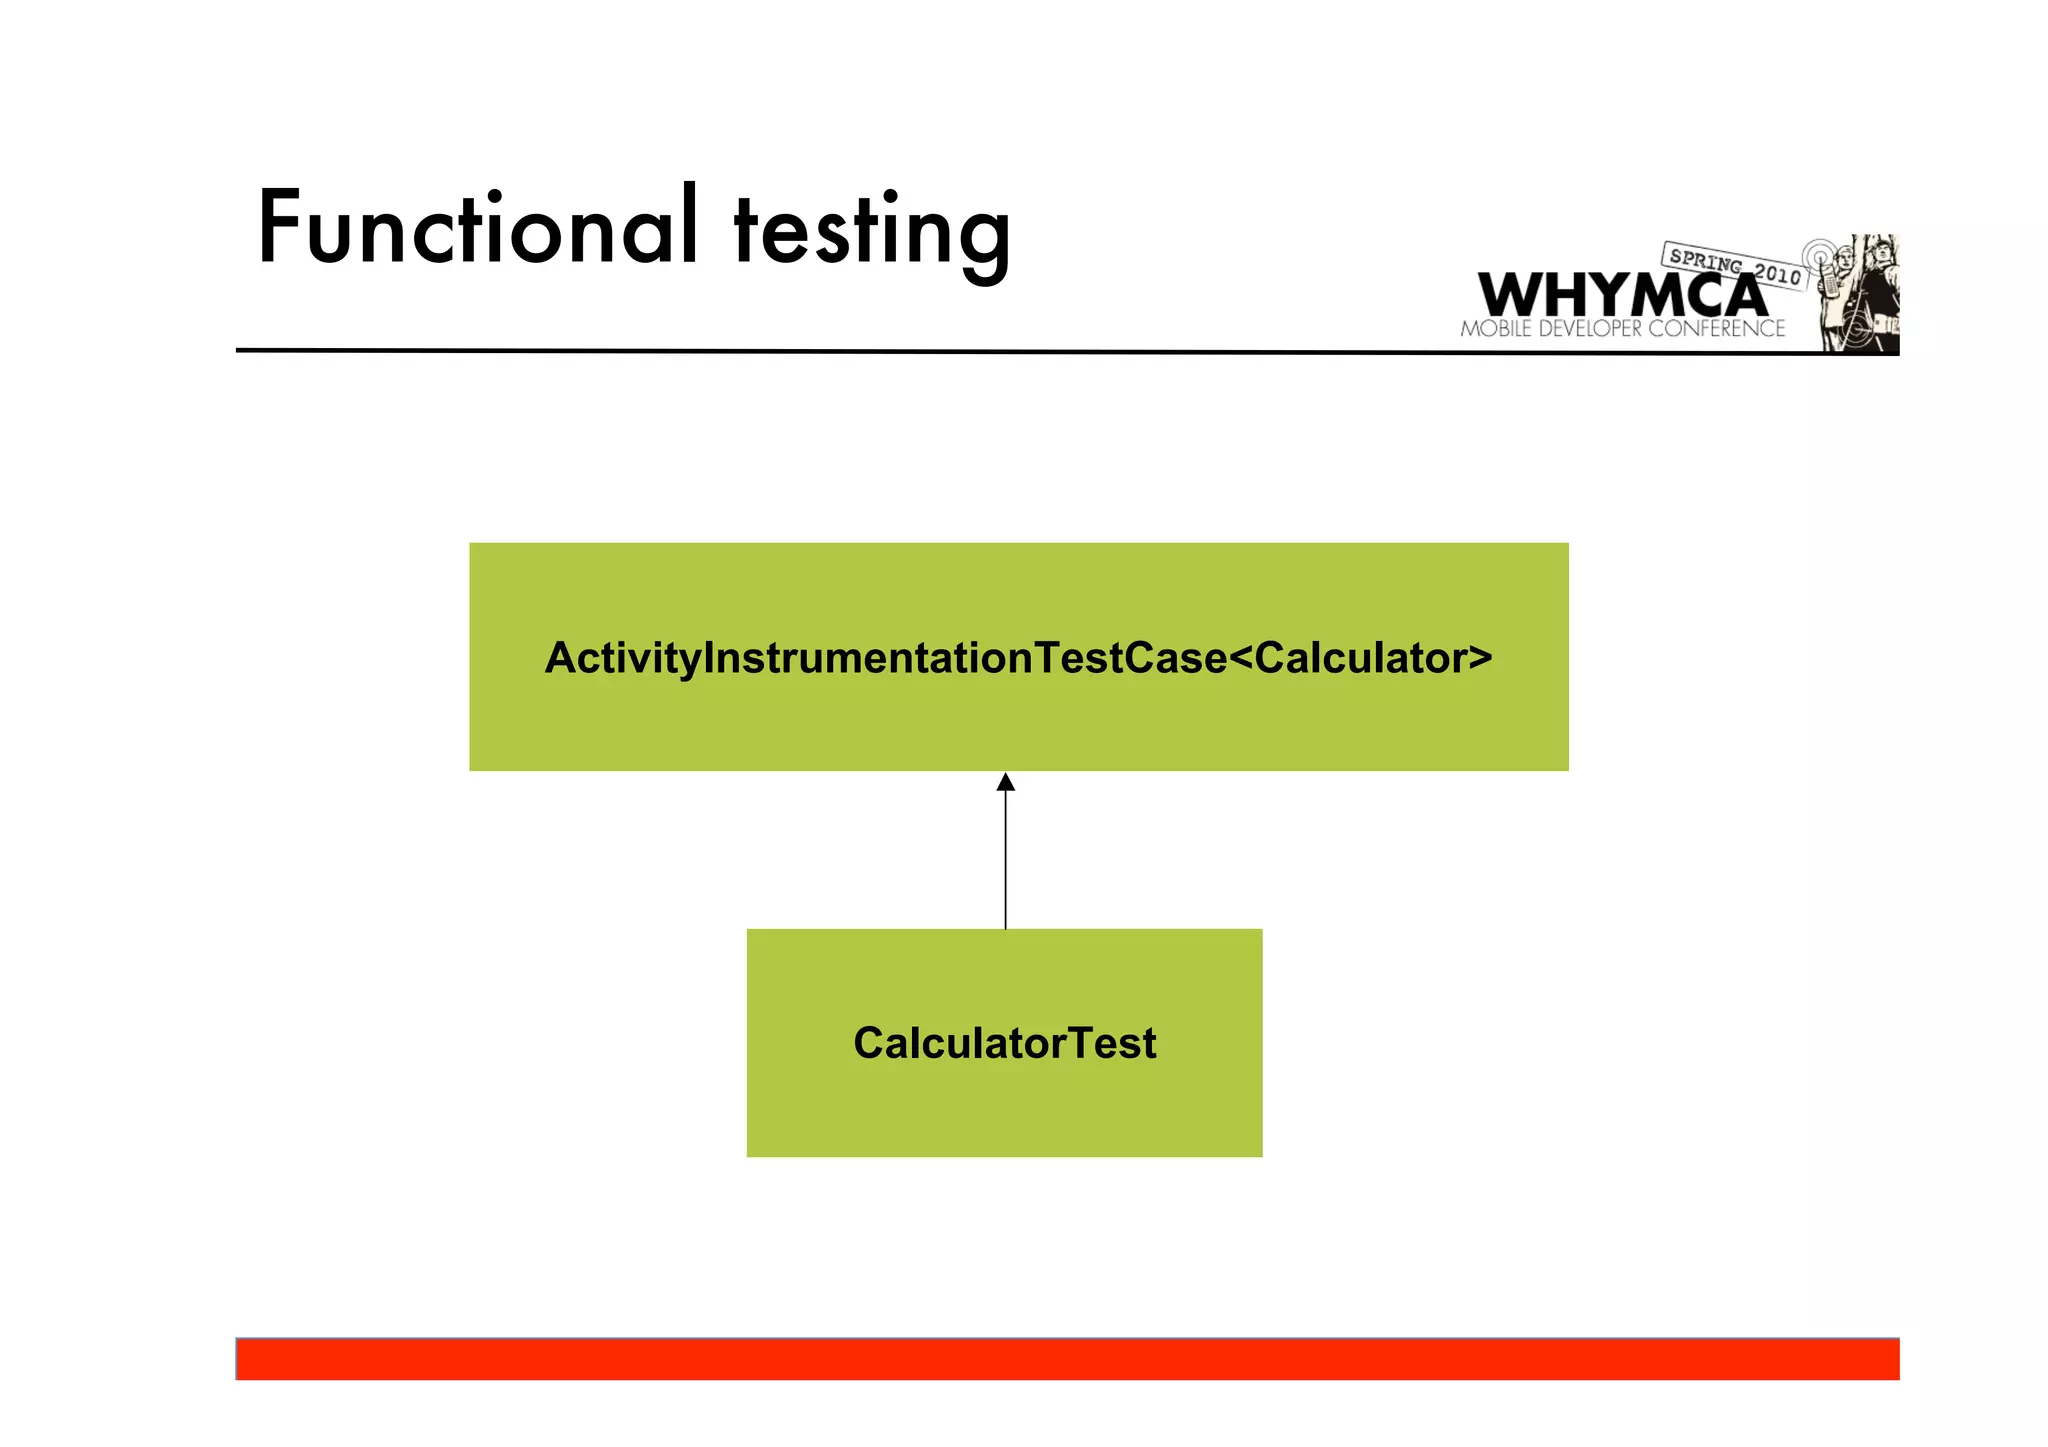
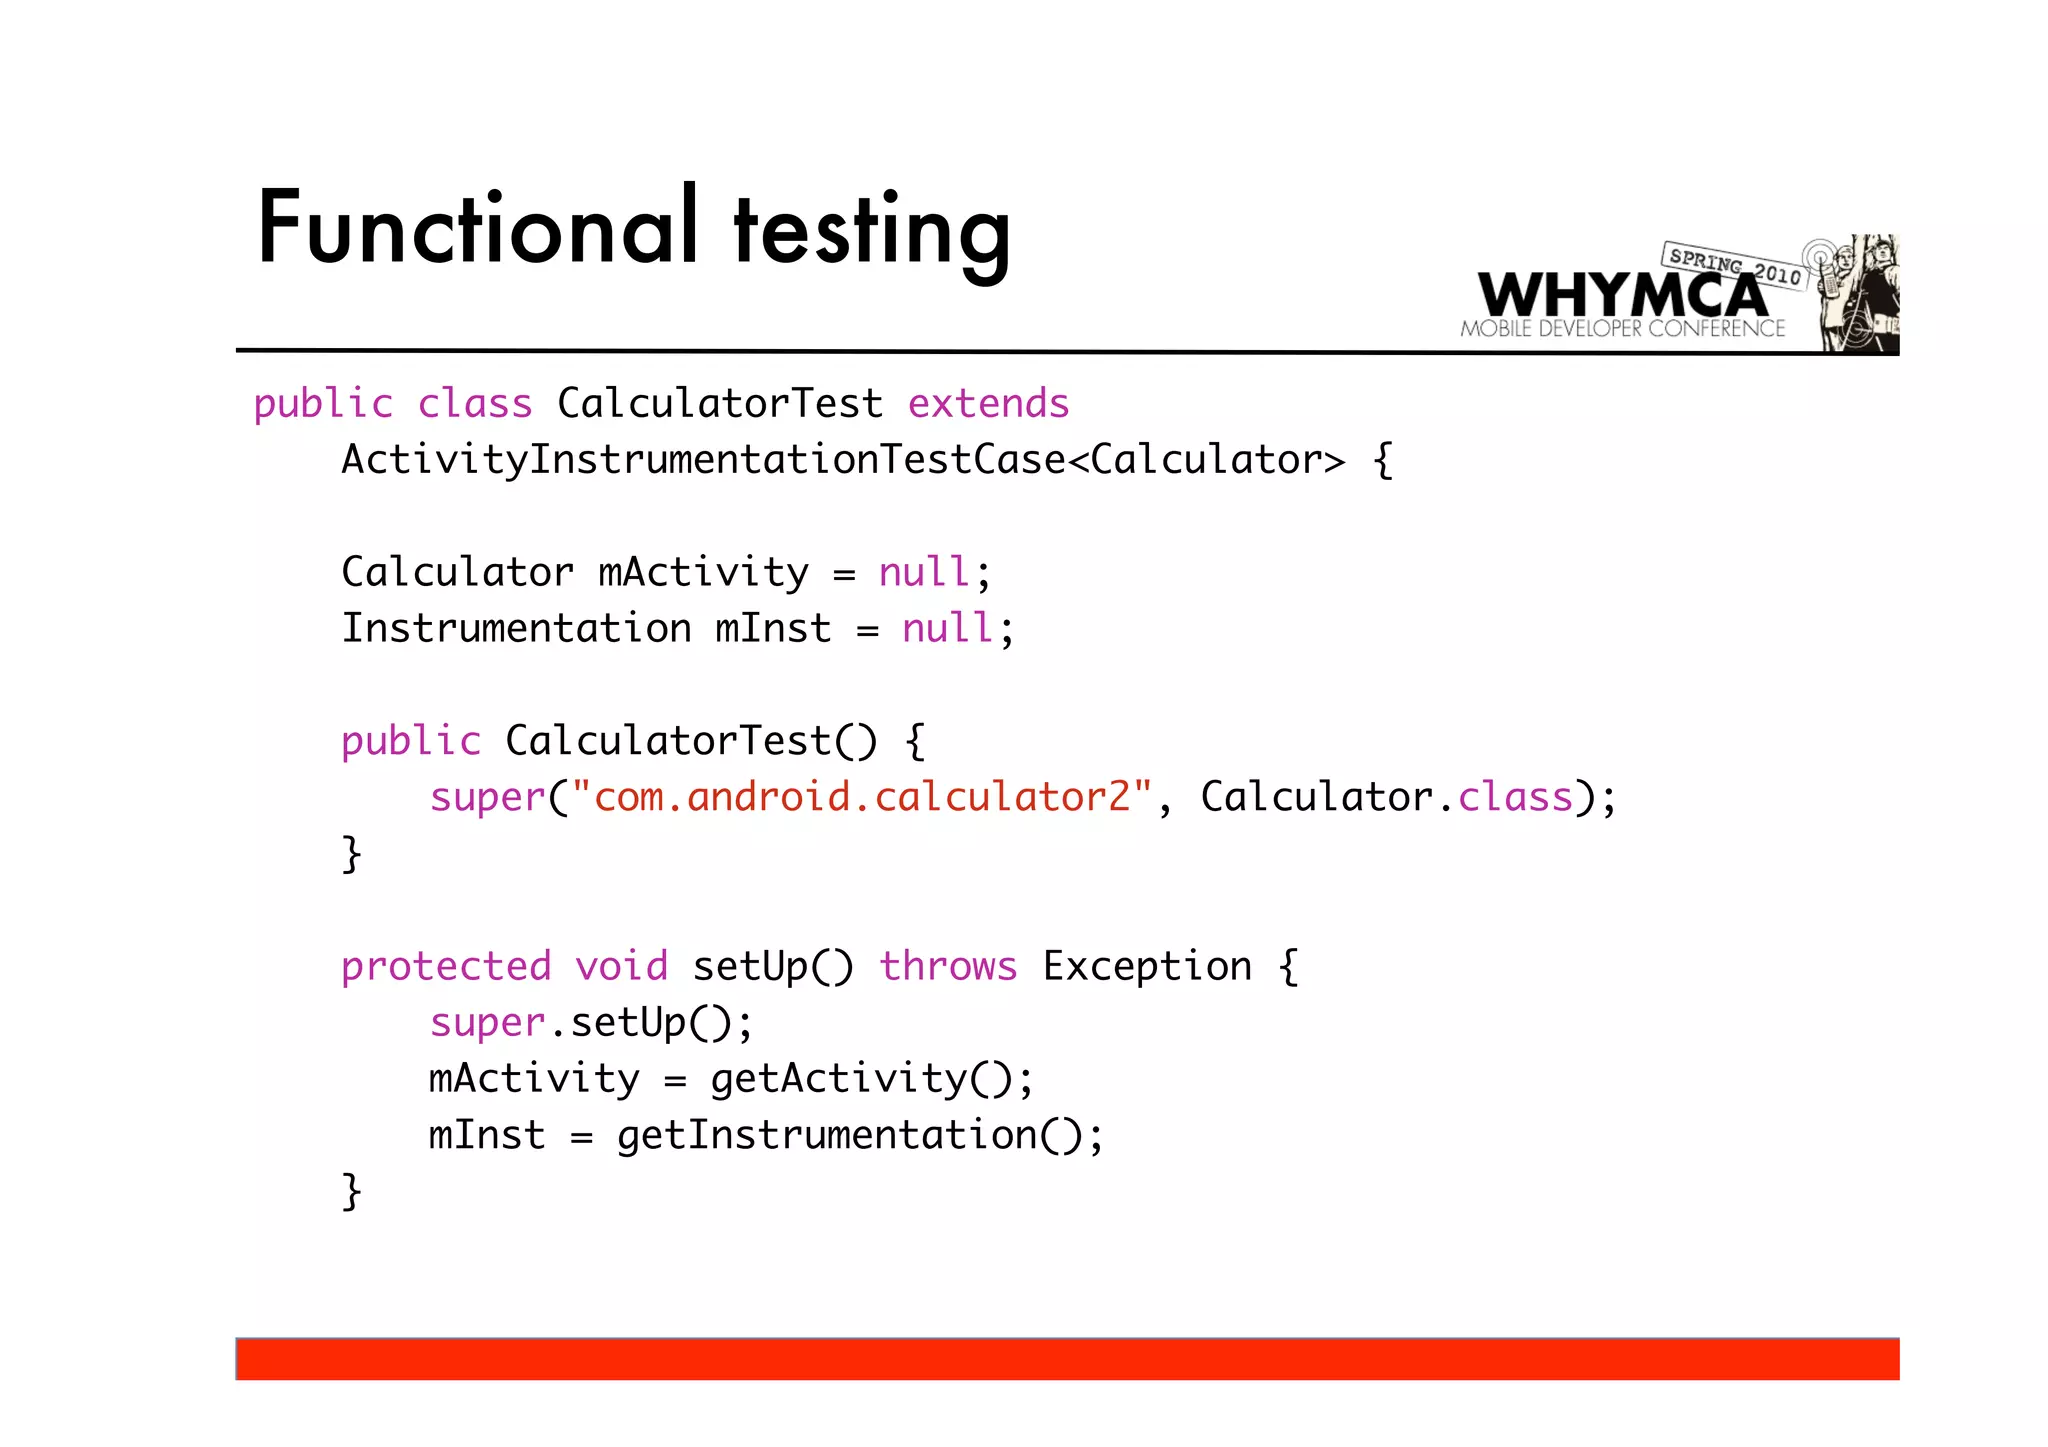
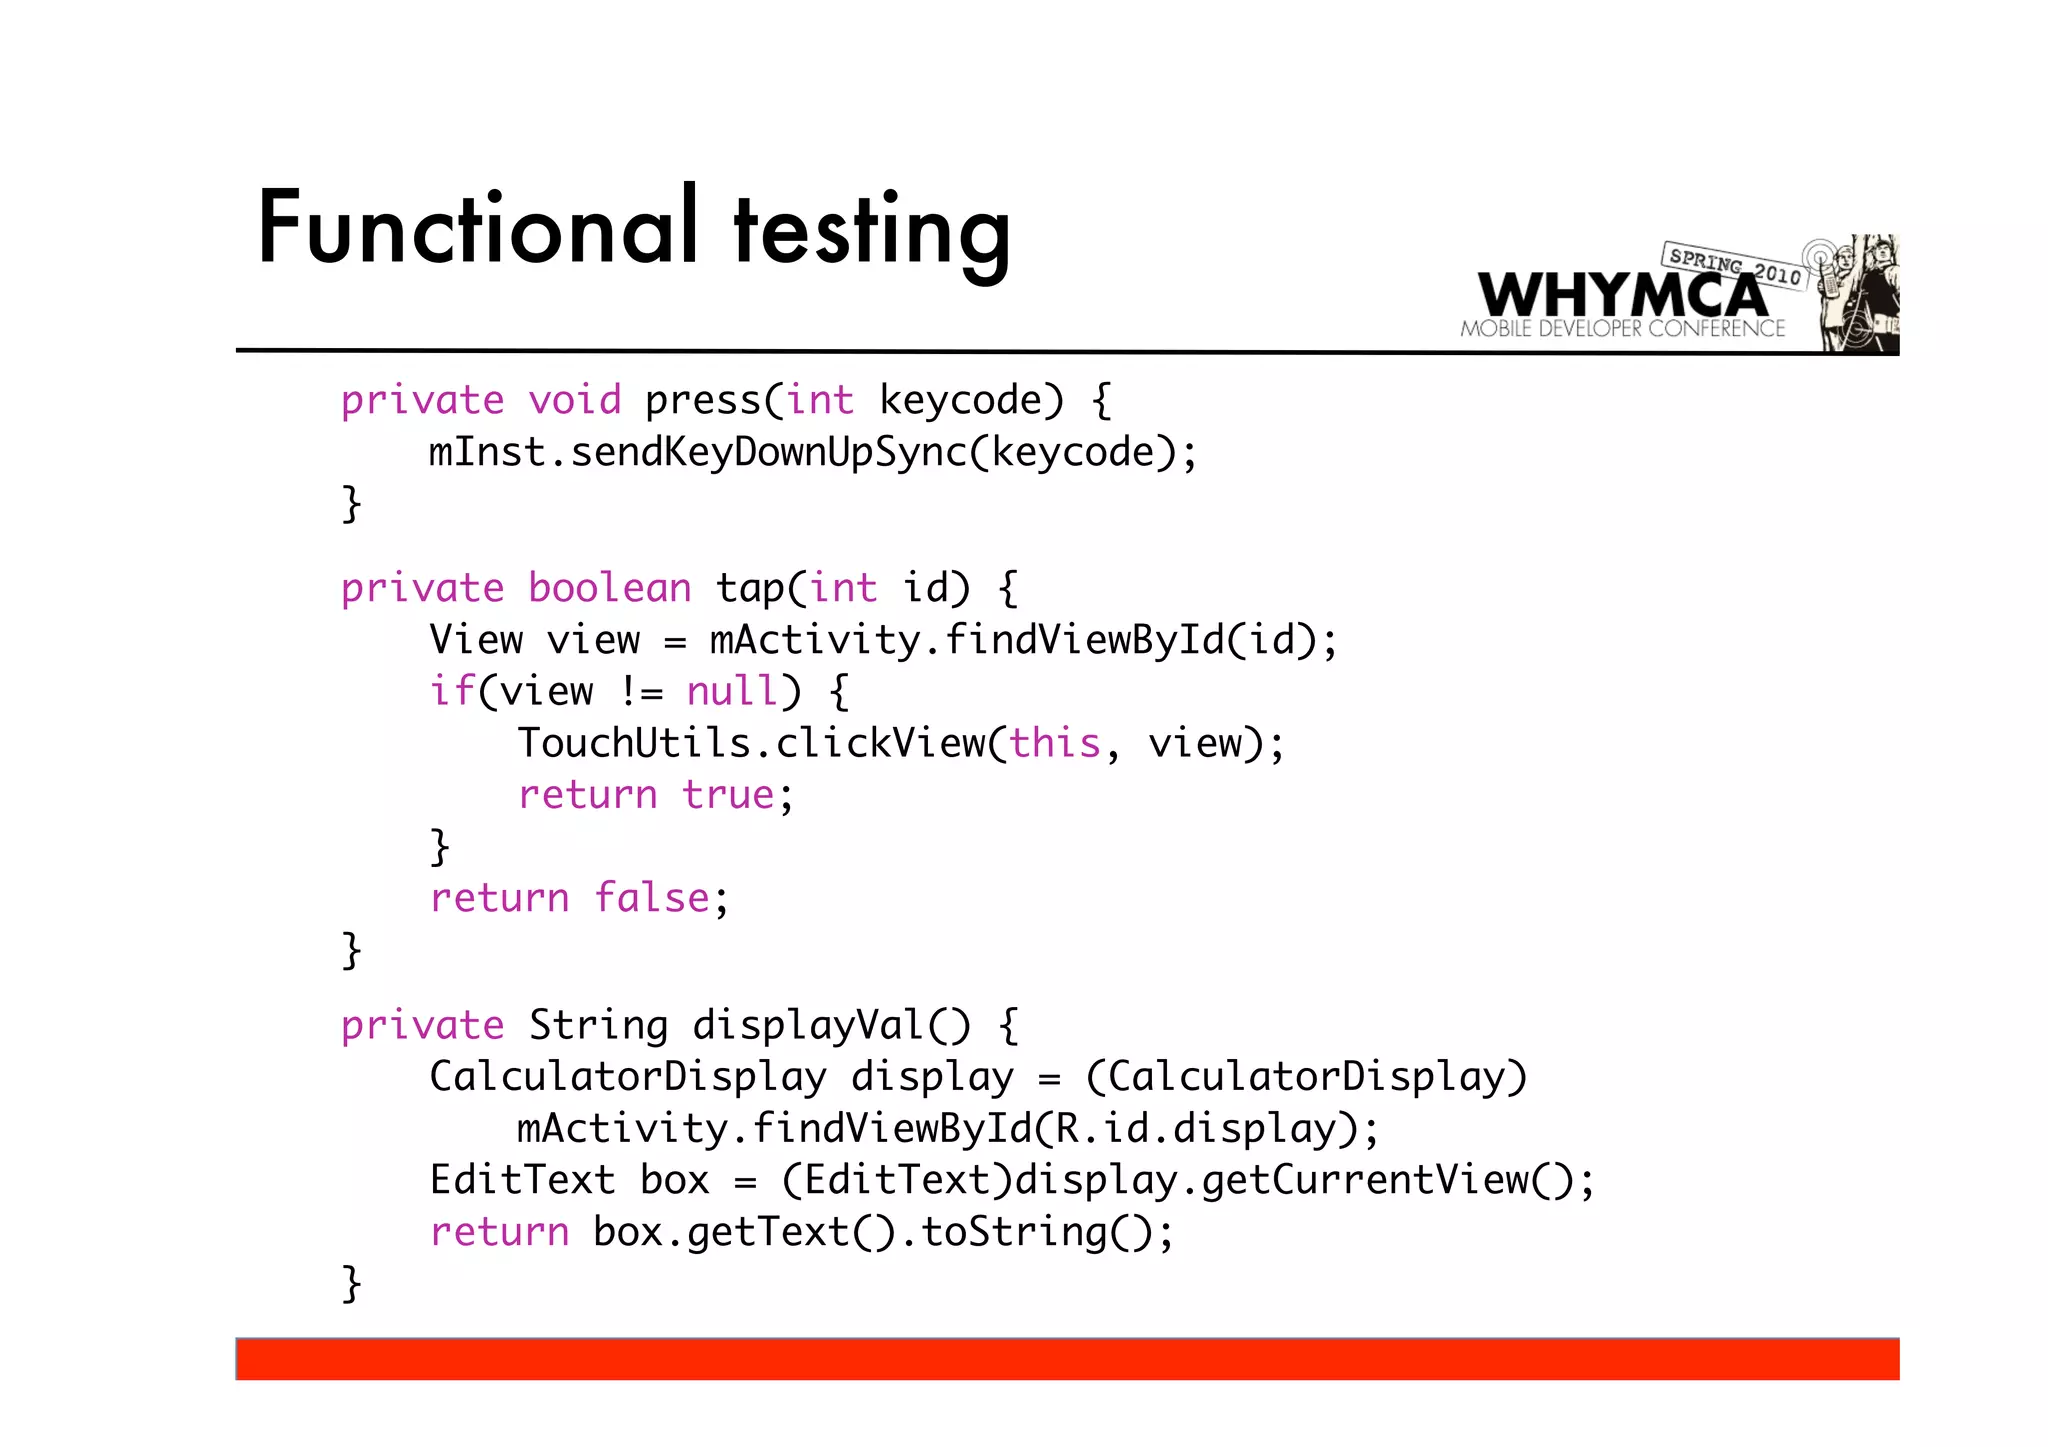
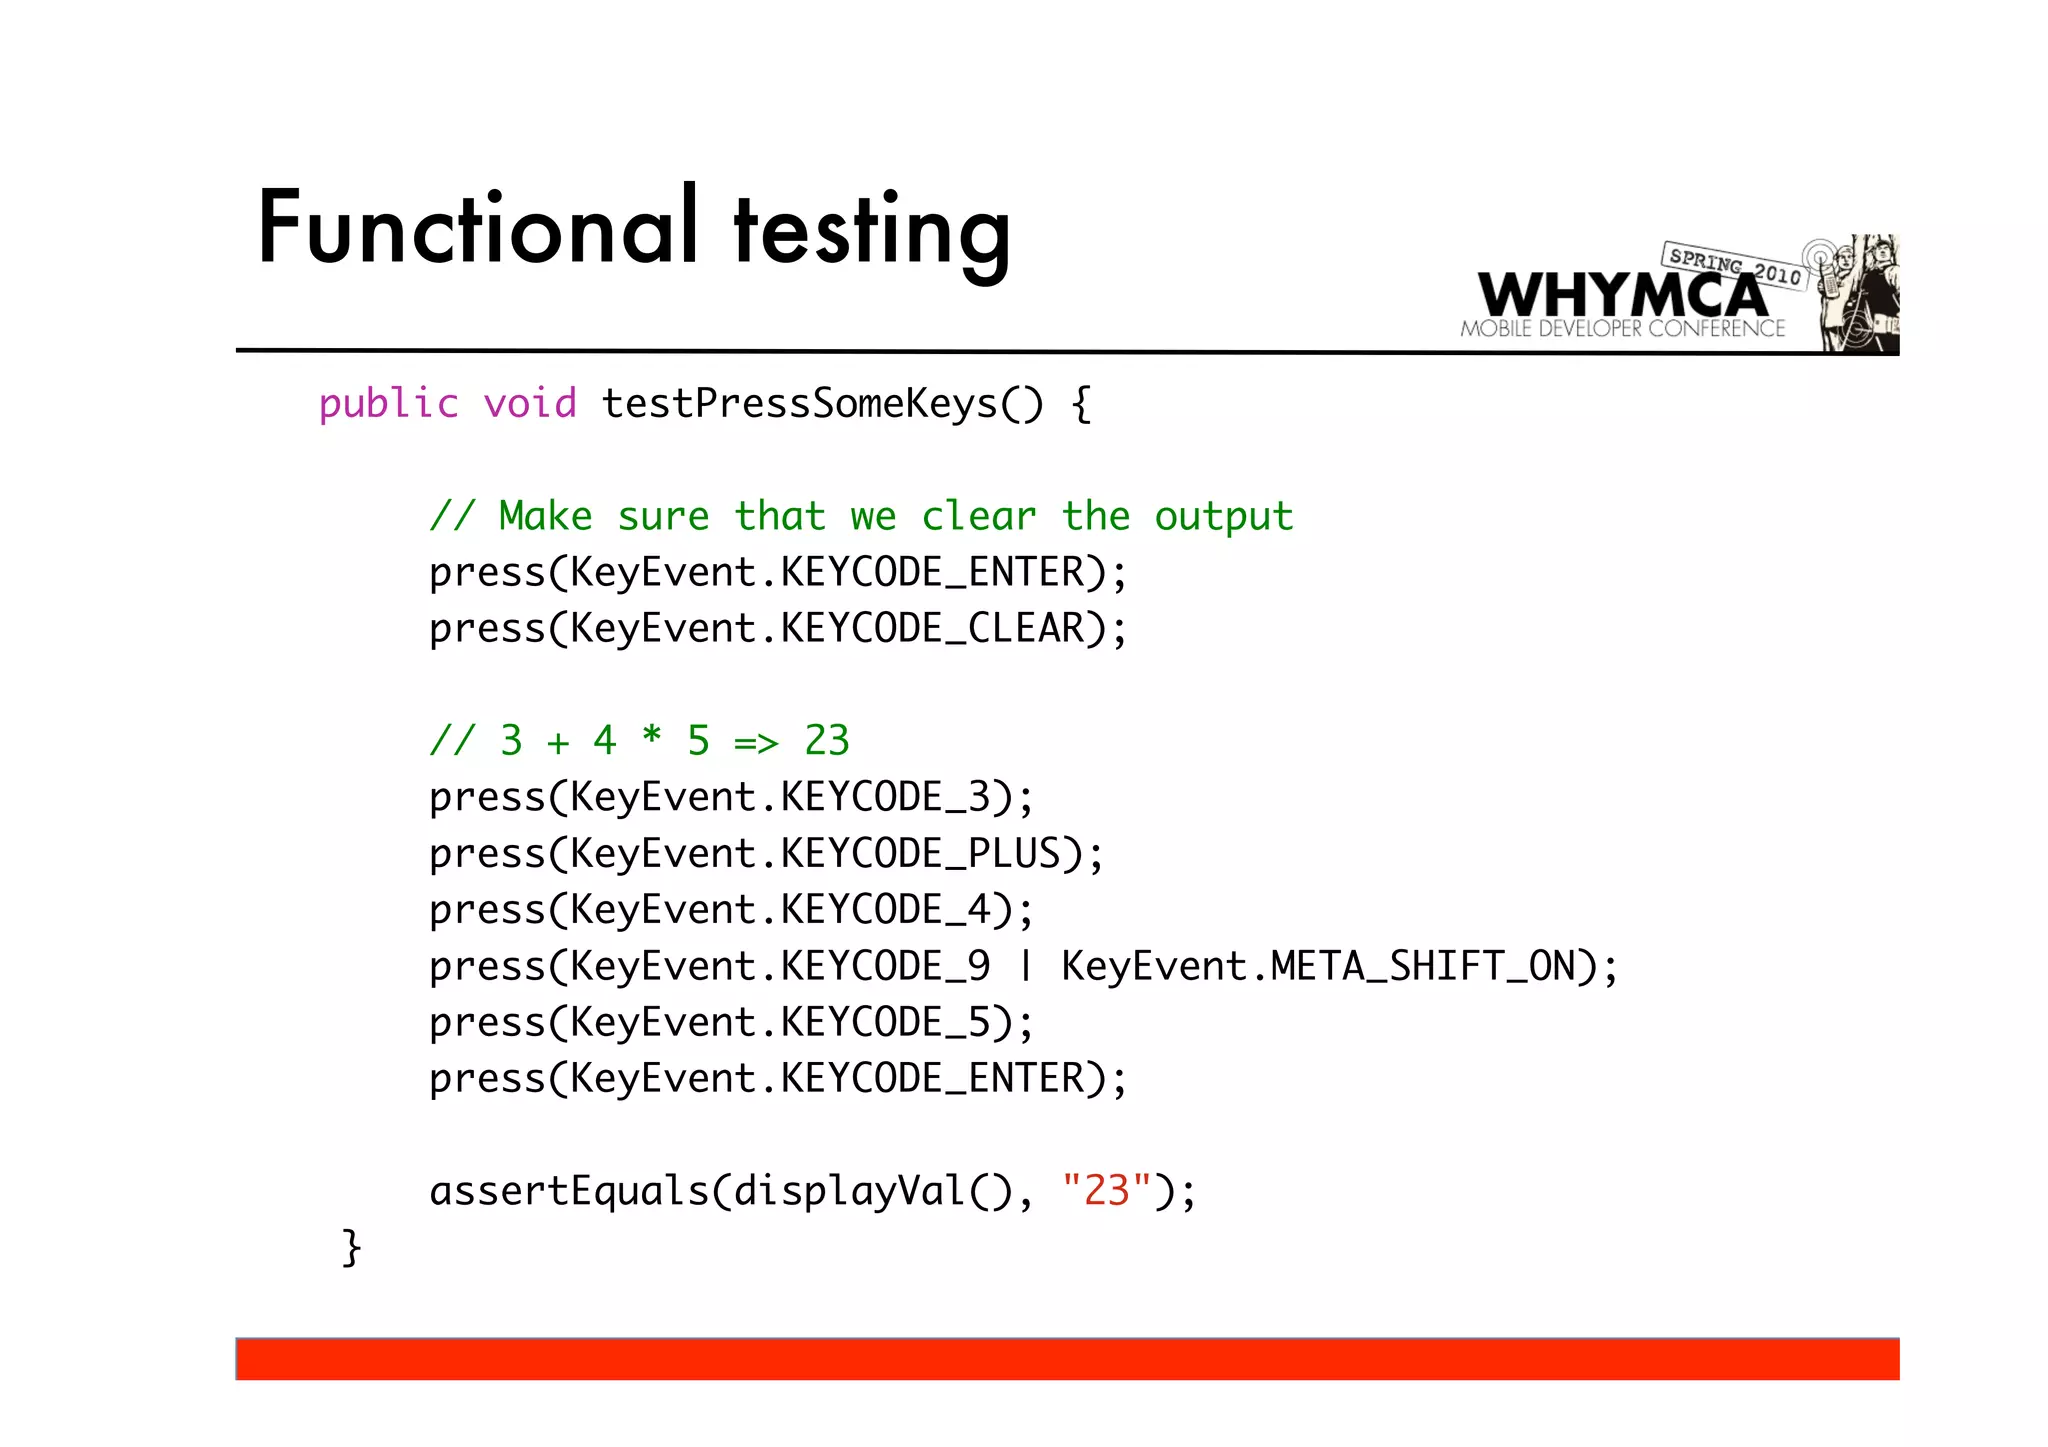
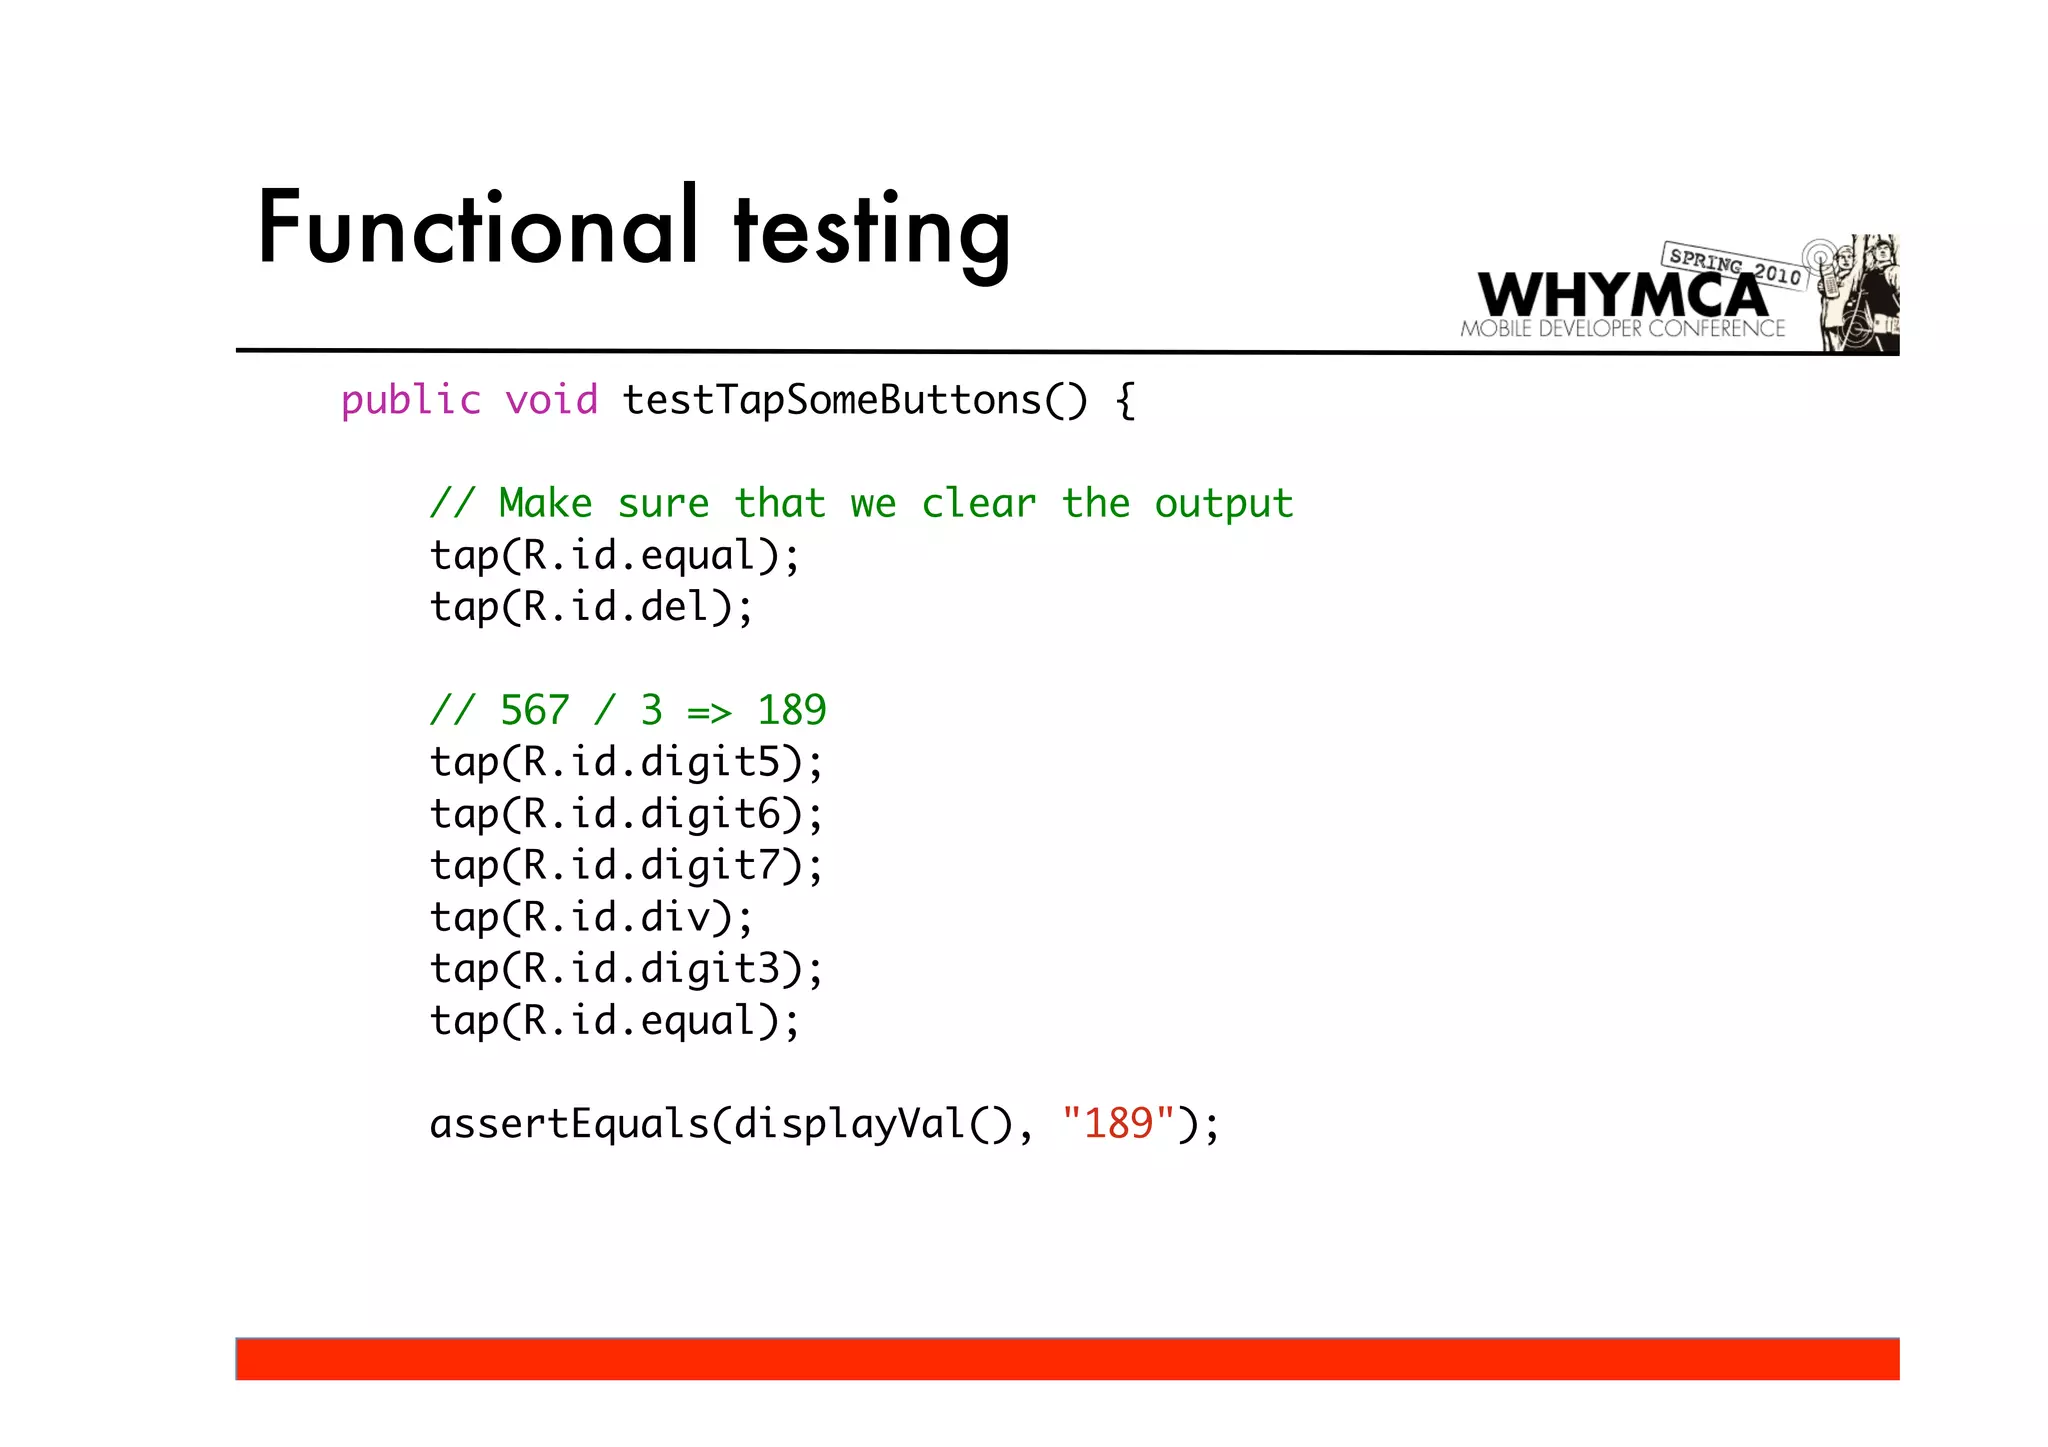
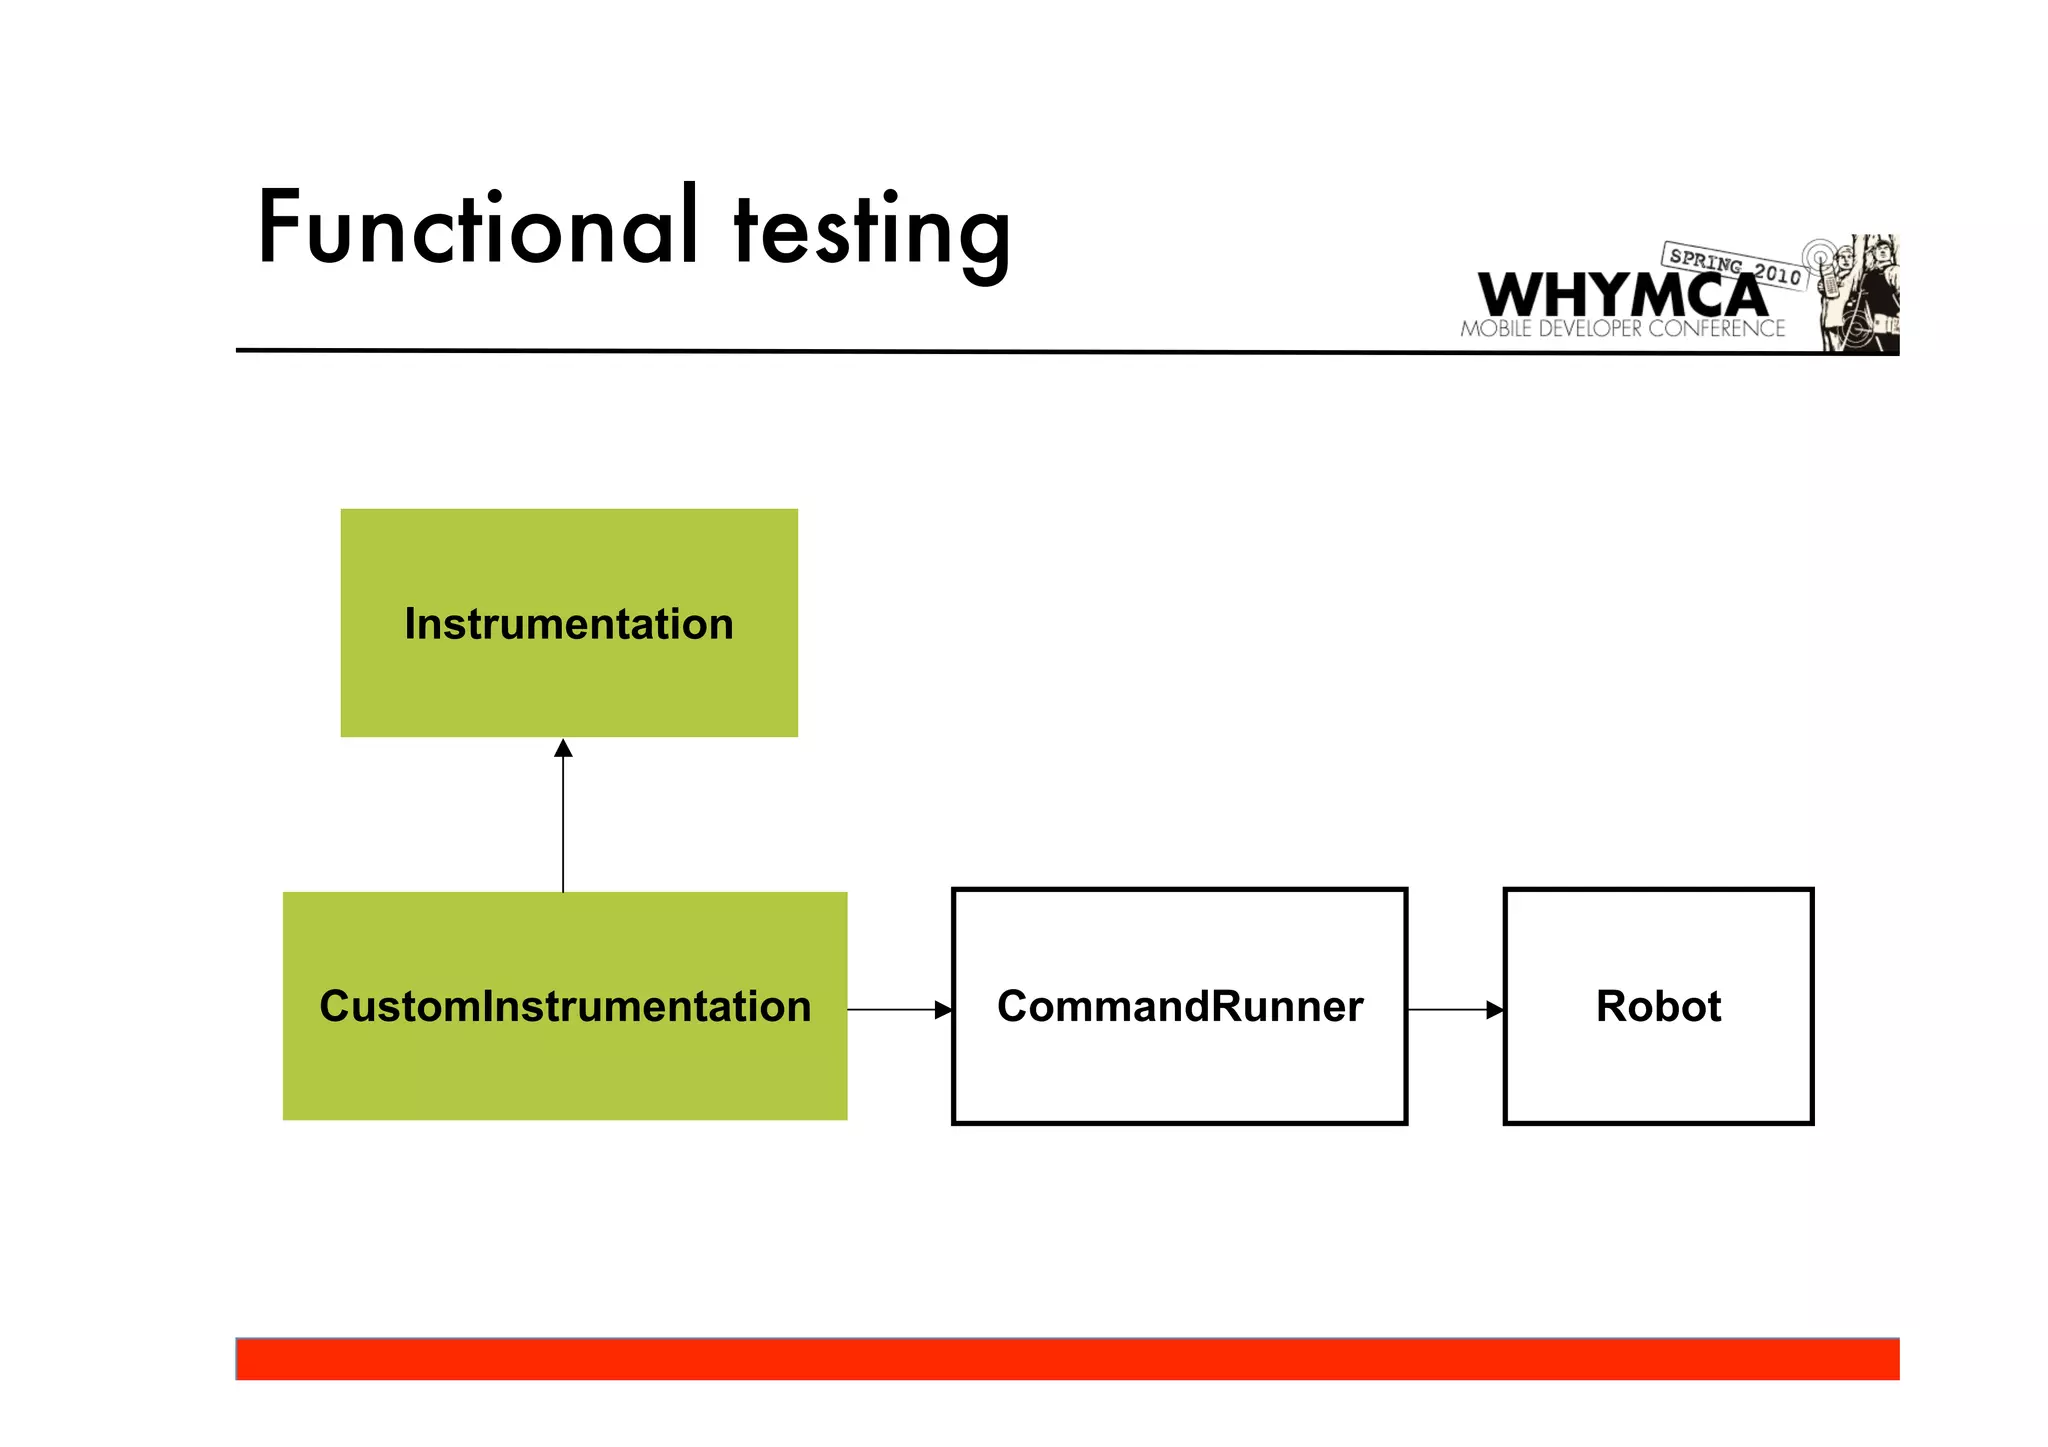
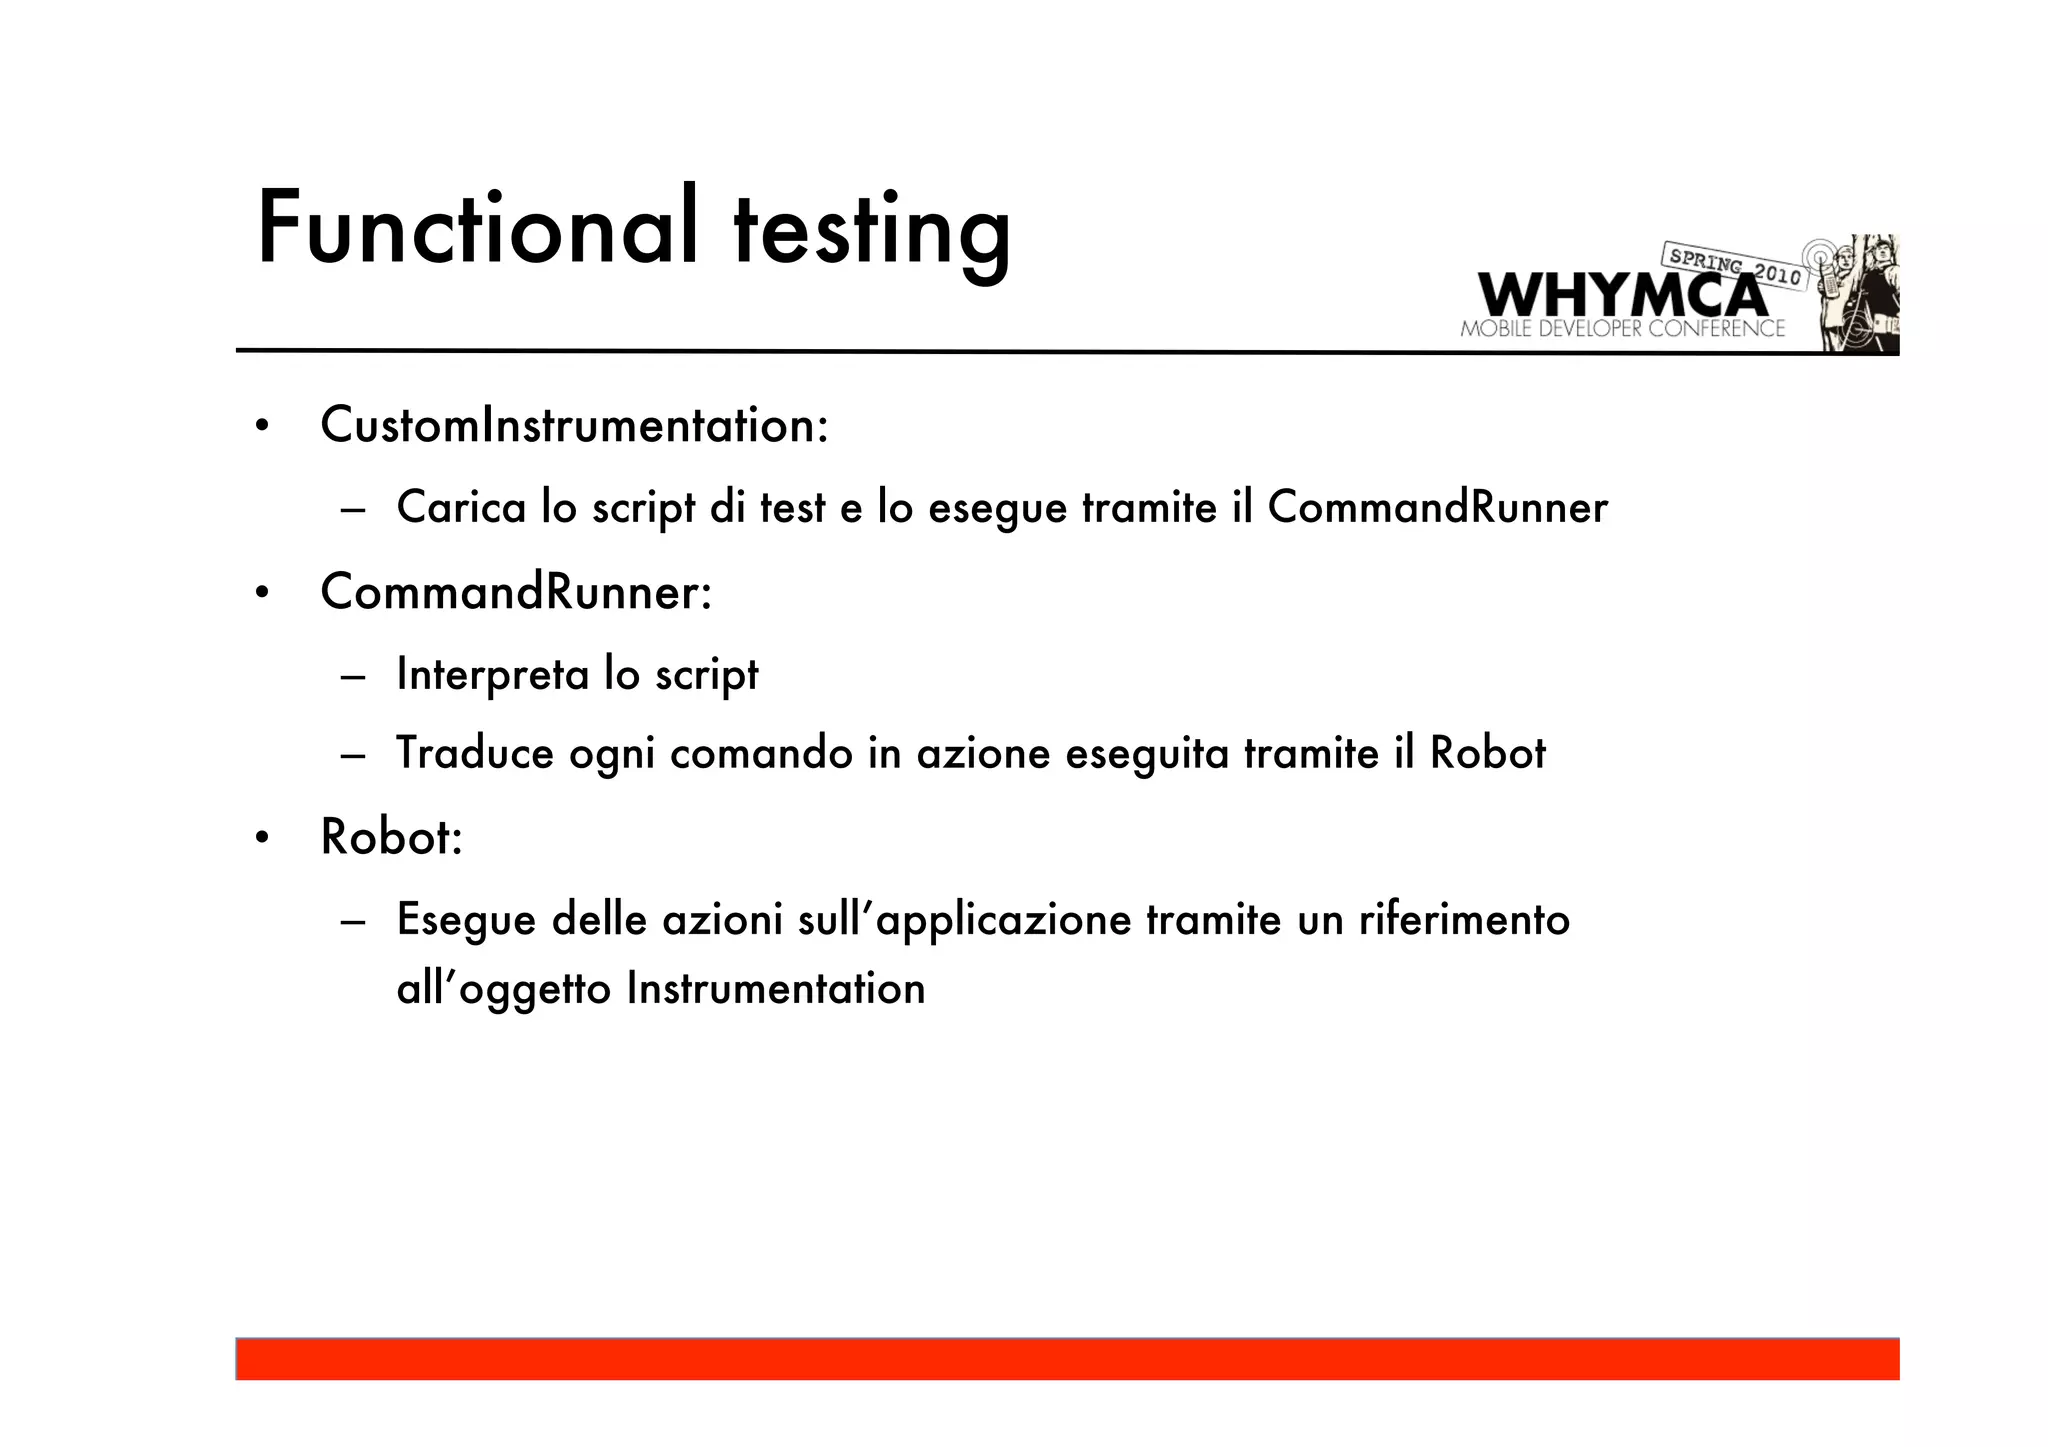
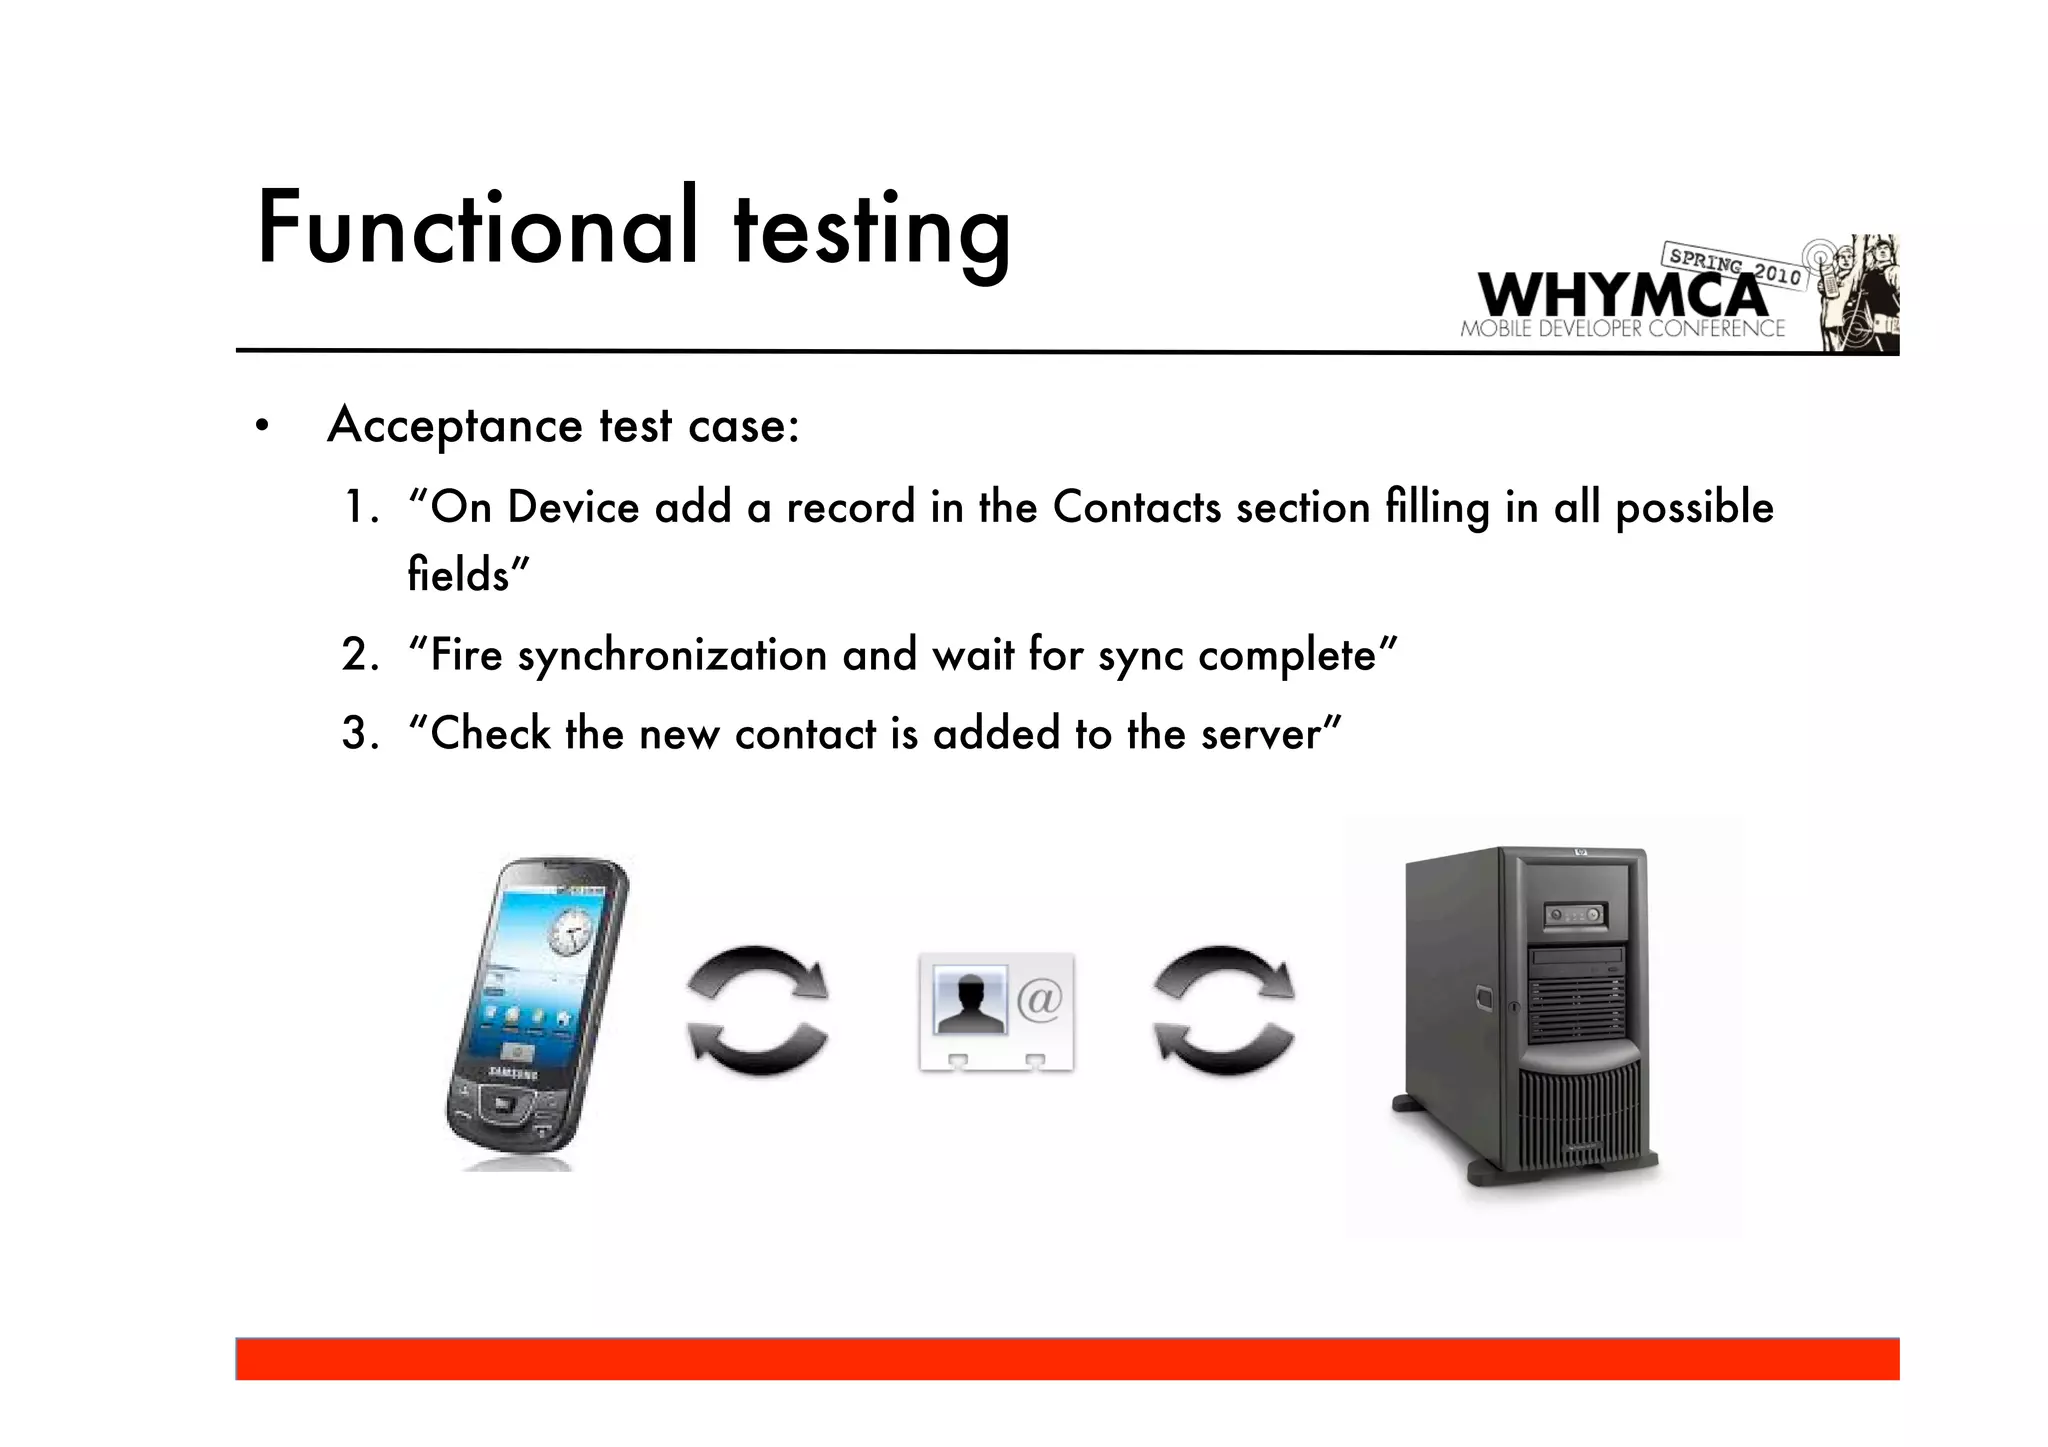
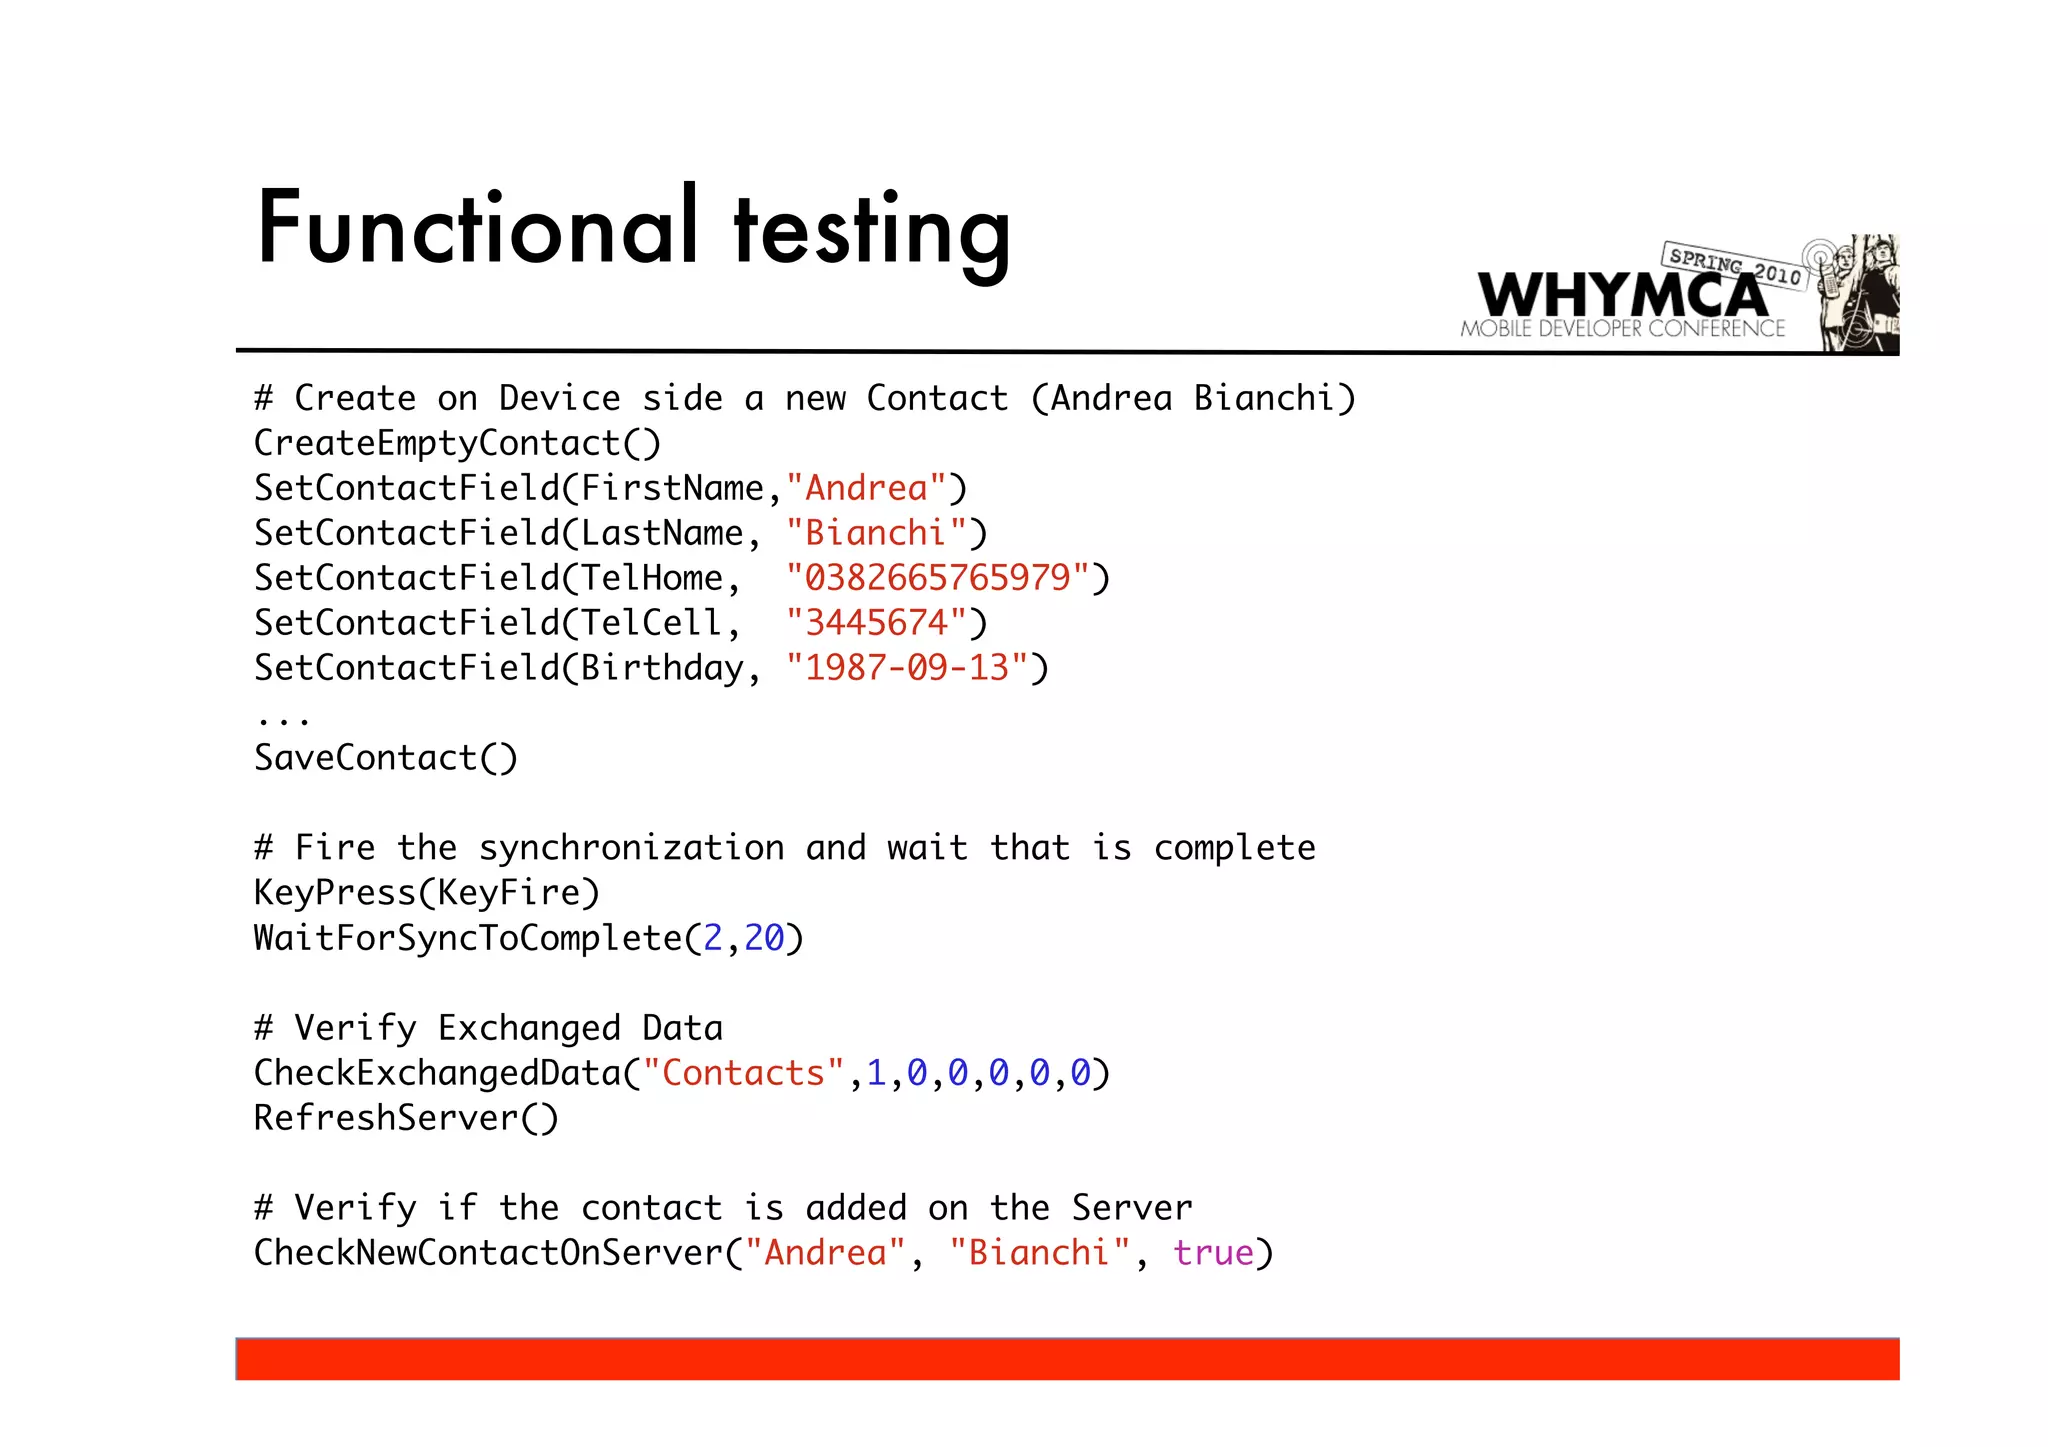
![Functional testing
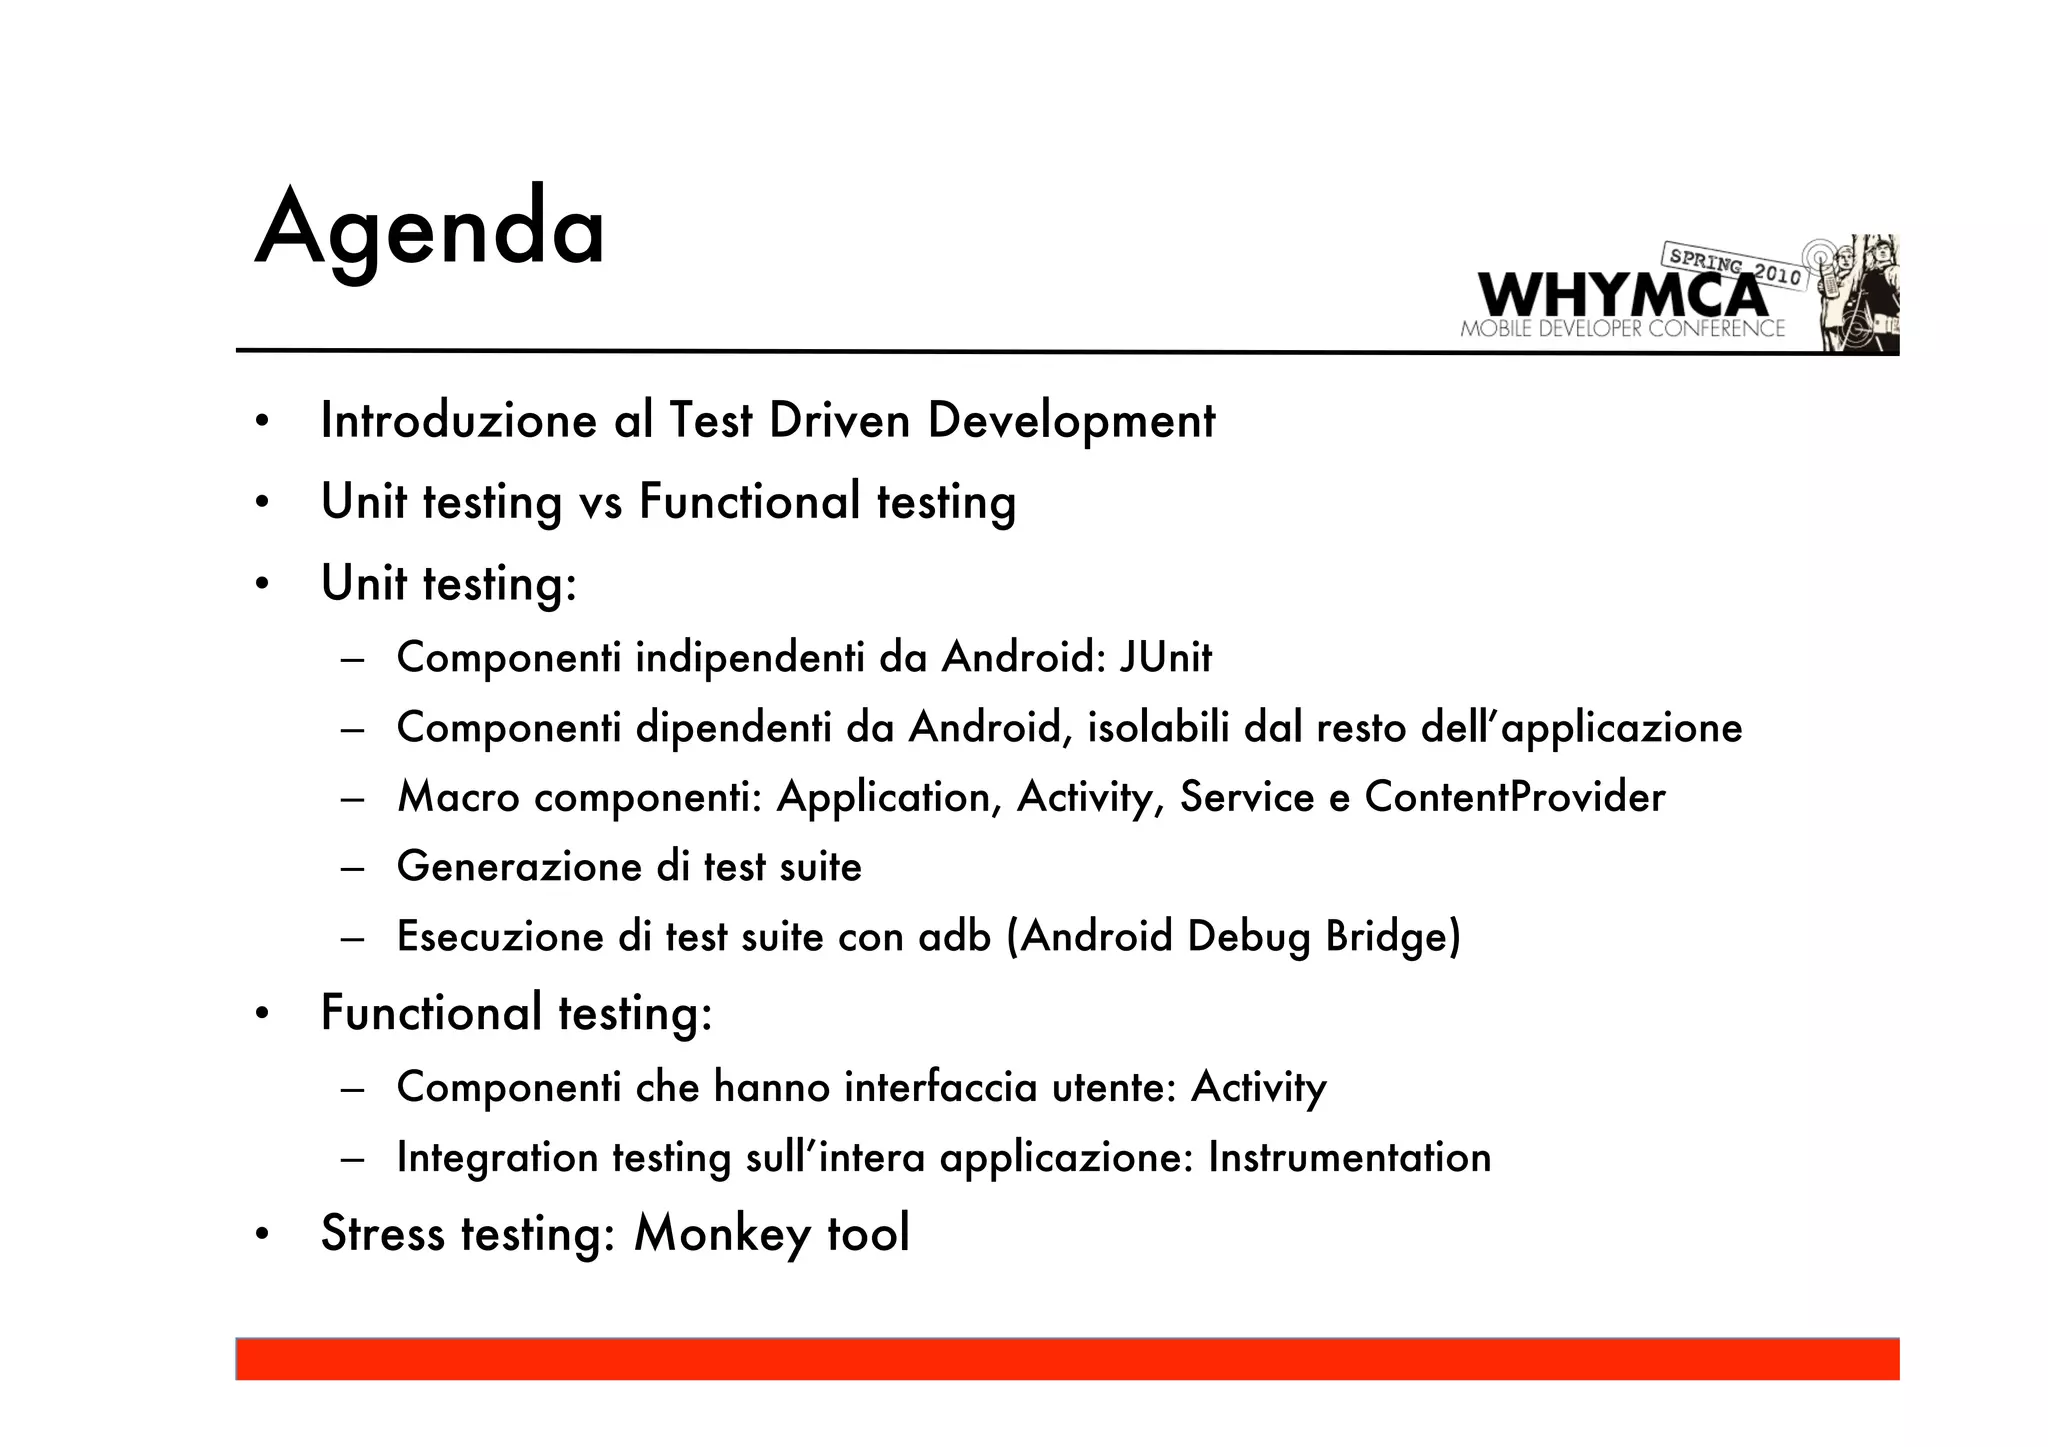
• Eseguire i test di integrazione:
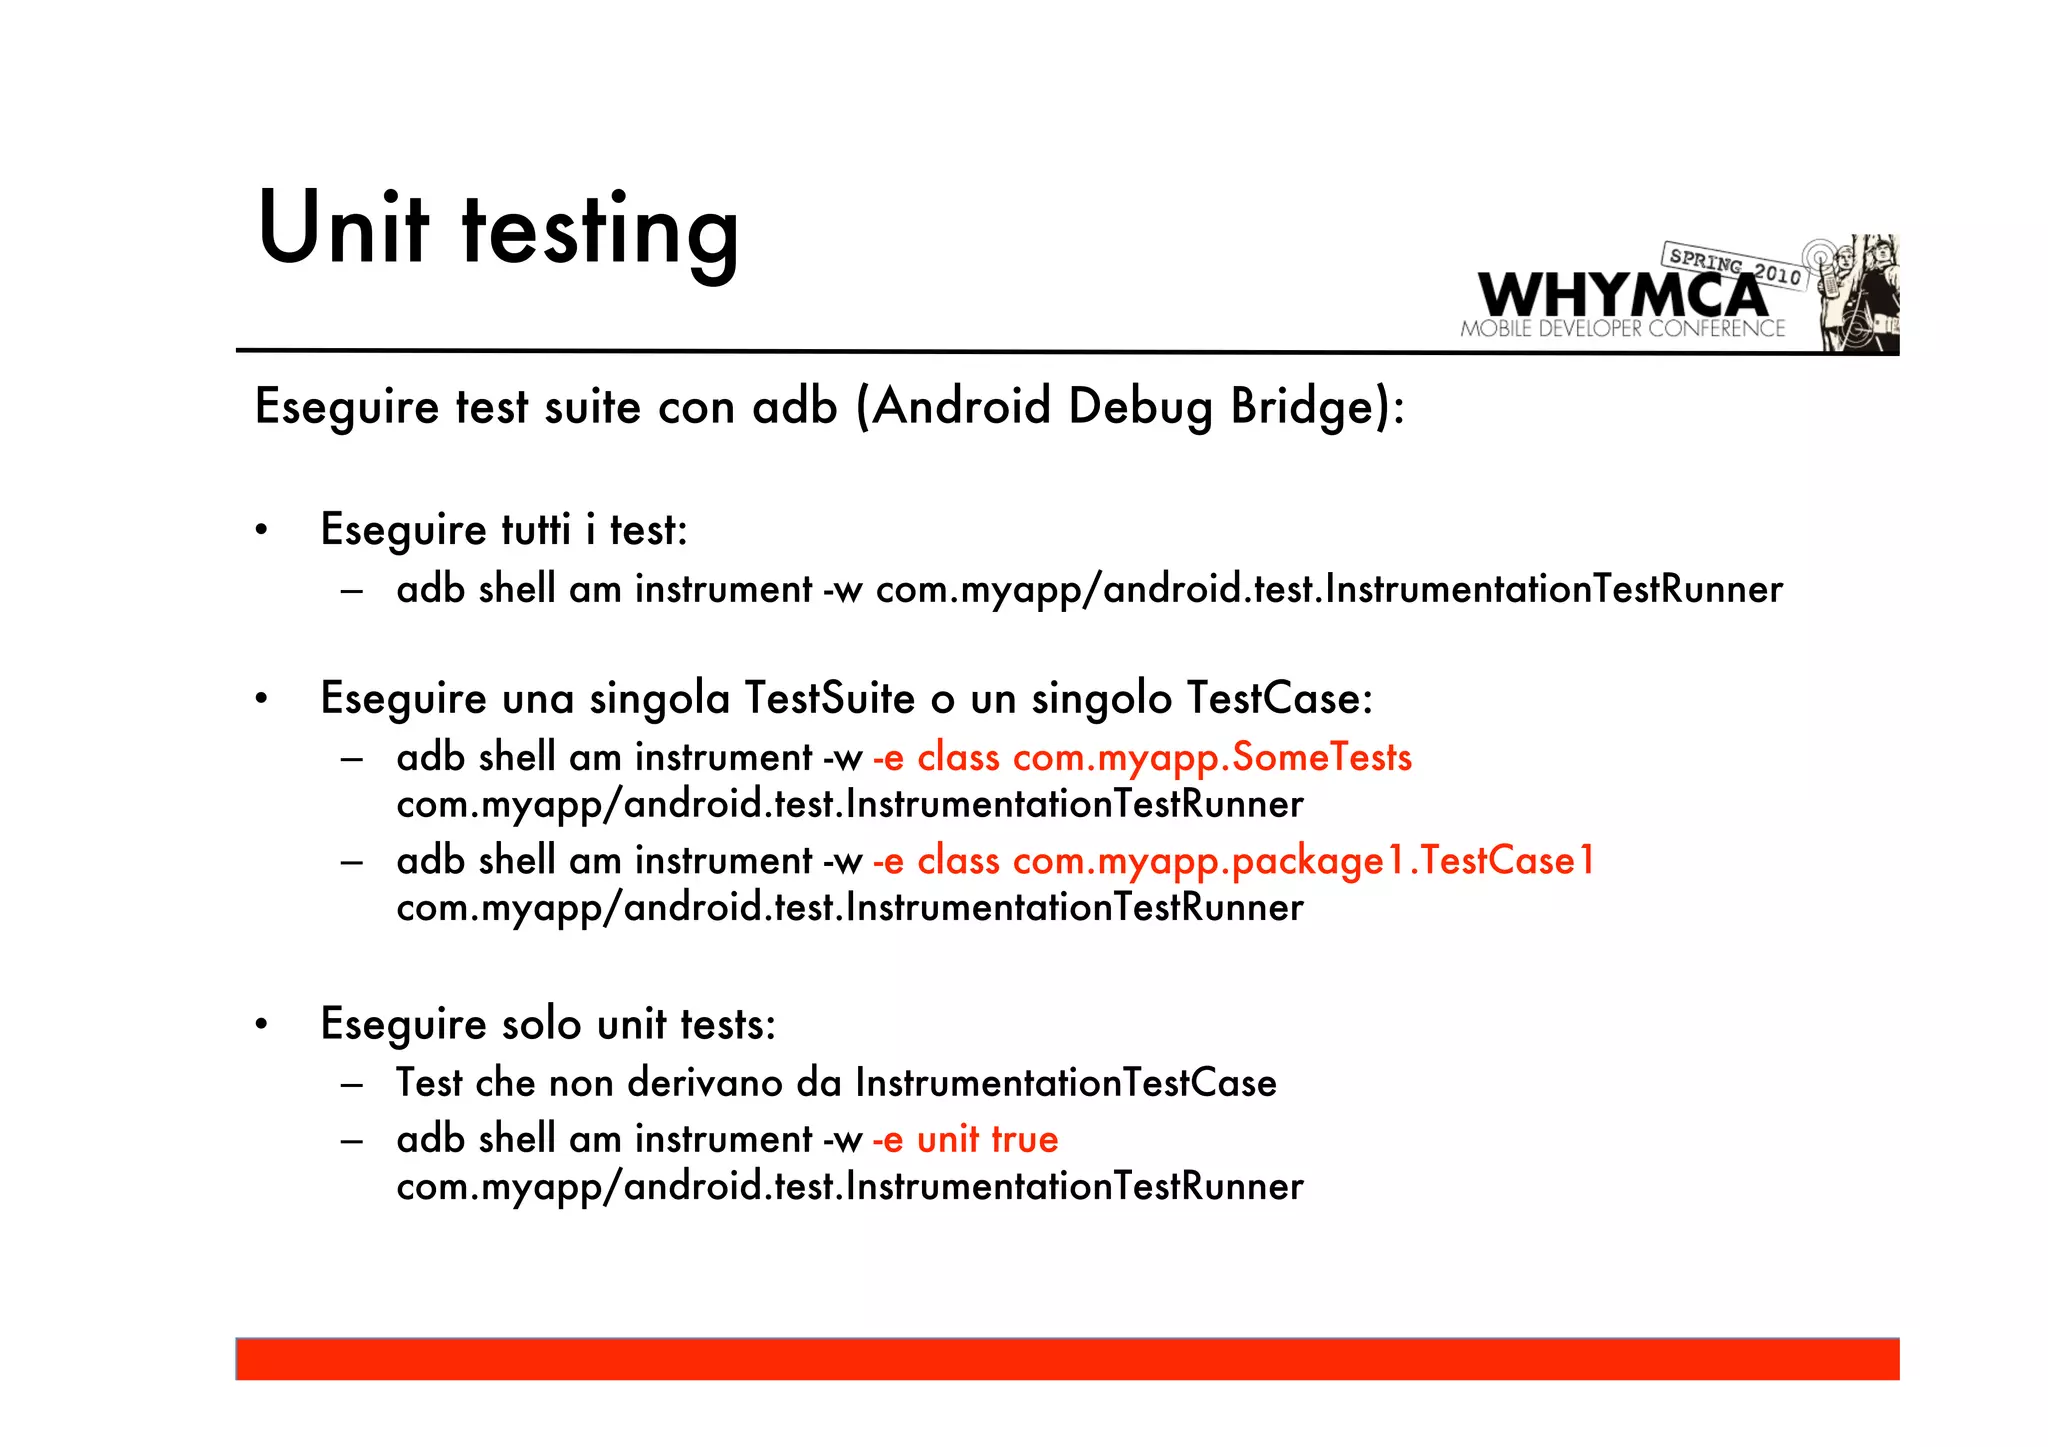
– adb shell am instrument [options] -w
com.myapp/com.myapp.CustomInstrumentation
– È possibile specificare dei parametri aggiuntivi tramite il flag -e (extra)
– I parametri vengono passati tramite una Bundle attraverso il metodo
onCreate() dell’oggetto Instrumentation:
• public void onCreate(Bundle arguments)
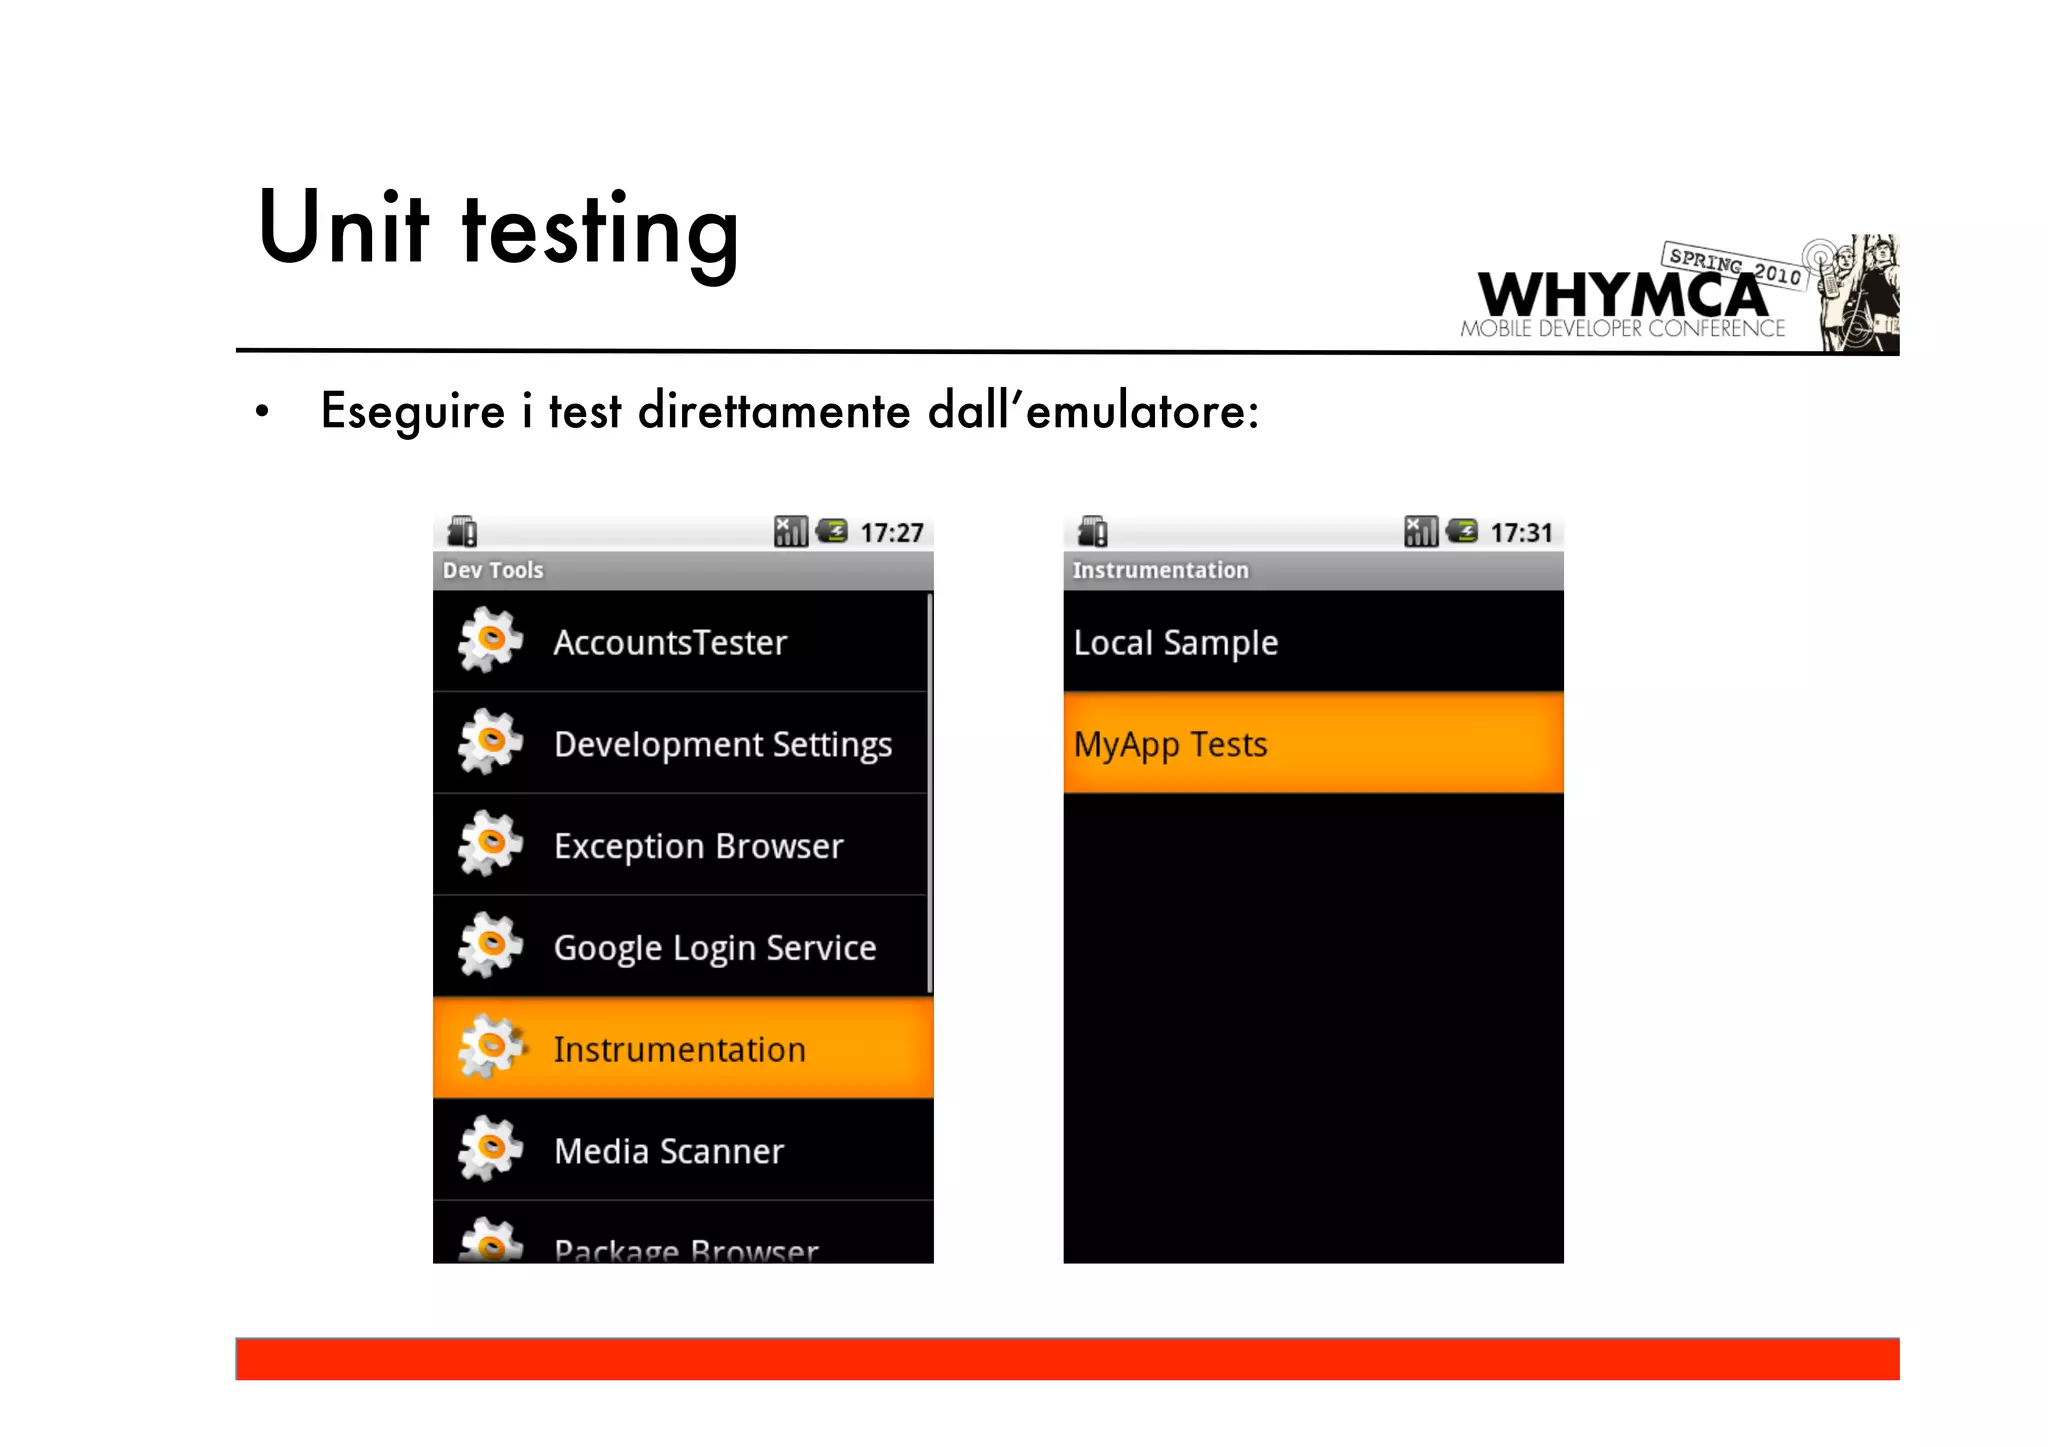
– Dall’emulatore:
• Dev Tools / Instrumentation / MyApp Integration Tests](https://image.slidesharecdn.com/androidtdd-100527175416-phpapp01/75/Android-Test-Driven-Development-50-2048.jpg)
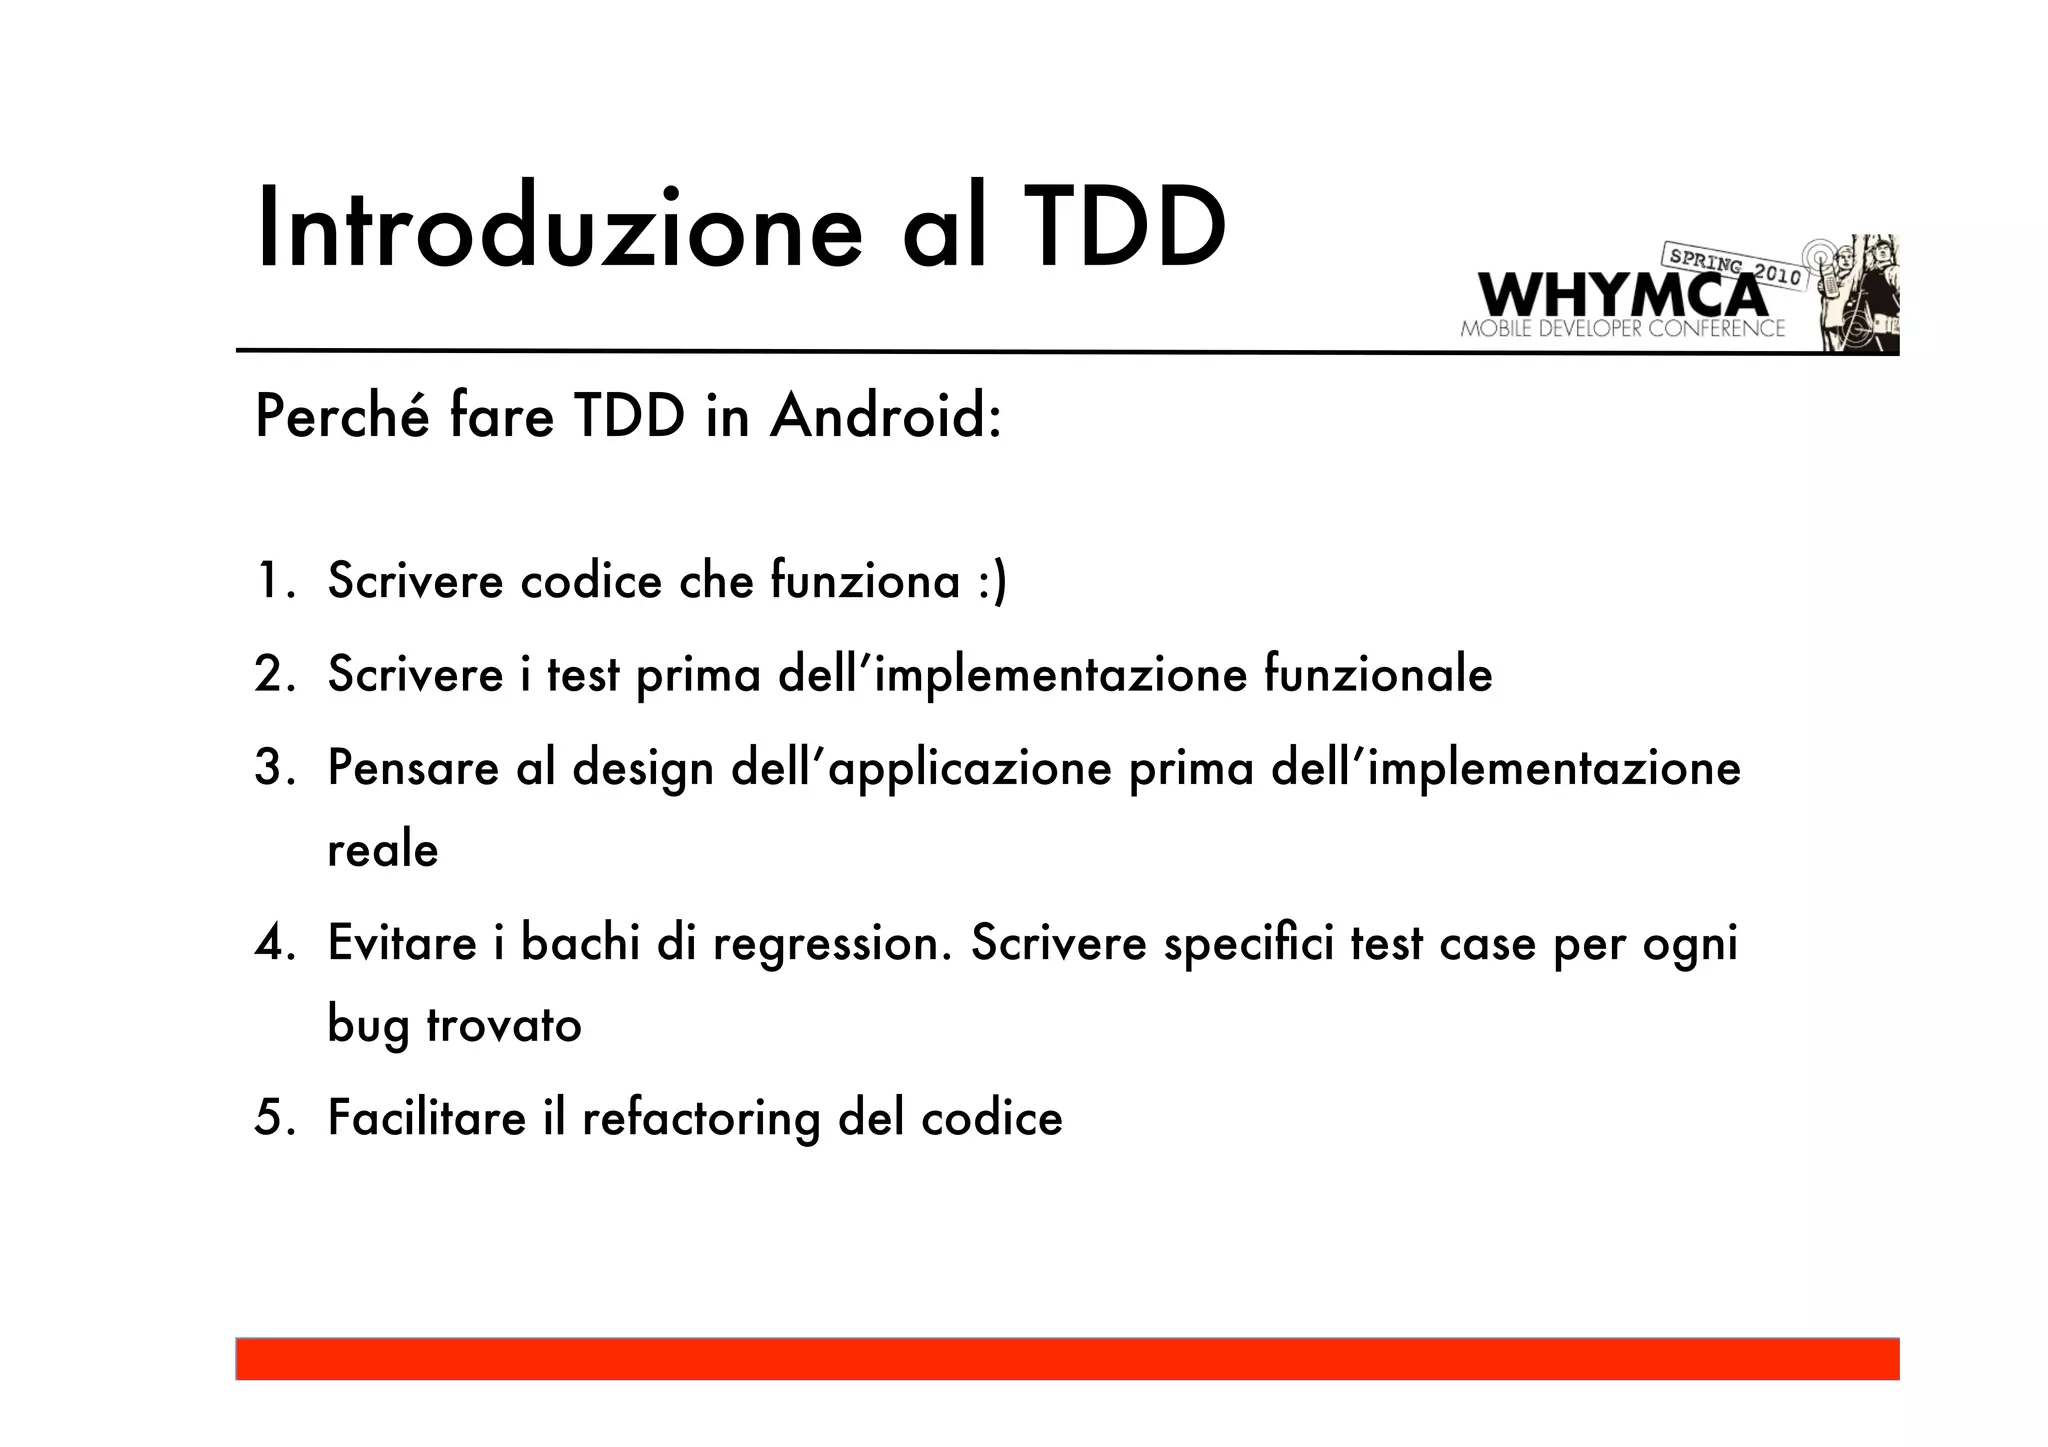
![Stress testing
• Monkey tool:
– Applicazione command line che può essere eseguita su emulatore o
device reale
– Genera eventi utente pseudo-casuali:
• Click
• Touch
• Gestures
– Configurabile:
• -p <allowed-package-name>: lista dei package sui quali è possibile
generare eventi
– Usage:
• adb shell monkey [options] <event-count>](https://image.slidesharecdn.com/androidtdd-100527175416-phpapp01/75/Android-Test-Driven-Development-51-2048.jpg)