2. 3. Pilih Selection tool : Ellipse
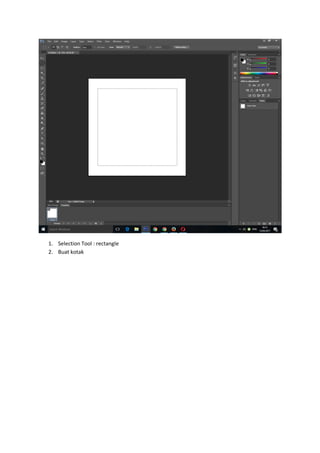
4. Pilih SUBTRACT FROM SELECTION (kiri atas no 3 dari kiri)
5. Buat lingkaran disetiap sudut, gunakan garis bantu agar sama posisi dan luasnya
13. 17. Di toolbox: pilih Shape tool bagian ROUNDED RECTANGLE TOOL
18. Buat kotak lebih kecil dari yang sudah dibuat.
14. 19. Pilih di toolbox : DIRECT SELECTION TOOL (Ujung panah putih)
20. Click dan geser titik2 yang ada untuk memberi jarak lengkung
21. Geser titik kait setiap titik yang ada, sehinga garis menjadi melengkung
15. 22. Buka Window PATH: Pilih LOAD PATH AS SELECTION
23. Lakukan seperti proses dari no.6 hingga no.15 diatas