Downloaded 117 times

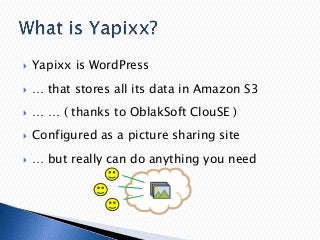
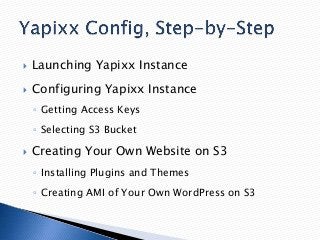
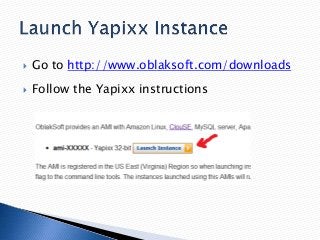


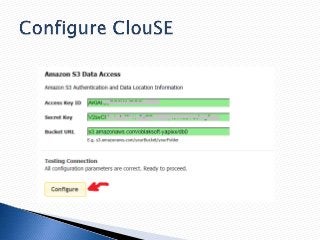

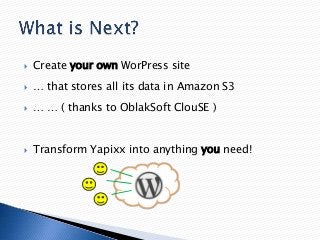


WordPress on Amazon S3: real simple. Launch your own WordPress site to the cloud today! Now any WordPress (or *any* dynamic Website, for that matter) can seamlessly store all its data on the cloud storage. Using cloud storage to store Website data has the following benefits: • No backup and recovery is needed for site data • Storage is extremely reliable and durable • Media files (such as pictures, documents) are served by the cloud storage directly • Storage cost scales with usage, no upfront reservation is needed • Storage consumption scales up and down with the amount of data stored This presentation provides a step-by-step guide for anyone to launch a WordPress site that stores its data in Amazon S3. Launch your own WordPress site to the cloud today! It’s easy and FREE, no writing code is required. Start at http://www.oblaksoft.com/downloads.


![Vibe Coding vs. Spec-Driven Development [Free Meetup]](https://cdn.slidesharecdn.com/ss_thumbnails/vibecodingvsspecdrivendevelopment-251209105622-43f455e7-thumbnail.jpg?width=640&height=640&fit=bounds)


