This document provides instructions for various activities and functions in Microsoft Word, including:
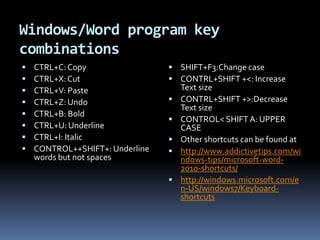
- Formatting text using shortcuts like bold, underline, and font size changes.
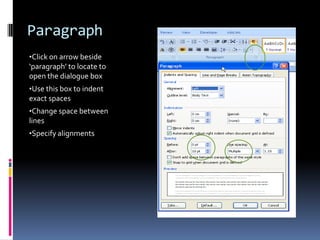
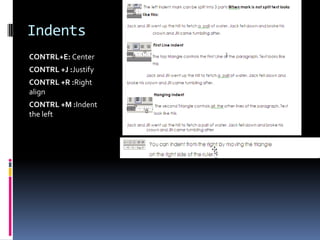
- Formatting paragraphs and adding spacing, alignment, and indentation.
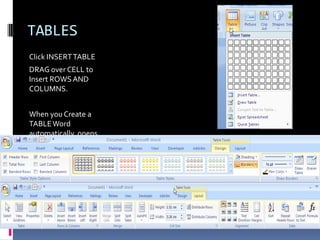
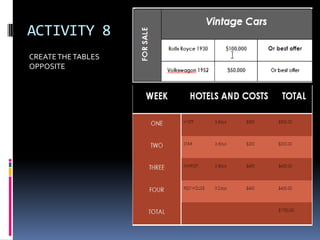
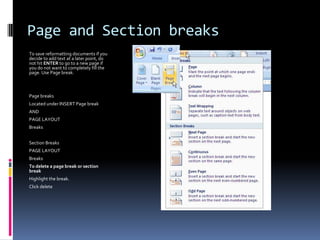
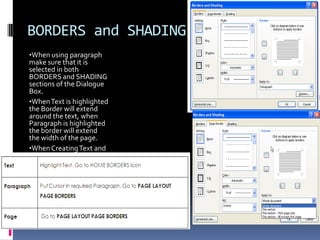
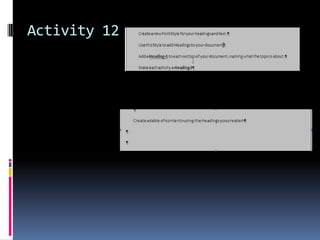
- Inserting and formatting tables, page and section breaks, borders, shading, and headings.
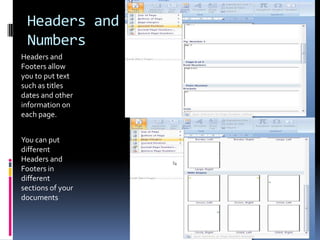
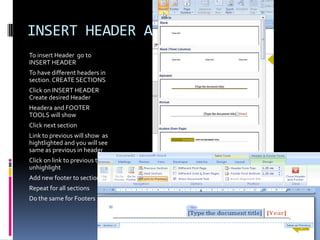
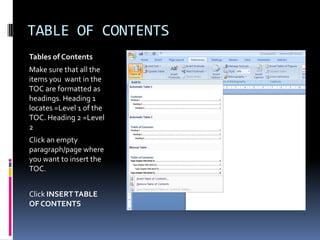
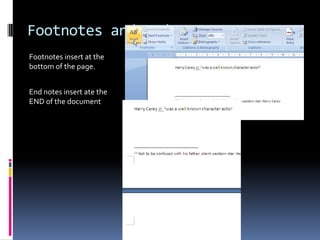
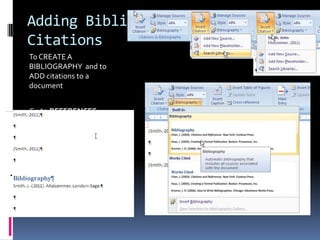
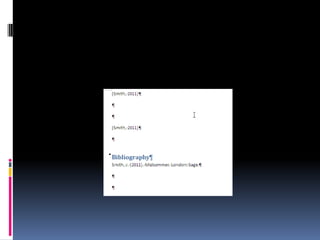
- Adding headers and footers, tables of contents, footnotes, and bibliographies.
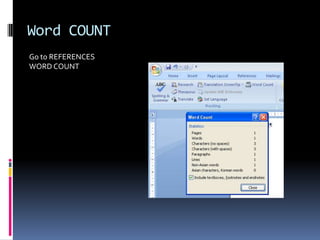
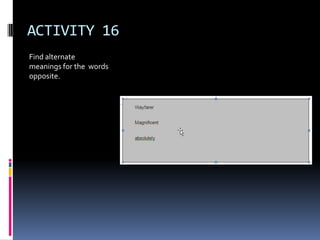
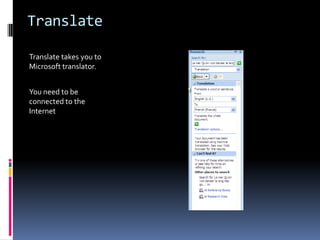
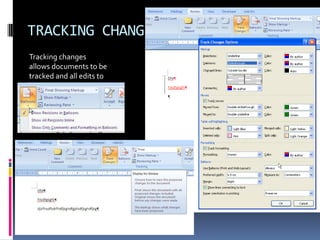
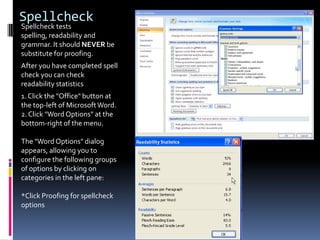
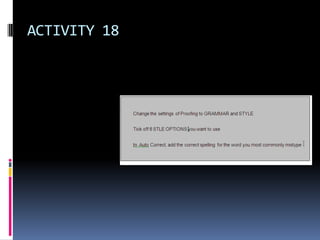
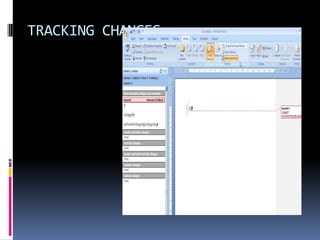
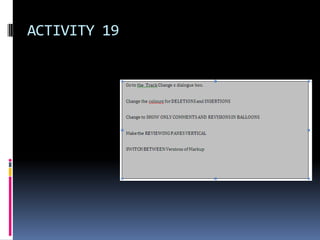
- Using tools like the spelling and grammar checker, thesaurus, translate, and tracking changes.
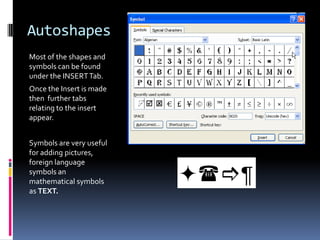
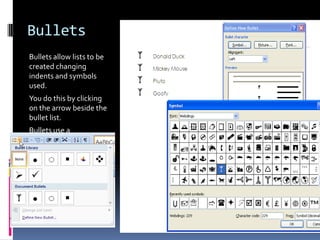
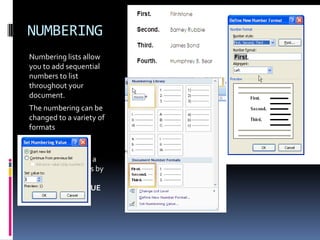
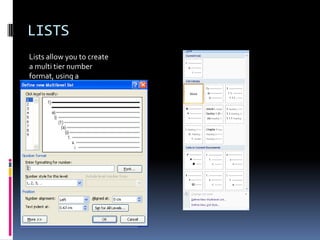
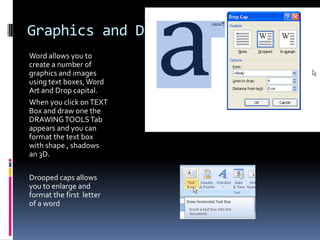
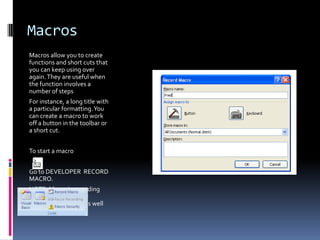
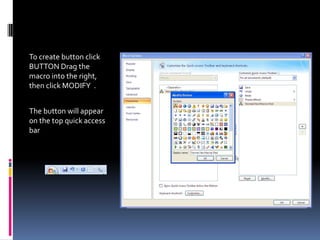
- Creating lists, bullets, numbers, graphics like text boxes and WordArt, and macros.


![4 0-1 introduction-to_microsoft_word_student_manual[1]](https://cdn.slidesharecdn.com/ss_thumbnails/4-0-1introductiontomicrosoftwordstudentmanual1-210220054700-thumbnail.jpg?width=640&height=640&fit=bounds)


