Download to read offline
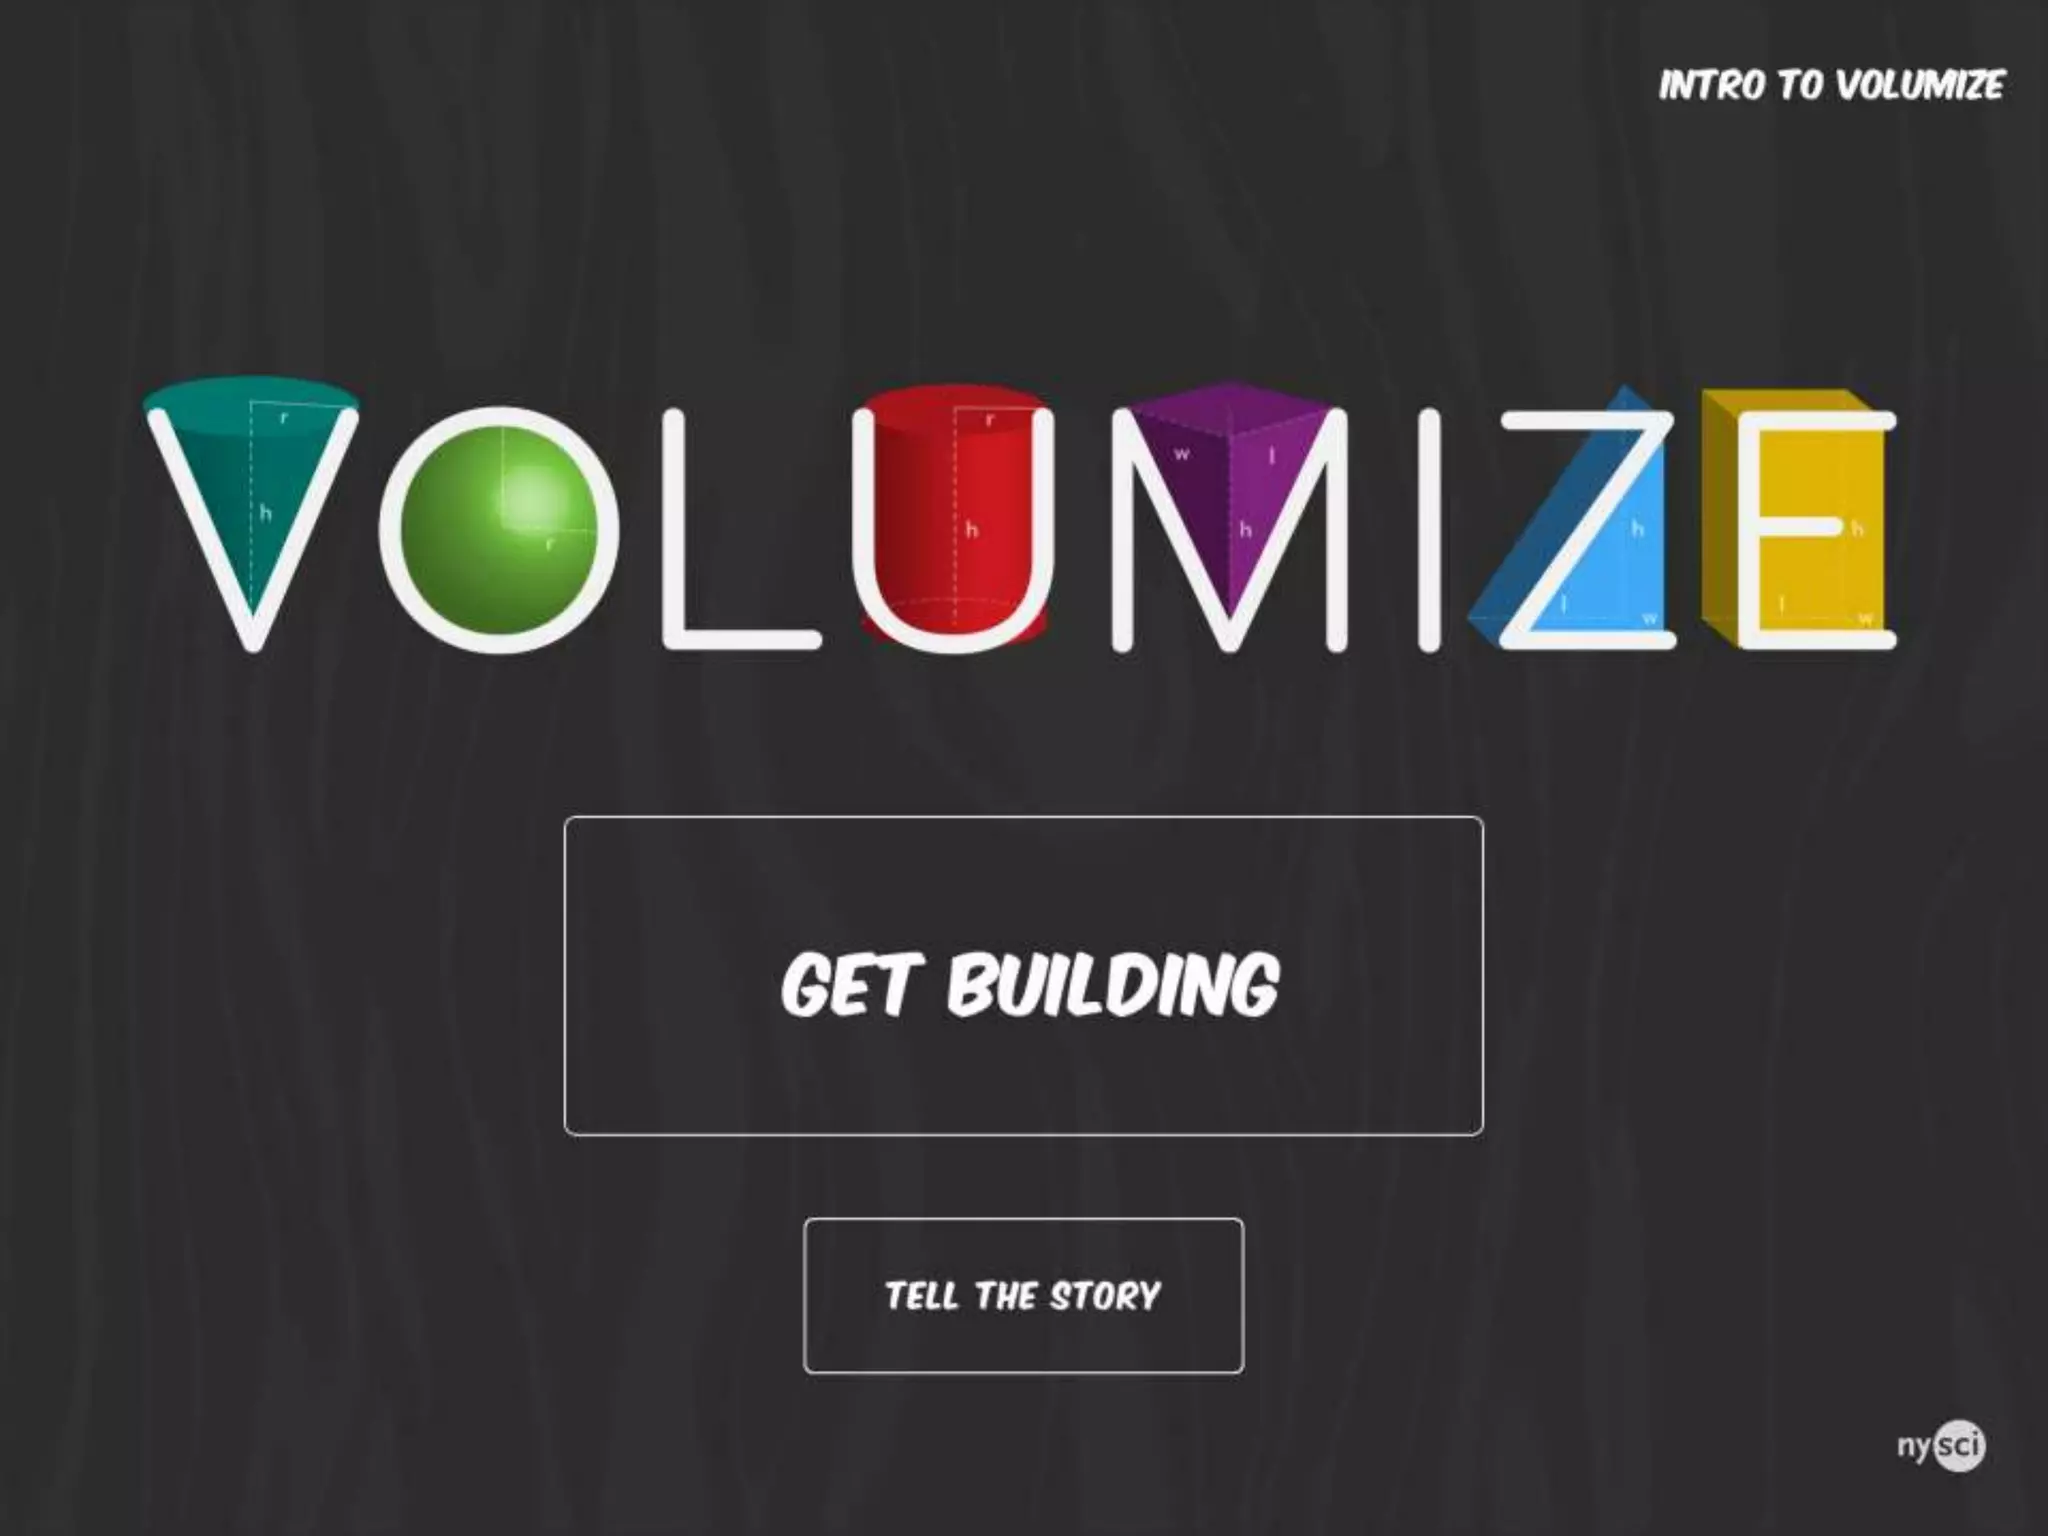
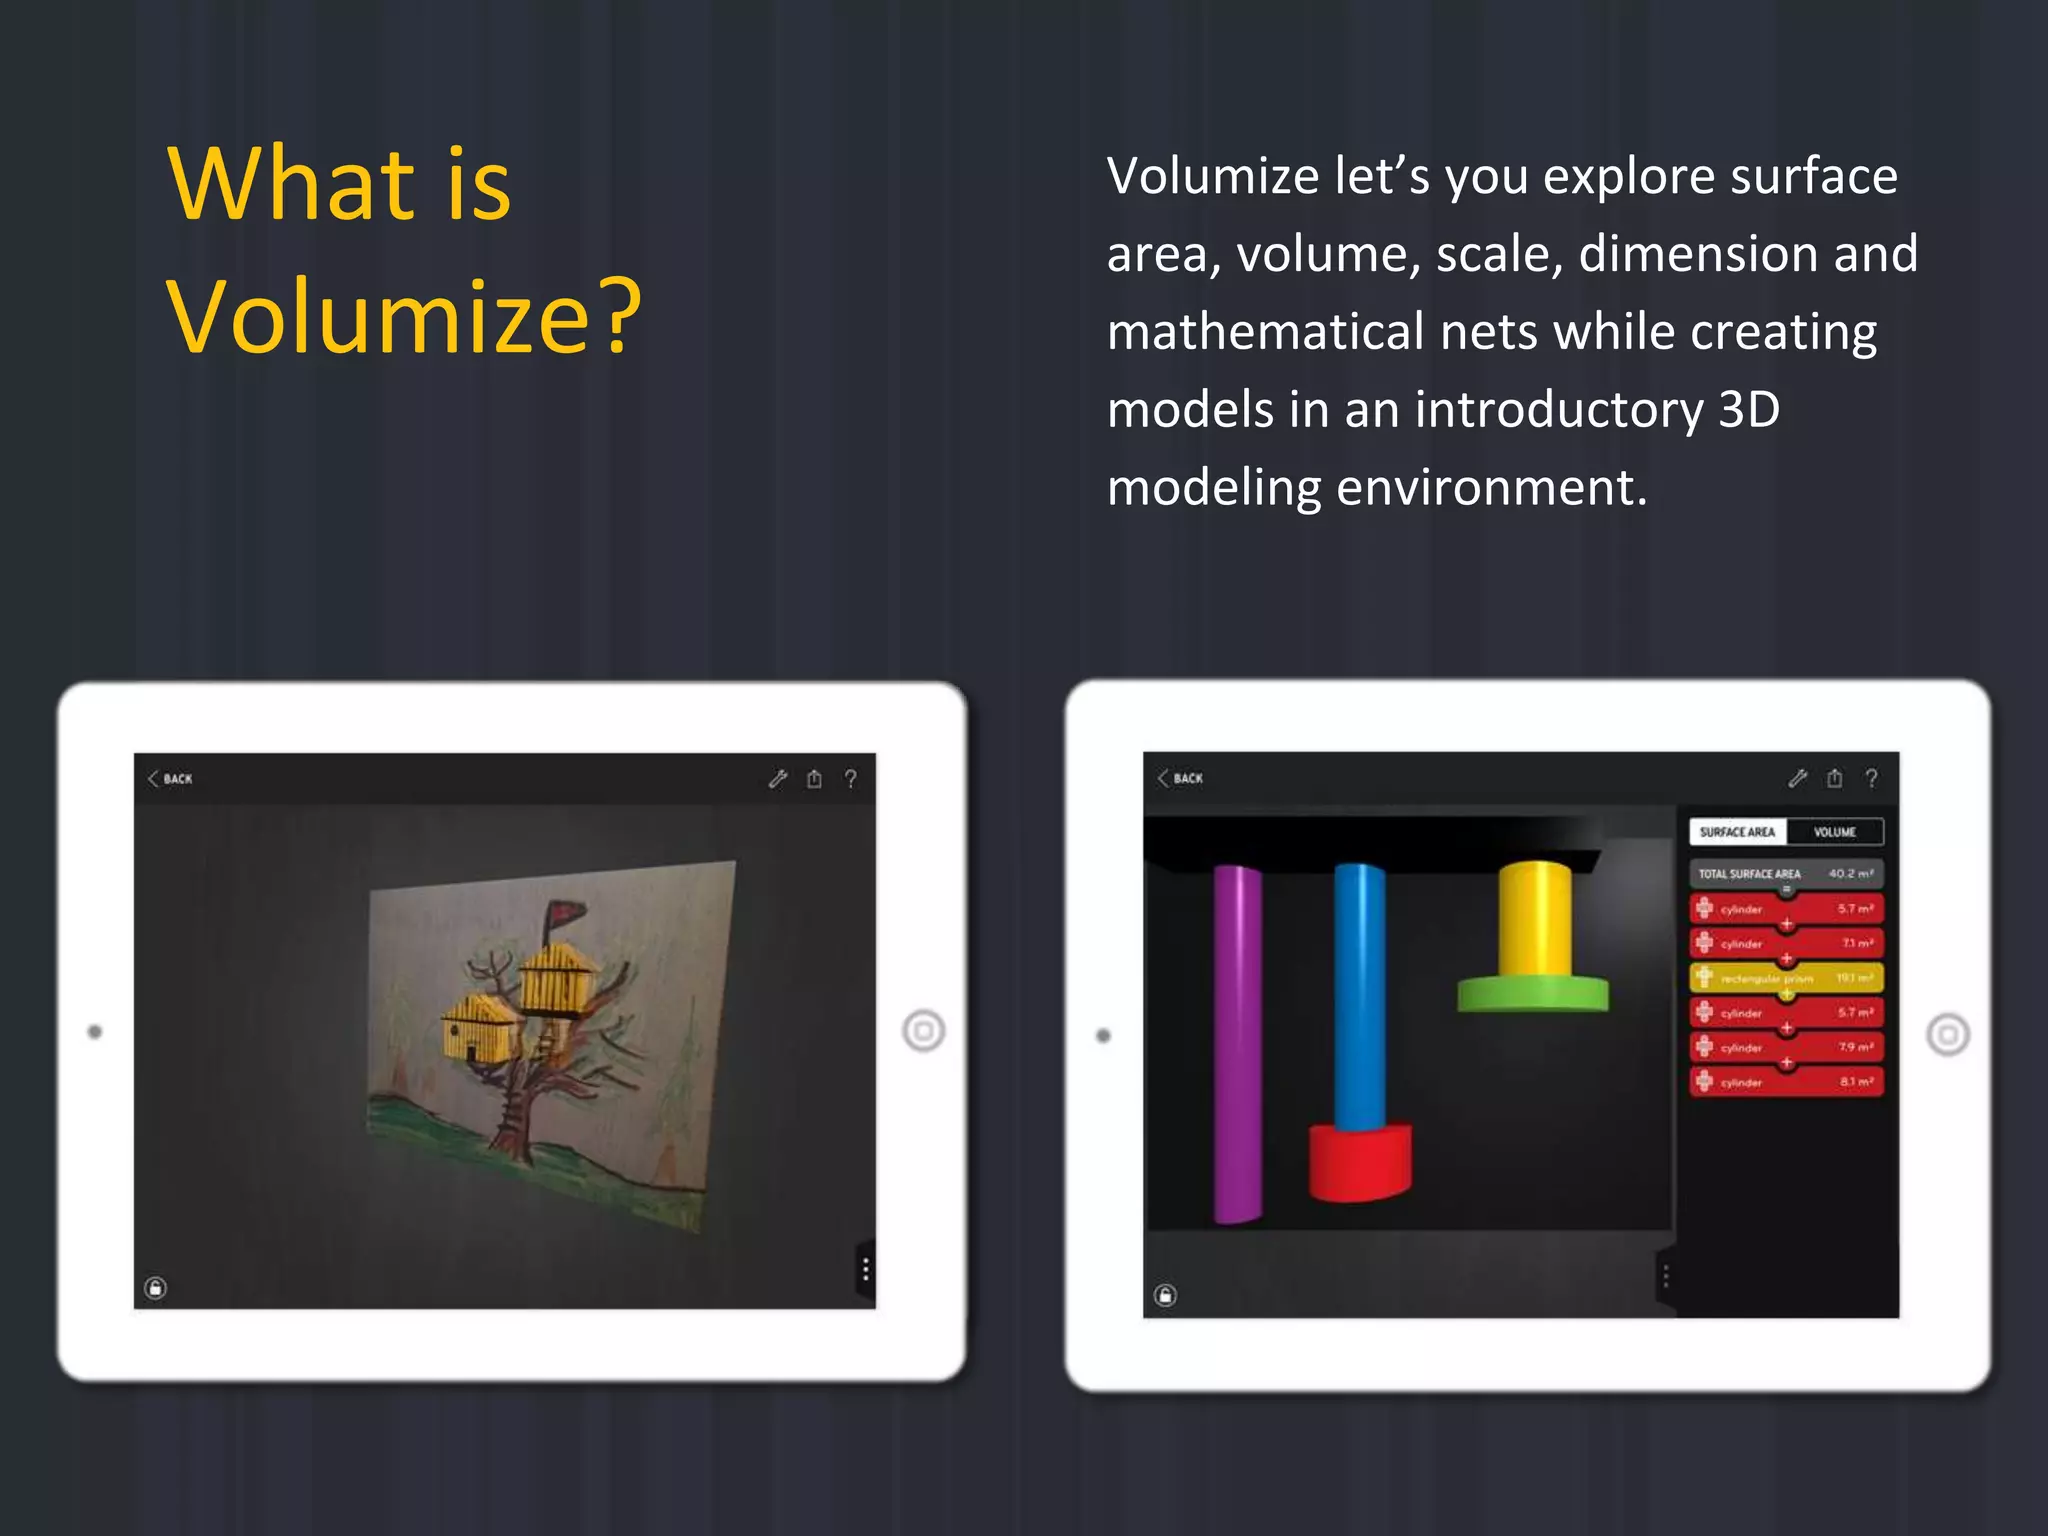
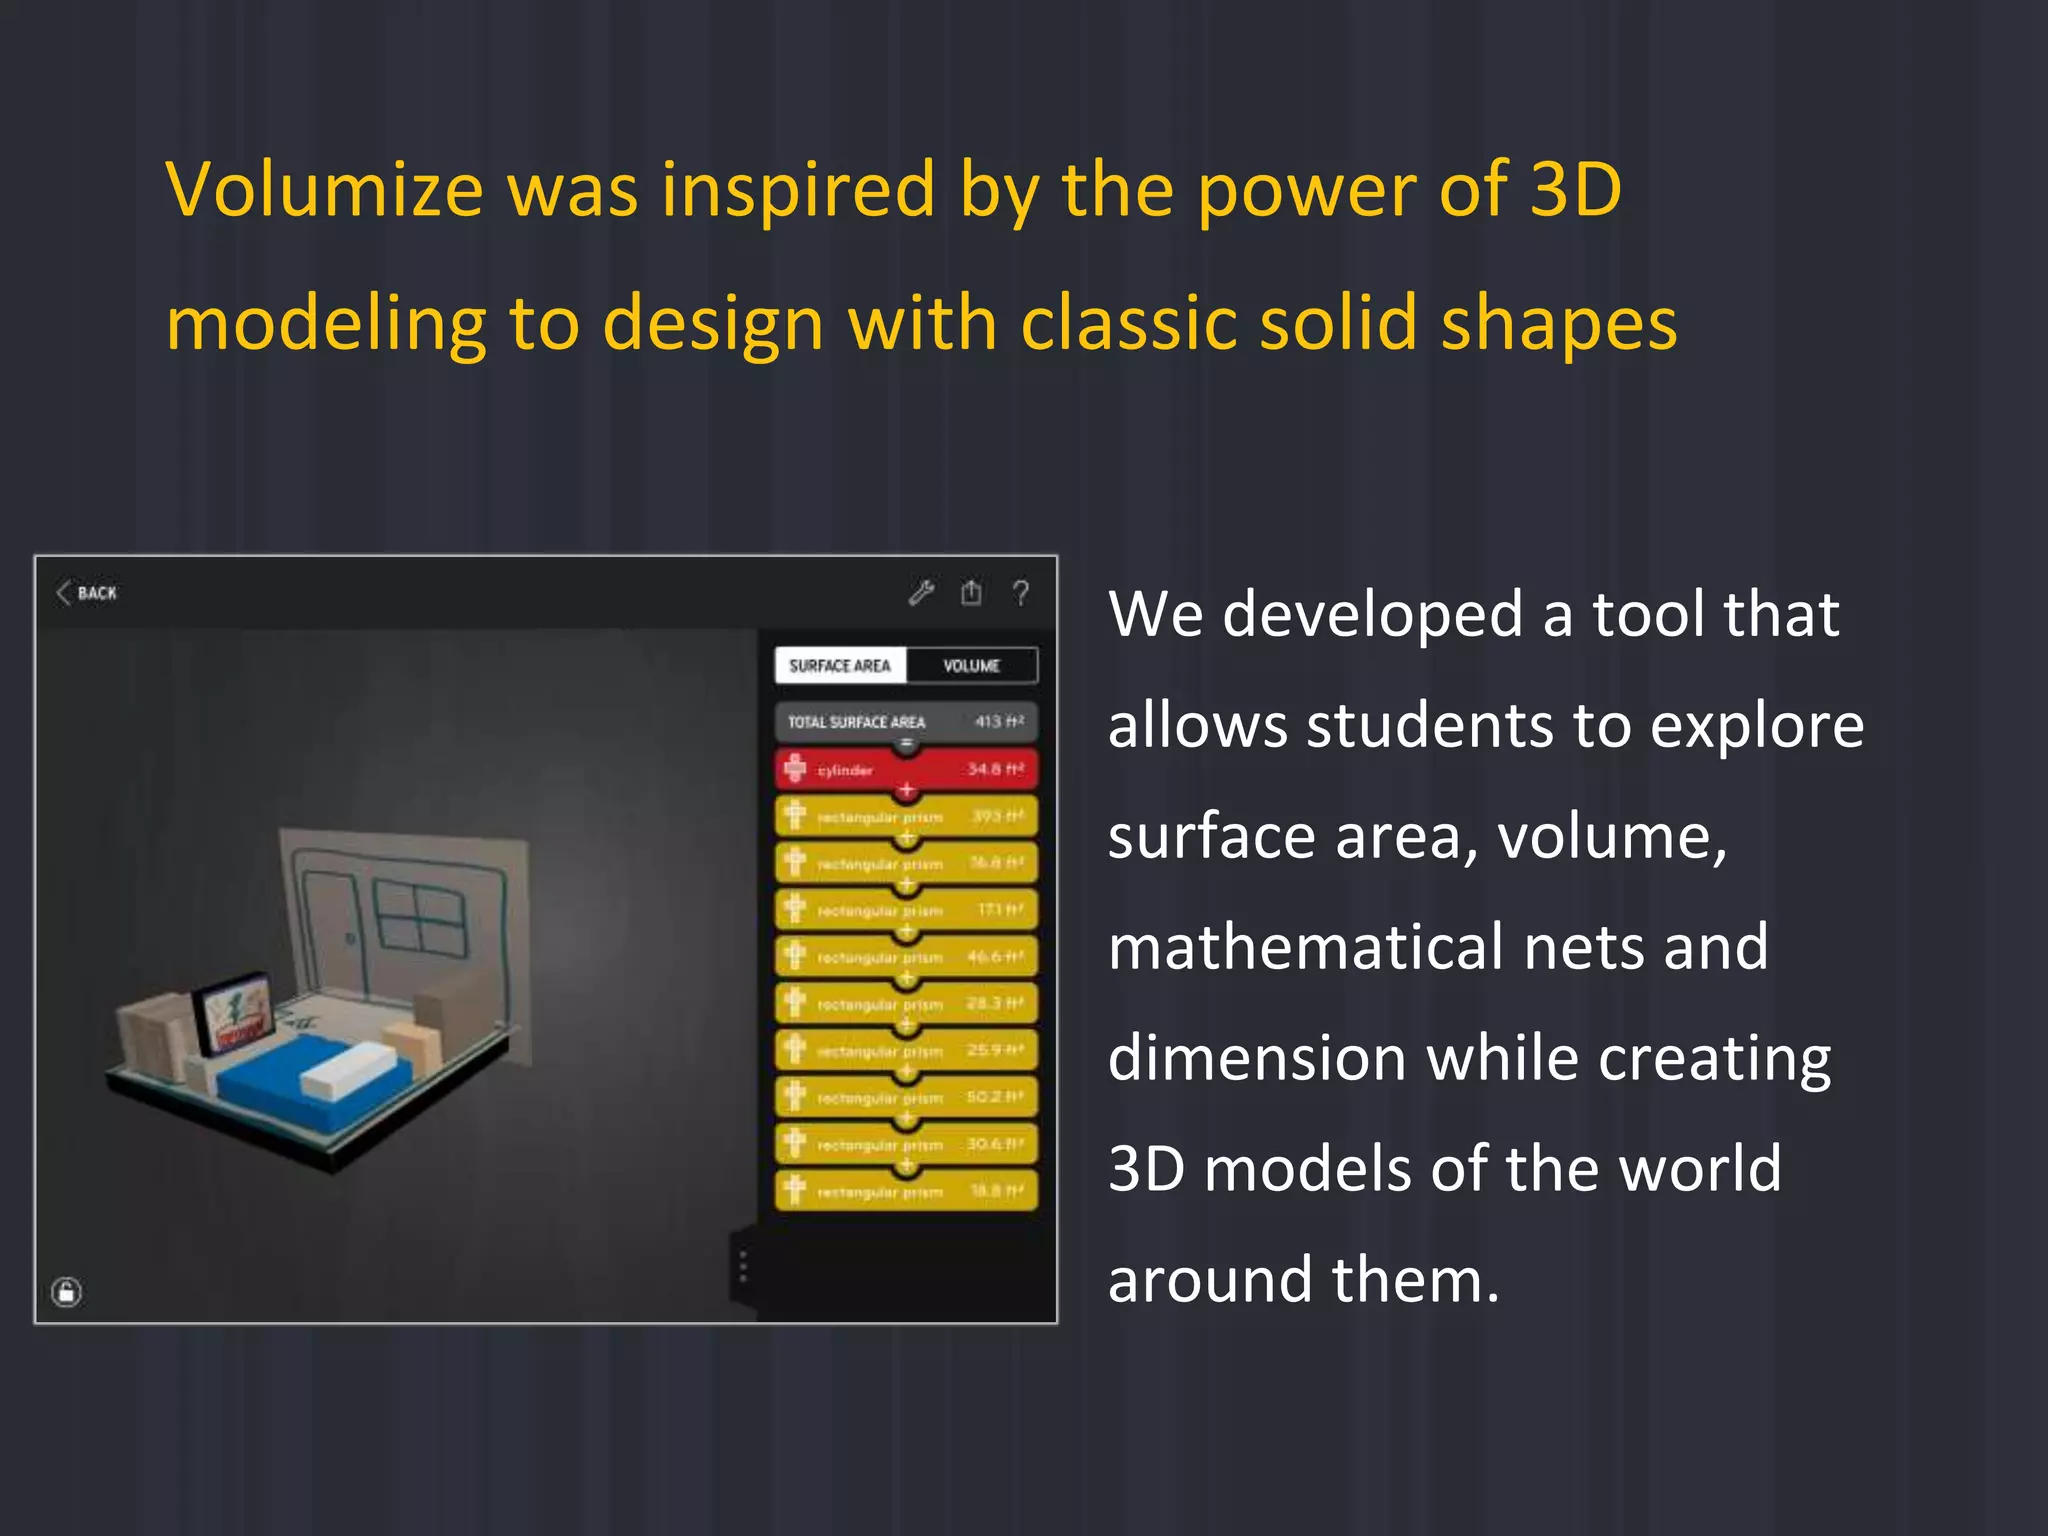
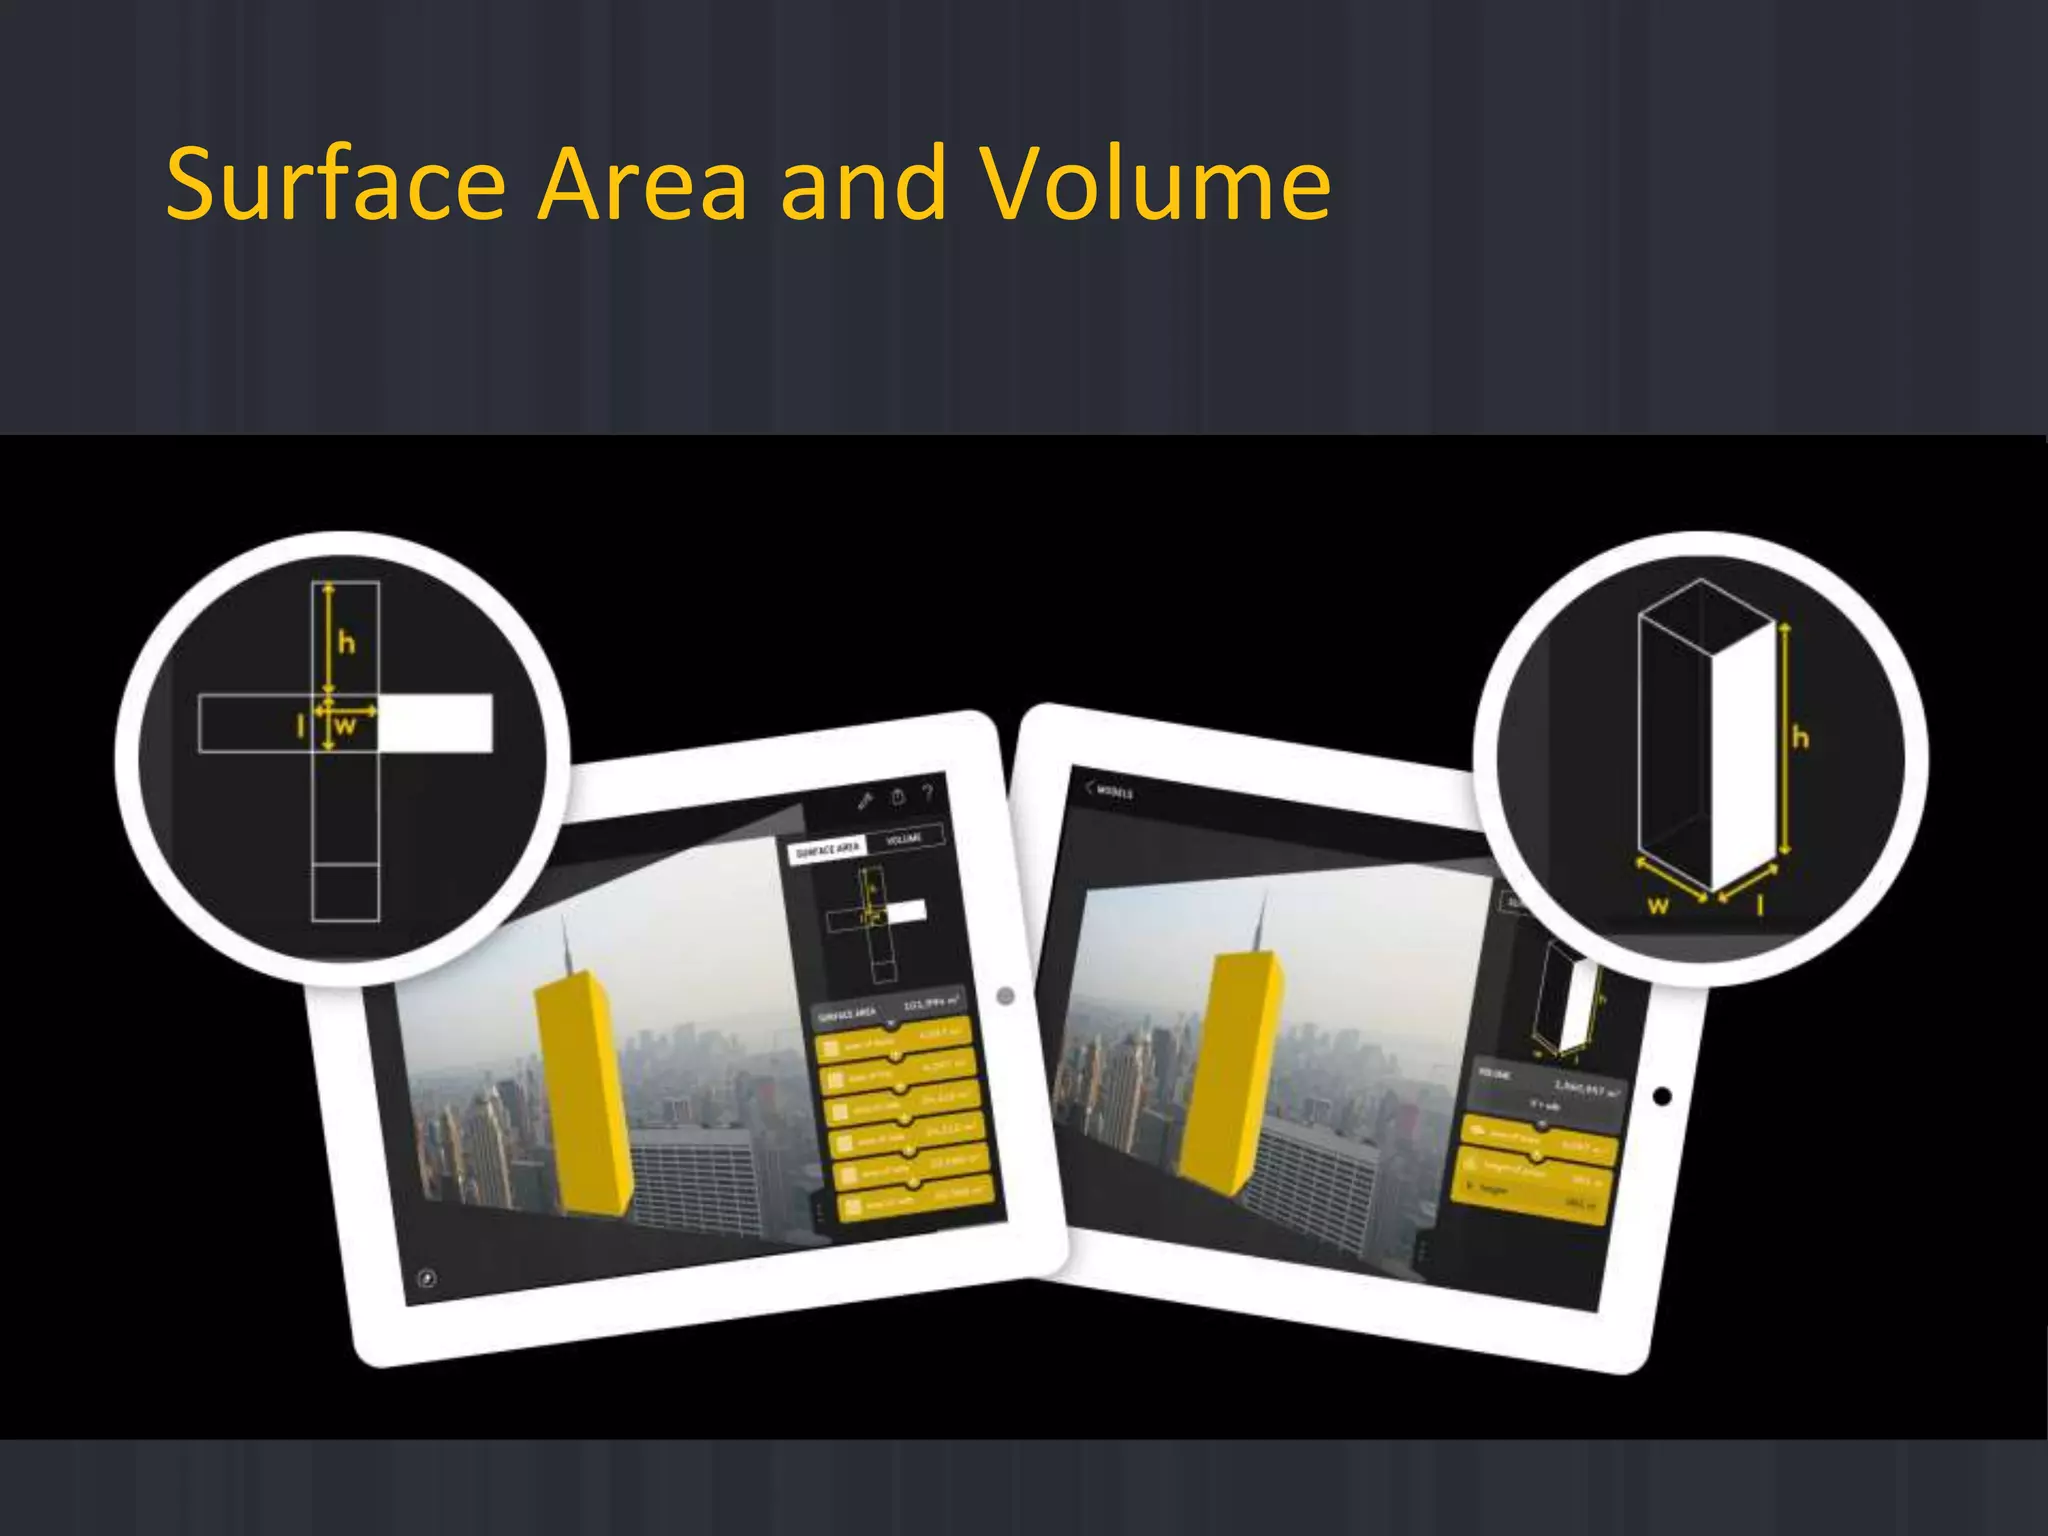
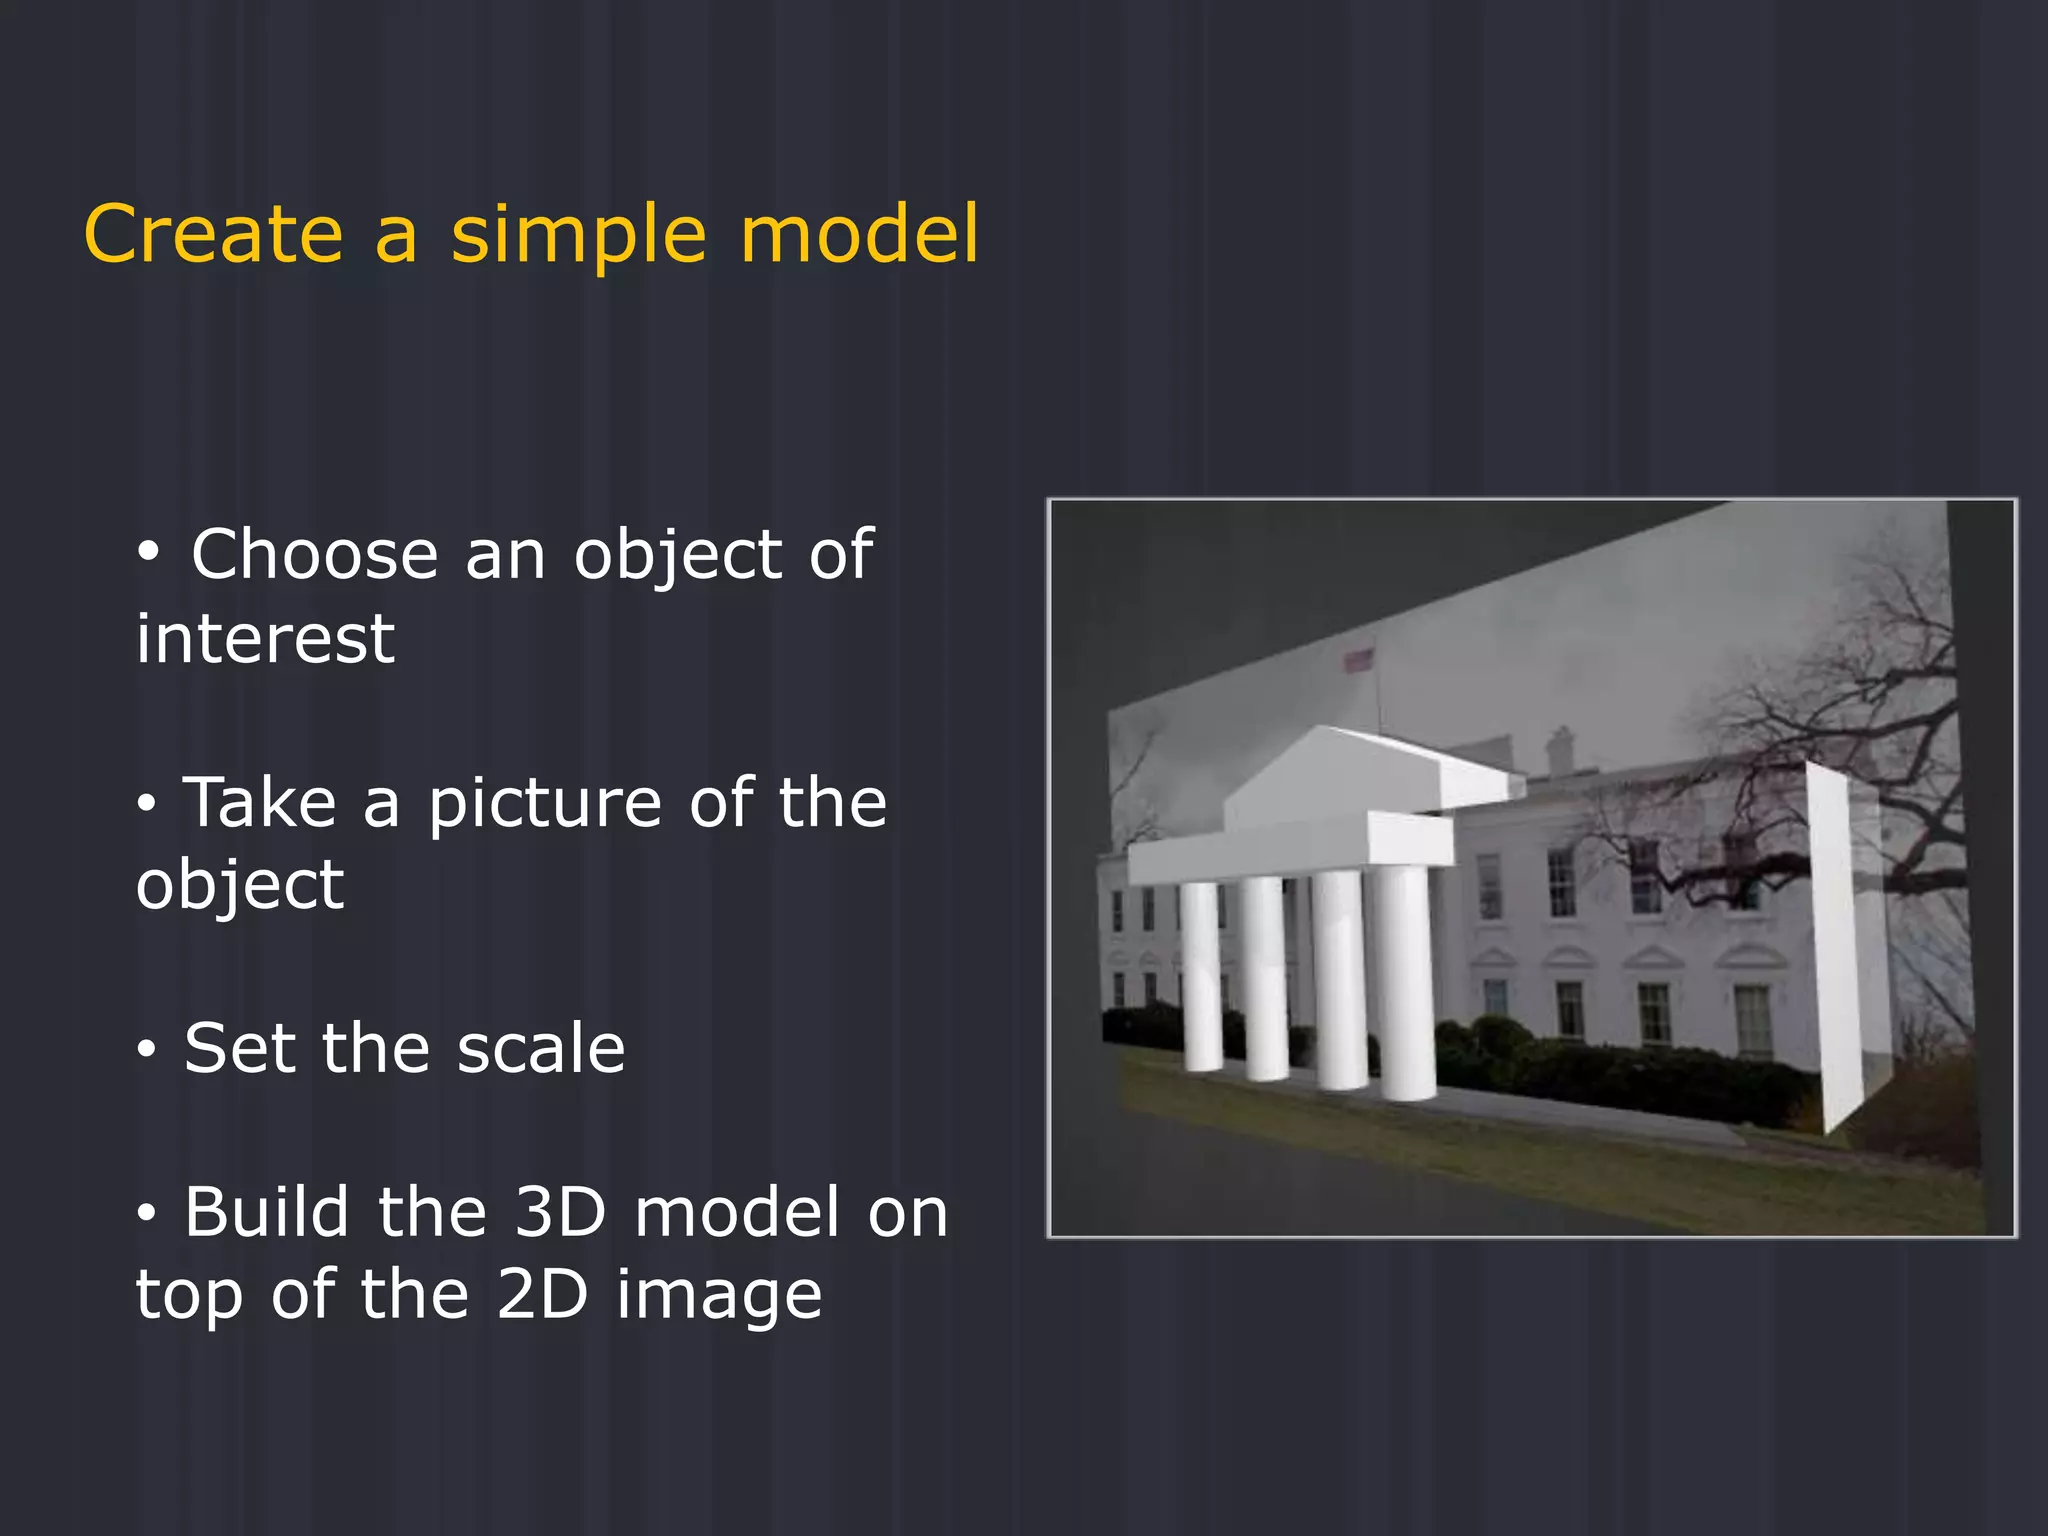
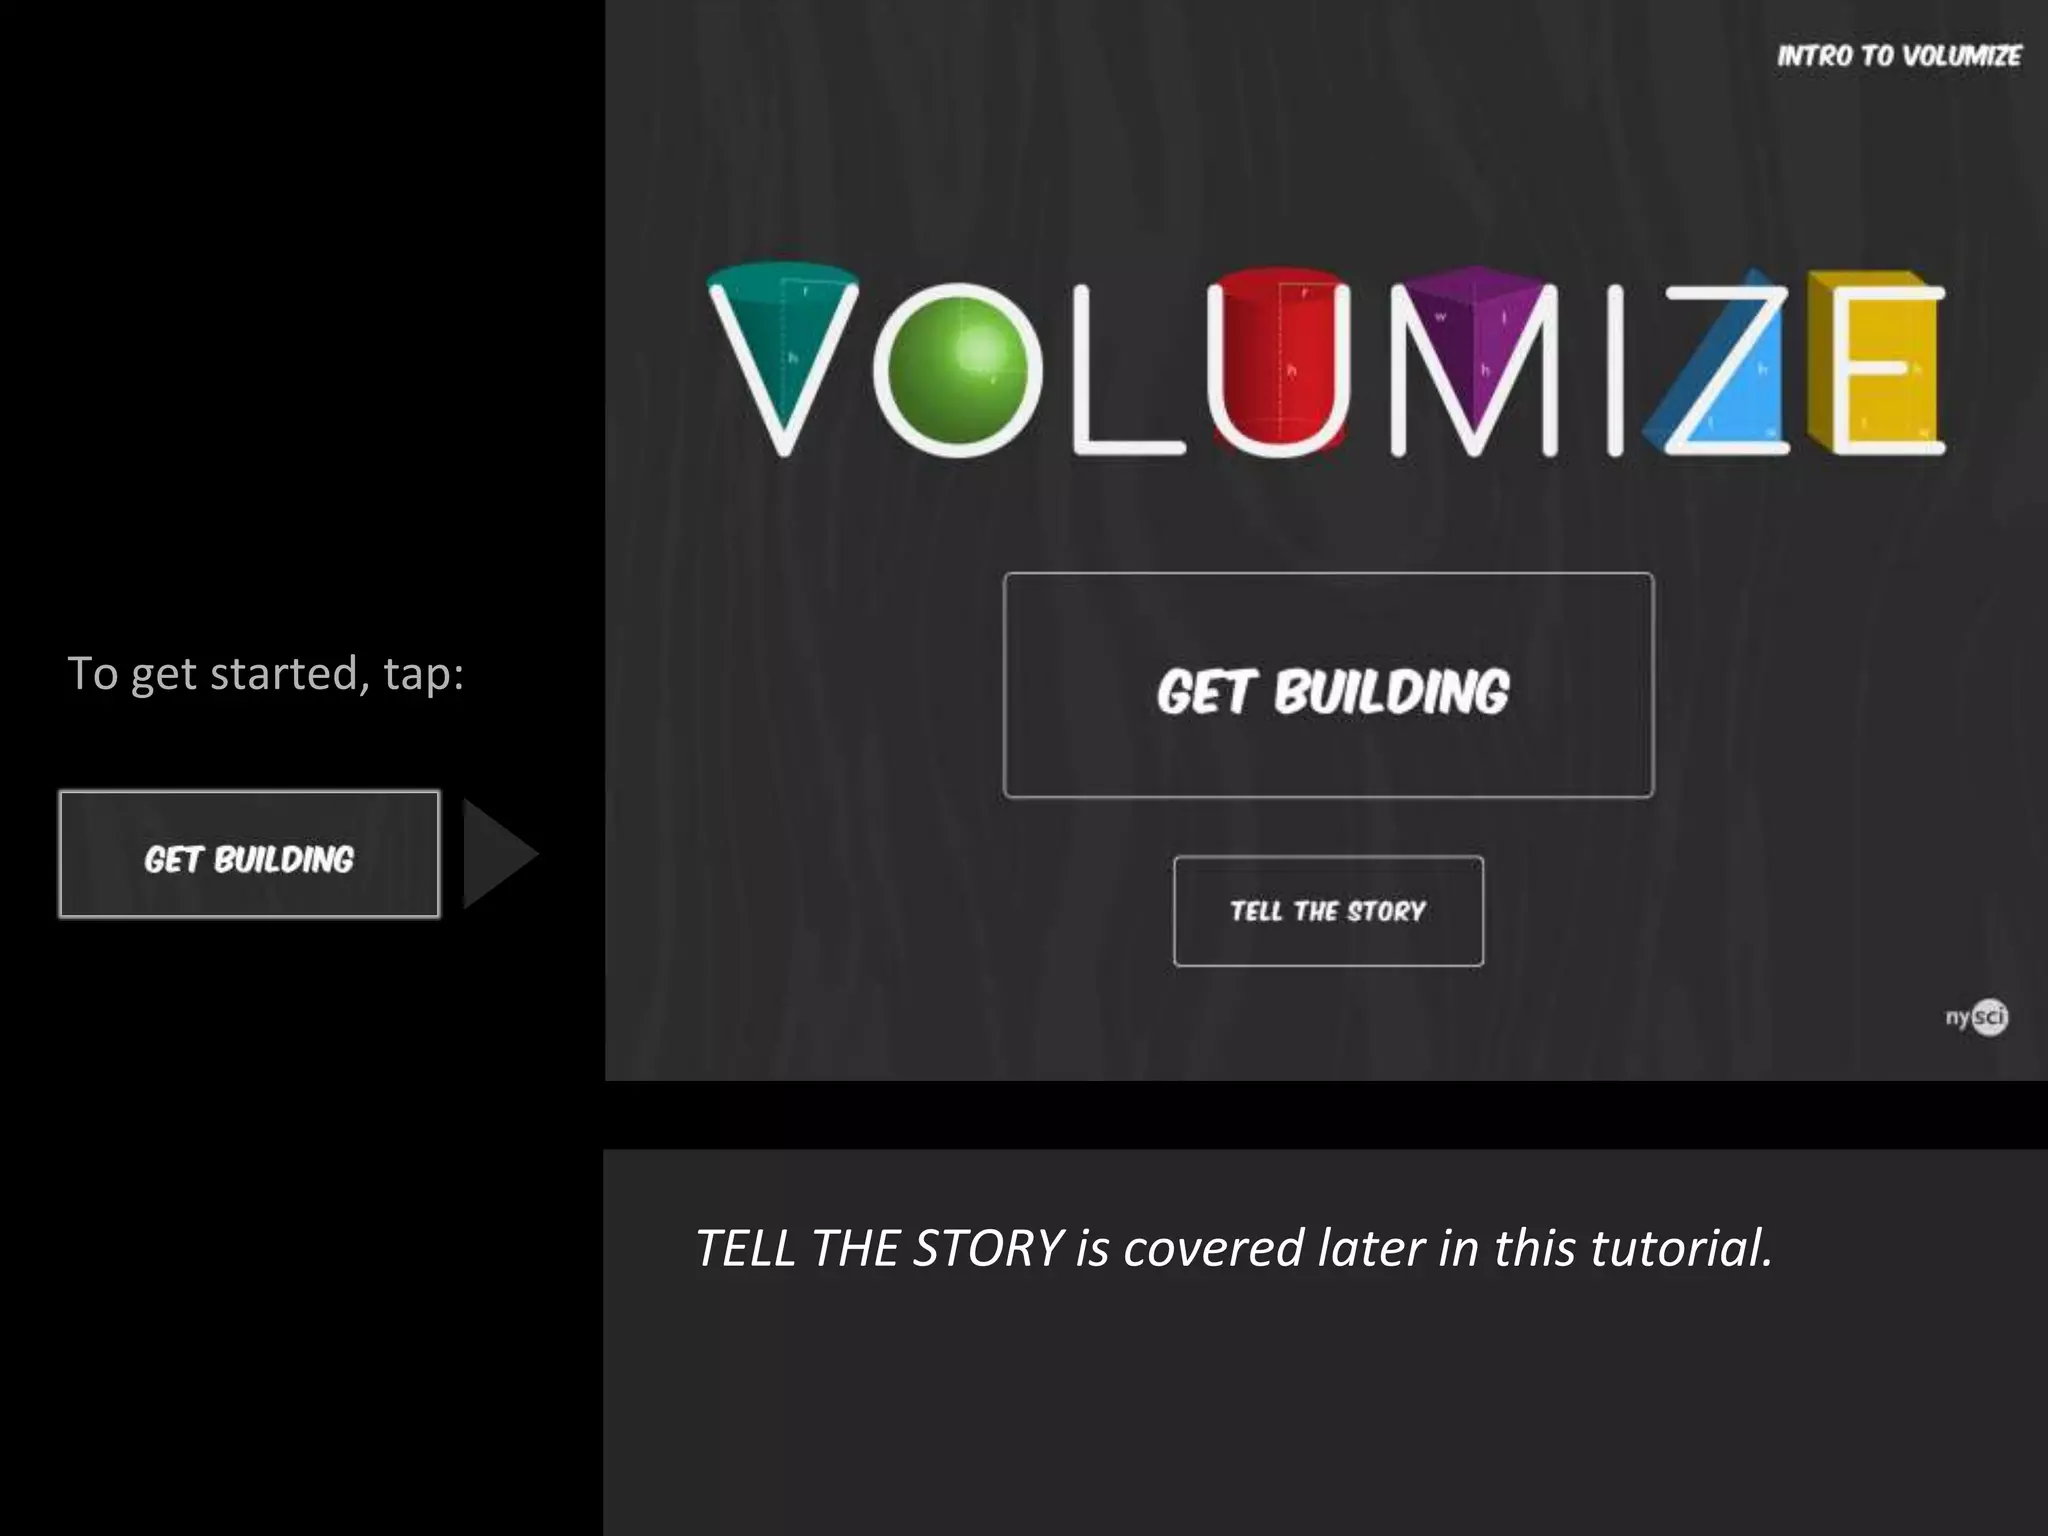
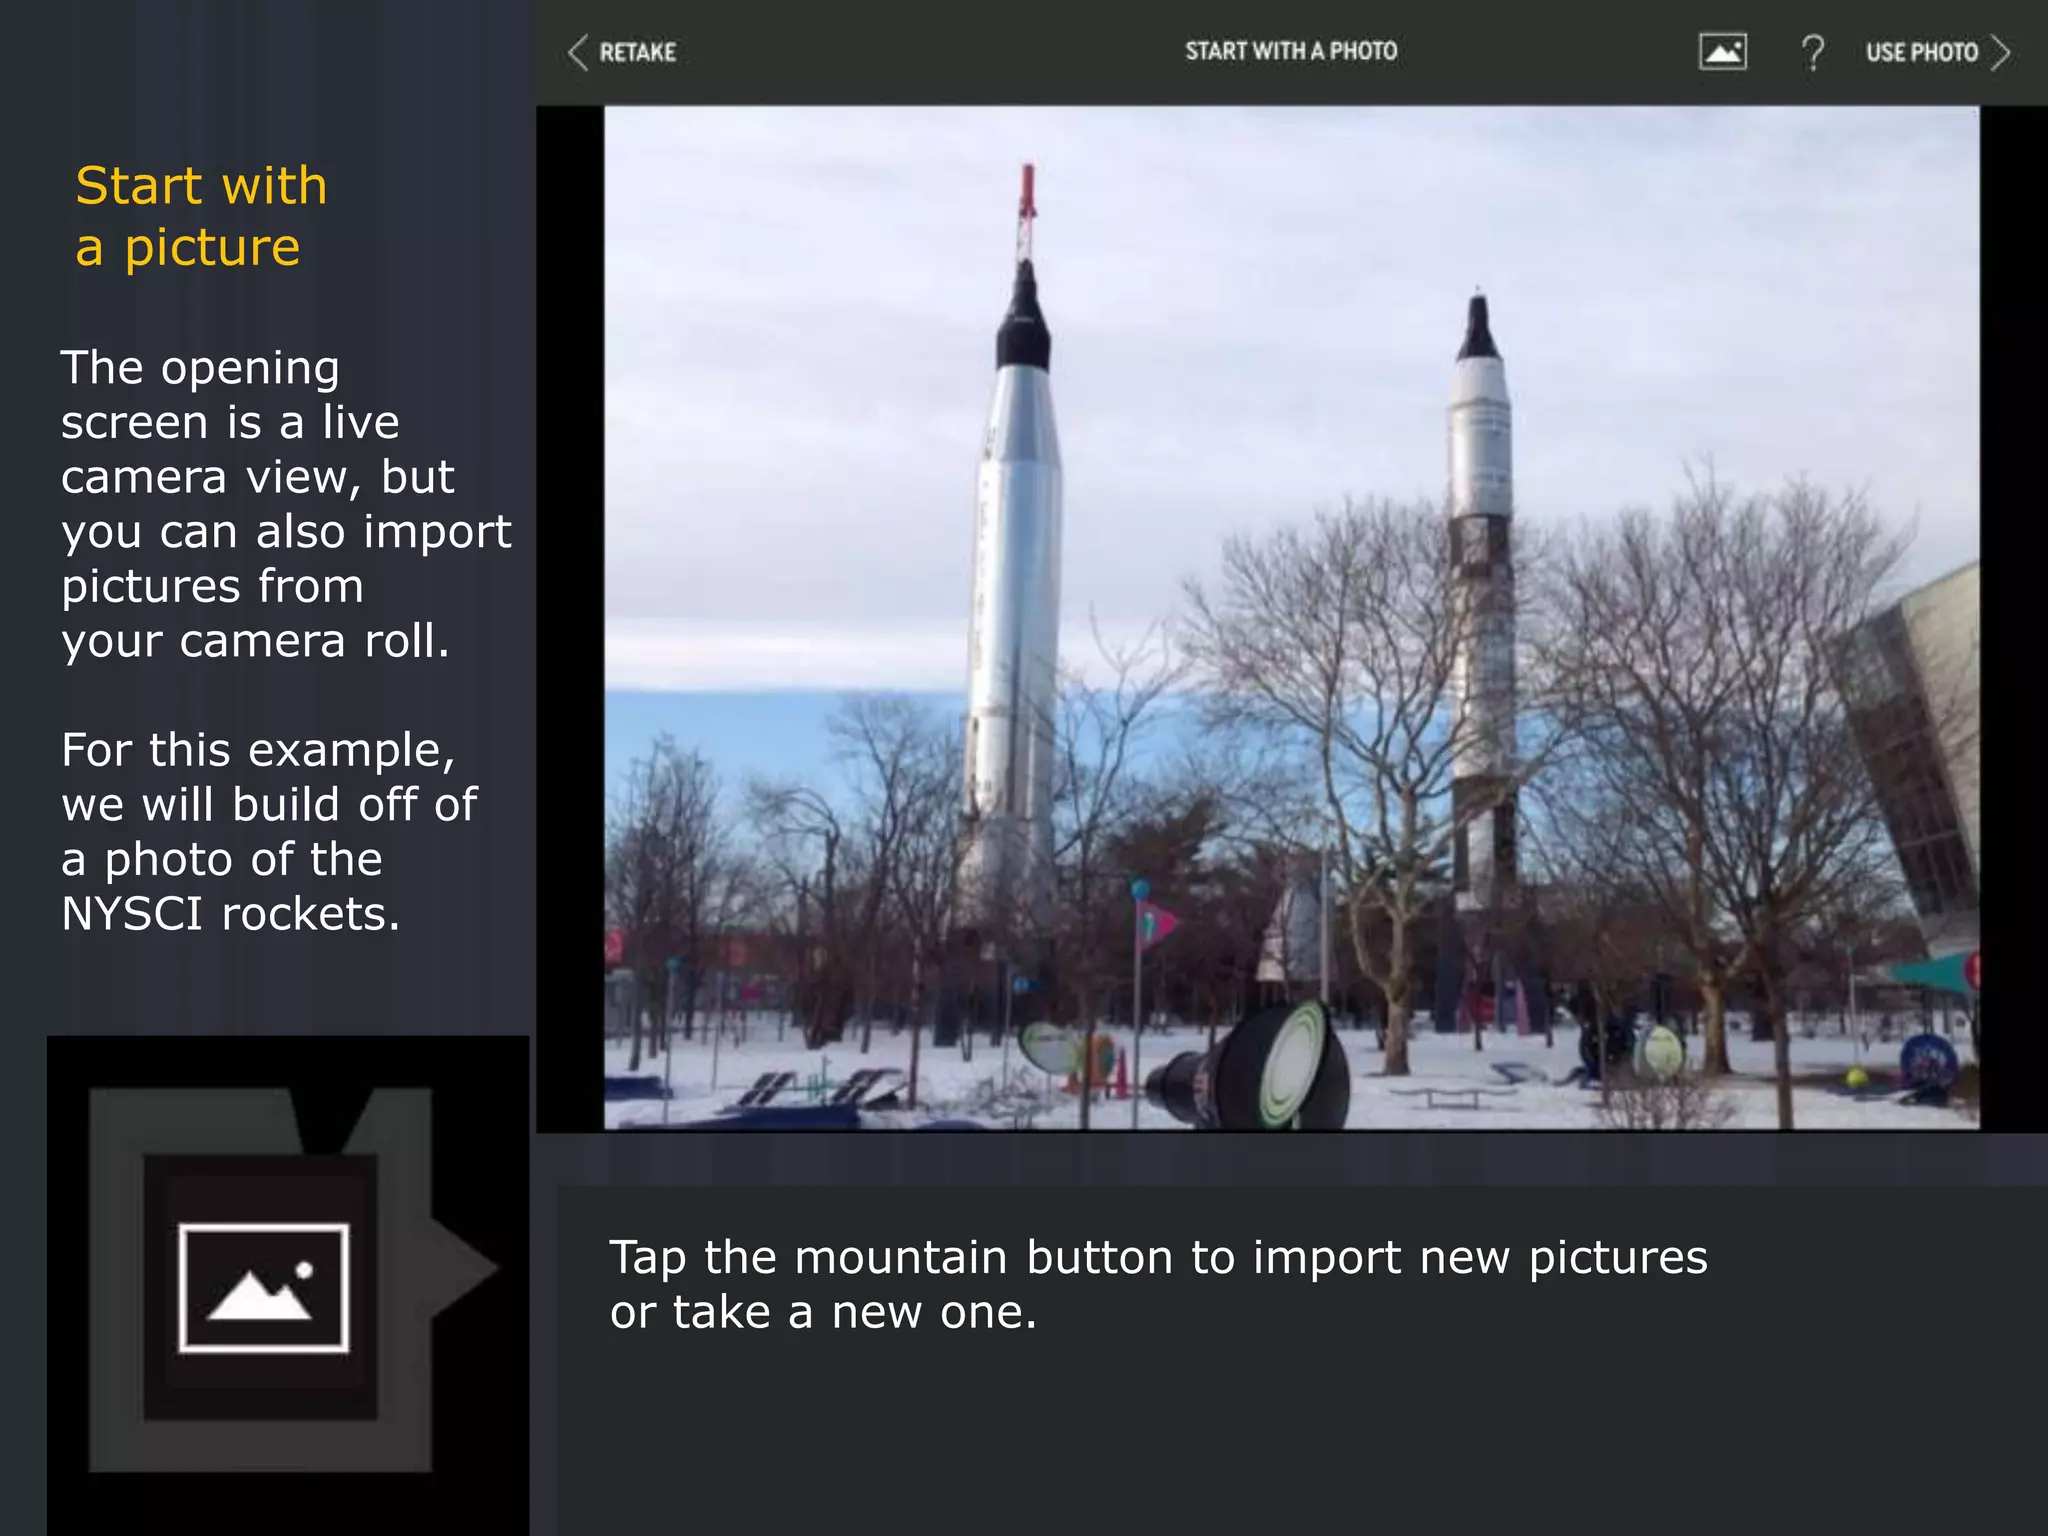
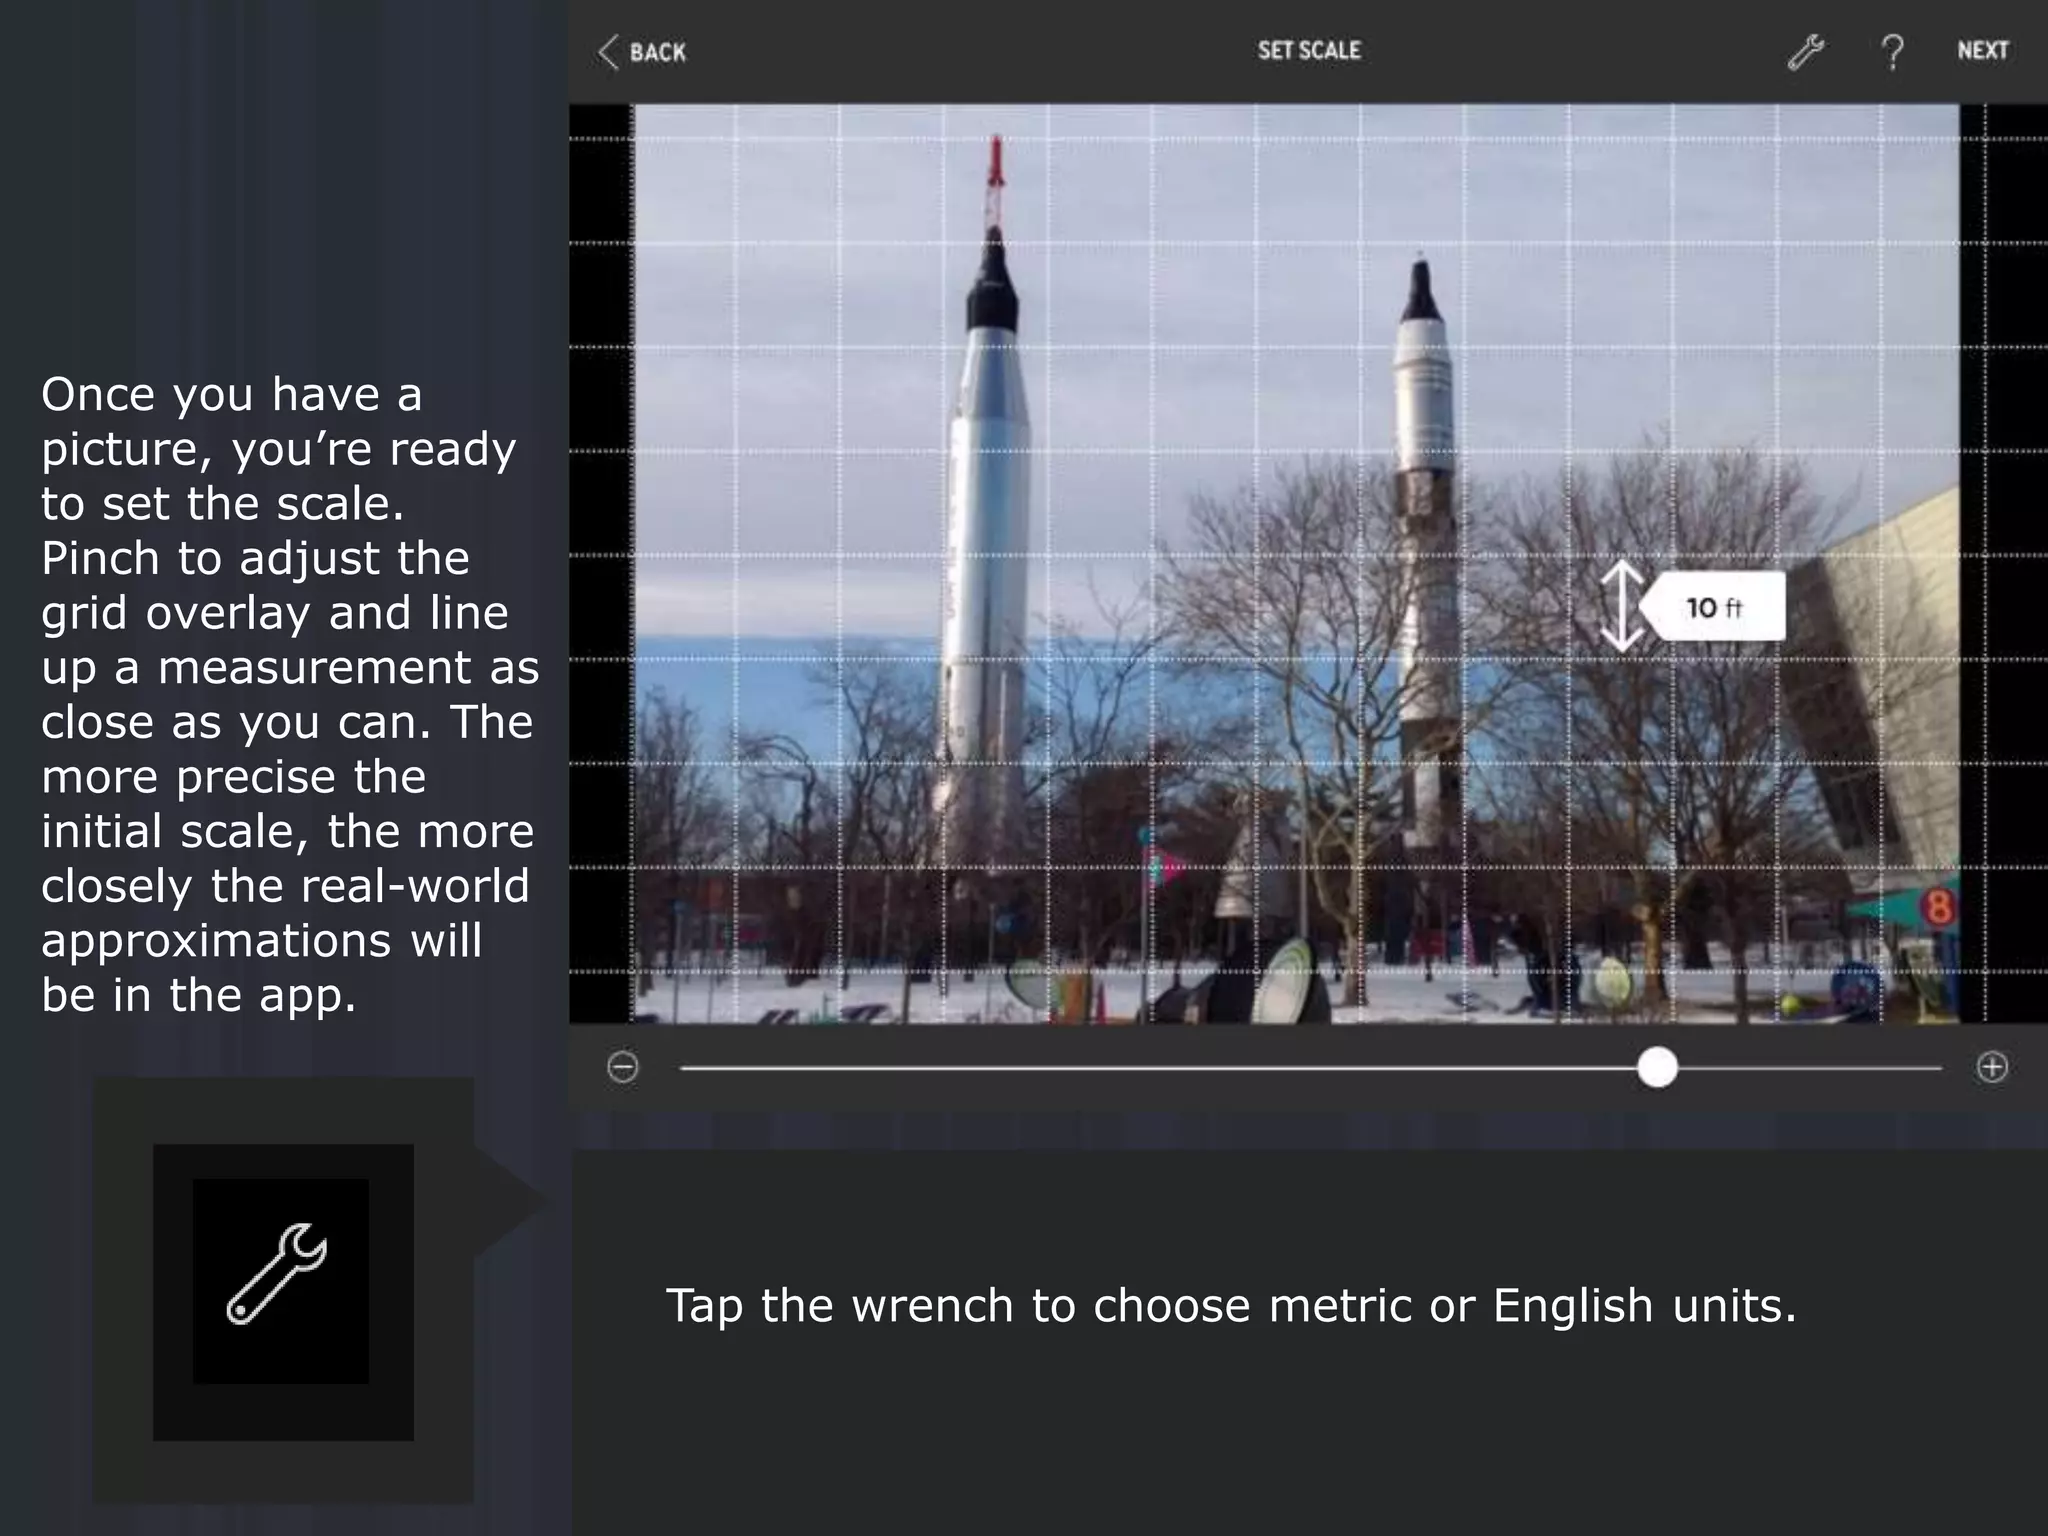
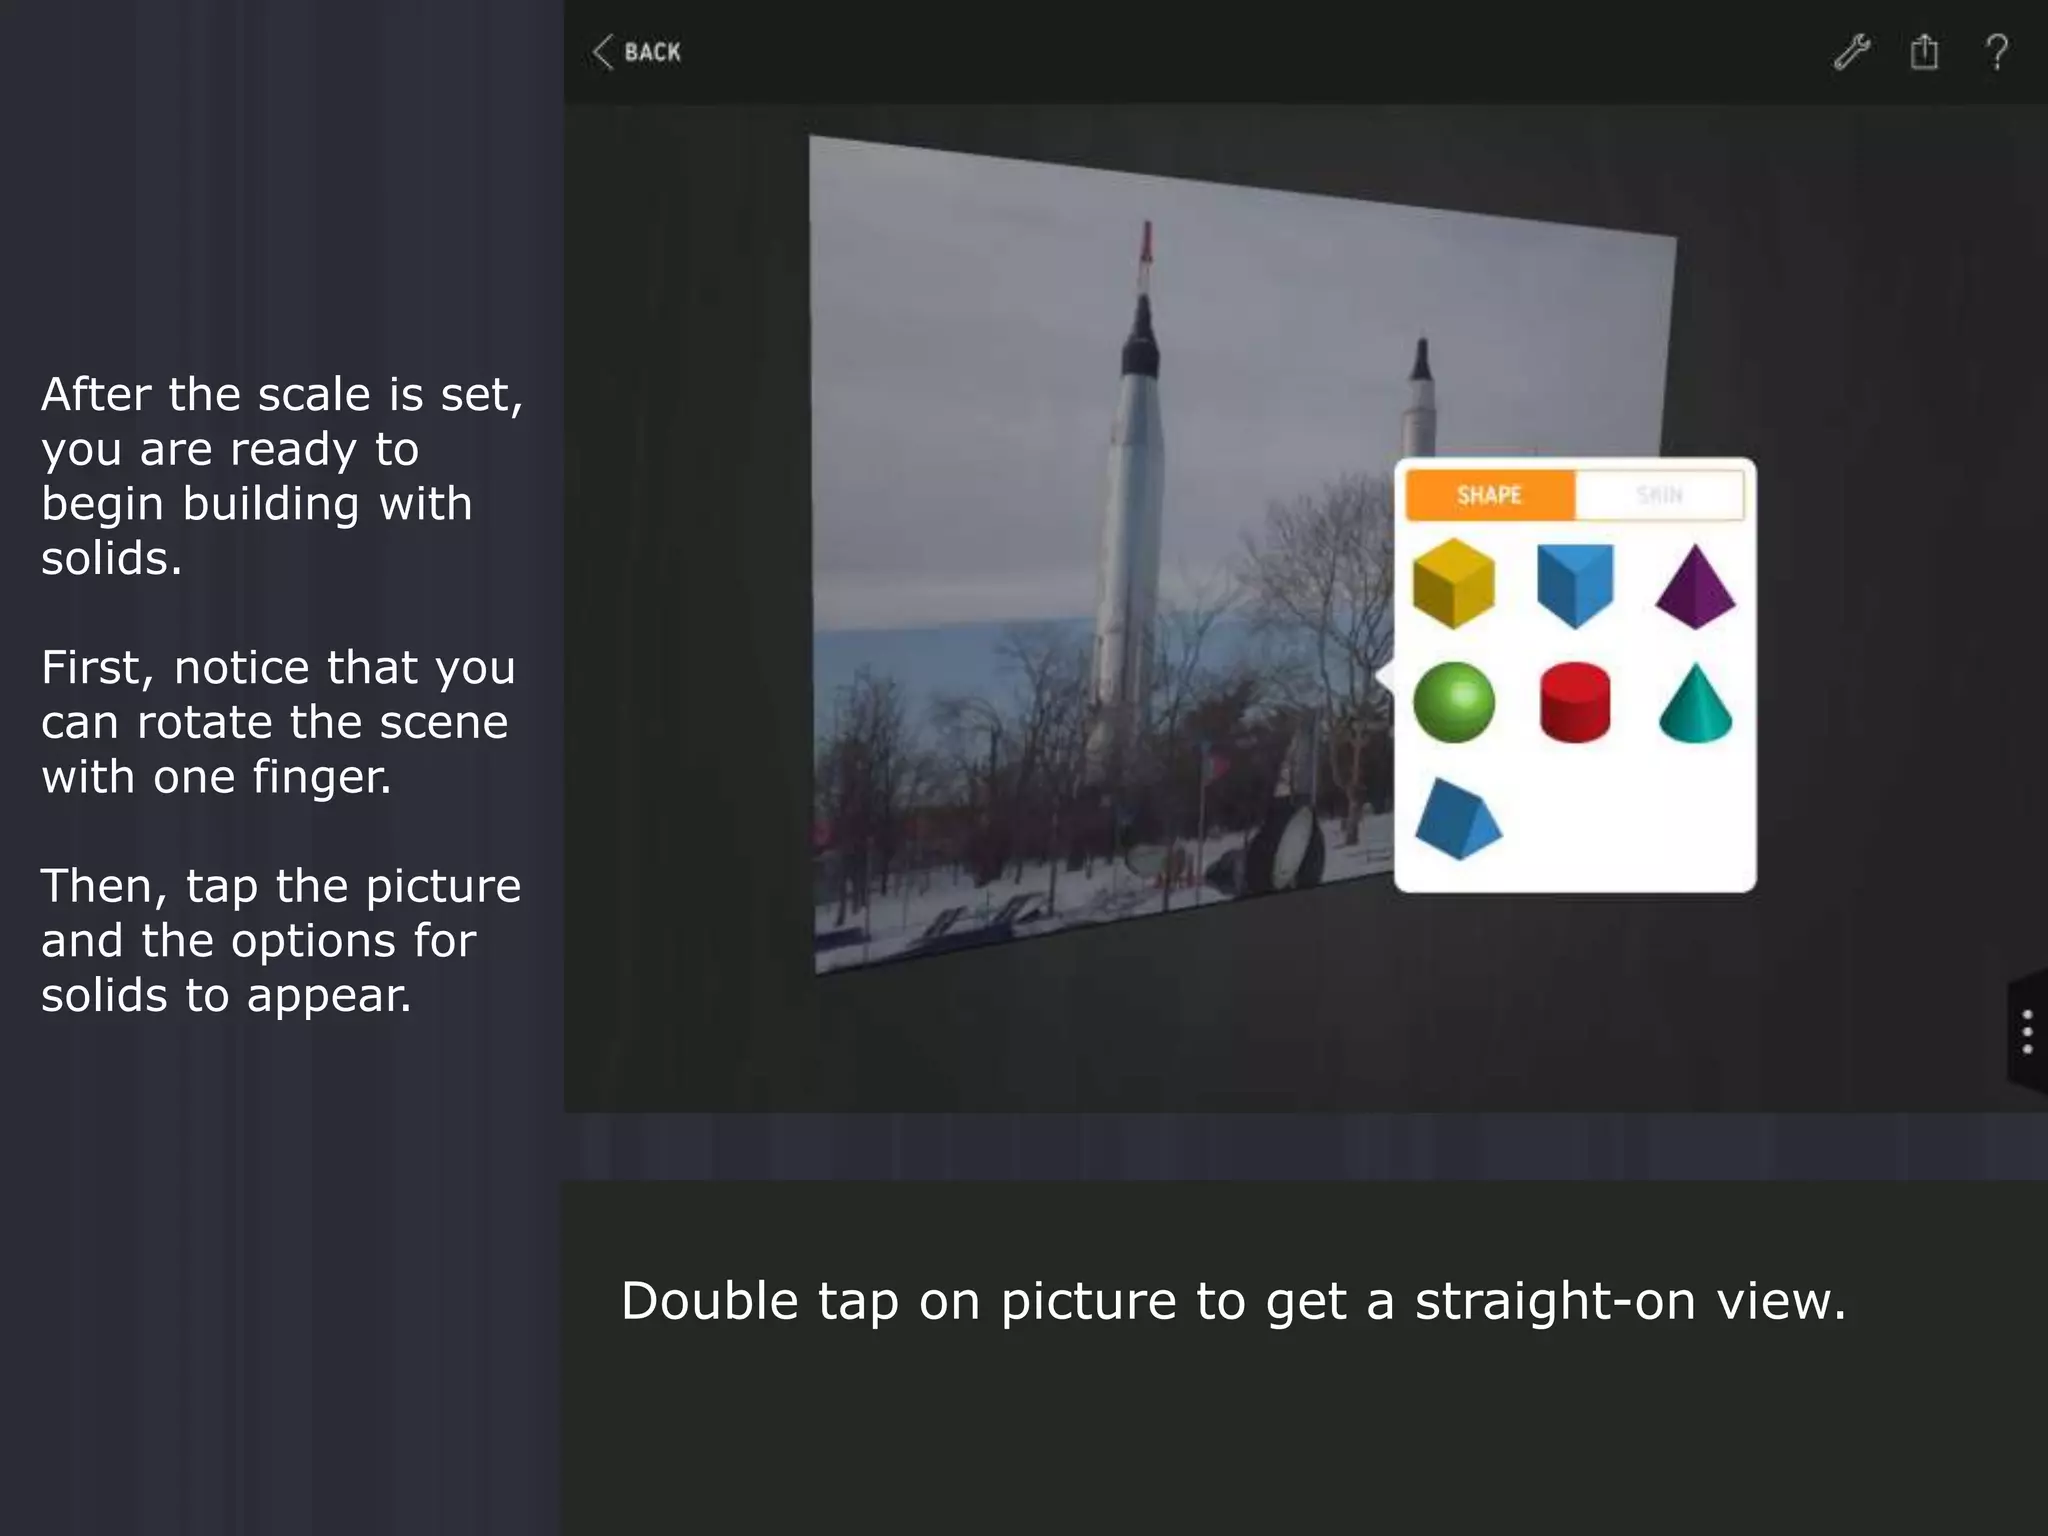
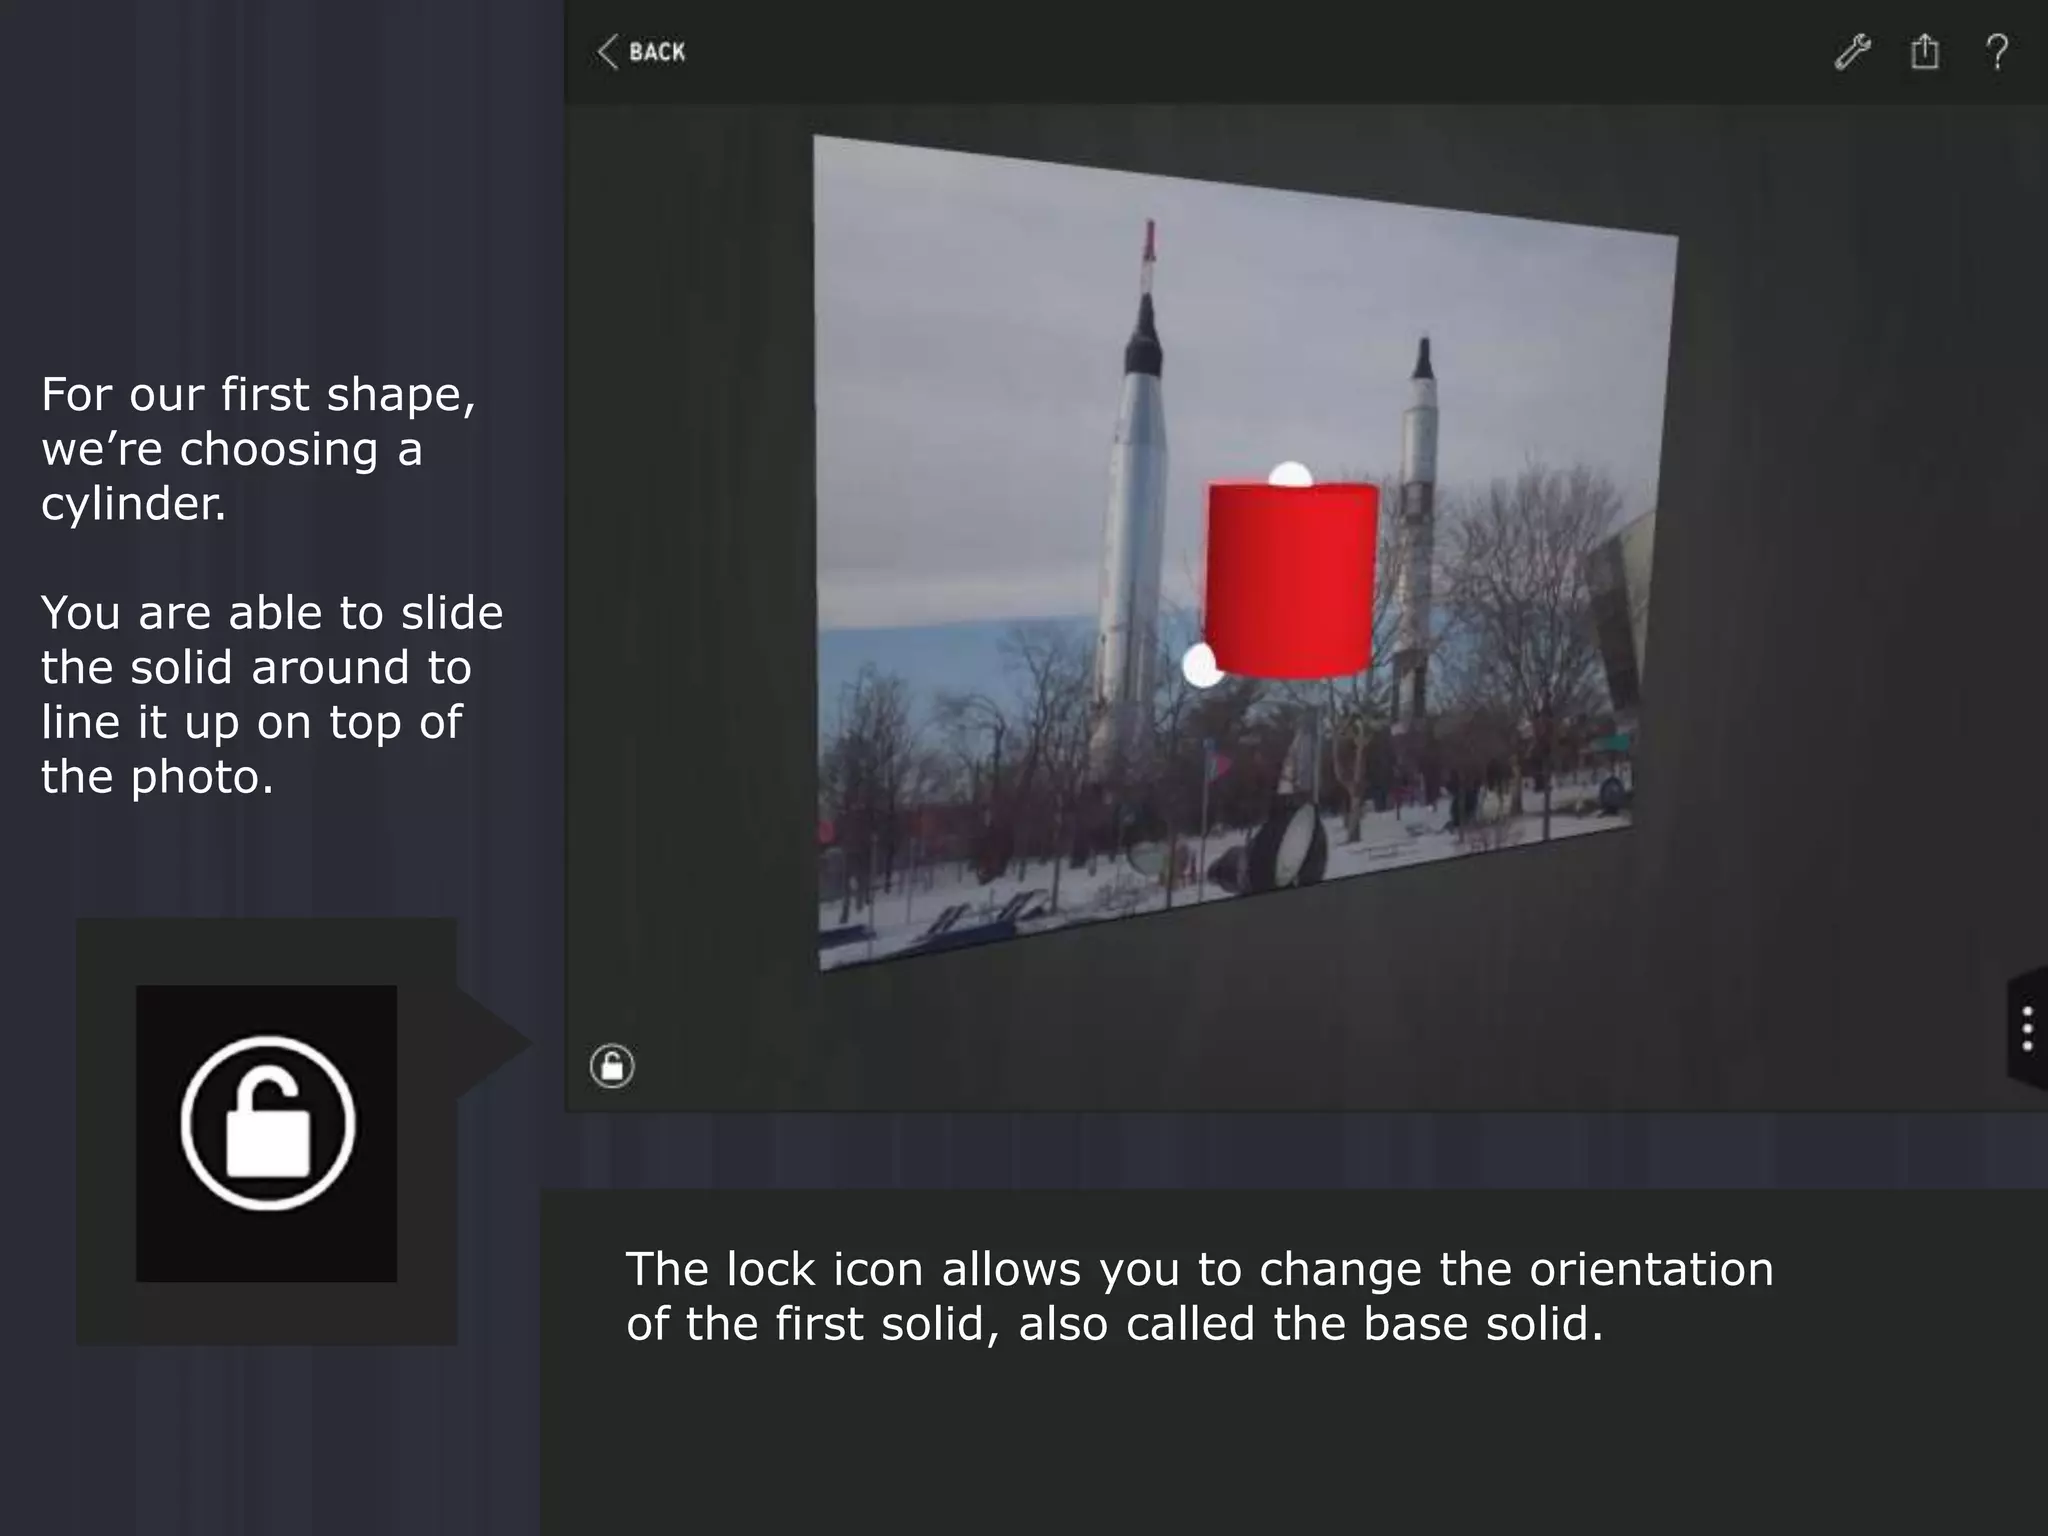
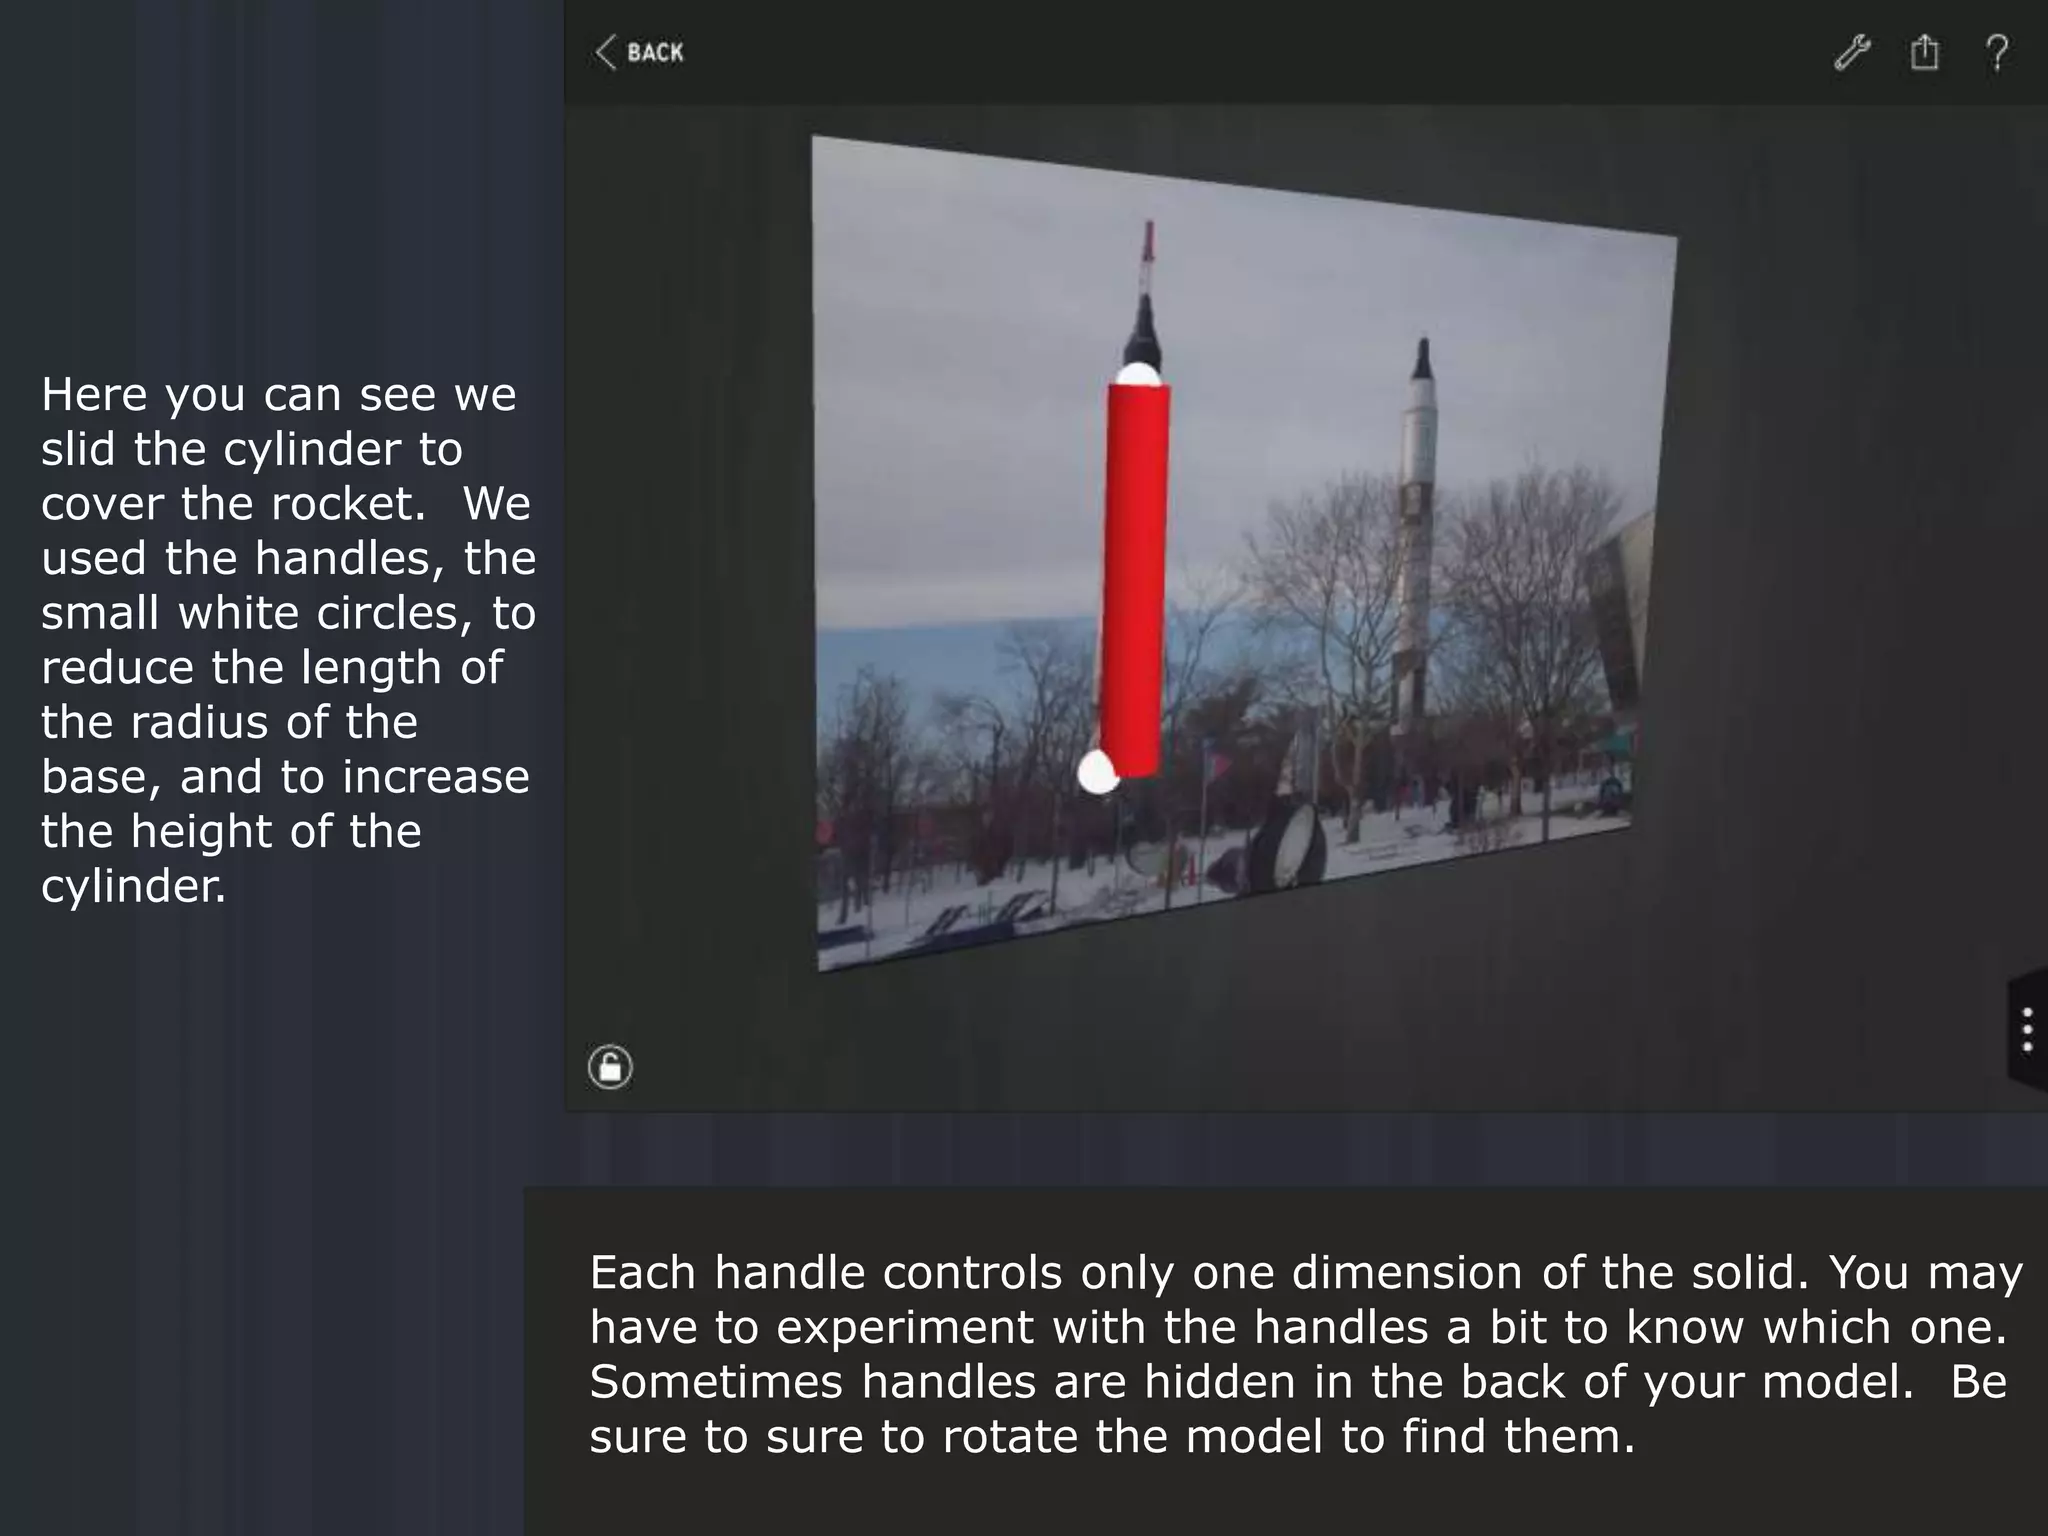
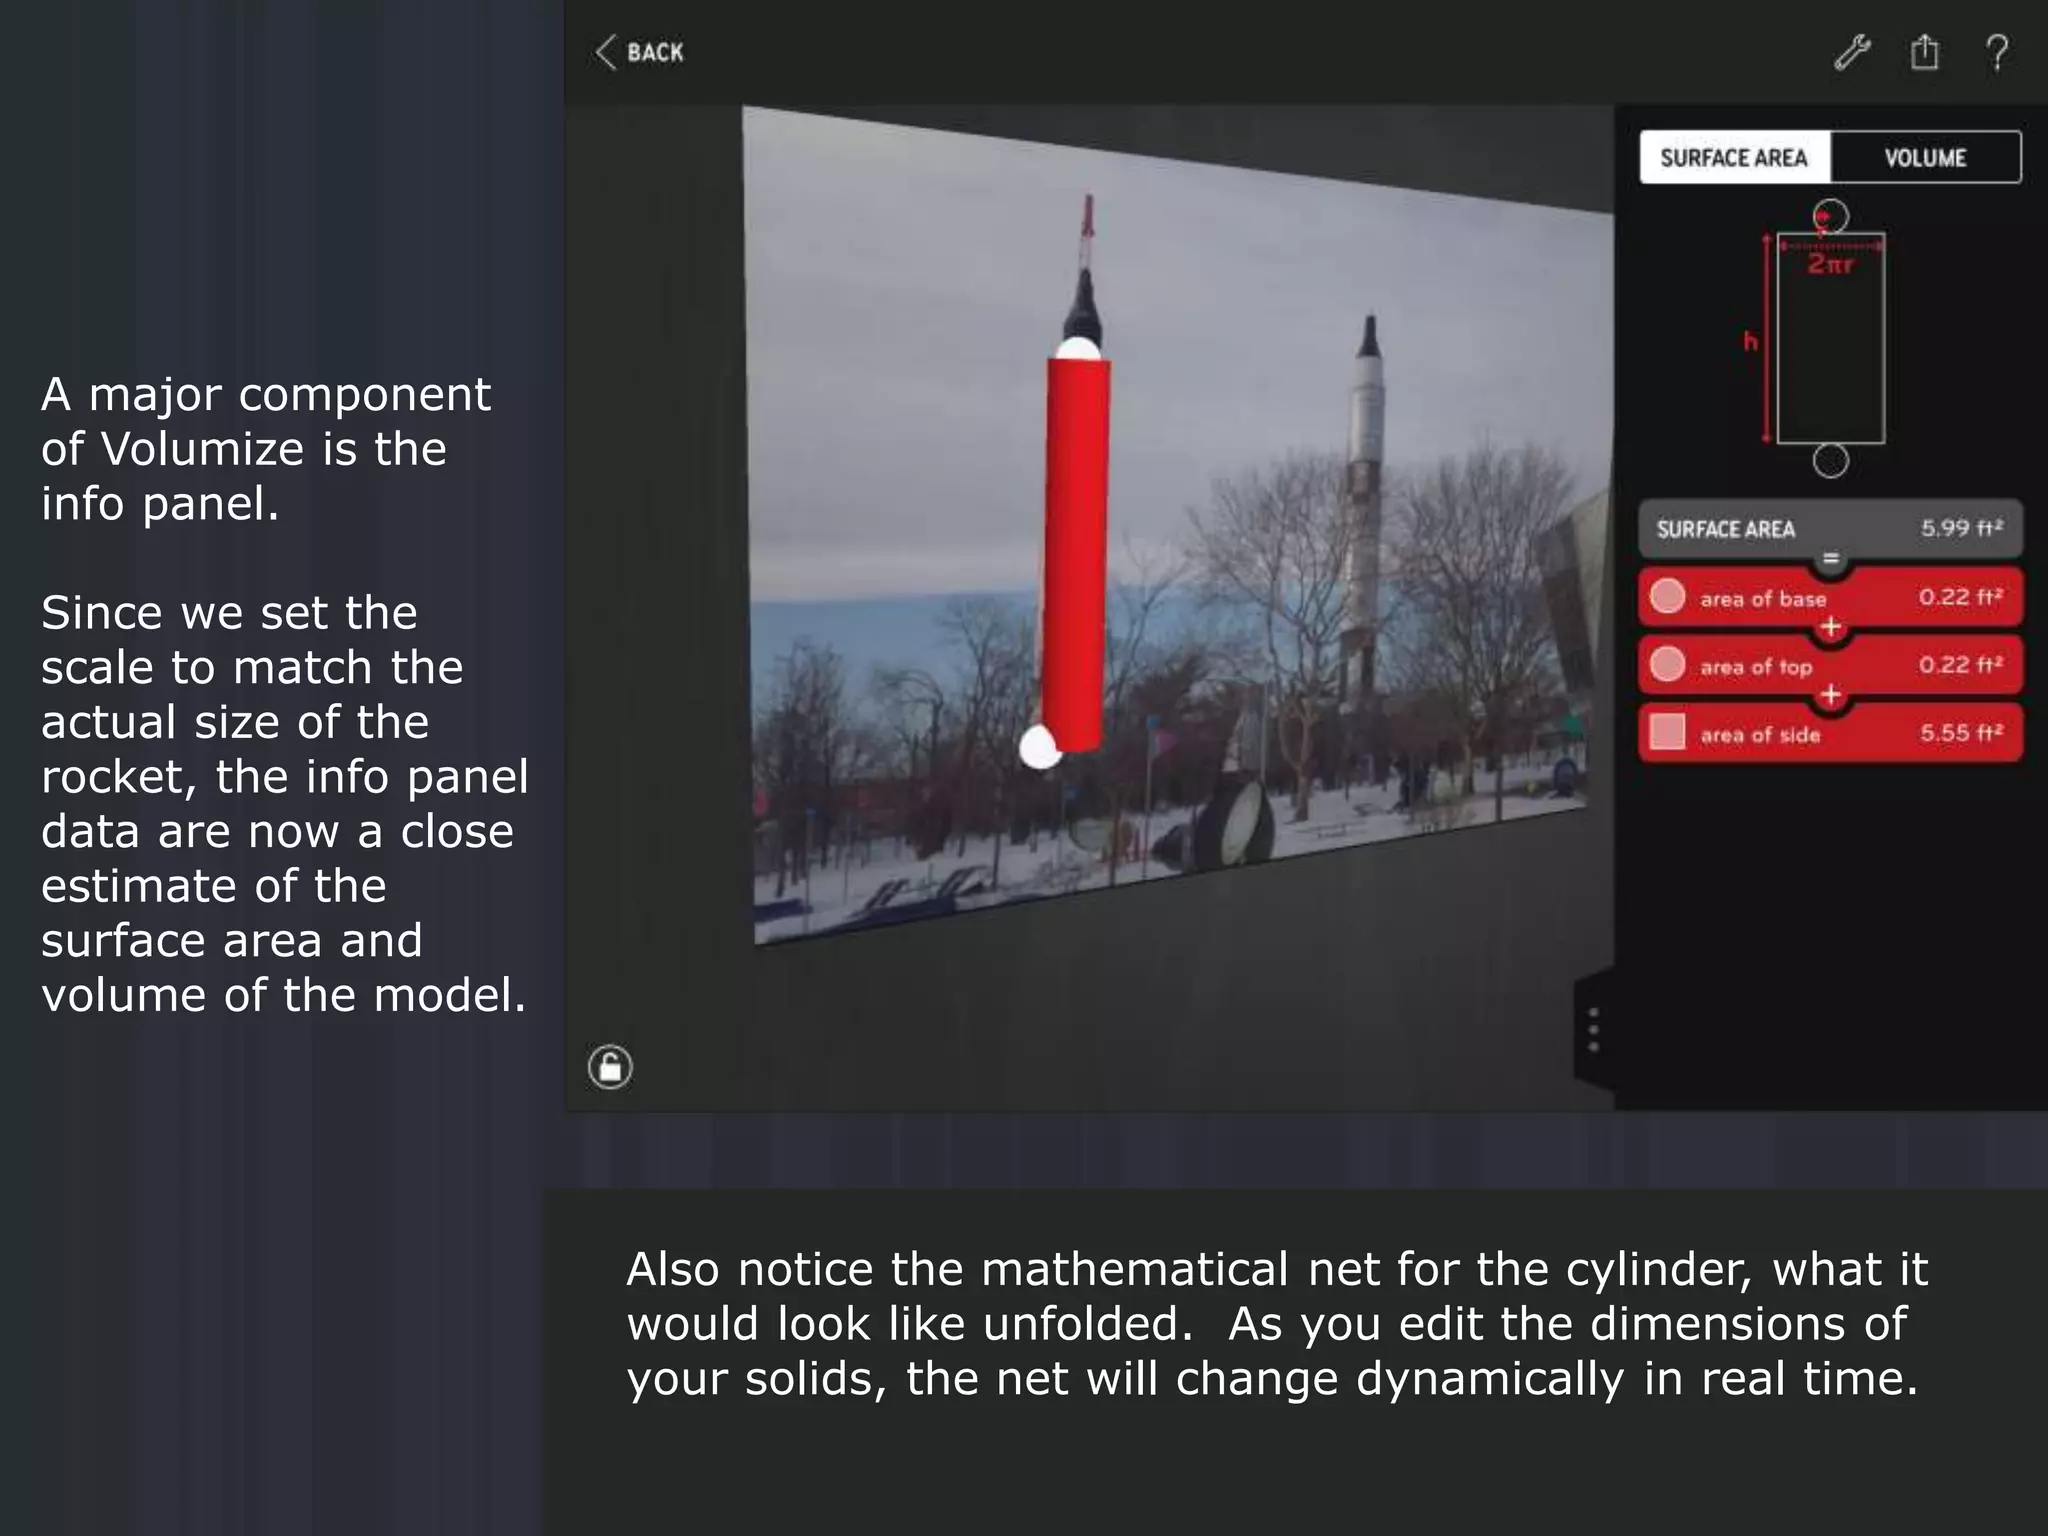
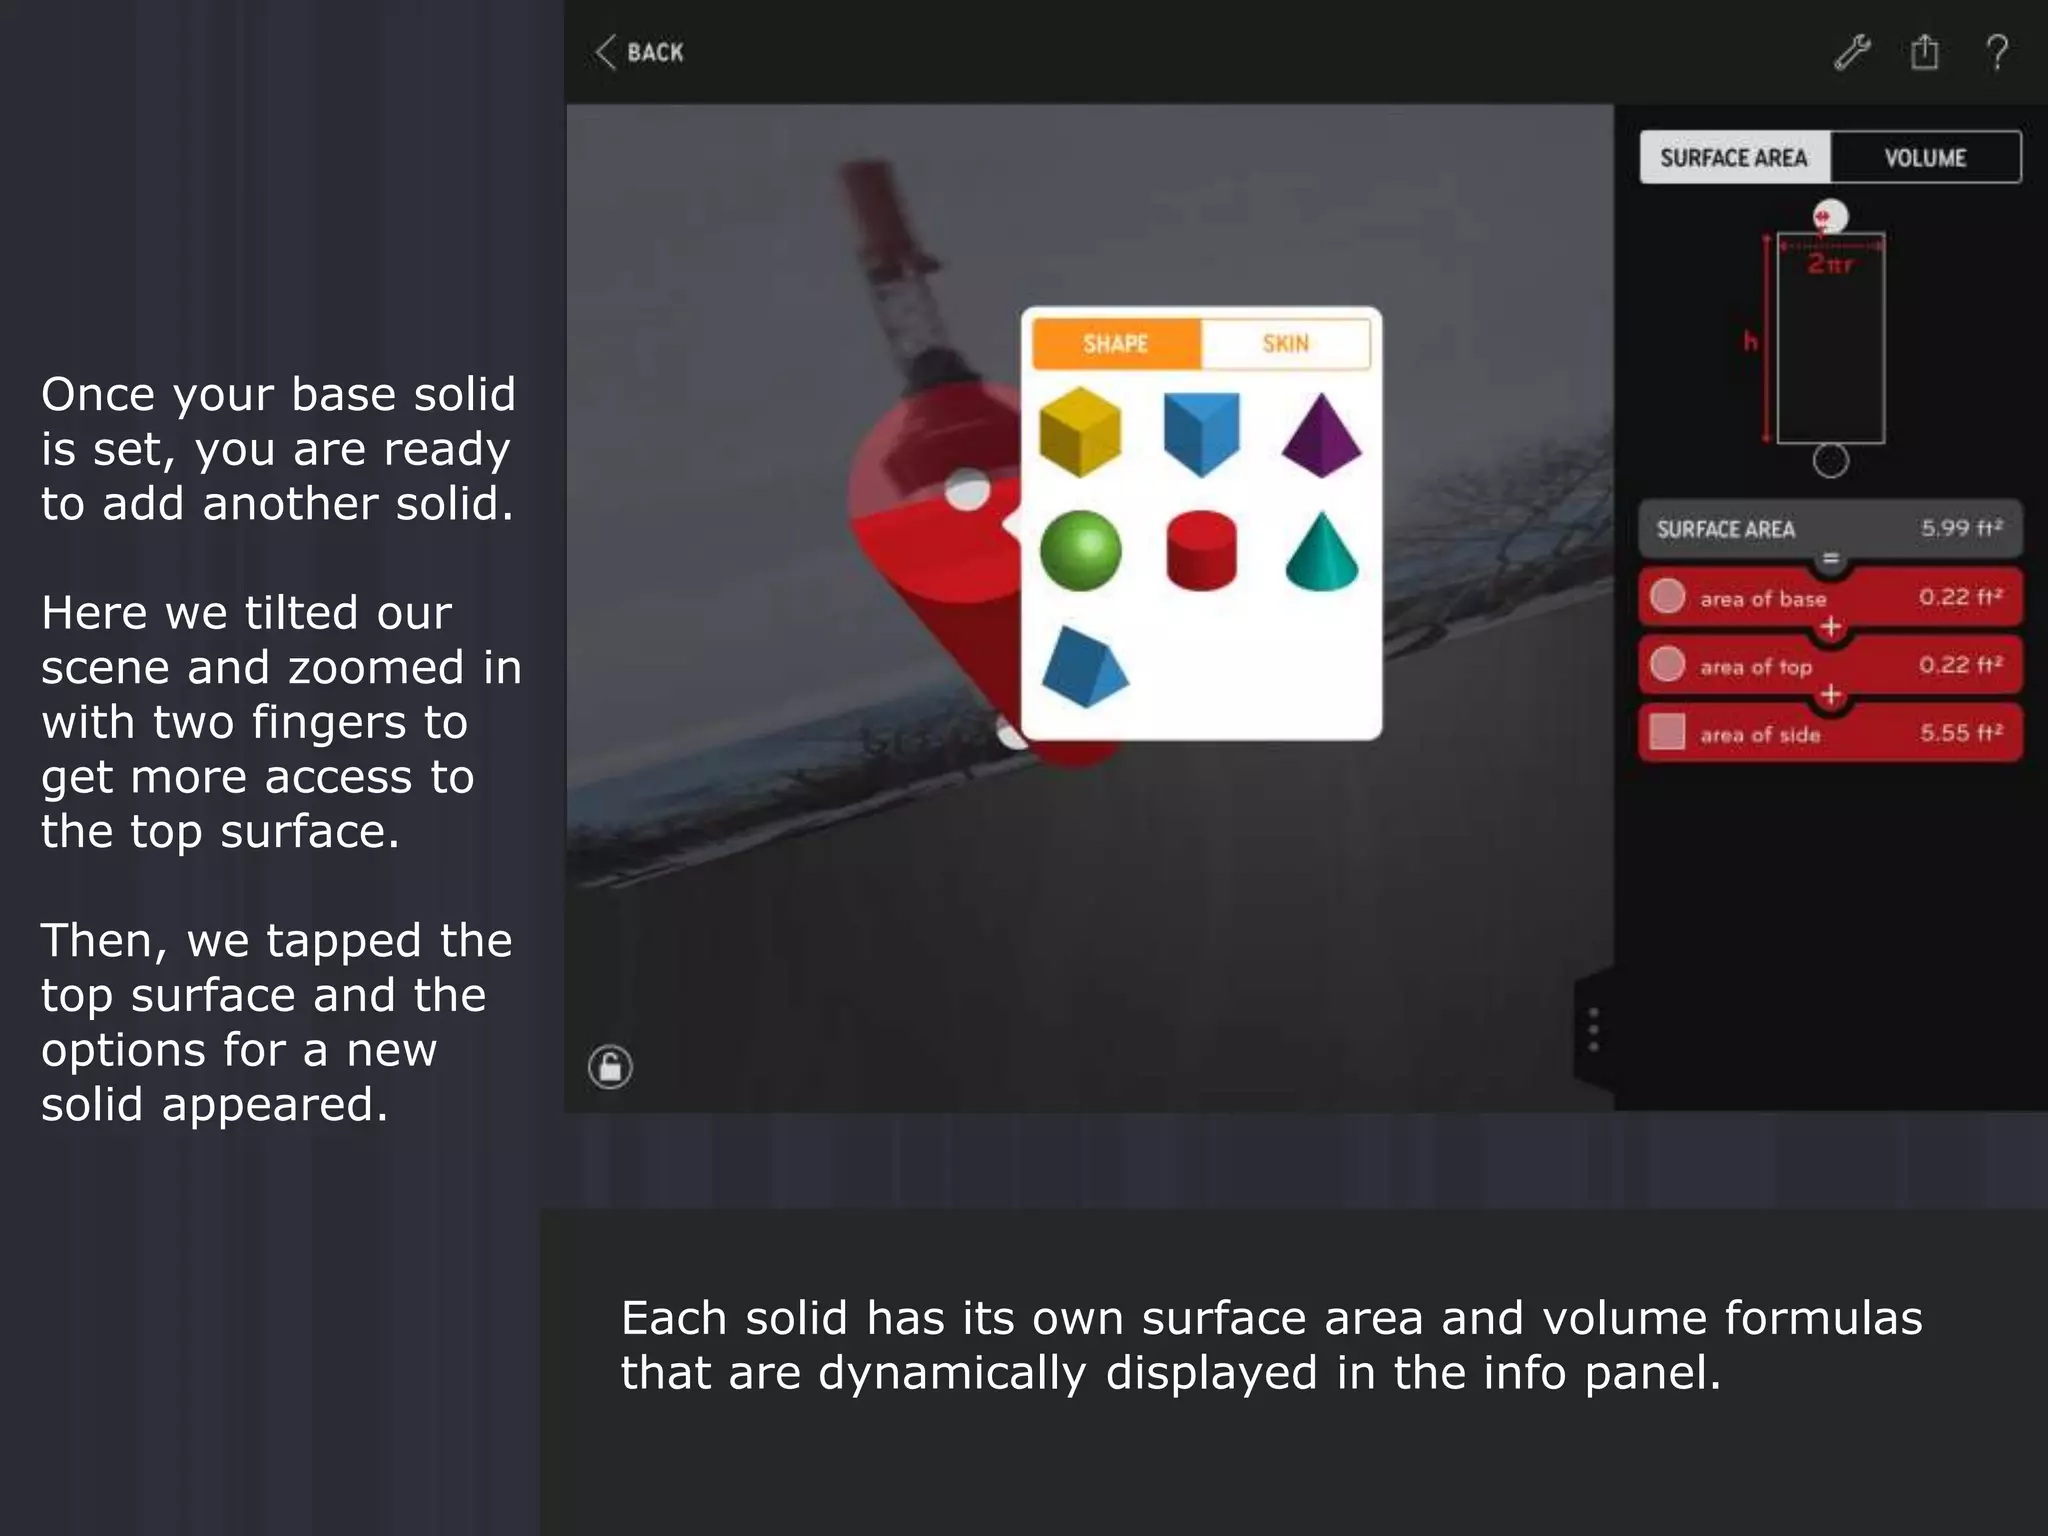
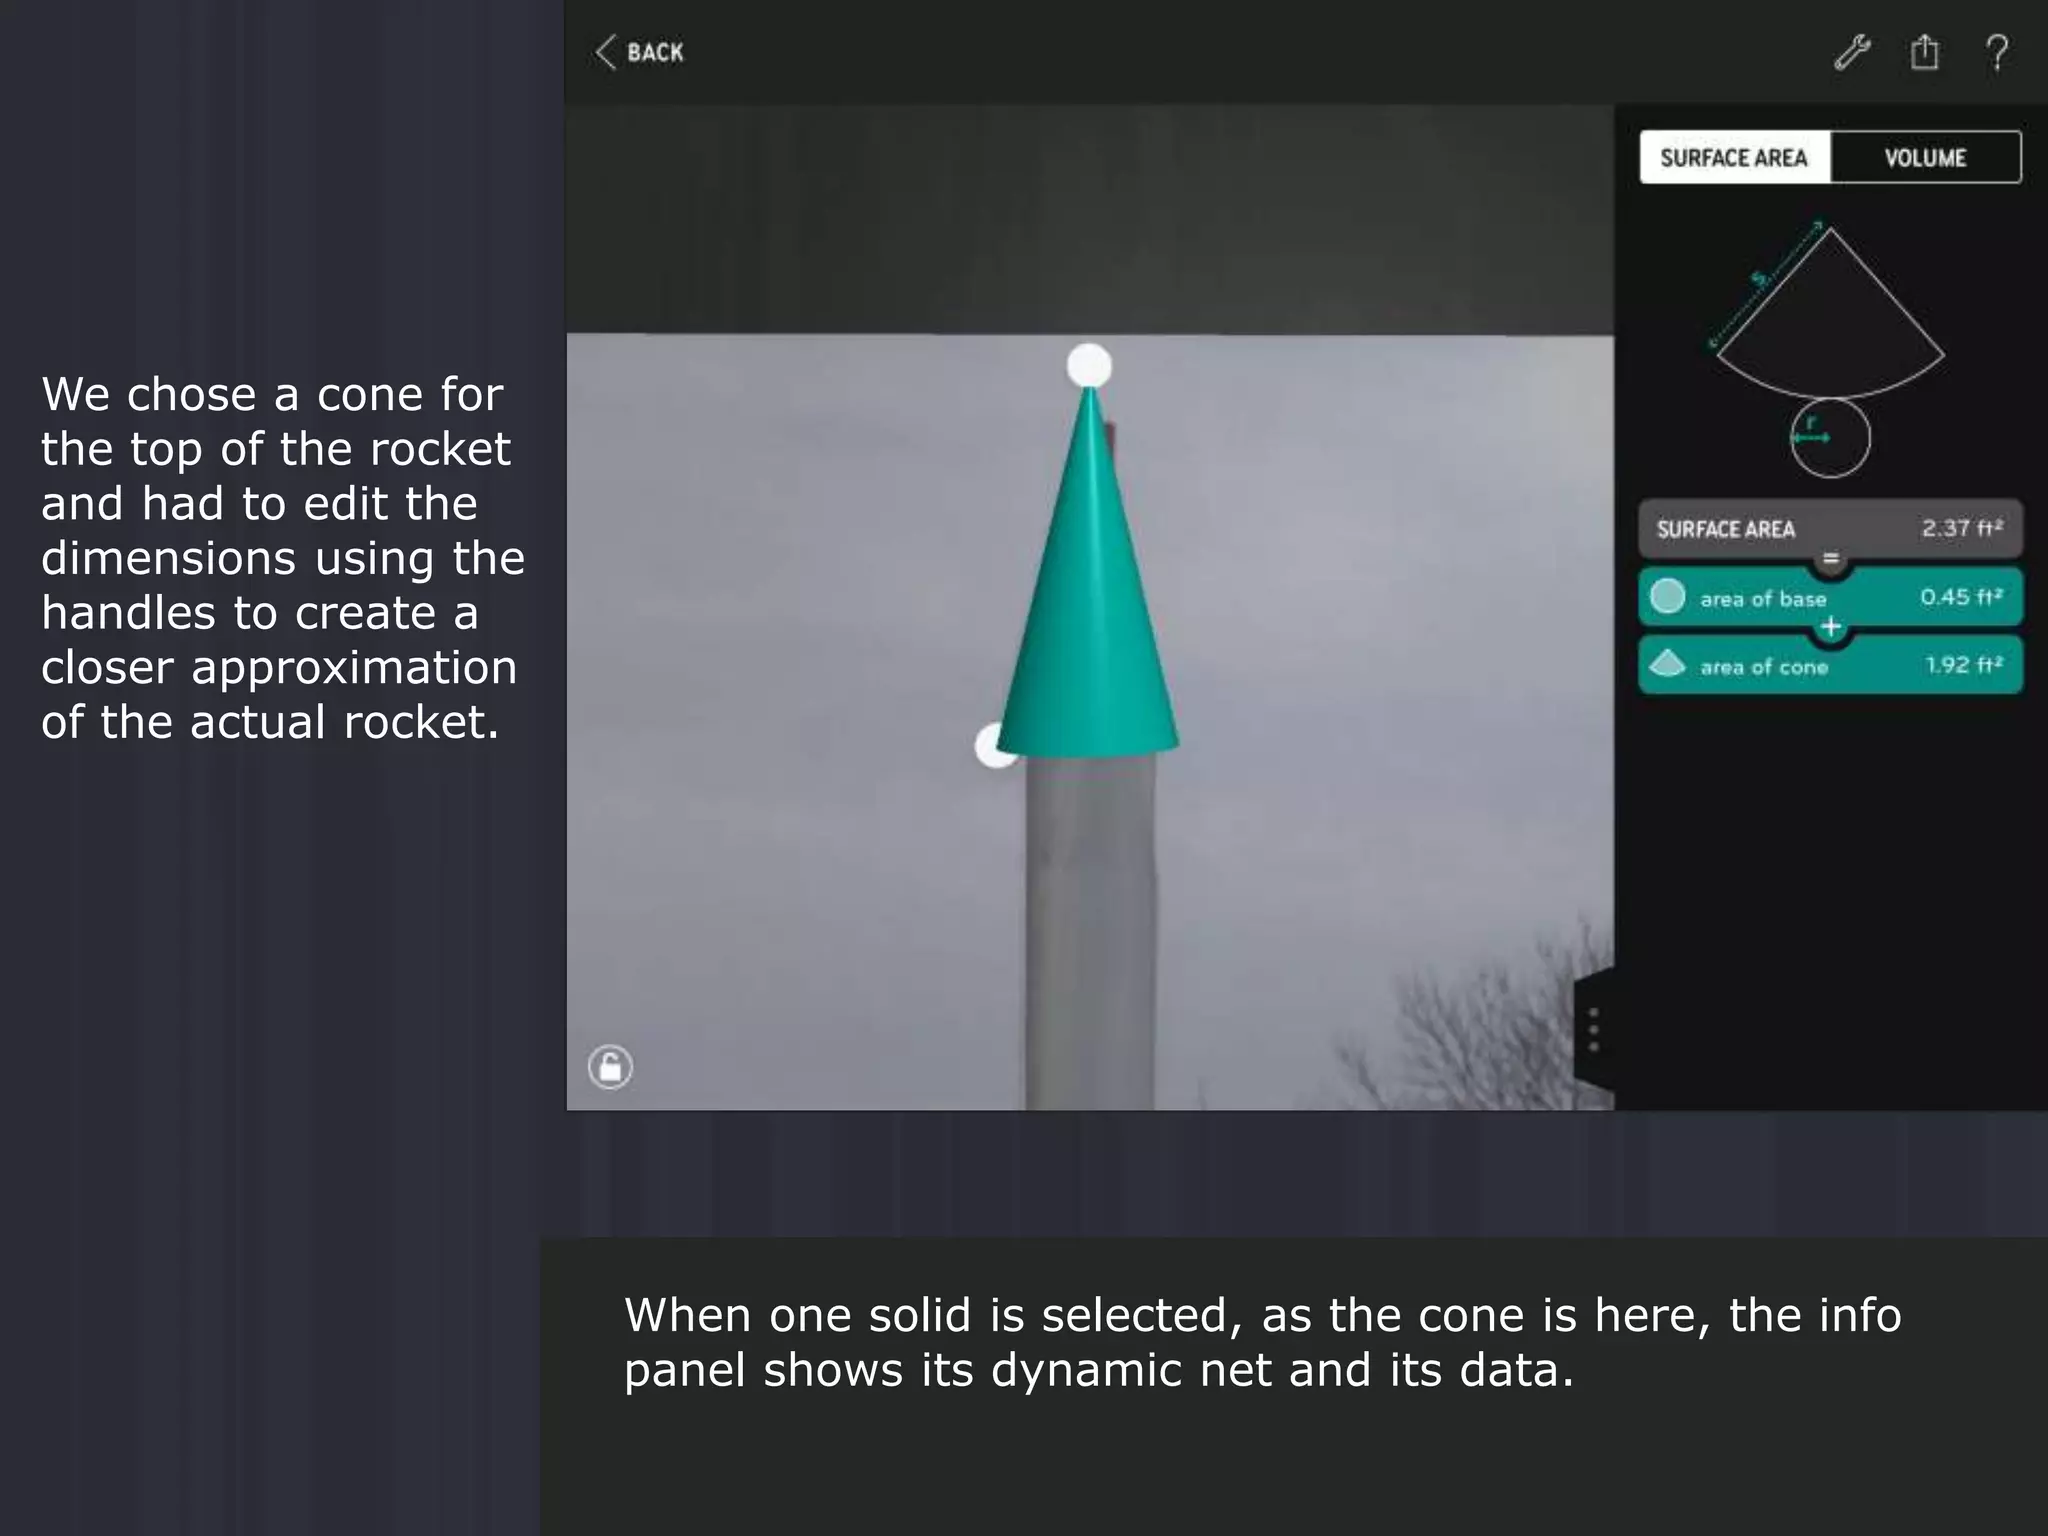
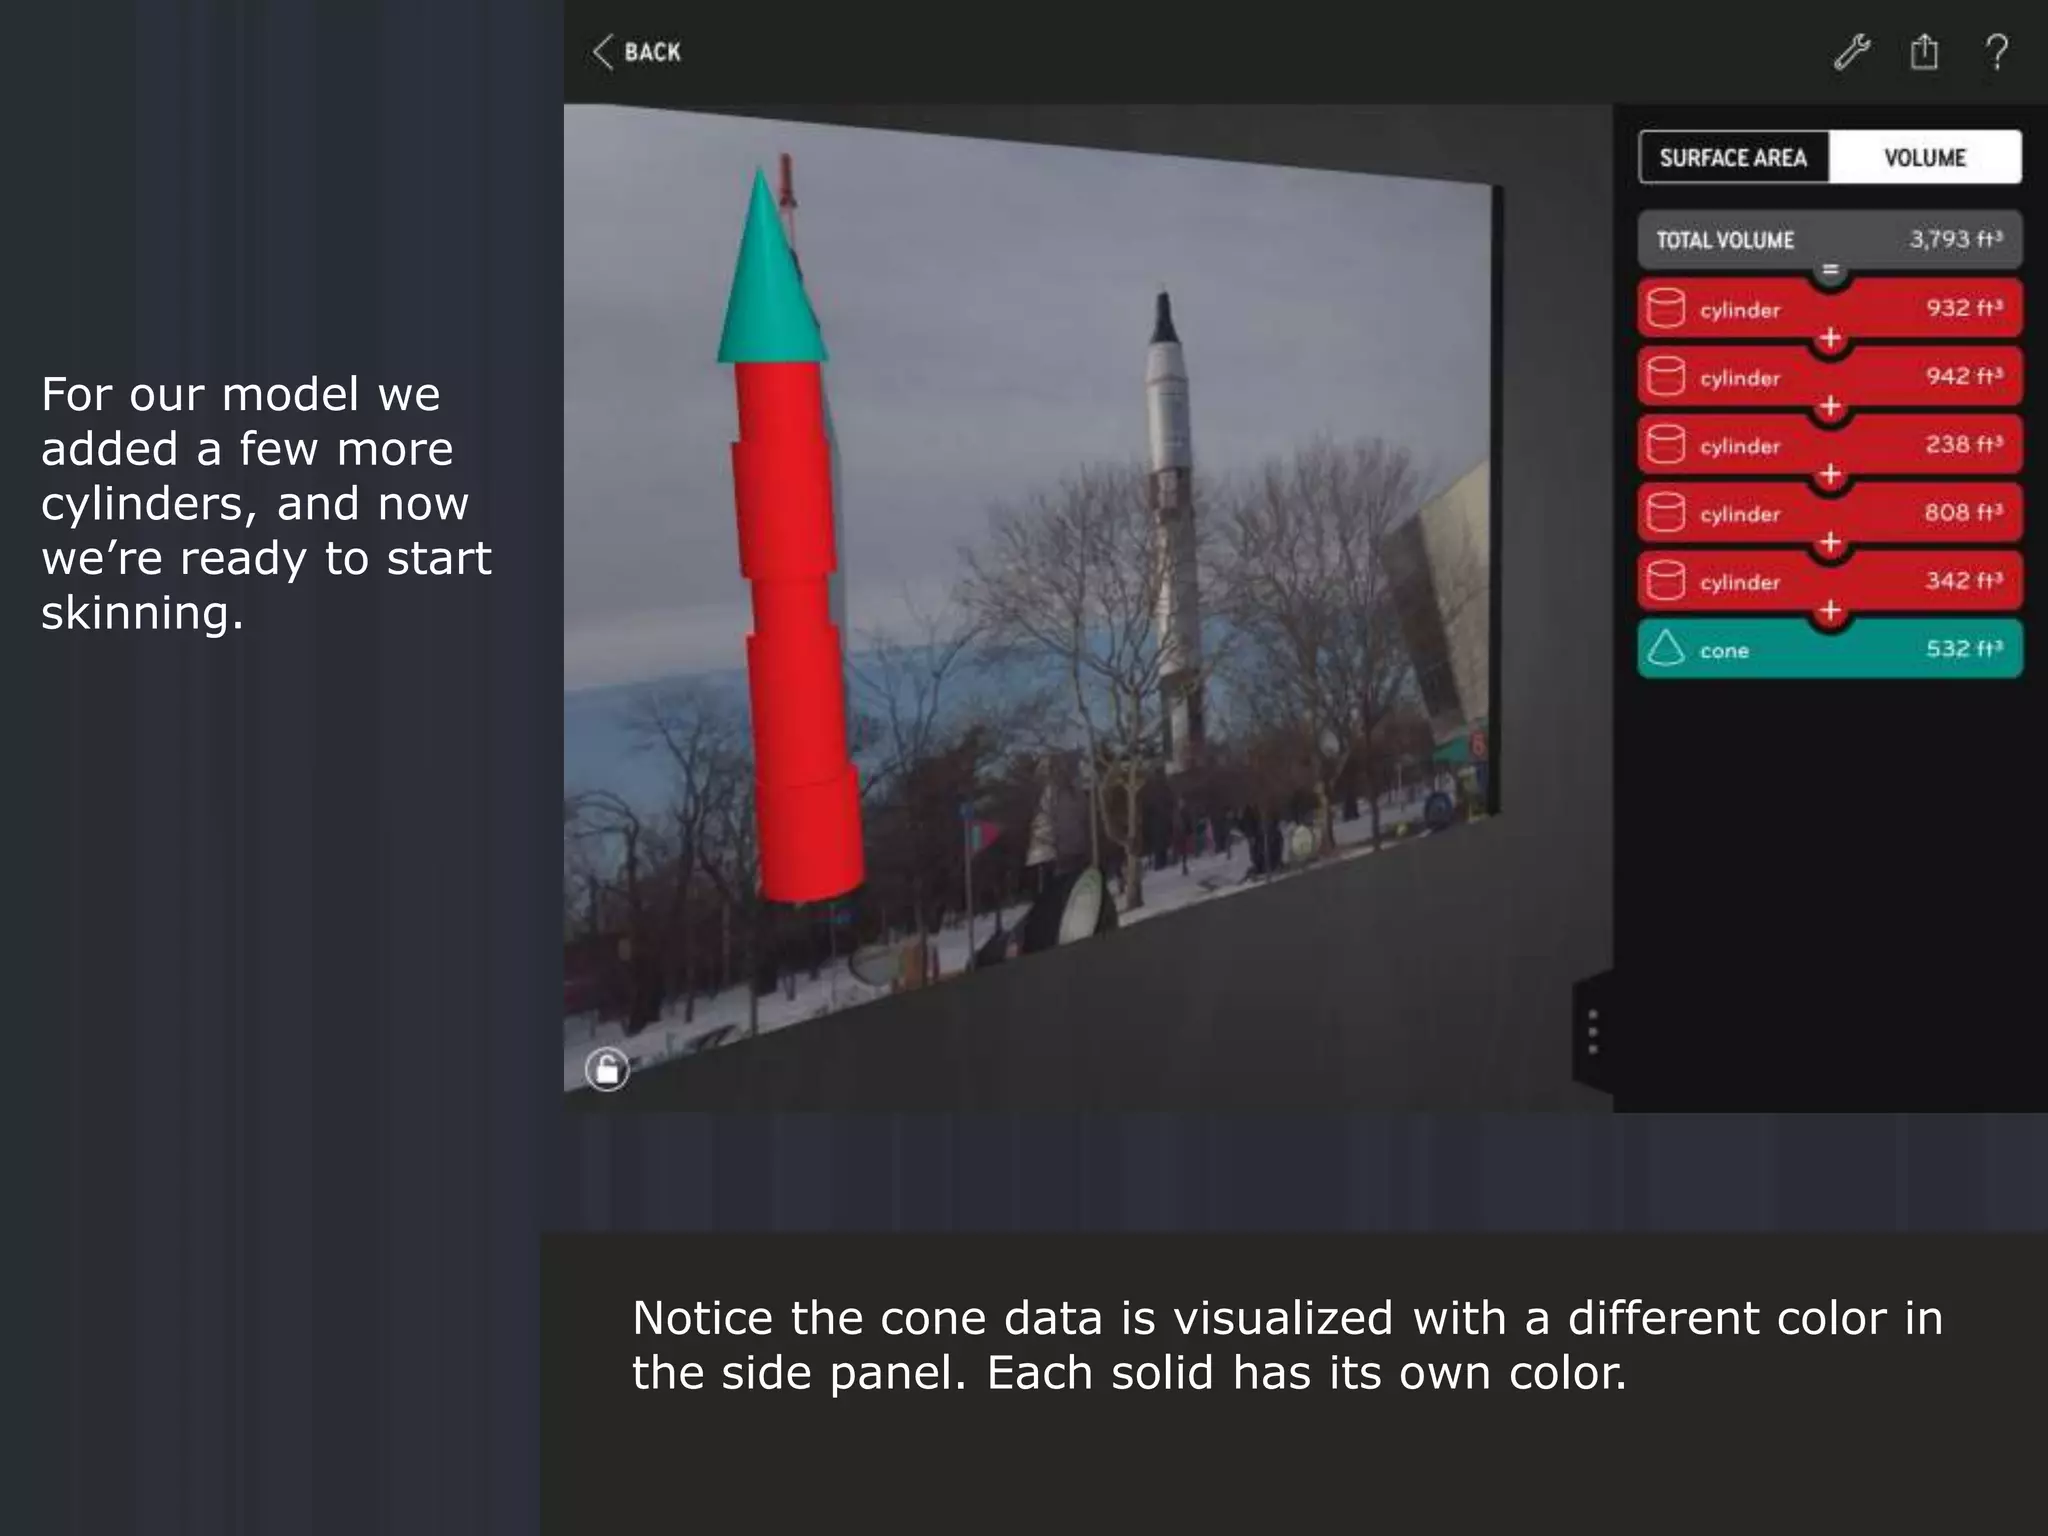
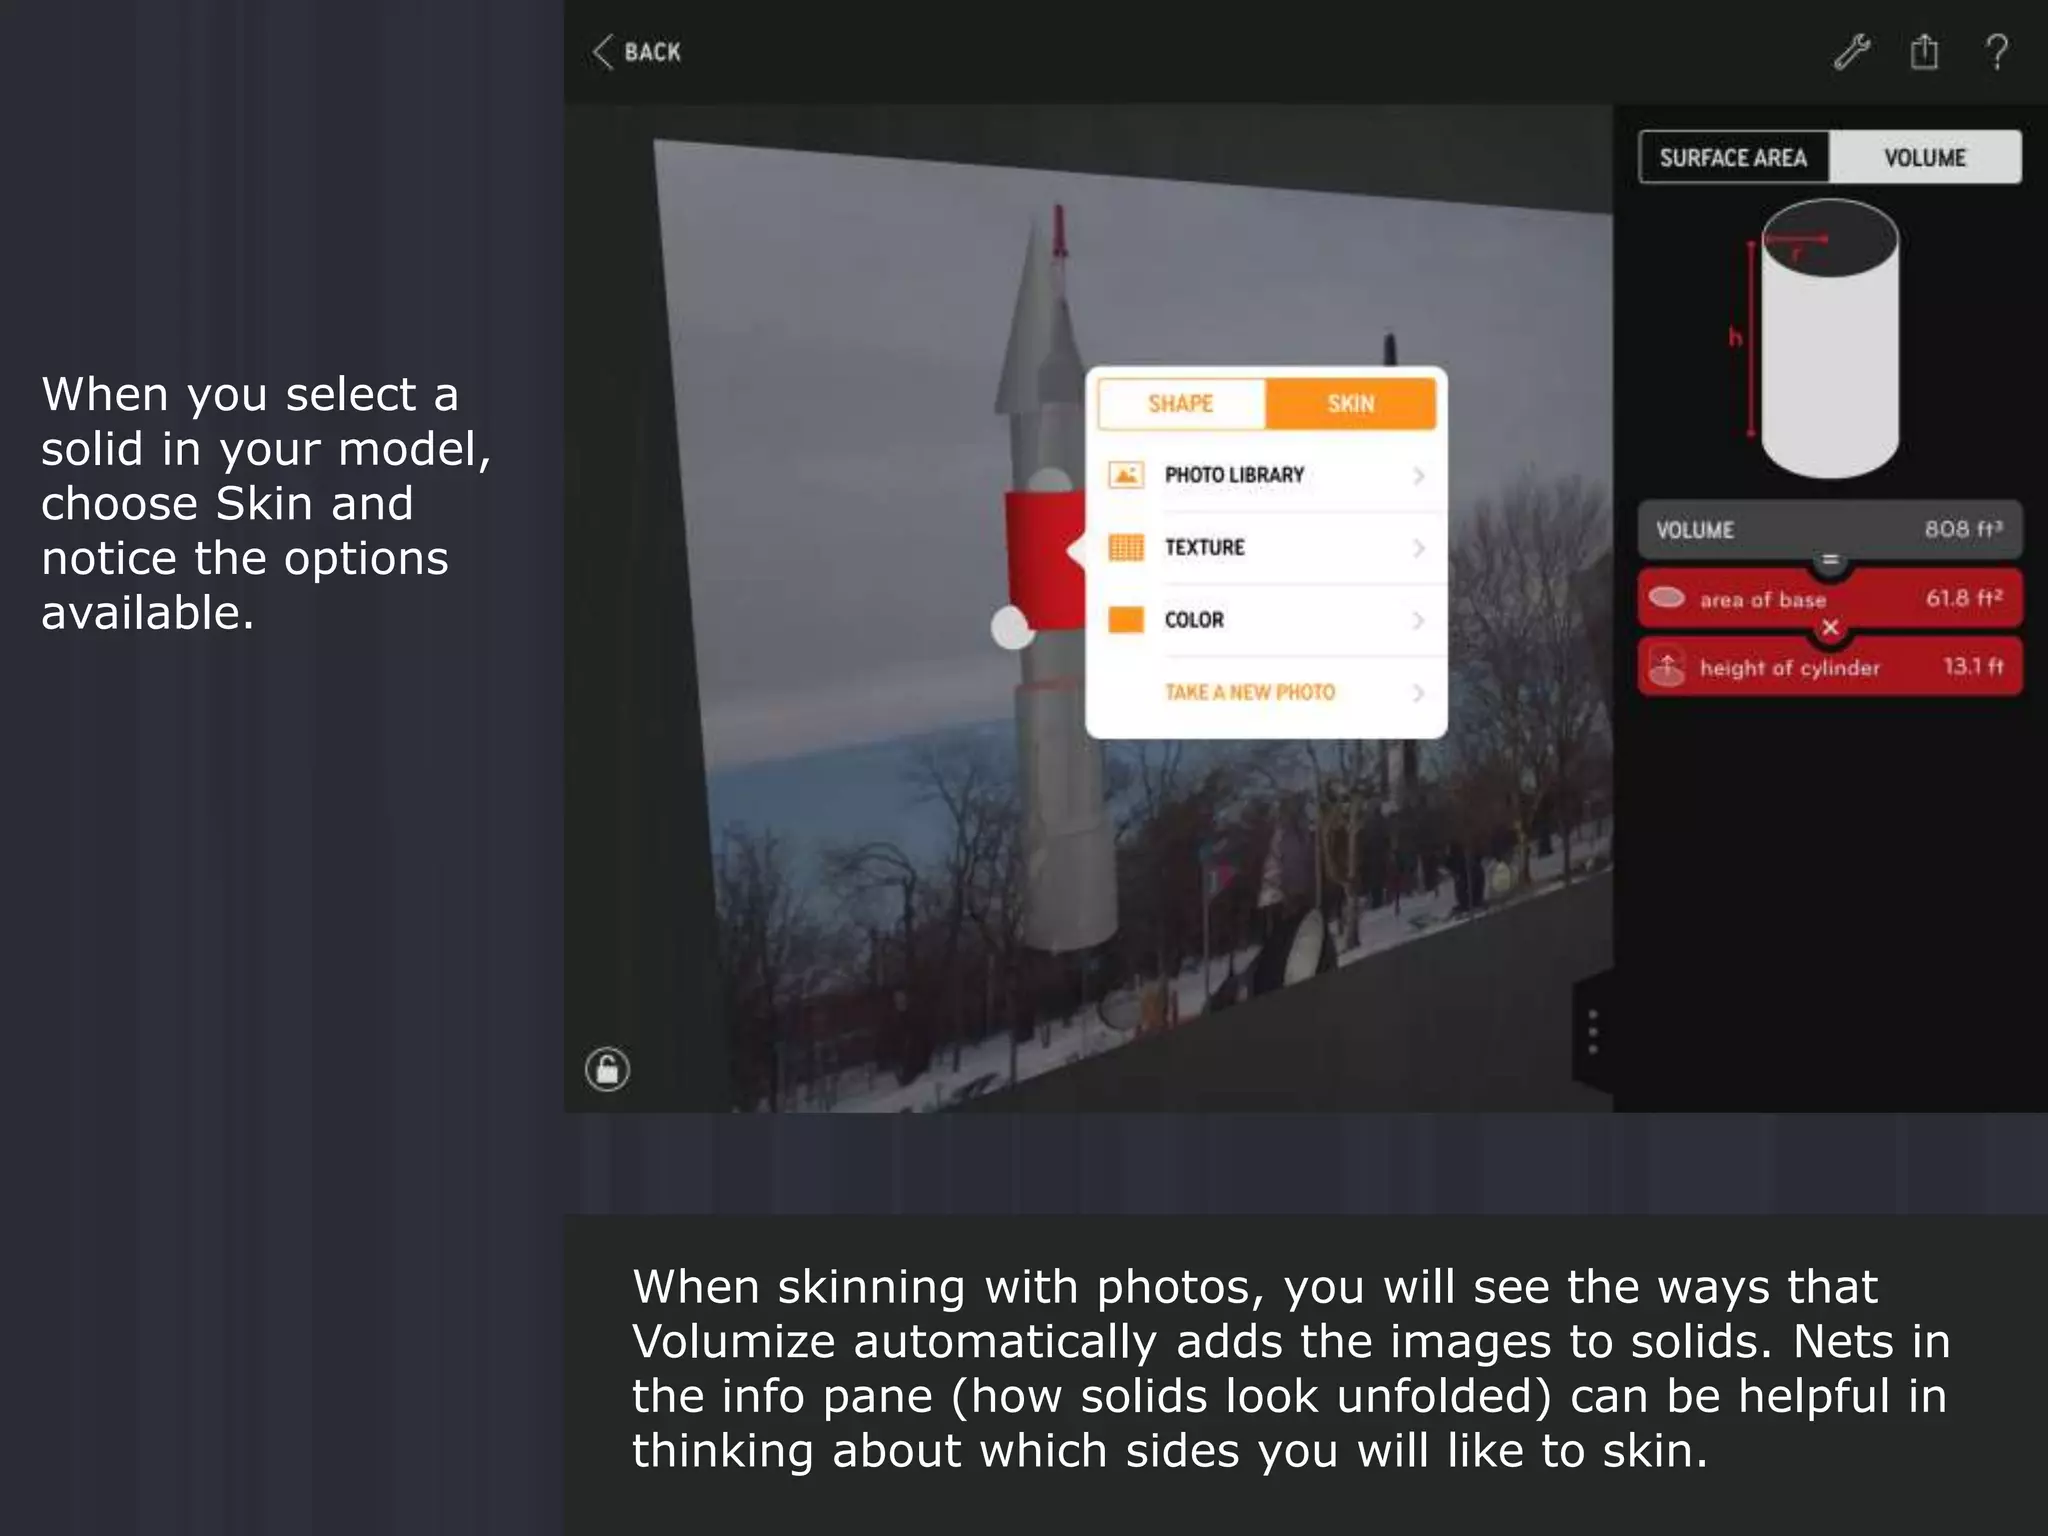
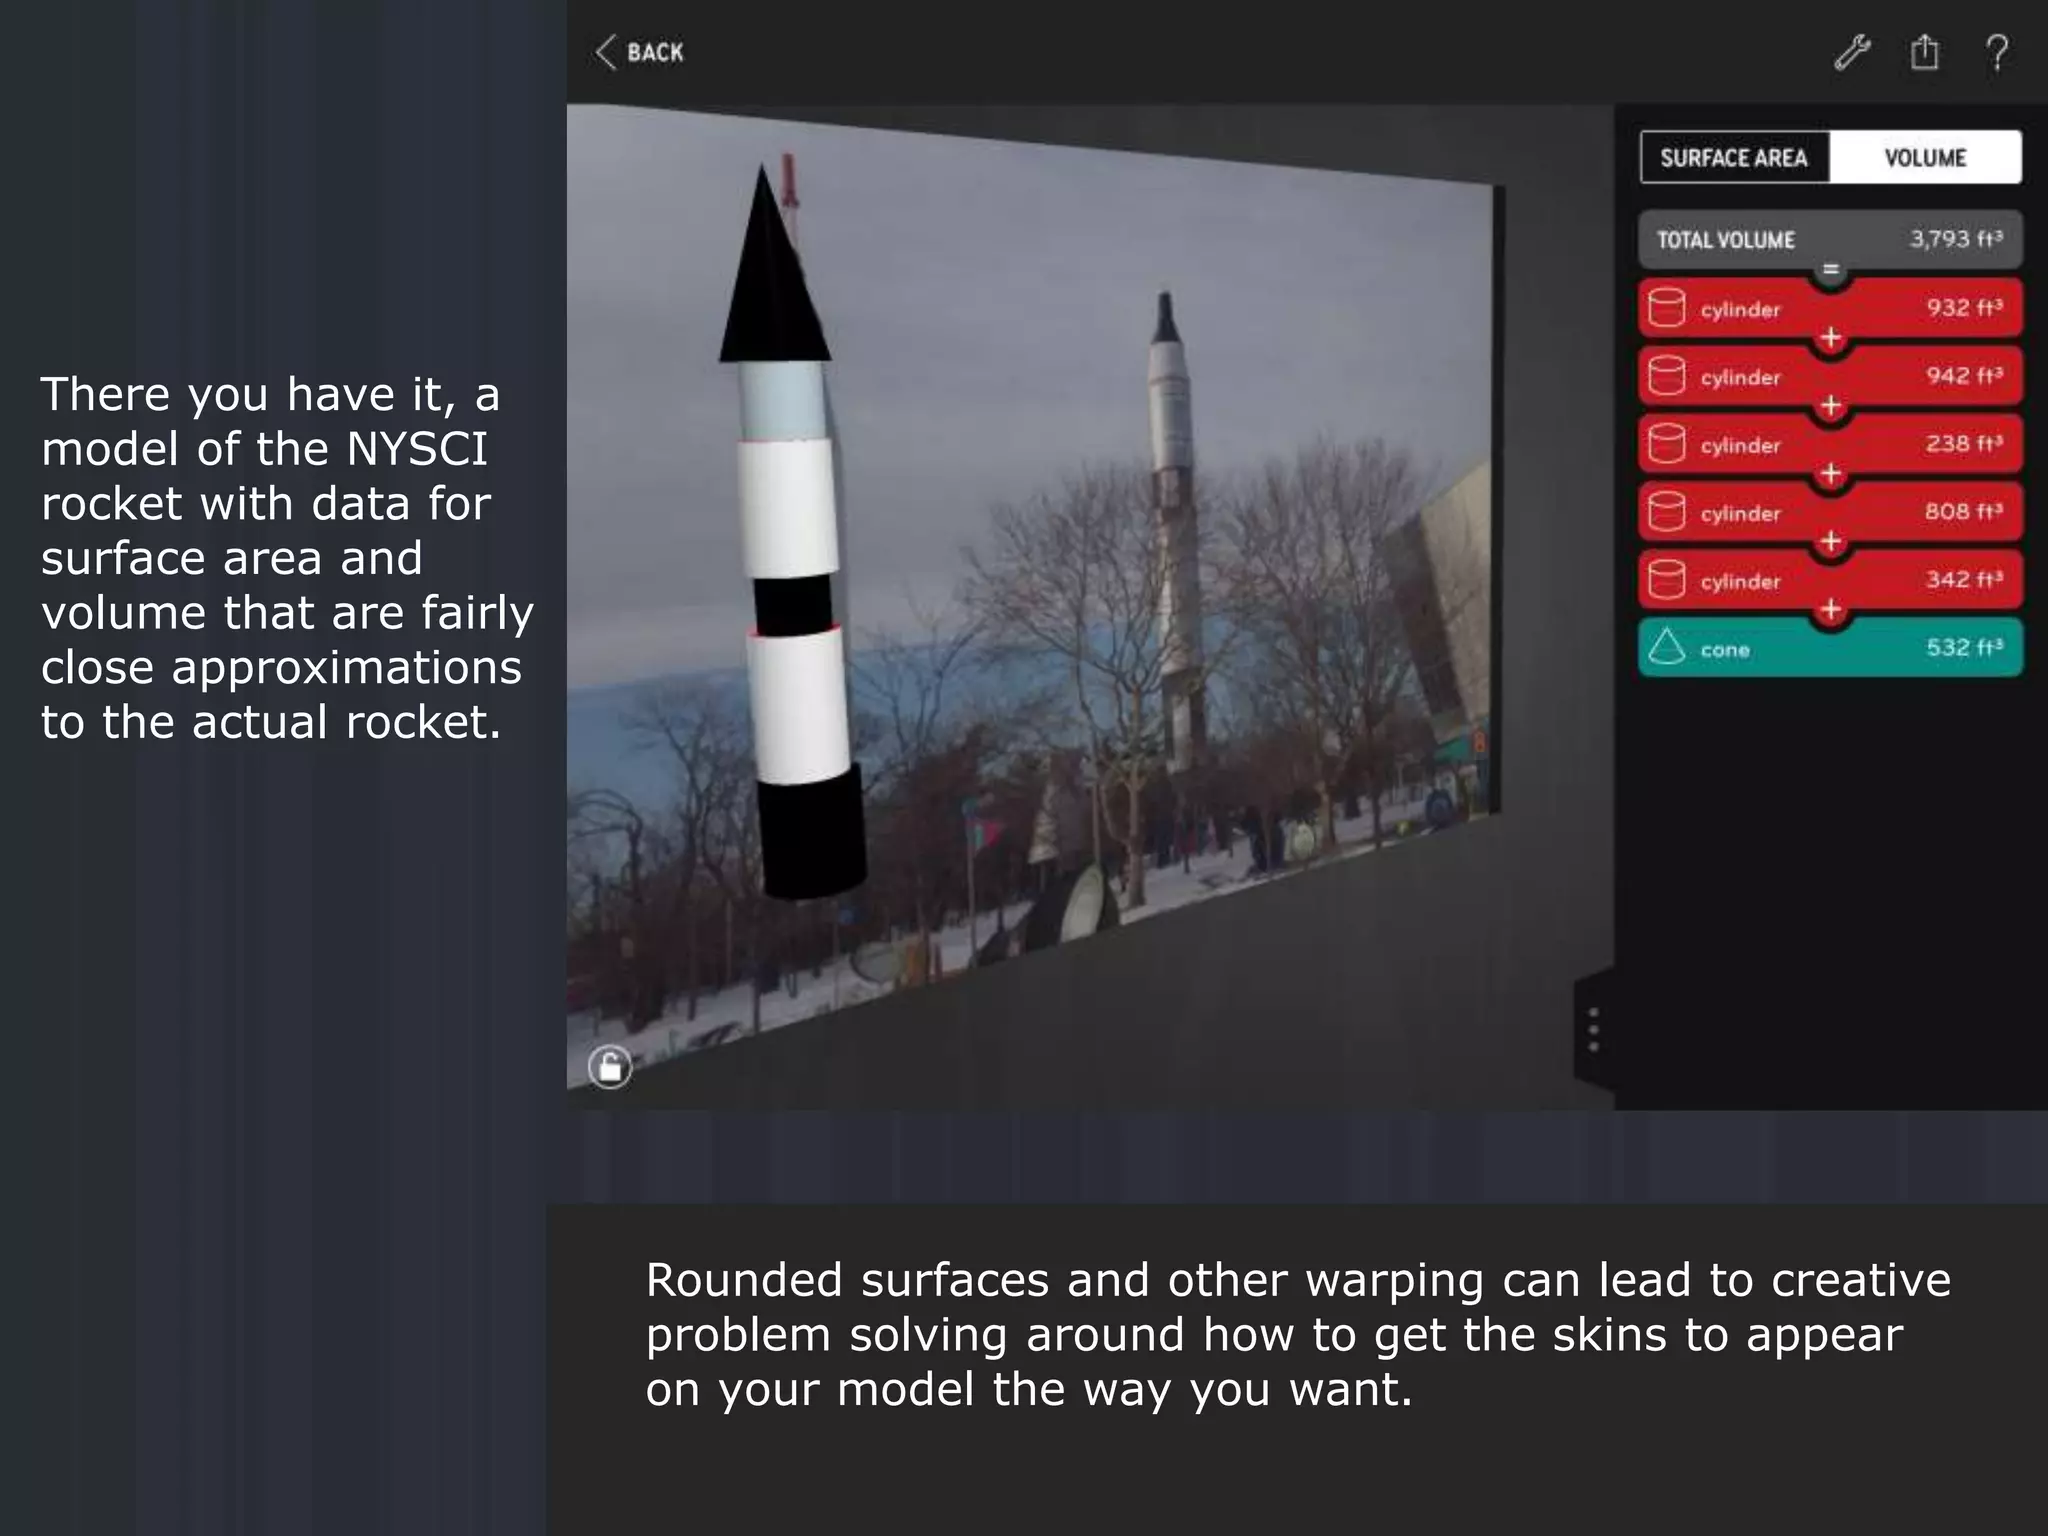
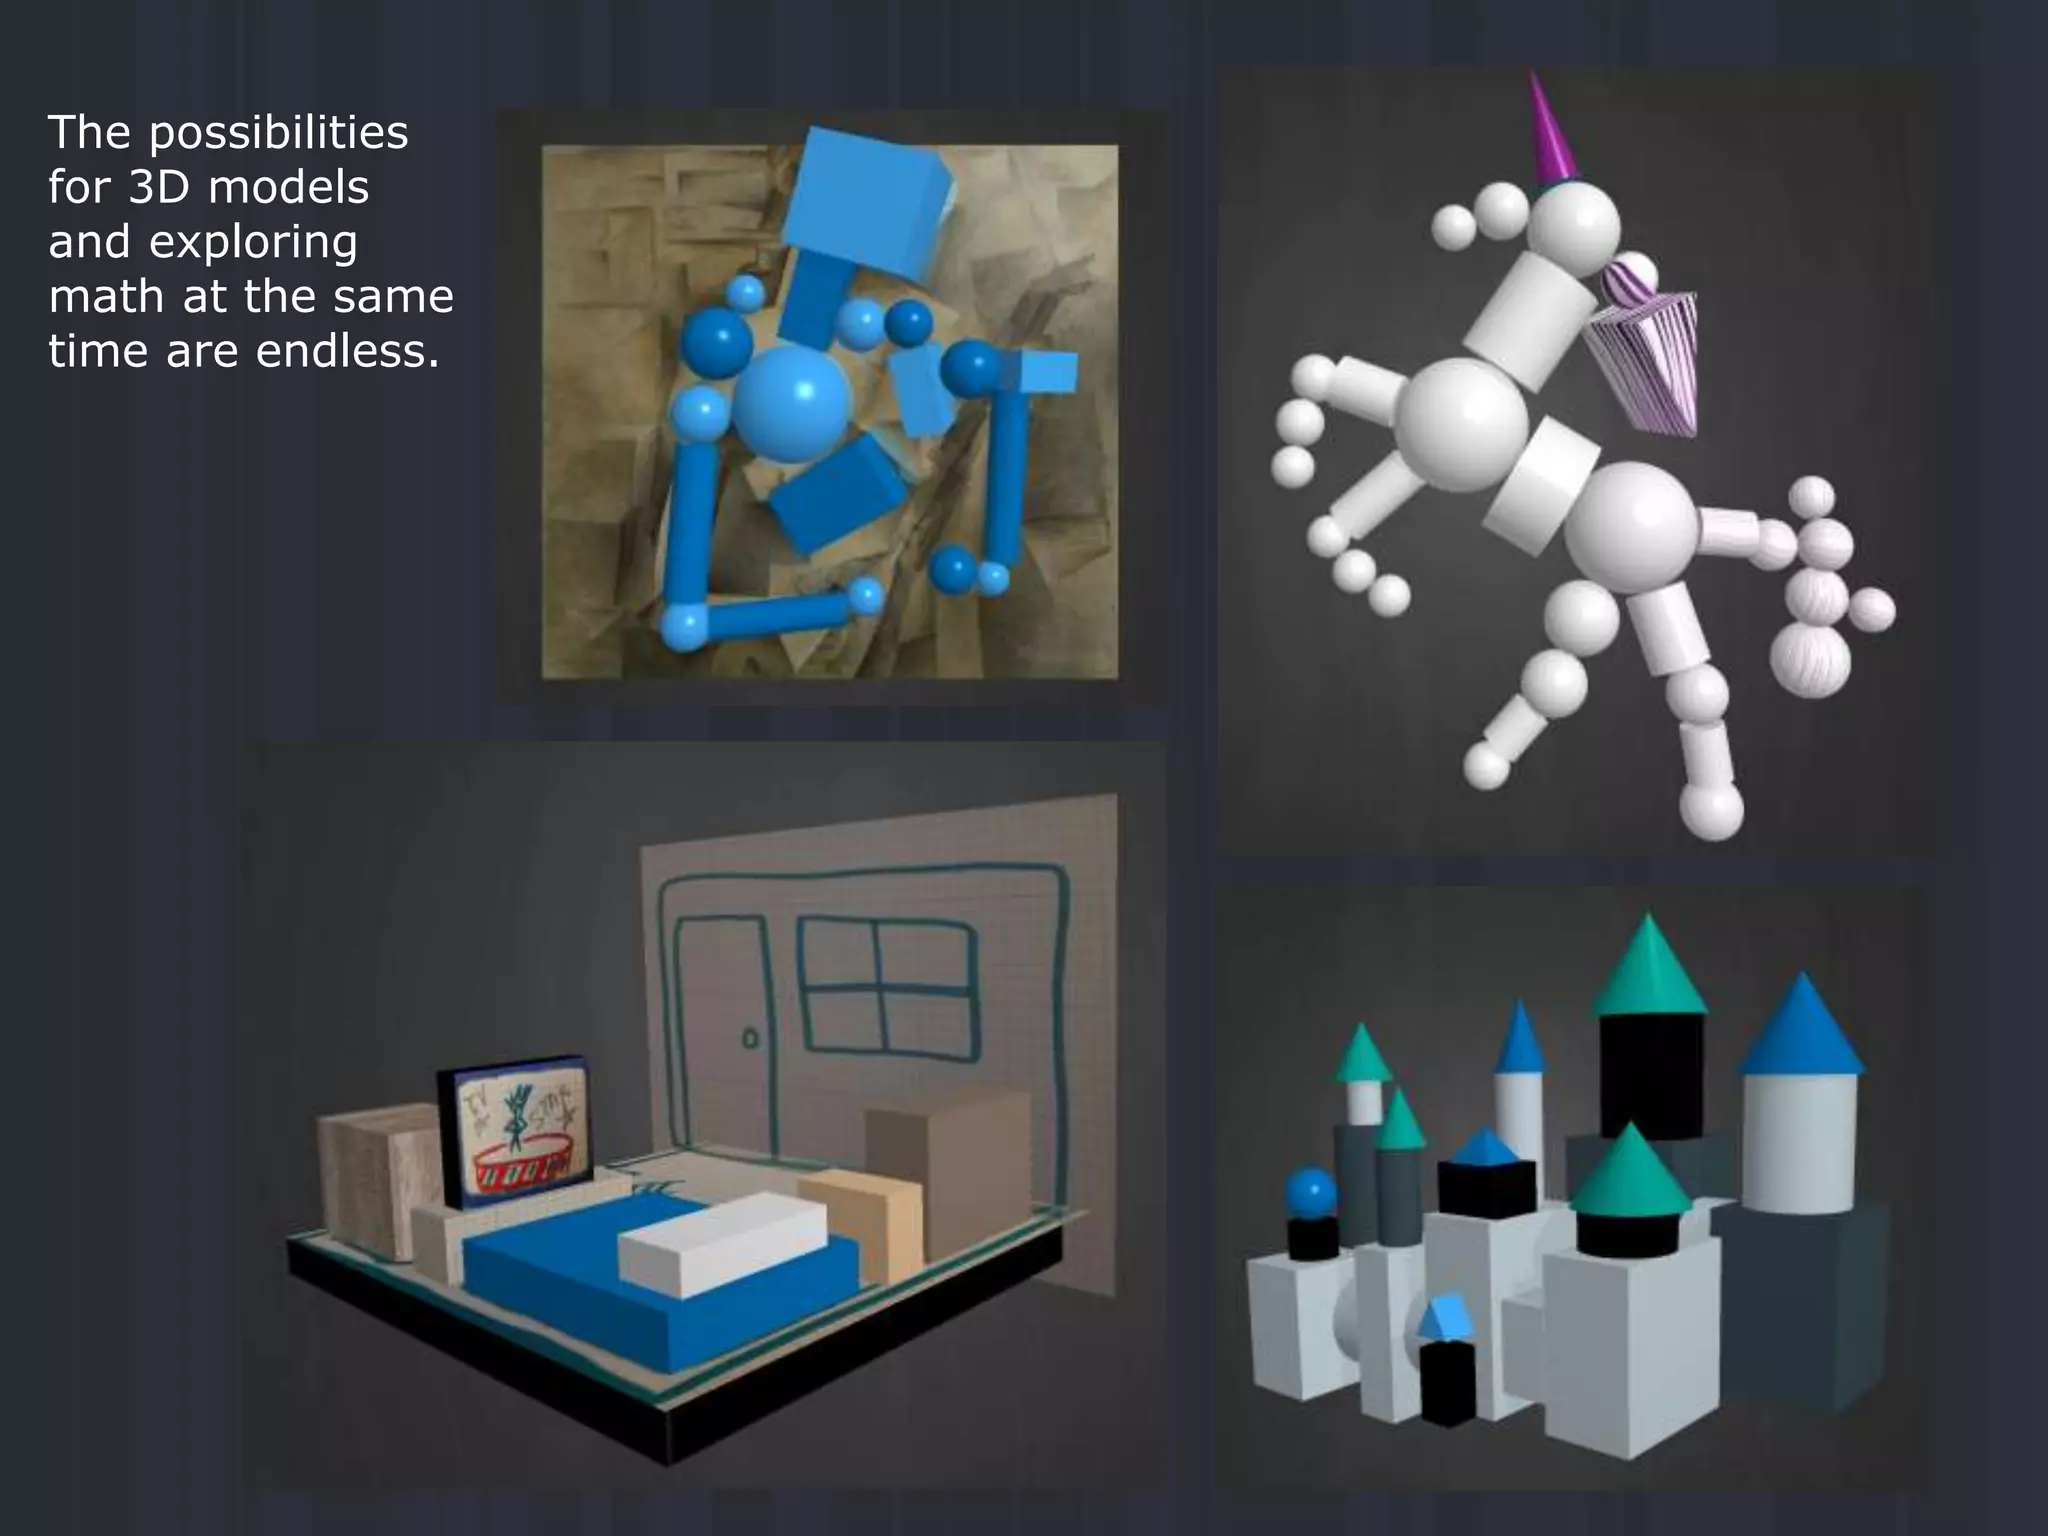

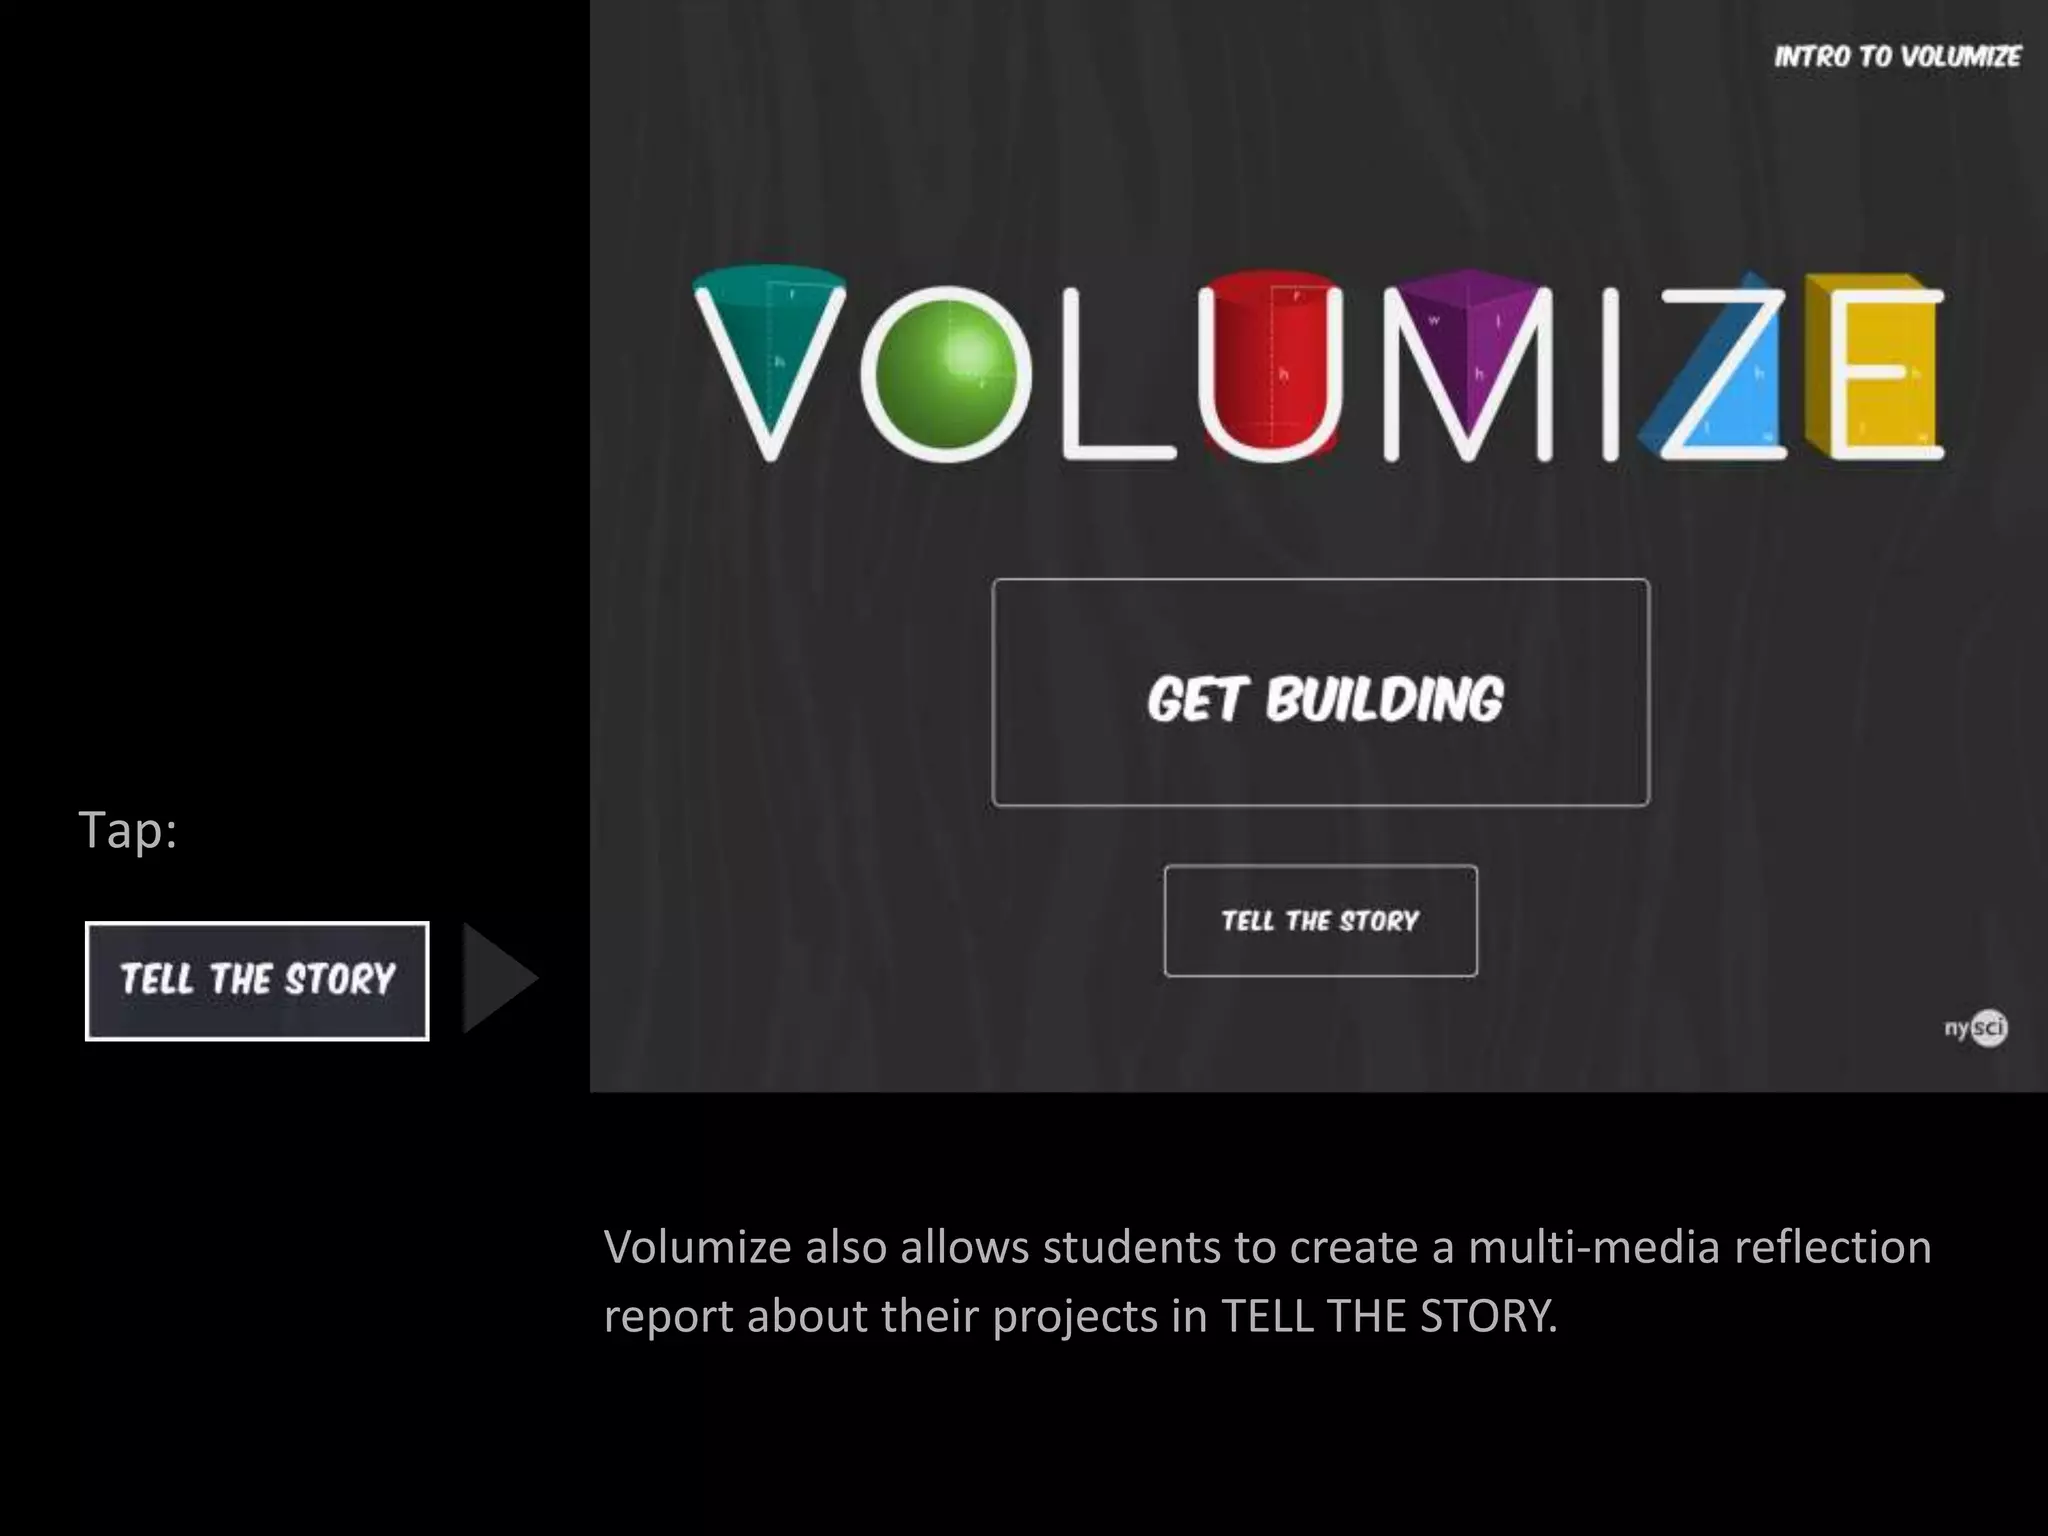
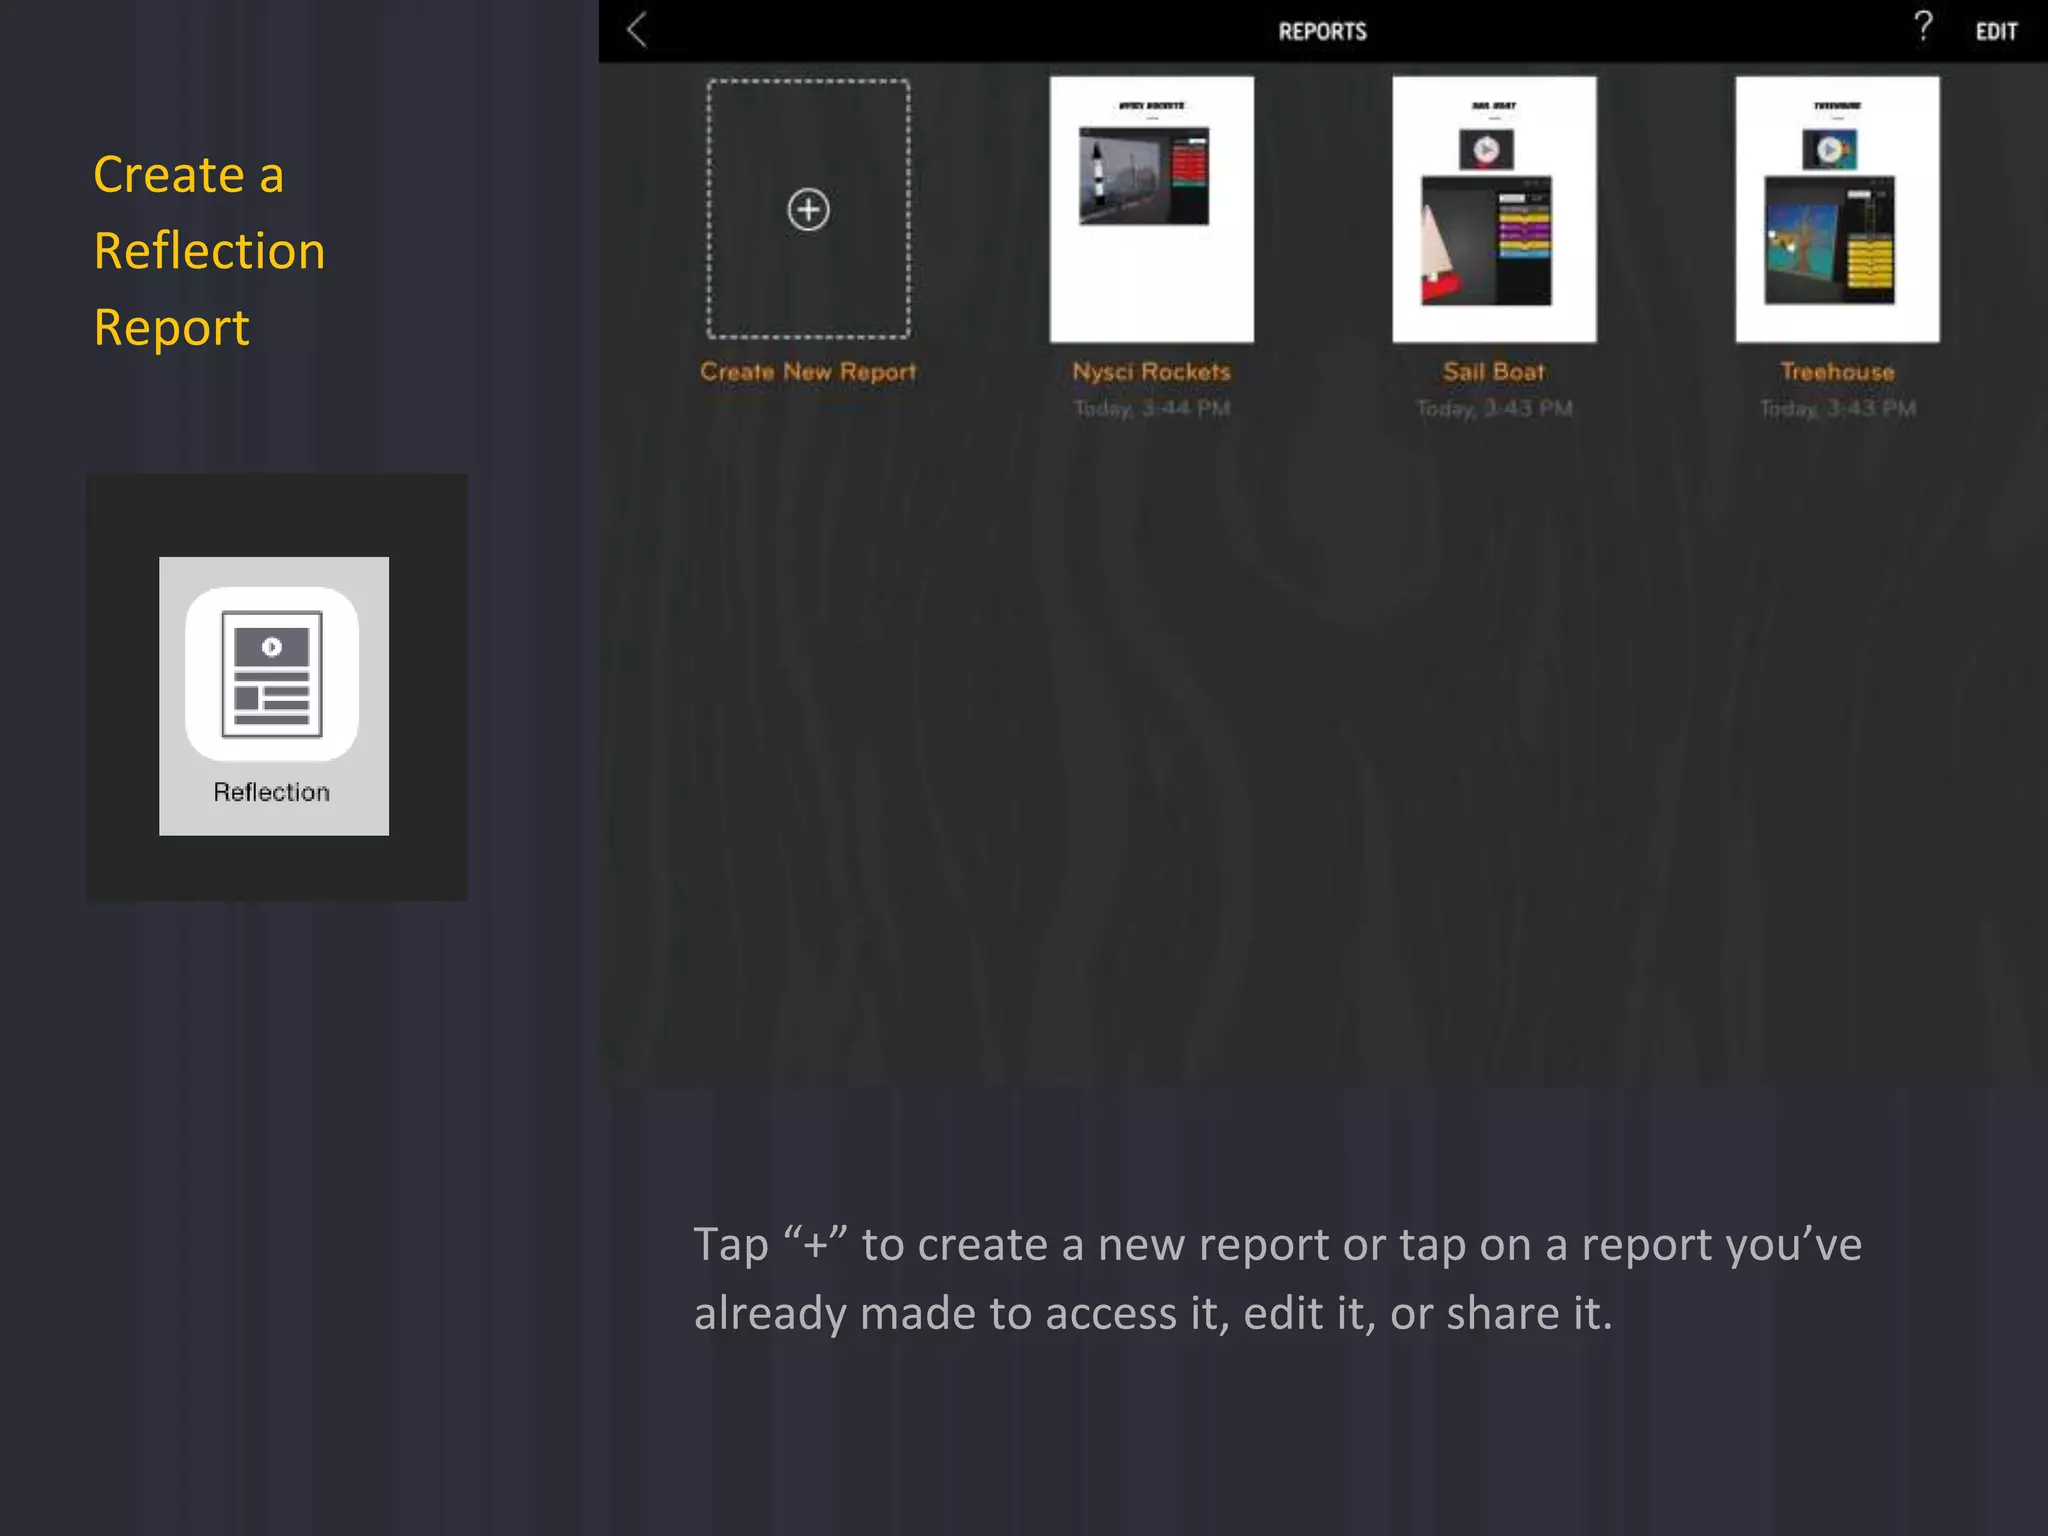
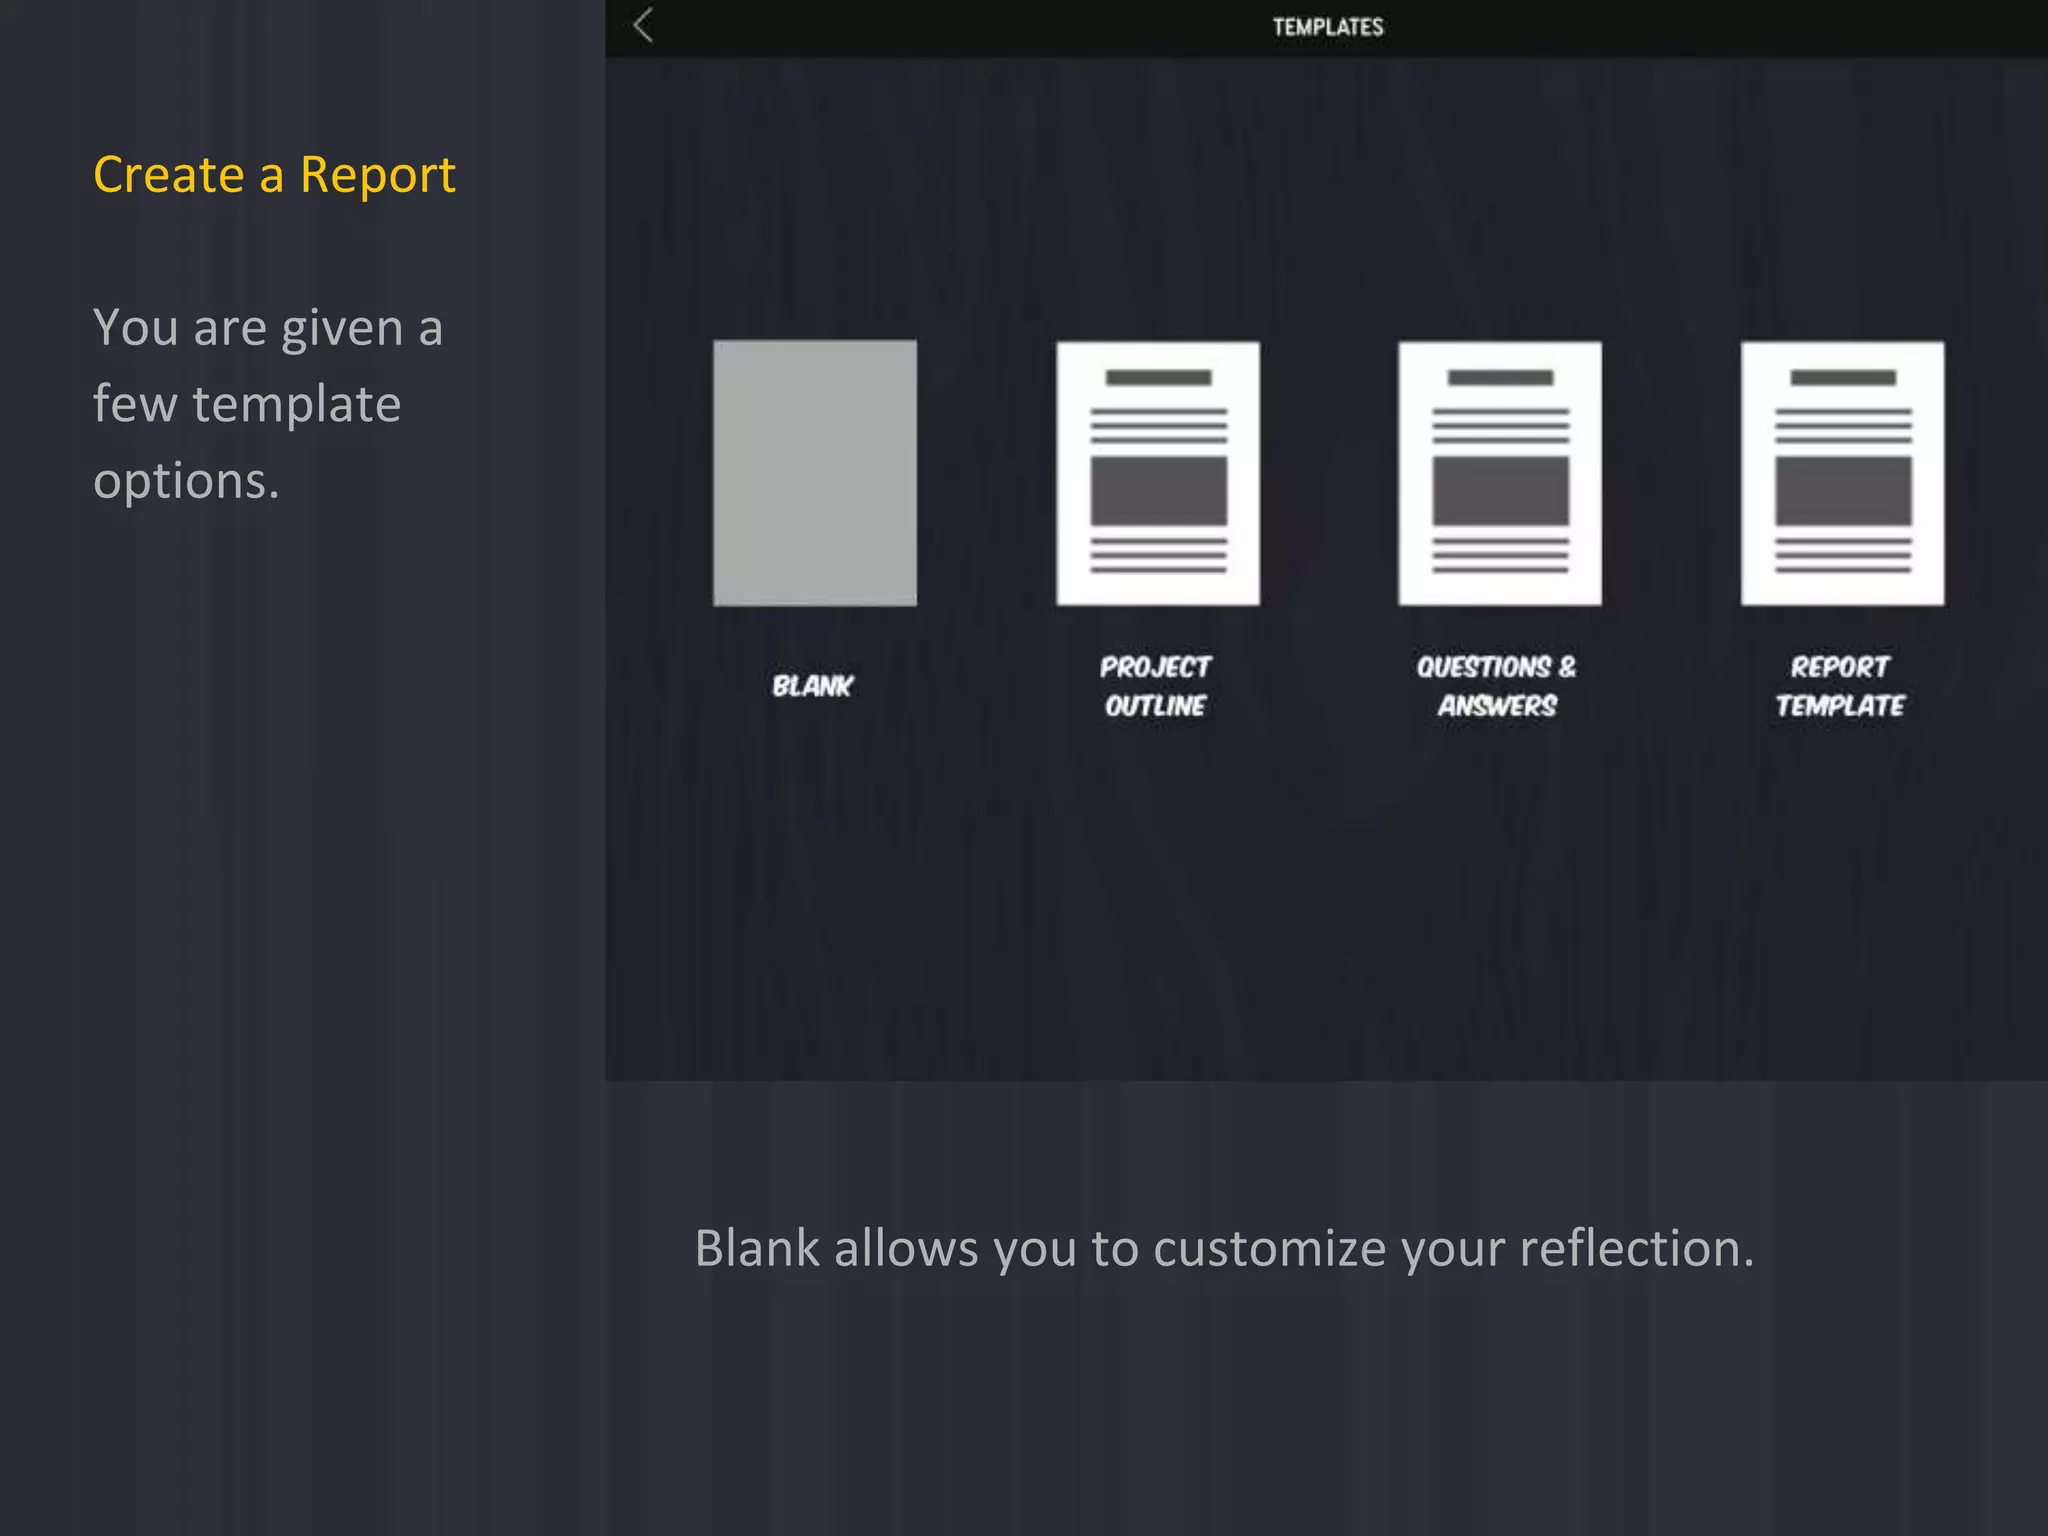
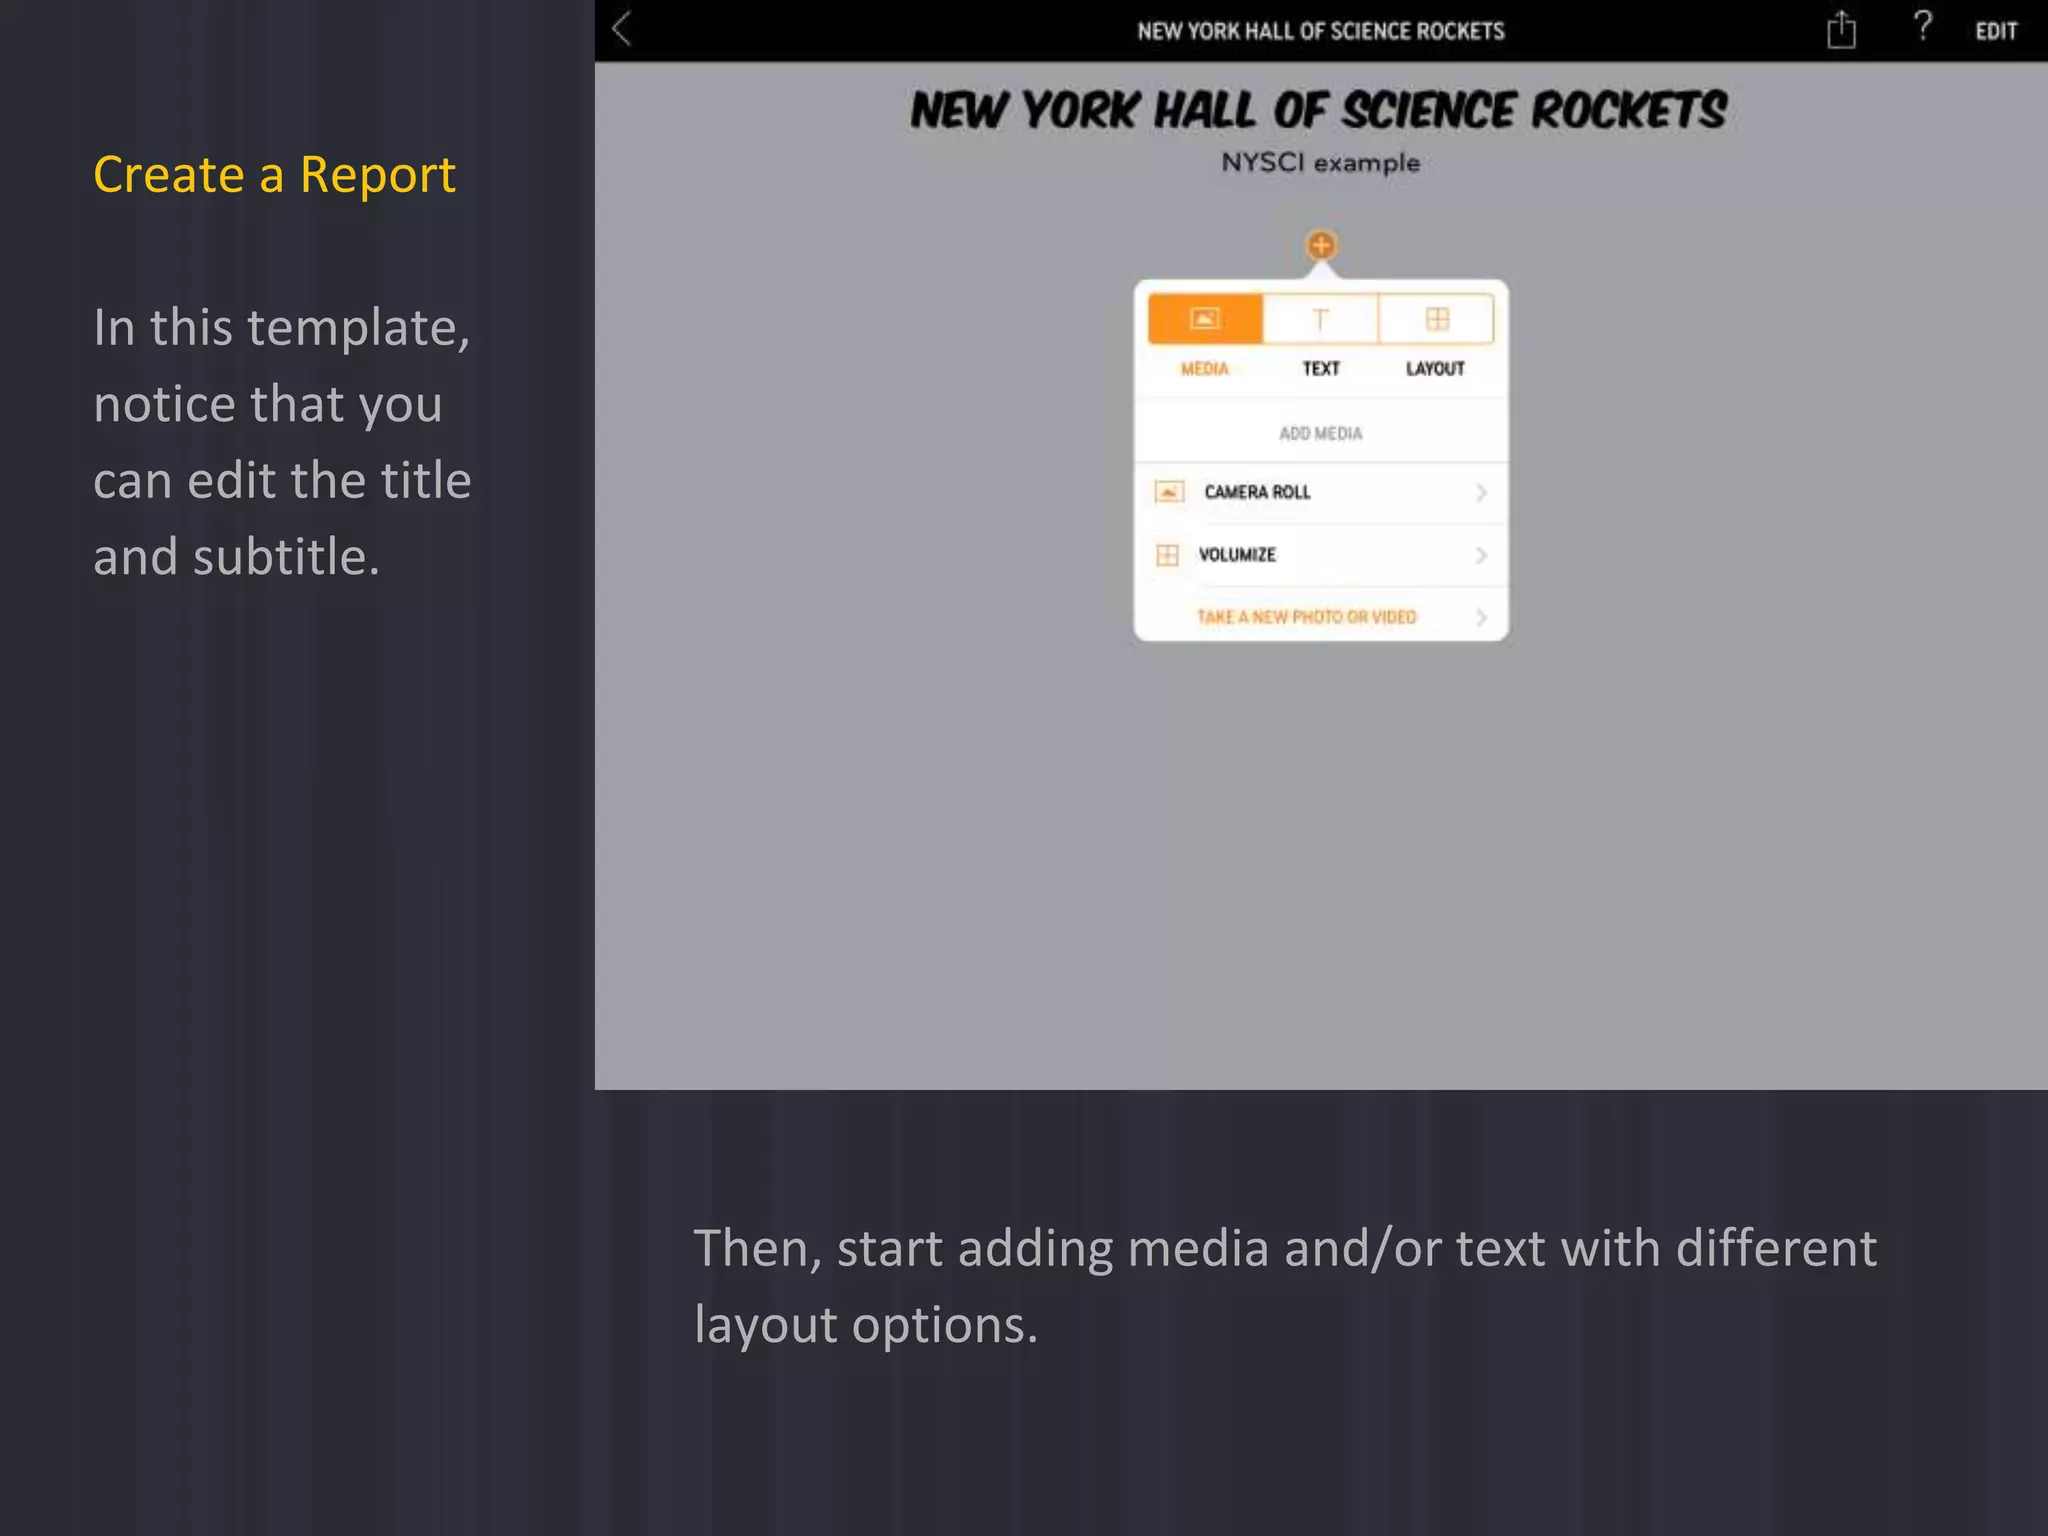
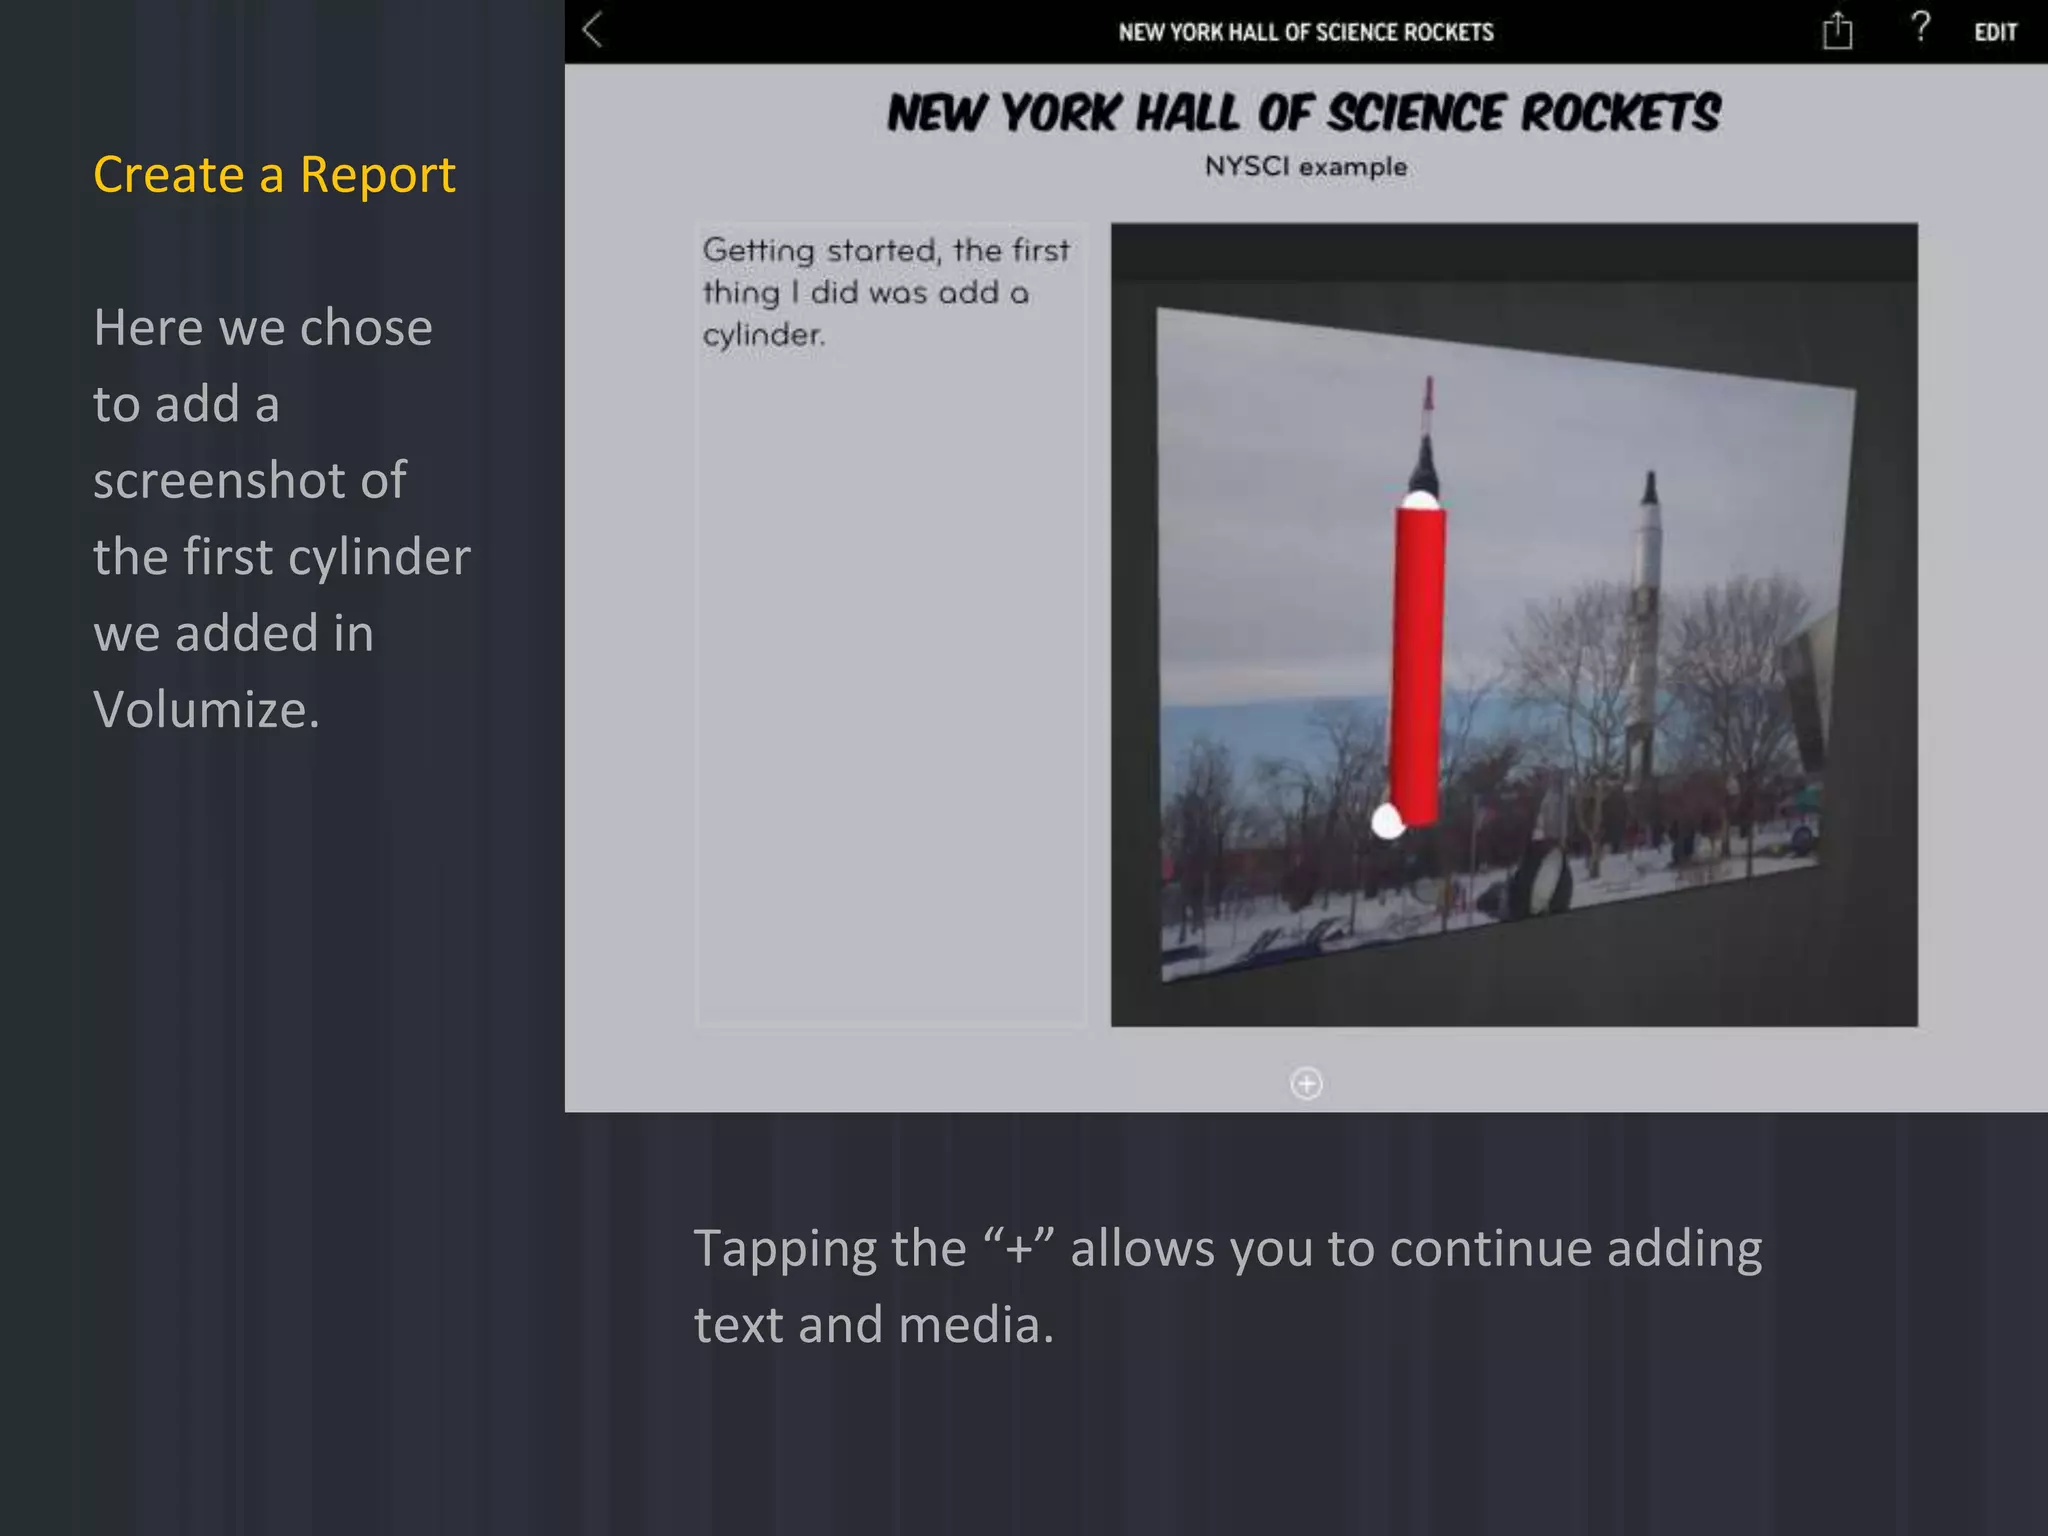
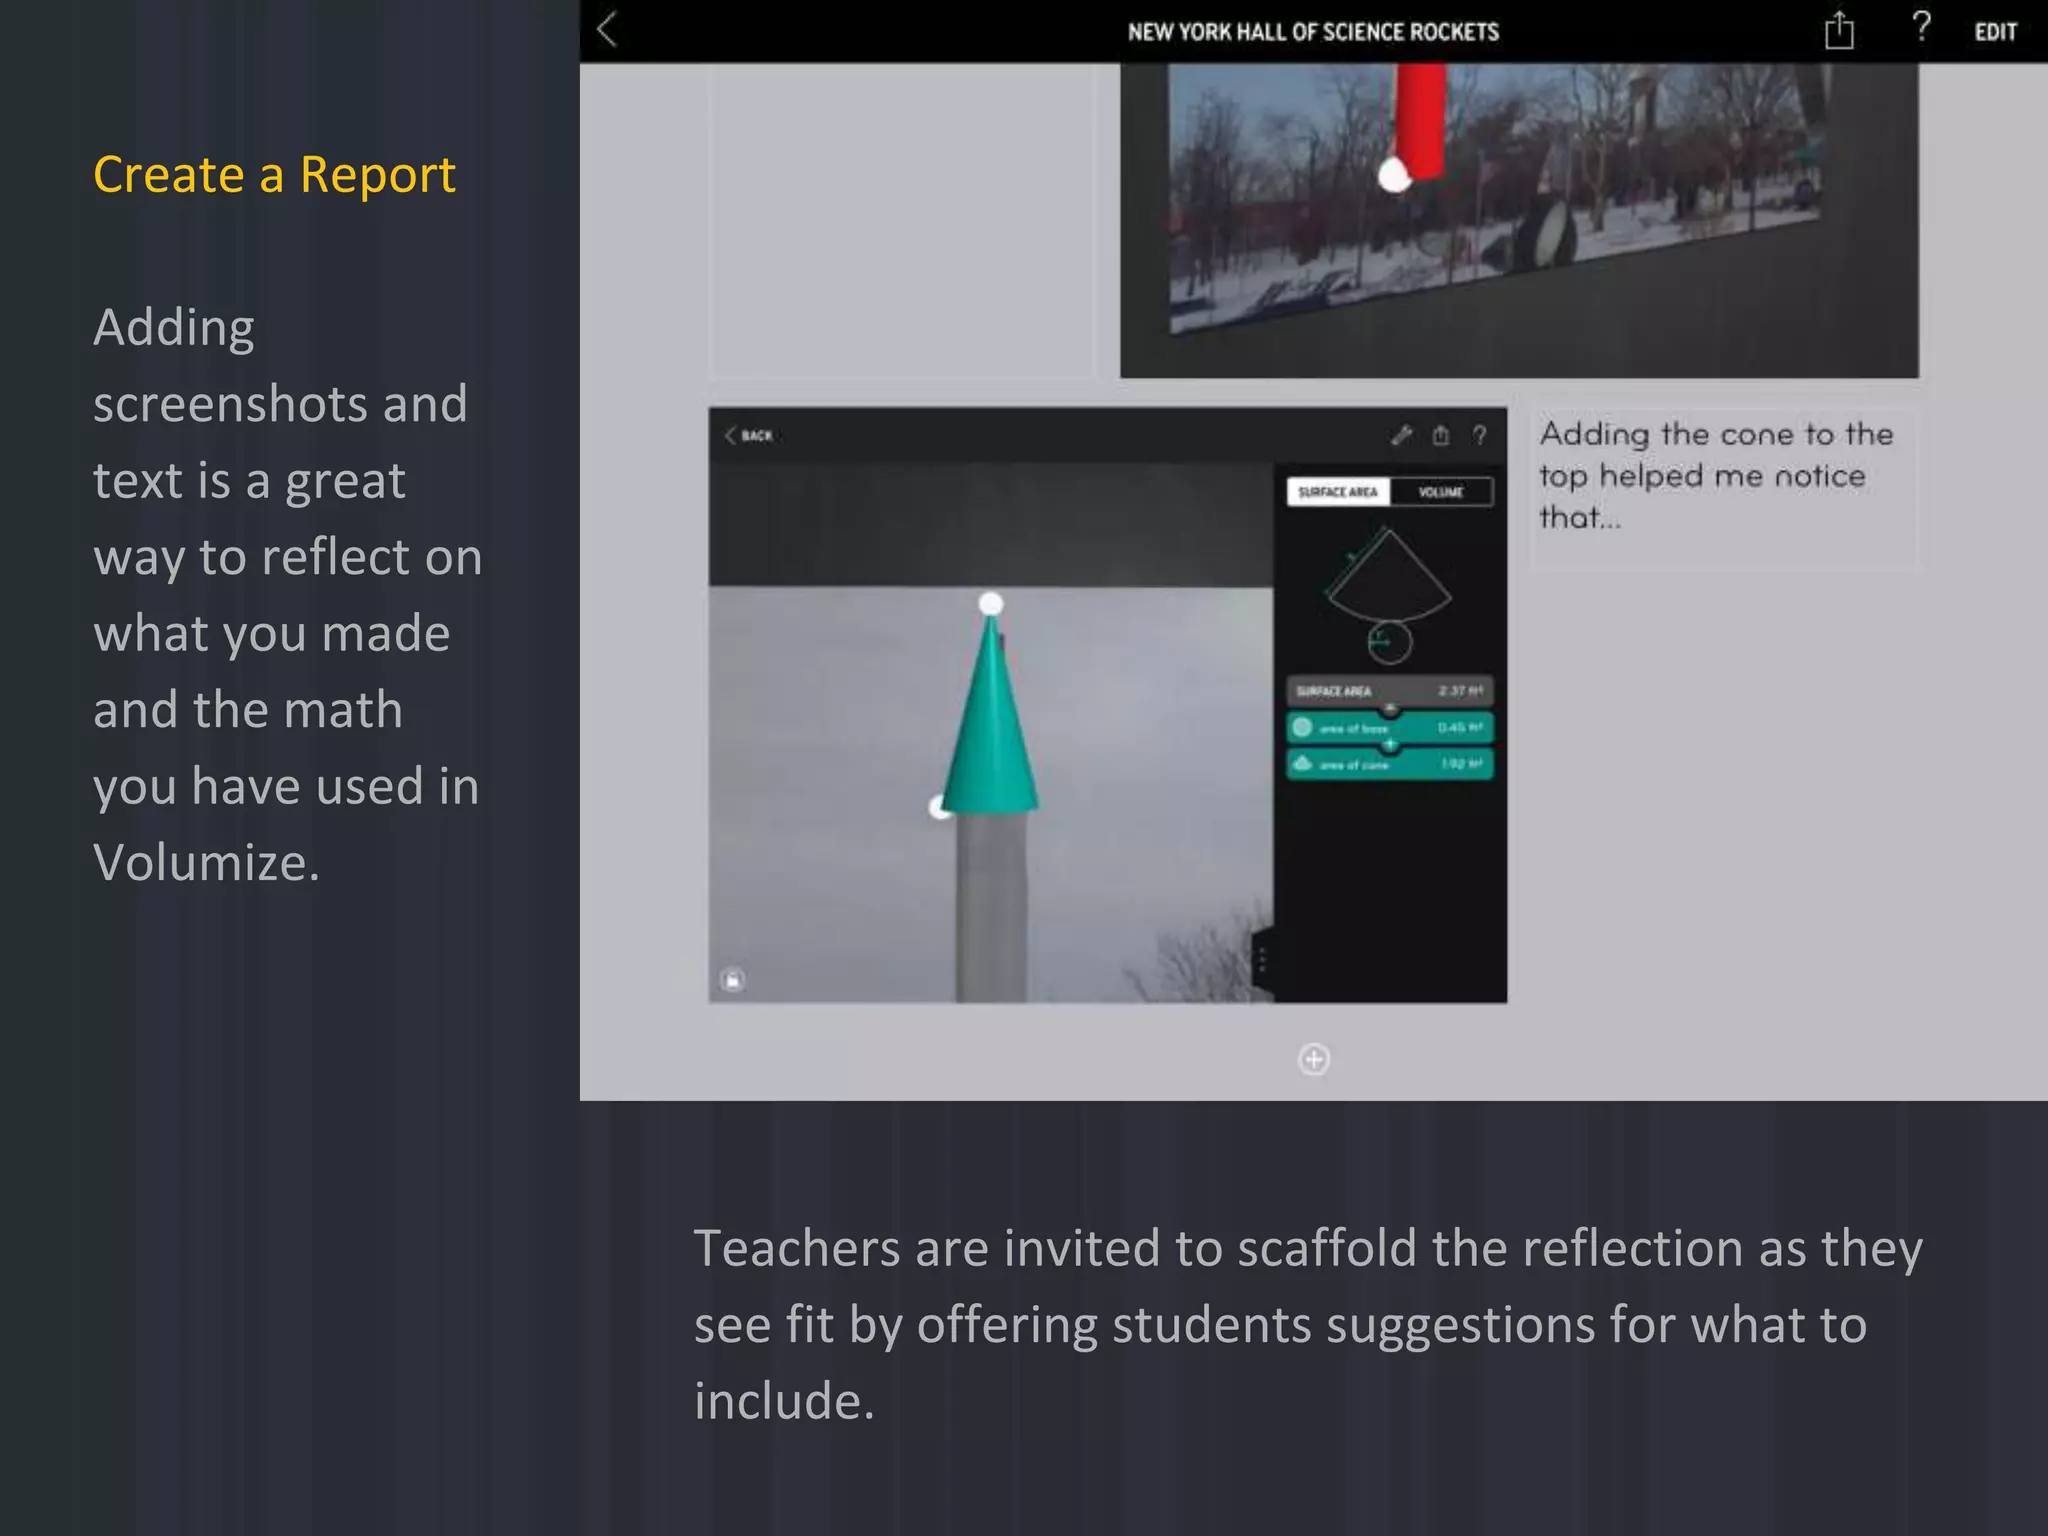
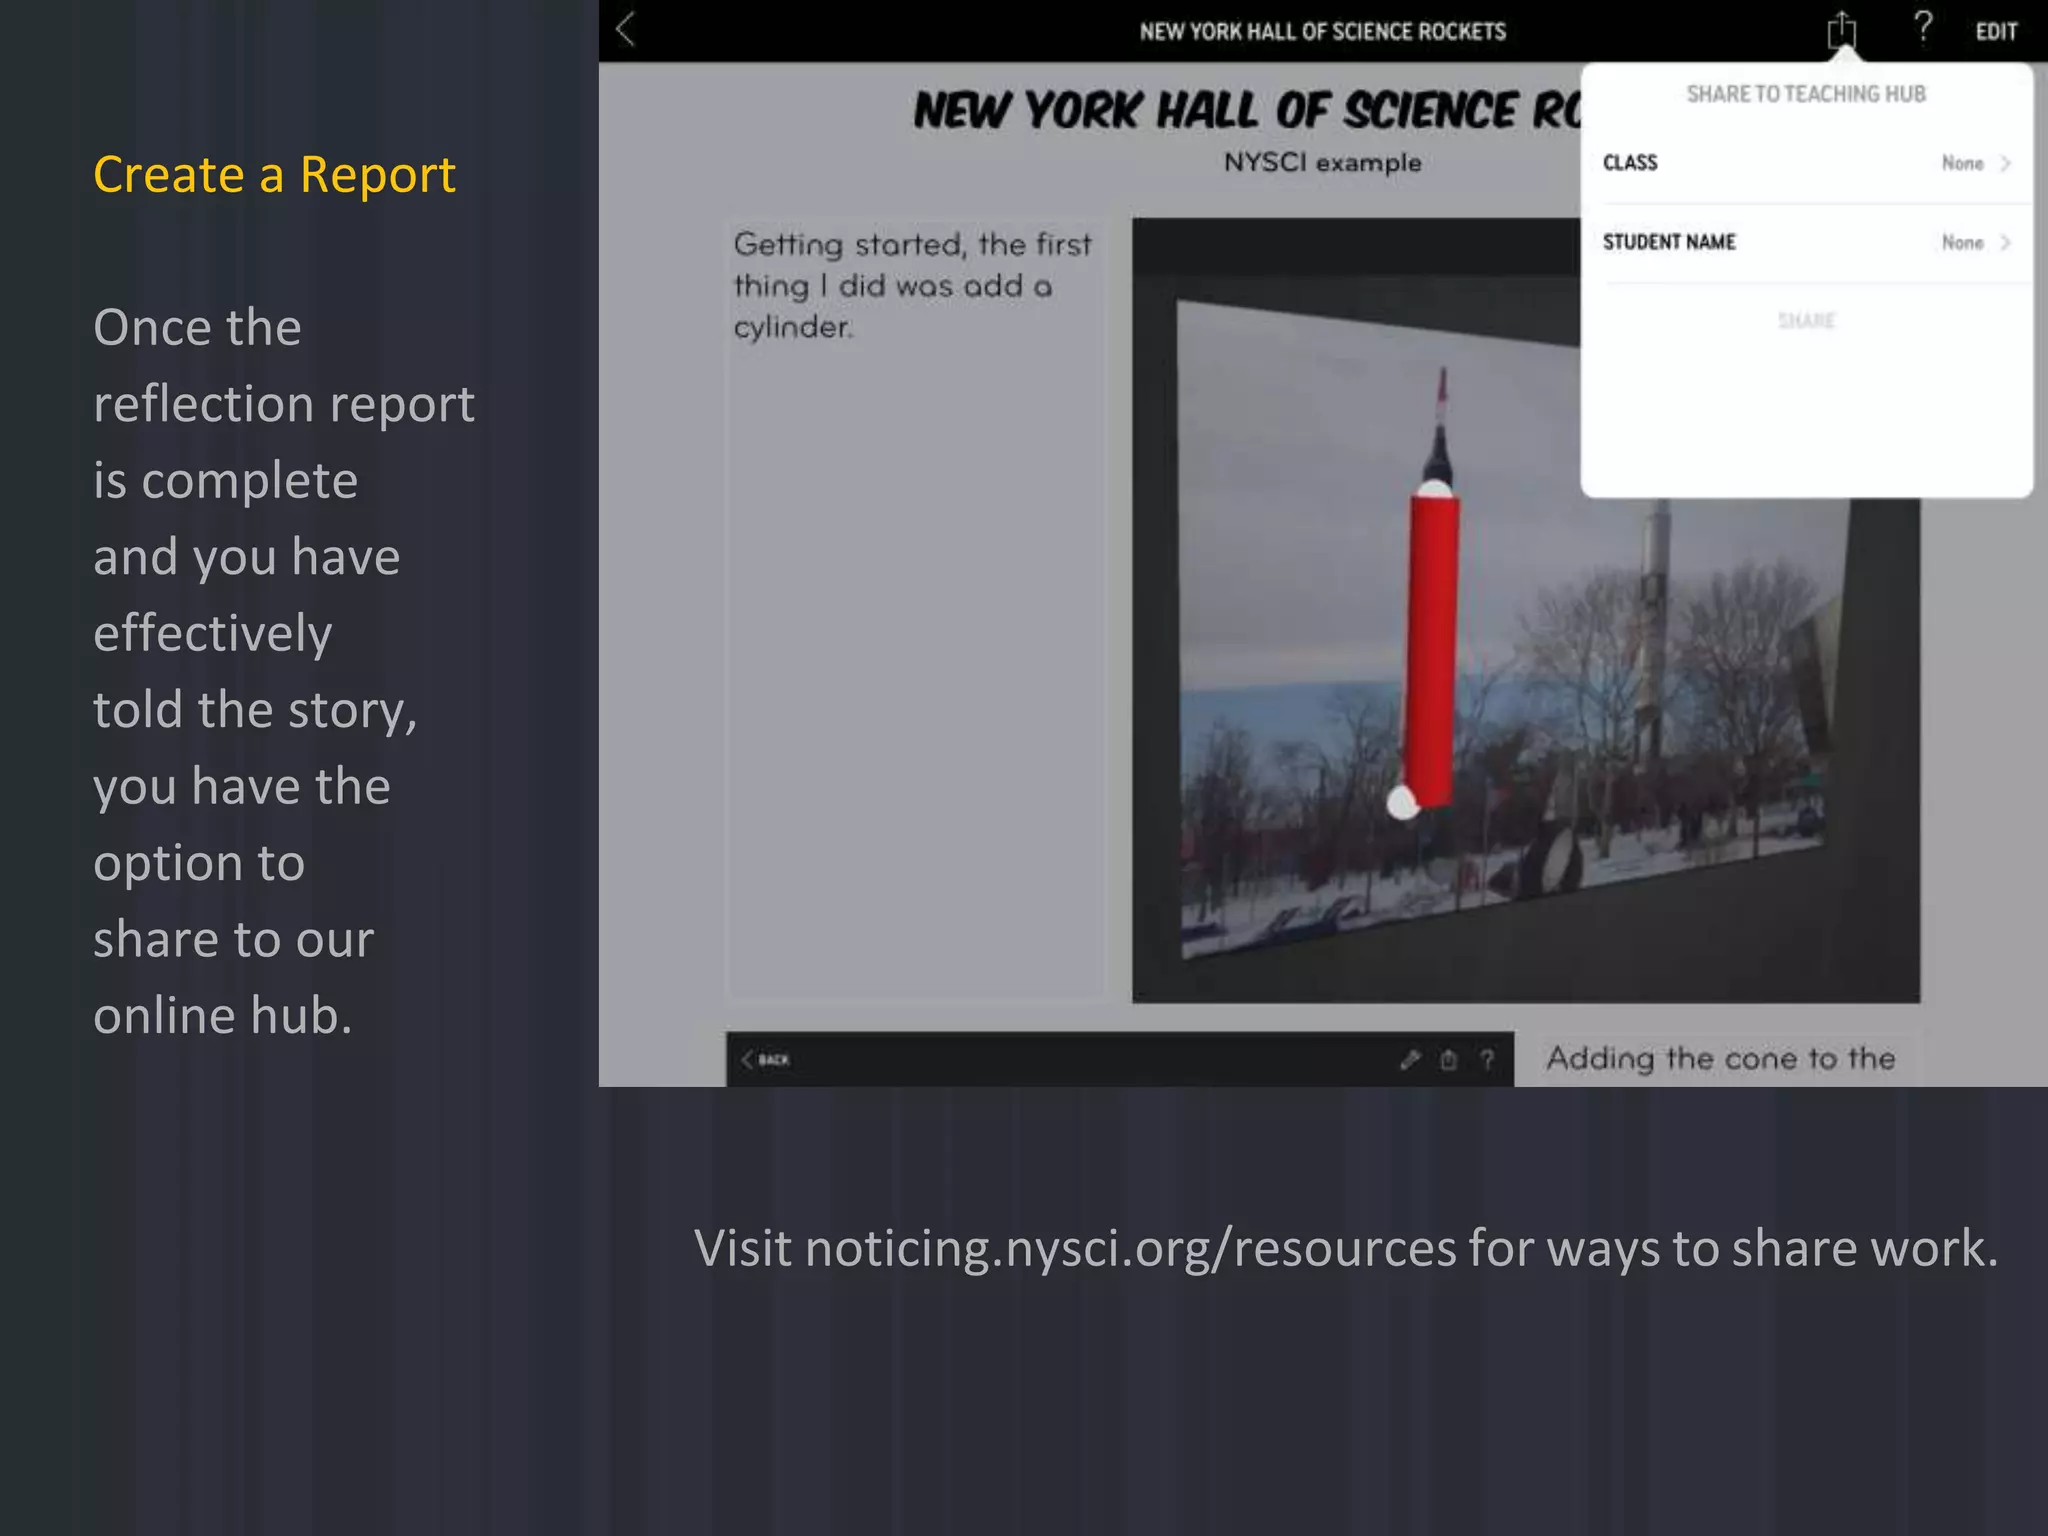
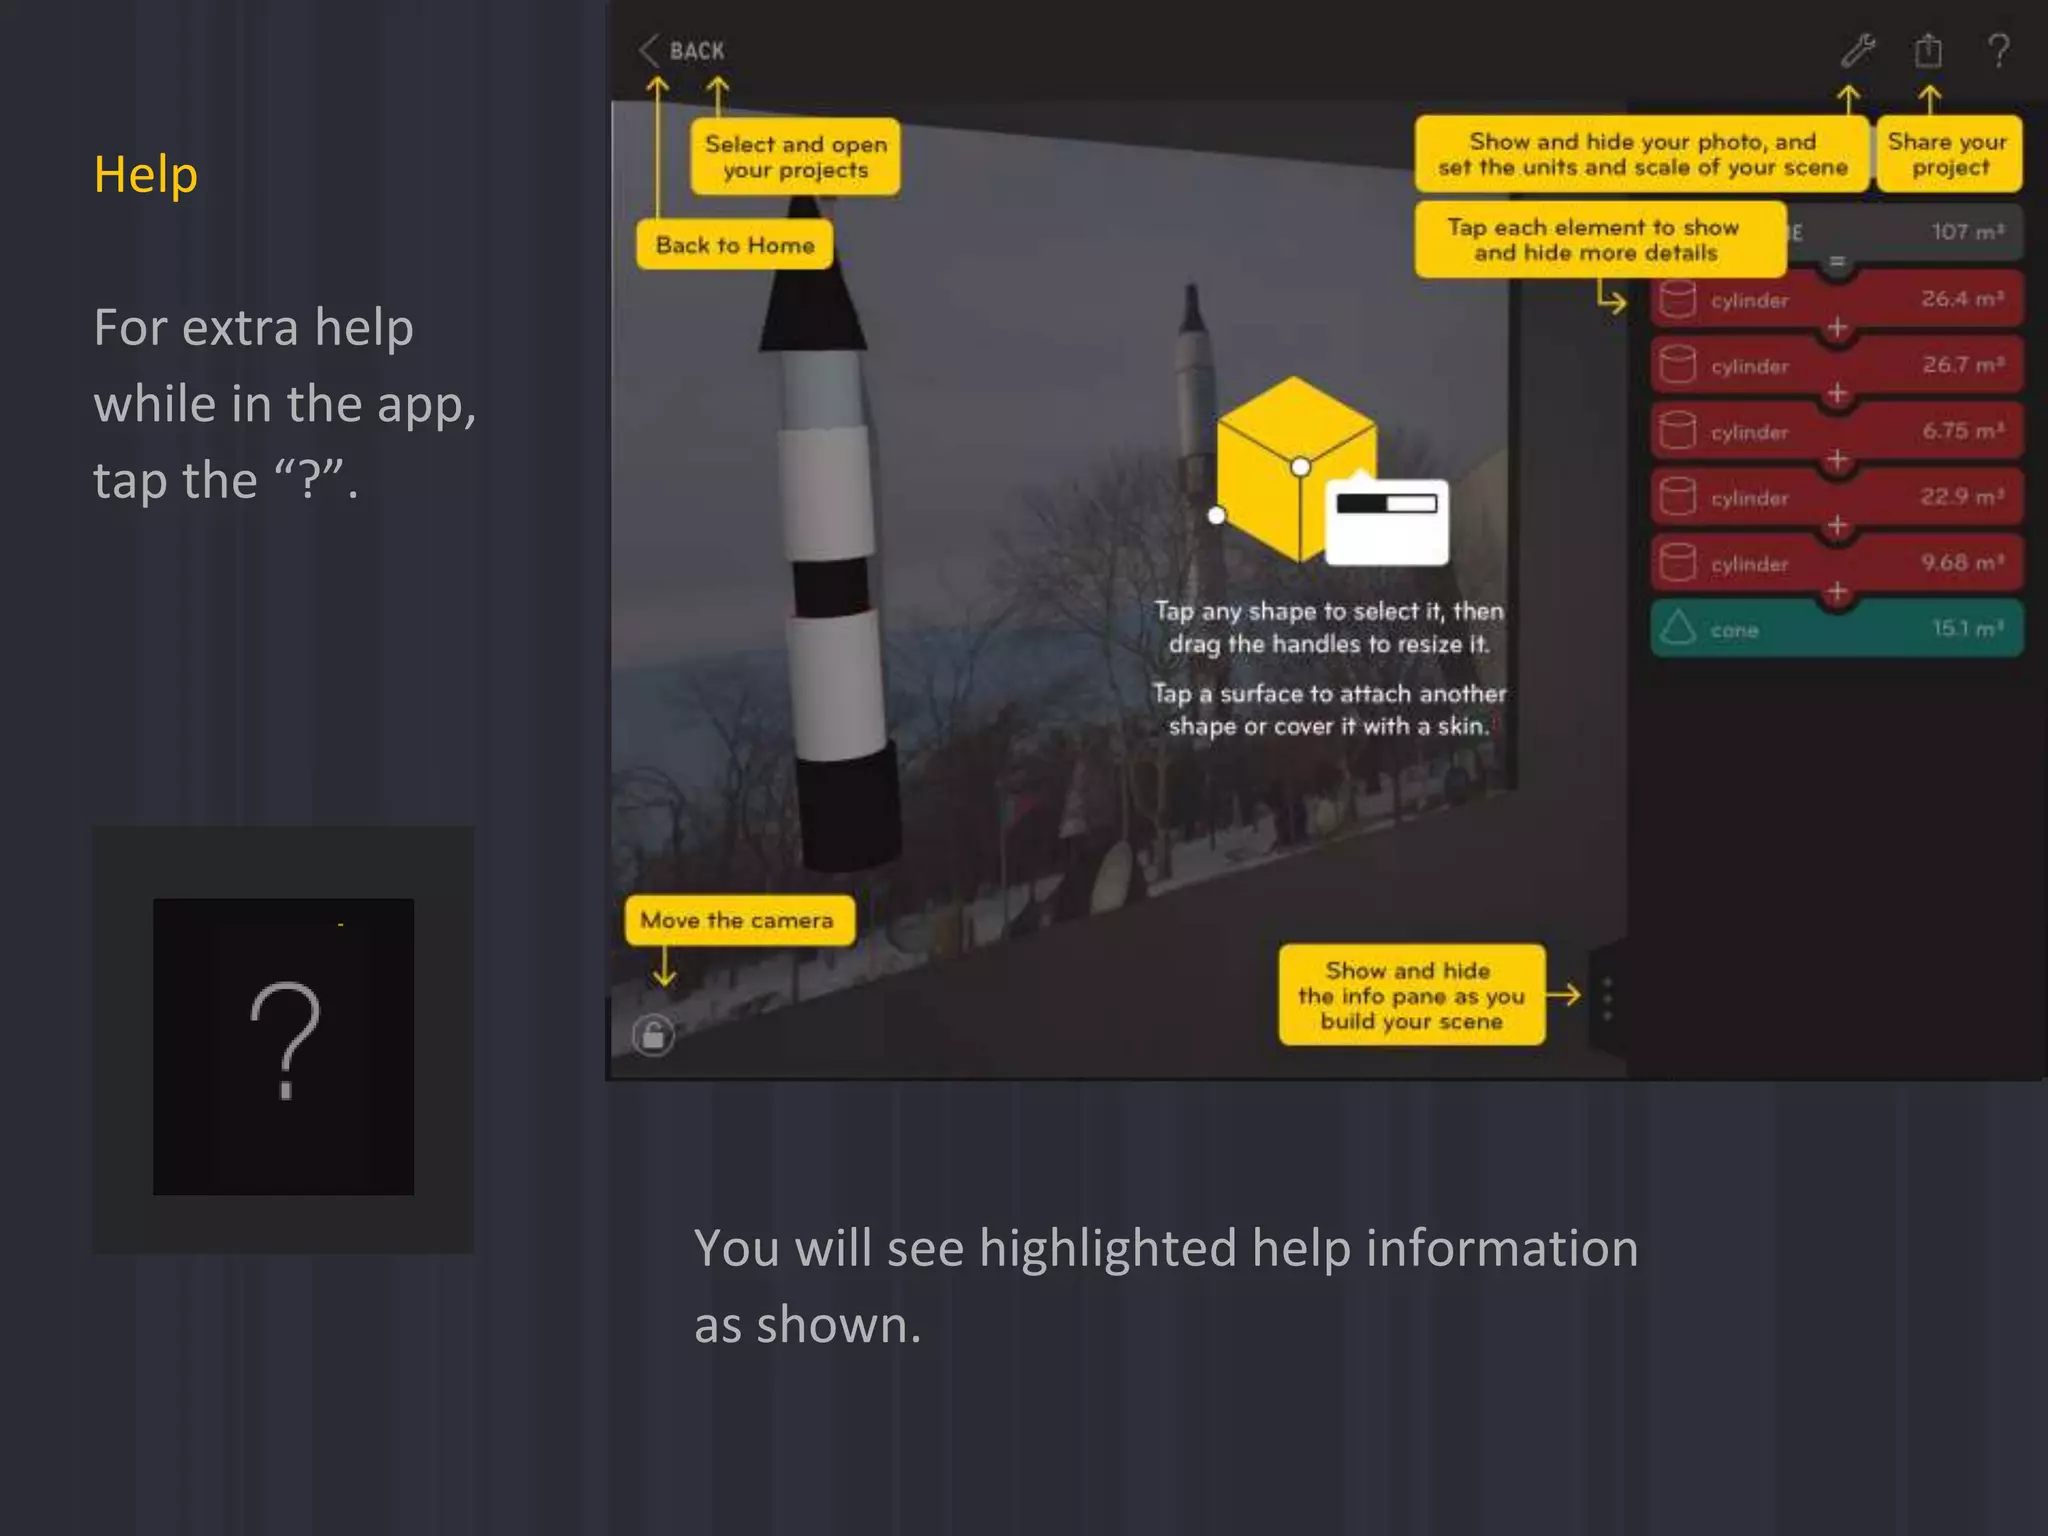


This tutorial introduces the Volumize app, which allows users to explore concepts like surface area and volume by creating 3D models. It demonstrates building a simple model of a rocket using basic solids like cylinders and cones. Key features of the app are highlighted, such as setting the scale, adding solids, editing dimensions, and viewing surface area and volume calculations. The tutorial also explains how to create reflection reports in the app by adding screenshots, text, and other media. The goal is for students to explore math concepts while designing 3D approximations of real-world objects.


