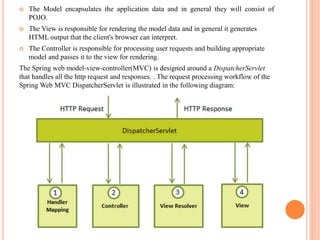
The Spring MVC framework uses the model-view-controller (MVC) architecture. It features a DispatcherServlet that handles requests and responses and relies on controllers to process user input and build the model data before passing it to the view for rendering. Configuration involves mapping the DispatcherServlet to URLs in web.xml and defining controllers with annotations and handler methods. Spring Security integrates with Spring MVC to add authentication and authorization for specific URLs specified in the spring-security.xml configuration file.


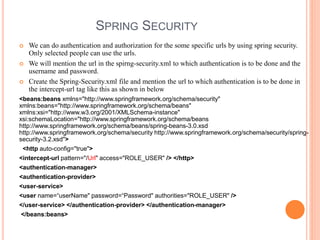
![ Upon initialization of ServletName DispatcherServlet, the framework will try to load the
applicationcontext from a file named [servlet-name]-servlet.xml located in the application's
WebContent/WEB-INF directory.
We can customize this file name and location by adding the servletlistenerContextLoaderListener in
your web.xml file as follows.
<context-param>
<param-name>contextConfigLocation</param-name>
<param-value>/WEB-INF/HelloWeb-servlet.xml</param-value>
</context-param>
<listener>
<listener-class>org.springframework.web.context.ContextLoaderListener</listener-class>
</listener>
Required configuration for [servletname]-servlet.xml
<beans xmlns="http://www.springframework.org/schema/beans"
xmlns:context="http://www.springframework.org/schema/context"
xmlns:xsi="http://www.w3.org/2001/XMLSchema-instance"
xsi:schemaLocation="http://www.springframework.org/schema/beans
http://www.springframework.org/schema/beans/spring-beans-3.0.xsd
http://www.springframework.org/schema/context
http://www.springframework.org/schema/context/spring-context-3.0.xsd">
<context:component-scan base-package=“packagename" />](https://image.slidesharecdn.com/springmvc-150911060256-lva1-app6891/85/Spring-mvc-4-320.jpg)
![<bean ><property name="prefix" value="/WEB-INF/jsp/" />
<property name="suffix" value=".jsp" />
</bean>
</beans>
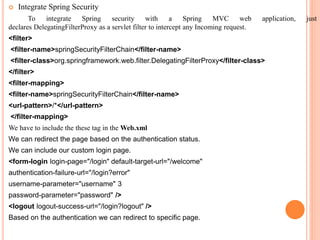
Following are the important points about HelloWeb-servlet.xmlfile:
The [servlet-name]-servlet.xml file will be used to create the beans defined, overriding the definitions of any beans
defined with the same name in the global scope.
The <context:component-scan...> tag will be use to activate Spring MVC annotationscanning capability which allows to
make use of annotations like @Controller and @RequestMapping etc.
Defining a controller:
@Controller annotation indicates that a particular class serves the role of a controller.
@RequestMapping annotation is used to map a URL to either an entire class or a particular handler method.
Ex:
@Controller
@RequestMapping("/hello")
public class HelloController{
@RequestMapping(method = RequestMethod.GET)
public String printHello(ModelMap model) {
model.addAttribute("message", "Hello Spring MVC Framework!");
return "hello";
}
}](https://image.slidesharecdn.com/springmvc-150911060256-lva1-app6891/85/Spring-mvc-5-320.jpg)
![[Laptrinh.vn] lap trinh Spring Framework 3](https://cdn.slidesharecdn.com/ss_thumbnails/laptrinh-140907044231-phpapp01-thumbnail.jpg?width=640&height=640&fit=bounds)