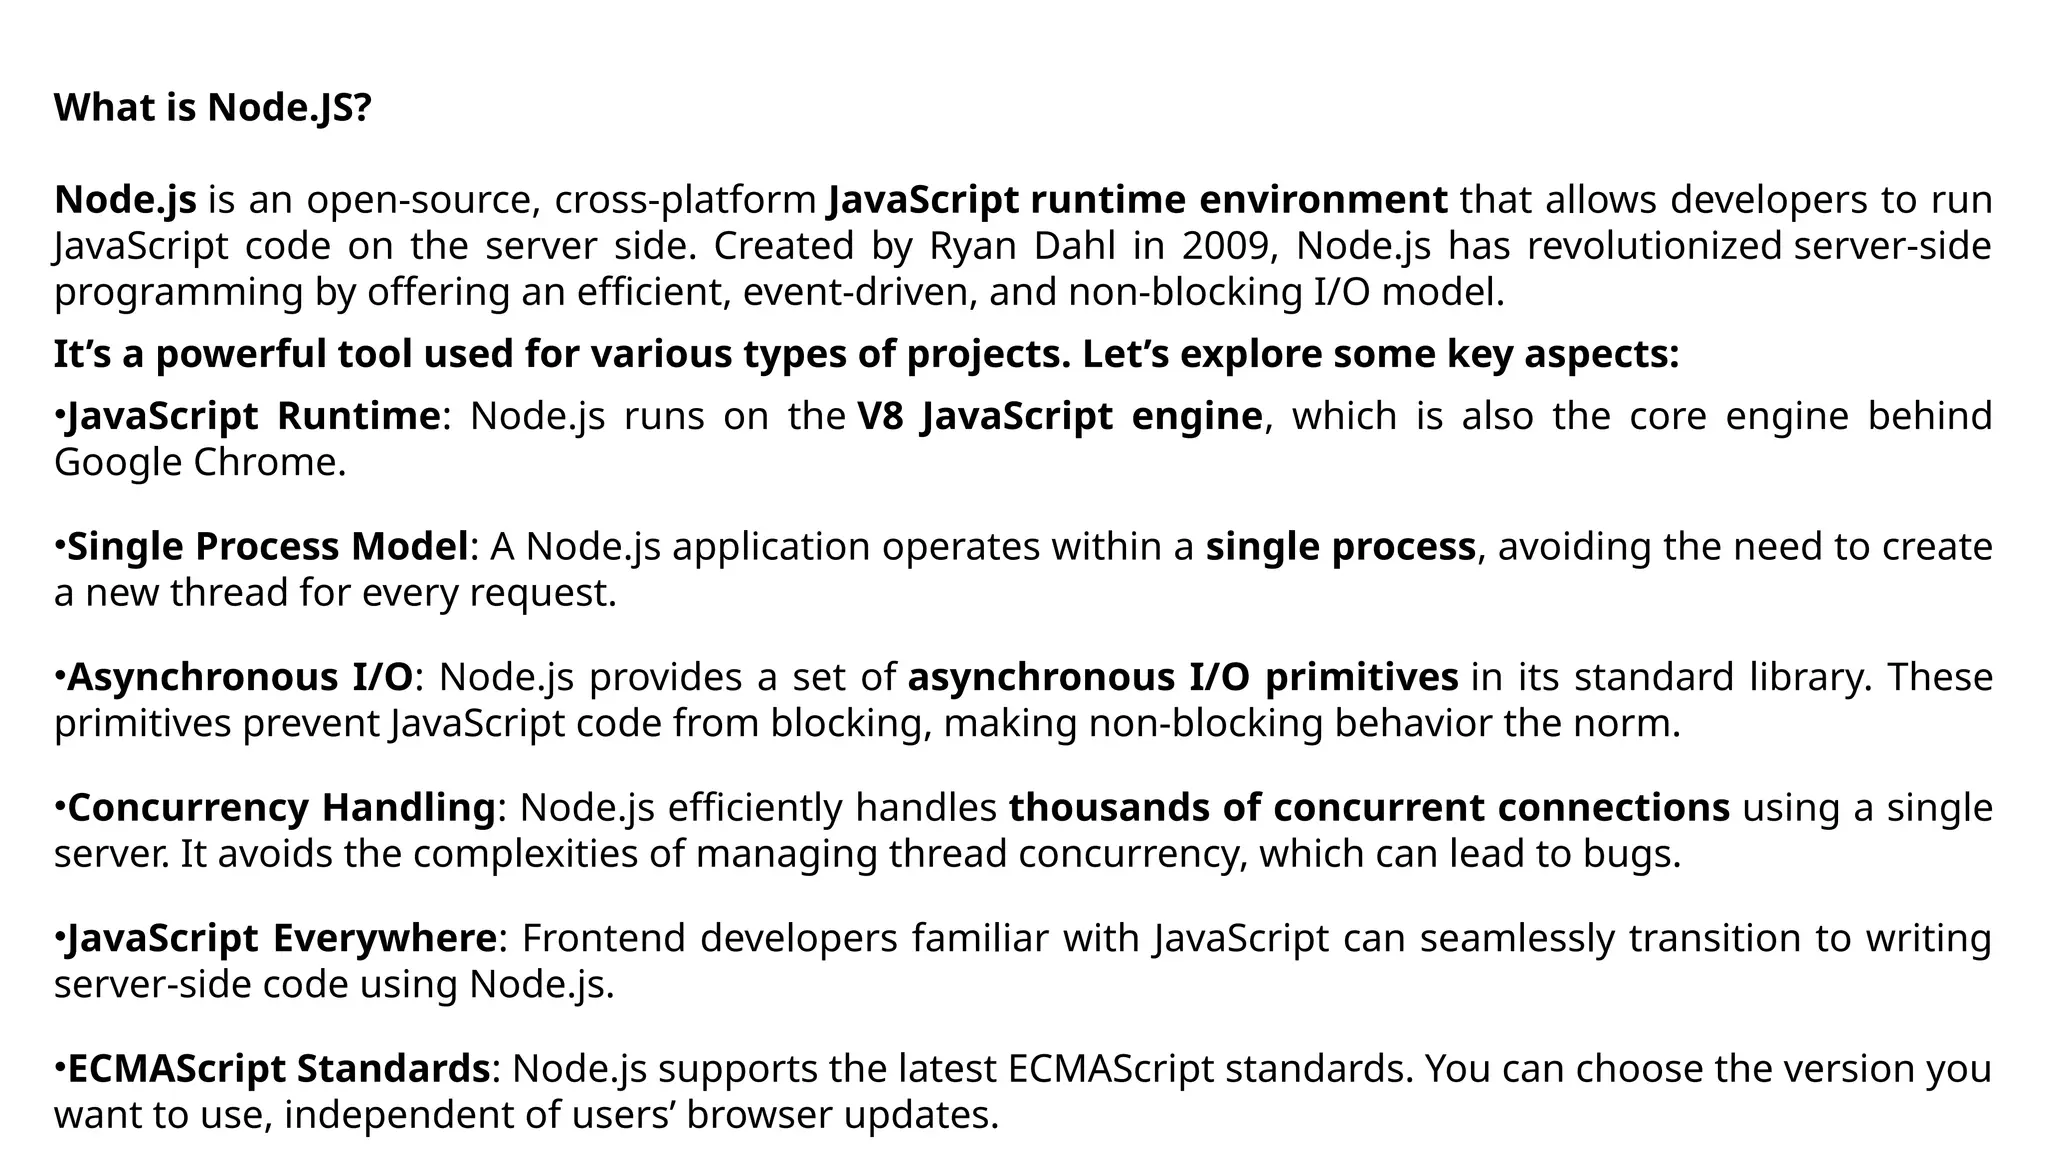
What is Node.JS?
Node.jsis an open-source, cross-platform JavaScript runtime environment that allows developers to run
JavaScript code on the server side. Created by Ryan Dahl in 2009, Node.js has revolutionized server-side
programming by offering an efficient, event-driven, and non-blocking I/O model.
It’s a powerful tool used for various types of projects. Let’s explore some key aspects:
•JavaScript Runtime: Node.js runs on the V8 JavaScript engine, which is also the core engine behind
Google Chrome.
•Single Process Model: A Node.js application operates within a single process, avoiding the need to create
a new thread for every request.
•Asynchronous I/O: Node.js provides a set of asynchronous I/O primitives in its standard library. These
primitives prevent JavaScript code from blocking, making non-blocking behavior the norm.
•Concurrency Handling: Node.js efficiently handles thousands of concurrent connections using a single
server. It avoids the complexities of managing thread concurrency, which can lead to bugs.
•JavaScript Everywhere: Frontend developers familiar with JavaScript can seamlessly transition to writing
server-side code using Node.js.
•ECMAScript Standards: Node.js supports the latest ECMAScript standards. You can choose the version you
want to use, independent of users’ browser updates.
3.
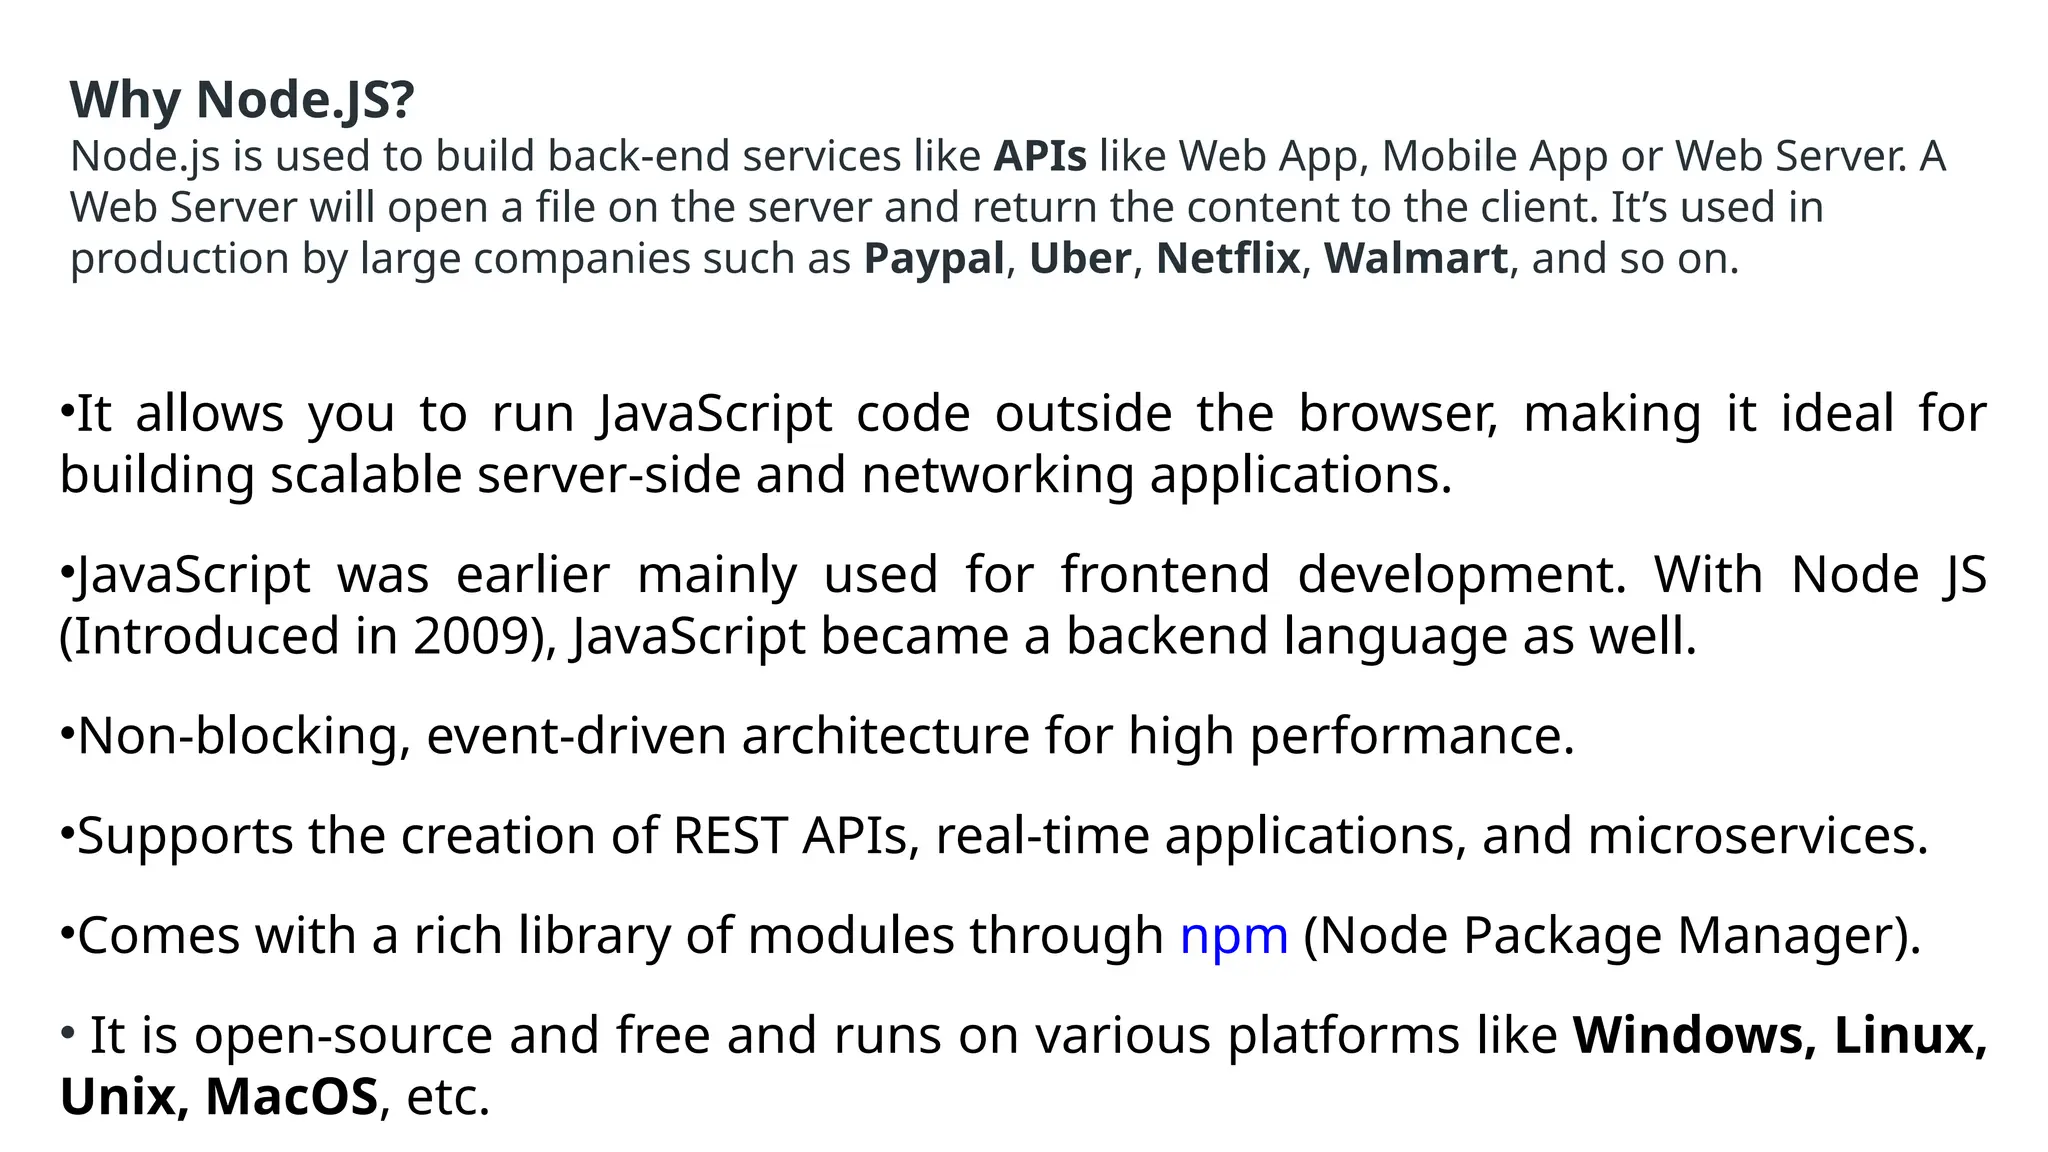
Why Node.JS?
Node.js isused to build back-end services like APIs like Web App, Mobile App or Web Server. A
Web Server will open a file on the server and return the content to the client. It’s used in
production by large companies such as Paypal, Uber, Netflix, Walmart, and so on.
•It allows you to run JavaScript code outside the browser, making it ideal for
building scalable server-side and networking applications.
•JavaScript was earlier mainly used for frontend development. With Node JS
(Introduced in 2009), JavaScript became a backend language as well.
•Non-blocking, event-driven architecture for high performance.
•Supports the creation of REST APIs, real-time applications, and microservices.
•Comes with a rich library of modules through npm (Node Package Manager).
• It is open-source and free and runs on various platforms like Windows, Linux,
Unix, MacOS, etc.
4.
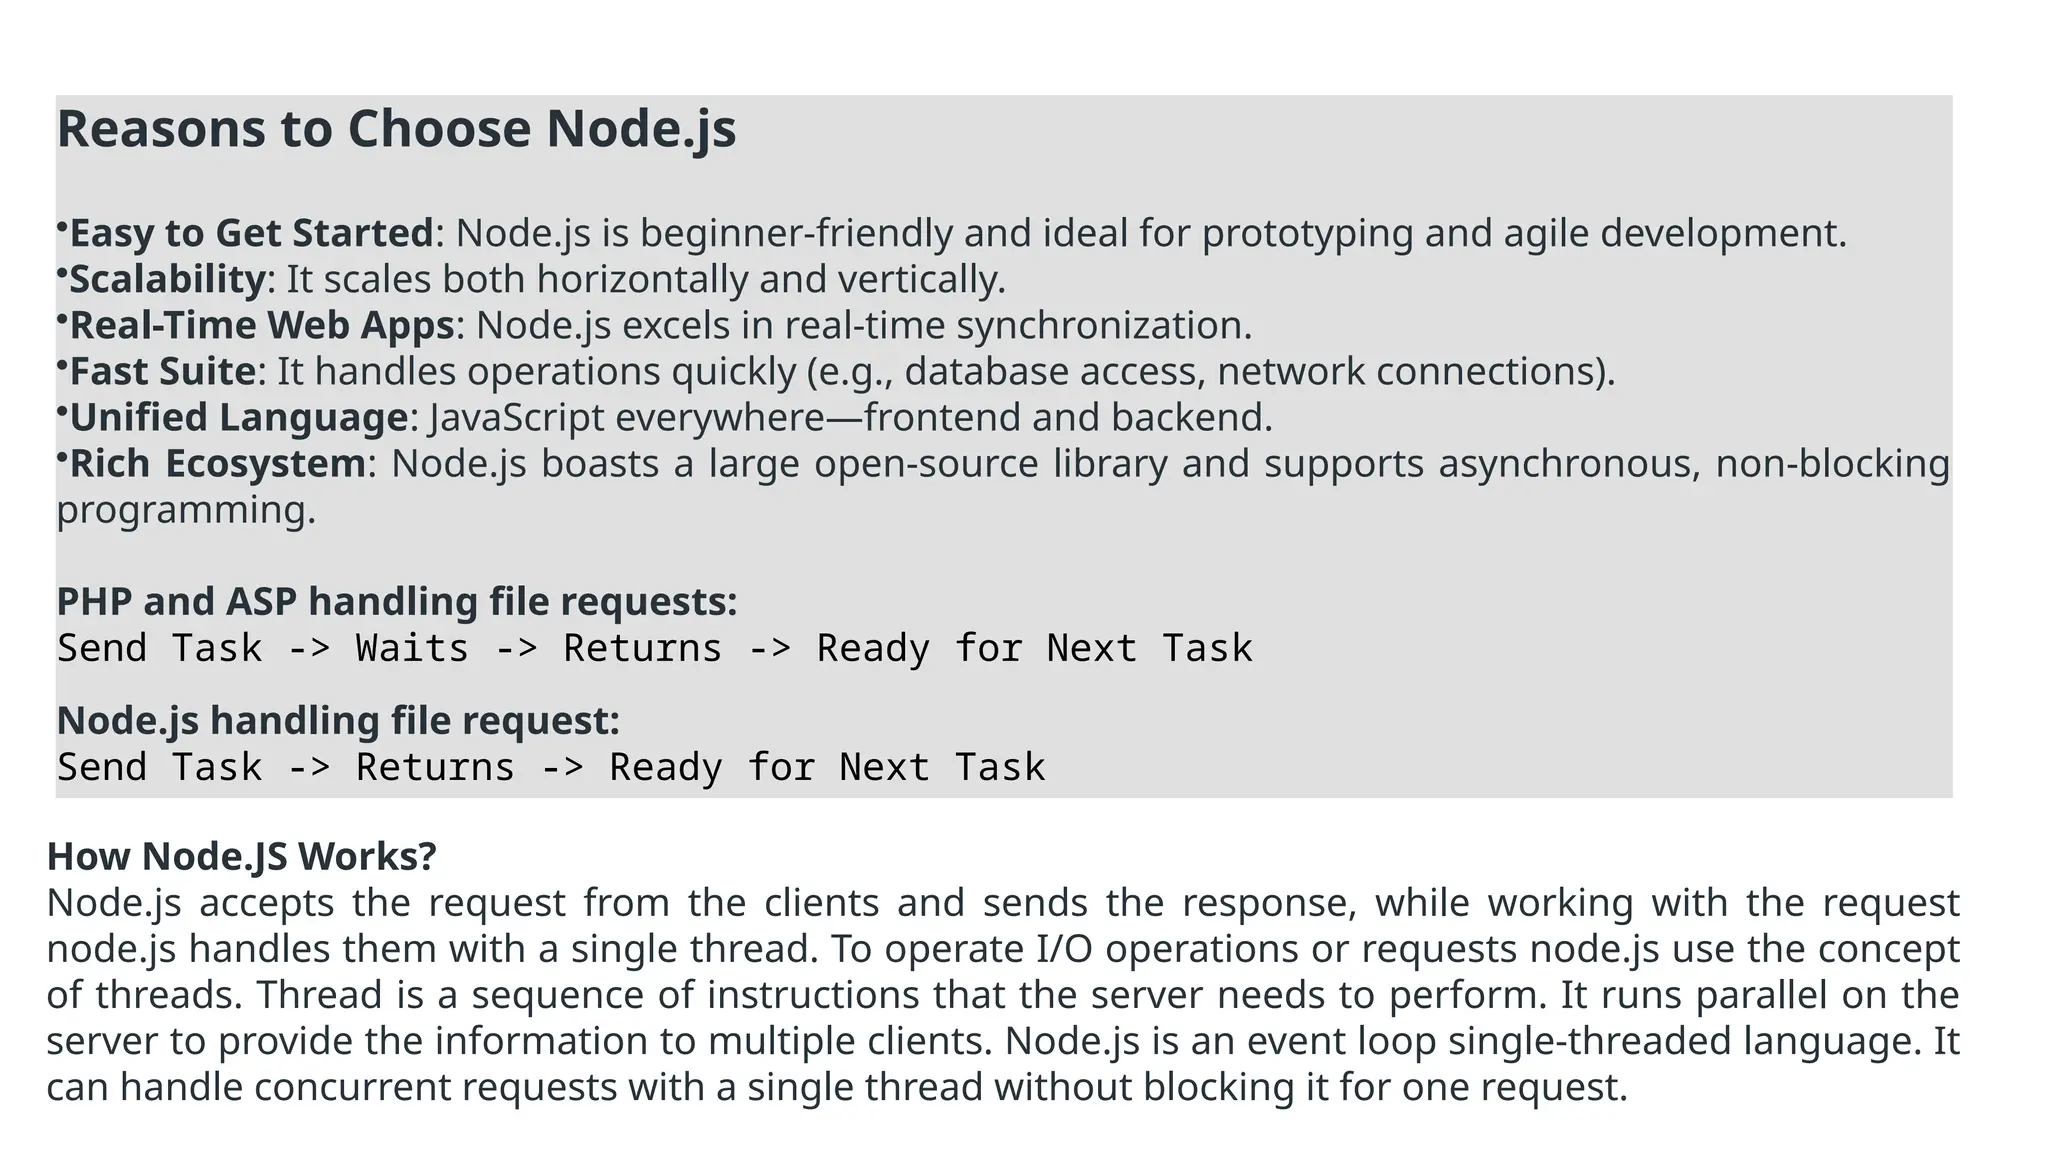
Reasons to ChooseNode.js
•Easy to Get Started: Node.js is beginner-friendly and ideal for prototyping and agile development.
•Scalability: It scales both horizontally and vertically.
•Real-Time Web Apps: Node.js excels in real-time synchronization.
•Fast Suite: It handles operations quickly (e.g., database access, network connections).
•Unified Language: JavaScript everywhere—frontend and backend.
•Rich Ecosystem: Node.js boasts a large open-source library and supports asynchronous, non-blocking
programming.
PHP and ASP handling file requests:
Send Task -> Waits -> Returns -> Ready for Next Task
Node.js handling file request:
Send Task -> Returns -> Ready for Next Task
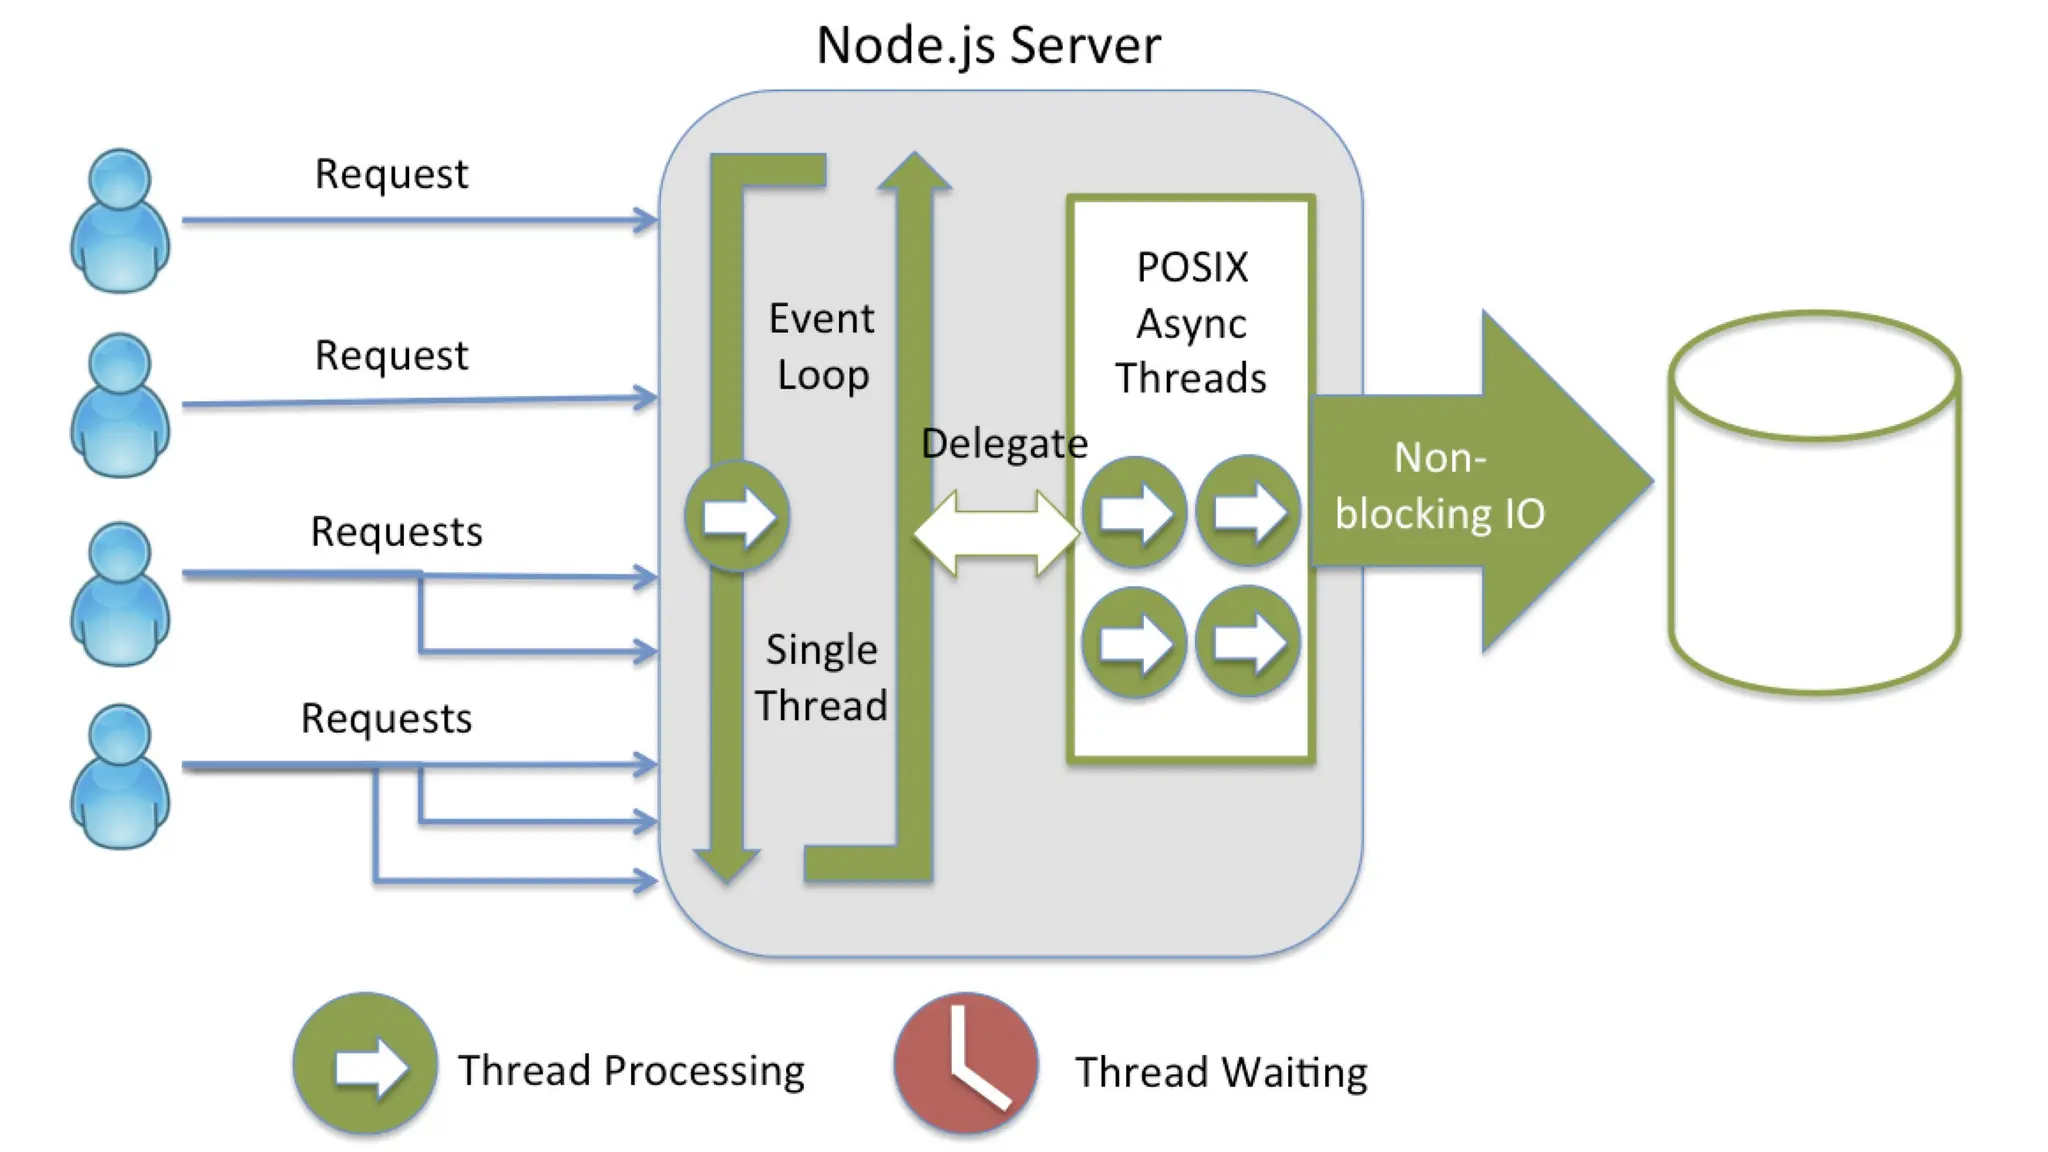
How Node.JS Works?
Node.js accepts the request from the clients and sends the response, while working with the request
node.js handles them with a single thread. To operate I/O operations or requests node.js use the concept
of threads. Thread is a sequence of instructions that the server needs to perform. It runs parallel on the
server to provide the information to multiple clients. Node.js is an event loop single-threaded language. It
can handle concurrent requests with a single thread without blocking it for one request.
7.
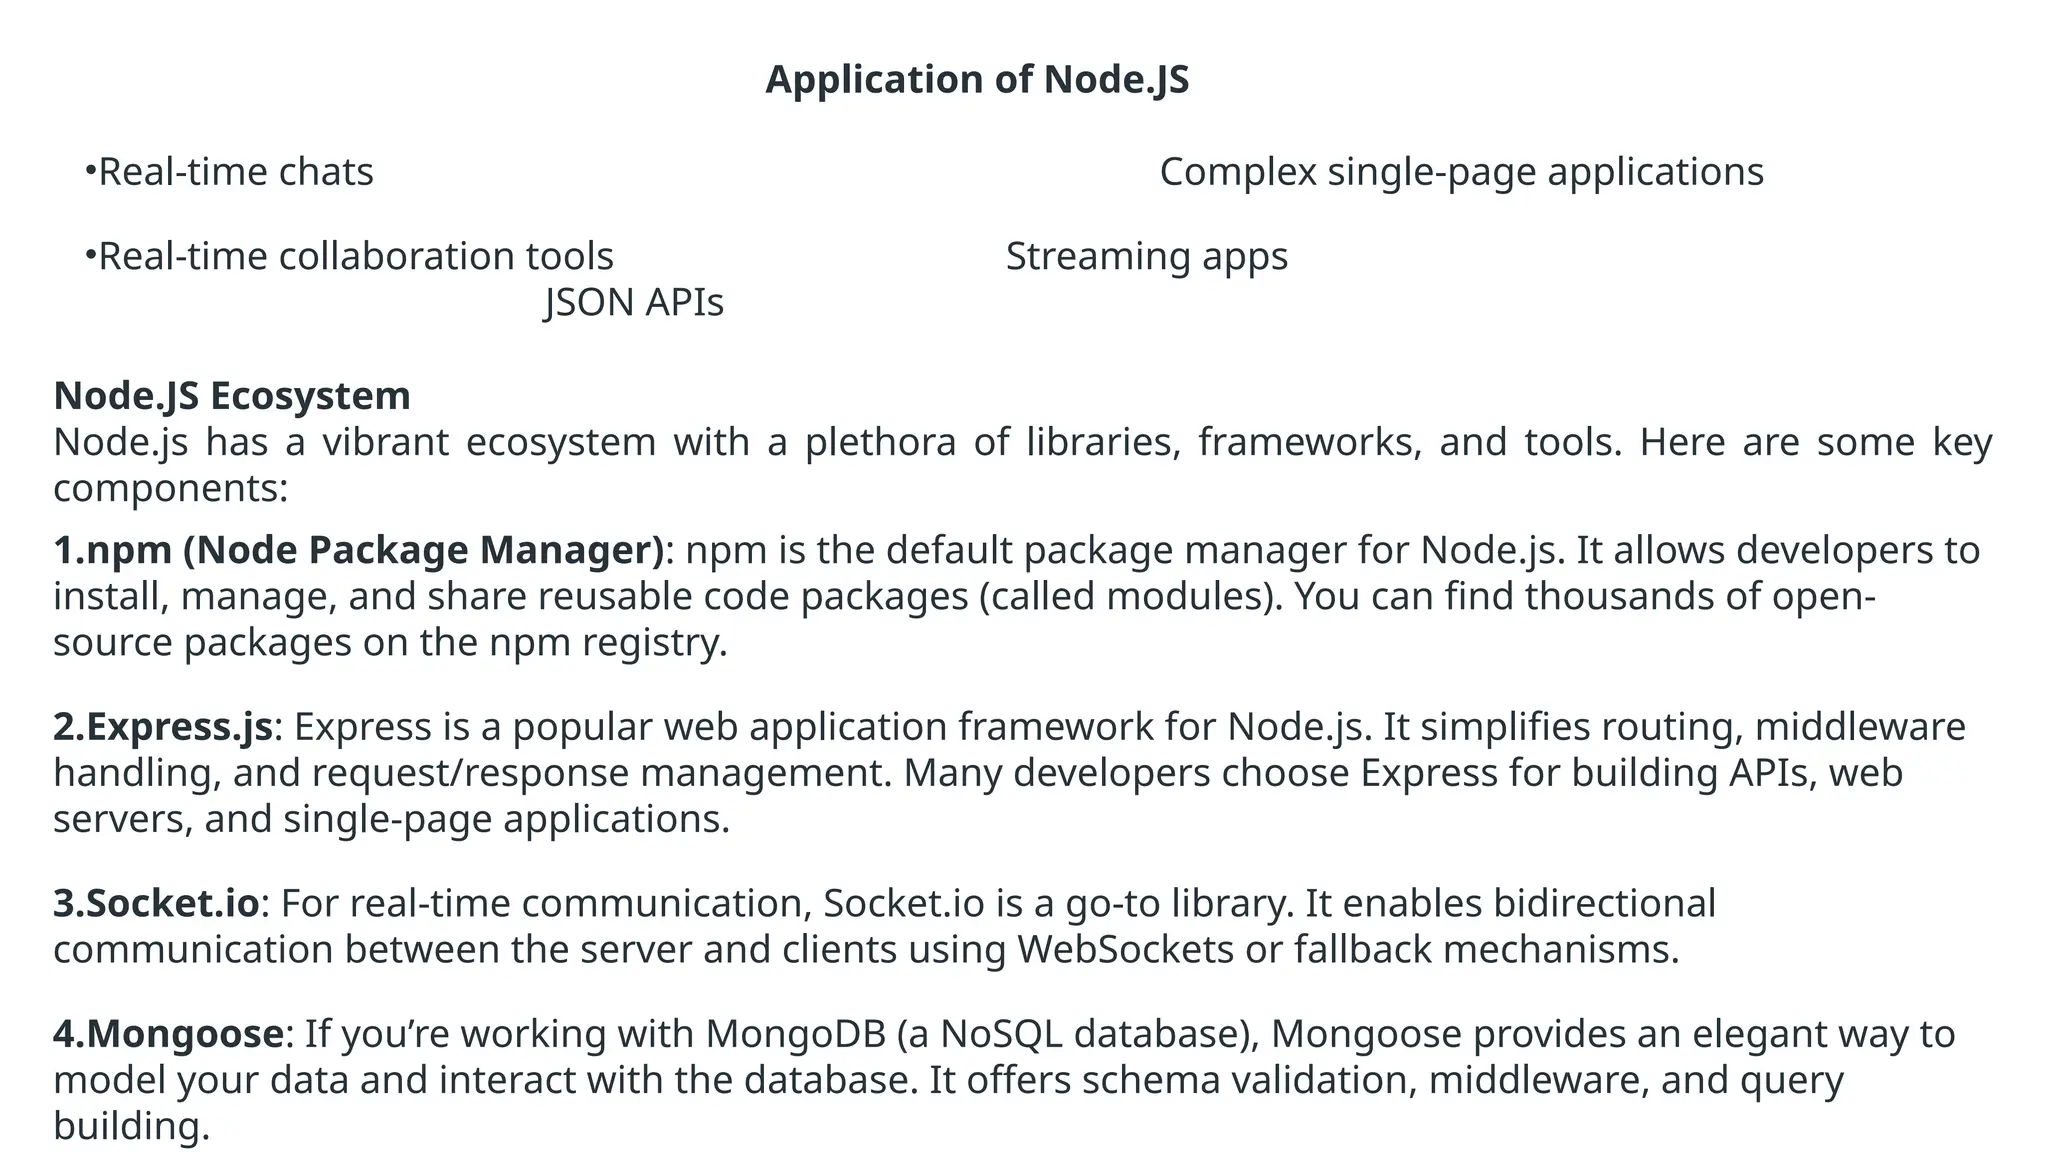
Application of Node.JS
•Real-timechats Complex single-page applications
•Real-time collaboration tools Streaming apps
JSON APIs
Node.JS Ecosystem
Node.js has a vibrant ecosystem with a plethora of libraries, frameworks, and tools. Here are some key
components:
1.npm (Node Package Manager): npm is the default package manager for Node.js. It allows developers to
install, manage, and share reusable code packages (called modules). You can find thousands of open-
source packages on the npm registry.
2.Express.js: Express is a popular web application framework for Node.js. It simplifies routing, middleware
handling, and request/response management. Many developers choose Express for building APIs, web
servers, and single-page applications.
3.Socket.io: For real-time communication, Socket.io is a go-to library. It enables bidirectional
communication between the server and clients using WebSockets or fallback mechanisms.
4.Mongoose: If you’re working with MongoDB (a NoSQL database), Mongoose provides an elegant way to
model your data and interact with the database. It offers schema validation, middleware, and query
building.
9.
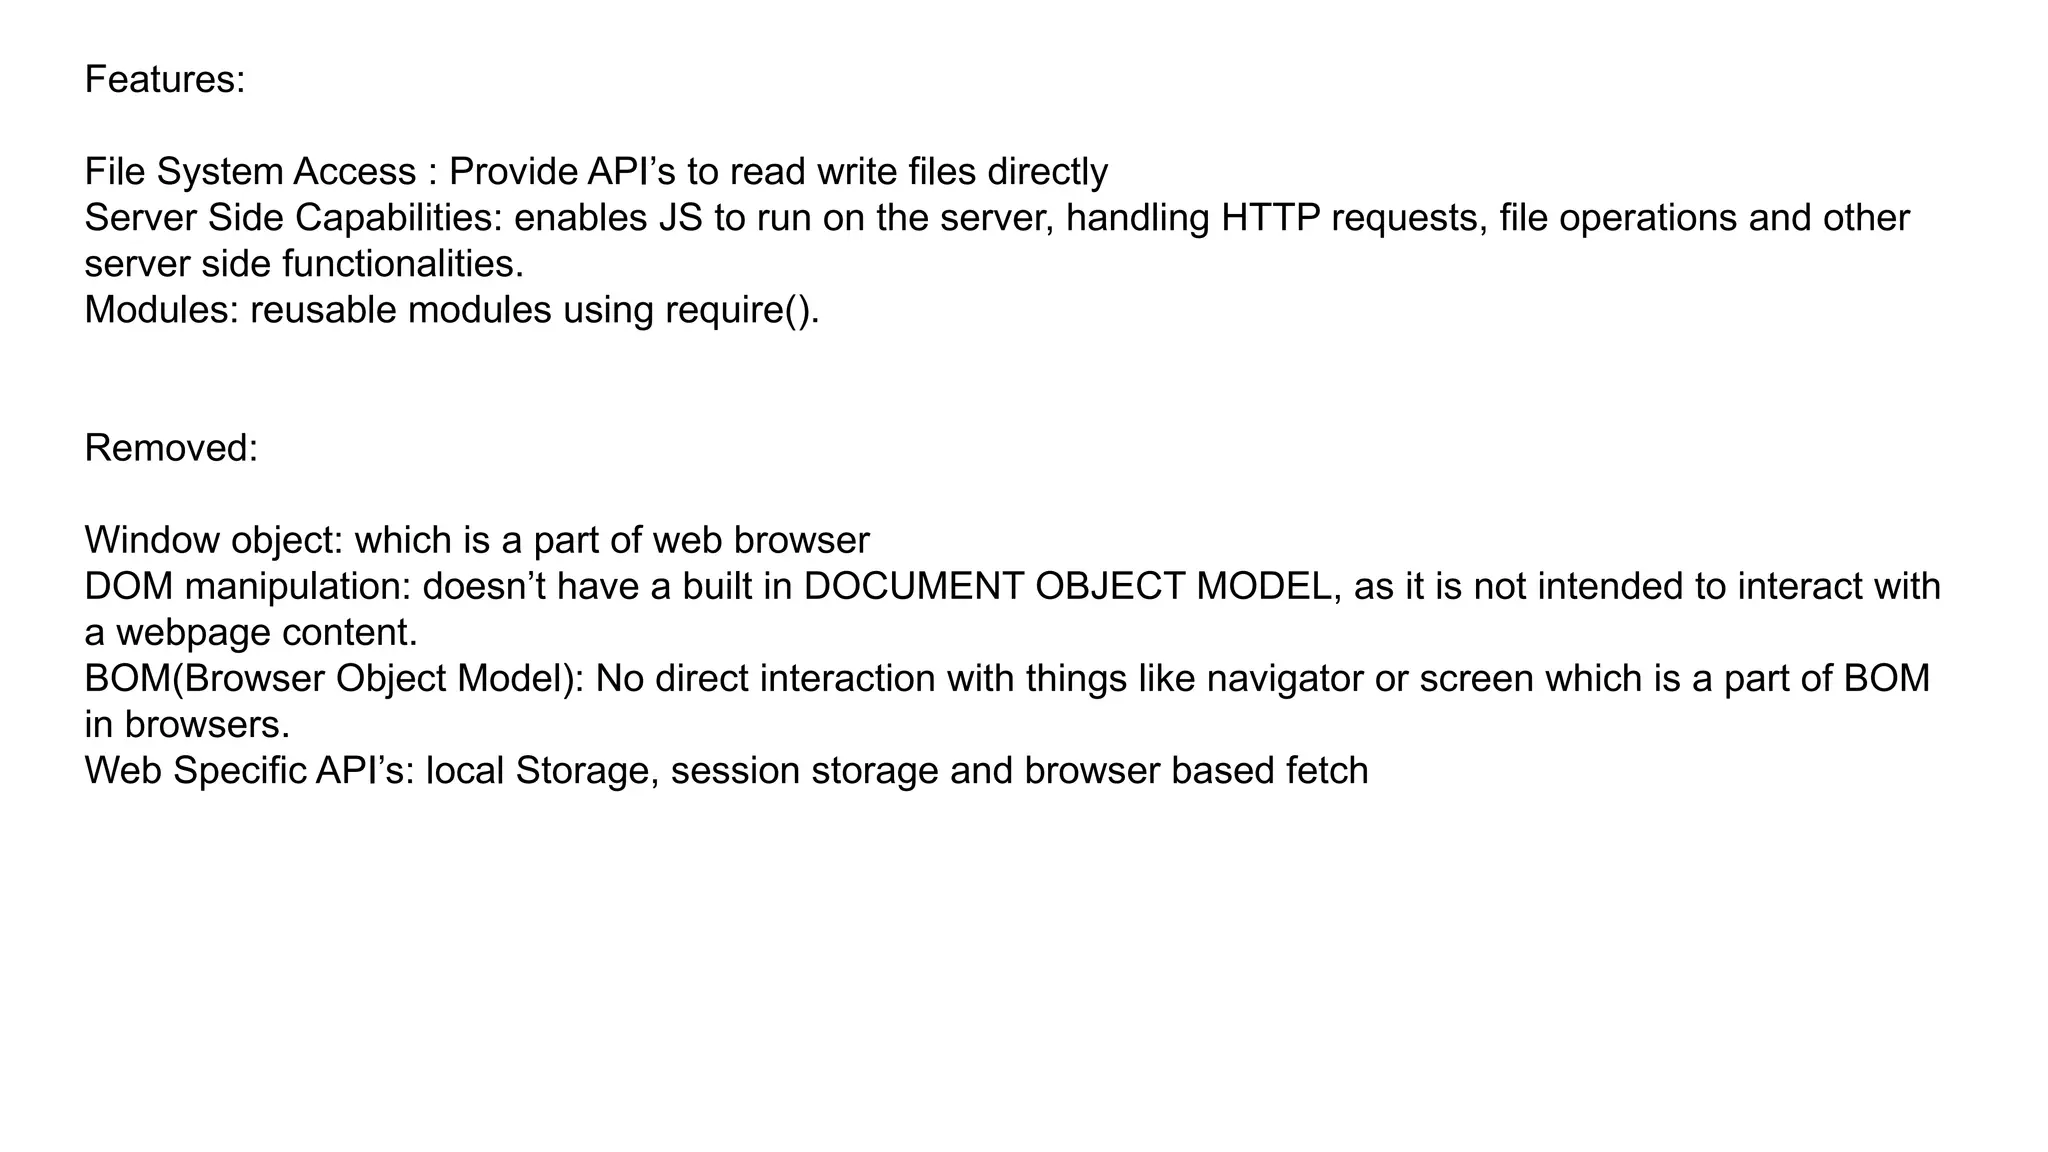
Features:
File System Access: Provide API’s to read write files directly
Server Side Capabilities: enables JS to run on the server, handling HTTP requests, file operations and other
server side functionalities.
Modules: reusable modules using require().
Removed:
Window object: which is a part of web browser
DOM manipulation: doesn’t have a built in DOCUMENT OBJECT MODEL, as it is not intended to interact with
a webpage content.
BOM(Browser Object Model): No direct interaction with things like navigator or screen which is a part of BOM
in browsers.
Web Specific API’s: local Storage, session storage and browser based fetch
10.
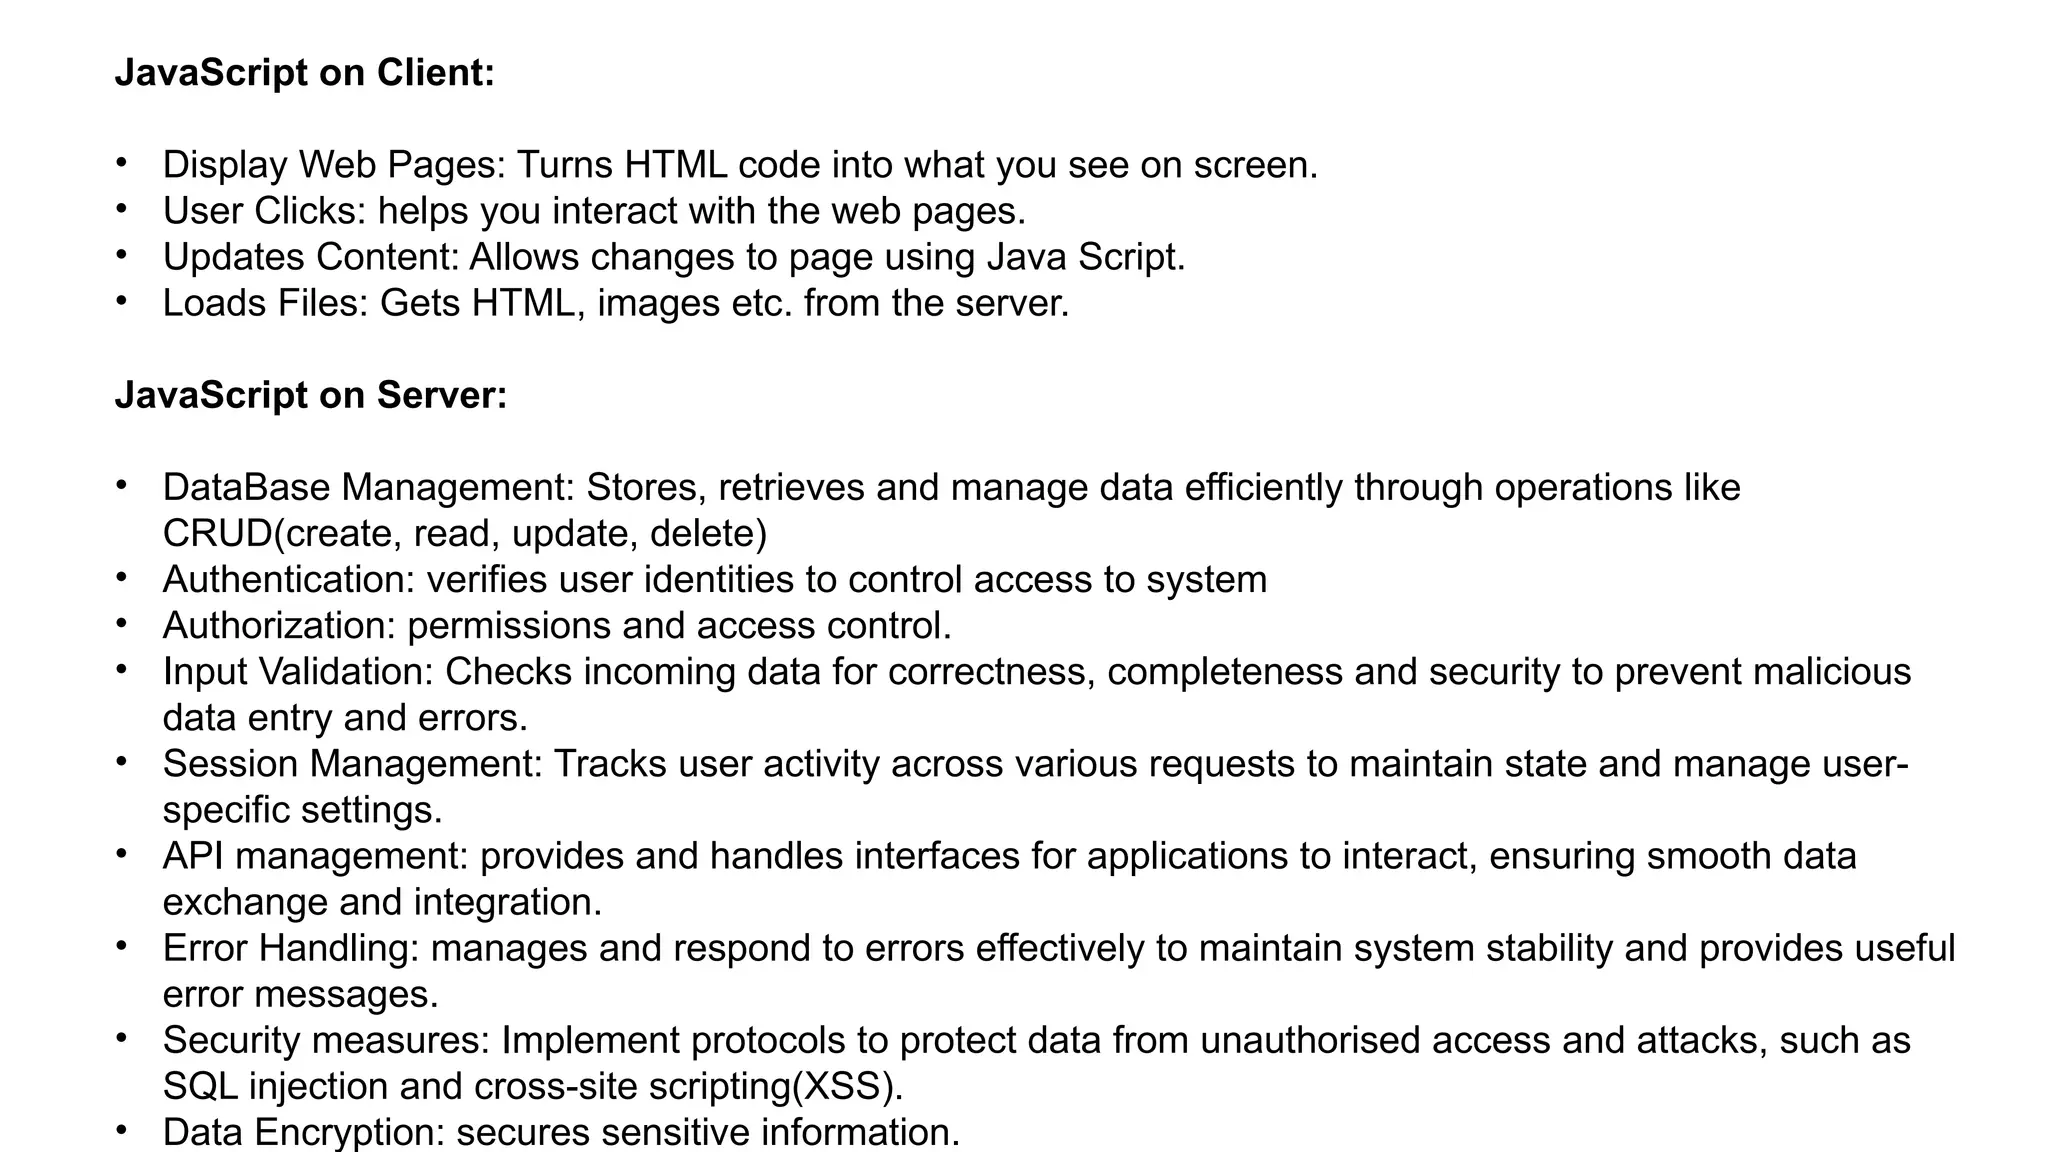
JavaScript on Client:
•Display Web Pages: Turns HTML code into what you see on screen.
• User Clicks: helps you interact with the web pages.
• Updates Content: Allows changes to page using Java Script.
• Loads Files: Gets HTML, images etc. from the server.
JavaScript on Server:
• DataBase Management: Stores, retrieves and manage data efficiently through operations like
CRUD(create, read, update, delete)
• Authentication: verifies user identities to control access to system
• Authorization: permissions and access control.
• Input Validation: Checks incoming data for correctness, completeness and security to prevent malicious
data entry and errors.
• Session Management: Tracks user activity across various requests to maintain state and manage user-
specific settings.
• API management: provides and handles interfaces for applications to interact, ensuring smooth data
exchange and integration.
• Error Handling: manages and respond to errors effectively to maintain system stability and provides useful
error messages.
• Security measures: Implement protocols to protect data from unauthorised access and attacks, such as
SQL injection and cross-site scripting(XSS).
• Data Encryption: secures sensitive information.
11.
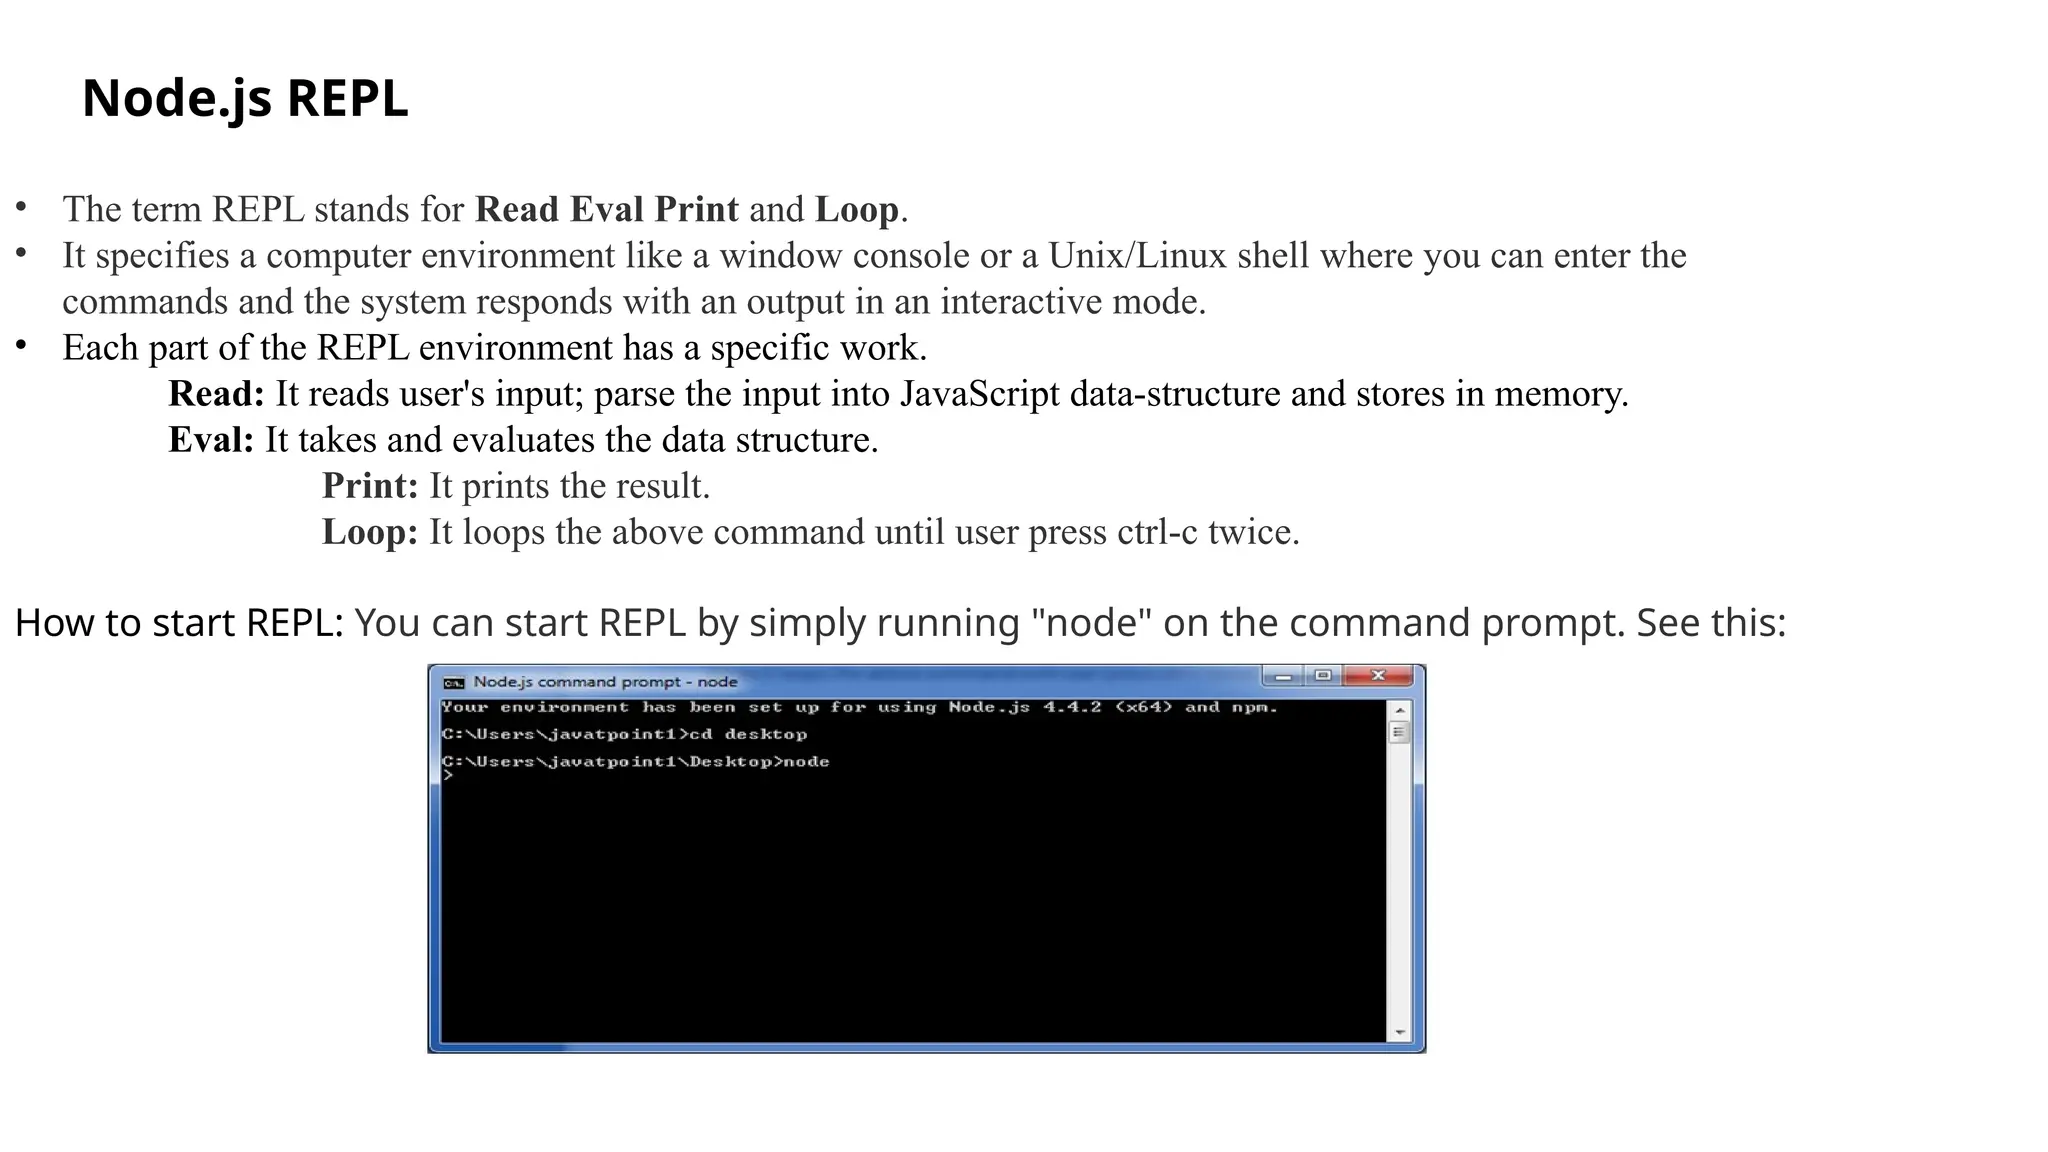
Node.js REPL
• Theterm REPL stands for Read Eval Print and Loop.
• It specifies a computer environment like a window console or a Unix/Linux shell where you can enter the
commands and the system responds with an output in an interactive mode.
• Each part of the REPL environment has a specific work.
Read: It reads user's input; parse the input into JavaScript data-structure and stores in memory.
Eval: It takes and evaluates the data structure.
Print: It prints the result.
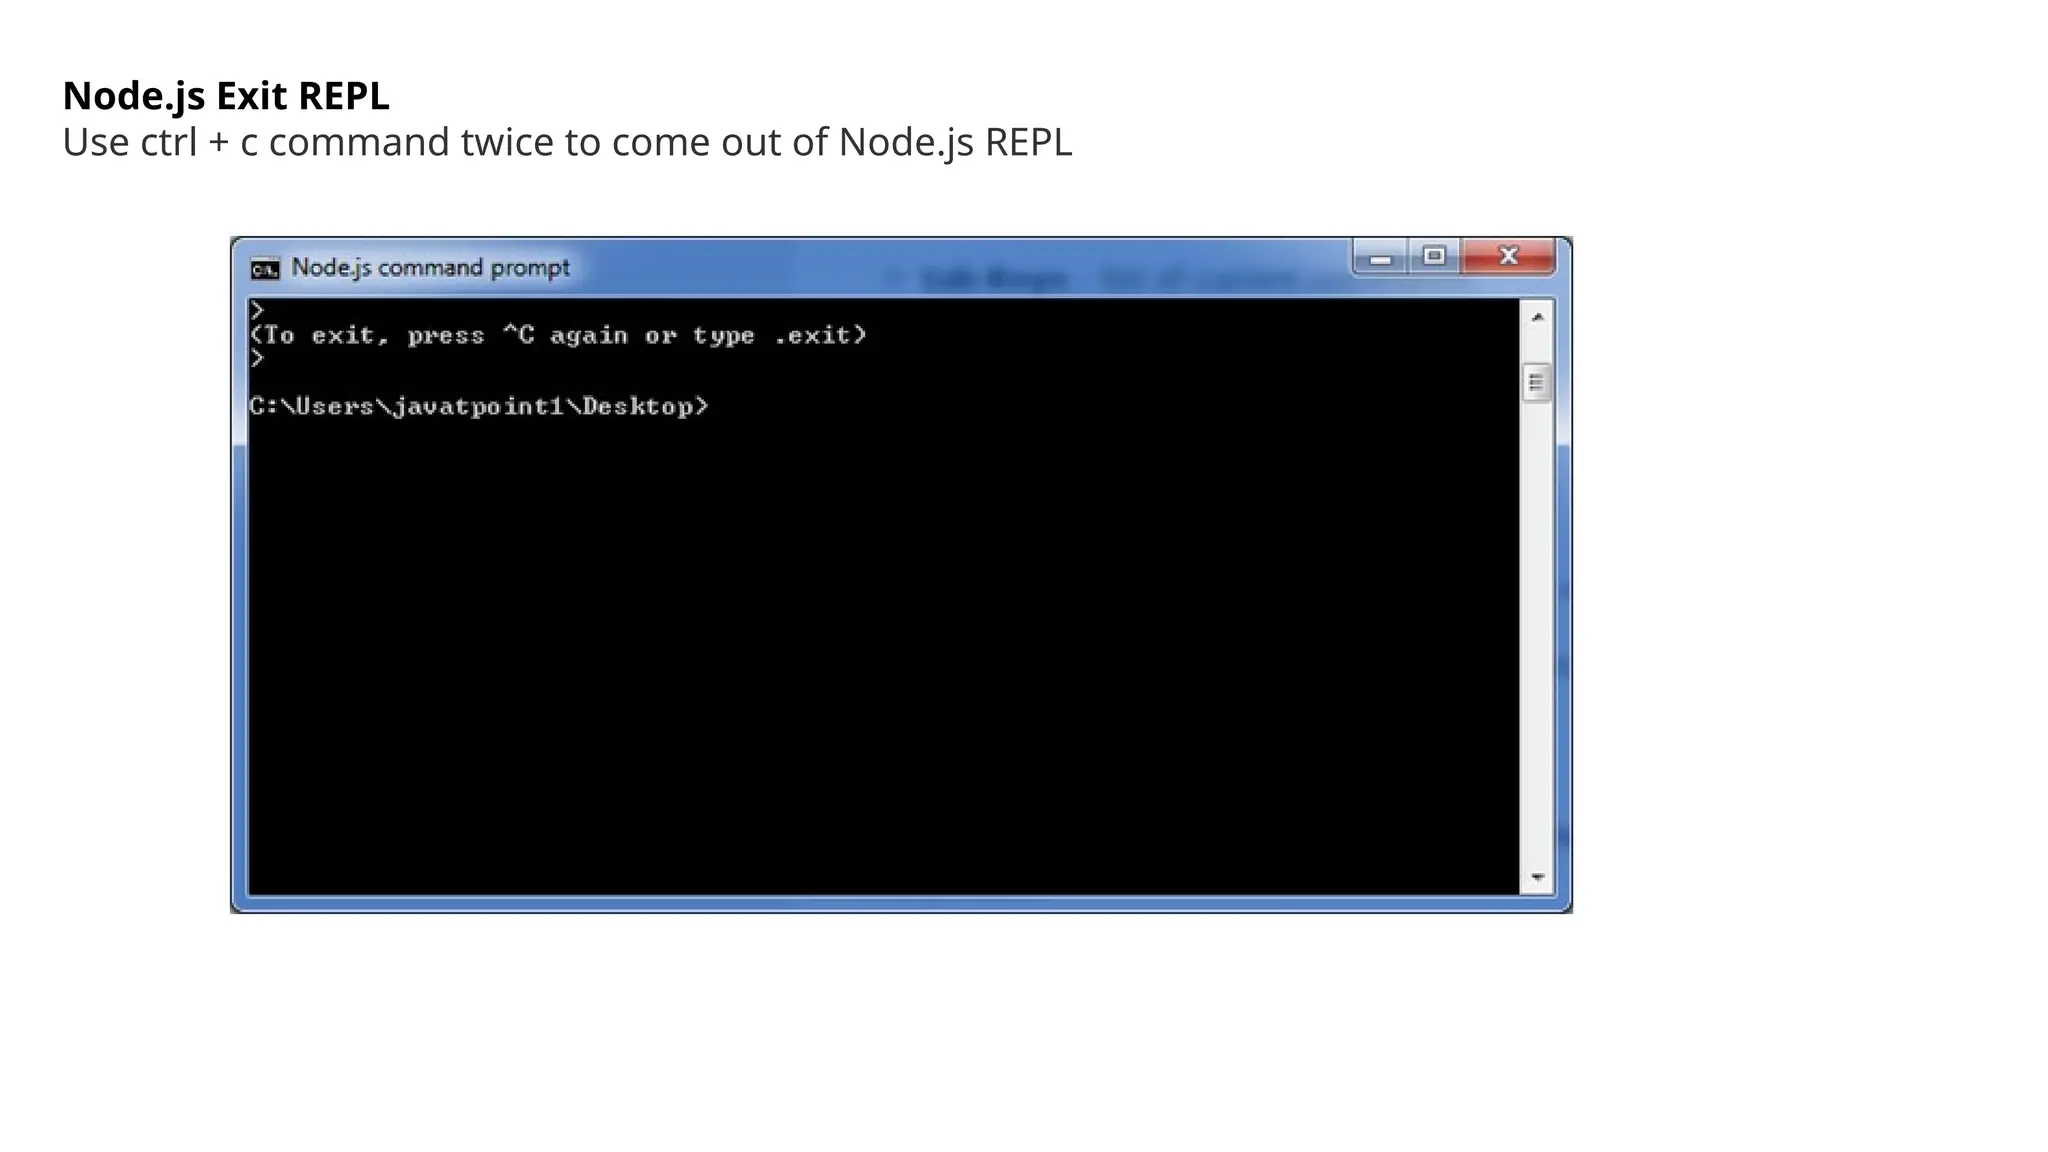
Loop: It loops the above command until user press ctrl-c twice.
How to start REPL: You can start REPL by simply running "node" on the command prompt. See this:
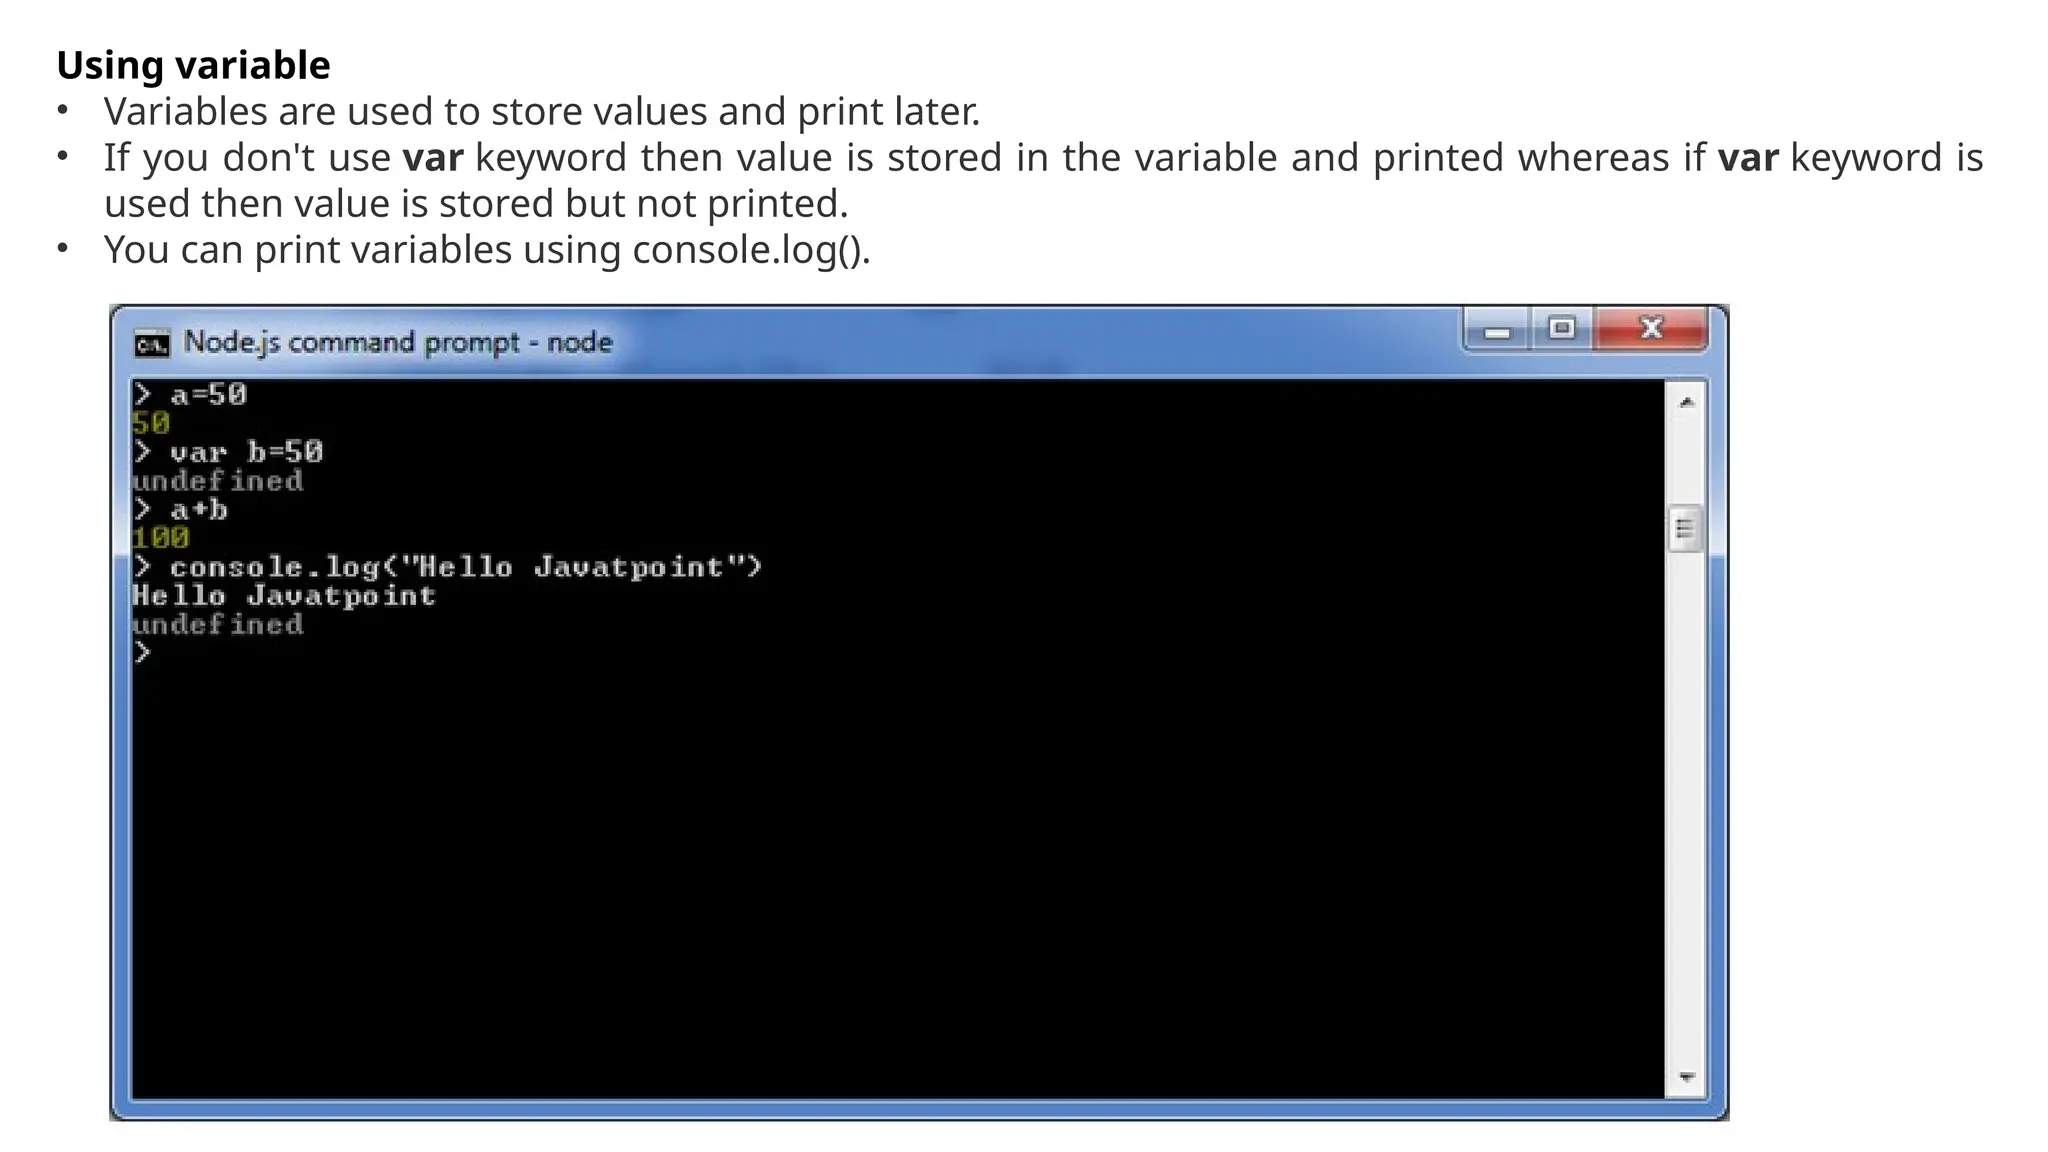
Using variable
• Variablesare used to store values and print later.
• If you don't use var keyword then value is stored in the variable and printed whereas if var keyword is
used then value is stored but not printed.
• You can print variables using console.log().
14.
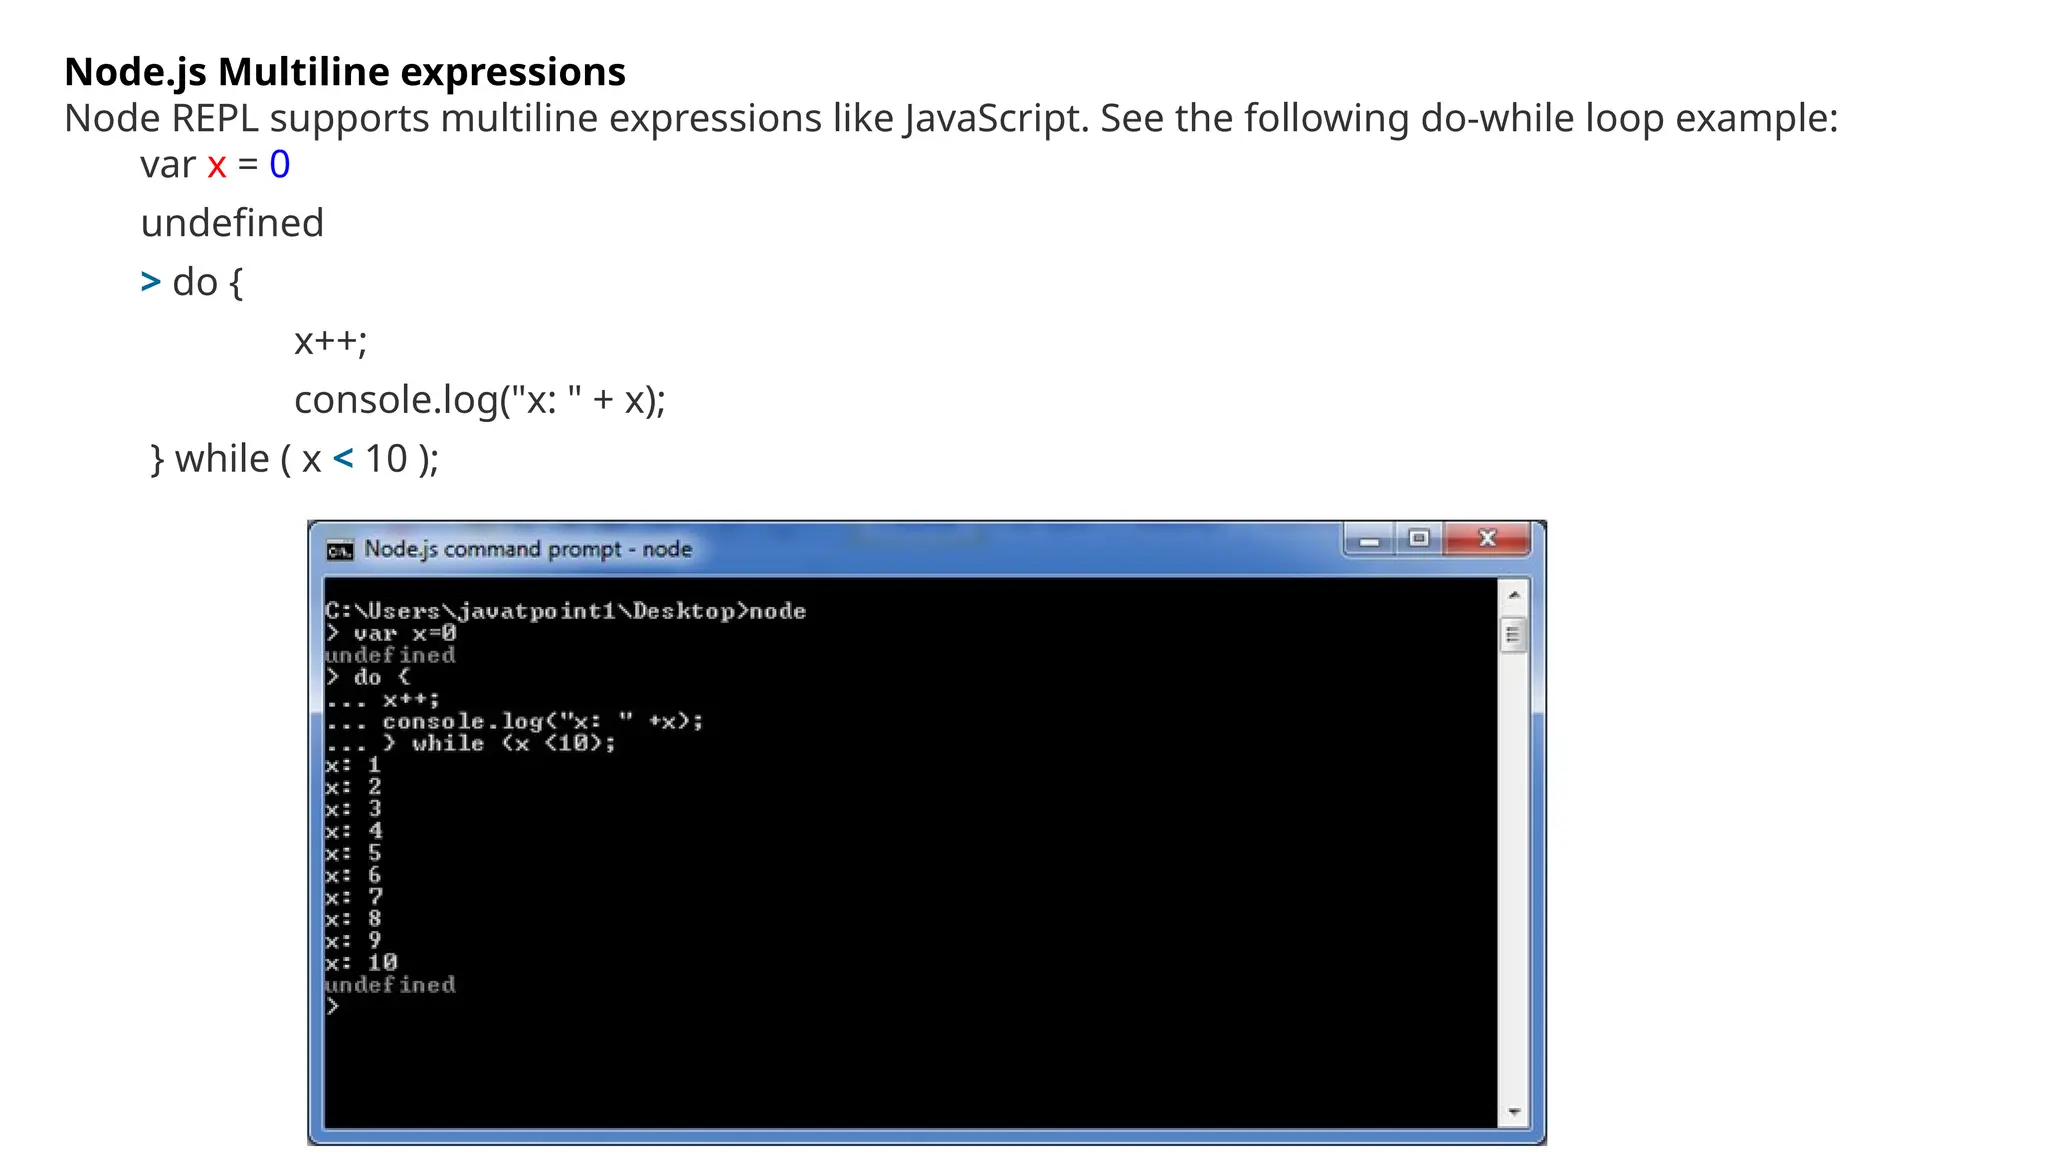
Node.js Multiline expressions
NodeREPL supports multiline expressions like JavaScript. See the following do-while loop example:
var x = 0
undefined
> do {
x++;
console.log("x: " + x);
} while ( x < 10 );
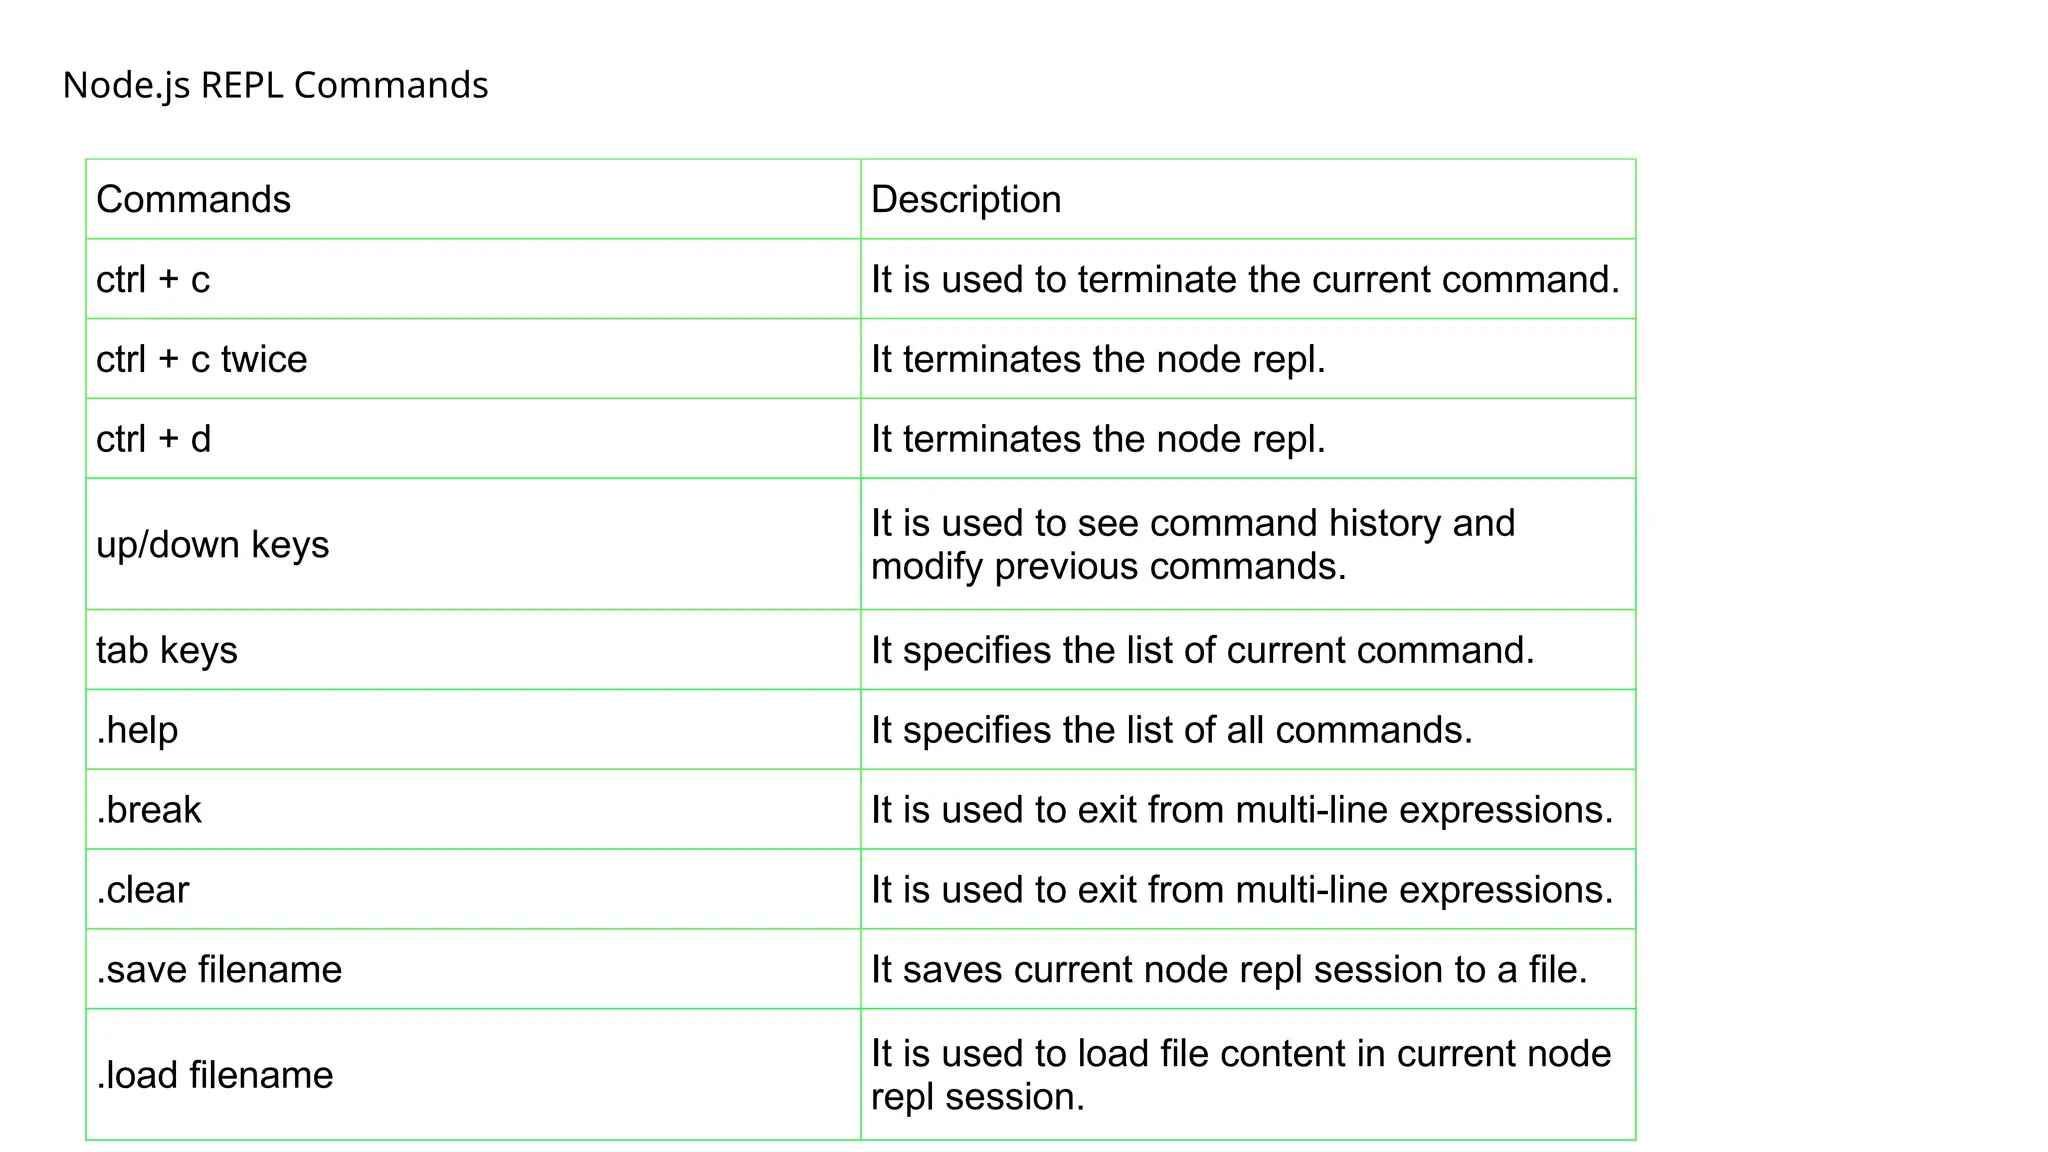
Commands Description
ctrl +c It is used to terminate the current command.
ctrl + c twice It terminates the node repl.
ctrl + d It terminates the node repl.
up/down keys
It is used to see command history and
modify previous commands.
tab keys It specifies the list of current command.
.help It specifies the list of all commands.
.break It is used to exit from multi-line expressions.
.clear It is used to exit from multi-line expressions.
.save filename It saves current node repl session to a file.
.load filename
It is used to load file content in current node
repl session.
Node.js REPL Commands
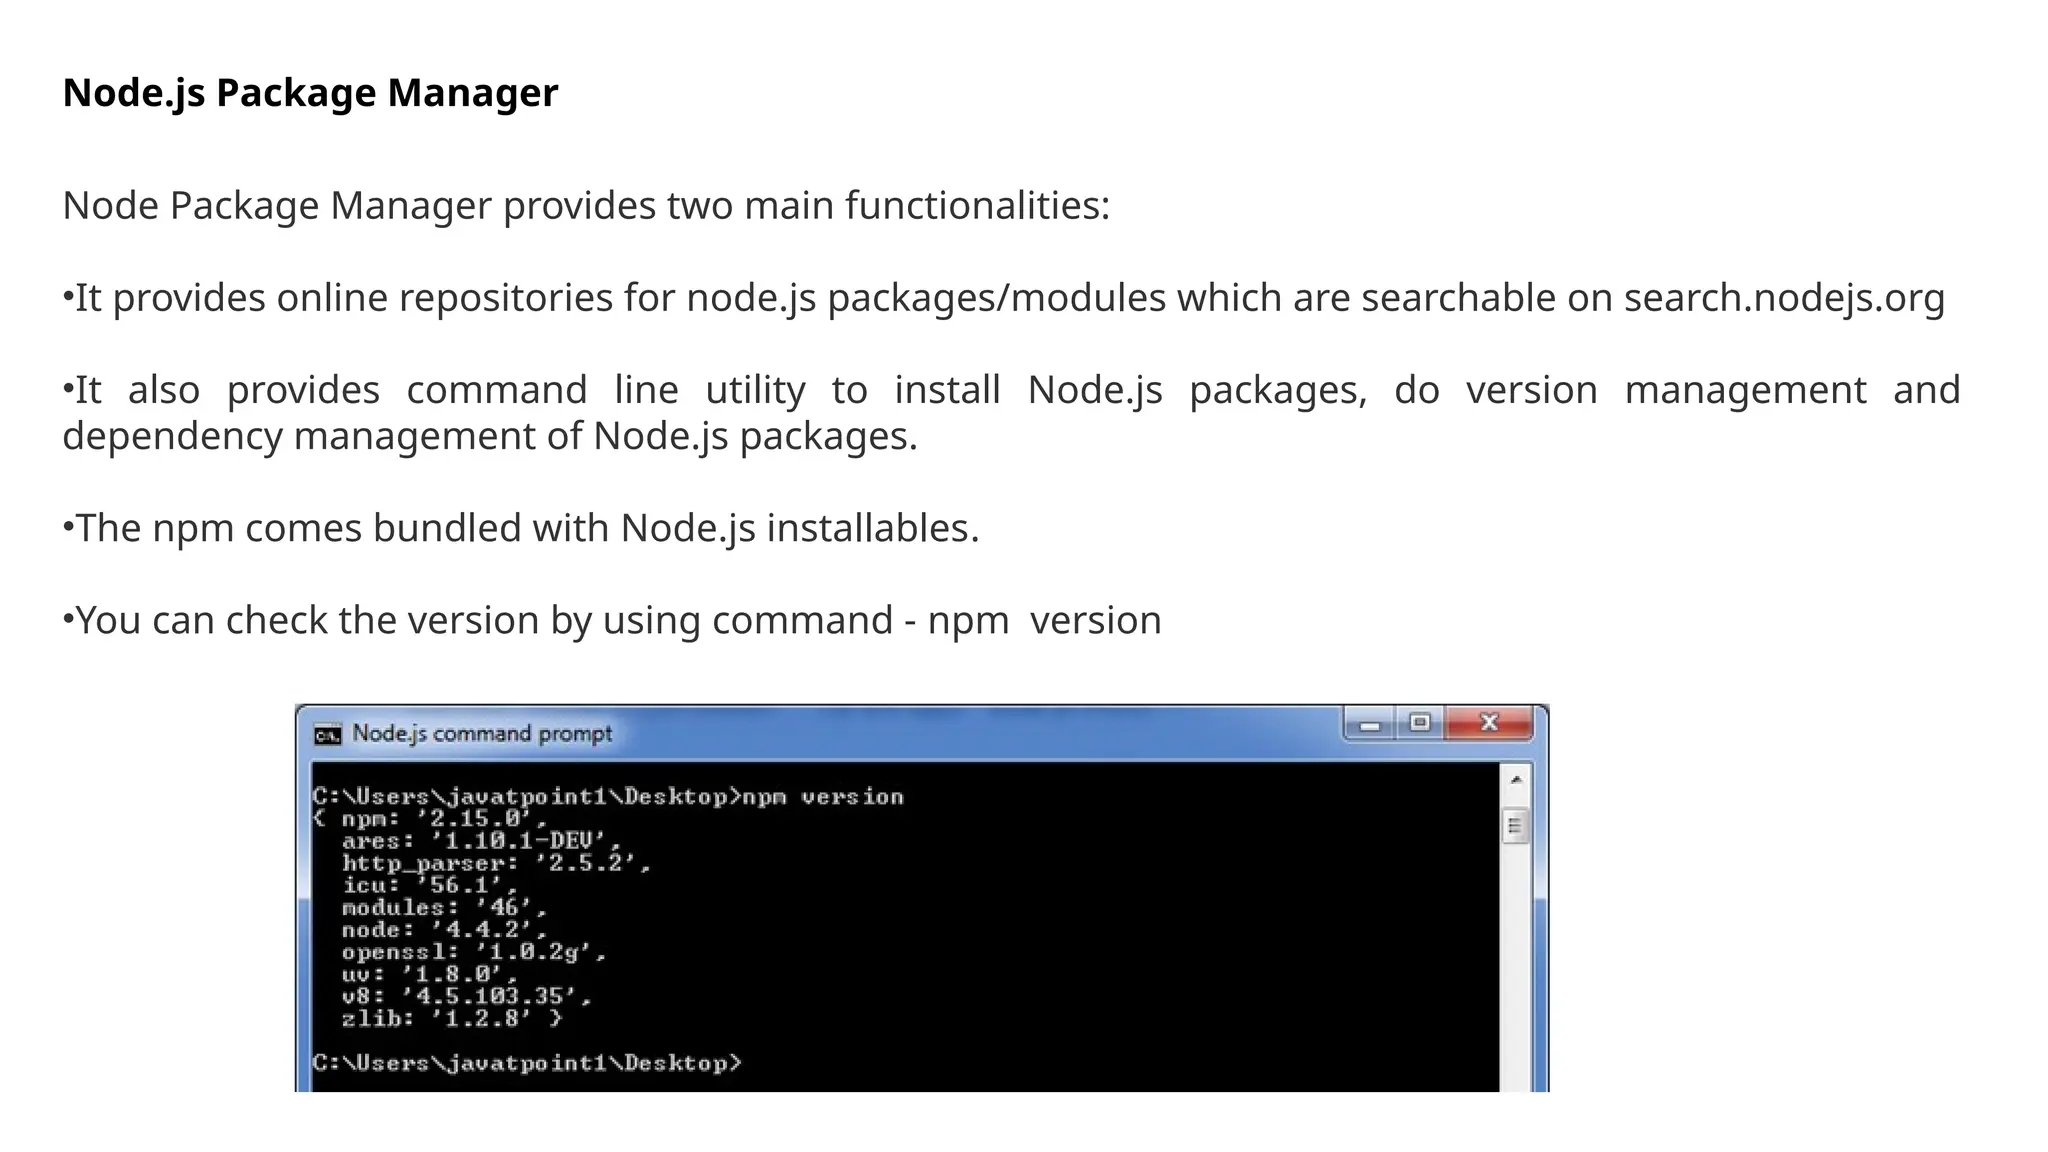
Node.js Package Manager
NodePackage Manager provides two main functionalities:
•It provides online repositories for node.js packages/modules which are searchable on search.nodejs.org
•It also provides command line utility to install Node.js packages, do version management and
dependency management of Node.js packages.
•The npm comes bundled with Node.js installables.
•You can check the version by using command - npm version
19.
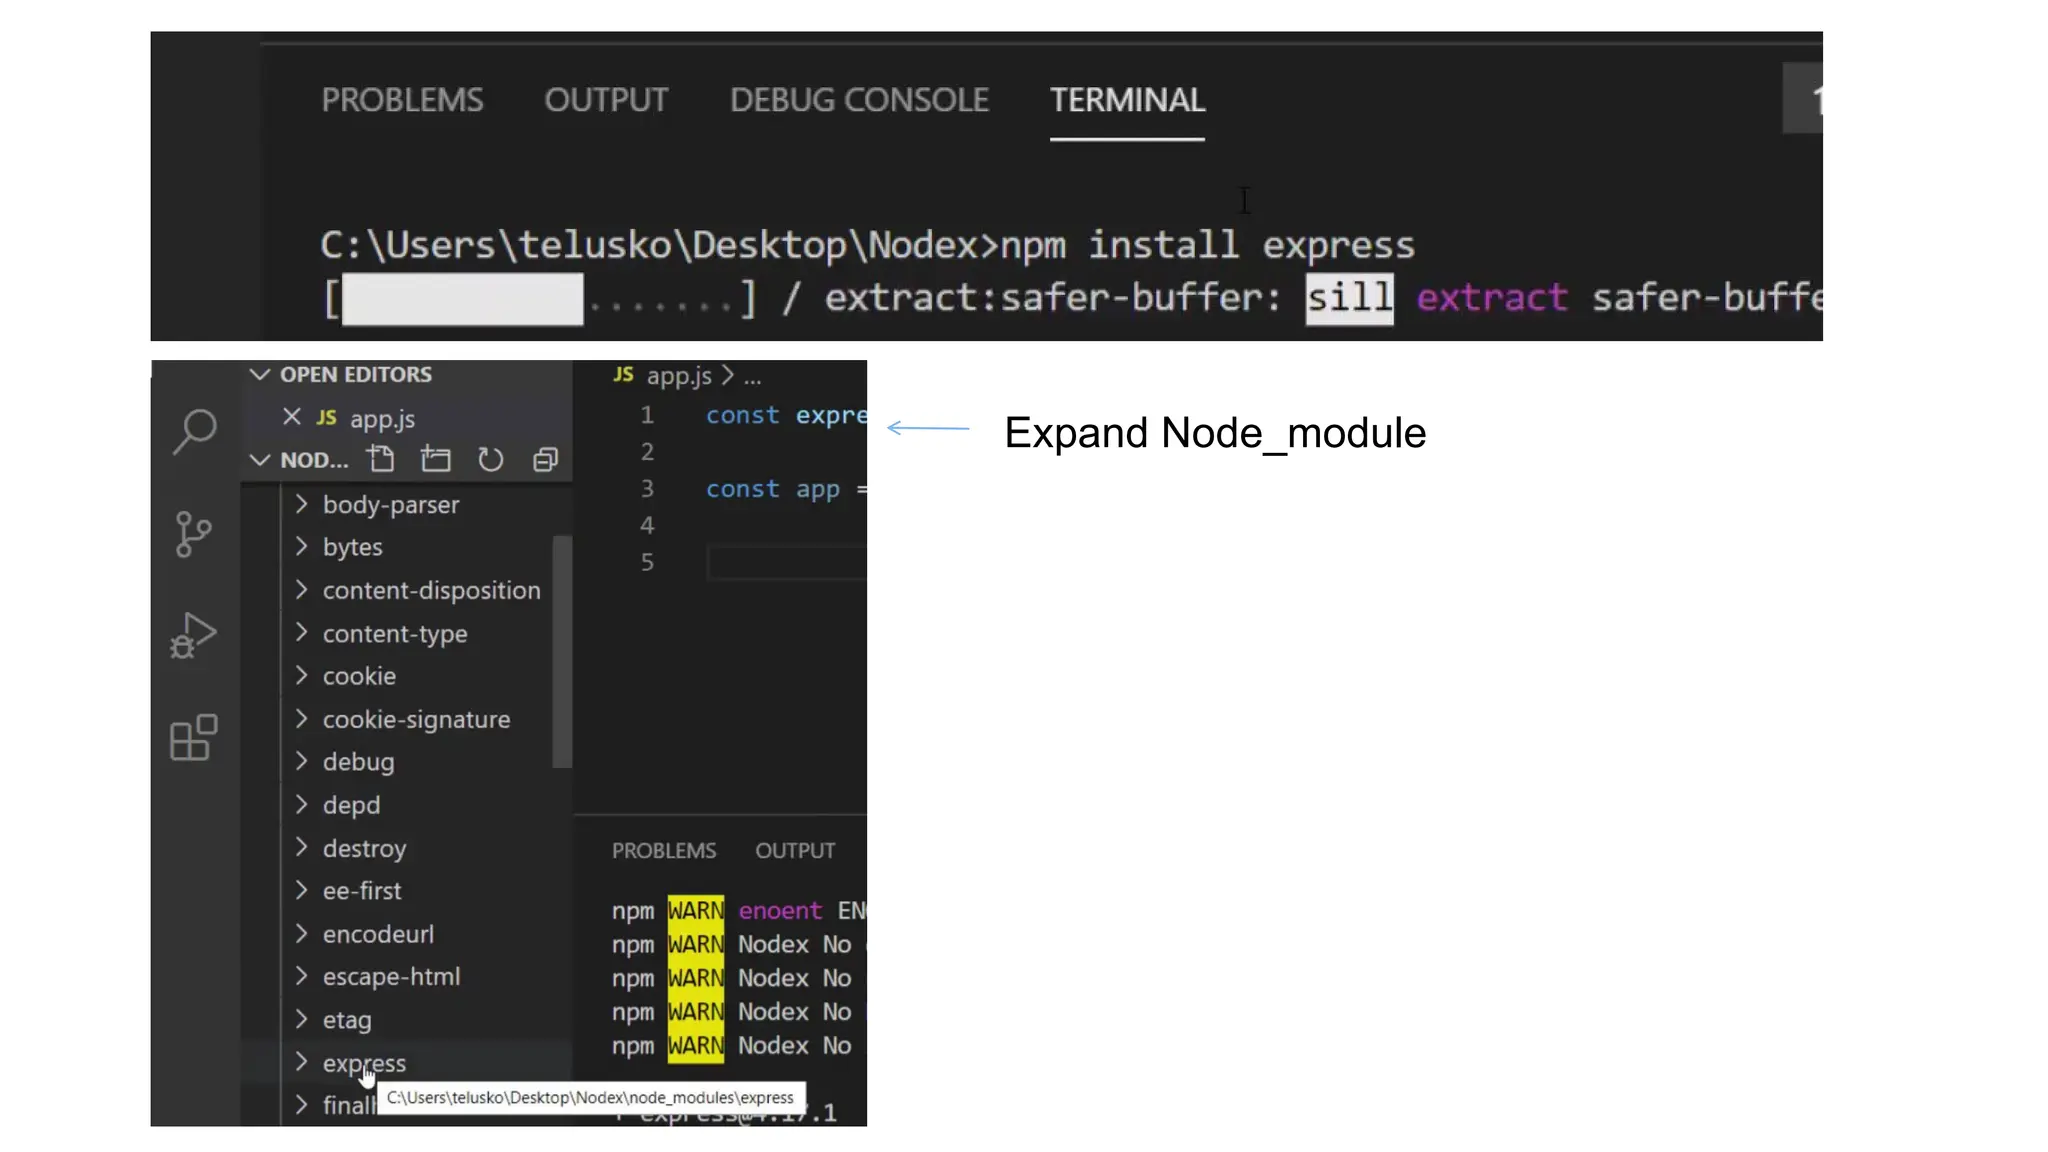
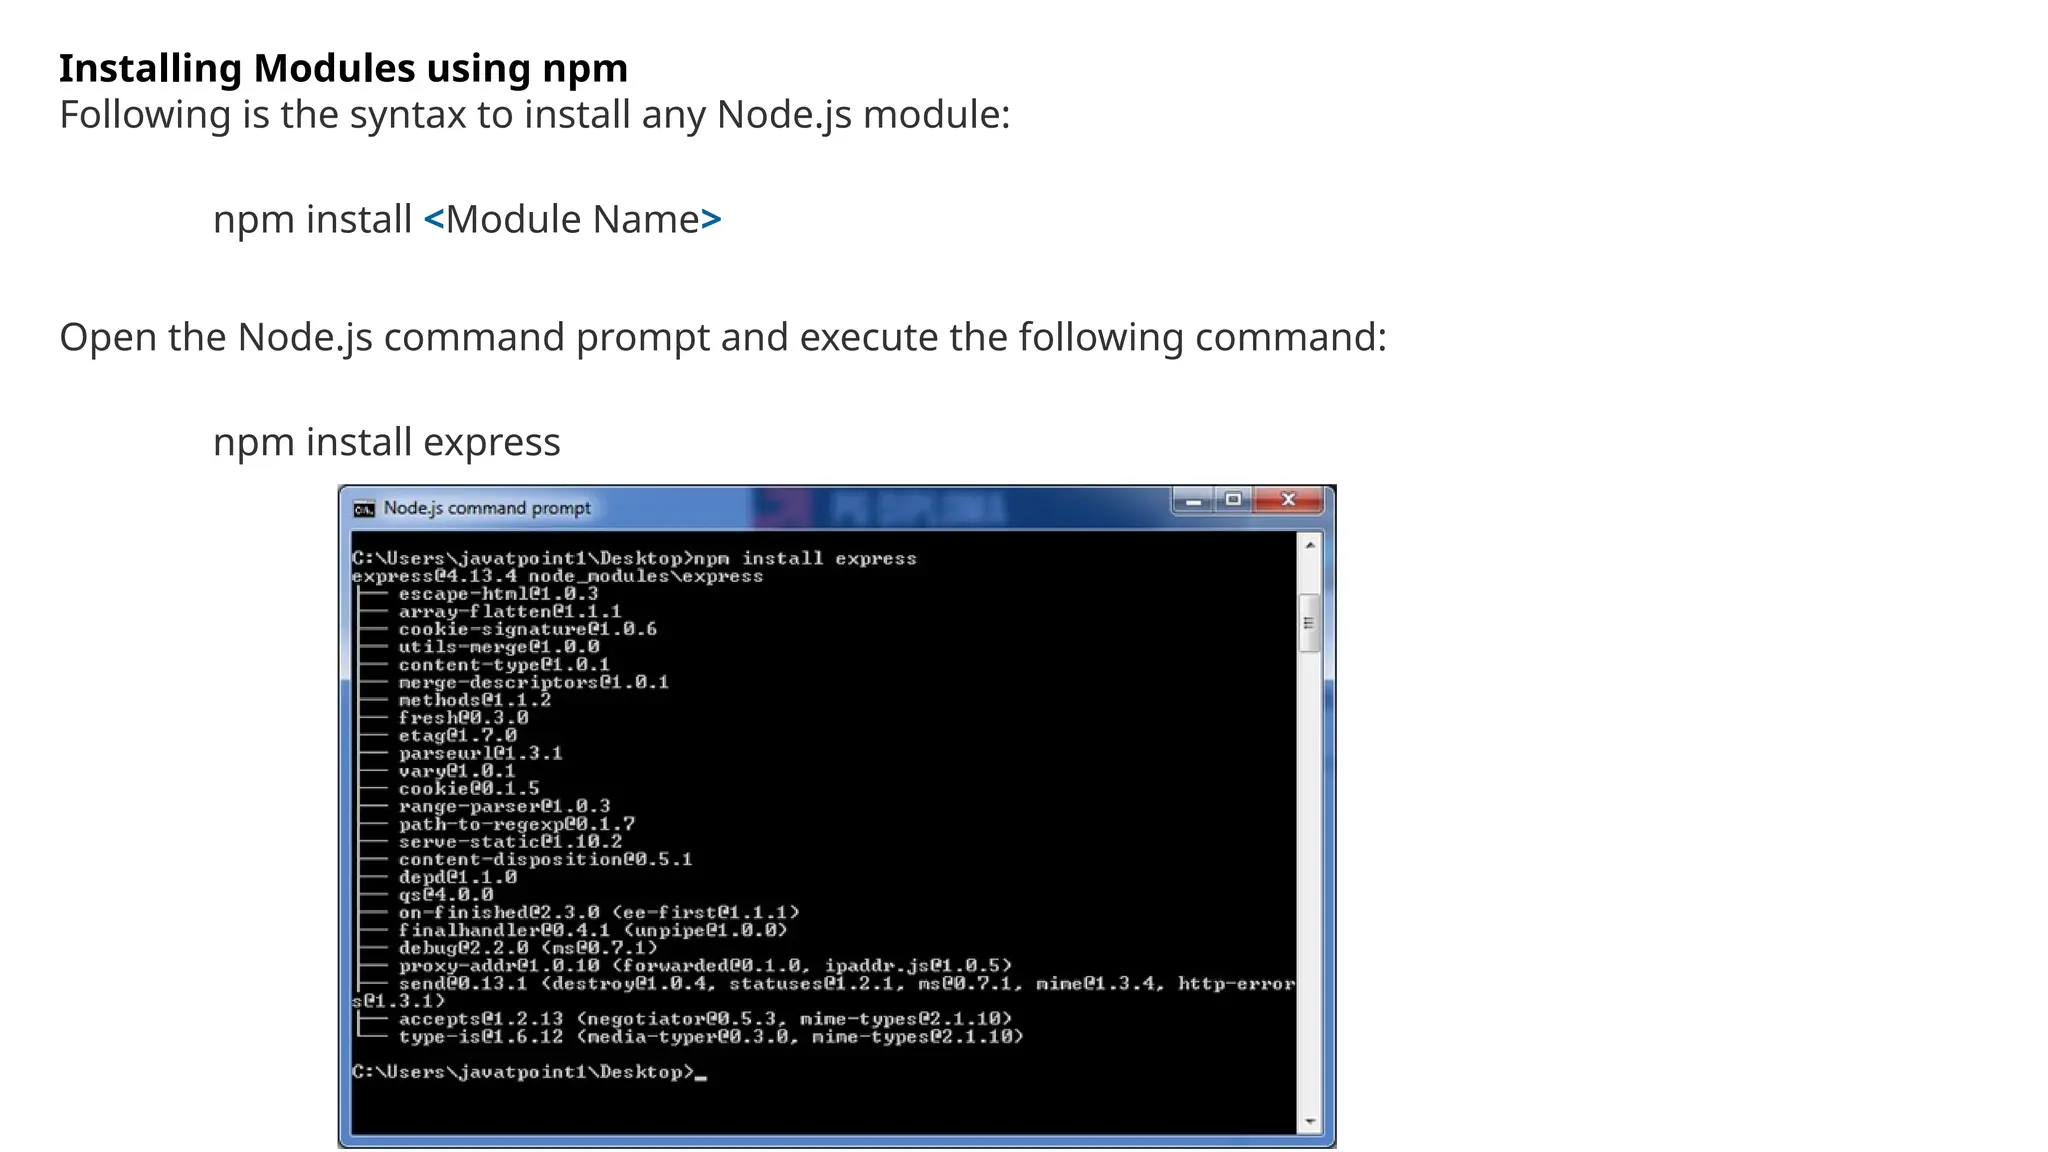
Installing Modules usingnpm
Following is the syntax to install any Node.js module:
npm install <Module Name>
Open the Node.js command prompt and execute the following command:
npm install express
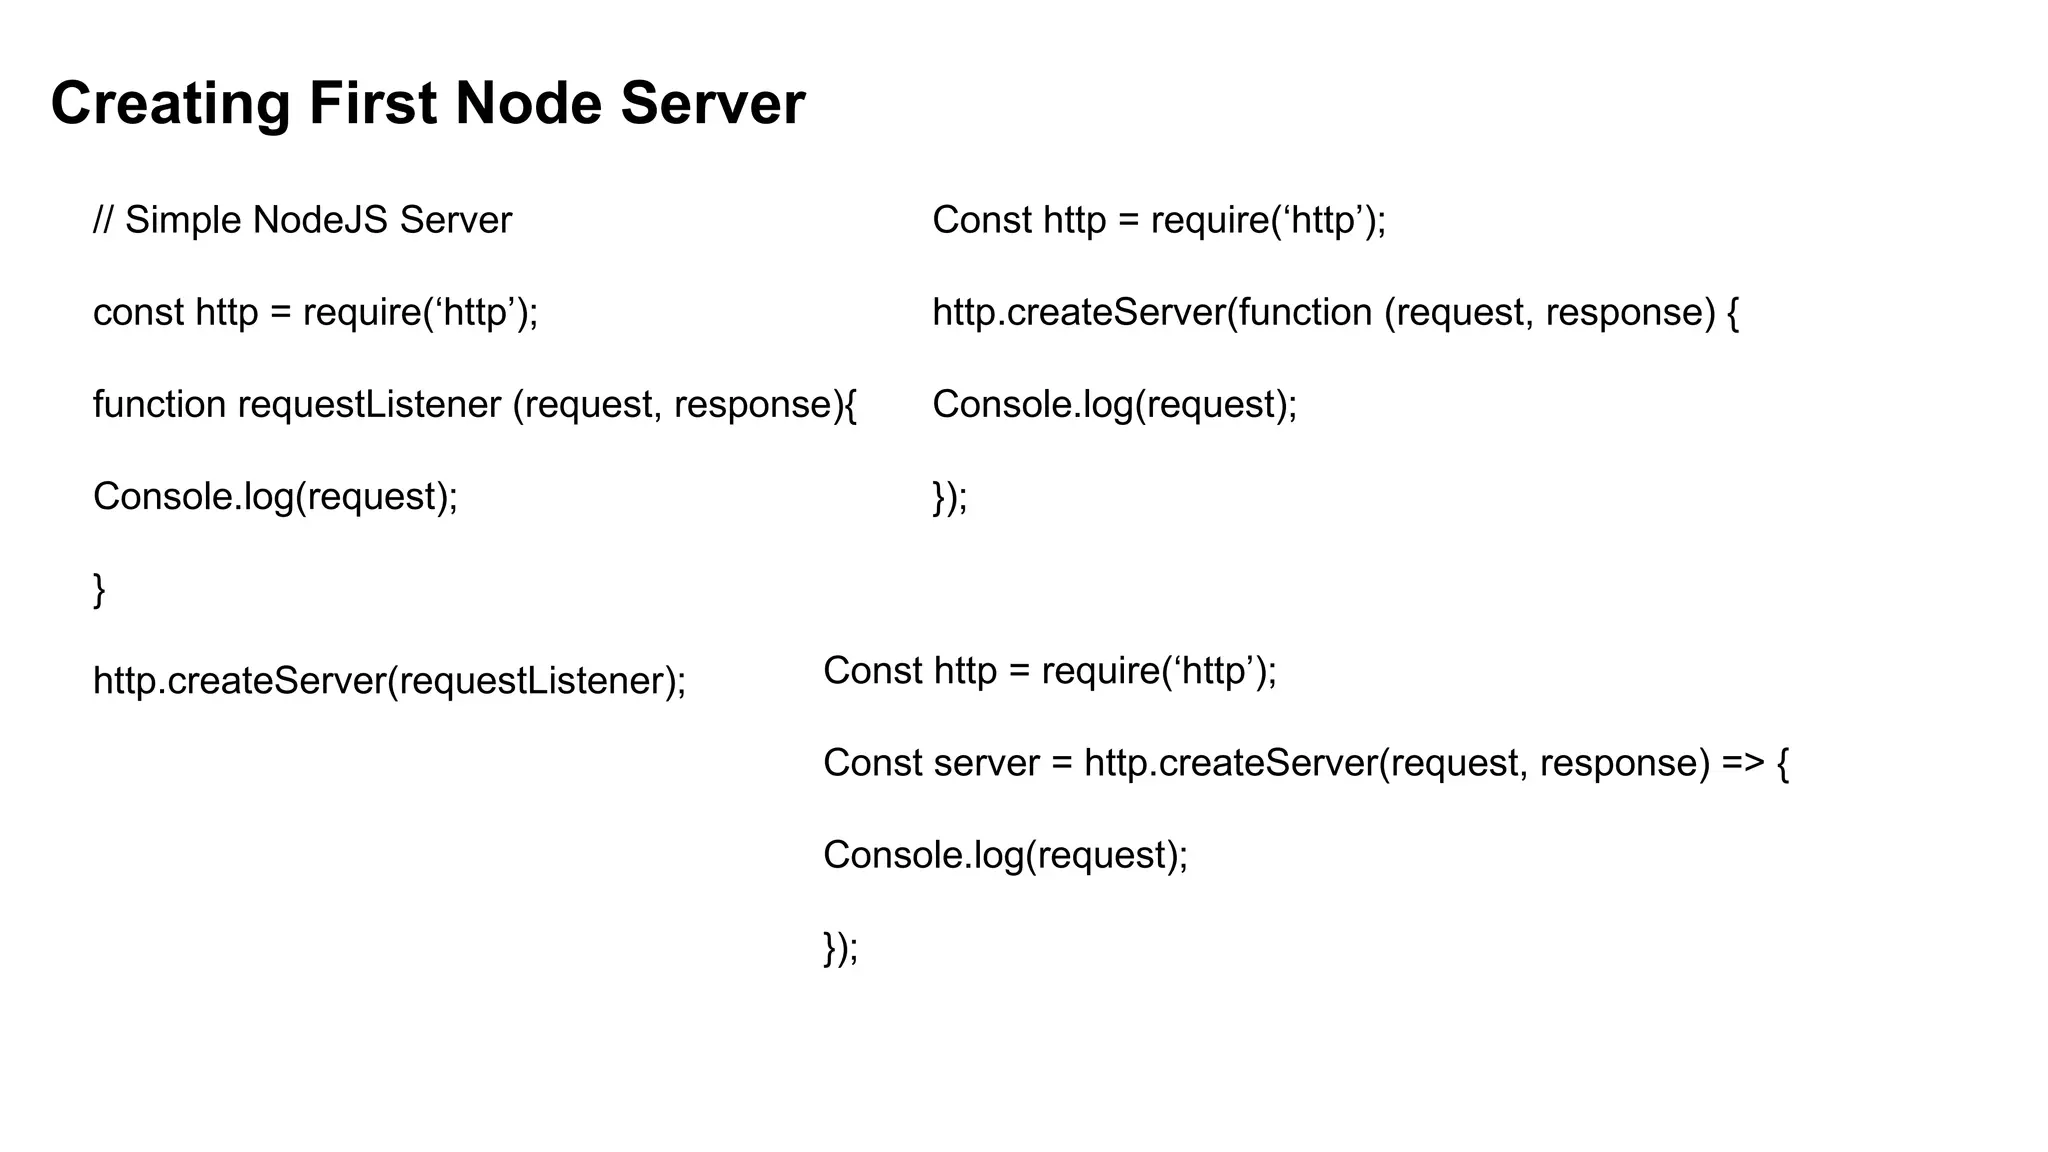
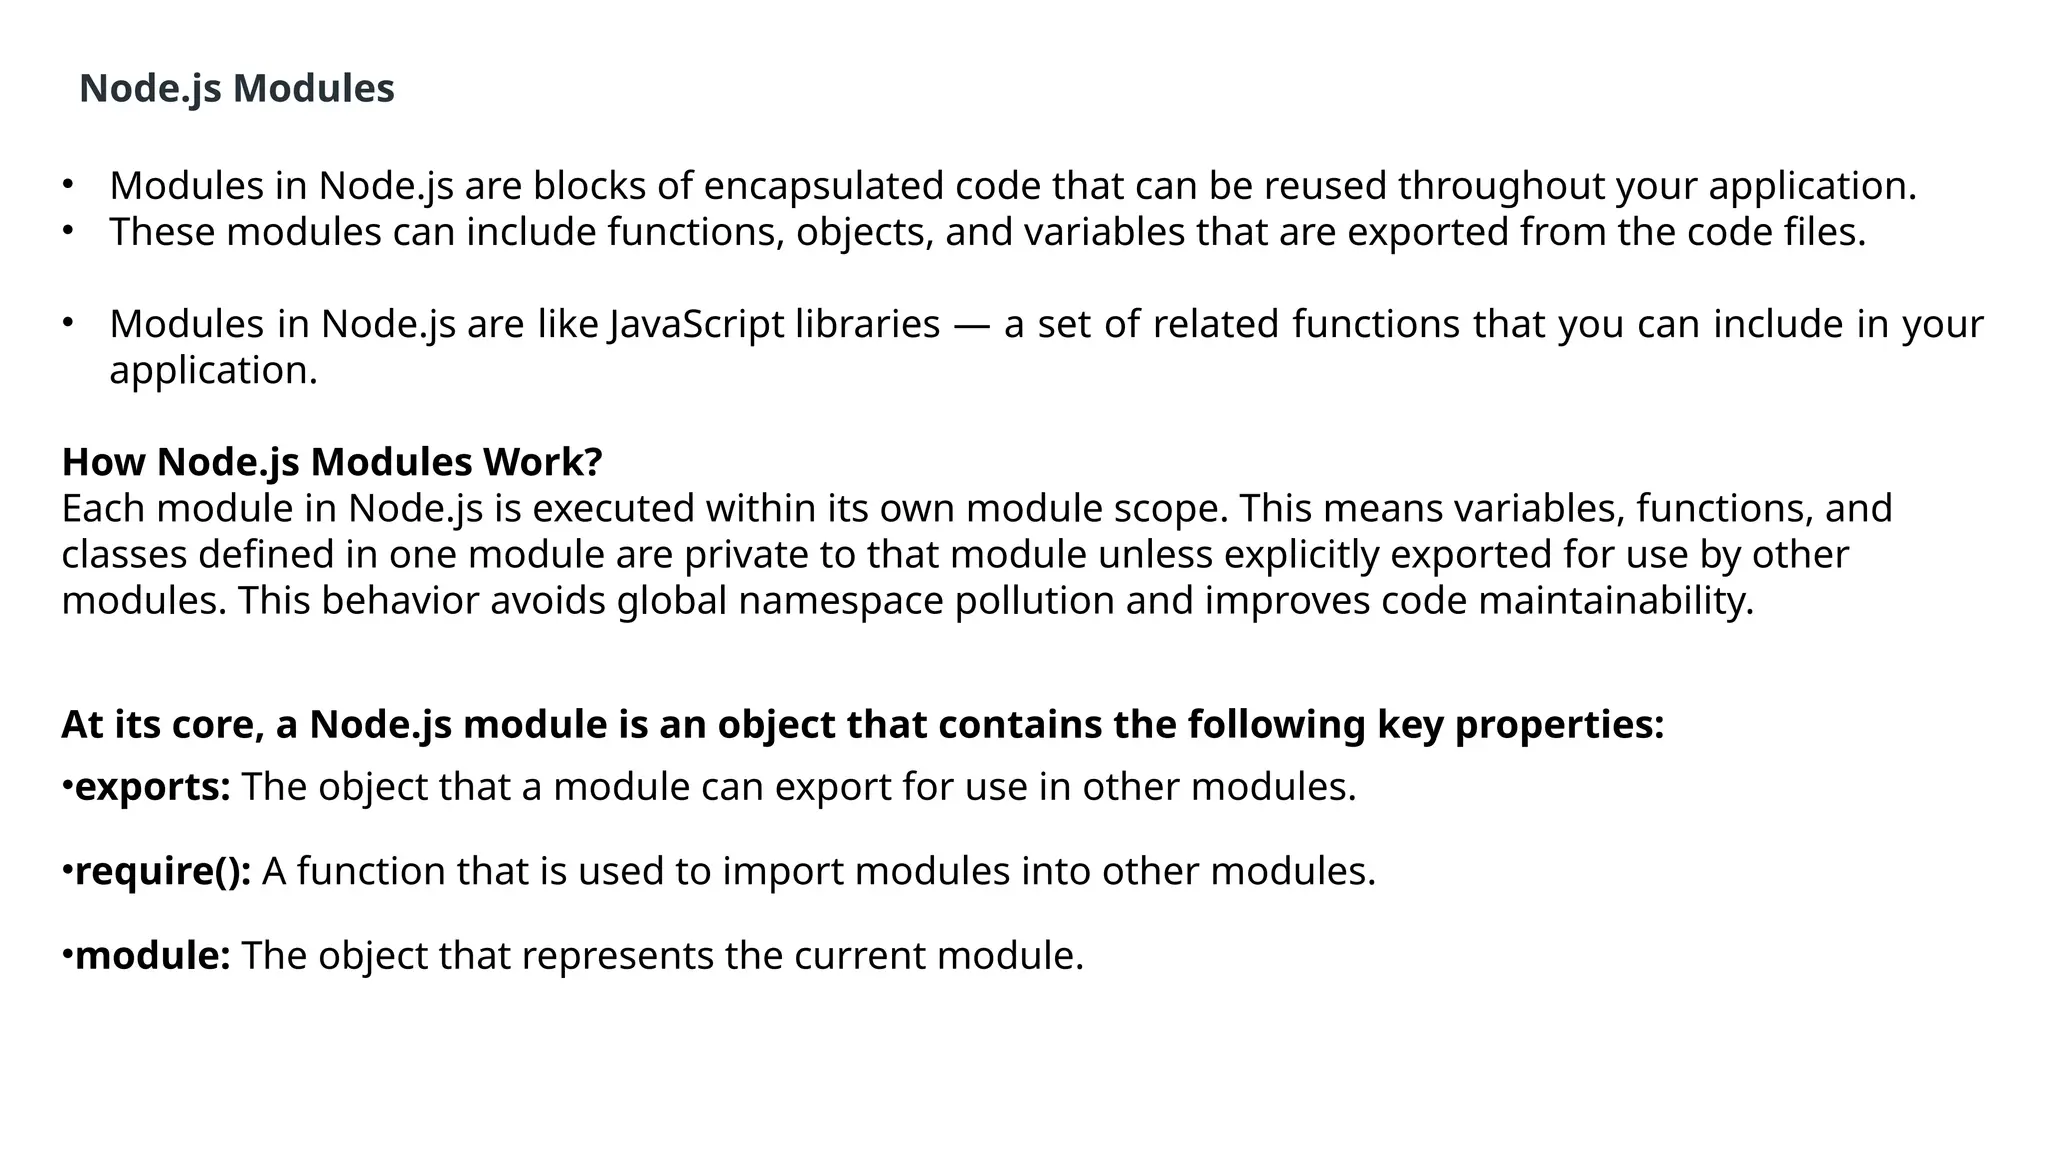
Node.js Modules
• Modulesin Node.js are blocks of encapsulated code that can be reused throughout your application.
• These modules can include functions, objects, and variables that are exported from the code files.
• Modules in Node.js are like JavaScript libraries — a set of related functions that you can include in your
application.
How Node.js Modules Work?
Each module in Node.js is executed within its own module scope. This means variables, functions, and
classes defined in one module are private to that module unless explicitly exported for use by other
modules. This behavior avoids global namespace pollution and improves code maintainability.
At its core, a Node.js module is an object that contains the following key properties:
•exports: The object that a module can export for use in other modules.
•require(): A function that is used to import modules into other modules.
•module: The object that represents the current module.
22.
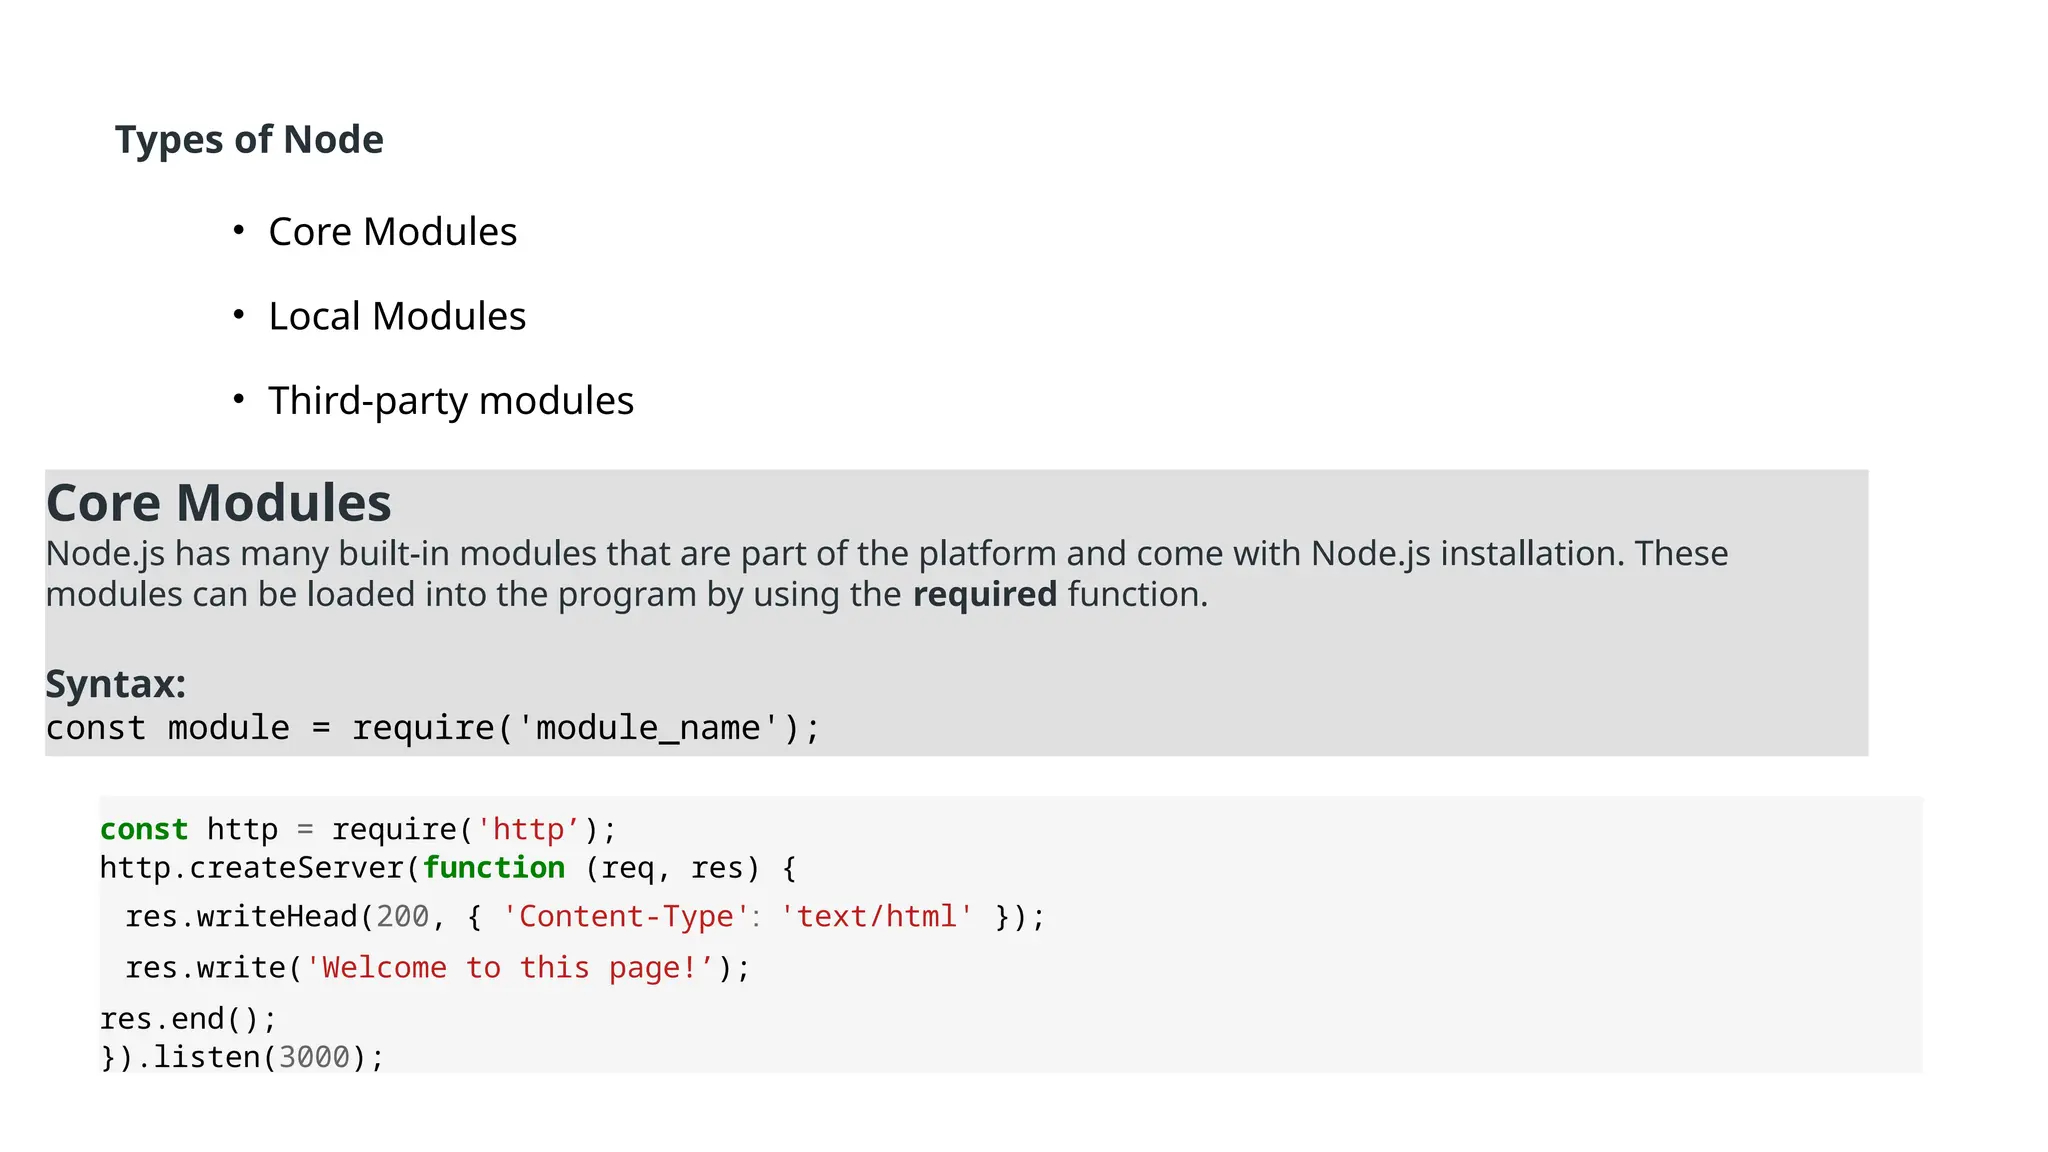
Types of Node
•Core Modules
• Local Modules
• Third-party modules
Core Modules
Node.js has many built-in modules that are part of the platform and come with Node.js installation. These
modules can be loaded into the program by using the required function.
Syntax:
const module = require('module_name');
const http = require('http’);
http.createServer(function (req, res) {
res.writeHead(200, { 'Content-Type': 'text/html' });
res.write('Welcome to this page!’);
res.end();
}).listen(3000);
23.
Core Modules Description
httpcreates an HTTP server in Node.js.
assert set of assertion functions useful for testing.
fs used to handle file system.
path includes methods to deal with file paths.
process
provides information and control about the current
Node.js process.
os provides information about the operating system.
querystring
utility used for parsing and formatting URL query
strings.
url
module provides utilities for URL resolution and
24.
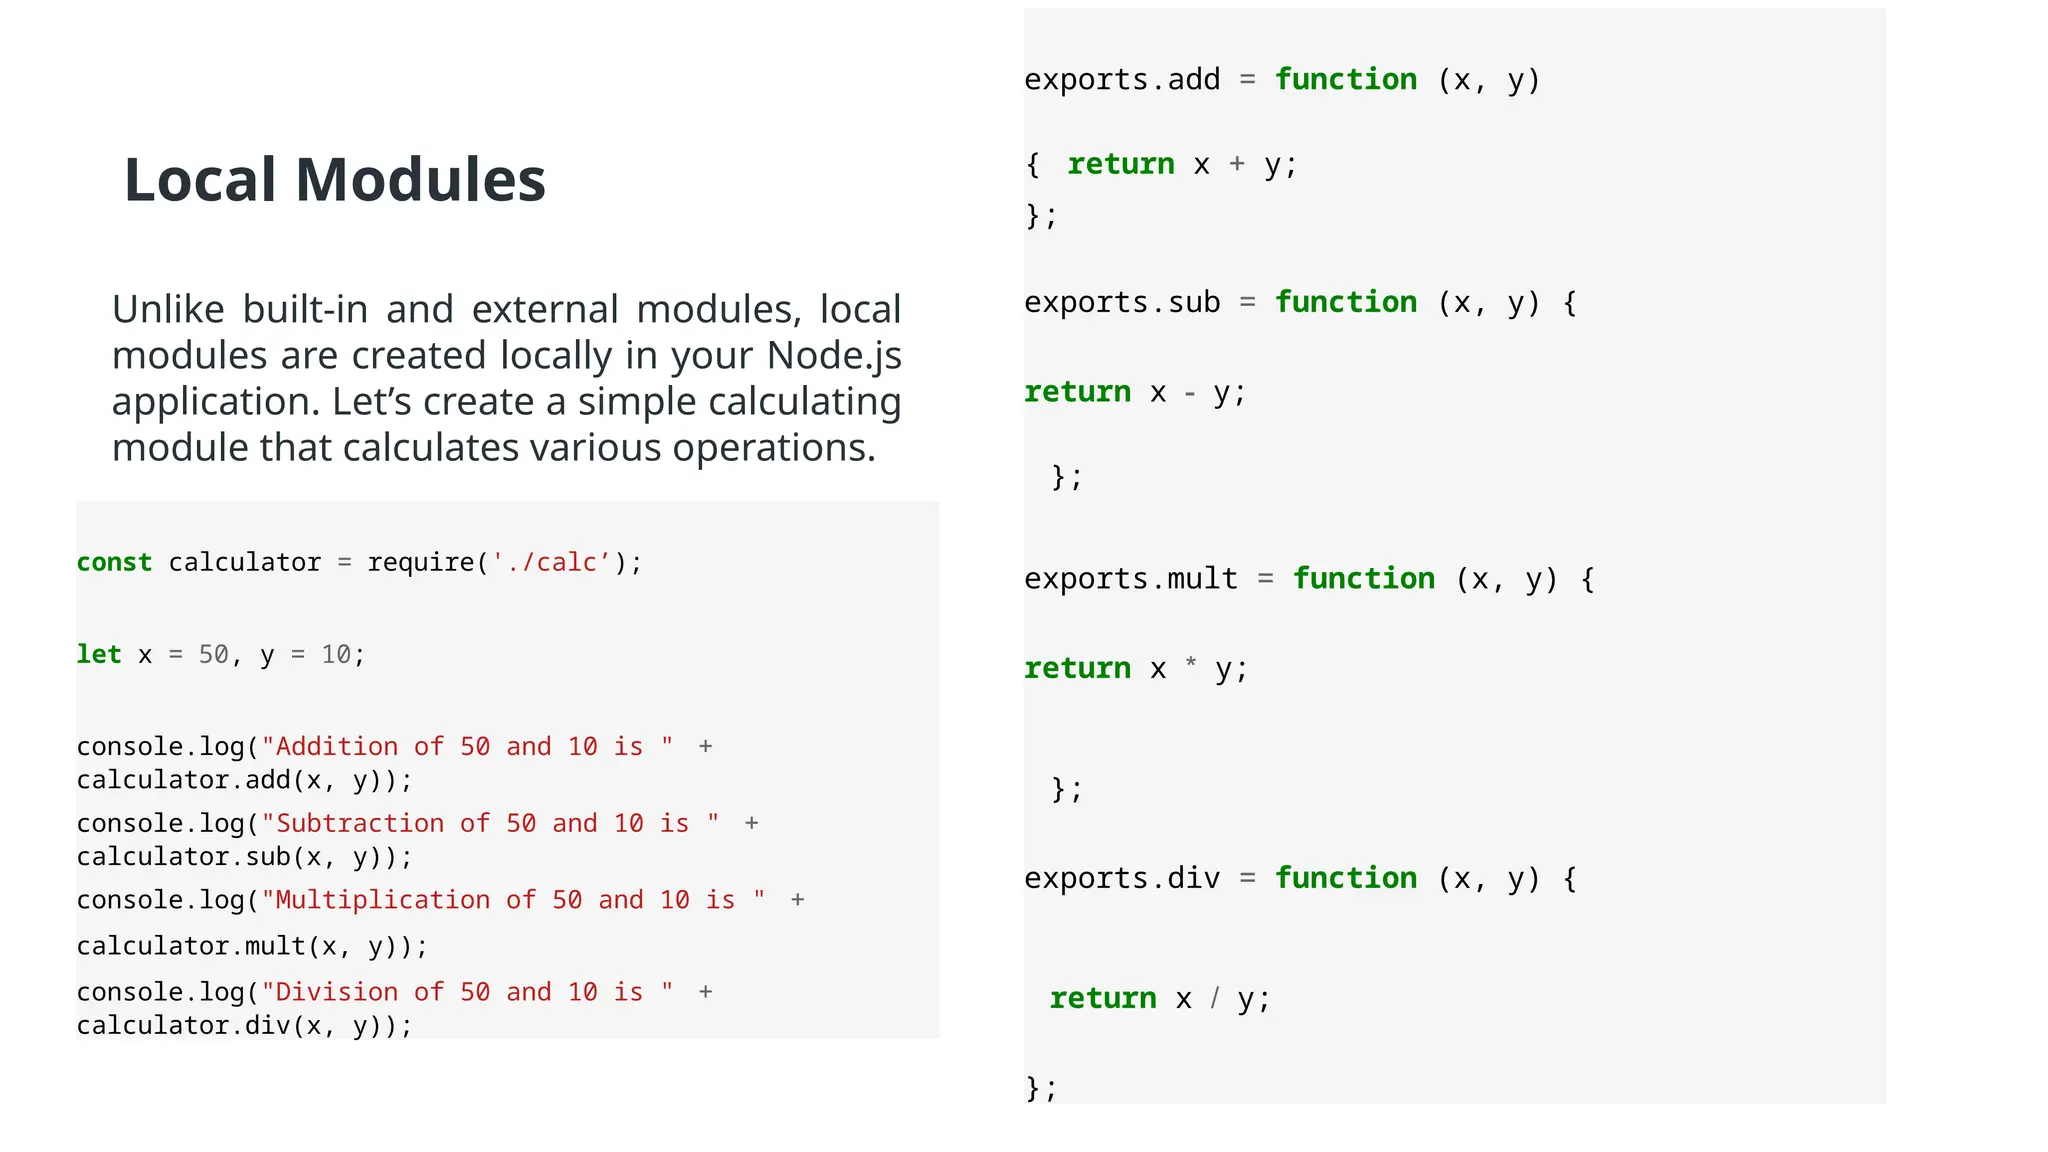
Local Modules
Unlike built-inand external modules, local
modules are created locally in your Node.js
application. Let’s create a simple calculating
module that calculates various operations.
exports.add = function (x, y)
{ return x + y;
};
exports.sub = function (x, y) {
return x - y;
};
exports.mult = function (x, y) {
return x * y;
};
exports.div = function (x, y) {
return x / y;
};
const calculator = require('./calc’);
let x = 50, y = 10;
console.log("Addition of 50 and 10 is " +
calculator.add(x, y));
console.log("Subtraction of 50 and 10 is " +
calculator.sub(x, y));
console.log("Multiplication of 50 and 10 is " +
calculator.mult(x, y));
console.log("Division of 50 and 10 is " +
calculator.div(x, y));
25.
Third-party modules
Third-party modulesare modules that are available online using the Node Package Manager(NPM).
These modules can be installed in the project folder or globally. Some of the popular third-party
modules are Mongoose, Express, Angular, and React.
Example:
•npm install express
•npm install mongoose
•npm install -g @angular/cli
Example: Installing and Using Express
npm install express
26.
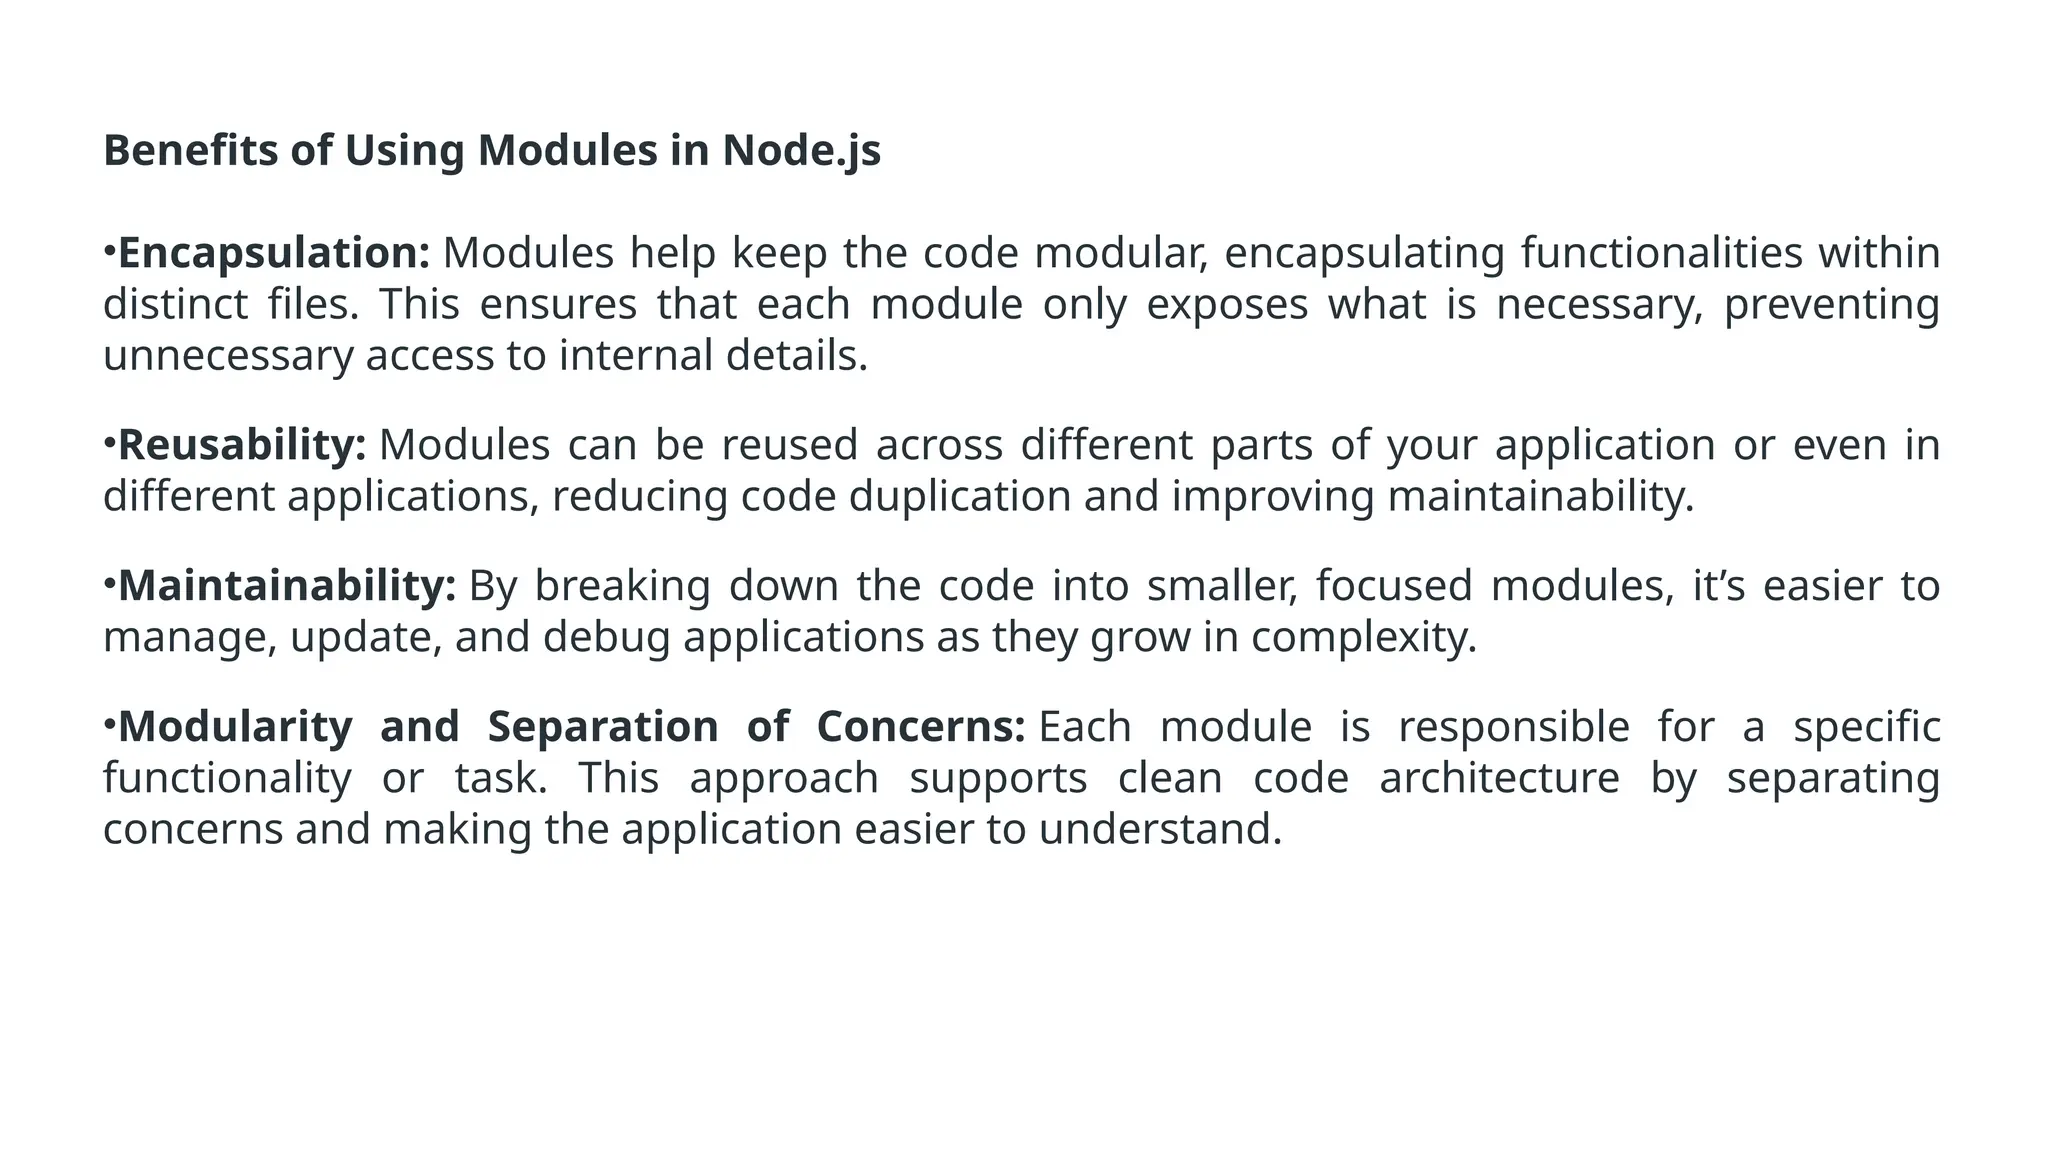
Benefits of UsingModules in Node.js
•Encapsulation: Modules help keep the code modular, encapsulating functionalities within
distinct files. This ensures that each module only exposes what is necessary, preventing
unnecessary access to internal details.
•Reusability: Modules can be reused across different parts of your application or even in
different applications, reducing code duplication and improving maintainability.
•Maintainability: By breaking down the code into smaller, focused modules, it’s easier to
manage, update, and debug applications as they grow in complexity.
•Modularity and Separation of Concerns: Each module is responsible for a specific
functionality or task. This approach supports clean code architecture by separating
concerns and making the application easier to understand.
27.
NodeJS NPM:
• Standardpackage manager for Node.js.
• It helps developers manage project dependencies, scripts, and third-party libraries
• World’s largest repository- contains over 8000000 code packages.
• It is primarily used to manage packages or modules—these are pre-built pieces of code that extend
the functionality of your Node.js application.
• The NPM registry hosts millions of free packages that you can download and use in your project.
• NPM is installed automatically when you install Node.js, so you don’t need to set it up manually.
Verify the Installation
After installation, verify Node.js and NPM are installed by running the following commands in your
terminal:
node -v
npm -v
28.
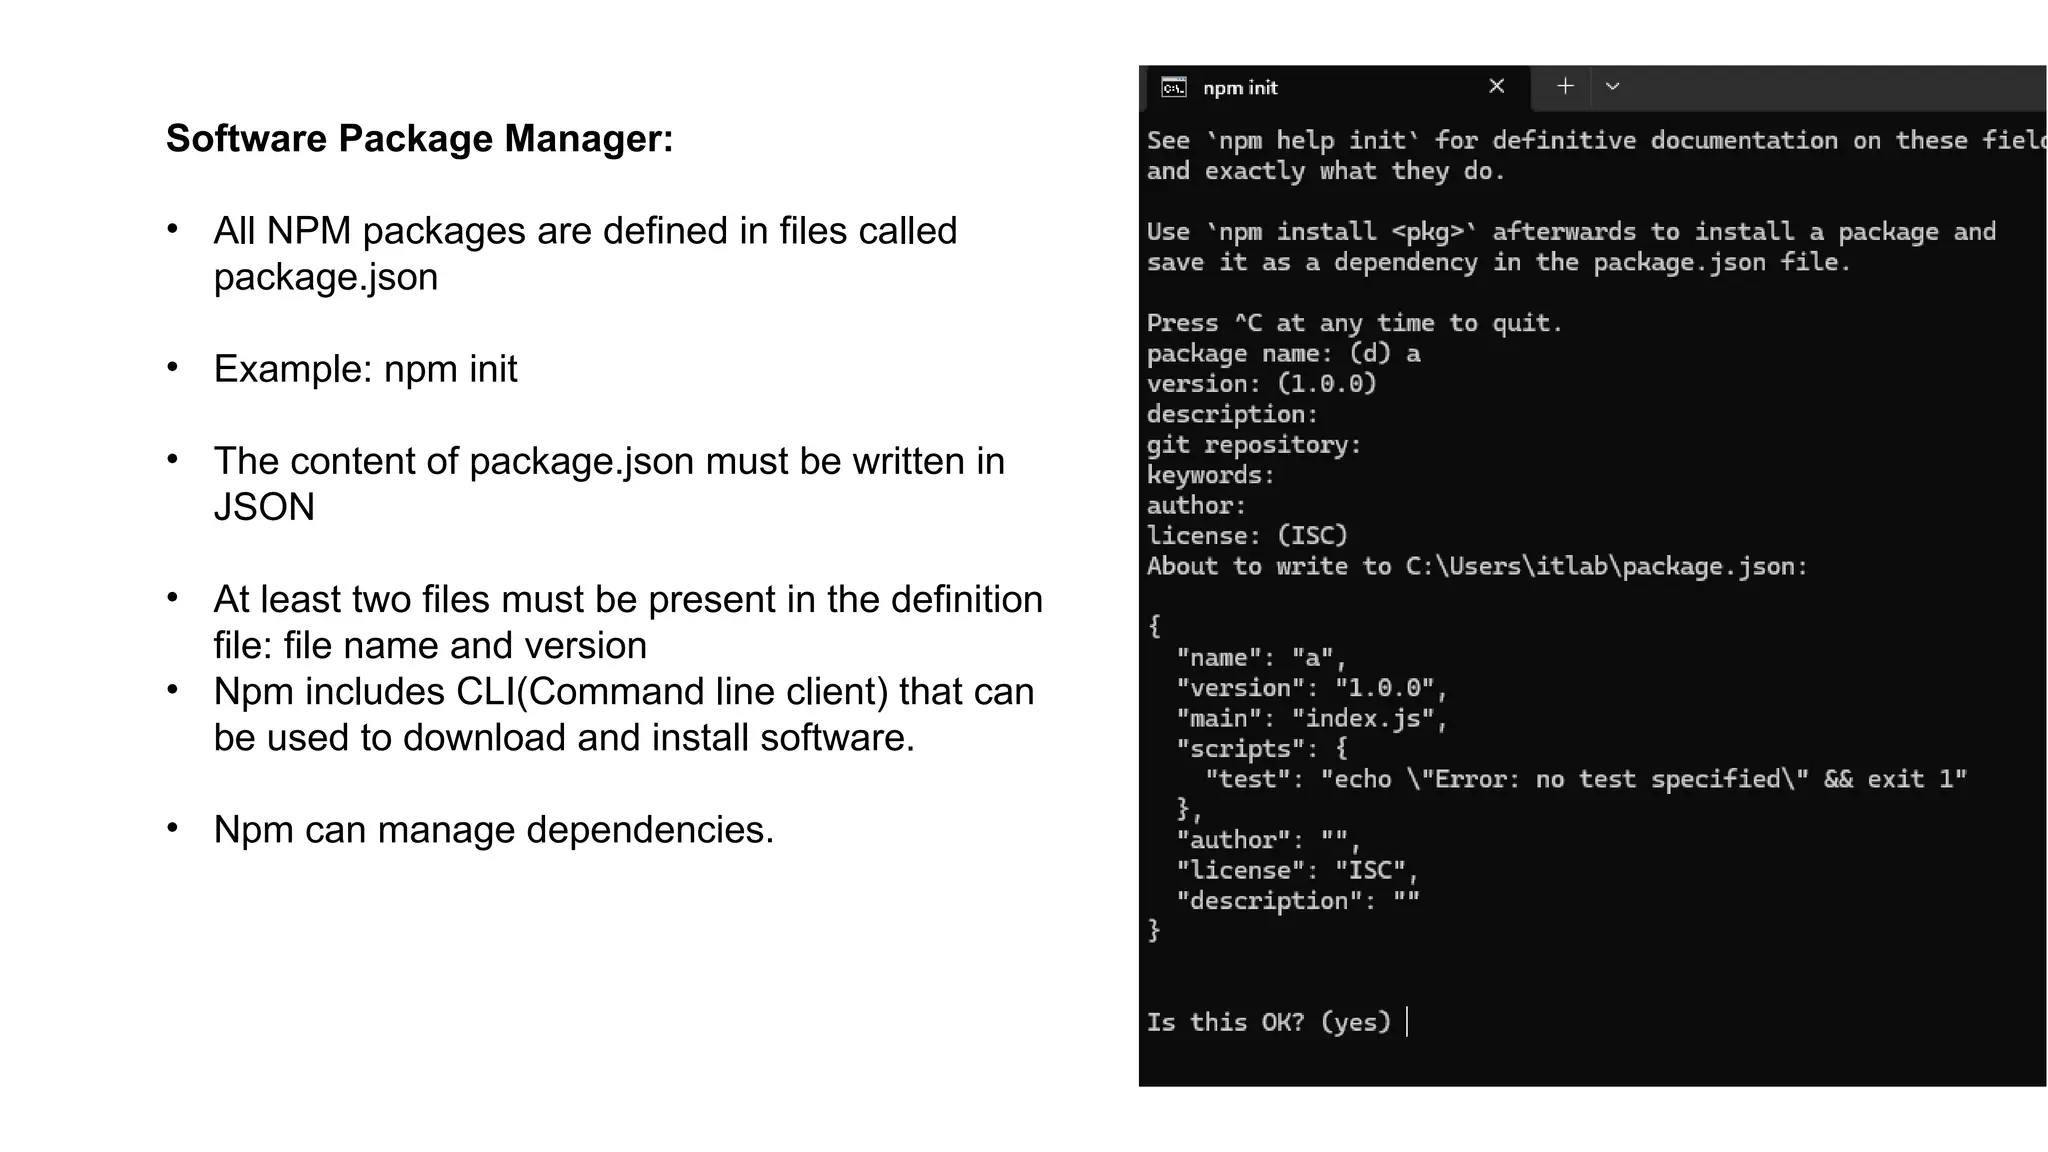
Software Package Manager:
•All NPM packages are defined in files called
package.json
• Example: npm init
• The content of package.json must be written in
JSON
• At least two files must be present in the definition
file: file name and version
• Npm includes CLI(Command line client) that can
be used to download and install software.
• Npm can manage dependencies.
29.
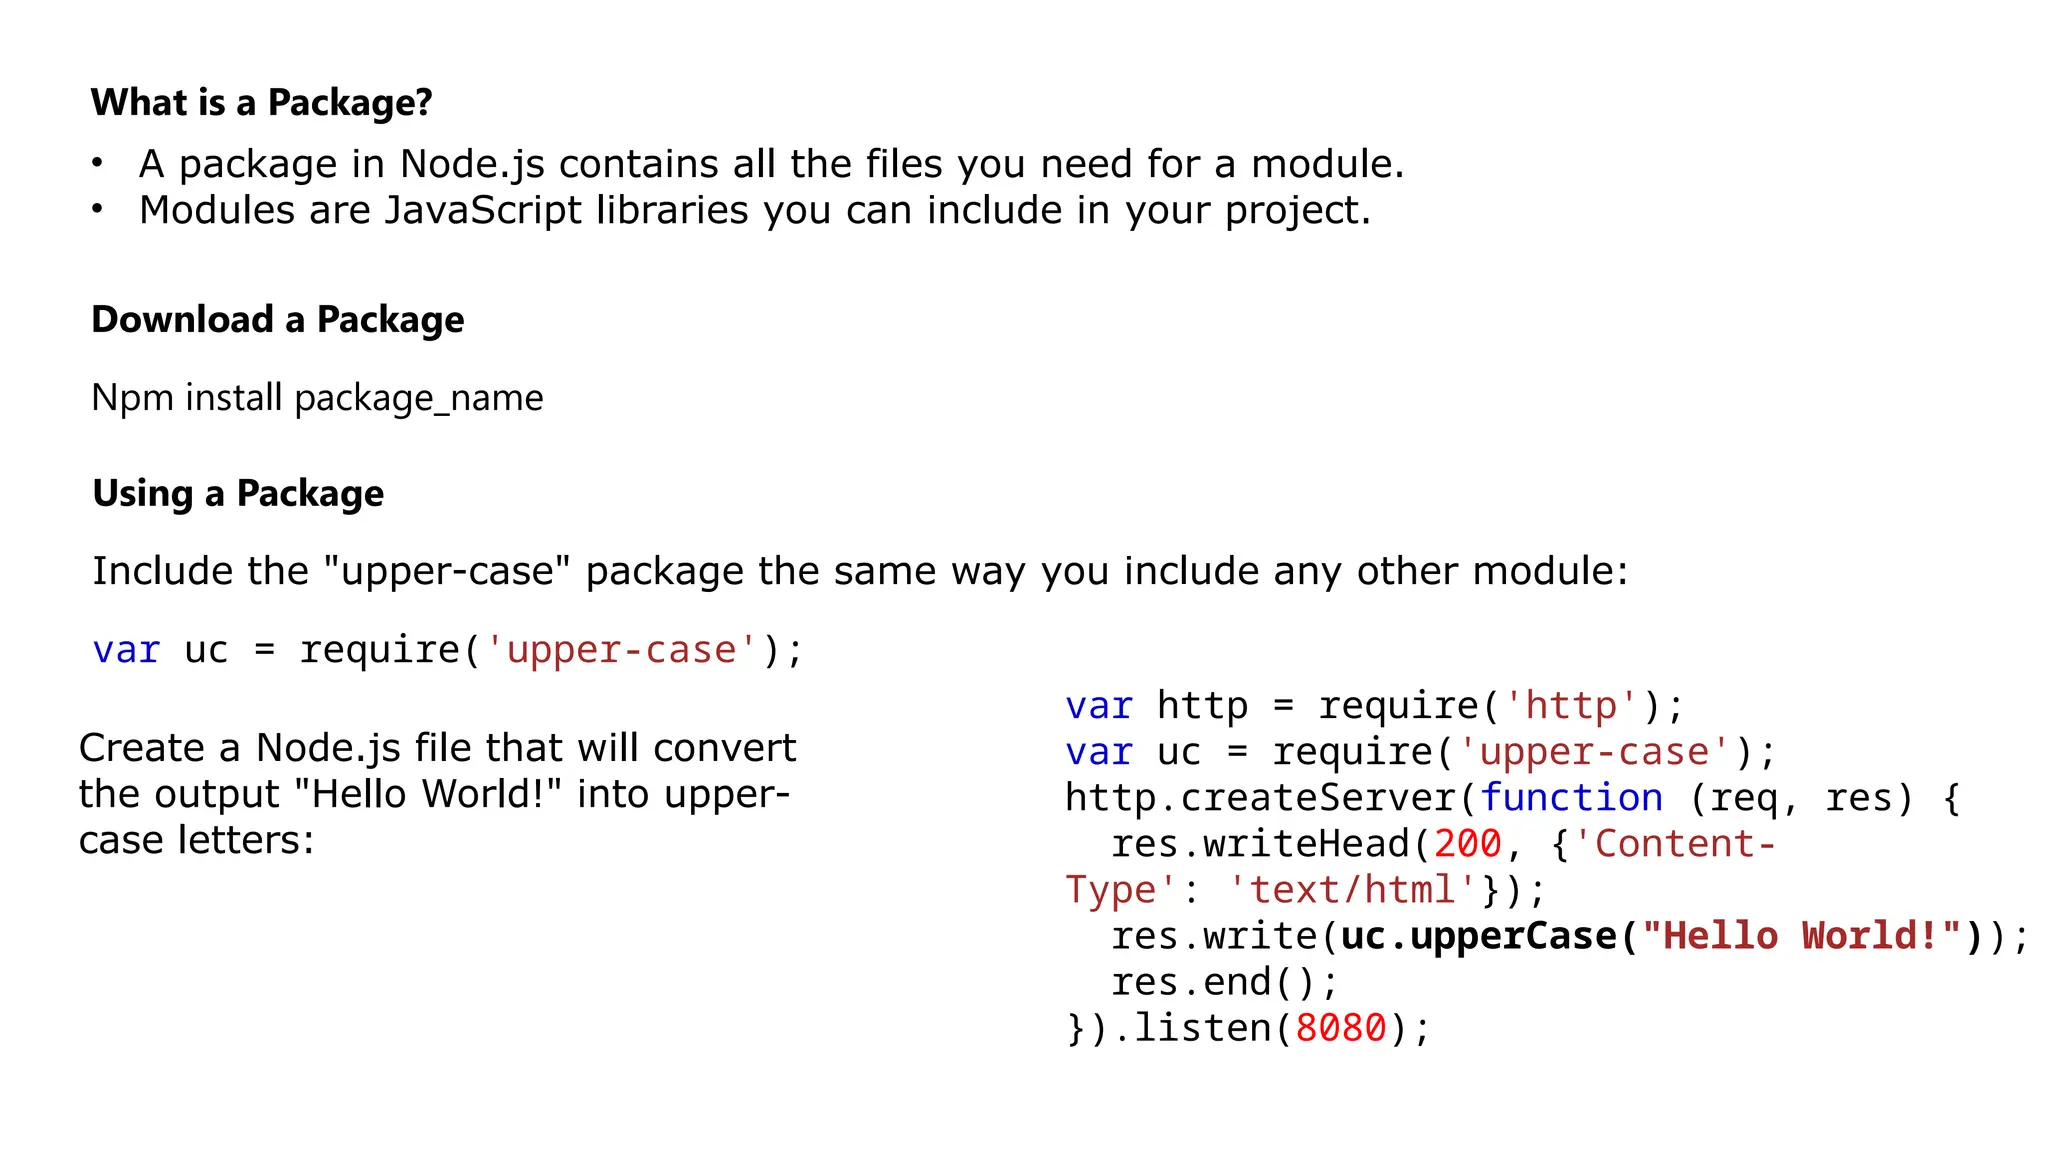
What is aPackage?
• A package in Node.js contains all the files you need for a module.
• Modules are JavaScript libraries you can include in your project.
Download a Package
Npm install package_name
Using a Package
Include the "upper-case" package the same way you include any other module:
var uc = require('upper-case');
Create a Node.js file that will convert
the output "Hello World!" into upper-
case letters:
var http = require('http');
var uc = require('upper-case');
http.createServer(function (req, res) {
res.writeHead(200, {'Content-
Type': 'text/html'});
res.write(uc.upperCase("Hello World!"));
res.end();
}).listen(8080);
30.
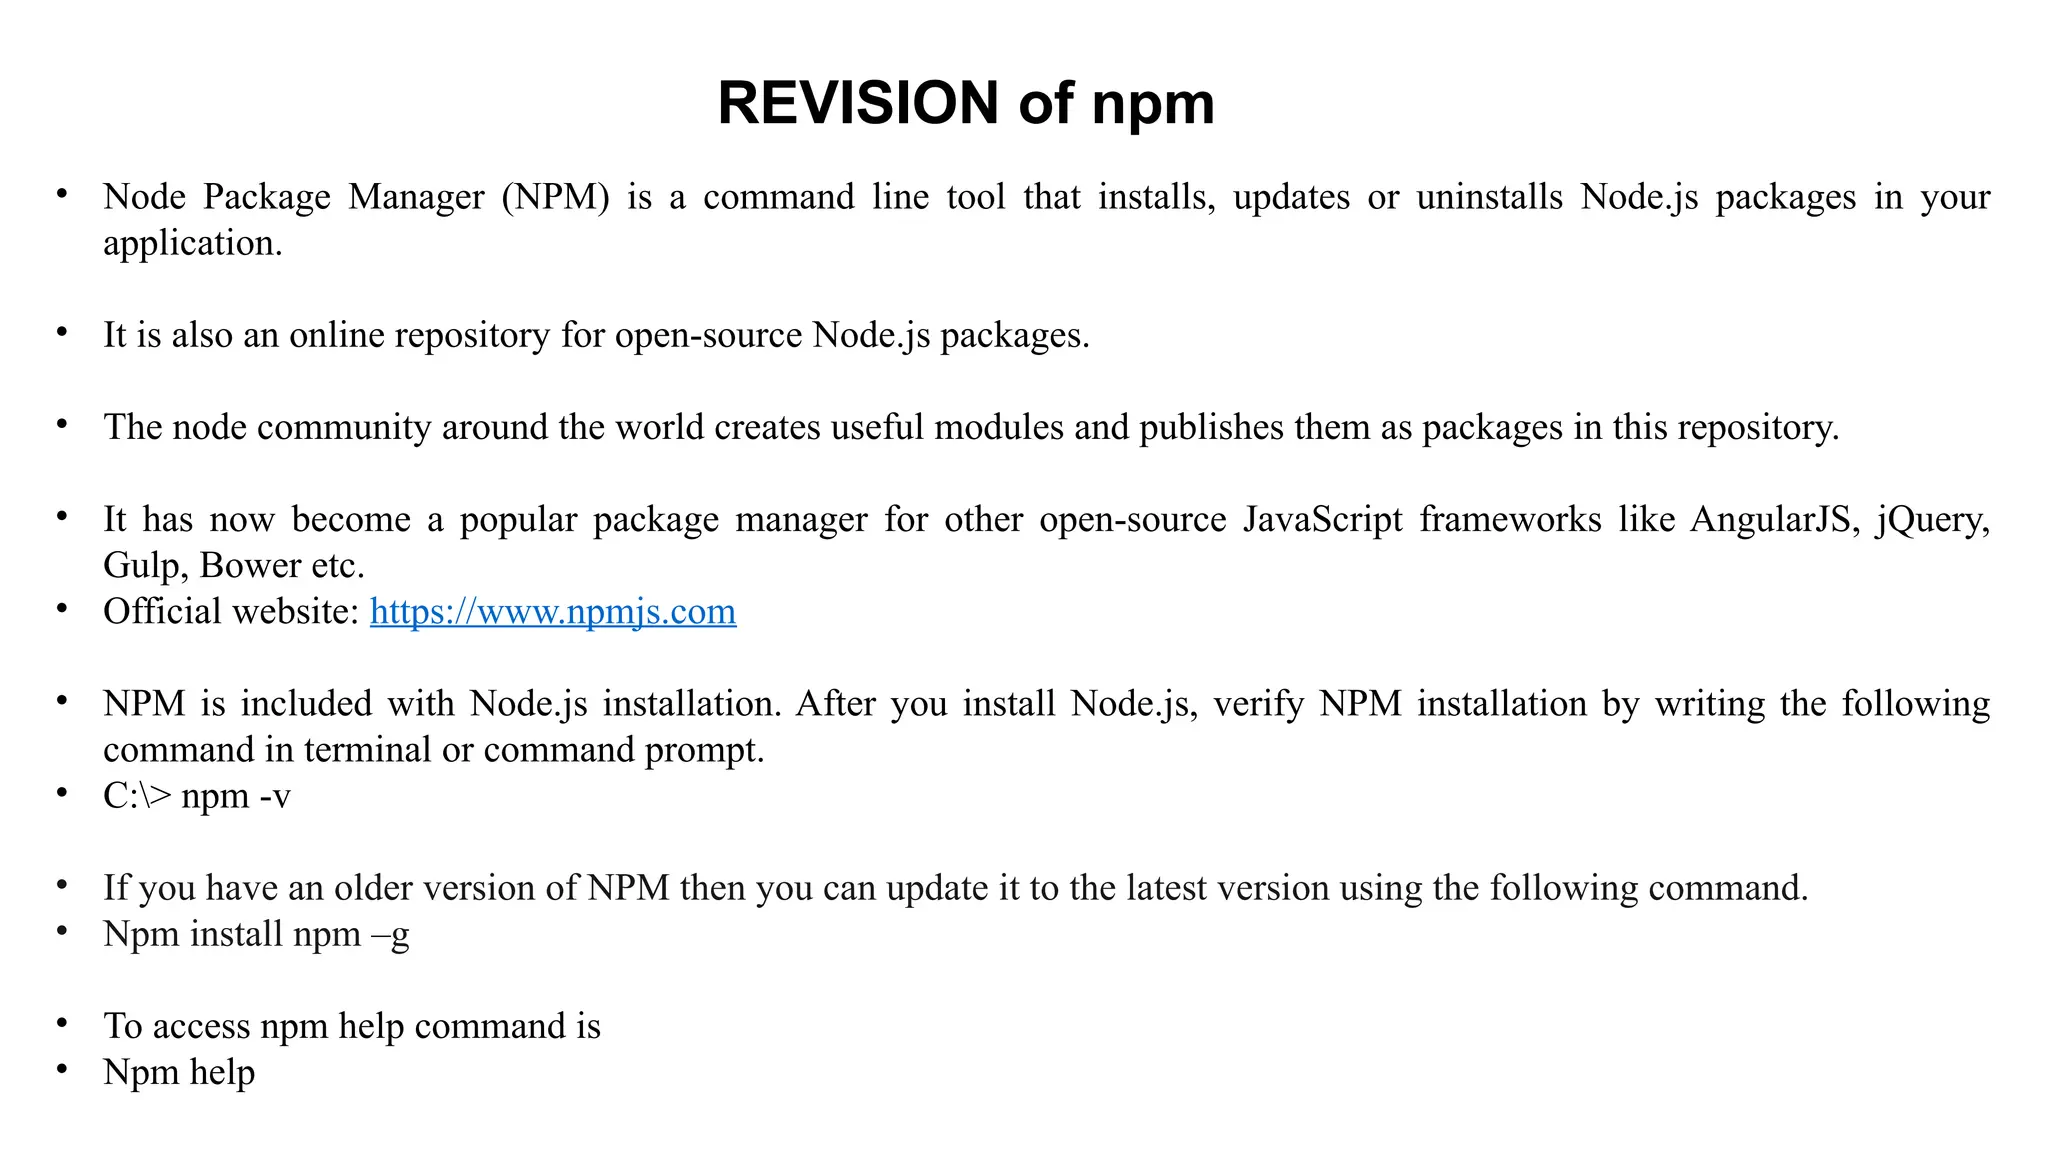
• Node PackageManager (NPM) is a command line tool that installs, updates or uninstalls Node.js packages in your
application.
• It is also an online repository for open-source Node.js packages.
• The node community around the world creates useful modules and publishes them as packages in this repository.
• It has now become a popular package manager for other open-source JavaScript frameworks like AngularJS, jQuery,
Gulp, Bower etc.
• Official website: https://www.npmjs.com
• NPM is included with Node.js installation. After you install Node.js, verify NPM installation by writing the following
command in terminal or command prompt.
• C:> npm -v
• If you have an older version of NPM then you can update it to the latest version using the following command.
• Npm install npm –g
• To access npm help command is
• Npm help
REVISION of npm
31.
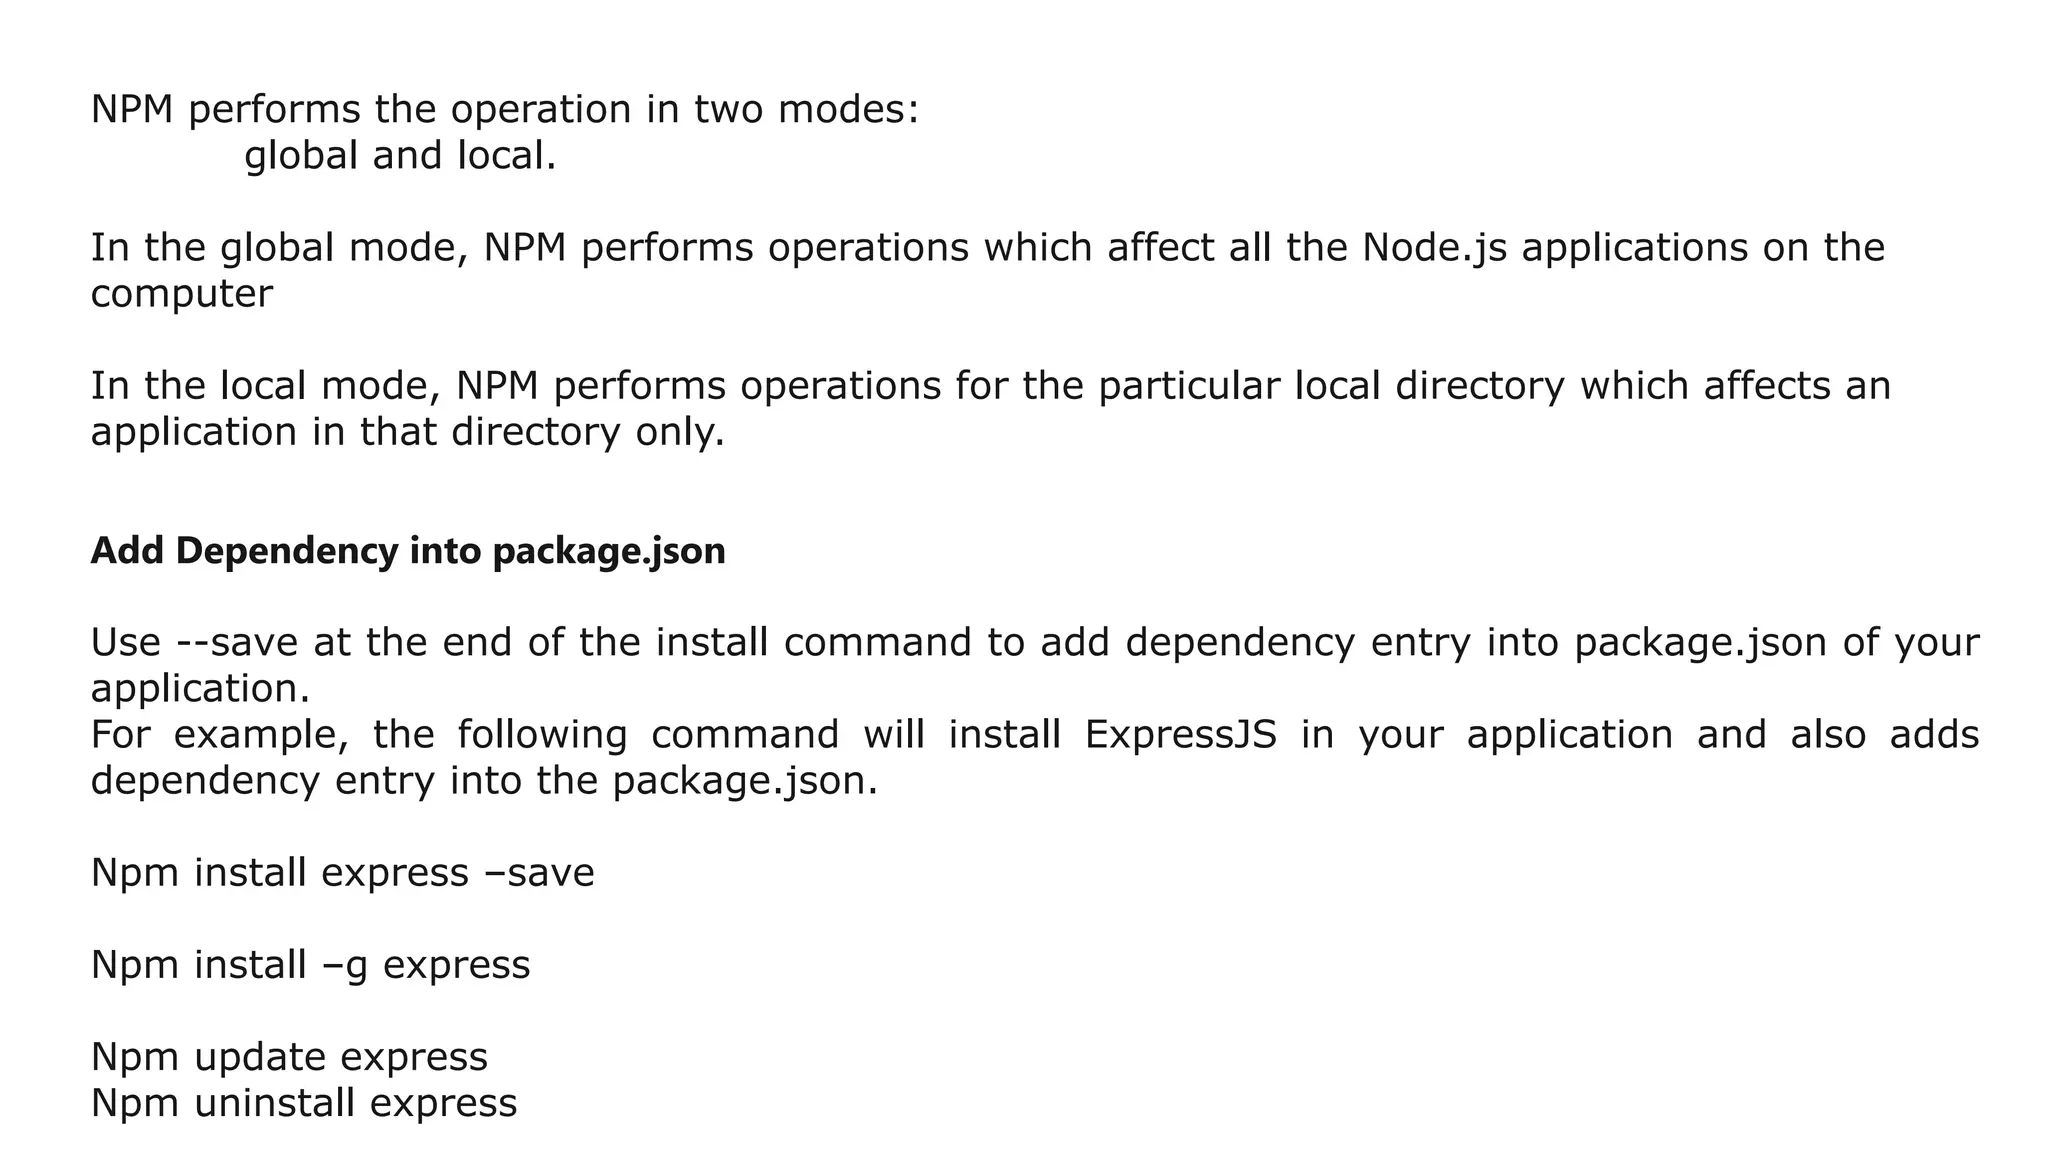
NPM performs theoperation in two modes:
global and local.
In the global mode, NPM performs operations which affect all the Node.js applications on the
computer
In the local mode, NPM performs operations for the particular local directory which affects an
application in that directory only.
Add Dependency into package.json
Use --save at the end of the install command to add dependency entry into package.json of your
application.
For example, the following command will install ExpressJS in your application and also adds
dependency entry into the package.json.
Npm install express –save
Npm install –g express
Npm update express
Npm uninstall express
32.
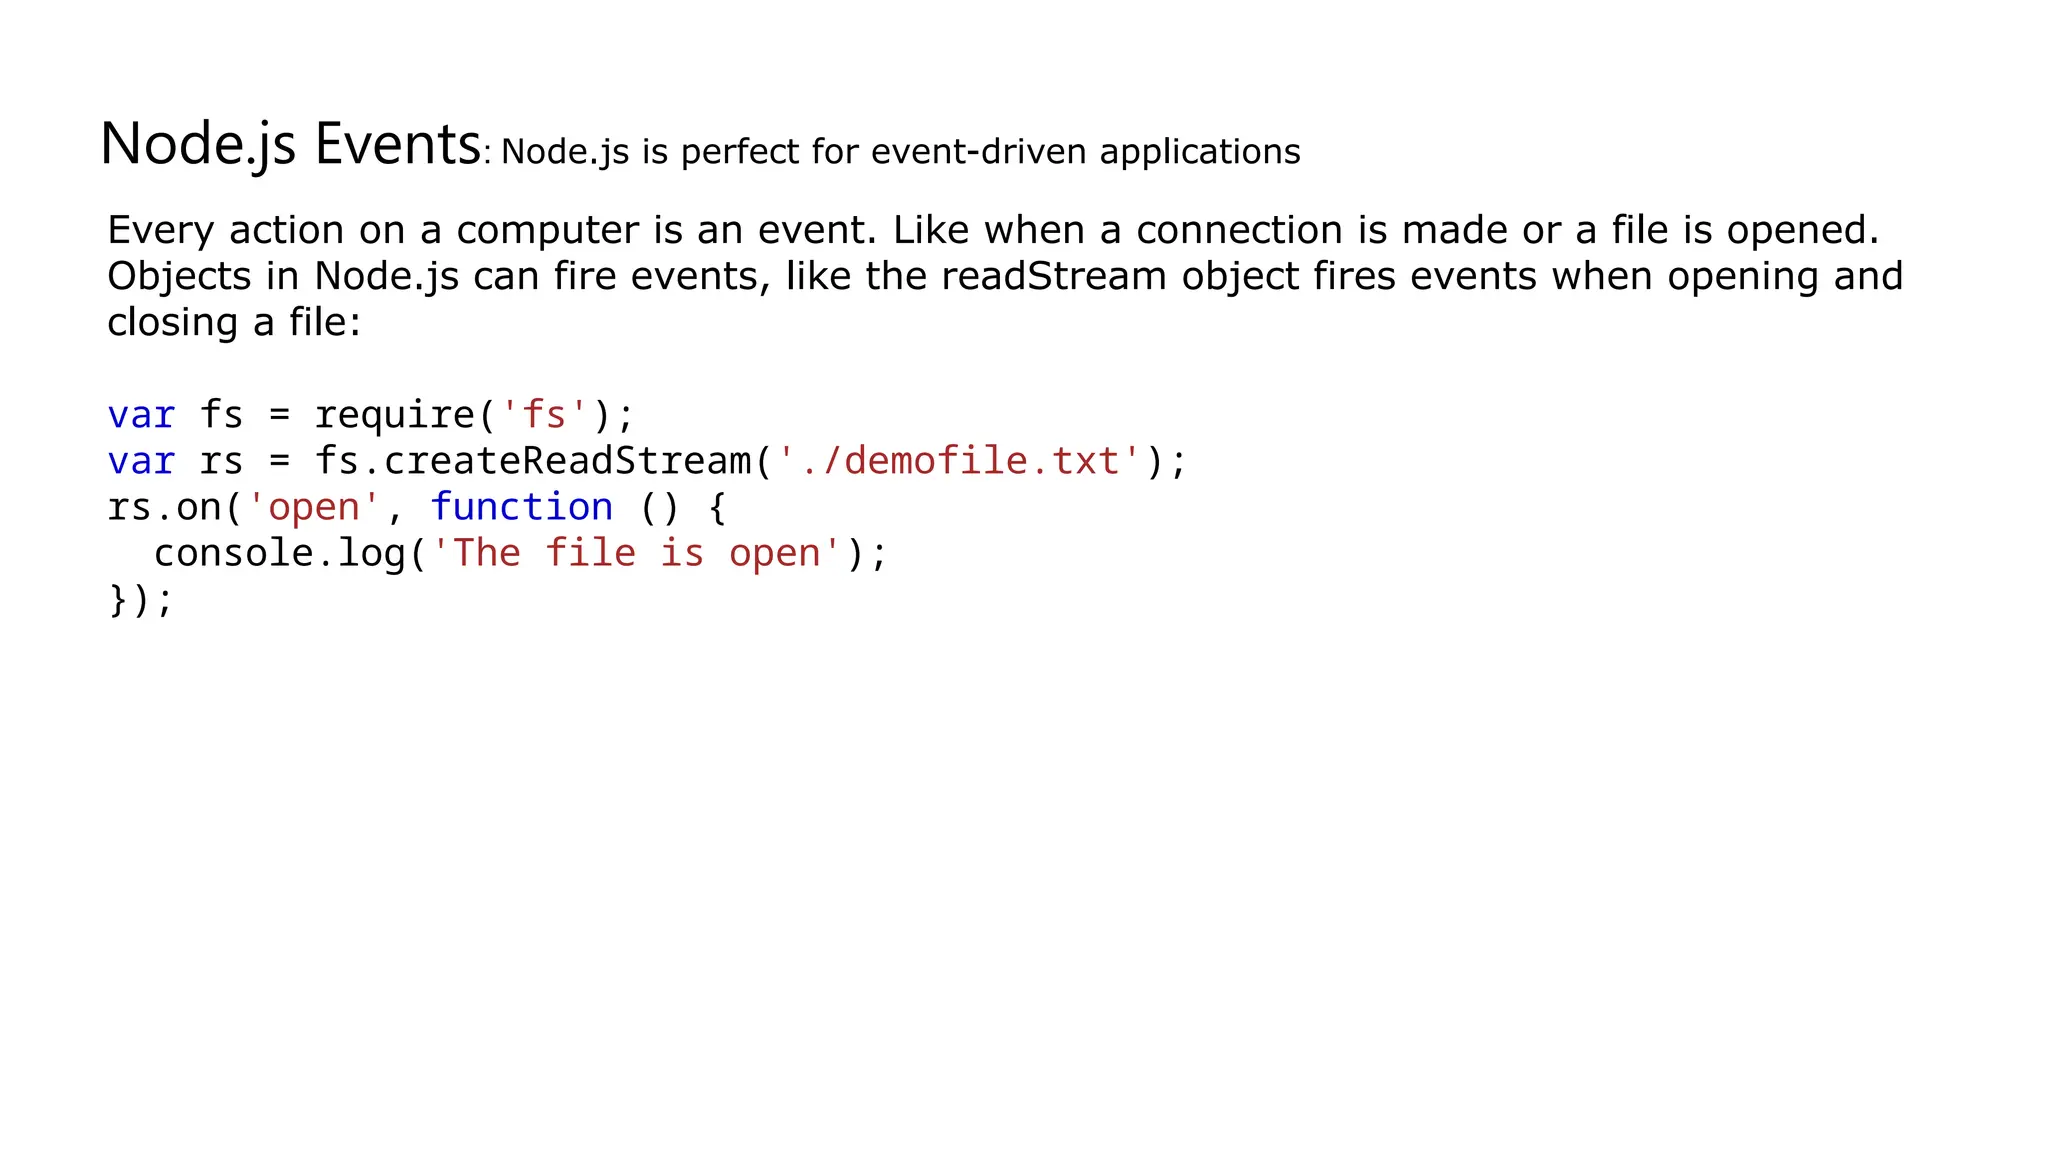
Node.js Events: Node.jsis perfect for event-driven applications
Every action on a computer is an event. Like when a connection is made or a file is opened.
Objects in Node.js can fire events, like the readStream object fires events when opening and
closing a file:
var fs = require('fs');
var rs = fs.createReadStream('./demofile.txt');
rs.on('open', function () {
console.log('The file is open');
});
33.
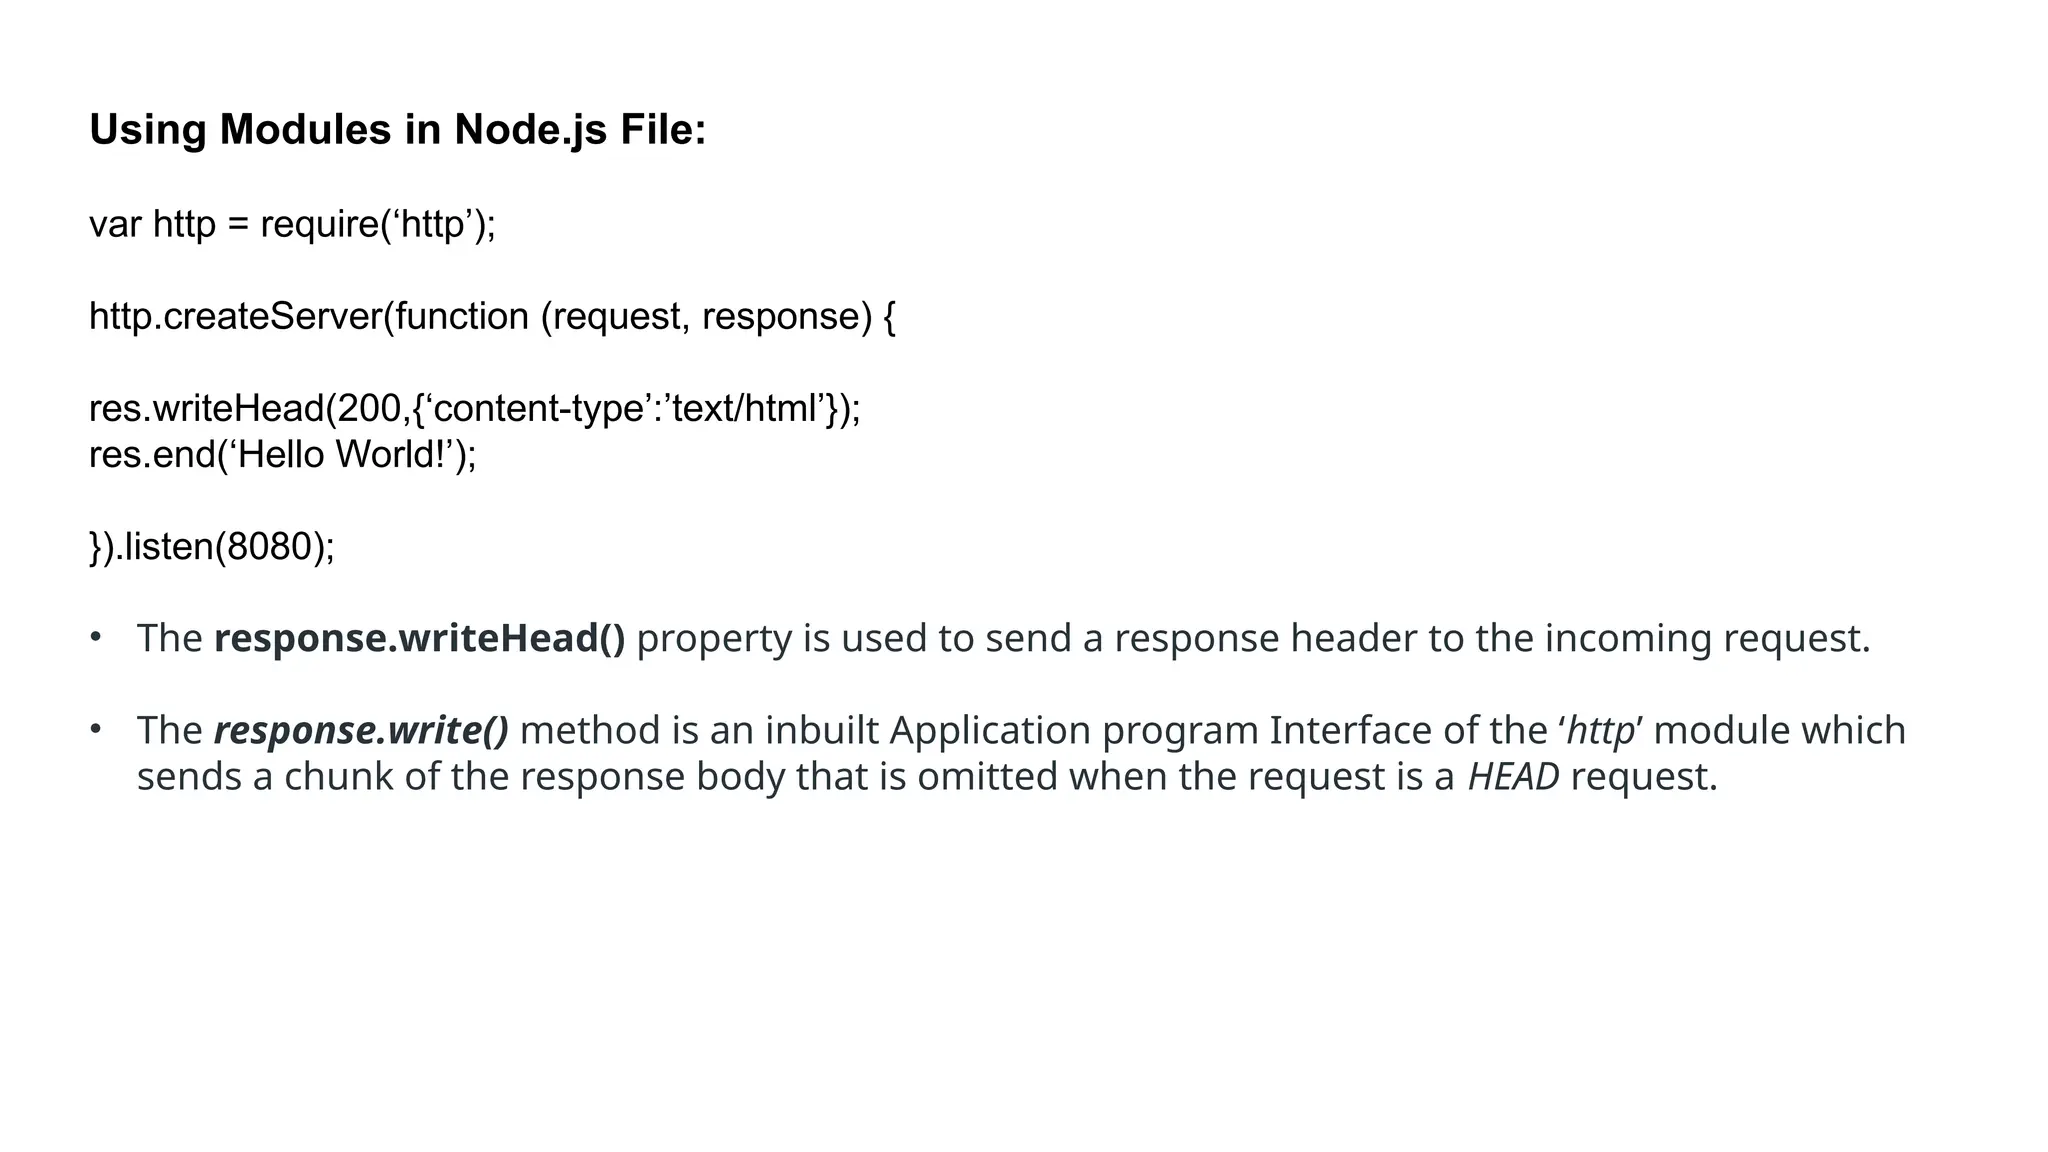
Using Modules inNode.js File:
var http = require(‘http’);
http.createServer(function (request, response) {
res.writeHead(200,{‘content-type’:’text/html’});
res.end(‘Hello World!’);
}).listen(8080);
• The response.writeHead() property is used to send a response header to the incoming request.
• The response.write() method is an inbuilt Application program Interface of the ‘http’ module which
sends a chunk of the response body that is omitted when the request is a HEAD request.
34.
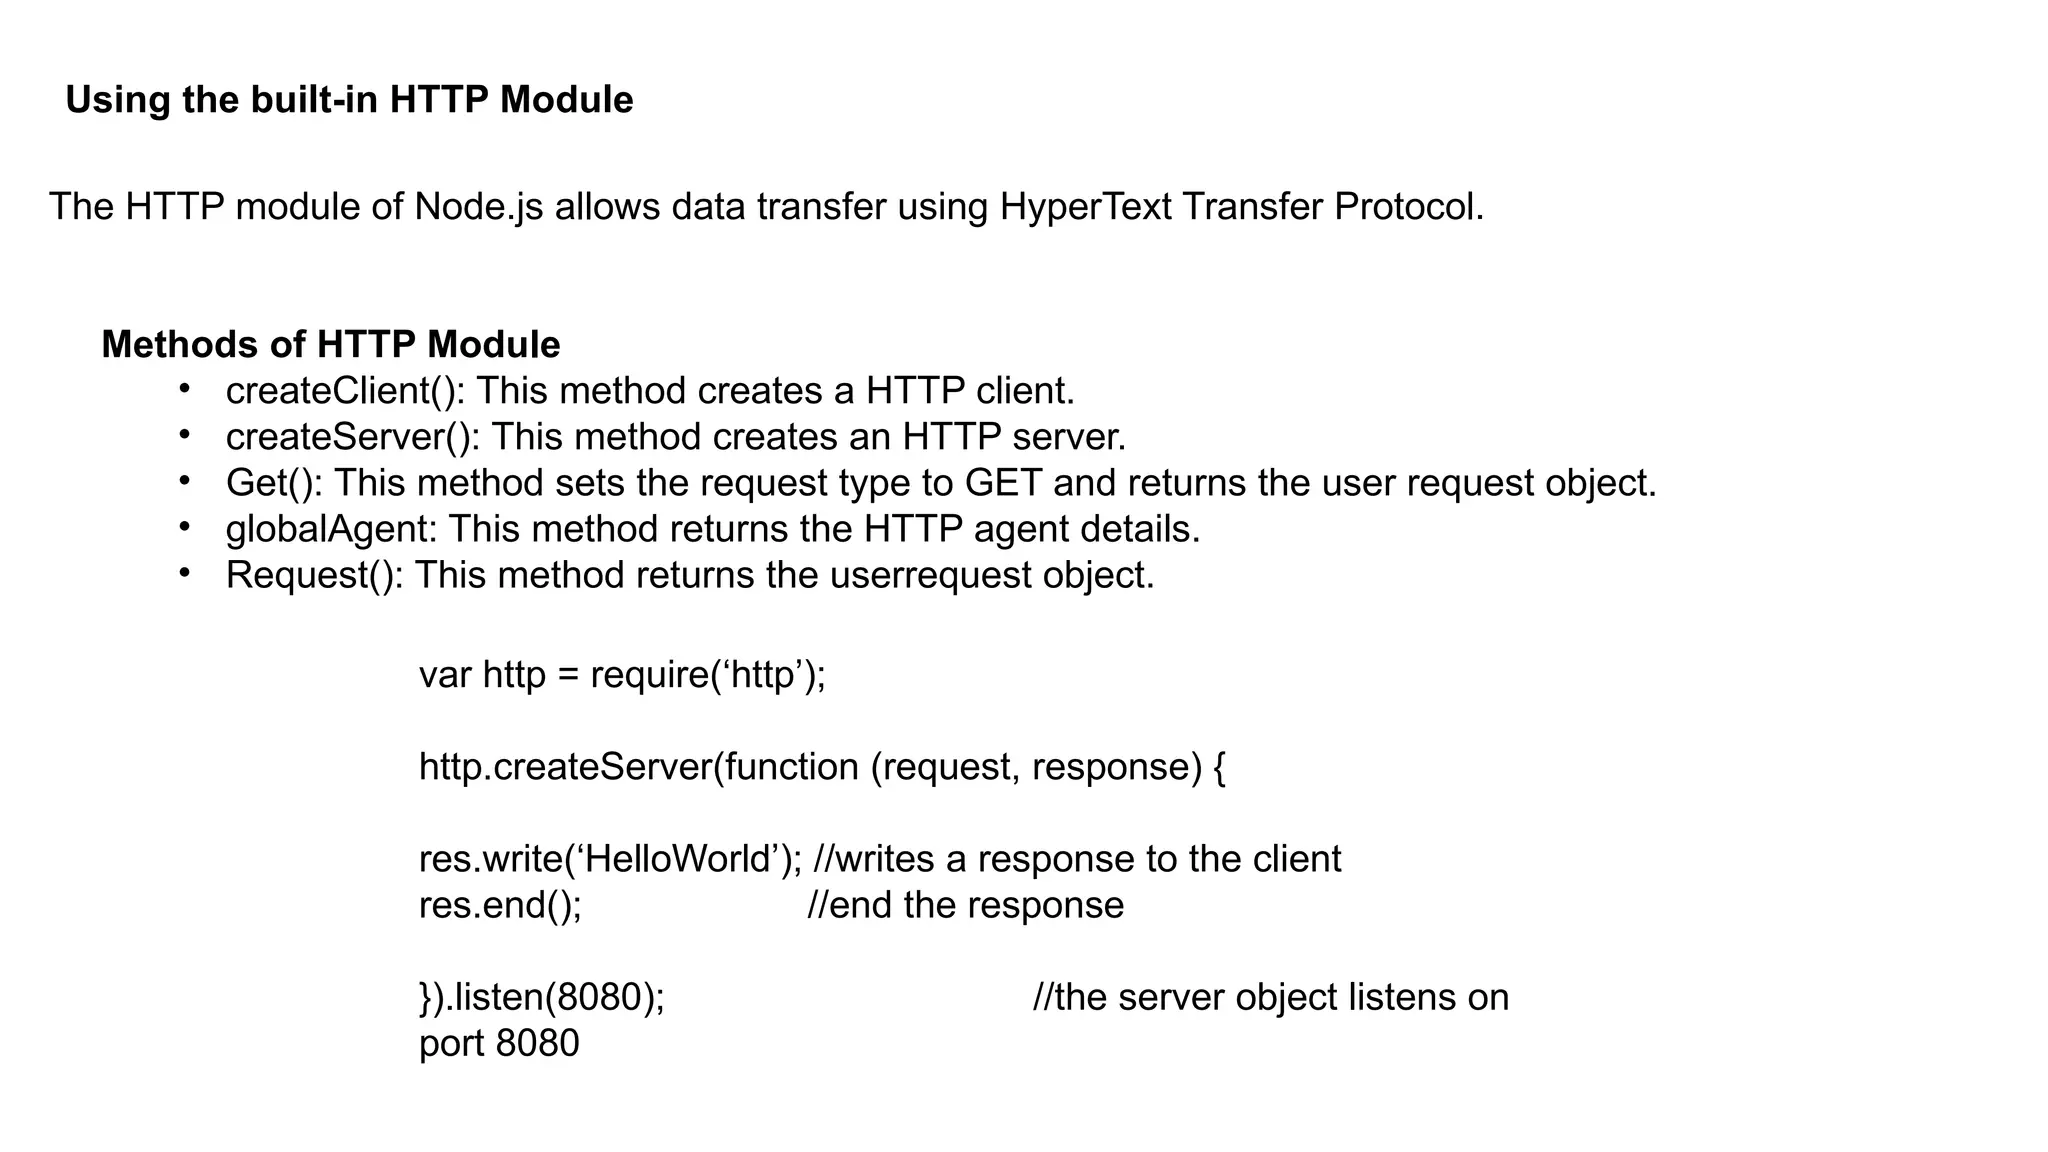
Using the built-inHTTP Module
The HTTP module of Node.js allows data transfer using HyperText Transfer Protocol.
Methods of HTTP Module
• createClient(): This method creates a HTTP client.
• createServer(): This method creates an HTTP server.
• Get(): This method sets the request type to GET and returns the user request object.
• globalAgent: This method returns the HTTP agent details.
• Request(): This method returns the userrequest object.
var http = require(‘http’);
http.createServer(function (request, response) {
res.write(‘HelloWorld’); //writes a response to the client
res.end(); //end the response
}).listen(8080); //the server object listens on
port 8080
35.
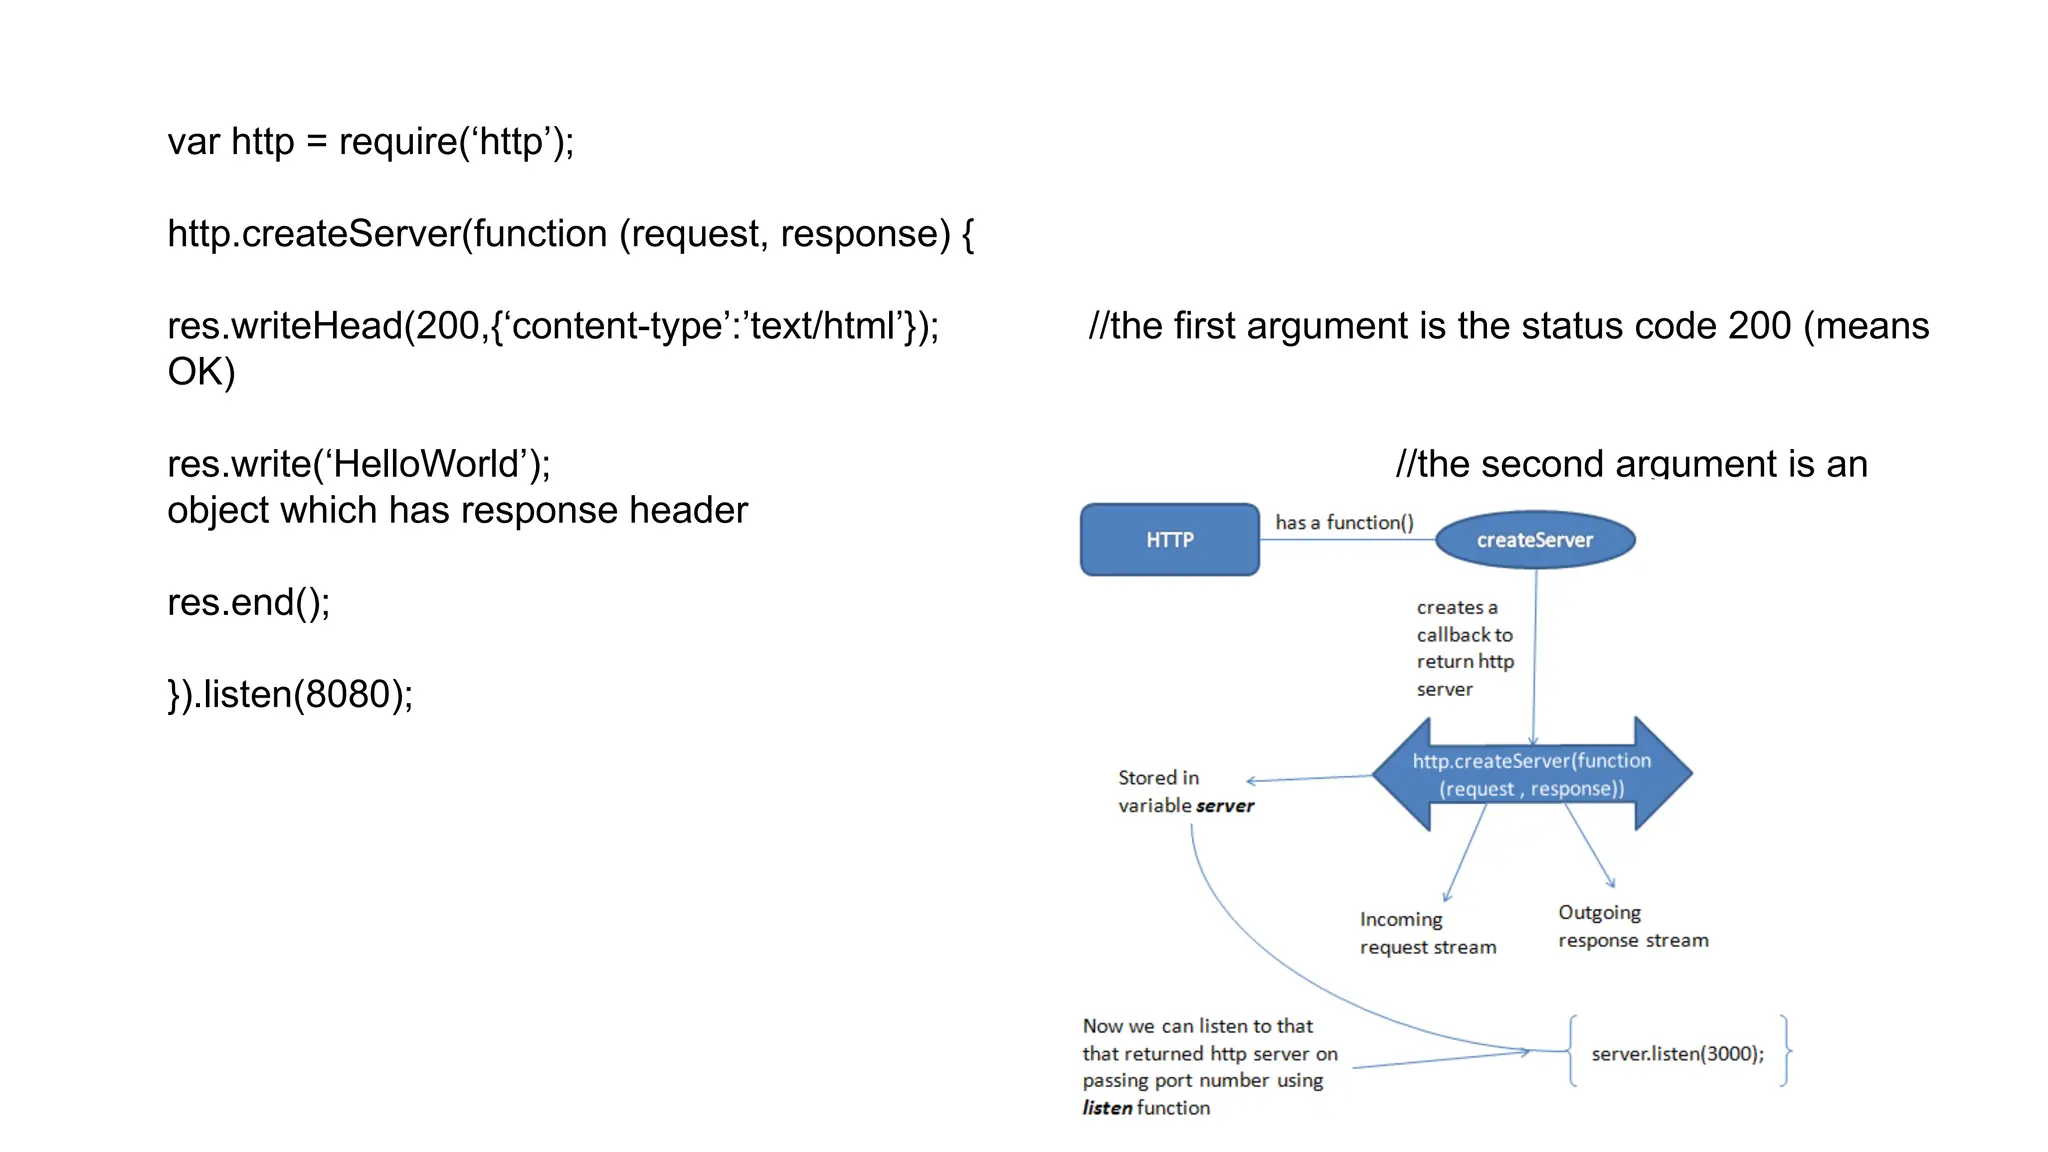
var http =require(‘http’);
http.createServer(function (request, response) {
res.writeHead(200,{‘content-type’:’text/html’}); //the first argument is the status code 200 (means
OK)
res.write(‘HelloWorld’); //the second argument is an
object which has response header
res.end();
}).listen(8080);
36.
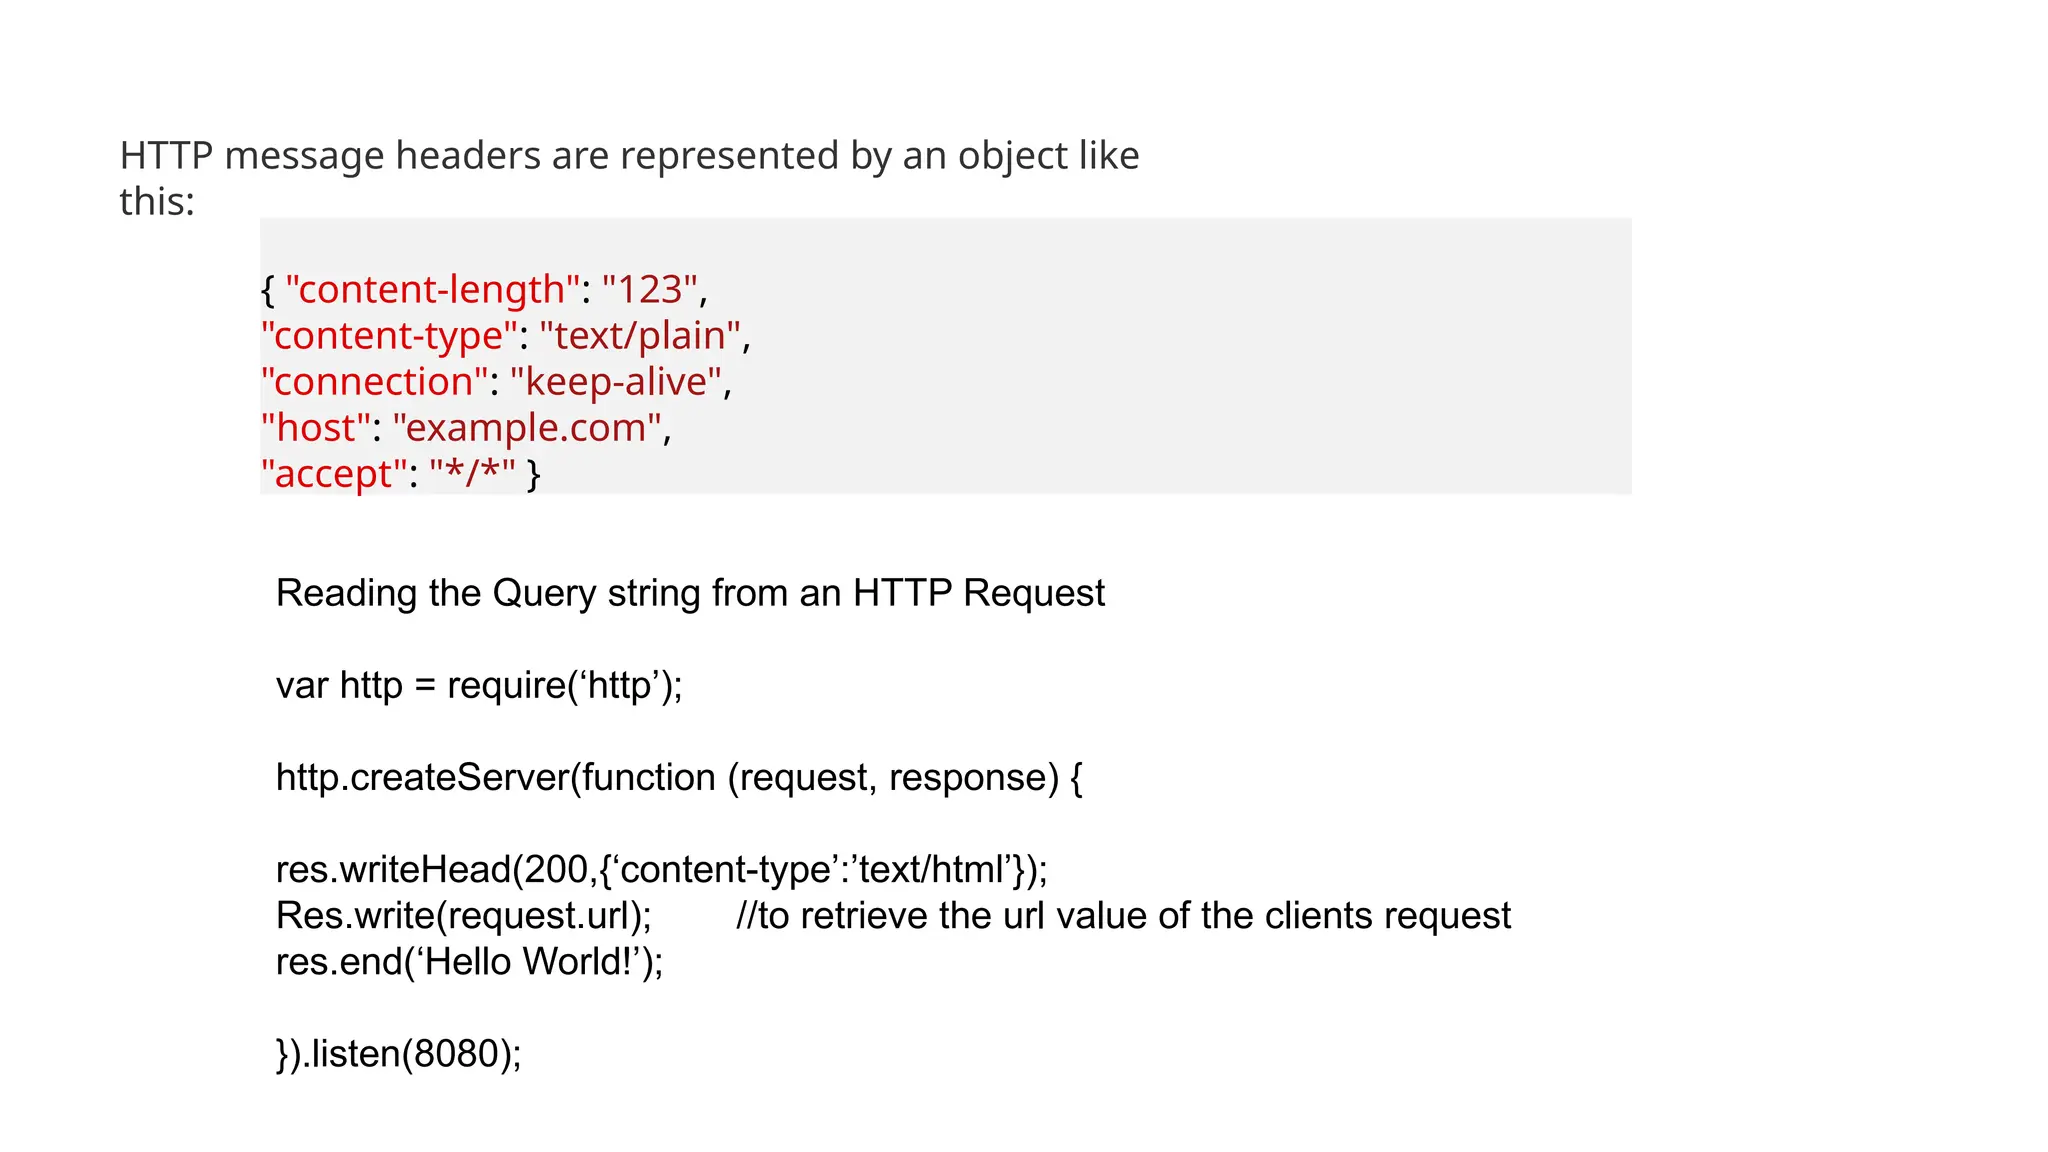
{ "content-length": "123",
"content-type":"text/plain",
"connection": "keep-alive",
"host": "example.com",
"accept": "*/*" }
HTTP message headers are represented by an object like
this:
Reading the Query string from an HTTP Request
var http = require(‘http’);
http.createServer(function (request, response) {
res.writeHead(200,{‘content-type’:’text/html’});
Res.write(request.url); //to retrieve the url value of the clients request
res.end(‘Hello World!’);
}).listen(8080);
37.
Binary Data: Binarydata is data that can only have two possible values, usually represented as 0 and 1
1-Bit Binary
Numbers
2-Bit Binary
Numbers
3-Bit Binary
Numbers
4-Bit Binary
Numbers
Decimal
Equivalents
0 00 000 0000 0
1 01 001 0001 1
10 010 0010 2
11 011 0011 3
100 0100 4
38.
The memory ofa Computer is any physical device that is capable of storing information whether it is
large or small and stores it temporarily or permanently. For example, Random Access Memory (RAM), is a
type of volatile memory that stores information for a short time, on an integrated circuit used by the
Operating System.
Memory can be either volatile or non-volatile. Volatile memory is a type of memory that loses its contents
when the computer or hardware device is switched off. RAM is an example of a volatile memory i.e. if
your computer gets rebooted while working on a program, you lose all the unsaved data. Non-volatile
memory is a memory that keeps its contents saved even in the case of power loss. EPROM((Erasable
Programmable ROM) is an example of non-volatile memory.
Units of Memory
A computer processor is made up of multiple decisive circuits, each one of which may be either OFF or
ON. These two states in terms of memory are represented by a 0 or 1. To count higher than 1, such bits
(Binary Digits) are suspended together. A group of eight bits is known as a Byte. 1 Byte can represent
numbers between zero (00000000) and 255 (11111111), or 28
= 256 distinct positions.
39.
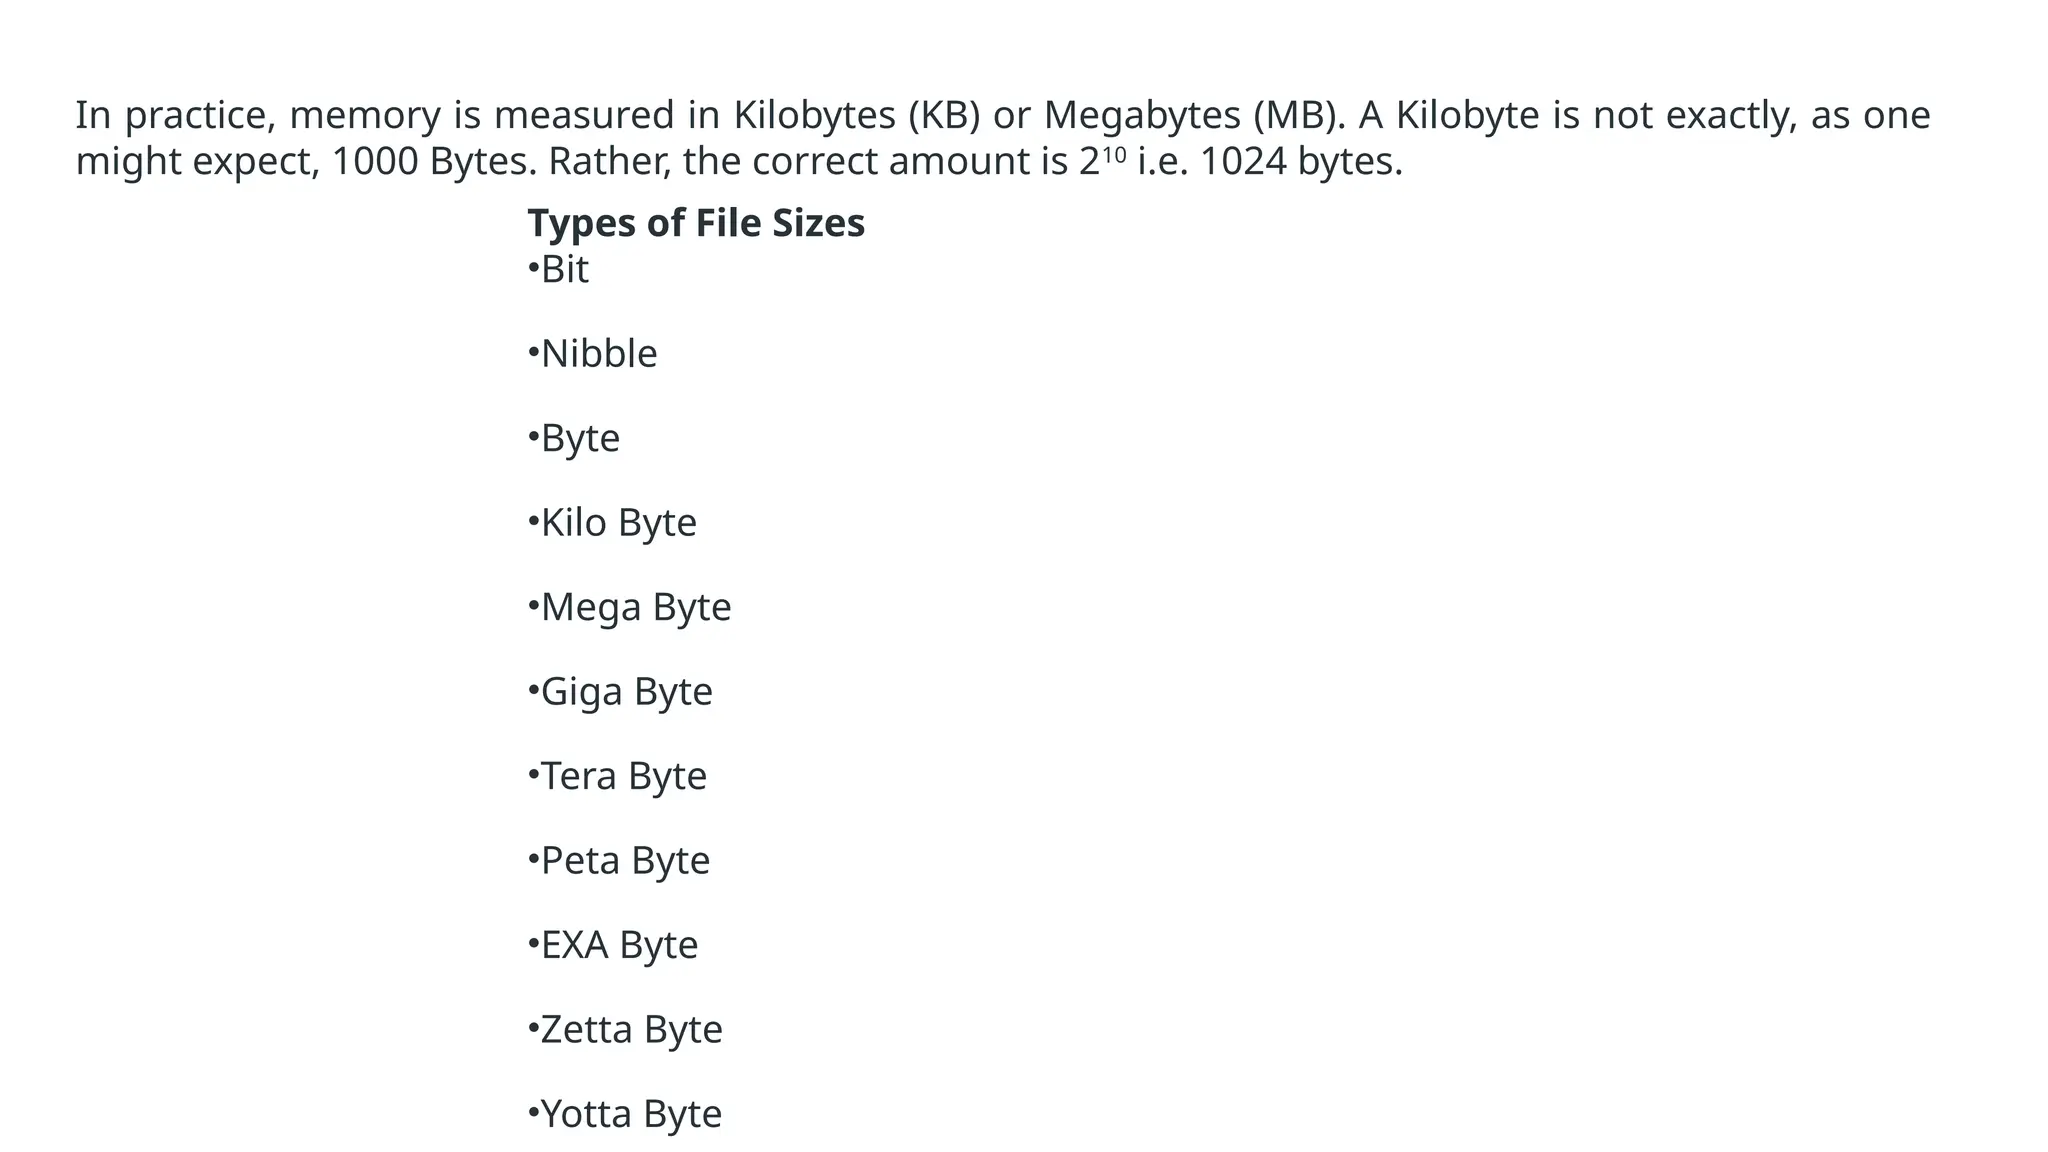
In practice, memoryis measured in Kilobytes (KB) or Megabytes (MB). A Kilobyte is not exactly, as one
might expect, 1000 Bytes. Rather, the correct amount is 210
i.e. 1024 bytes.
Types of File Sizes
•Bit
•Nibble
•Byte
•Kilo Byte
•Mega Byte
•Giga Byte
•Tera Byte
•Peta Byte
•EXA Byte
•Zetta Byte
•Yotta Byte
40.
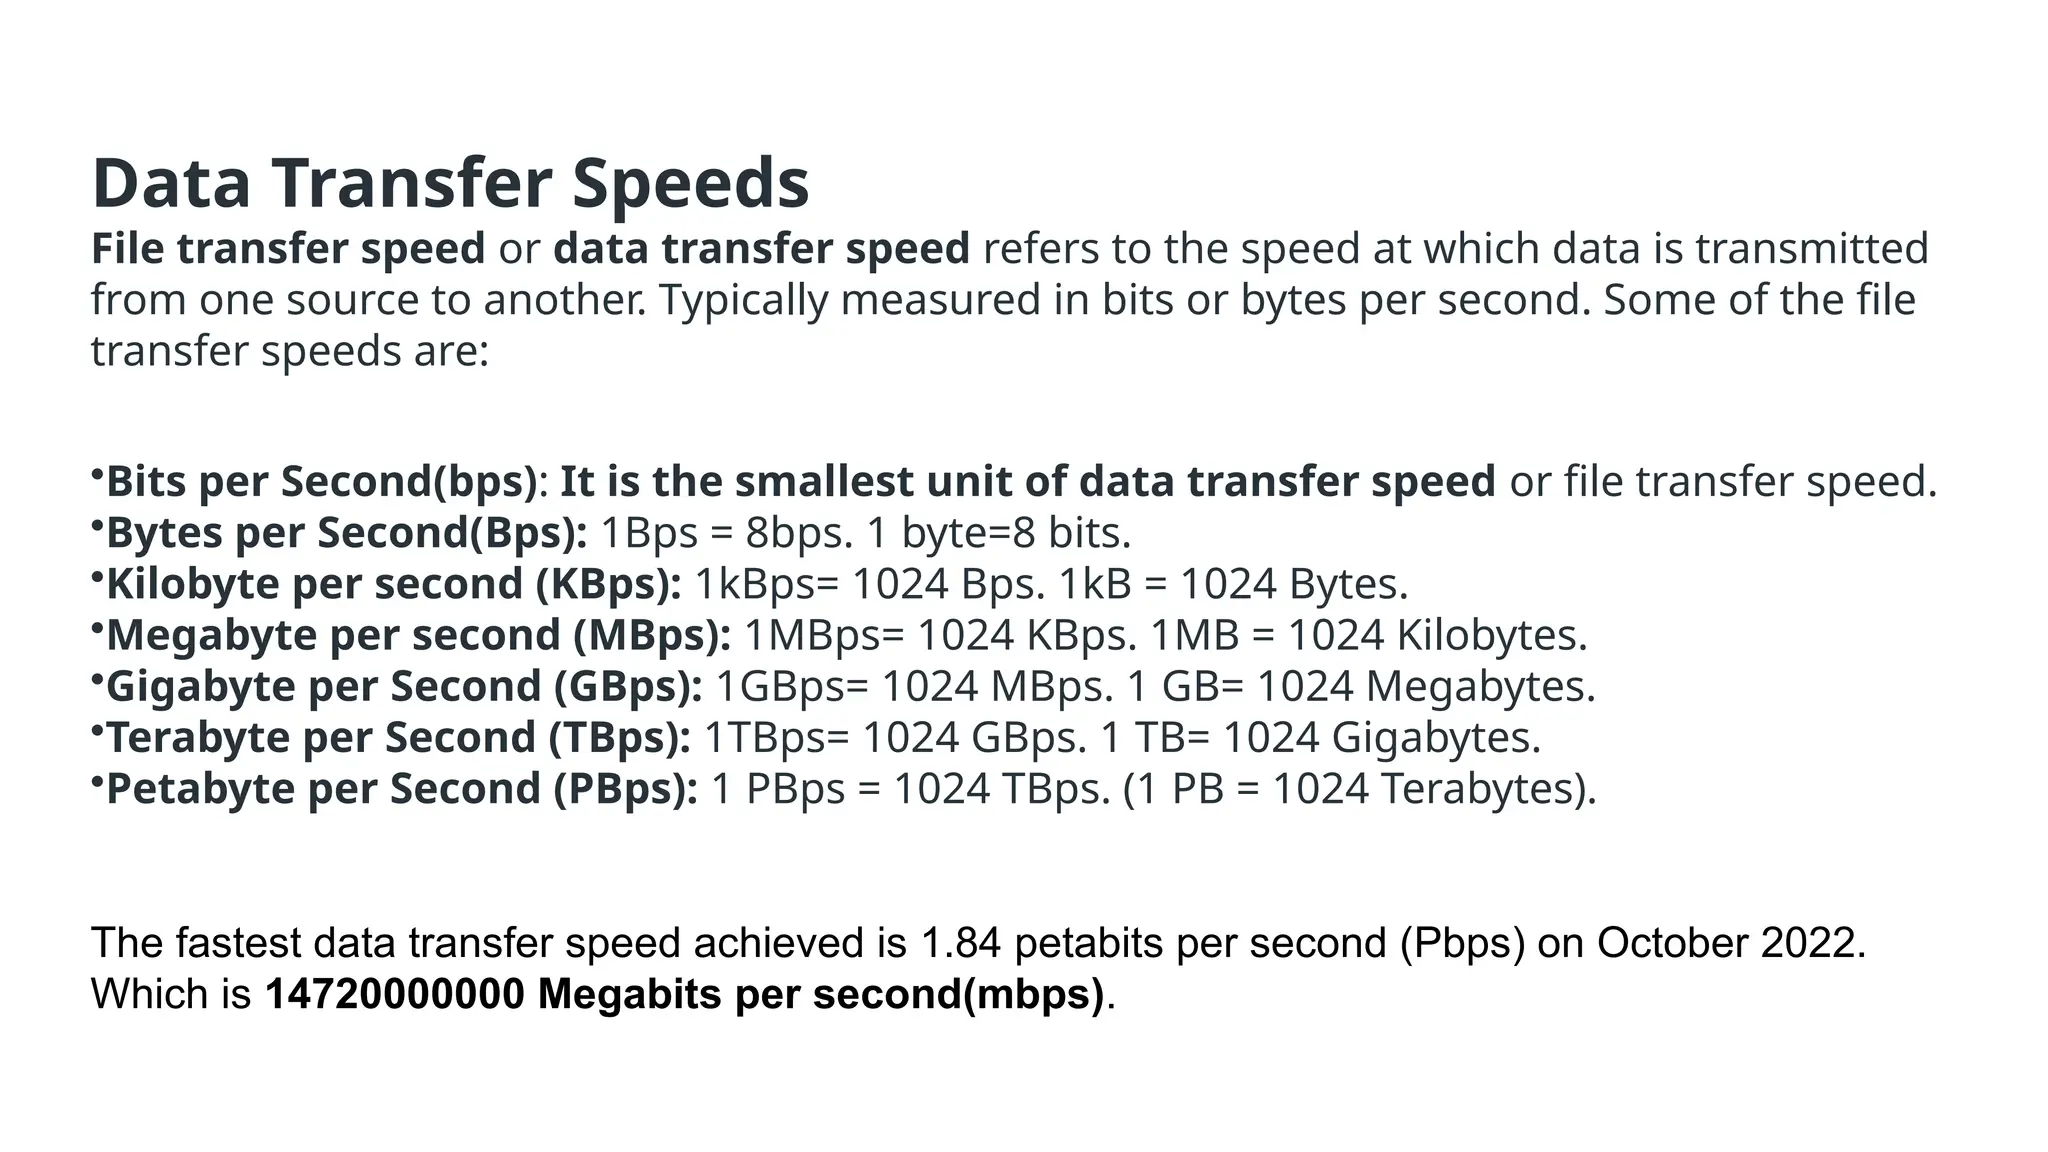
Data Transfer Speeds
Filetransfer speed or data transfer speed refers to the speed at which data is transmitted
from one source to another. Typically measured in bits or bytes per second. Some of the file
transfer speeds are:
•Bits per Second(bps): It is the smallest unit of data transfer speed or file transfer speed.
•Bytes per Second(Bps): 1Bps = 8bps. 1 byte=8 bits.
•Kilobyte per second (KBps): 1kBps= 1024 Bps. 1kB = 1024 Bytes.
•Megabyte per second (MBps): 1MBps= 1024 KBps. 1MB = 1024 Kilobytes.
•Gigabyte per Second (GBps): 1GBps= 1024 MBps. 1 GB= 1024 Megabytes.
•Terabyte per Second (TBps): 1TBps= 1024 GBps. 1 TB= 1024 Gigabytes.
•Petabyte per Second (PBps): 1 PBps = 1024 TBps. (1 PB = 1024 Terabytes).
The fastest data transfer speed achieved is 1.84 petabits per second (Pbps) on October 2022.
Which is 14720000000 Megabits per second(mbps).
41.
******* “A”.charCodeAt(); *******
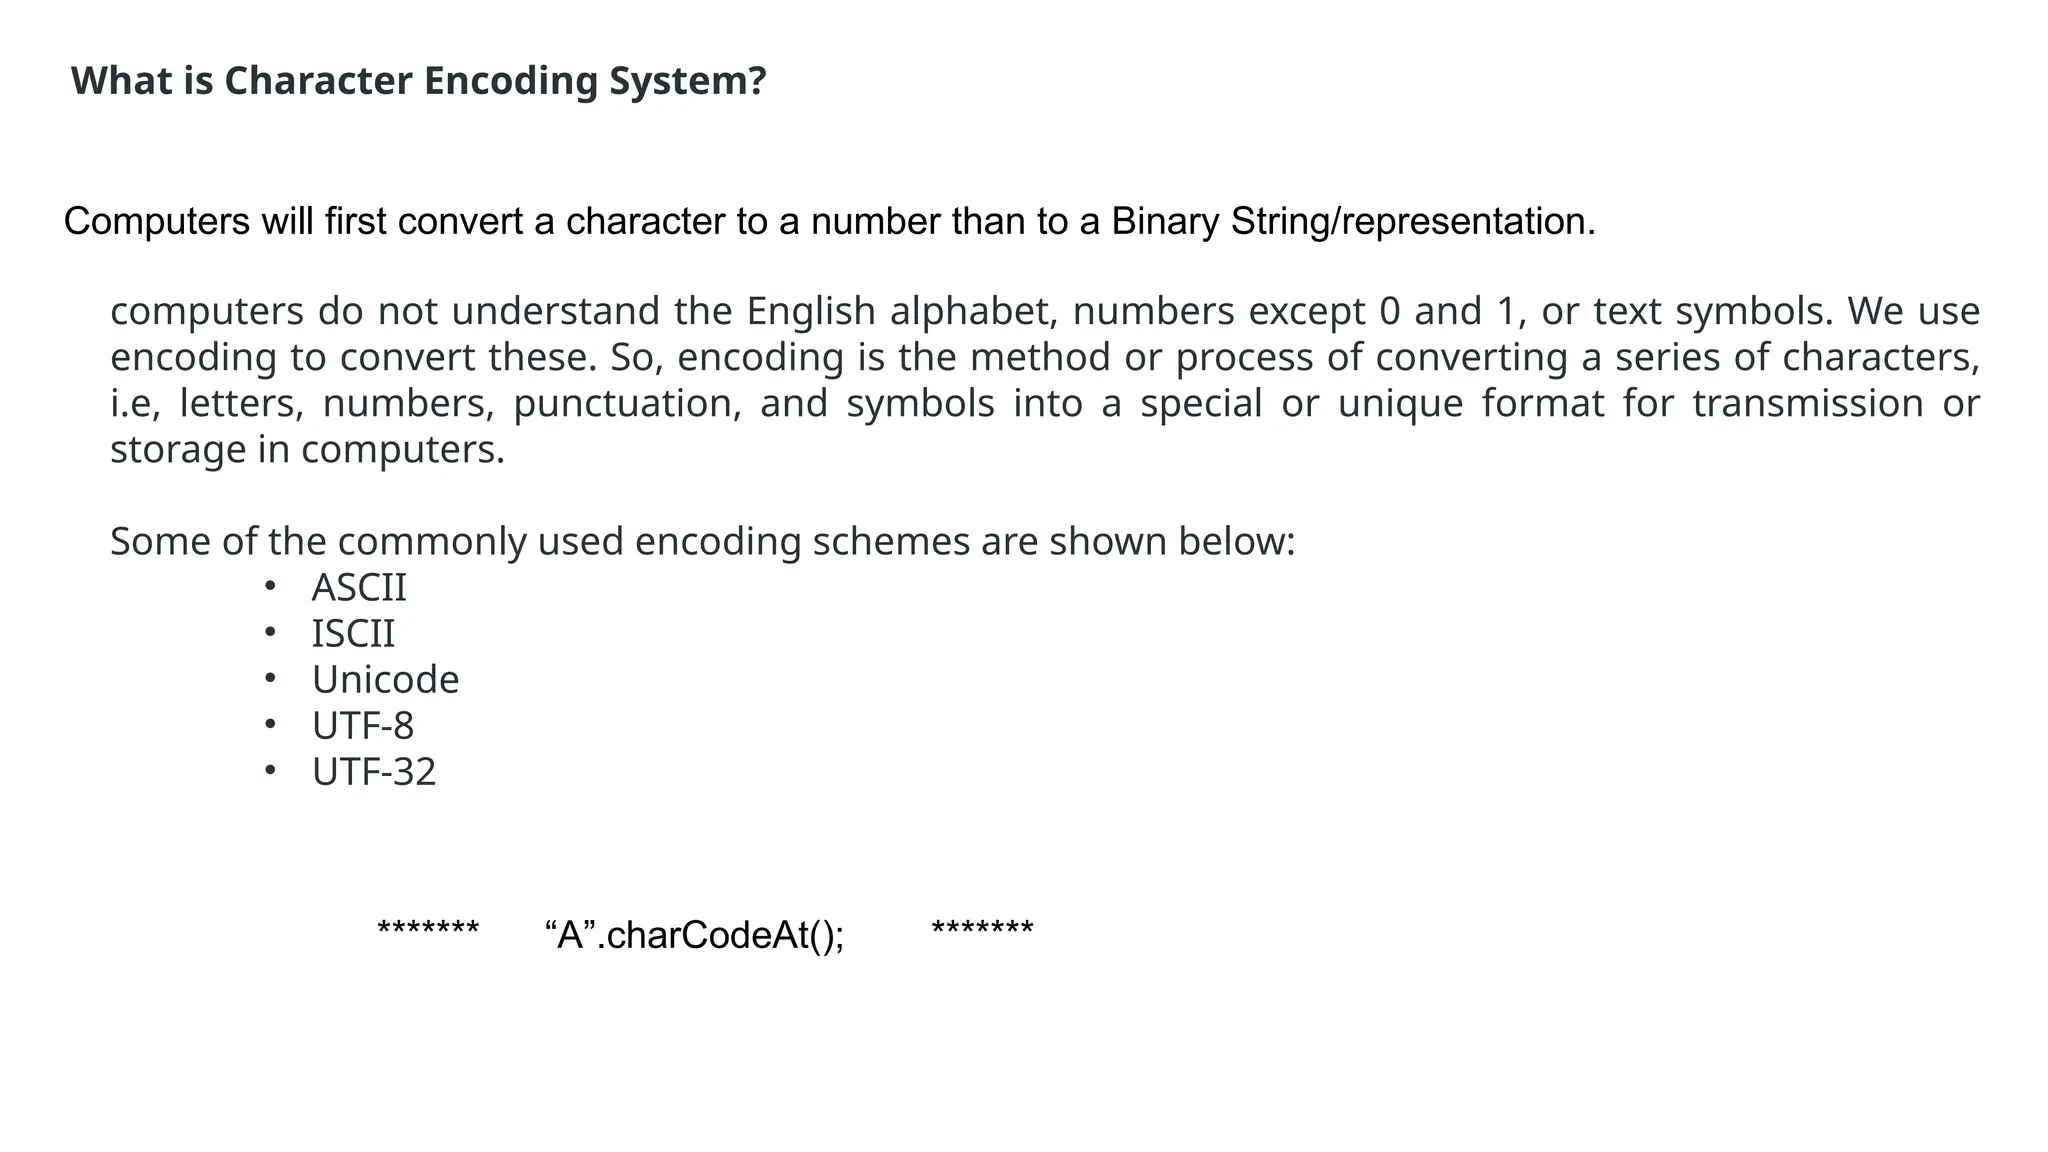
Whatis Character Encoding System?
Computers will first convert a character to a number than to a Binary String/representation.
computers do not understand the English alphabet, numbers except 0 and 1, or text symbols. We use
encoding to convert these. So, encoding is the method or process of converting a series of characters,
i.e, letters, numbers, punctuation, and symbols into a special or unique format for transmission or
storage in computers.
Some of the commonly used encoding schemes are shown below:
• ASCII
• ISCII
• Unicode
• UTF-8
• UTF-32
42.
Letter ASCII CodeLetter ASCII Code
a 97 A 65
b 98 B 66
c 99 C 67
d 100 D 68
e 101 E 69
f 102 F 70
g 103 G 71
ASCII Table for characters:
ASCII: ASCII is known as American Standard Code for Information Interchange. The X3 group, part of
the ASA, produced and published ASCII for the first time in 1963. (American Standards Association).
The ASCII standard was first published in 1963.
43.
Node.js as aFile Server
The Node.js file system module allows you to work with the file system on your
computer.
Node.js gives the functionality of file I/O by providing wrappers around the standard POSIX
functions. All file system operations can have synchronous and asynchronous forms
depending upon user requirements.
To include the File System module, use the require() method:
var fs = require('fs’);
Common use for the File System module:
•Read files
•Create files
•Update files
•Delete files
•Rename files
44.
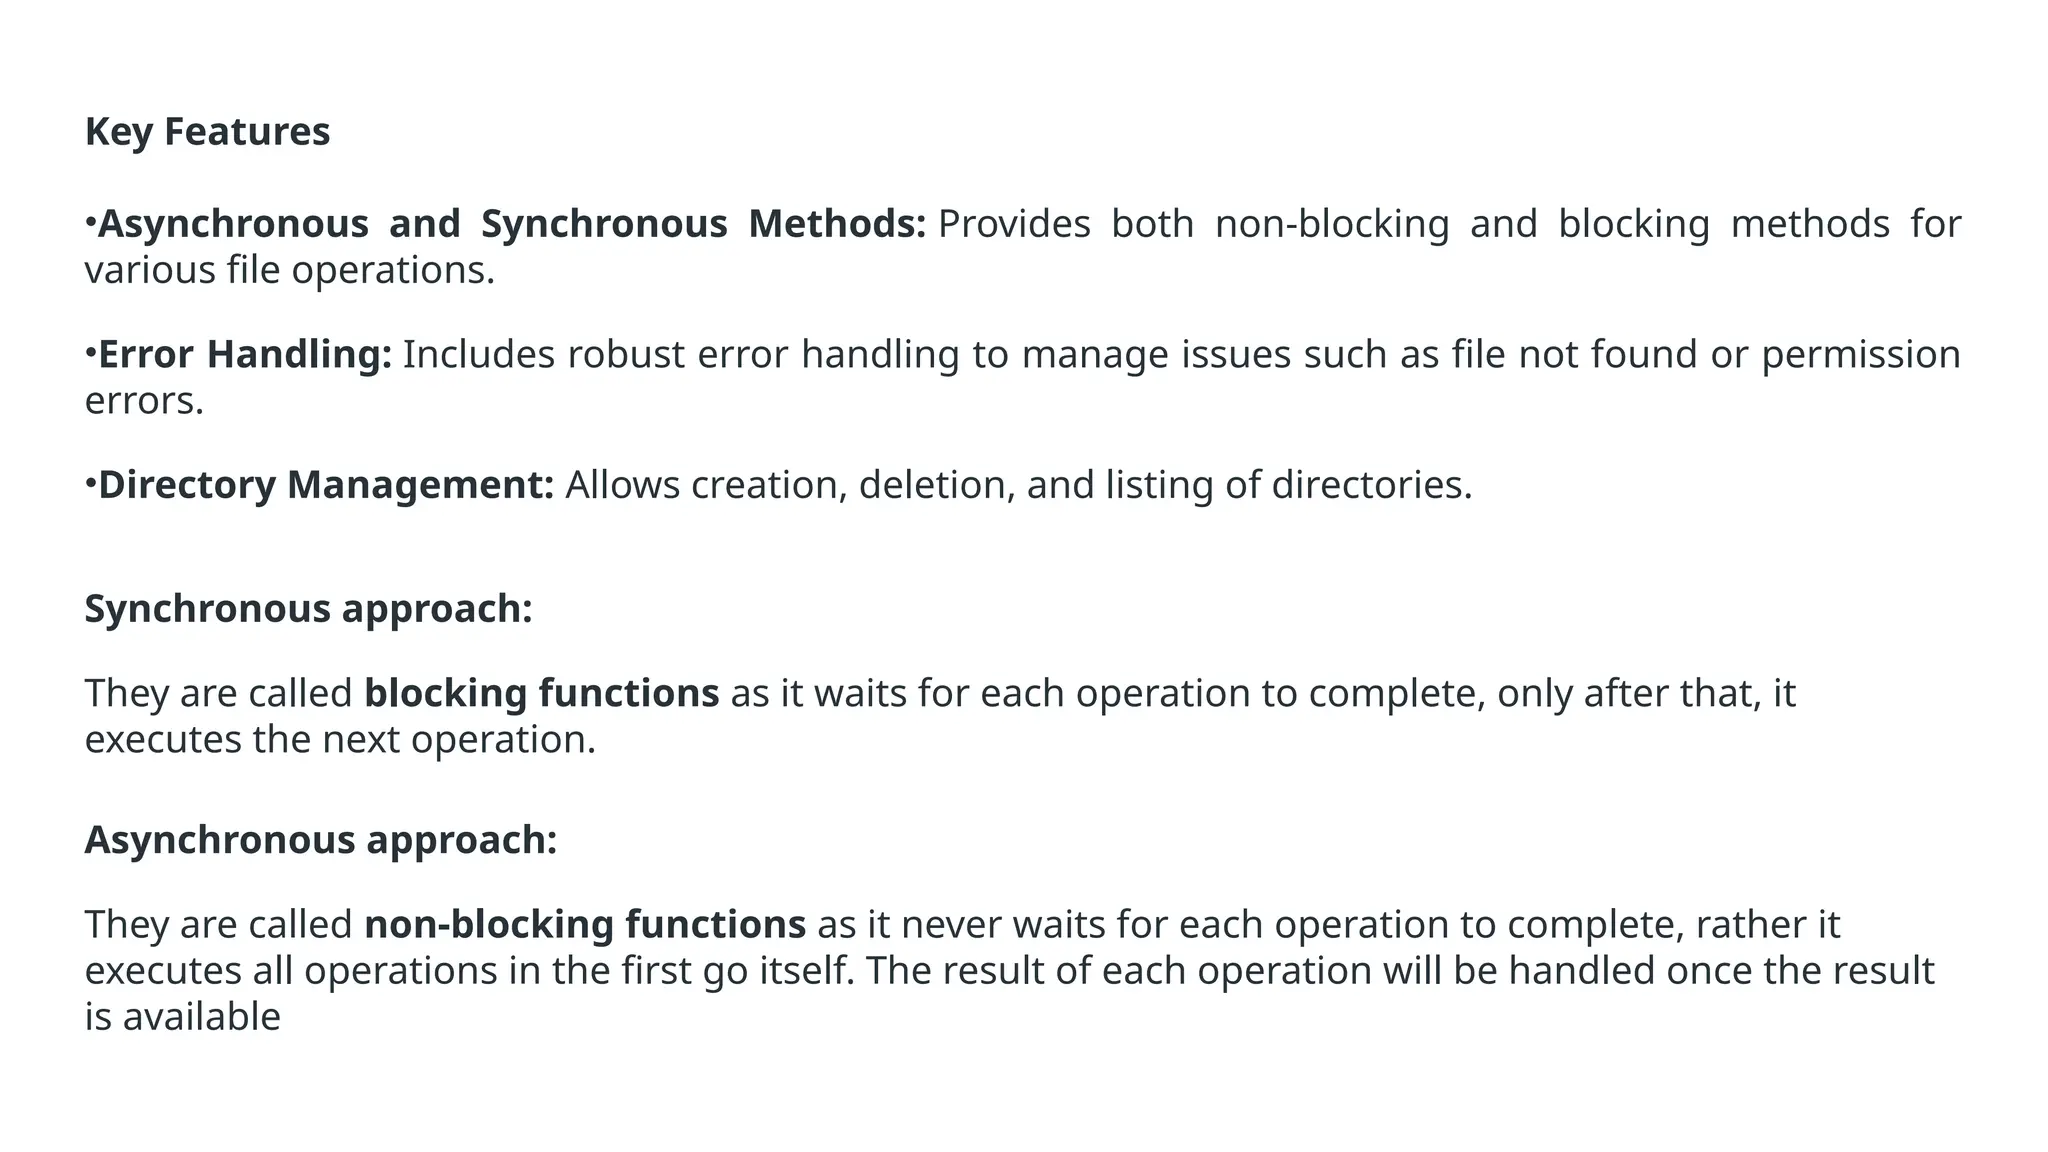
Key Features
•Asynchronous andSynchronous Methods: Provides both non-blocking and blocking methods for
various file operations.
•Error Handling: Includes robust error handling to manage issues such as file not found or permission
errors.
•Directory Management: Allows creation, deletion, and listing of directories.
Synchronous approach:
They are called blocking functions as it waits for each operation to complete, only after that, it
executes the next operation.
Asynchronous approach:
They are called non-blocking functions as it never waits for each operation to complete, rather it
executes all operations in the first go itself. The result of each operation will be handled once the result
is available
45.
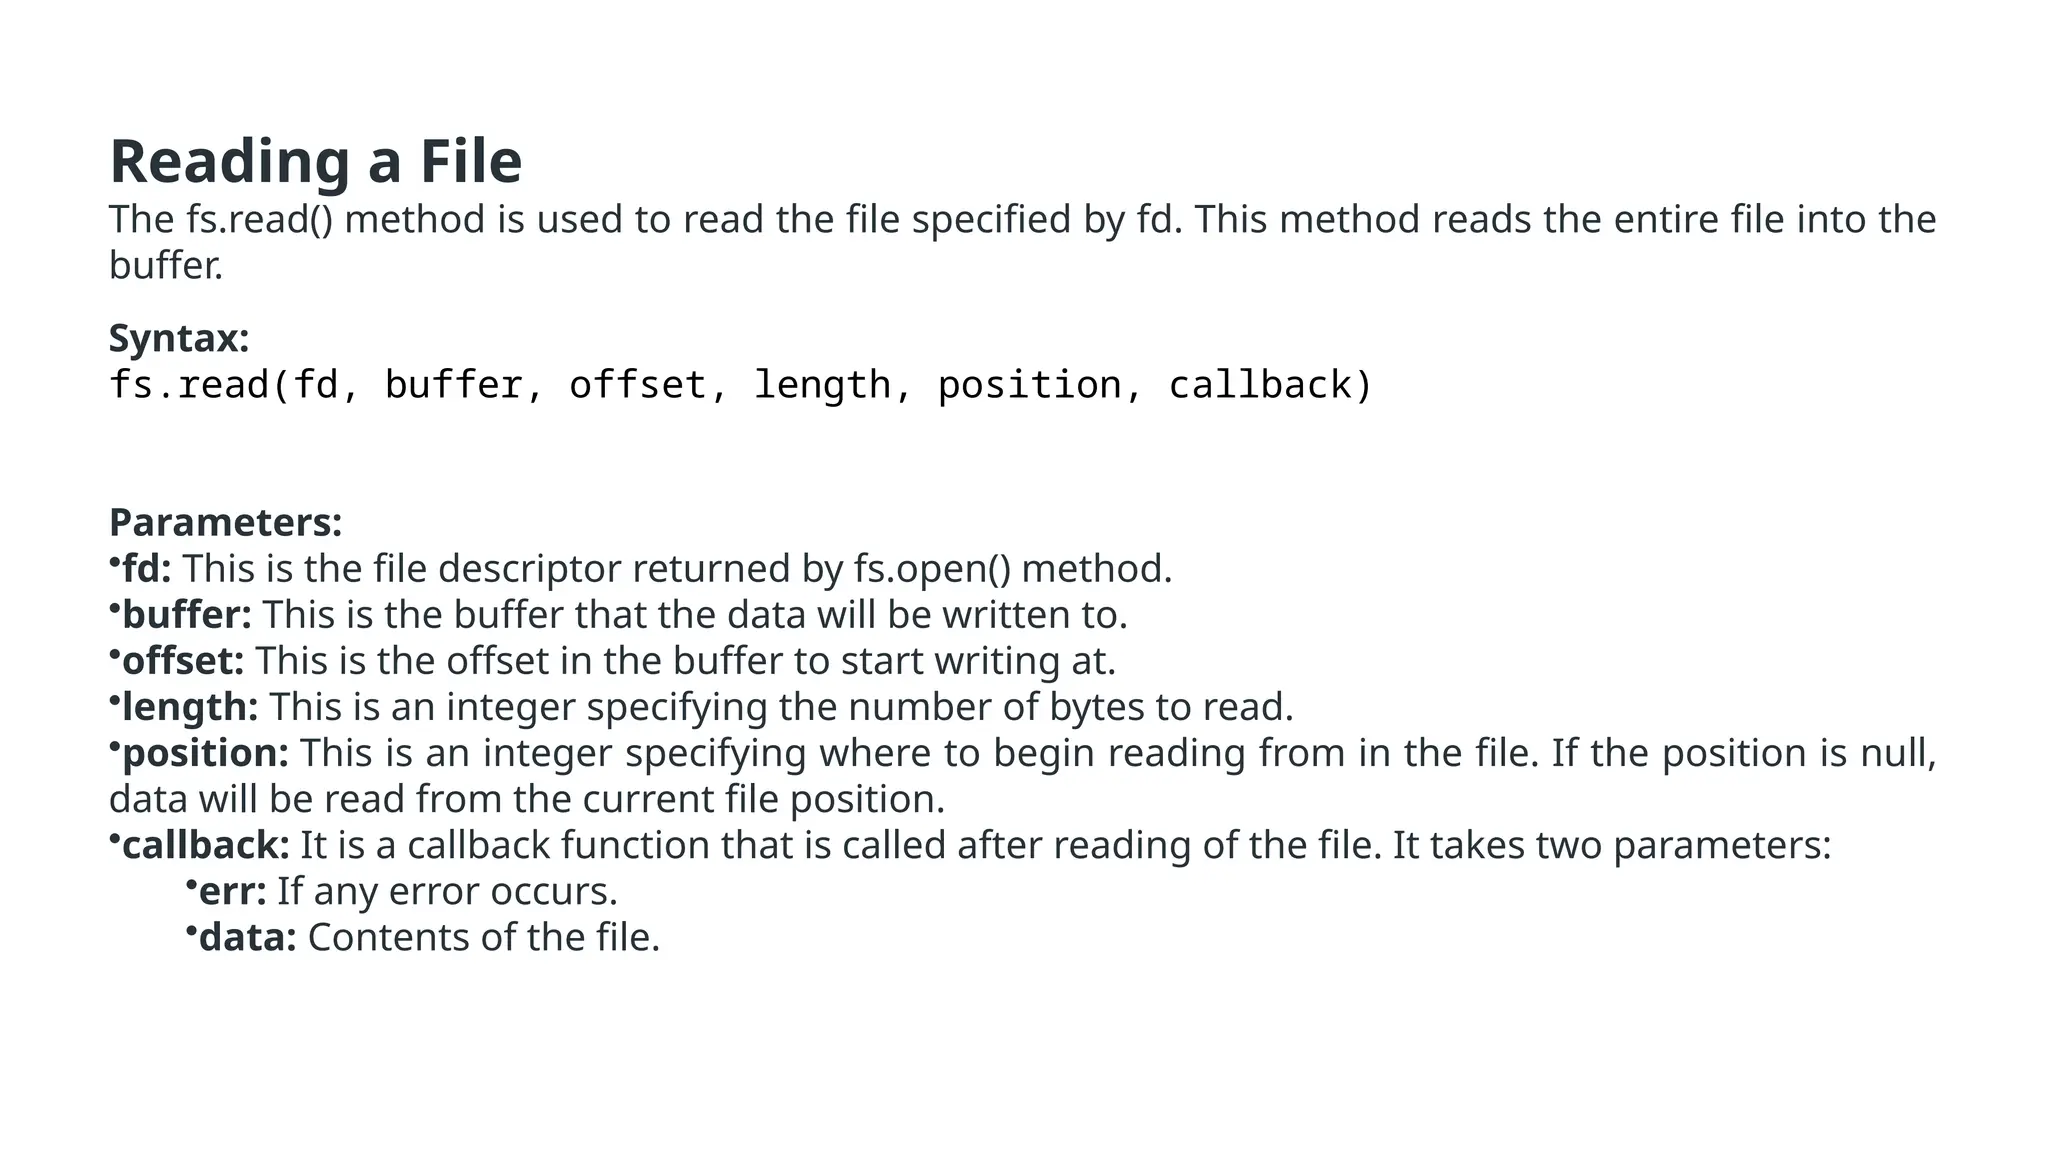
Reading a File
Thefs.read() method is used to read the file specified by fd. This method reads the entire file into the
buffer.
Syntax:
fs.read(fd, buffer, offset, length, position, callback)
Parameters:
•fd: This is the file descriptor returned by fs.open() method.
•buffer: This is the buffer that the data will be written to.
•offset: This is the offset in the buffer to start writing at.
•length: This is an integer specifying the number of bytes to read.
•position: This is an integer specifying where to begin reading from in the file. If the position is null,
data will be read from the current file position.
•callback: It is a callback function that is called after reading of the file. It takes two parameters:
•err: If any error occurs.
•data: Contents of the file.
46.
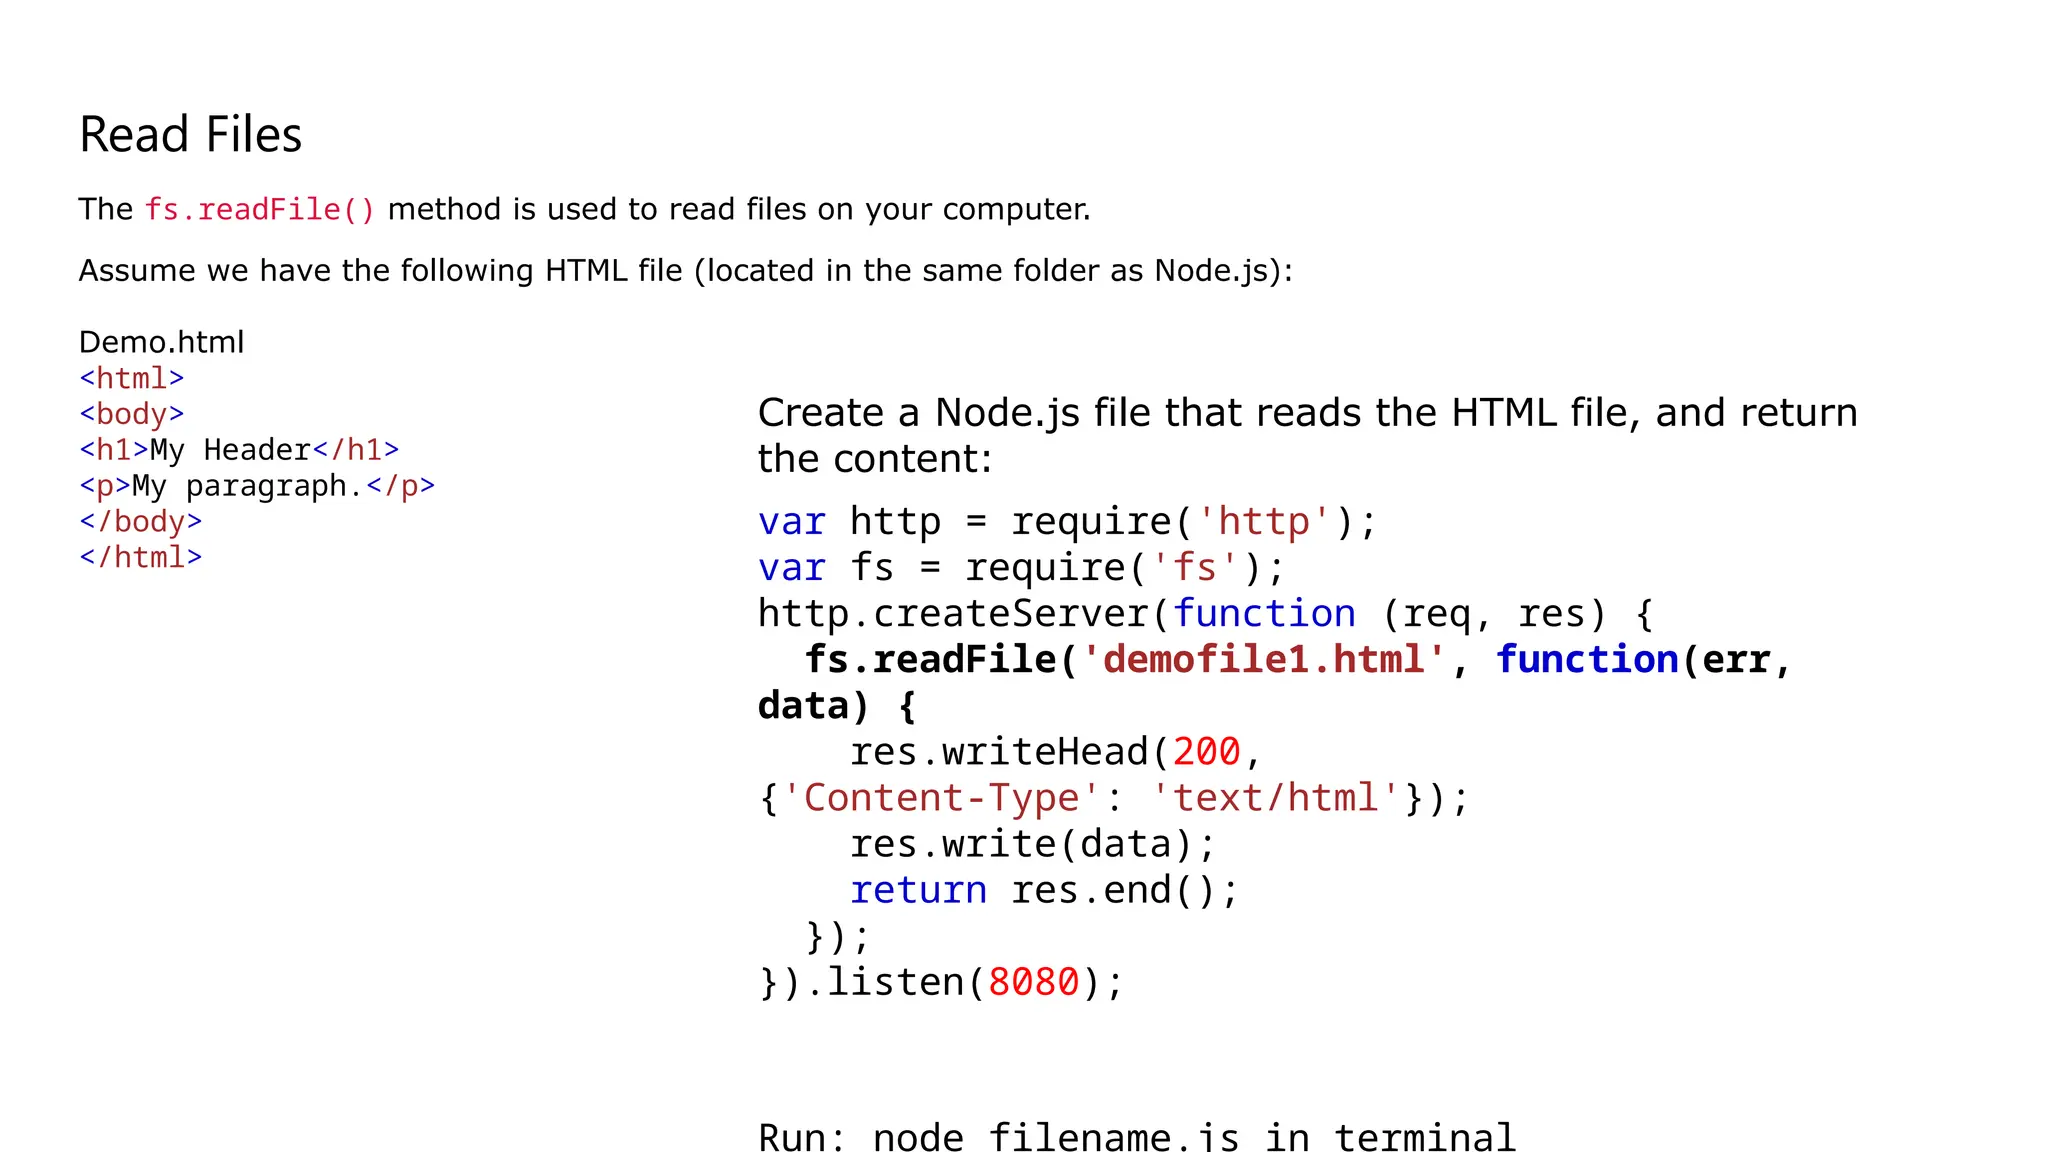
Read Files
The fs.readFile()method is used to read files on your computer.
Assume we have the following HTML file (located in the same folder as Node.js):
Demo.html
<html>
<body>
<h1>My Header</h1>
<p>My paragraph.</p>
</body>
</html>
Create a Node.js file that reads the HTML file, and return
the content:
var http = require('http');
var fs = require('fs');
http.createServer(function (req, res) {
fs.readFile('demofile1.html', function(err,
data) {
res.writeHead(200,
{'Content-Type': 'text/html'});
res.write(data);
return res.end();
});
}).listen(8080);
Run: node filename.js in terminal
47.
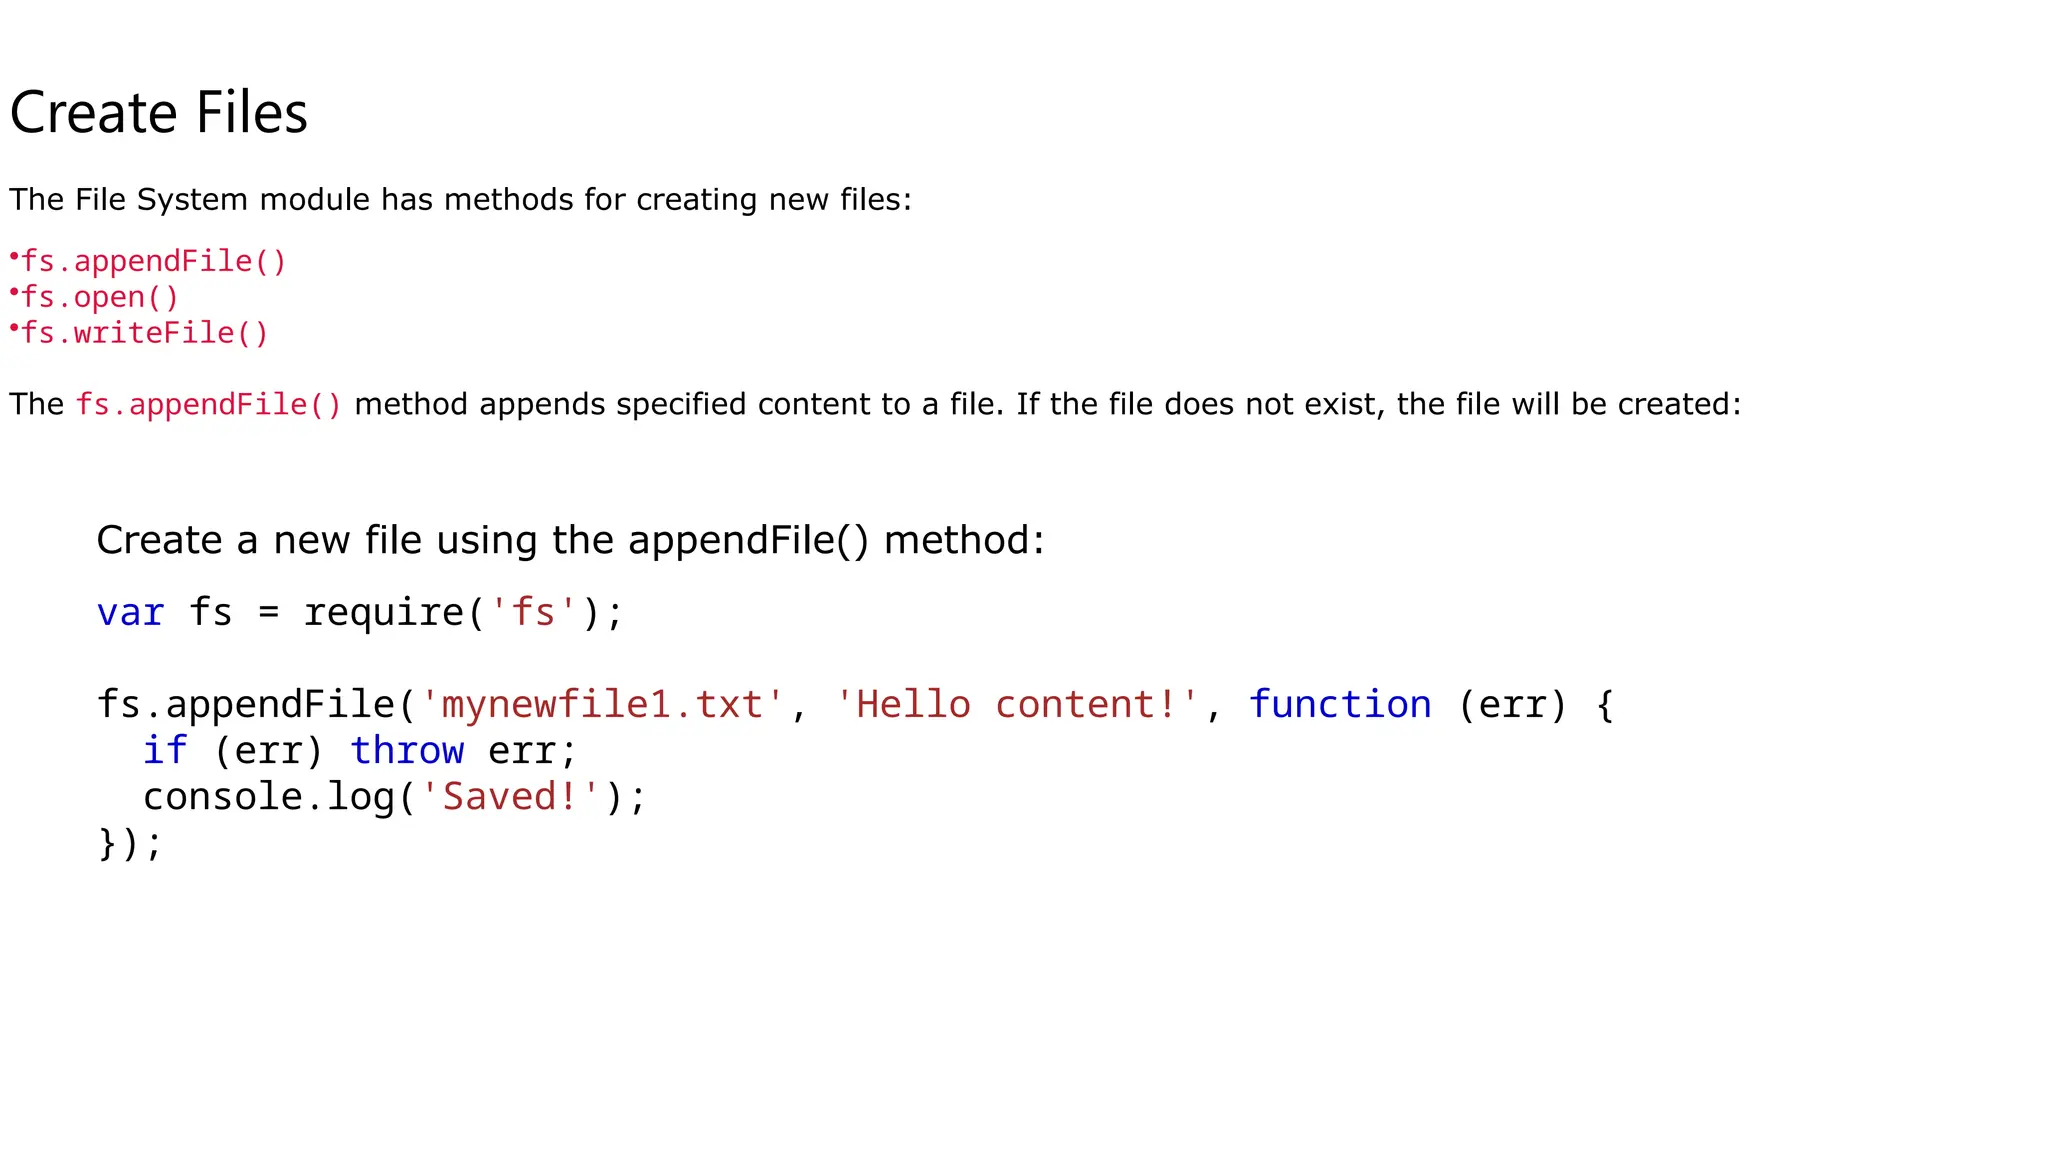
Create Files
The FileSystem module has methods for creating new files:
•fs.appendFile()
•fs.open()
•fs.writeFile()
The fs.appendFile() method appends specified content to a file. If the file does not exist, the file will be created:
Create a new file using the appendFile() method:
var fs = require('fs');
fs.appendFile('mynewfile1.txt', 'Hello content!', function (err) {
if (err) throw err;
console.log('Saved!');
});
48.
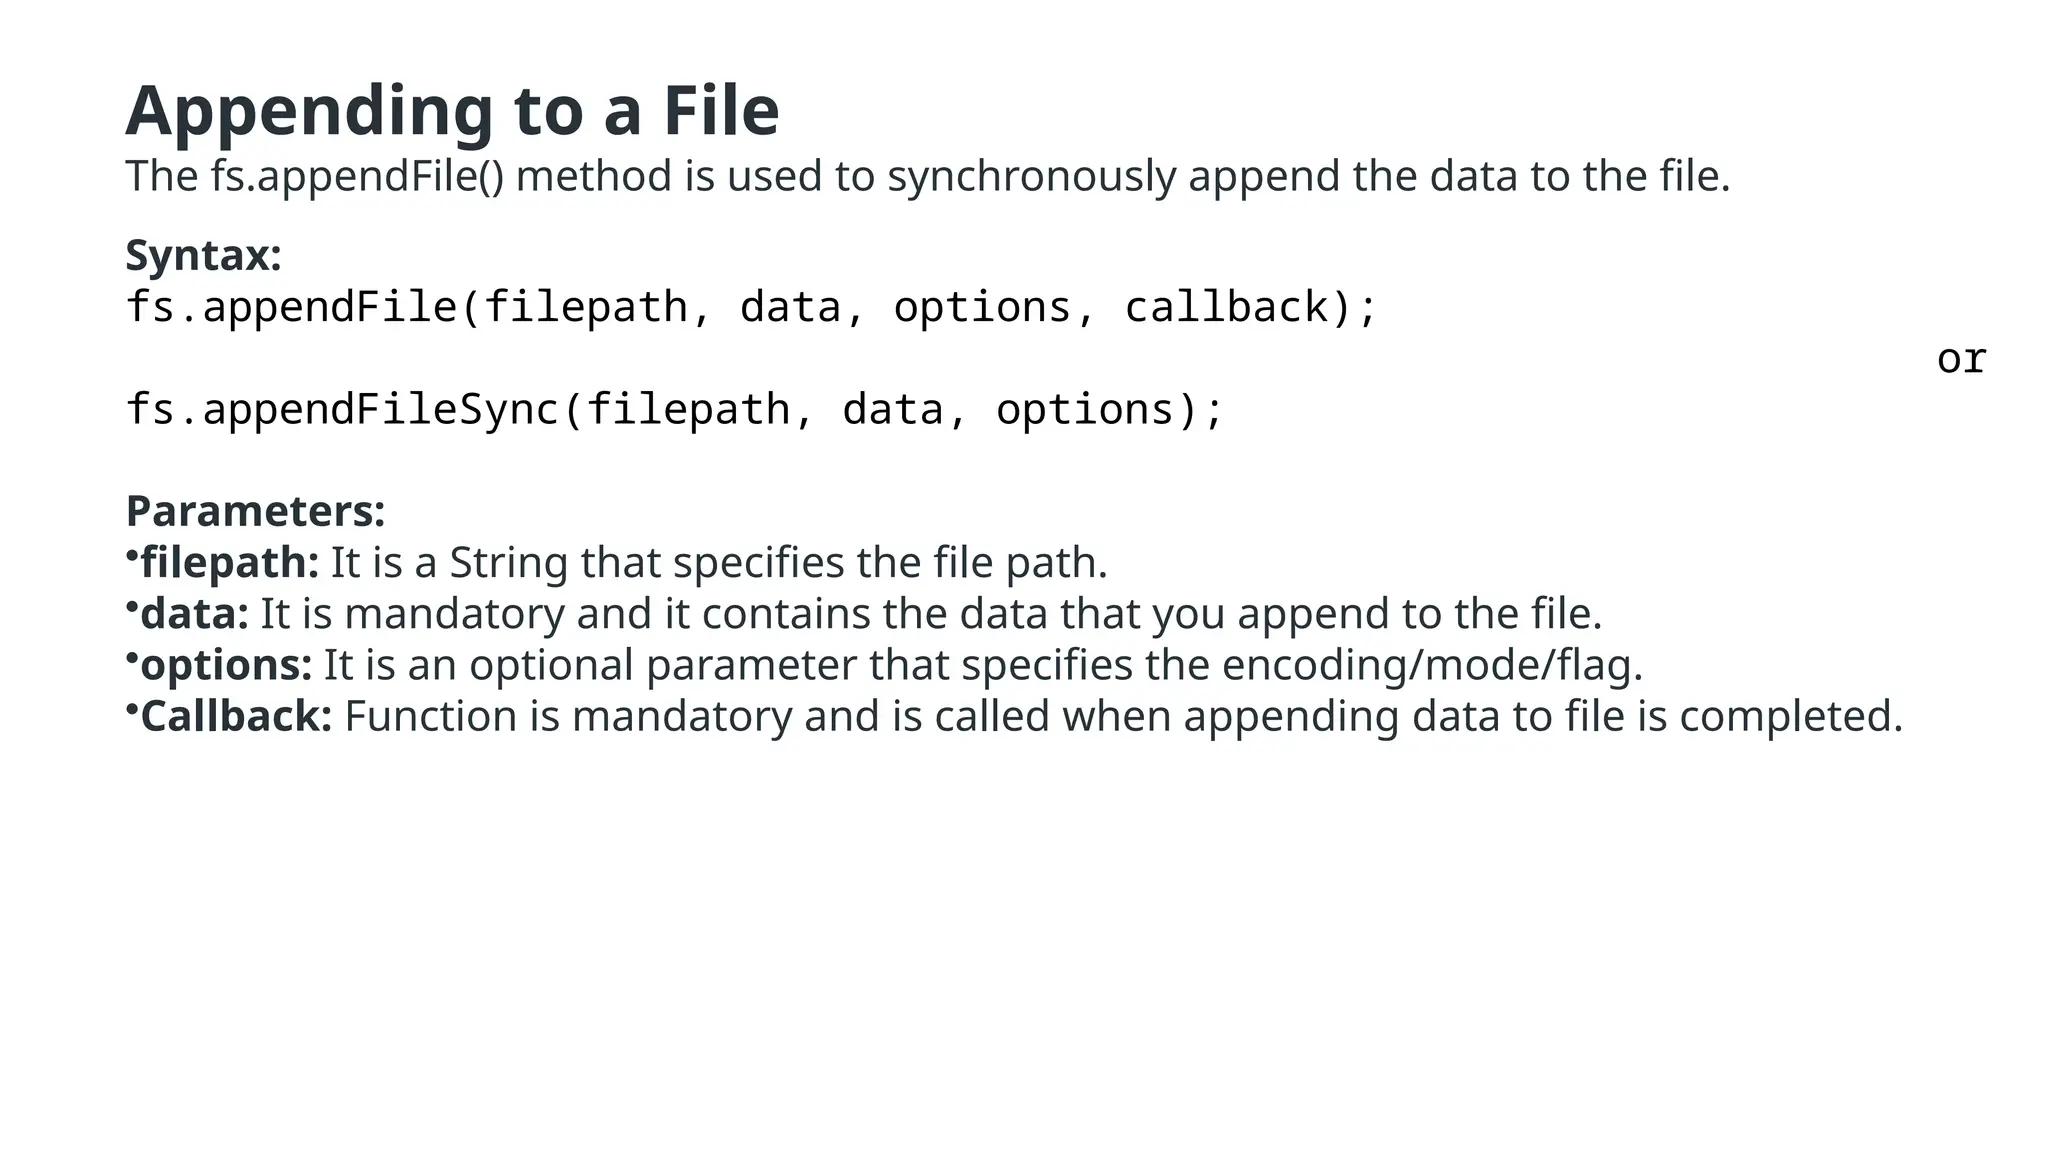
Appending to aFile
The fs.appendFile() method is used to synchronously append the data to the file.
Syntax:
fs.appendFile(filepath, data, options, callback);
or
fs.appendFileSync(filepath, data, options);
Parameters:
•filepath: It is a String that specifies the file path.
•data: It is mandatory and it contains the data that you append to the file.
•options: It is an optional parameter that specifies the encoding/mode/flag.
•Callback: Function is mandatory and is called when appending data to file is completed.
49.
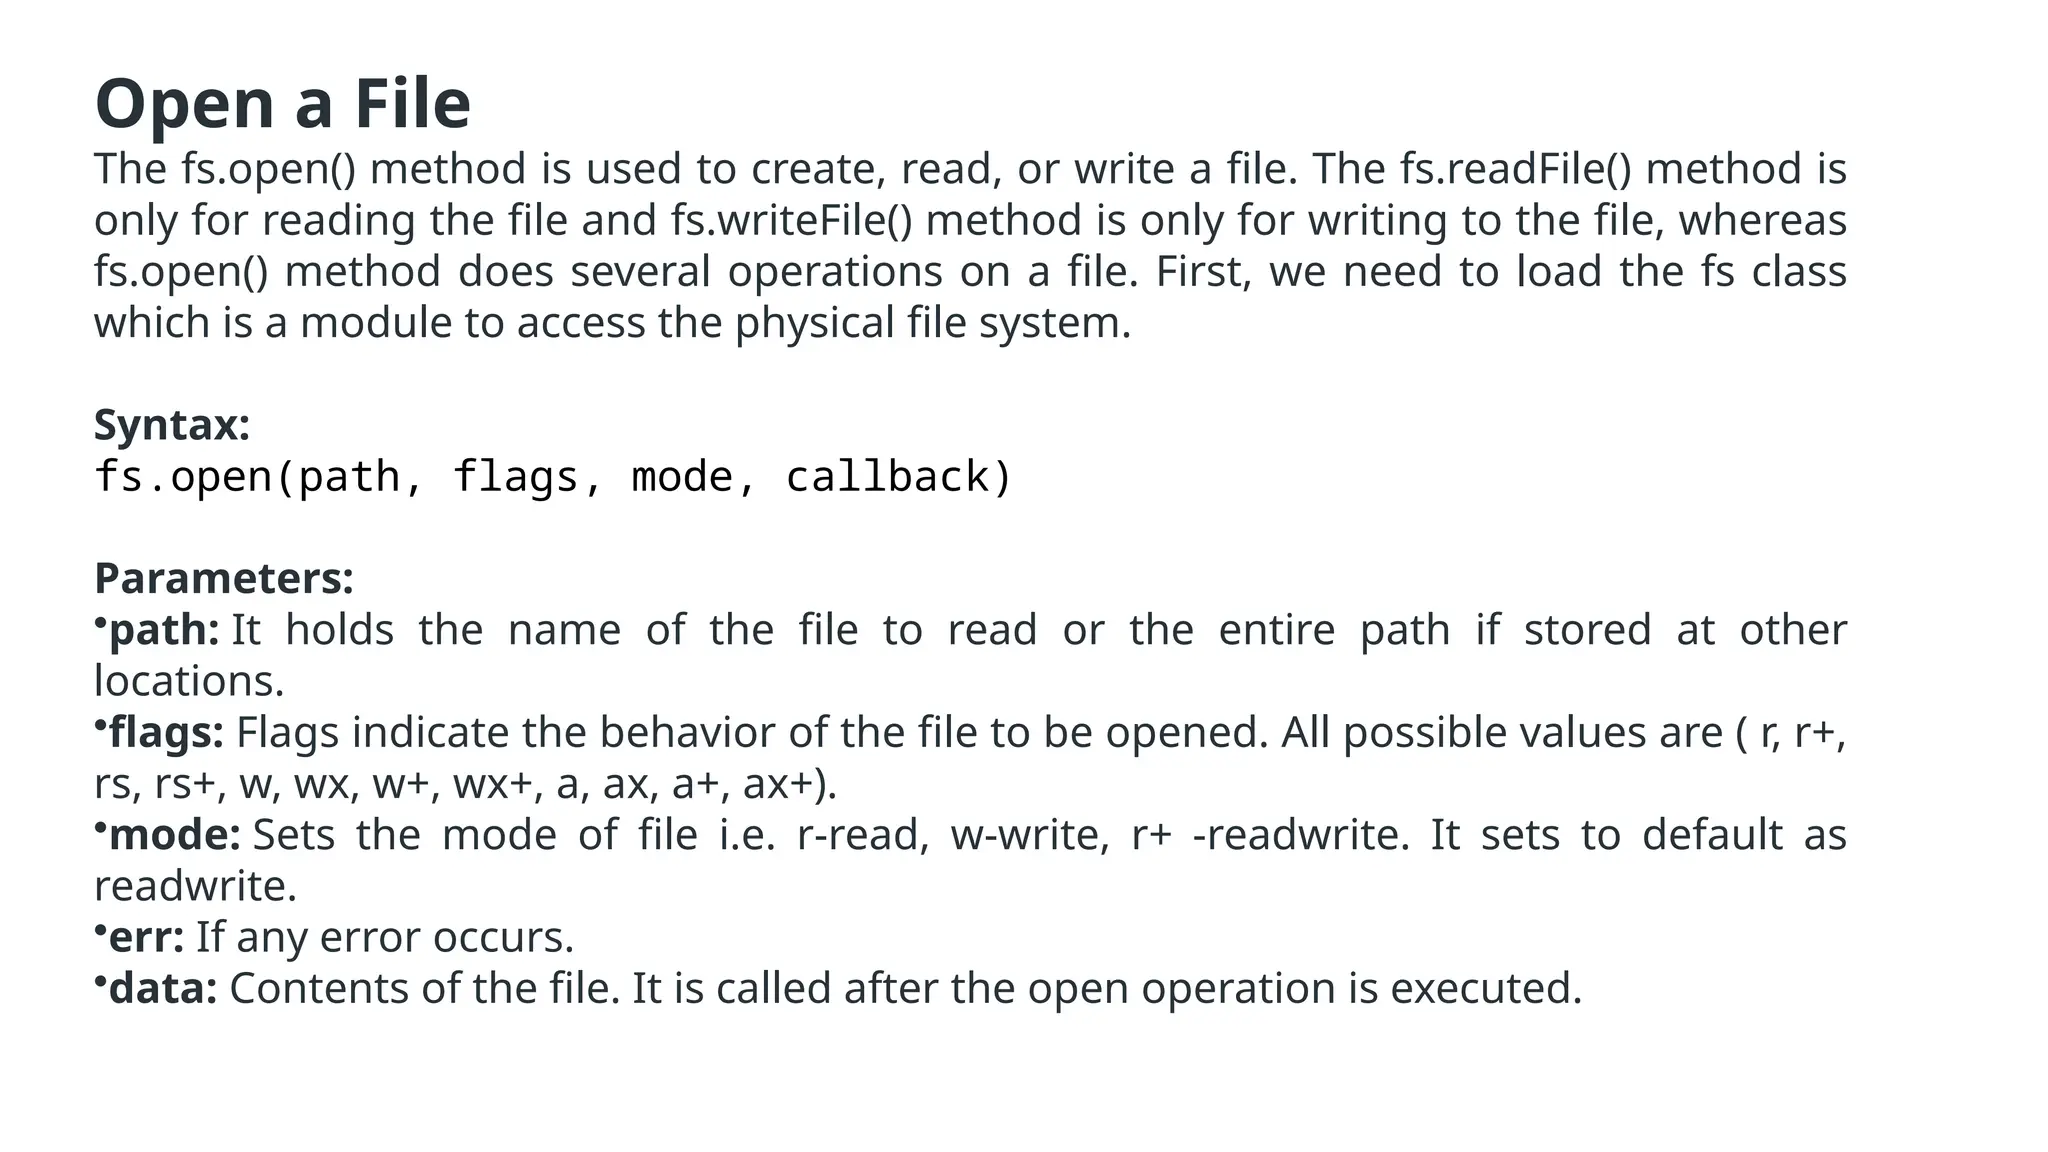
Open a File
Thefs.open() method is used to create, read, or write a file. The fs.readFile() method is
only for reading the file and fs.writeFile() method is only for writing to the file, whereas
fs.open() method does several operations on a file. First, we need to load the fs class
which is a module to access the physical file system.
Syntax:
fs.open(path, flags, mode, callback)
Parameters:
•path: It holds the name of the file to read or the entire path if stored at other
locations.
•flags: Flags indicate the behavior of the file to be opened. All possible values are ( r, r+,
rs, rs+, w, wx, w+, wx+, a, ax, a+, ax+).
•mode: Sets the mode of file i.e. r-read, w-write, r+ -readwrite. It sets to default as
readwrite.
•err: If any error occurs.
•data: Contents of the file. It is called after the open operation is executed.
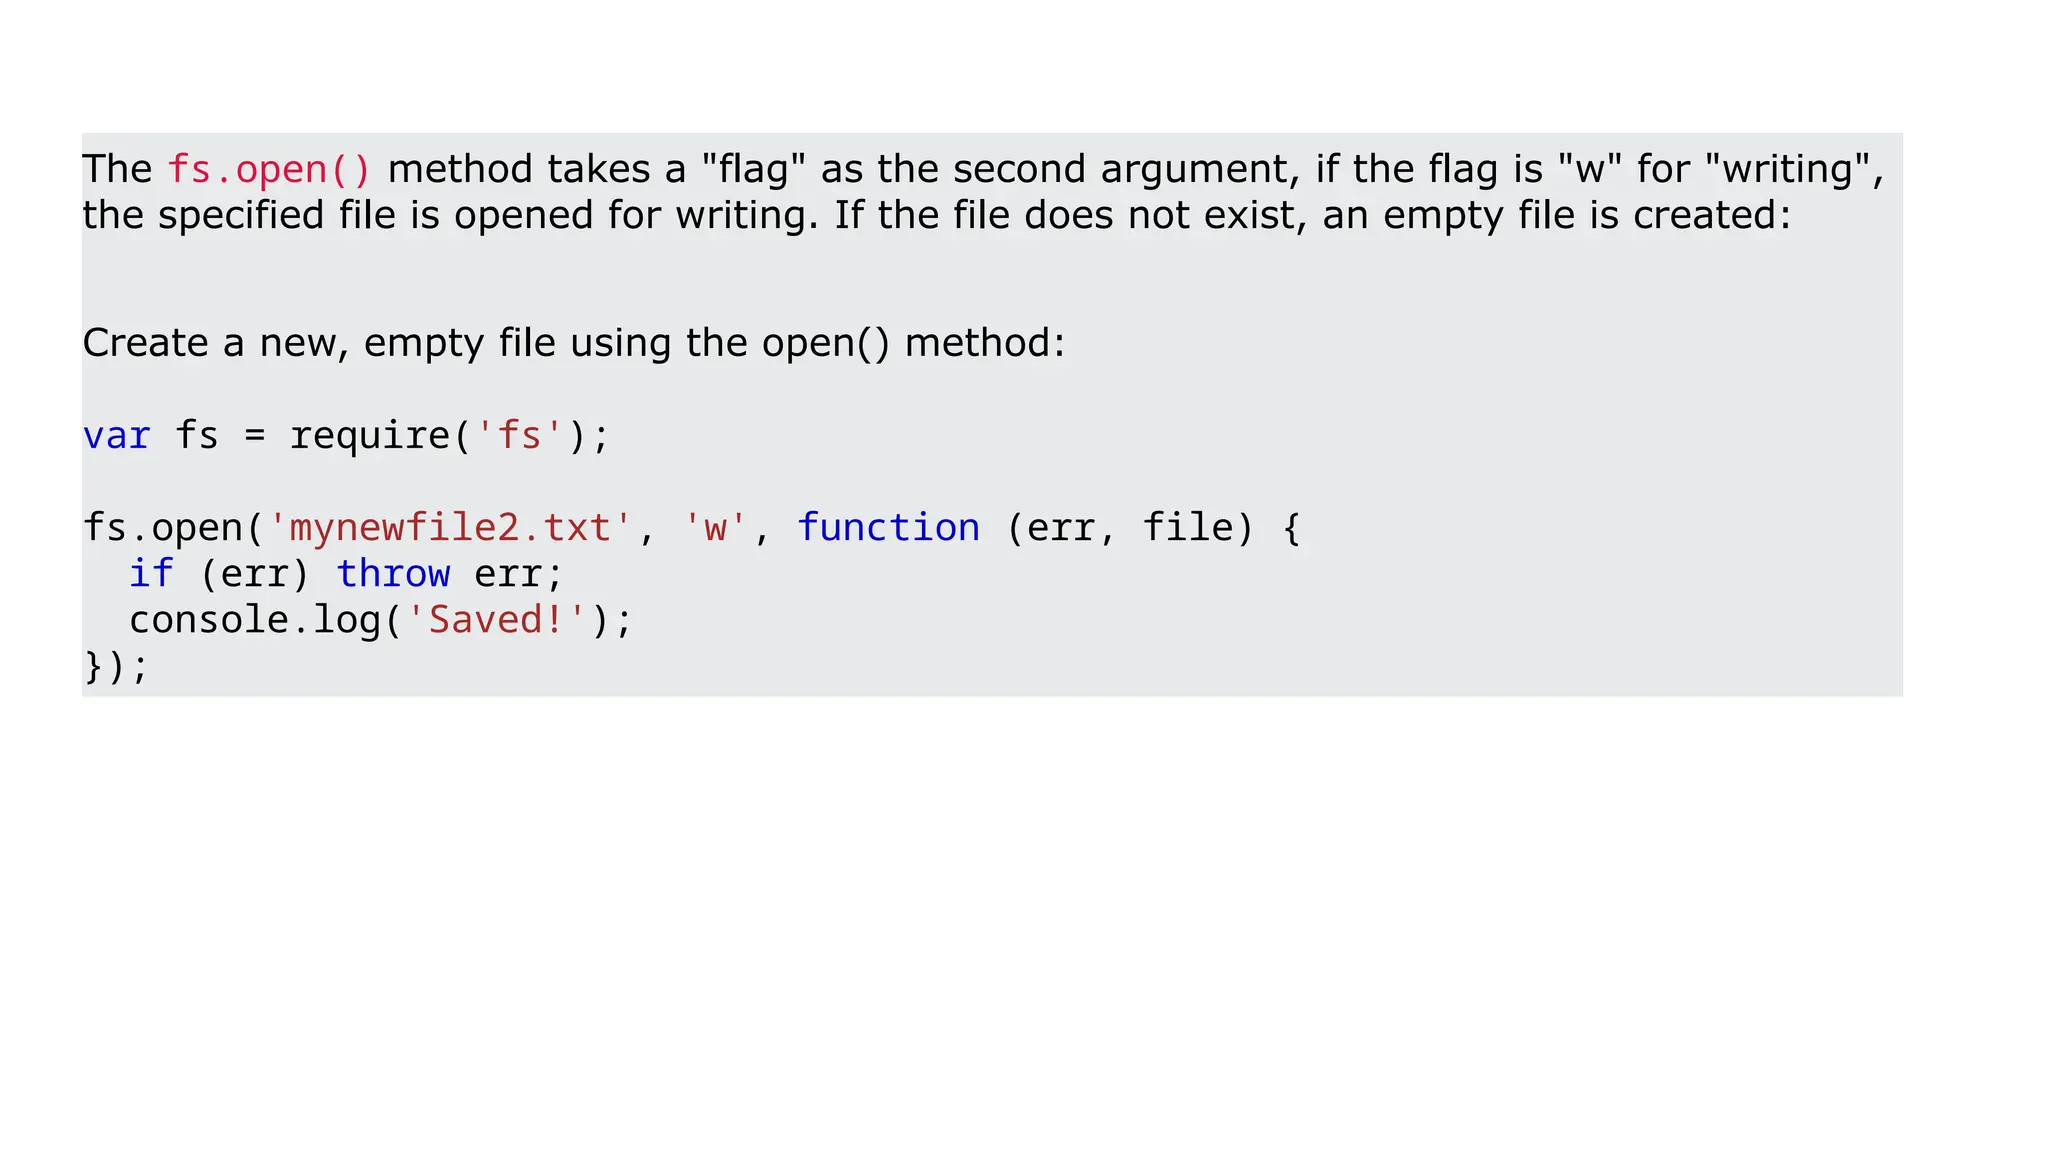
50.
The fs.open() methodtakes a "flag" as the second argument, if the flag is "w" for "writing",
the specified file is opened for writing. If the file does not exist, an empty file is created:
Create a new, empty file using the open() method:
var fs = require('fs');
fs.open('mynewfile2.txt', 'w', function (err, file) {
if (err) throw err;
console.log('Saved!');
});
51.
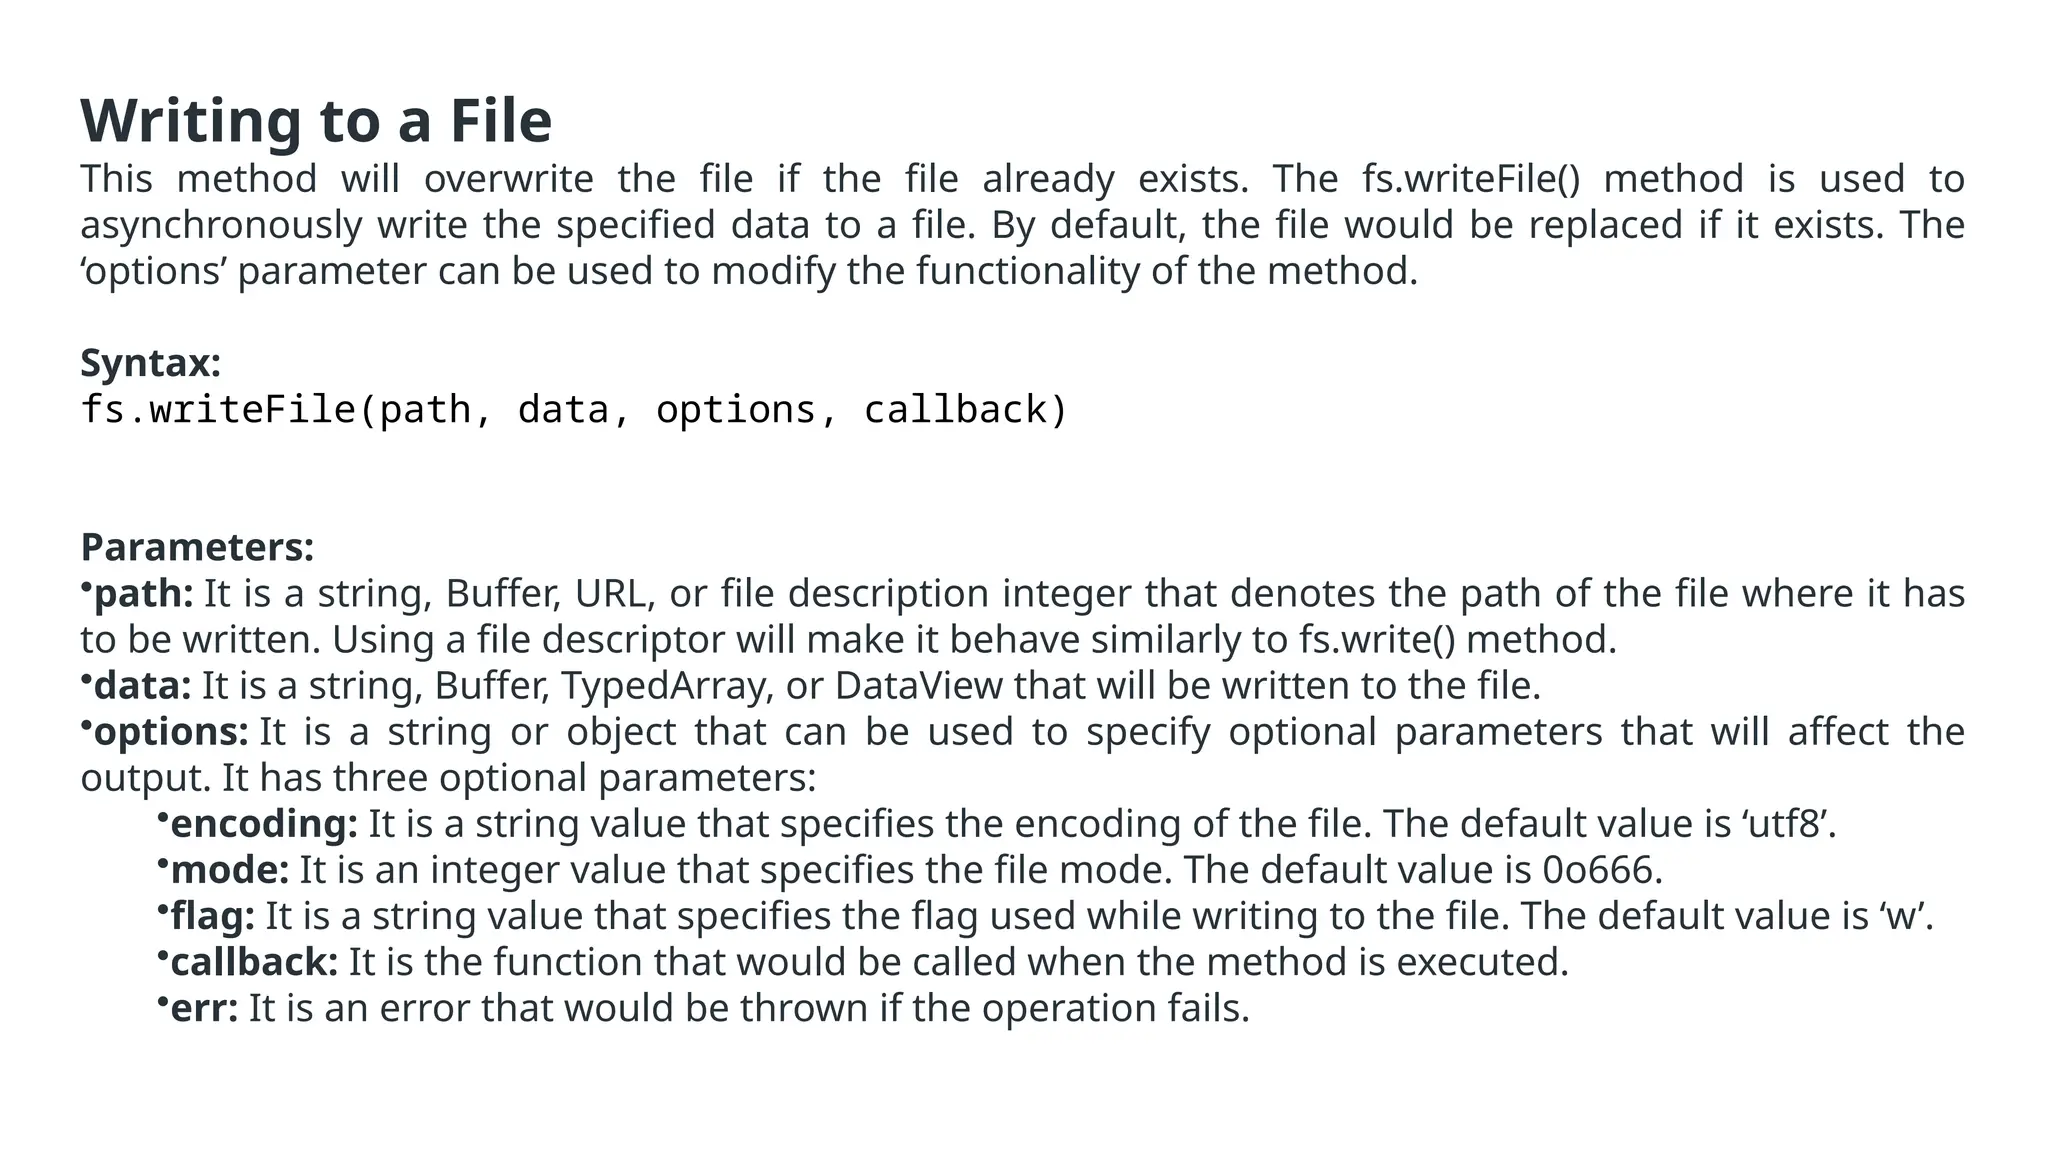
Writing to aFile
This method will overwrite the file if the file already exists. The fs.writeFile() method is used to
asynchronously write the specified data to a file. By default, the file would be replaced if it exists. The
‘options’ parameter can be used to modify the functionality of the method.
Syntax:
fs.writeFile(path, data, options, callback)
Parameters:
•path: It is a string, Buffer, URL, or file description integer that denotes the path of the file where it has
to be written. Using a file descriptor will make it behave similarly to fs.write() method.
•data: It is a string, Buffer, TypedArray, or DataView that will be written to the file.
•options: It is a string or object that can be used to specify optional parameters that will affect the
output. It has three optional parameters:
•encoding: It is a string value that specifies the encoding of the file. The default value is ‘utf8’.
•mode: It is an integer value that specifies the file mode. The default value is 0o666.
•flag: It is a string value that specifies the flag used while writing to the file. The default value is ‘w’.
•callback: It is the function that would be called when the method is executed.
•err: It is an error that would be thrown if the operation fails.
52.
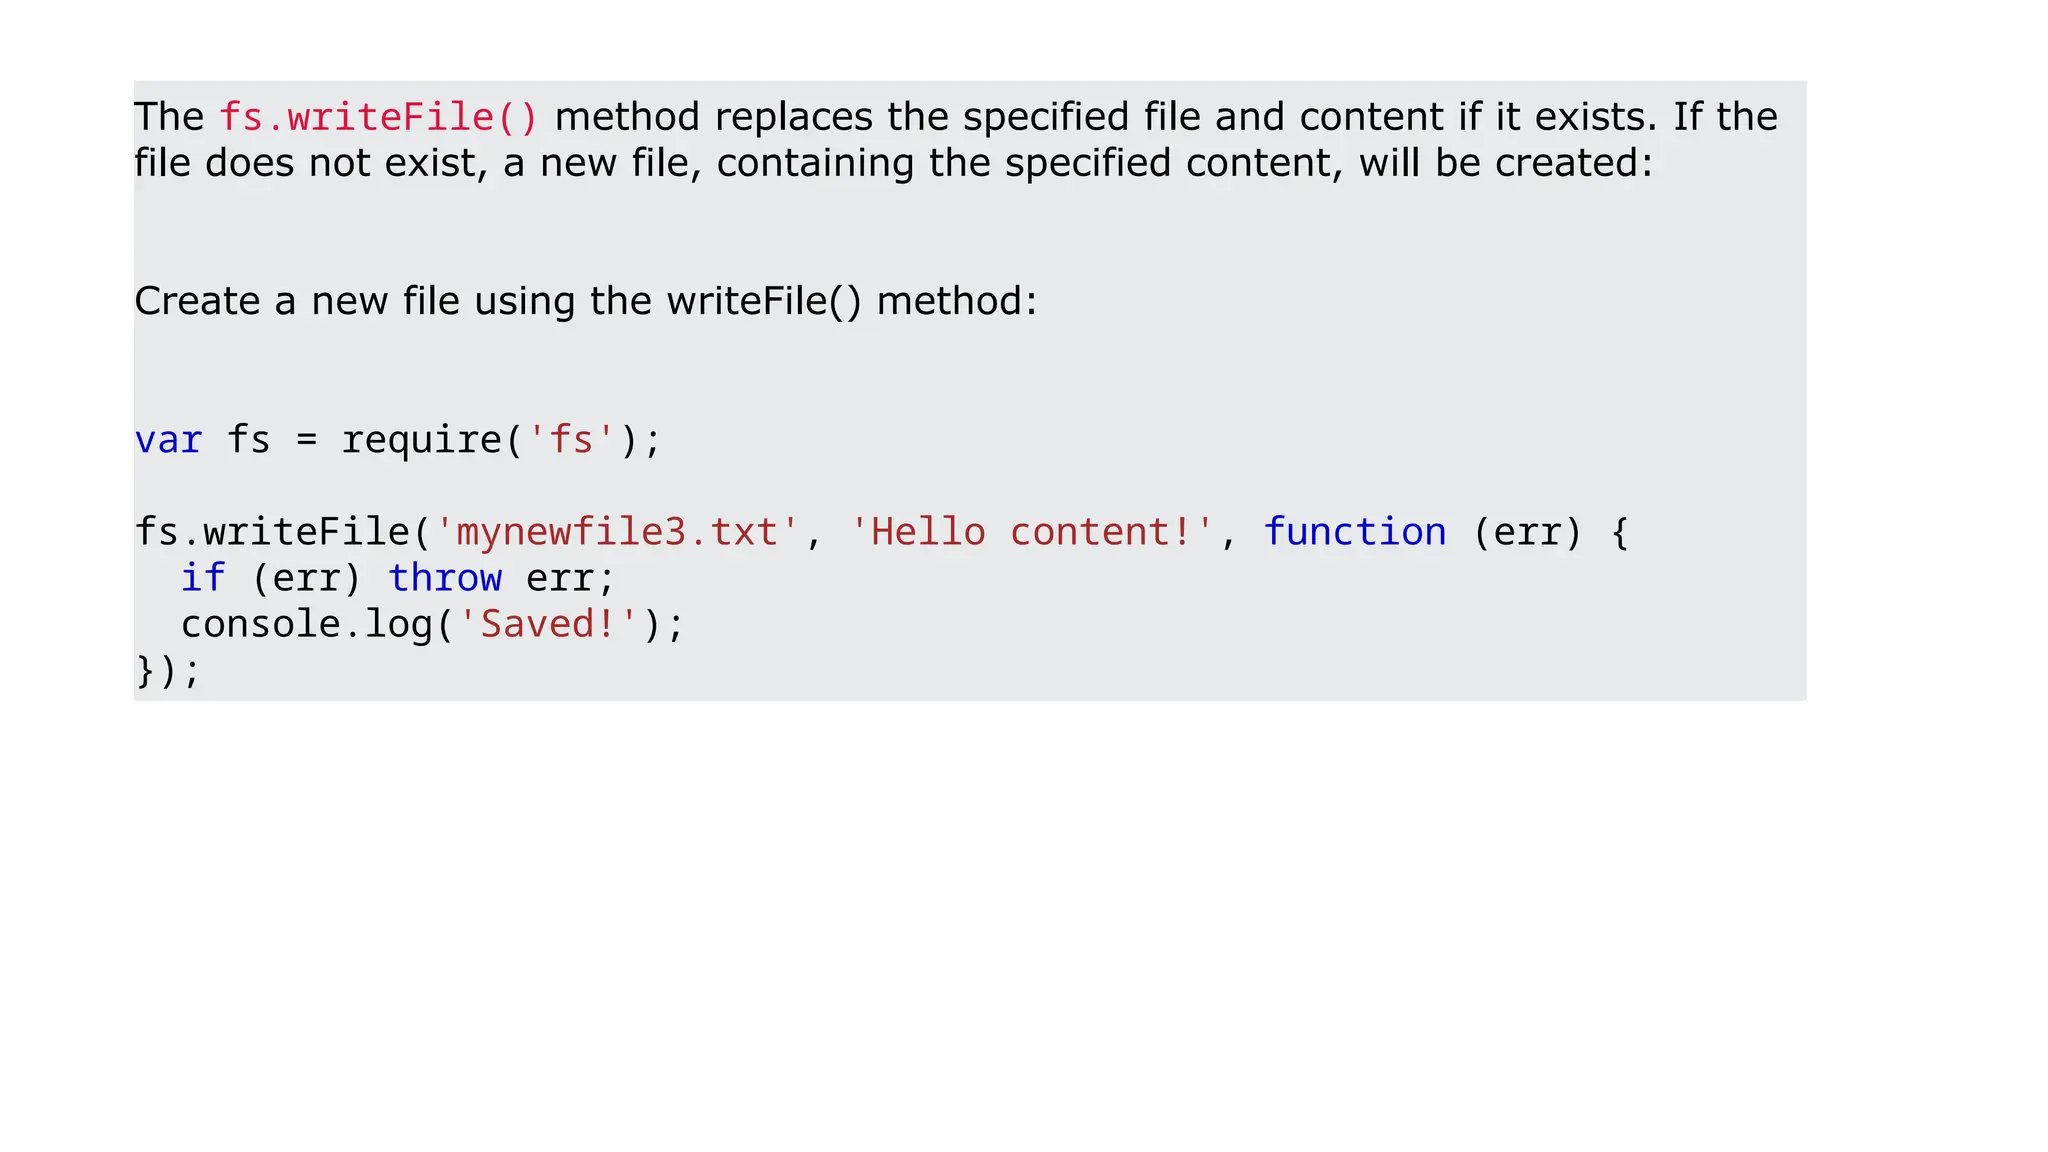
The fs.writeFile() methodreplaces the specified file and content if it exists. If the
file does not exist, a new file, containing the specified content, will be created:
Create a new file using the writeFile() method:
var fs = require('fs');
fs.writeFile('mynewfile3.txt', 'Hello content!', function (err) {
if (err) throw err;
console.log('Saved!');
});
53.
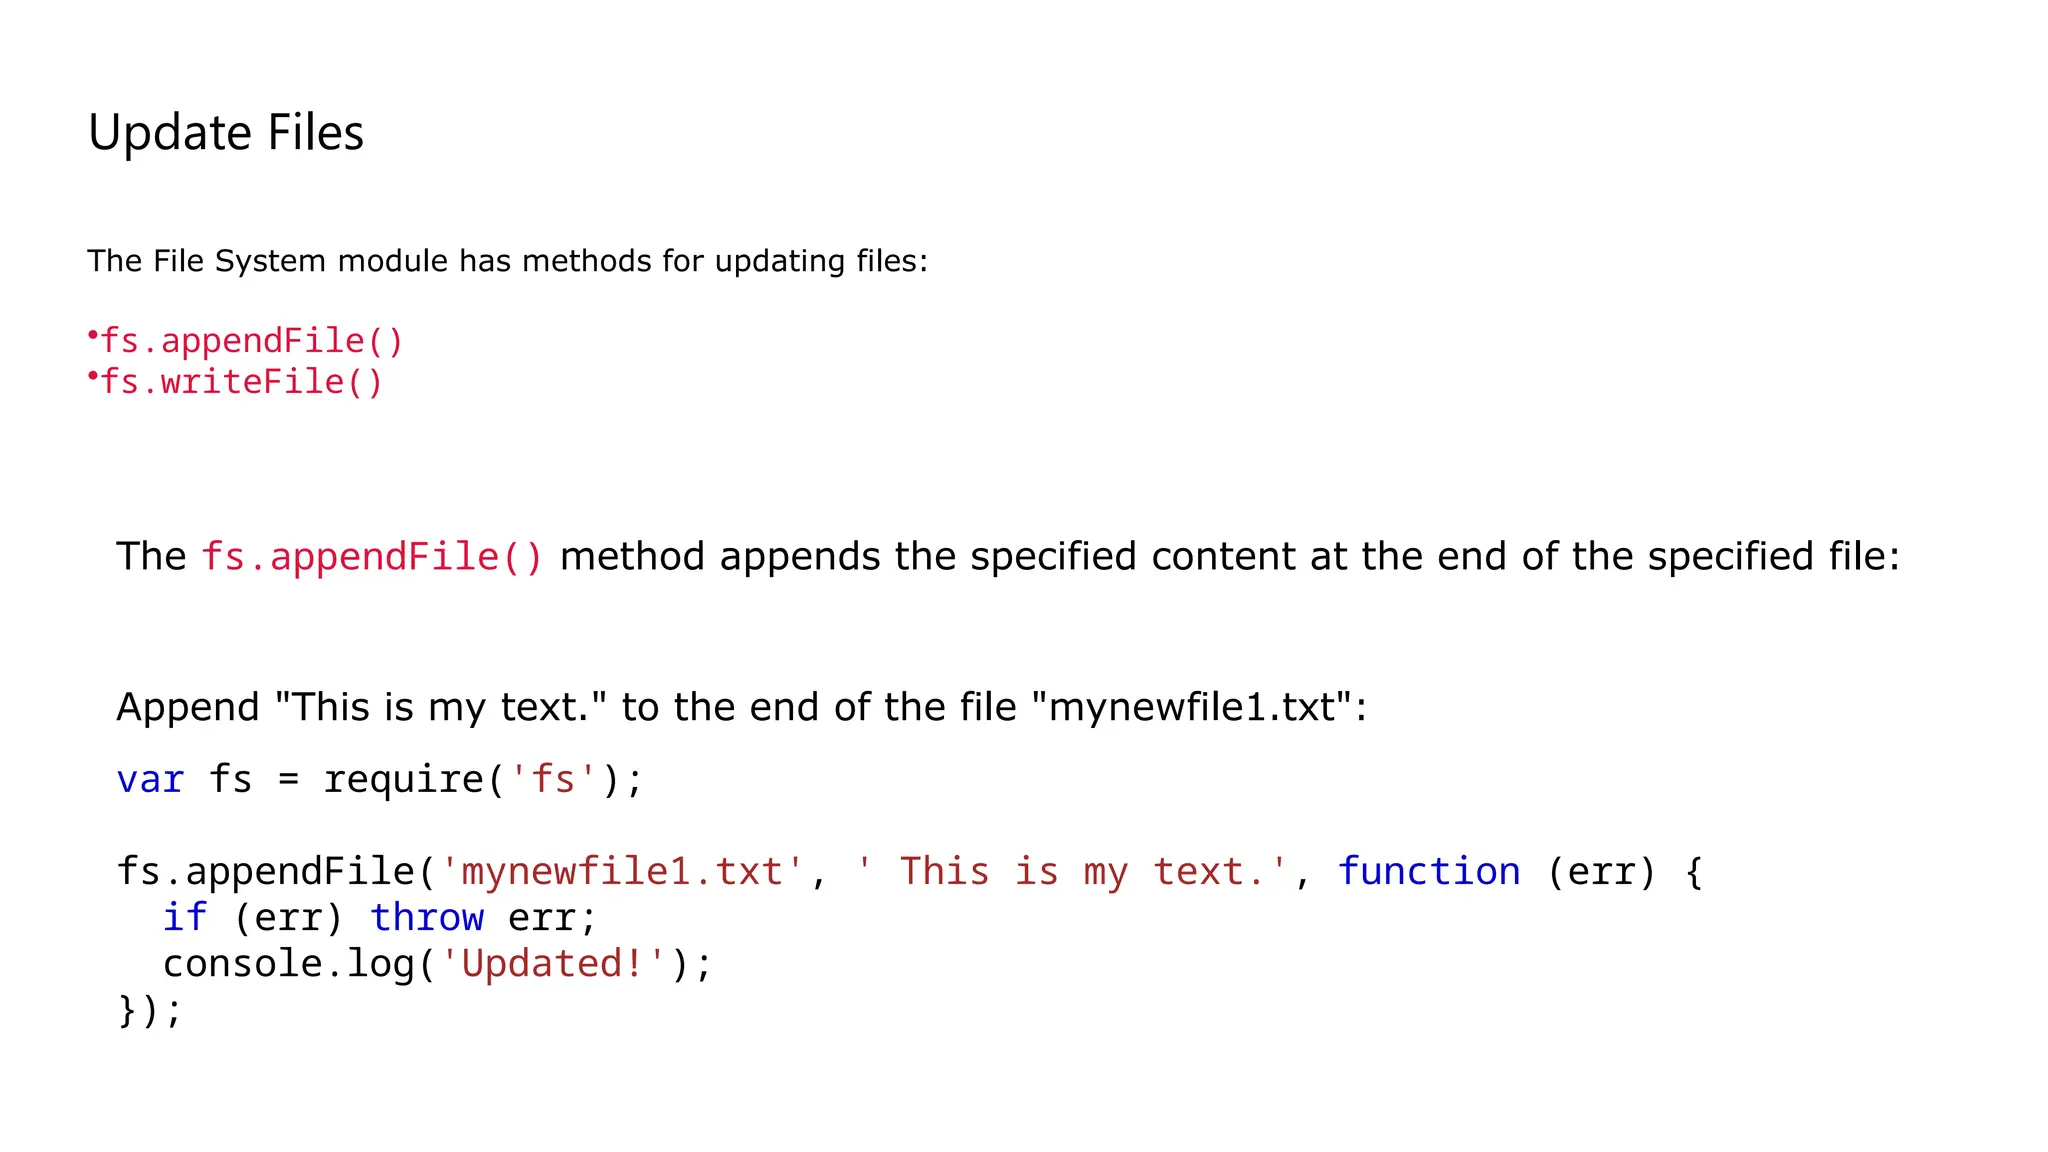
Update Files
The FileSystem module has methods for updating files:
•fs.appendFile()
•fs.writeFile()
Append "This is my text." to the end of the file "mynewfile1.txt":
var fs = require('fs');
fs.appendFile('mynewfile1.txt', ' This is my text.', function (err) {
if (err) throw err;
console.log('Updated!');
});
The fs.appendFile() method appends the specified content at the end of the specified file:
54.
The fs.writeFile() methodreplaces the specified file and content:
Replace the content of the file "mynewfile3.txt":
var fs = require('fs');
fs.writeFile('mynewfile3.txt', 'This is my text', function (err) {
if (err) throw err;
console.log('Replaced!');
});
Run example »
55.
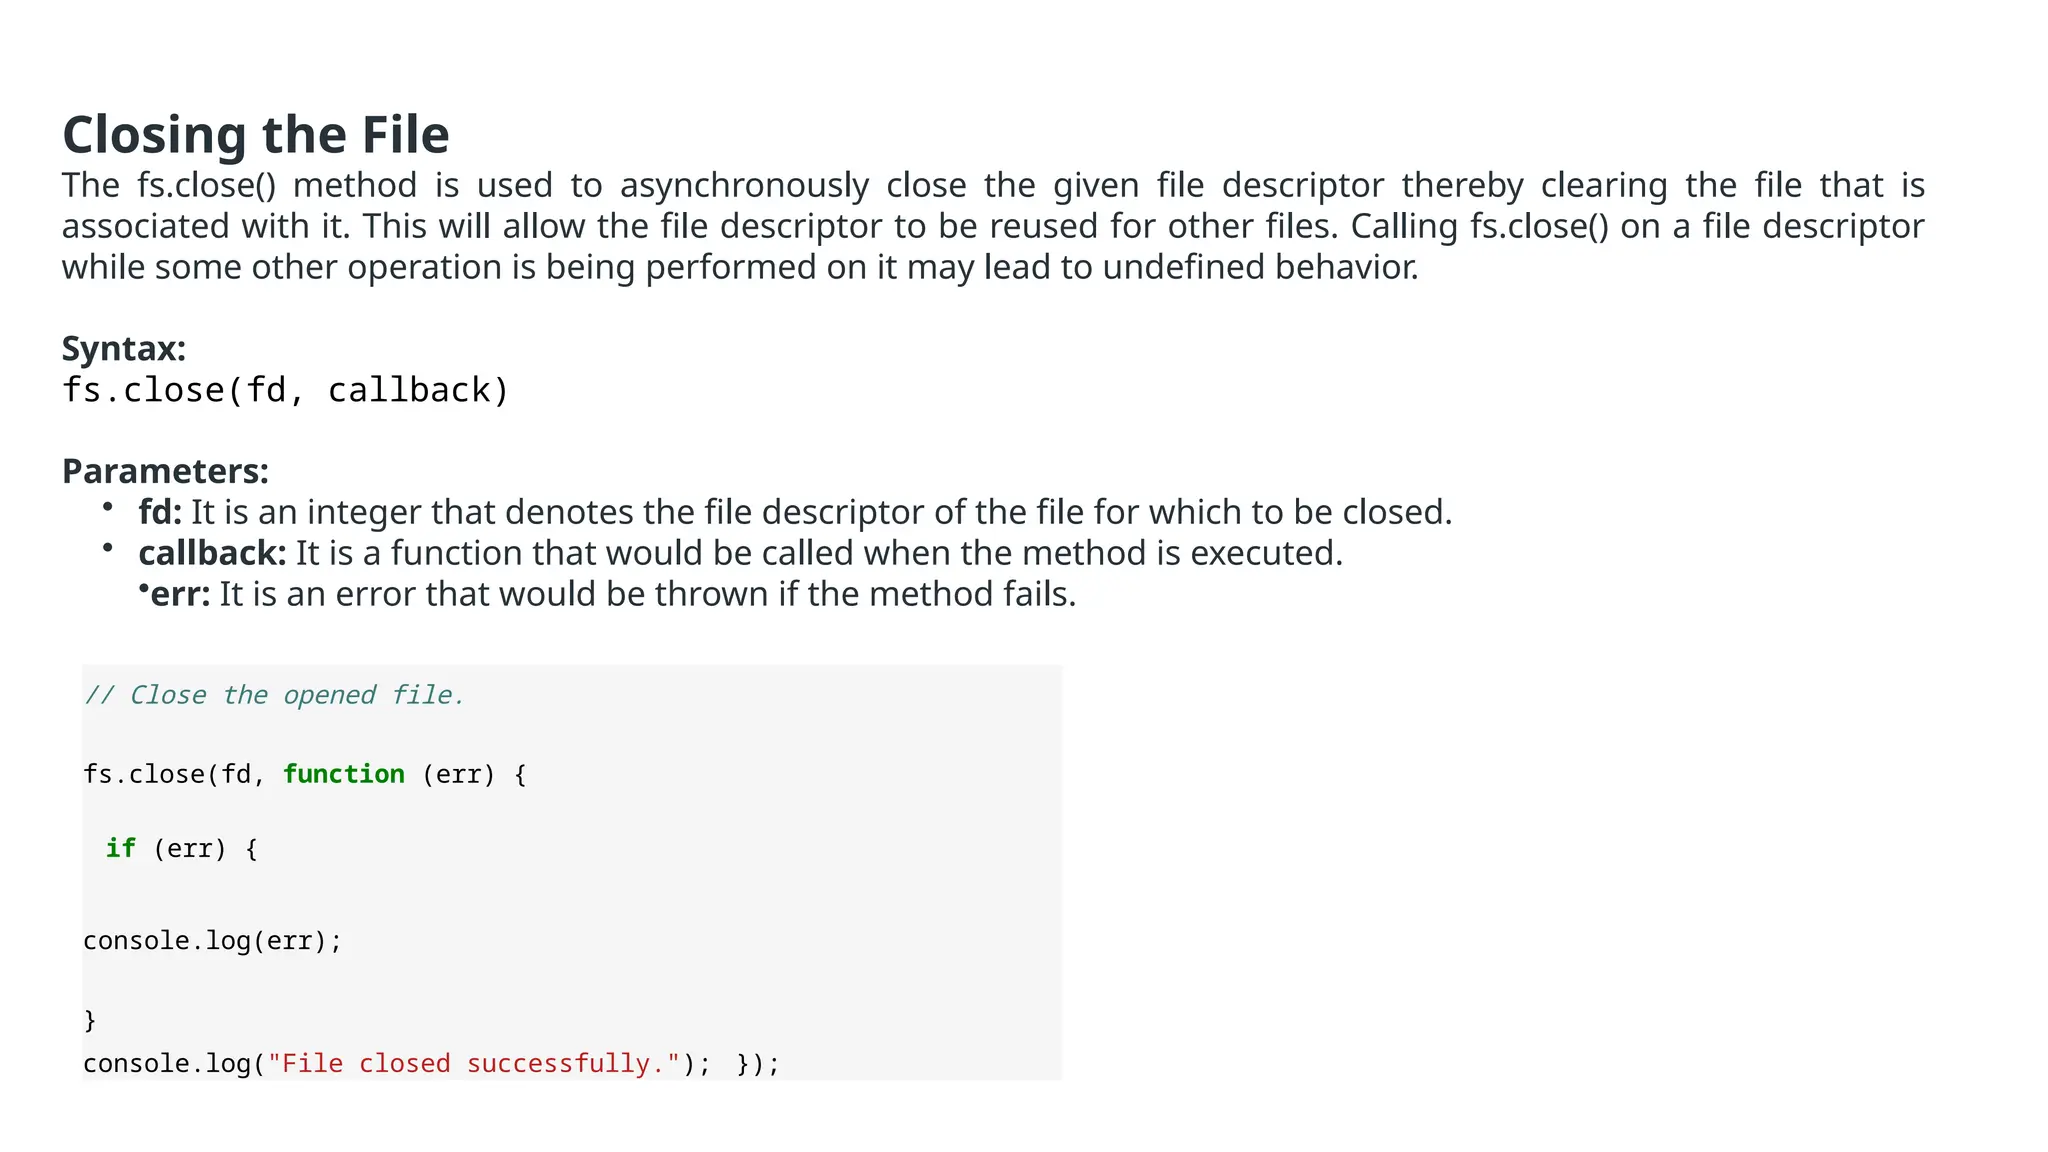
Closing the File
Thefs.close() method is used to asynchronously close the given file descriptor thereby clearing the file that is
associated with it. This will allow the file descriptor to be reused for other files. Calling fs.close() on a file descriptor
while some other operation is being performed on it may lead to undefined behavior.
Syntax:
fs.close(fd, callback)
Parameters:
• fd: It is an integer that denotes the file descriptor of the file for which to be closed.
• callback: It is a function that would be called when the method is executed.
•err: It is an error that would be thrown if the method fails.
// Close the opened file.
fs.close(fd, function (err) {
if (err) {
console.log(err);
}
console.log("File closed successfully."); });
56.
Delete a File
Thefs.unlink() method is used to remove a file or symbolic link from the filesystem. This
function does not work on directories; therefore it is recommended to use fs.rmdir() to
remove a directory.
Syntax:
fs.unlink(path, callback)
Parameters:
• path: It is a string, Buffer or URL which represents the file or symbolic link which has to
be removed.
• callback: It is a function that would be called when the method is executed.
•err: It is an error that would be thrown if the method fails.
57.
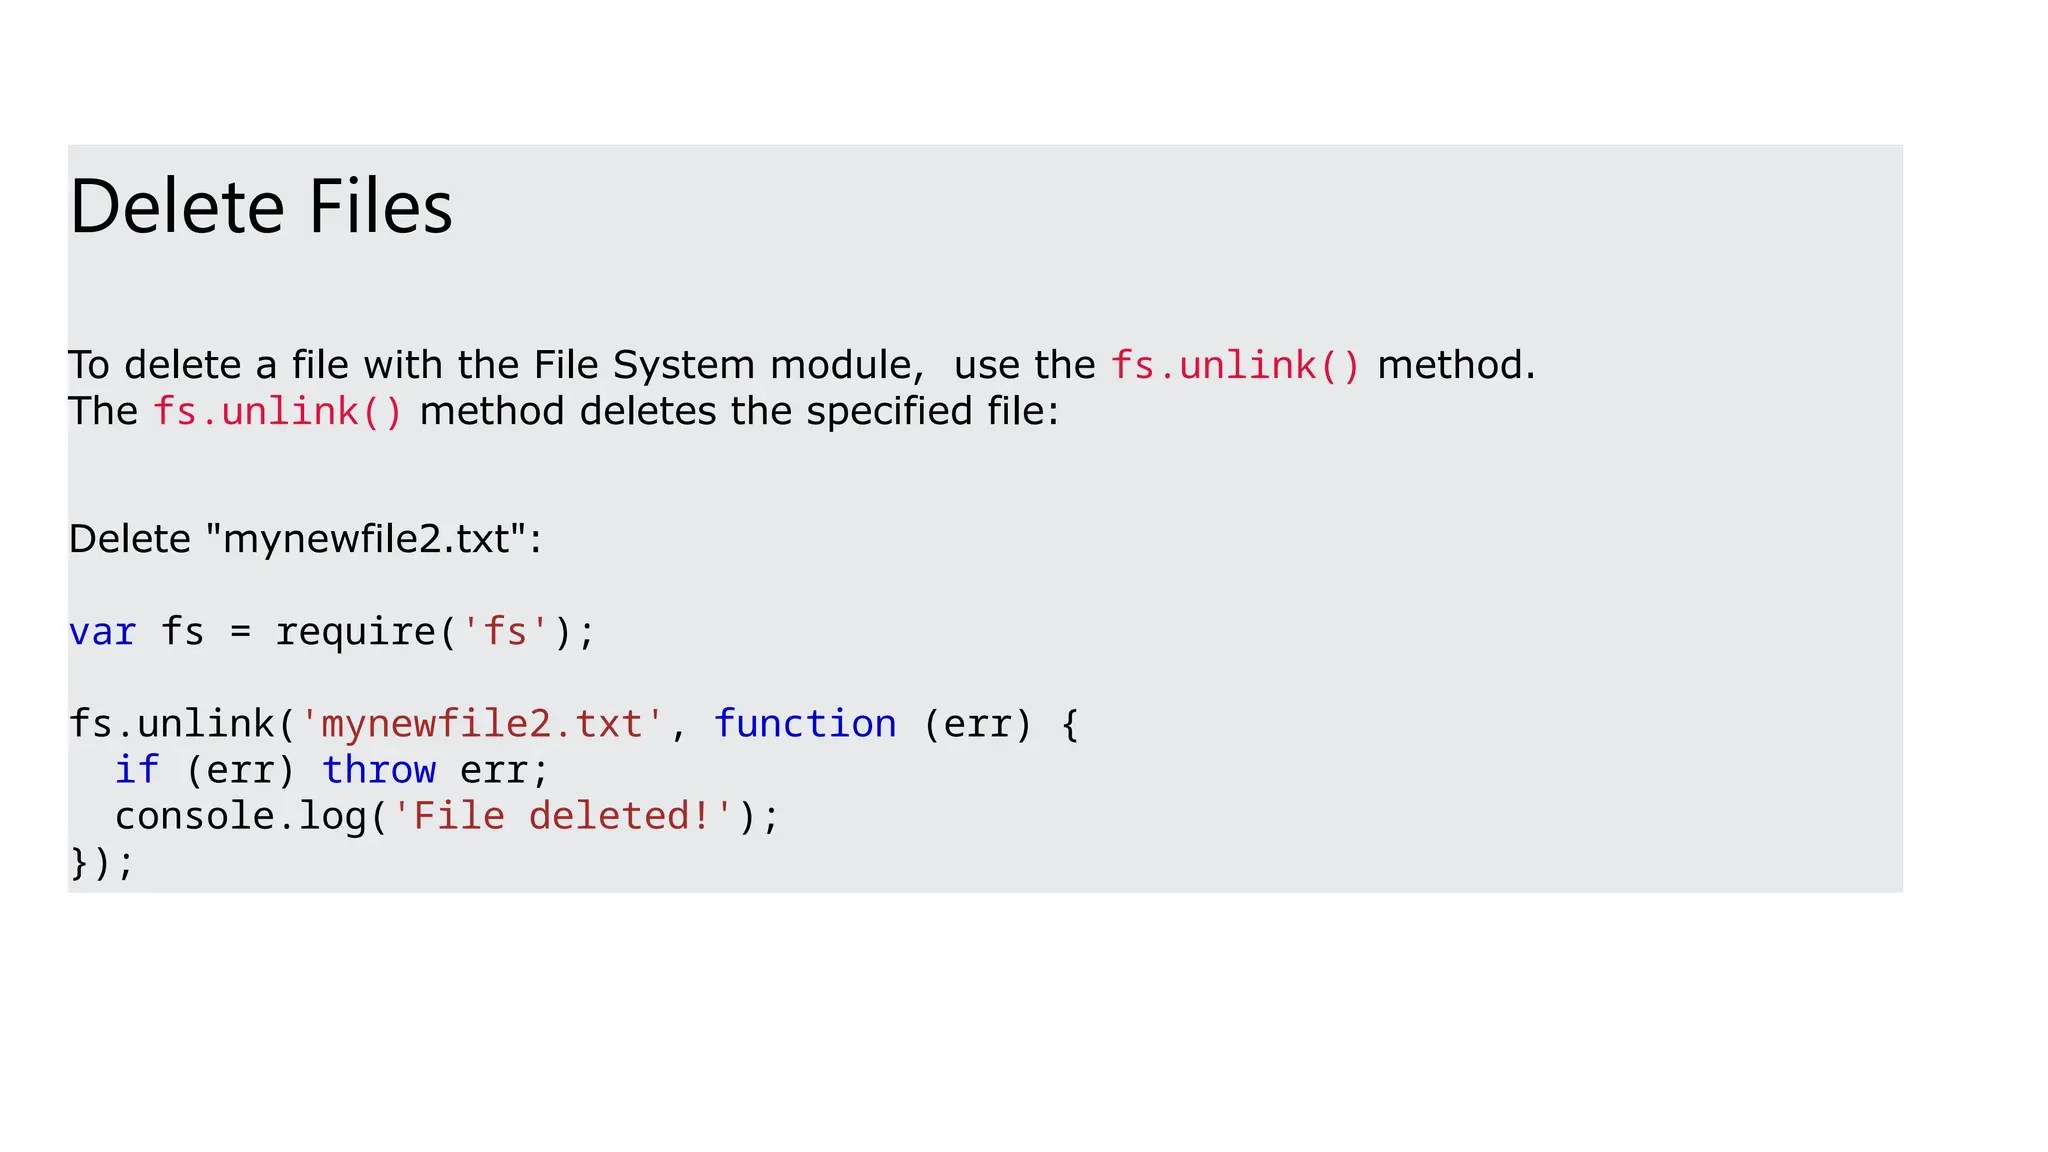
Delete Files
To deletea file with the File System module, use the fs.unlink() method.
The fs.unlink() method deletes the specified file:
Delete "mynewfile2.txt":
var fs = require('fs');
fs.unlink('mynewfile2.txt', function (err) {
if (err) throw err;
console.log('File deleted!');
});
58.
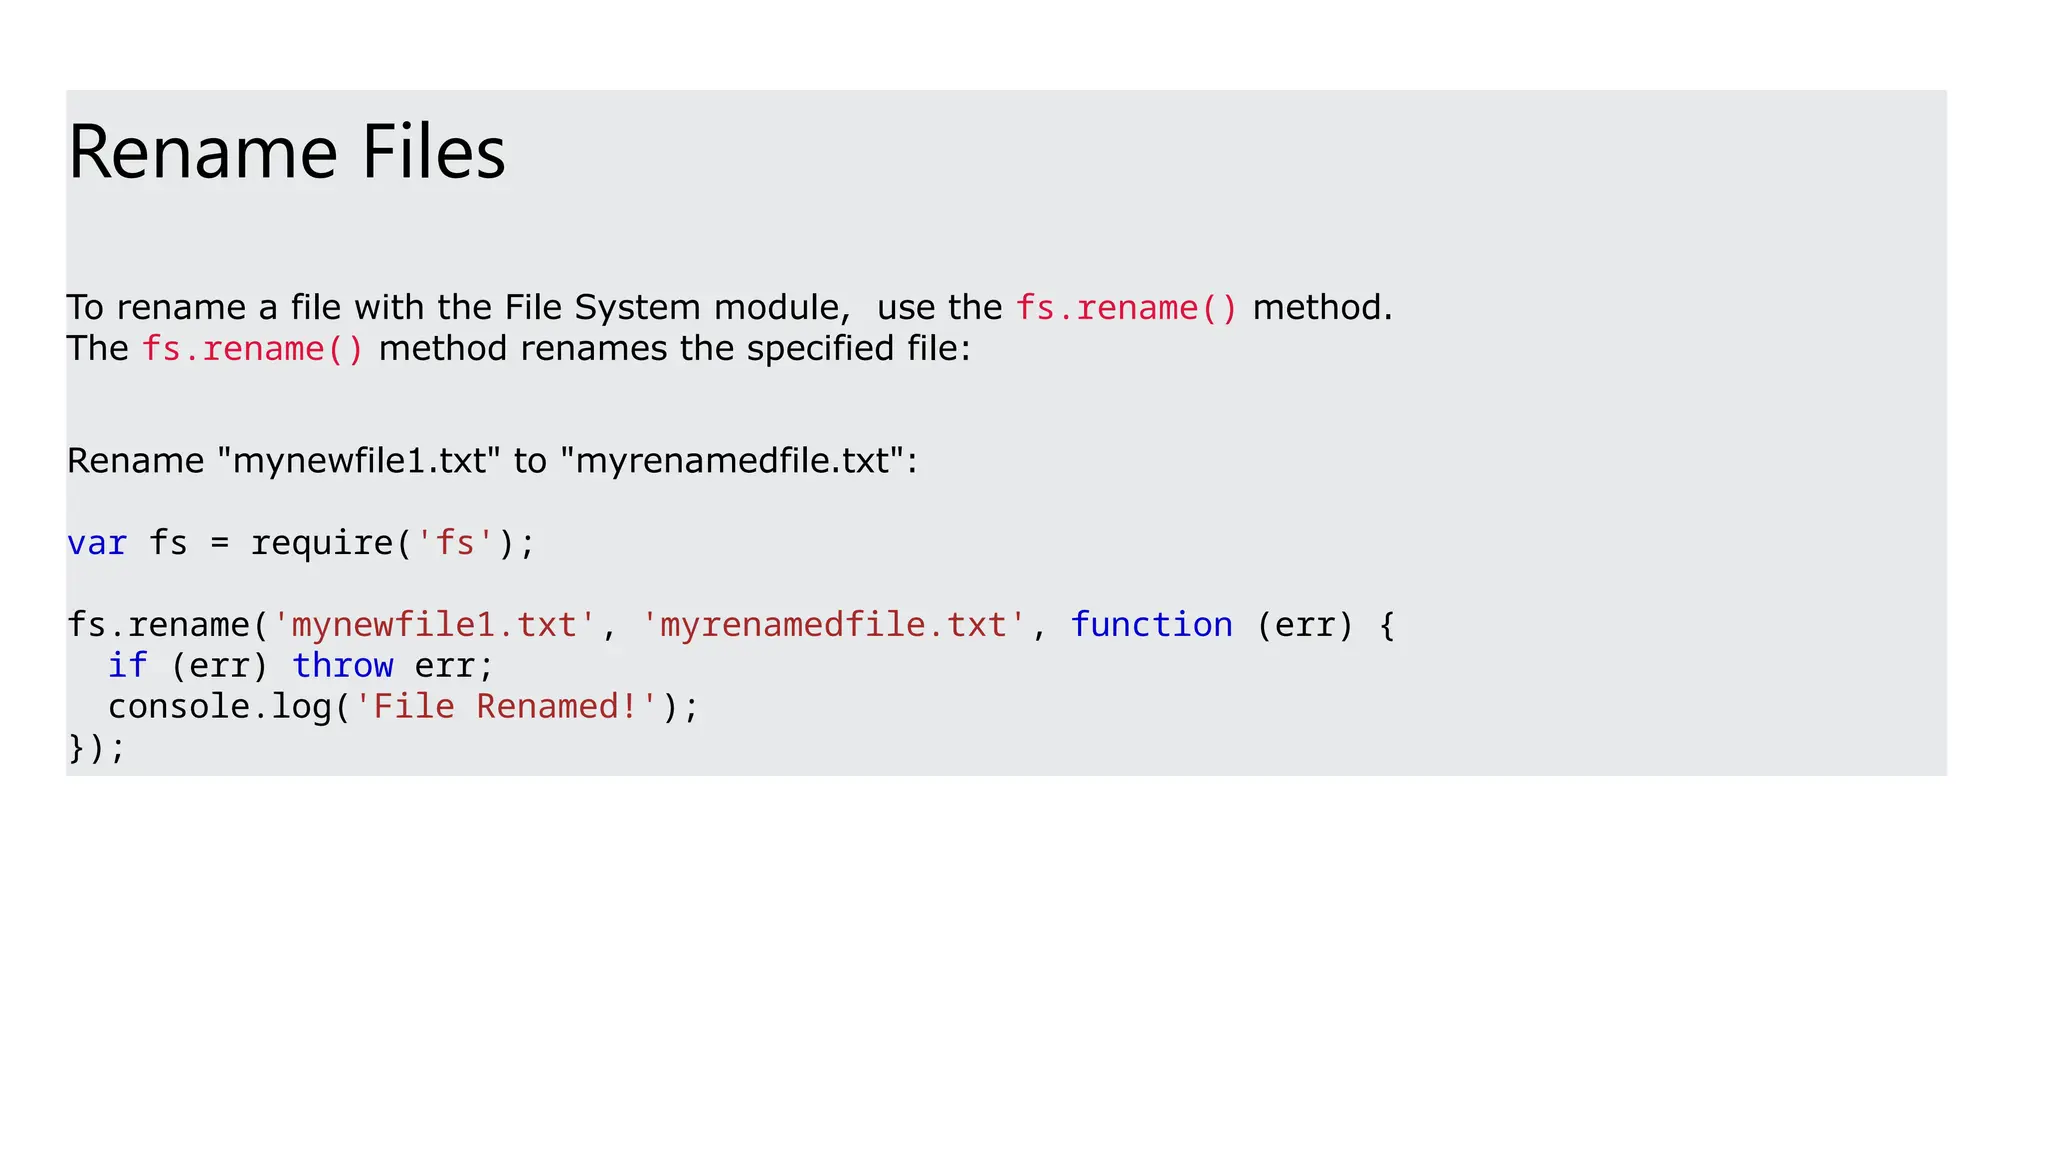
Rename Files
To renamea file with the File System module, use the fs.rename() method.
The fs.rename() method renames the specified file:
Rename "mynewfile1.txt" to "myrenamedfile.txt":
var fs = require('fs');
fs.rename('mynewfile1.txt', 'myrenamedfile.txt', function (err) {
if (err) throw err;
console.log('File Renamed!');
});
59.
Method Description
fs.readFile(fileName [,options],callback) Reads existing file.
fs.writeFile(filename, data[, options], callback) Writes to the file. If file exists then overwrite the content otherwise
creates new file.
fs.open(path, flags[, mode], callback) Opens file for reading or writing.
fs.rename(oldPath, newPath, callback) Renames an existing file.
fs.chown(path, uid, gid, callback) Asynchronous chown.
fs.stat(path, callback) Returns fs.stat object which includes important file statistics.
fs.link(srcpath, dstpath, callback) Links file asynchronously.
fs.unlink(path, callback); Delete a file.
fs.symlink(destination, path[, type], callback) Symlink asynchronously.
fs.rmdir(path, callback) Renames an existing directory.
fs.mkdir(path[, mode], callback) Creates a new directory.
fs.readdir(path, callback) Reads the content of the specified directory.
fs.utimes(path, atime, mtime, callback) Changes the timestamp of the file.
fs.exists(path, callback) Determines whether the specified file exists or not.
fs.access(path[, mode], callback) Tests a user's permissions for the specified file.
fs.appendFile(file, data[, options], callback) Appends new content to the existing file.
Important method of fs module
60.
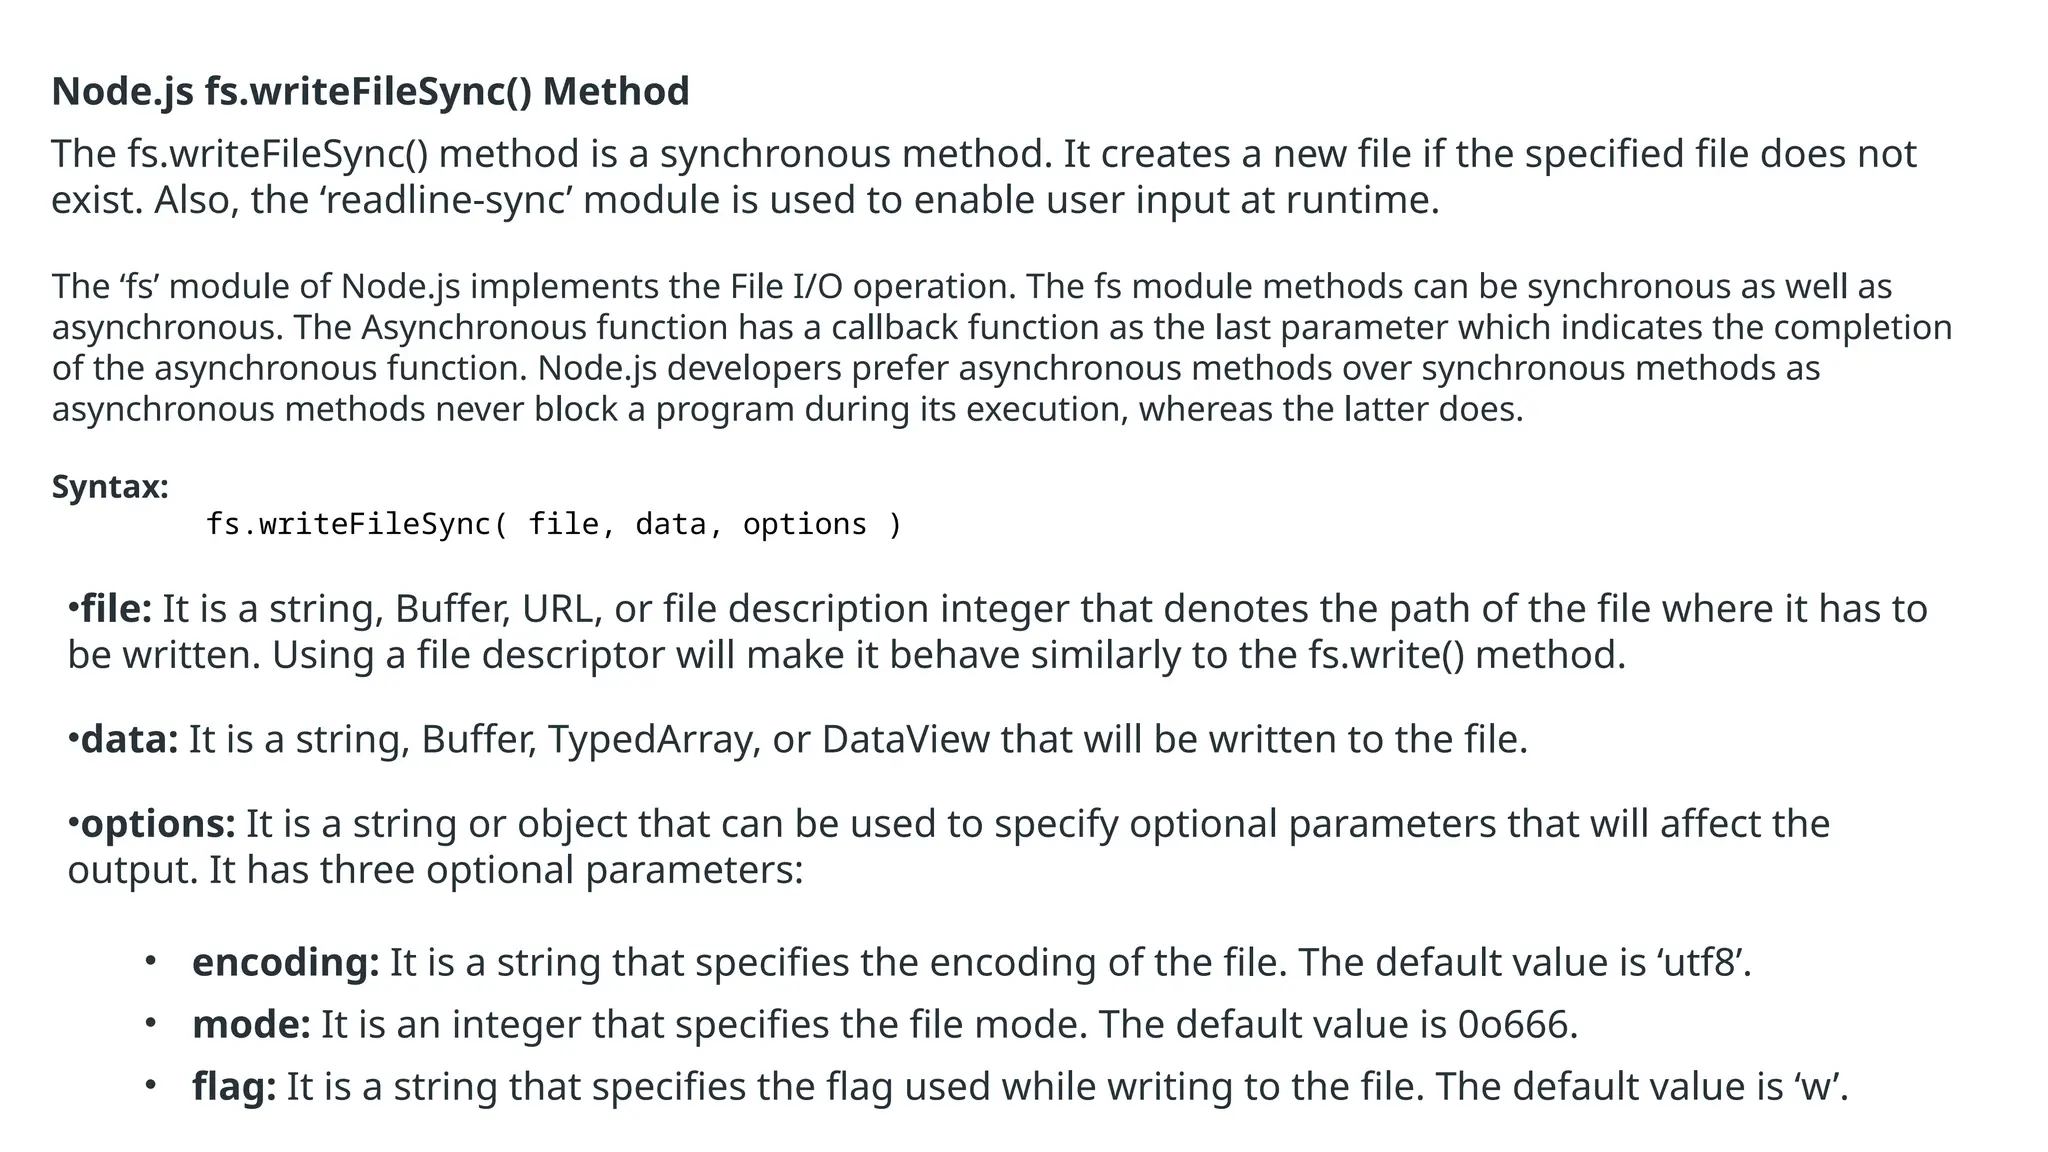
Node.js fs.writeFileSync() Method
Thefs.writeFileSync() method is a synchronous method. It creates a new file if the specified file does not
exist. Also, the ‘readline-sync’ module is used to enable user input at runtime.
The ‘fs’ module of Node.js implements the File I/O operation. The fs module methods can be synchronous as well as
asynchronous. The Asynchronous function has a callback function as the last parameter which indicates the completion
of the asynchronous function. Node.js developers prefer asynchronous methods over synchronous methods as
asynchronous methods never block a program during its execution, whereas the latter does.
Syntax:
fs.writeFileSync( file, data, options )
•file: It is a string, Buffer, URL, or file description integer that denotes the path of the file where it has to
be written. Using a file descriptor will make it behave similarly to the fs.write() method.
•data: It is a string, Buffer, TypedArray, or DataView that will be written to the file.
•options: It is a string or object that can be used to specify optional parameters that will affect the
output. It has three optional parameters:
• encoding: It is a string that specifies the encoding of the file. The default value is ‘utf8’.
• mode: It is an integer that specifies the file mode. The default value is 0o666.
• flag: It is a string that specifies the flag used while writing to the file. The default value is ‘w’.
61.
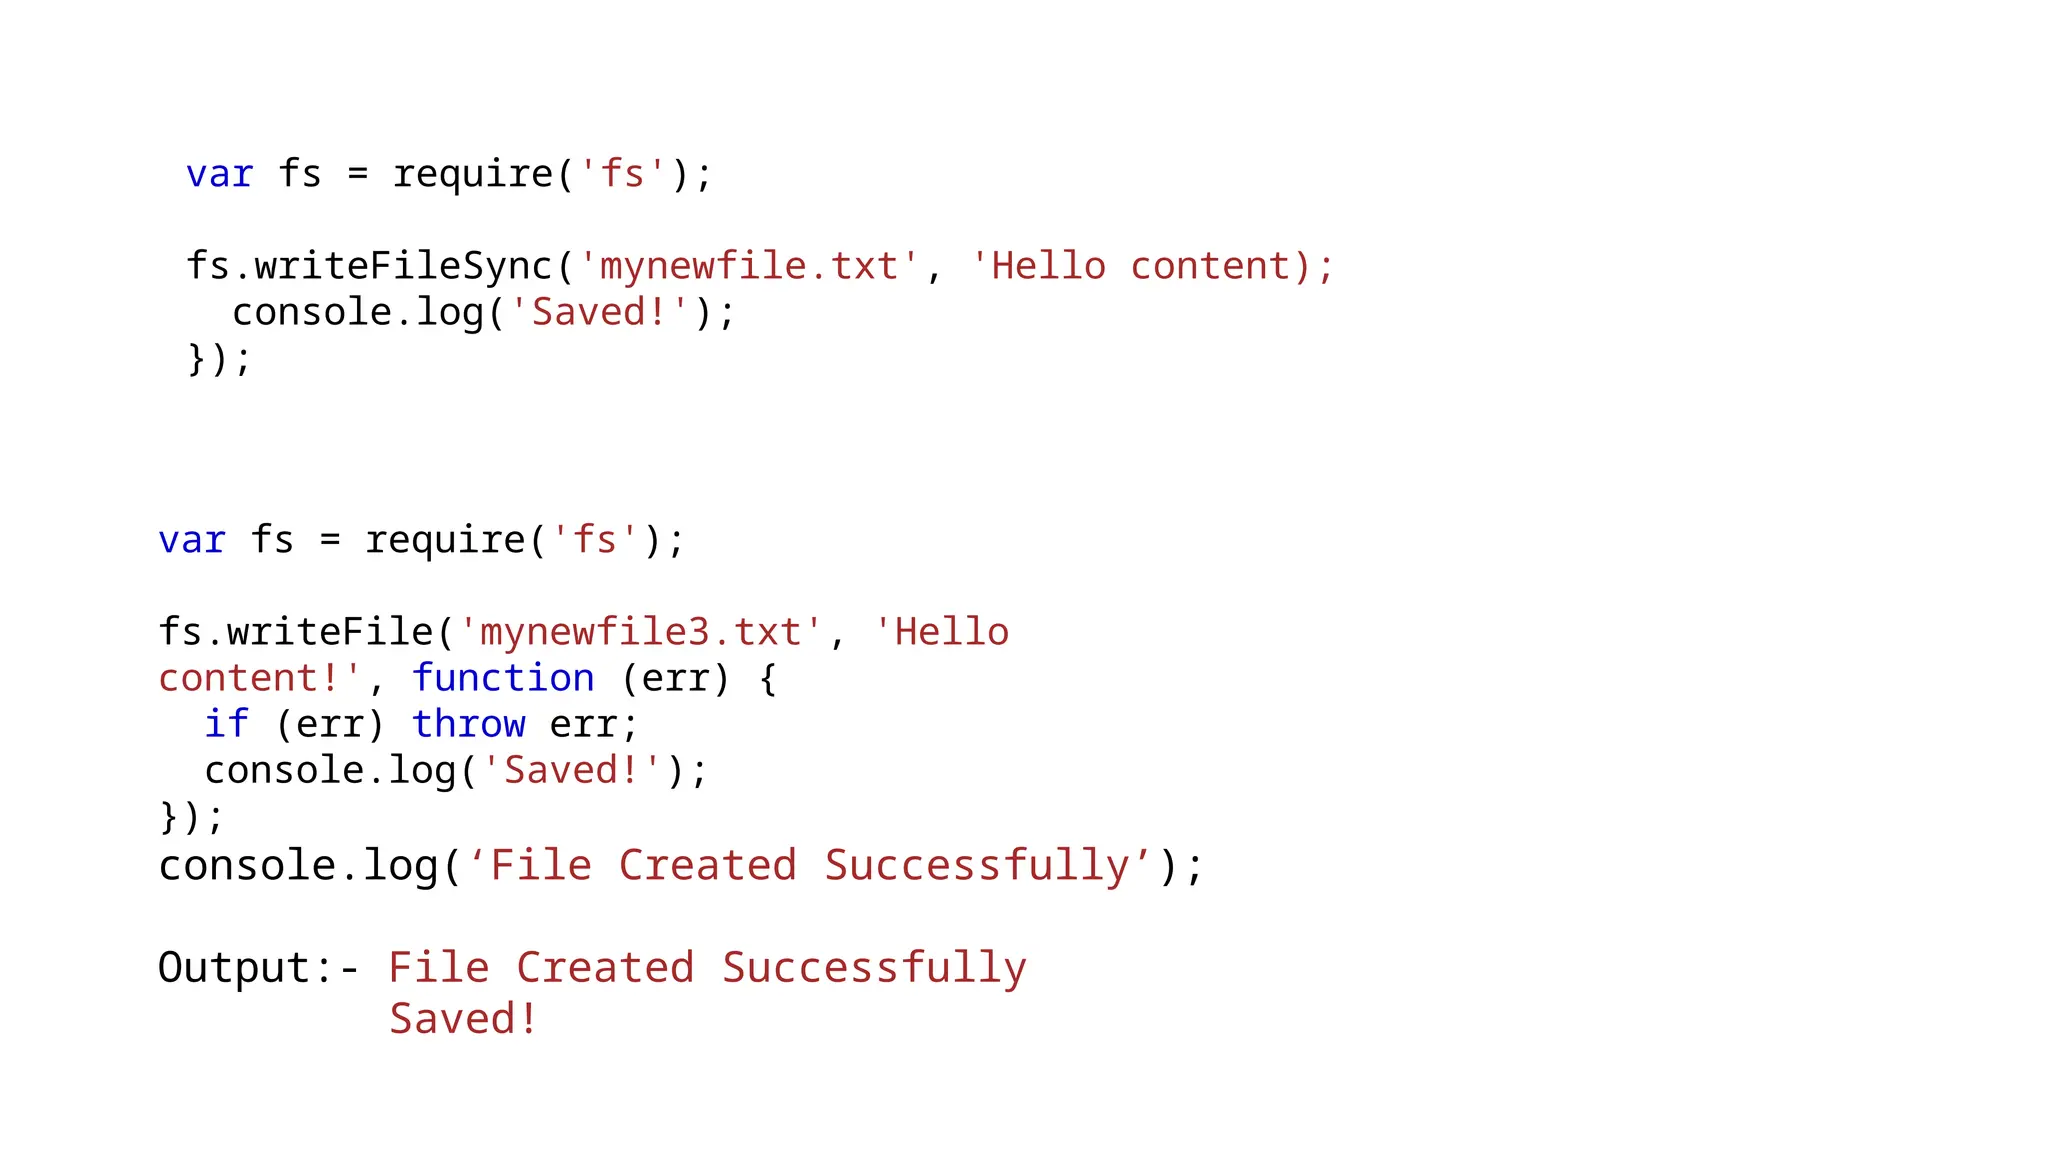
var fs =require('fs');
fs.writeFileSync('mynewfile.txt', 'Hello content);
console.log('Saved!');
});
var fs = require('fs');
fs.writeFile('mynewfile3.txt', 'Hello
content!', function (err) {
if (err) throw err;
console.log('Saved!');
});
console.log(‘File Created Successfully’);
Output:- File Created Successfully
Saved!
62.
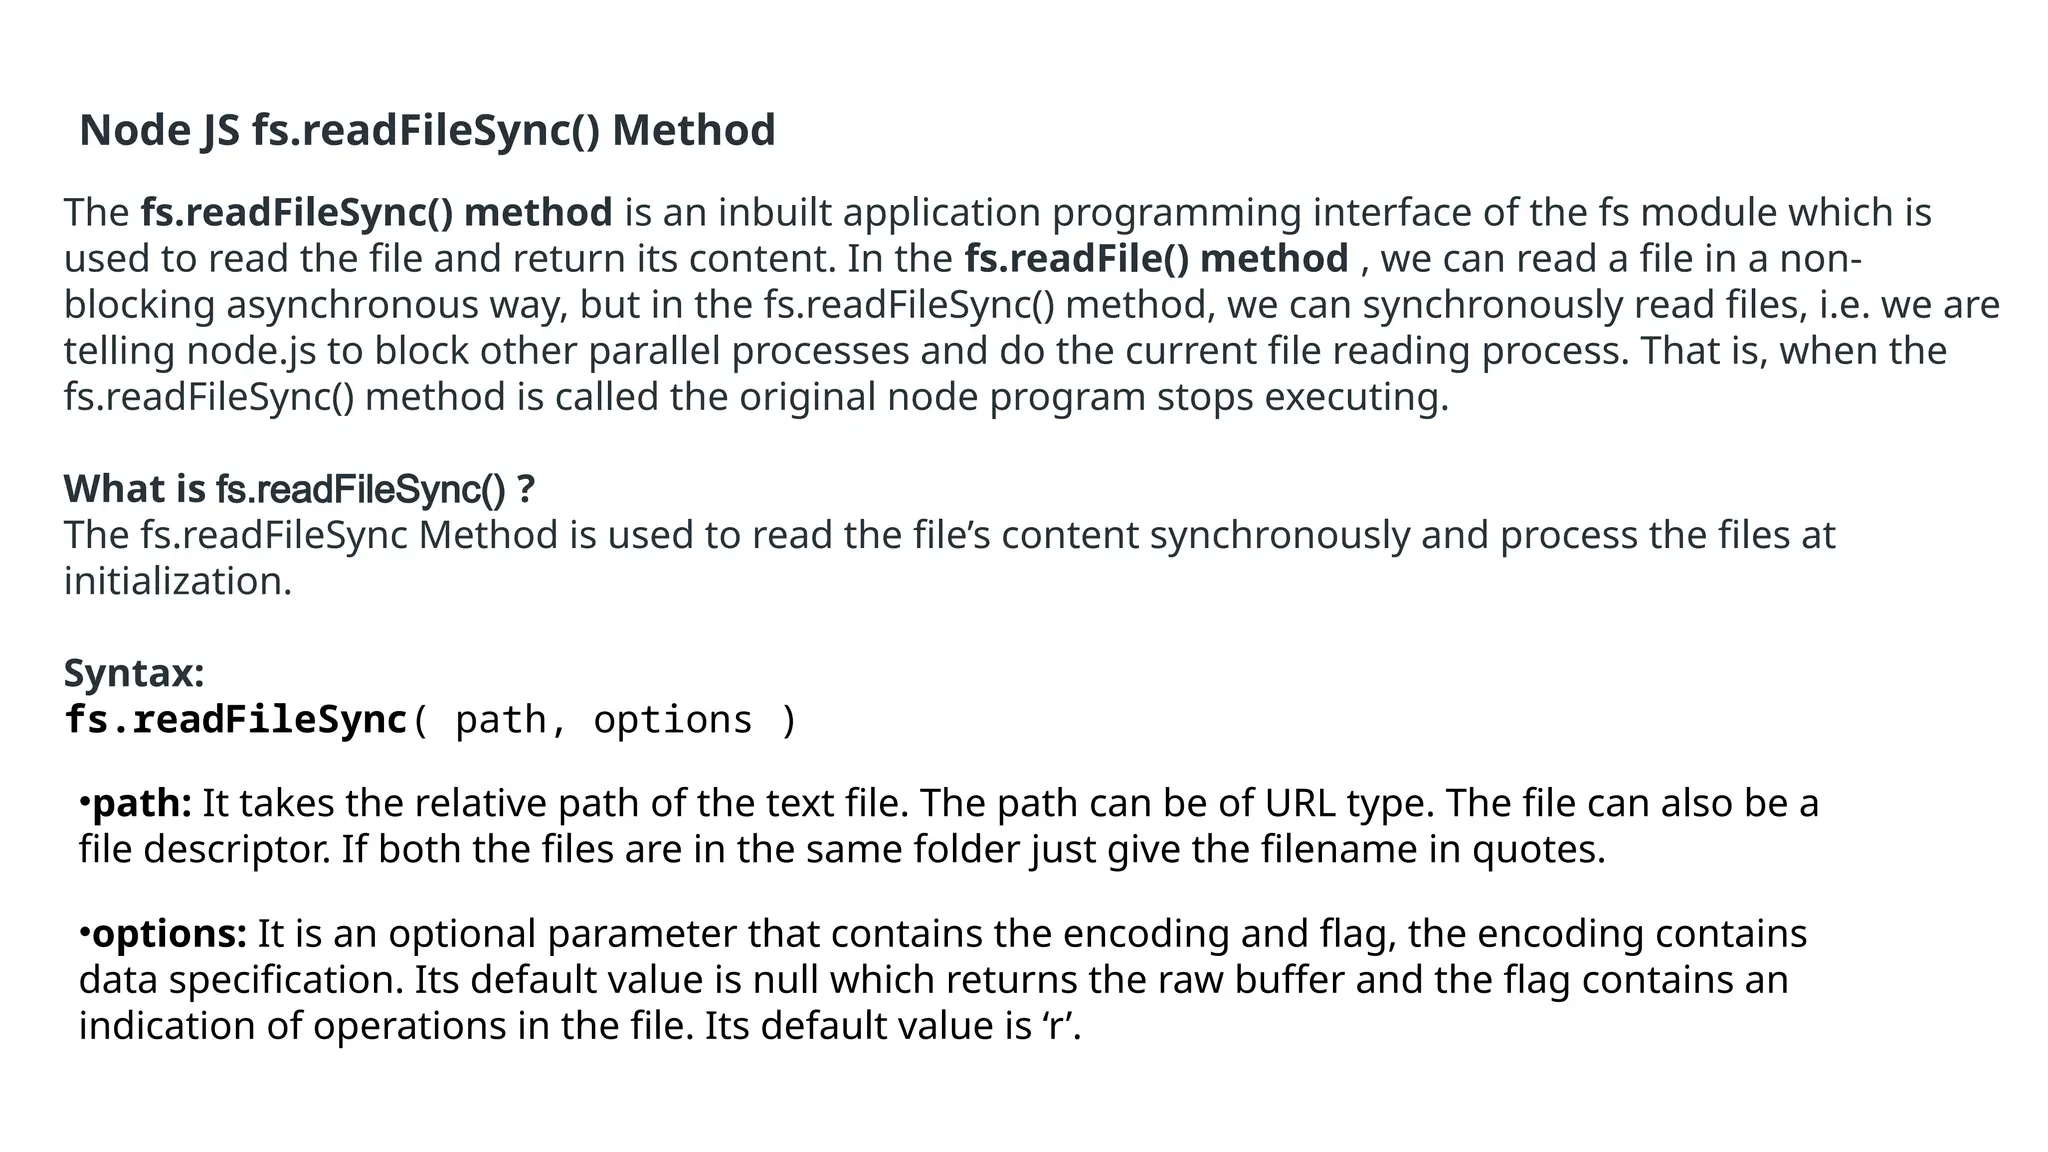
Node JS fs.readFileSync()Method
The fs.readFileSync() method is an inbuilt application programming interface of the fs module which is
used to read the file and return its content. In the fs.readFile() method , we can read a file in a non-
blocking asynchronous way, but in the fs.readFileSync() method, we can synchronously read files, i.e. we are
telling node.js to block other parallel processes and do the current file reading process. That is, when the
fs.readFileSync() method is called the original node program stops executing.
What is fs.readFileSync() ?
The fs.readFileSync Method is used to read the file’s content synchronously and process the files at
initialization.
Syntax:
fs.readFileSync( path, options )
•path: It takes the relative path of the text file. The path can be of URL type. The file can also be a
file descriptor. If both the files are in the same folder just give the filename in quotes.
•options: It is an optional parameter that contains the encoding and flag, the encoding contains
data specification. Its default value is null which returns the raw buffer and the flag contains an
indication of operations in the file. Its default value is ‘r’.
63.
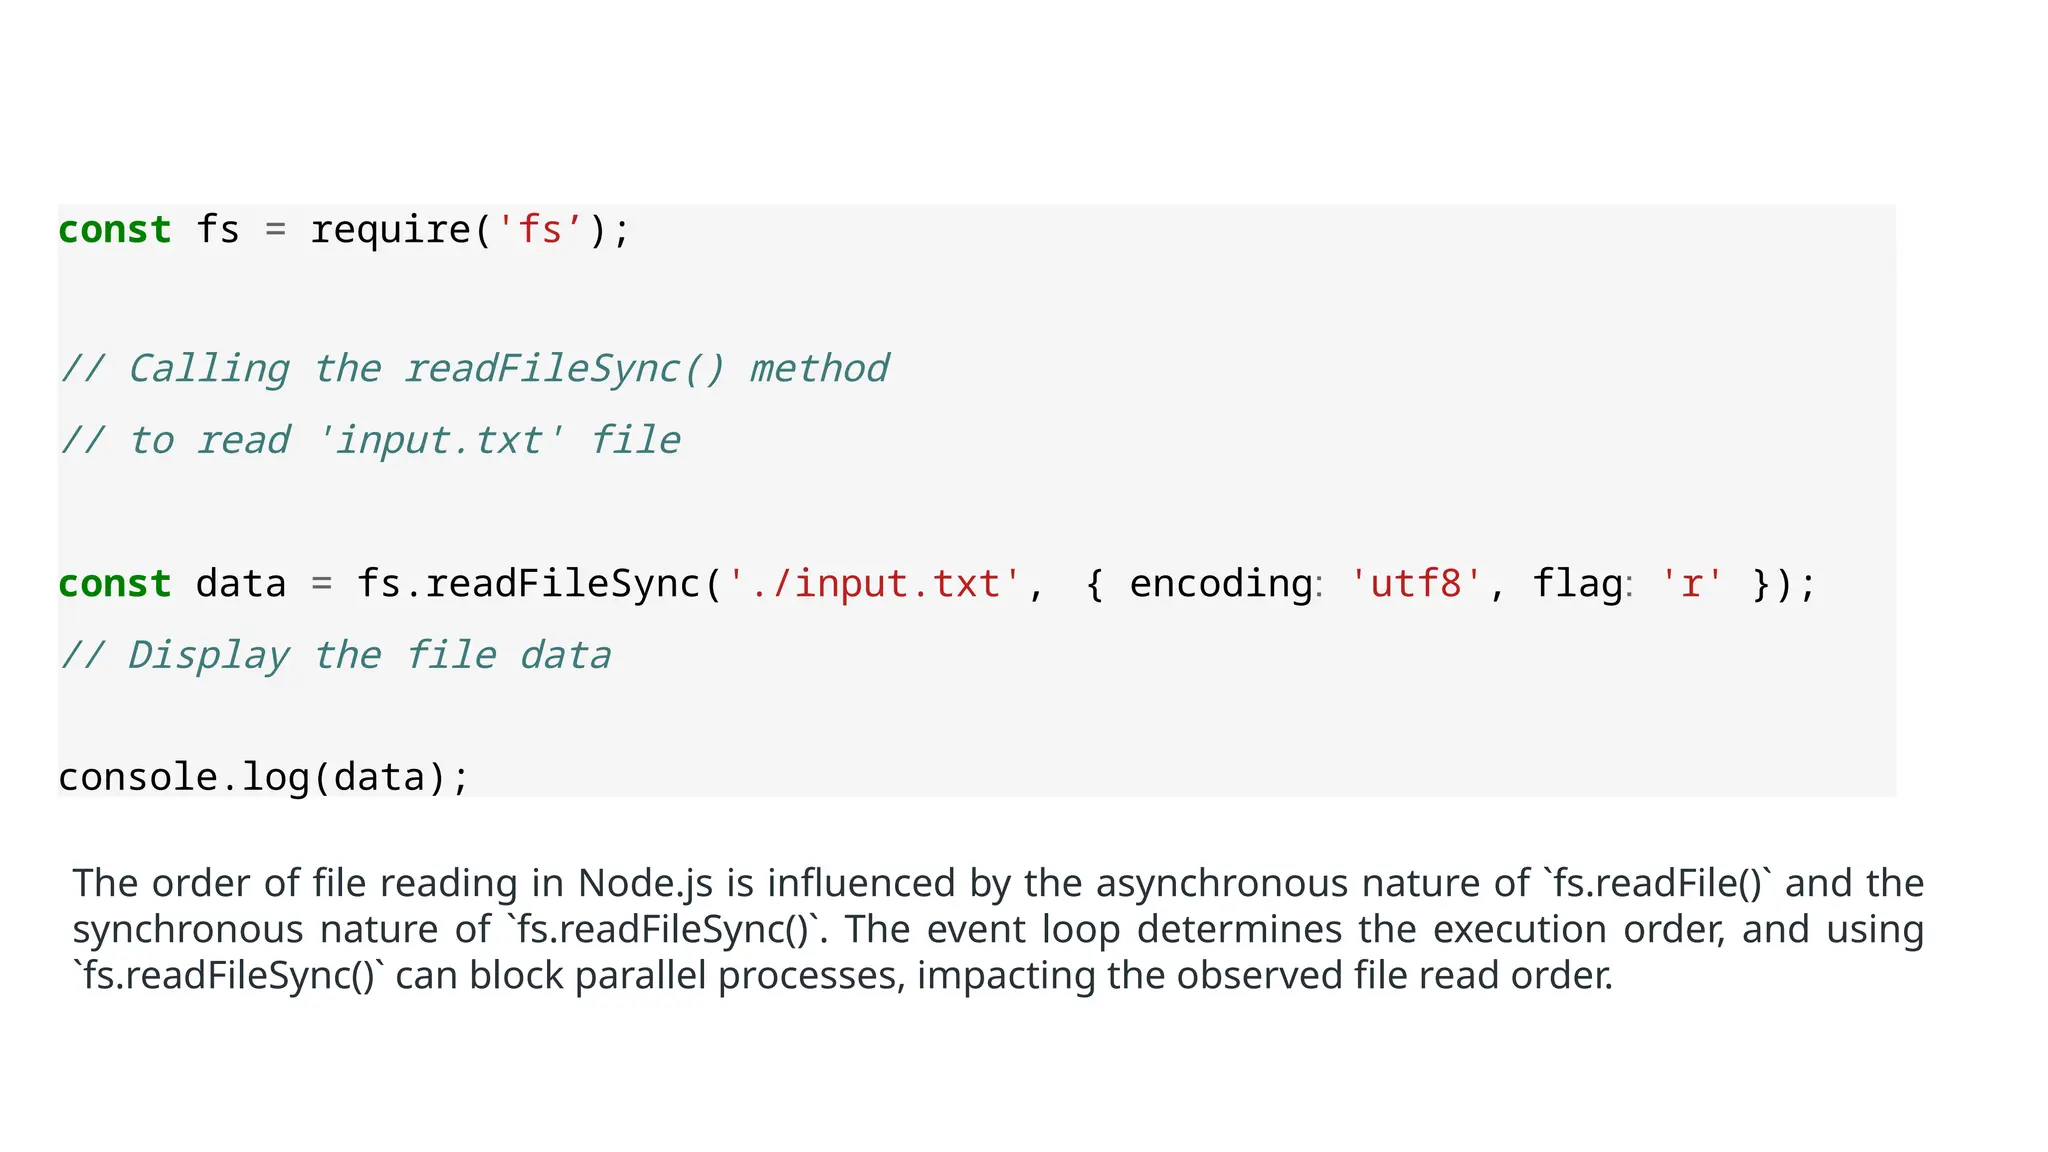
const fs =require('fs’);
// Calling the readFileSync() method
// to read 'input.txt' file
const data = fs.readFileSync('./input.txt', { encoding: 'utf8', flag: 'r' });
// Display the file data
console.log(data);
The order of file reading in Node.js is influenced by the asynchronous nature of `fs.readFile()` and the
synchronous nature of `fs.readFileSync()`. The event loop determines the execution order, and using
`fs.readFileSync()` can block parallel processes, impacting the observed file read order.
64.
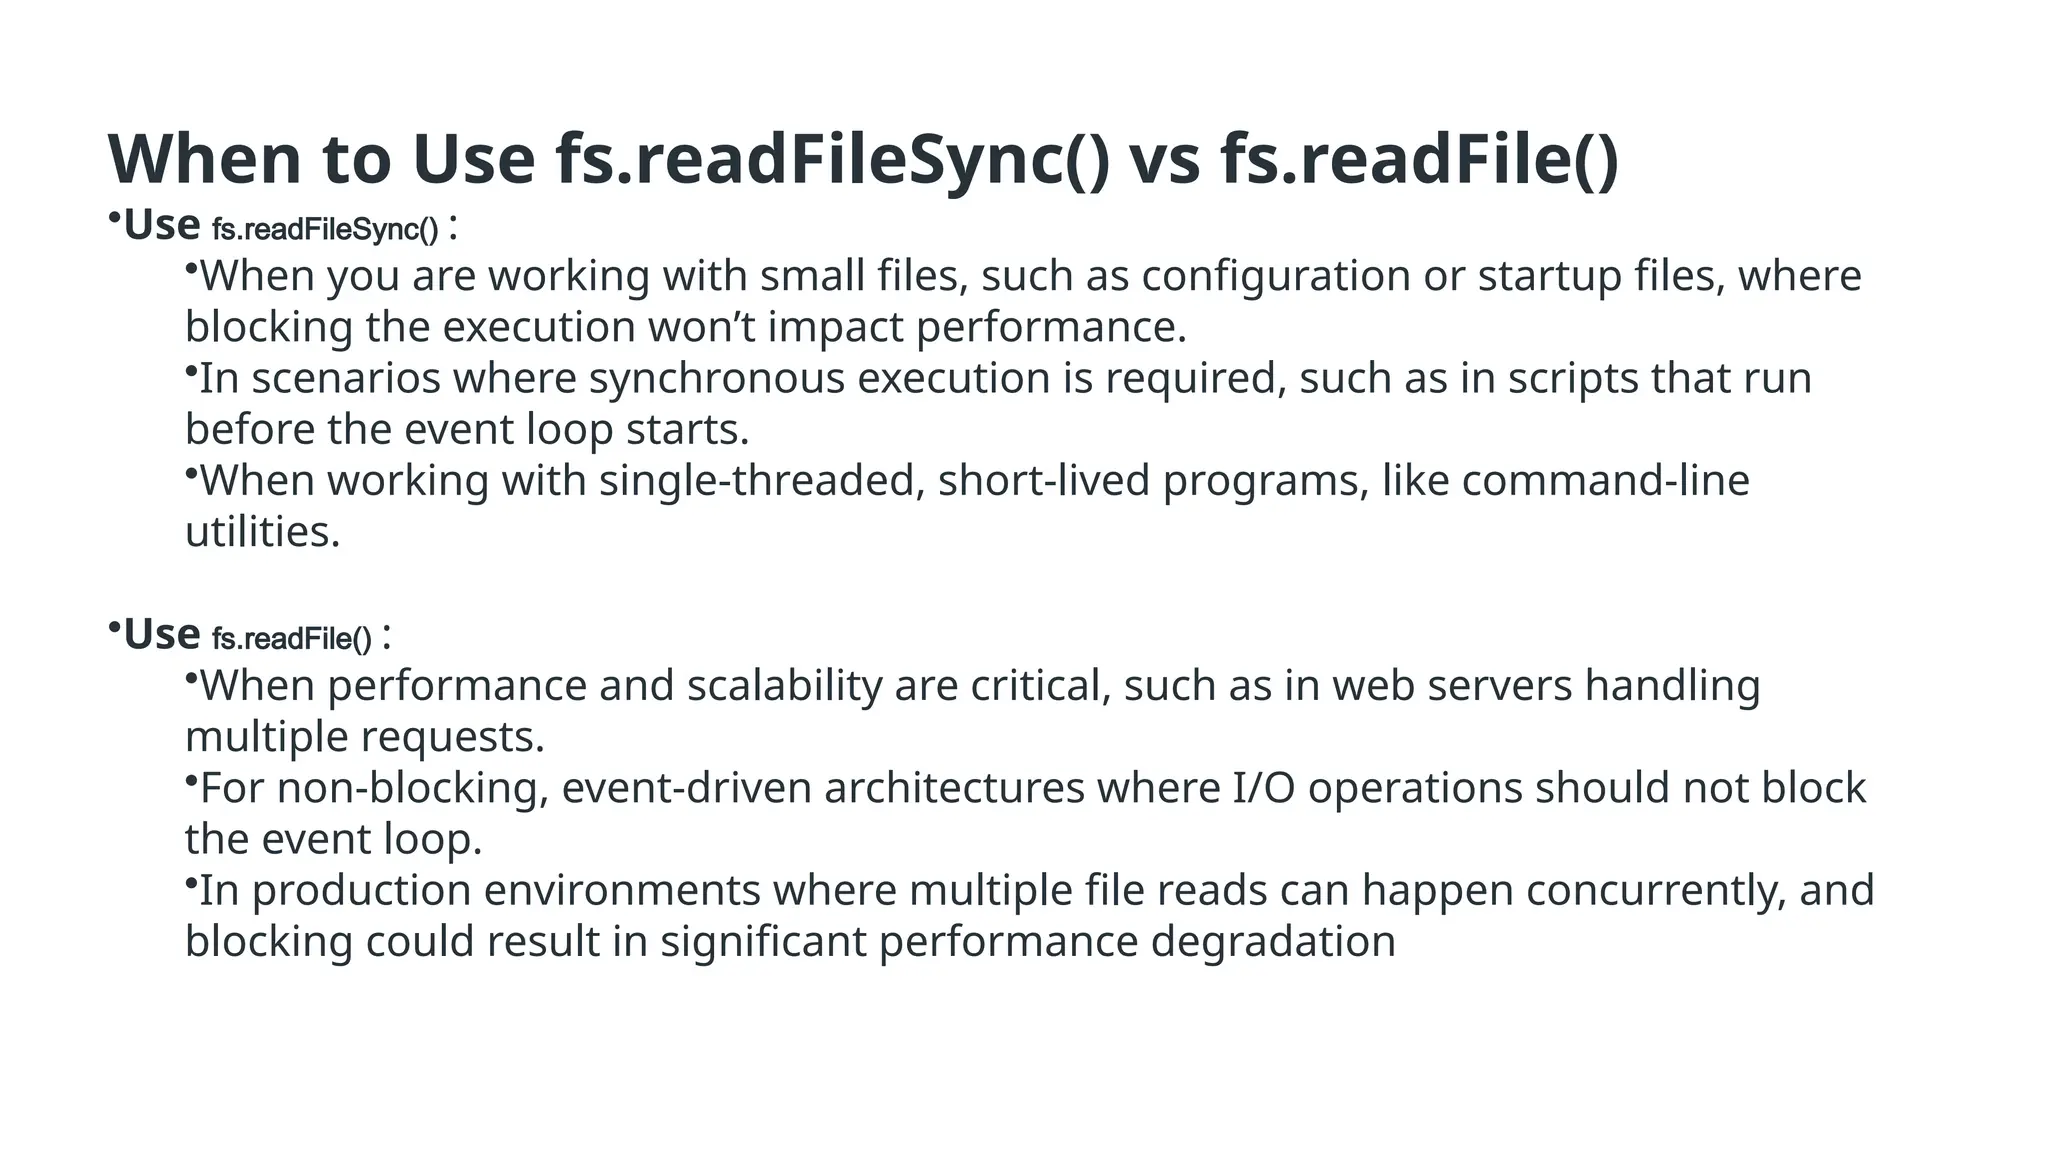
When to Usefs.readFileSync() vs fs.readFile()
•Use fs.readFileSync() :
•When you are working with small files, such as configuration or startup files, where
blocking the execution won’t impact performance.
•In scenarios where synchronous execution is required, such as in scripts that run
before the event loop starts.
•When working with single-threaded, short-lived programs, like command-line
utilities.
•Use fs.readFile() :
•When performance and scalability are critical, such as in web servers handling
multiple requests.
•For non-blocking, event-driven architectures where I/O operations should not block
the event loop.
•In production environments where multiple file reads can happen concurrently, and
blocking could result in significant performance degradation
65.
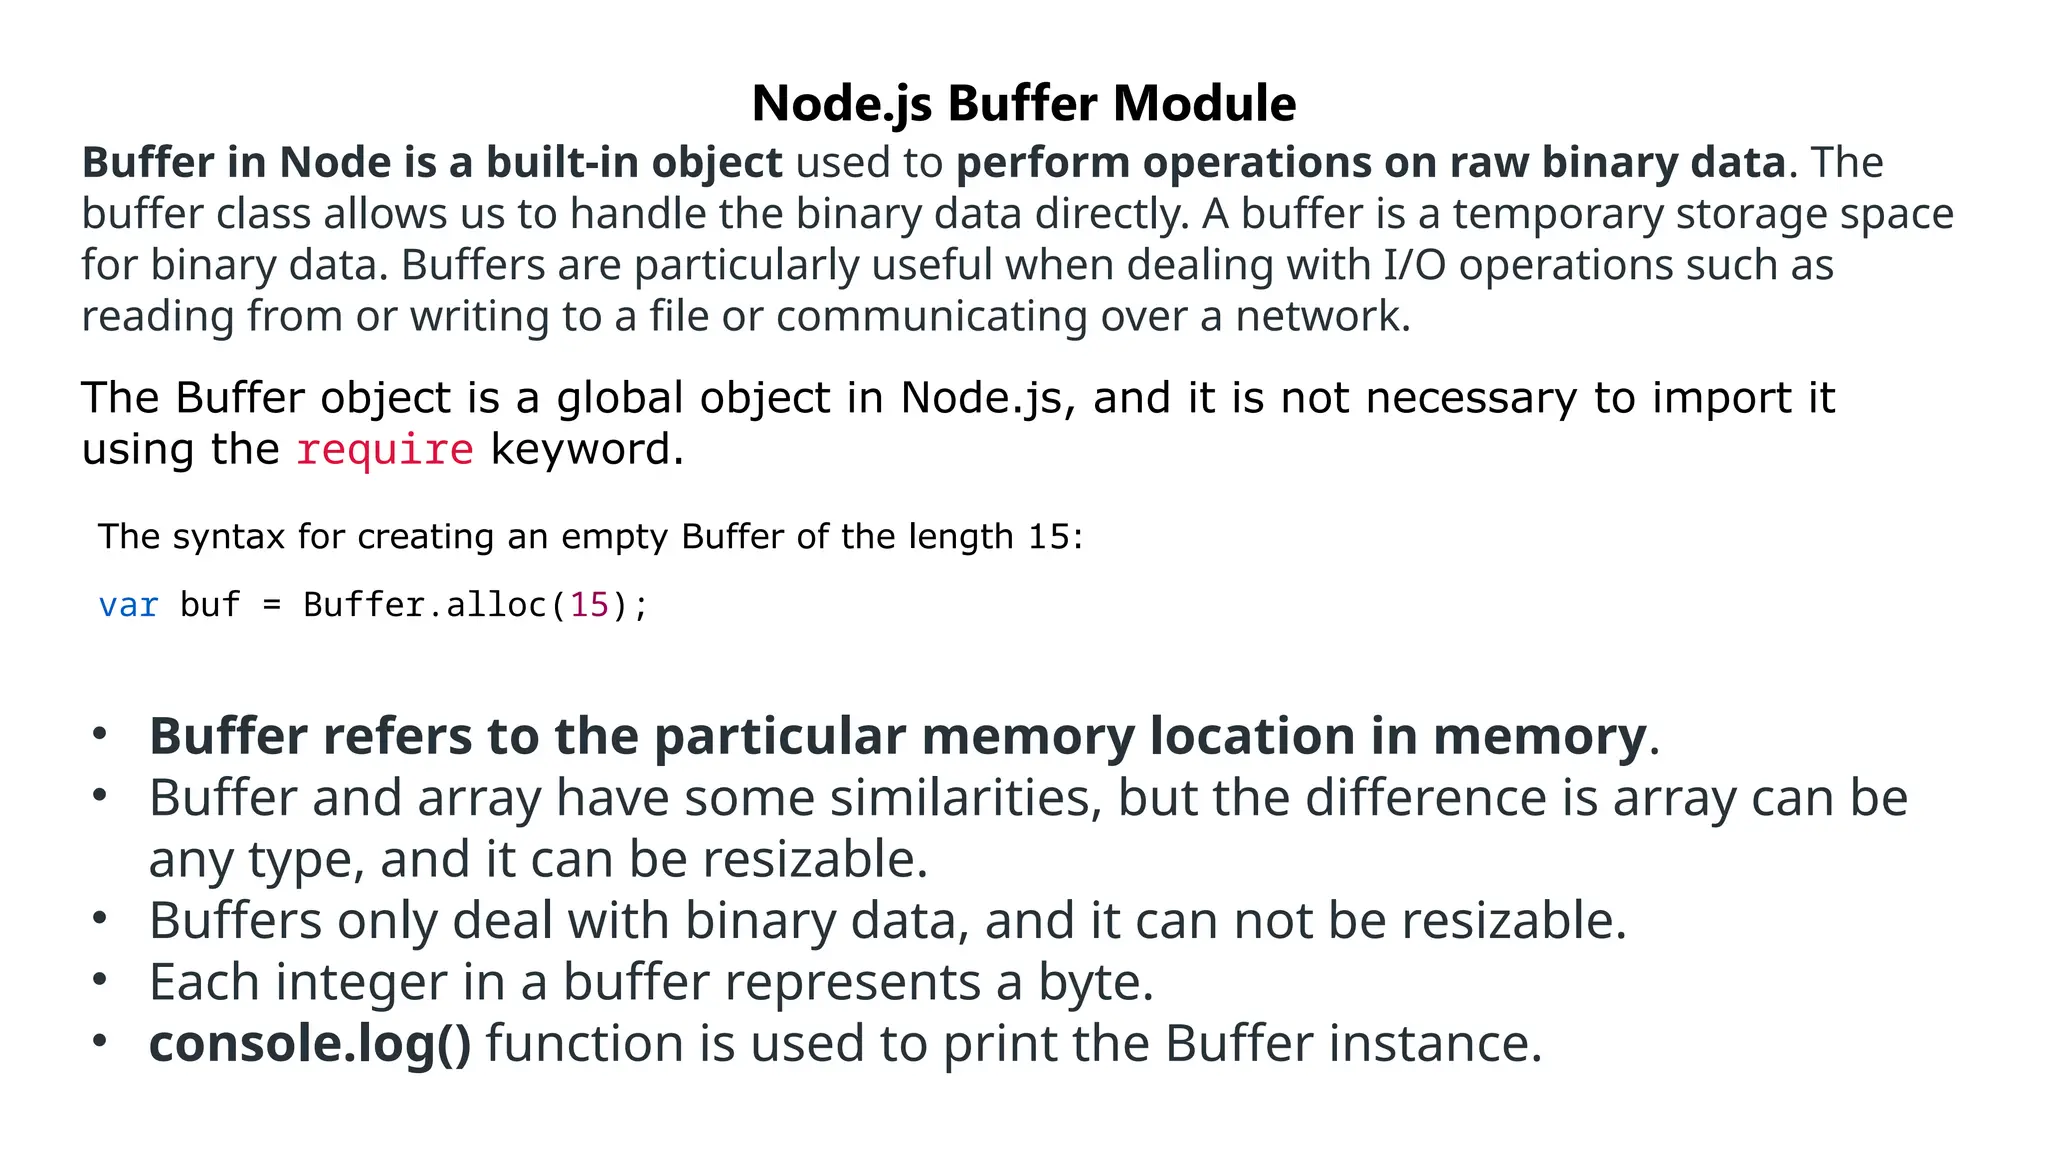
Buffer in Nodeis a built-in object used to perform operations on raw binary data. The
buffer class allows us to handle the binary data directly. A buffer is a temporary storage space
for binary data. Buffers are particularly useful when dealing with I/O operations such as
reading from or writing to a file or communicating over a network.
The Buffer object is a global object in Node.js, and it is not necessary to import it
using the require keyword.
The syntax for creating an empty Buffer of the length 15:
var buf = Buffer.alloc(15);
Node.js Buffer Module
• Buffer refers to the particular memory location in memory.
• Buffer and array have some similarities, but the difference is array can be
any type, and it can be resizable.
• Buffers only deal with binary data, and it can not be resizable.
• Each integer in a buffer represents a byte.
• console.log() function is used to print the Buffer instance.
66.
No Method Description
1Buffer.alloc(size) It creates a buffer and allocates size to it.
2 Buffer.from(initialization) It initializes the buffer with given data.
3 Buffer.write(data) It writes the data on the buffer.
4 toString() It read data from the buffer and returned it.
5 Buffer.isBuffer(object)
It checks whether the object is a buffer or
not.
6 Buffer.length It returns the length of the buffer.
7 Buffer.copy(buffer,subsection size) It copies data from one buffer to another.
8 Buffer.slice(start, end=buffer.length)
It returns the subsection of data stored in a
buffer.
9 Buffer.concat([buffer,buffer]) It concatenates two buffers.
Buffer Methods:
67.
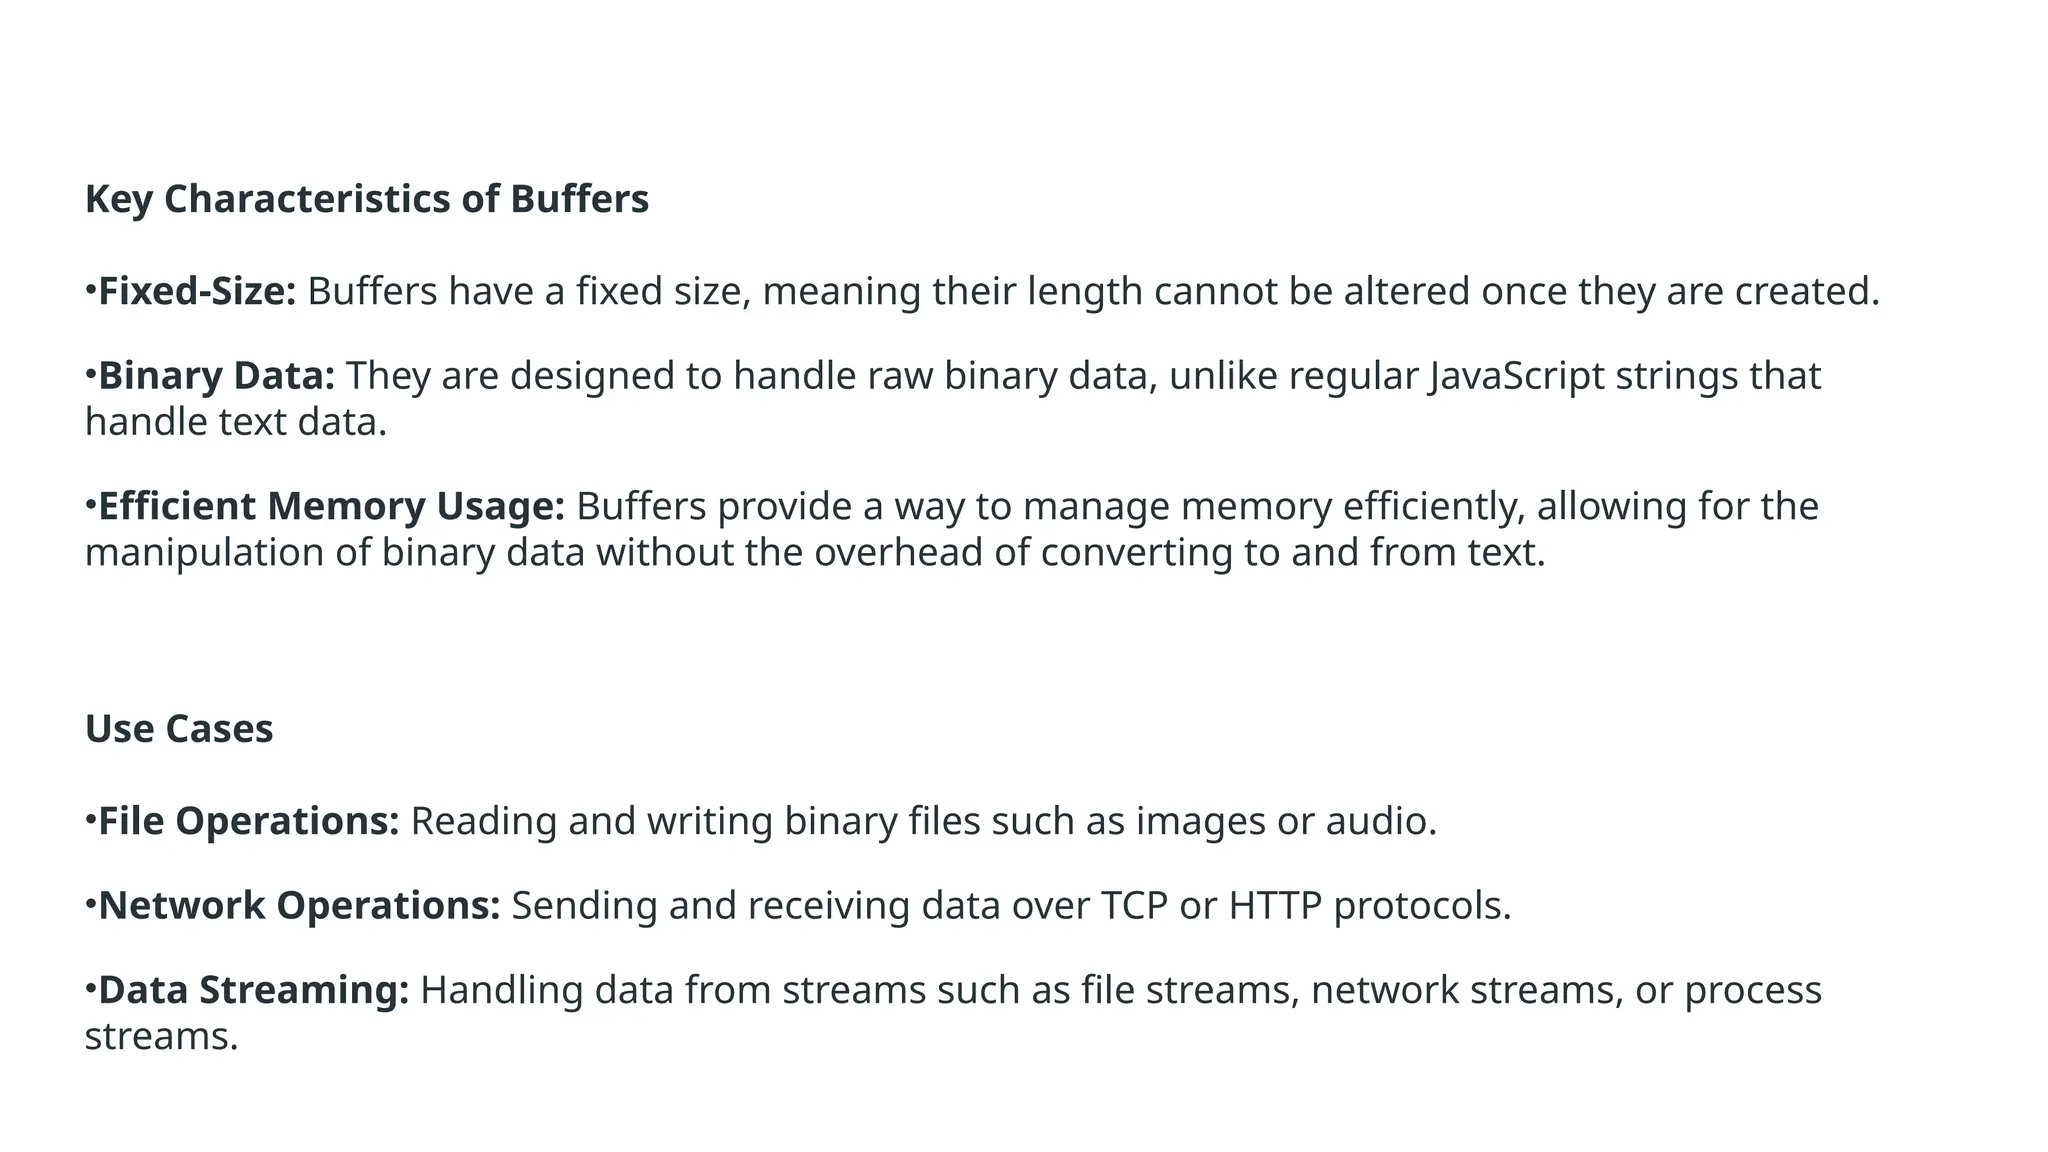
Key Characteristics ofBuffers
•Fixed-Size: Buffers have a fixed size, meaning their length cannot be altered once they are created.
•Binary Data: They are designed to handle raw binary data, unlike regular JavaScript strings that
handle text data.
•Efficient Memory Usage: Buffers provide a way to manage memory efficiently, allowing for the
manipulation of binary data without the overhead of converting to and from text.
Use Cases
•File Operations: Reading and writing binary files such as images or audio.
•Network Operations: Sending and receiving data over TCP or HTTP protocols.
•Data Streaming: Handling data from streams such as file streams, network streams, or process
streams.
68.
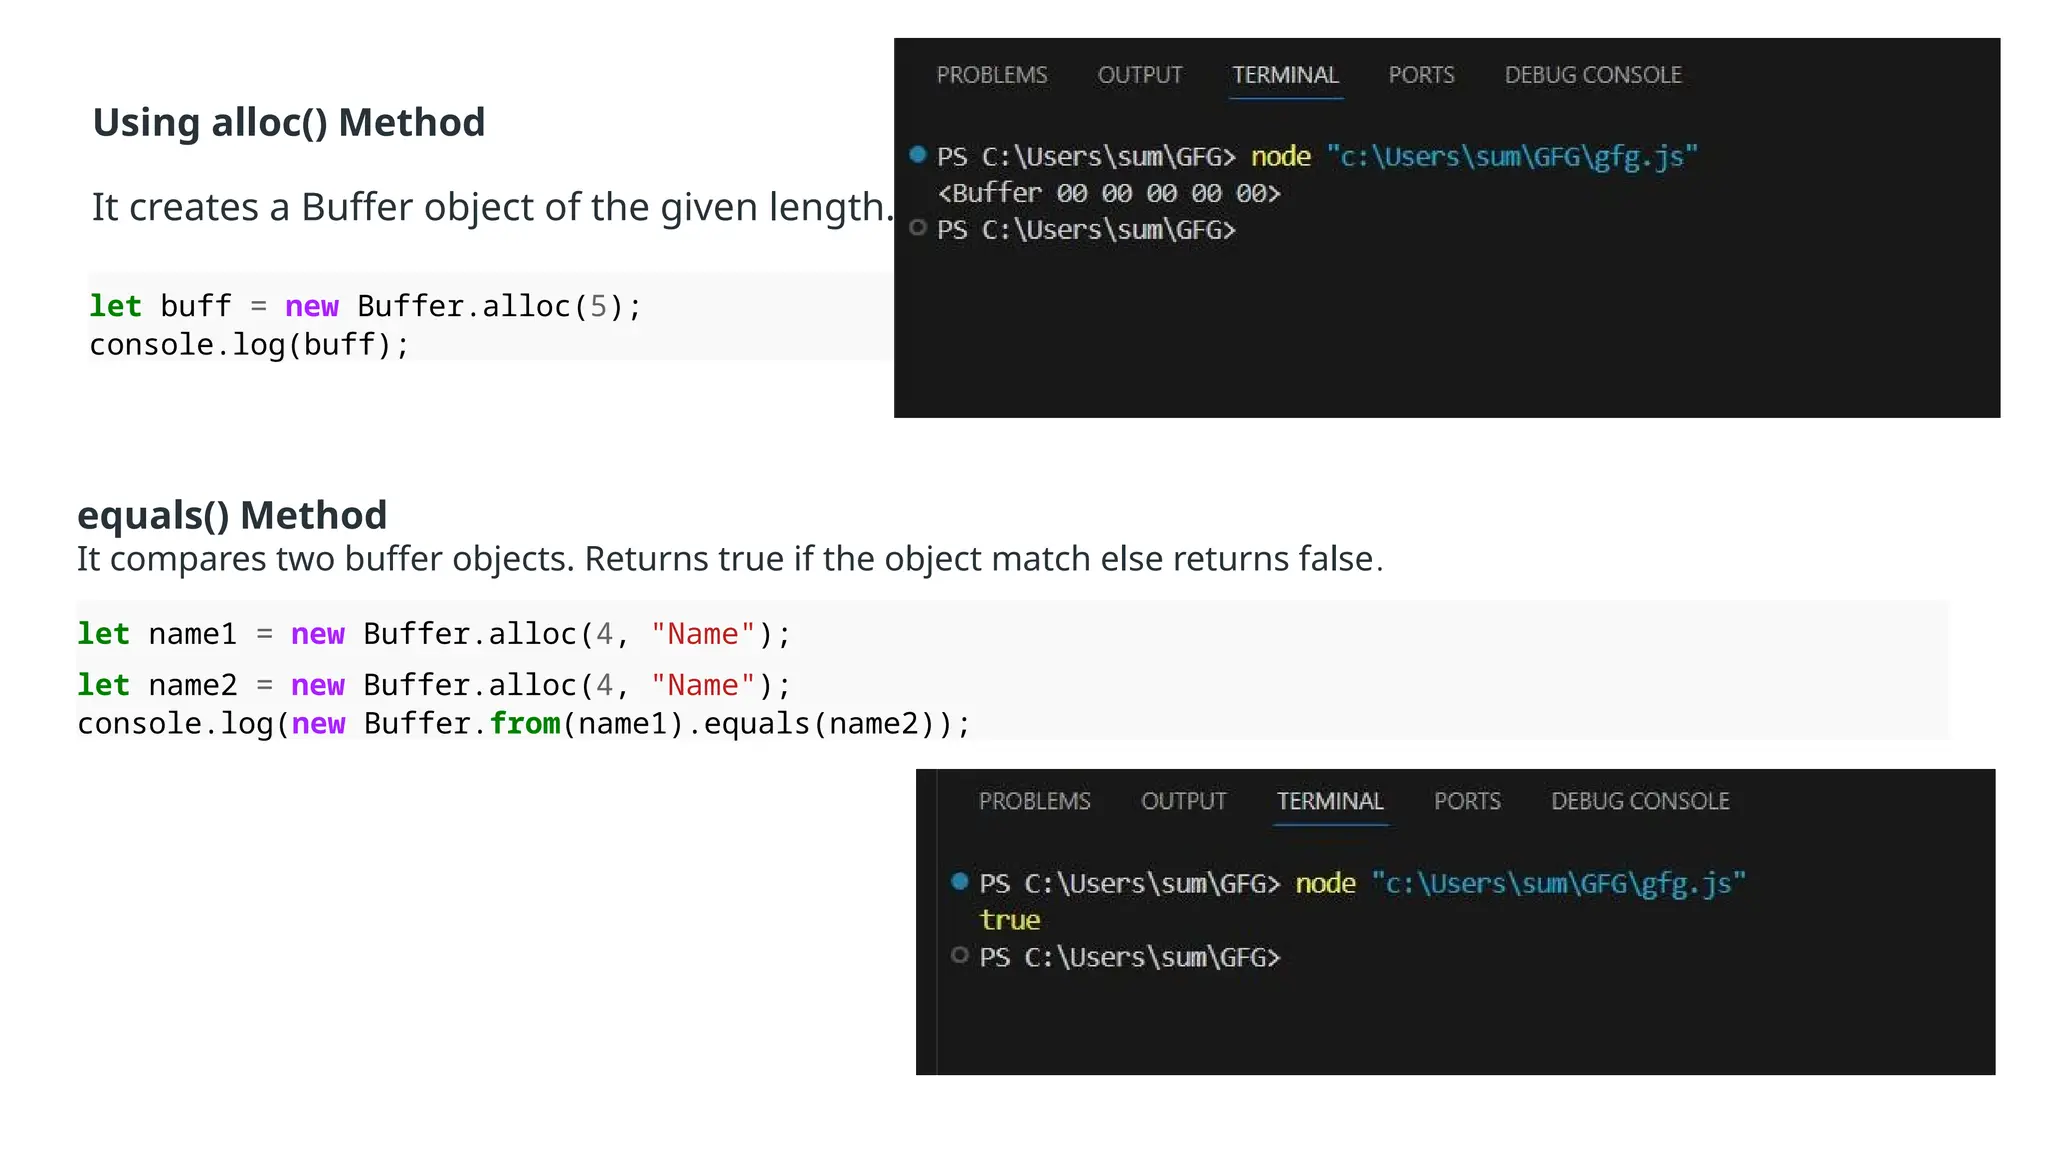
Using alloc() Method
Itcreates a Buffer object of the given length.
let buff = new Buffer.alloc(5);
console.log(buff);
equals() Method
It compares two buffer objects. Returns true if the object match else returns false.
let name1 = new Buffer.alloc(4, "Name");
let name2 = new Buffer.alloc(4, "Name");
console.log(new Buffer.from(name1).equals(name2));
69.
copy() Method
It copiesthe given number of bytes of a buffer object.
let buff = new Buffer.alloc(5, "Geeks");
let name1 = new Buffer.alloc(5, "Name");
buff.copy(name1);
console.log(name1.toString());
length Property
Return the length of a buffer object in bytes.
let buff = new Buffer.alloc(5, 'ABCDE’);
console.log(buff.length)
toString() Method
It returns a string form of a buffer object.
let name2 = new Buffer.alloc(3, "GFG");
console.log(name2);
console.log(name2.toString());
toJSON() Method
It returns a JSON form of a buffer object.
let myJson = new Buffer.alloc(10, { name: 'GFG'
}); console.log(myJson.toJSON());
70.
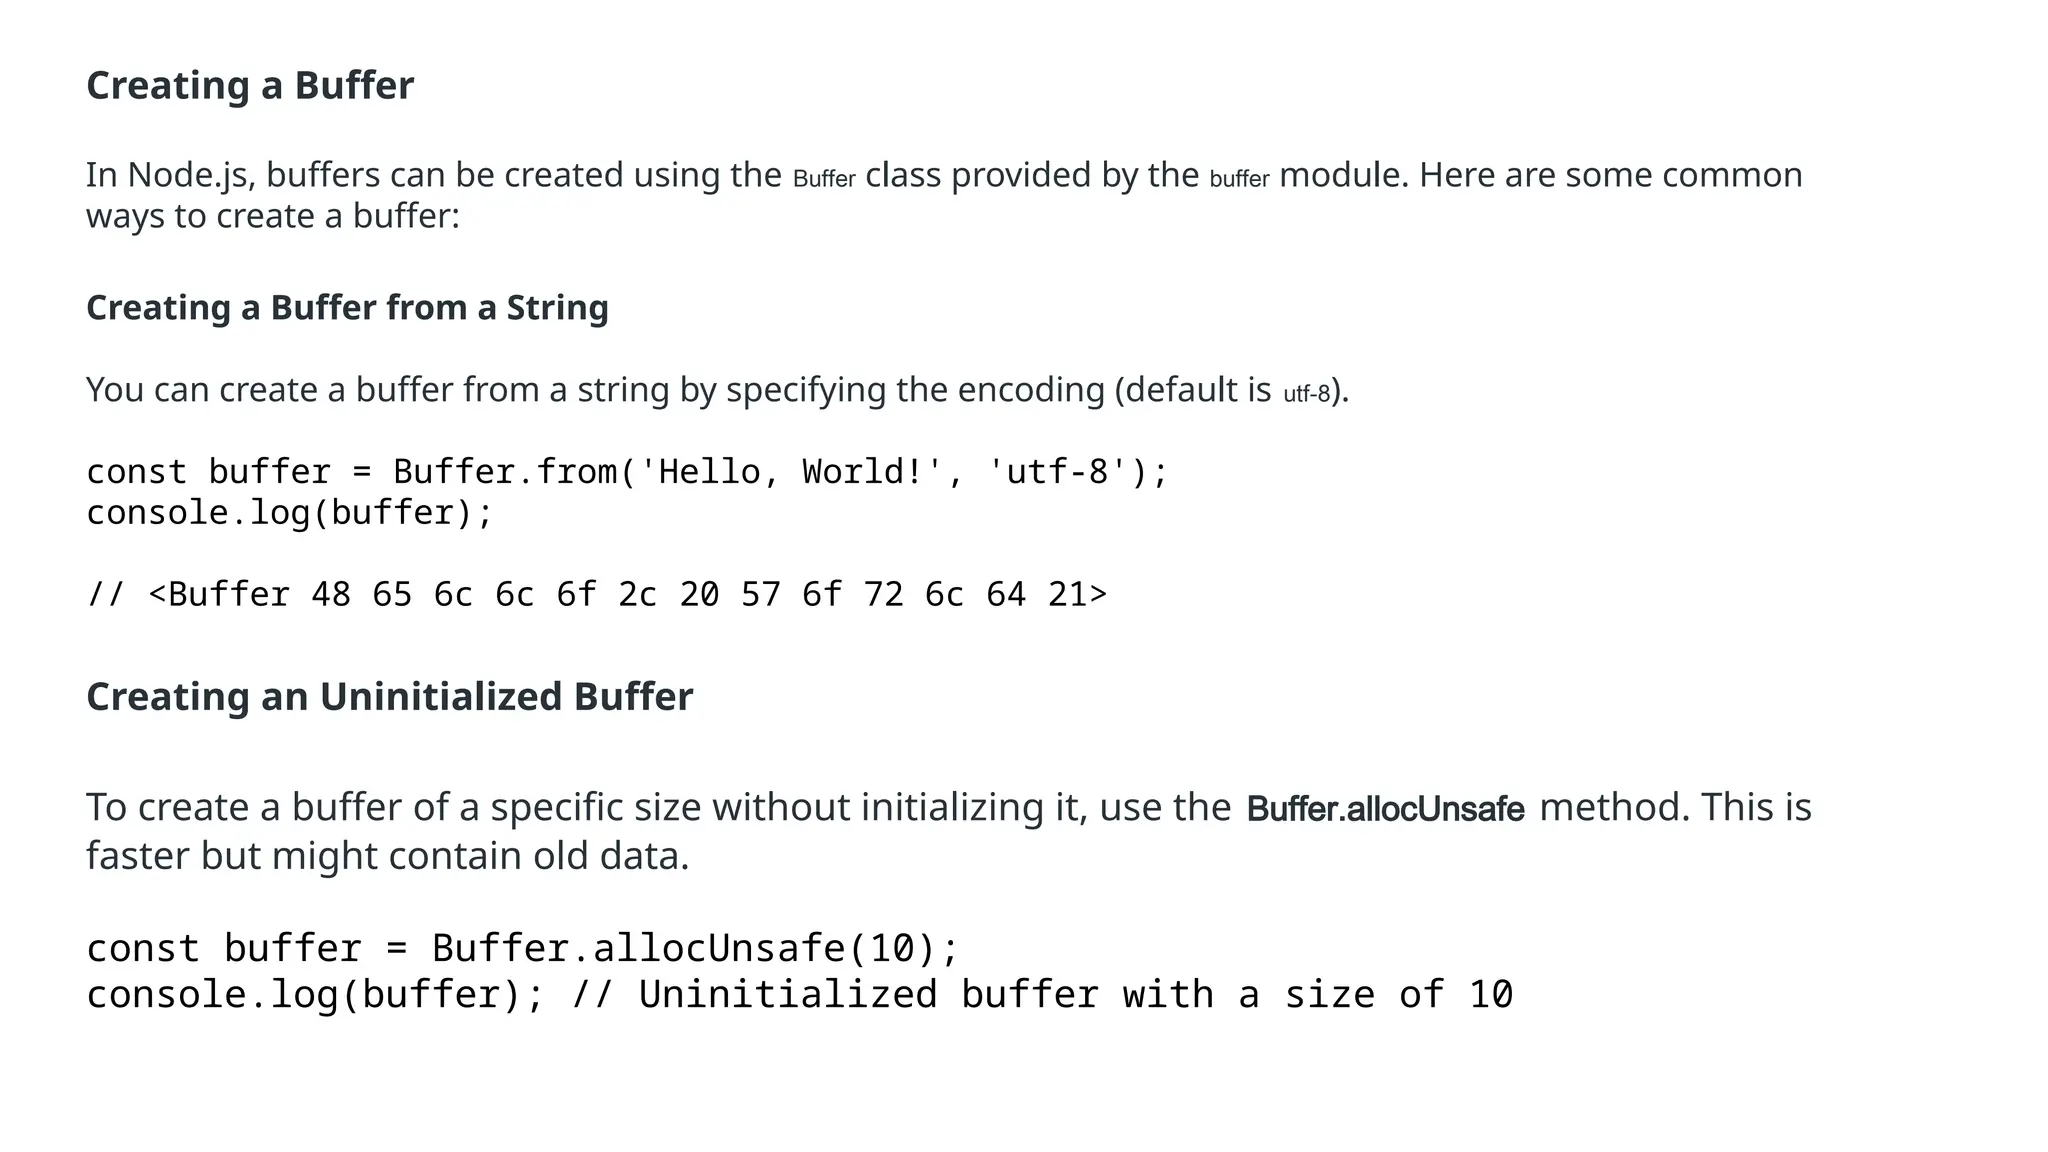
Creating a Buffer
InNode.js, buffers can be created using the Buffer class provided by the buffer module. Here are some common
ways to create a buffer:
Creating a Buffer from a String
You can create a buffer from a string by specifying the encoding (default is utf-8).
const buffer = Buffer.from('Hello, World!', 'utf-8');
console.log(buffer);
// <Buffer 48 65 6c 6c 6f 2c 20 57 6f 72 6c 64 21>
Creating an Uninitialized Buffer
To create a buffer of a specific size without initializing it, use the Buffer.allocUnsafe method. This is
faster but might contain old data.
const buffer = Buffer.allocUnsafe(10);
console.log(buffer); // Uninitialized buffer with a size of 10
71.
Creating an InitializedBuffer
Use Buffer.alloc to create a buffer and initialize it with zeroes.
const buffer = Buffer.alloc(10);
console.log(buffer); // Initialized buffer with a size of 10
Writing to a Buffer
You can write data to a buffer using the write method.
const buffer = Buffer.alloc(20);
buffer.write('Hello', 'utf-8’);
console.log(buffer.toString('utf-8')); // Hello
Reading from a Buffer
You can read data from a buffer by converting it to a string or accessing its individual bytes.
const buffer = Buffer.from('Hello, World!', 'utf-8');
console.log(buffer.toString('utf-8')); // Hello, World!
console.log(buffer[0]); // 72 (ASCII code for 'H')
72.
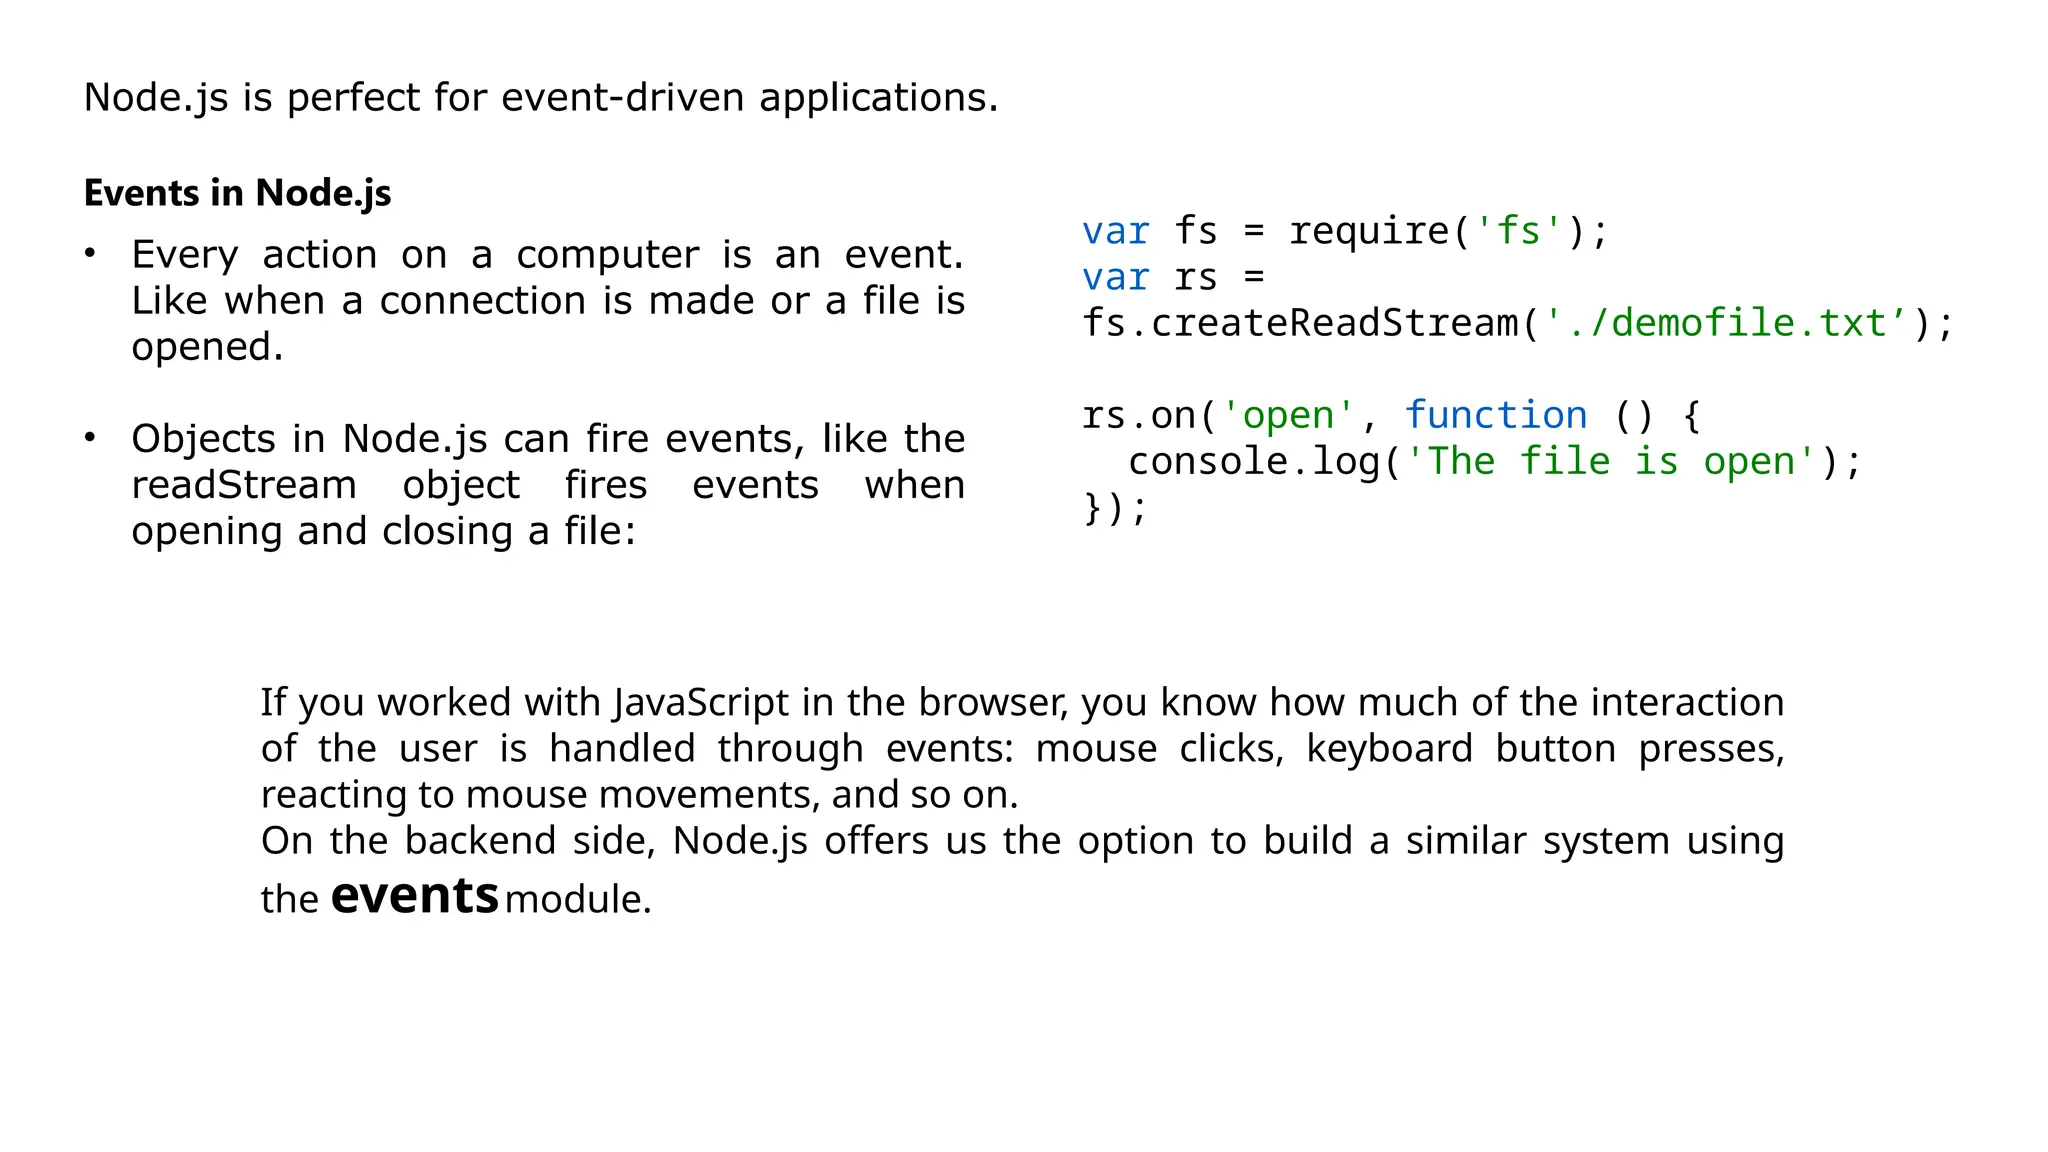
Node.js is perfectfor event-driven applications.
Events in Node.js
• Every action on a computer is an event.
Like when a connection is made or a file is
opened.
• Objects in Node.js can fire events, like the
readStream object fires events when
opening and closing a file:
var fs = require('fs');
var rs =
fs.createReadStream('./demofile.txt’);
rs.on('open', function () {
console.log('The file is open');
});
If you worked with JavaScript in the browser, you know how much of the interaction
of the user is handled through events: mouse clicks, keyboard button presses,
reacting to mouse movements, and so on.
On the backend side, Node.js offers us the option to build a similar system using
the eventsmodule.
73.
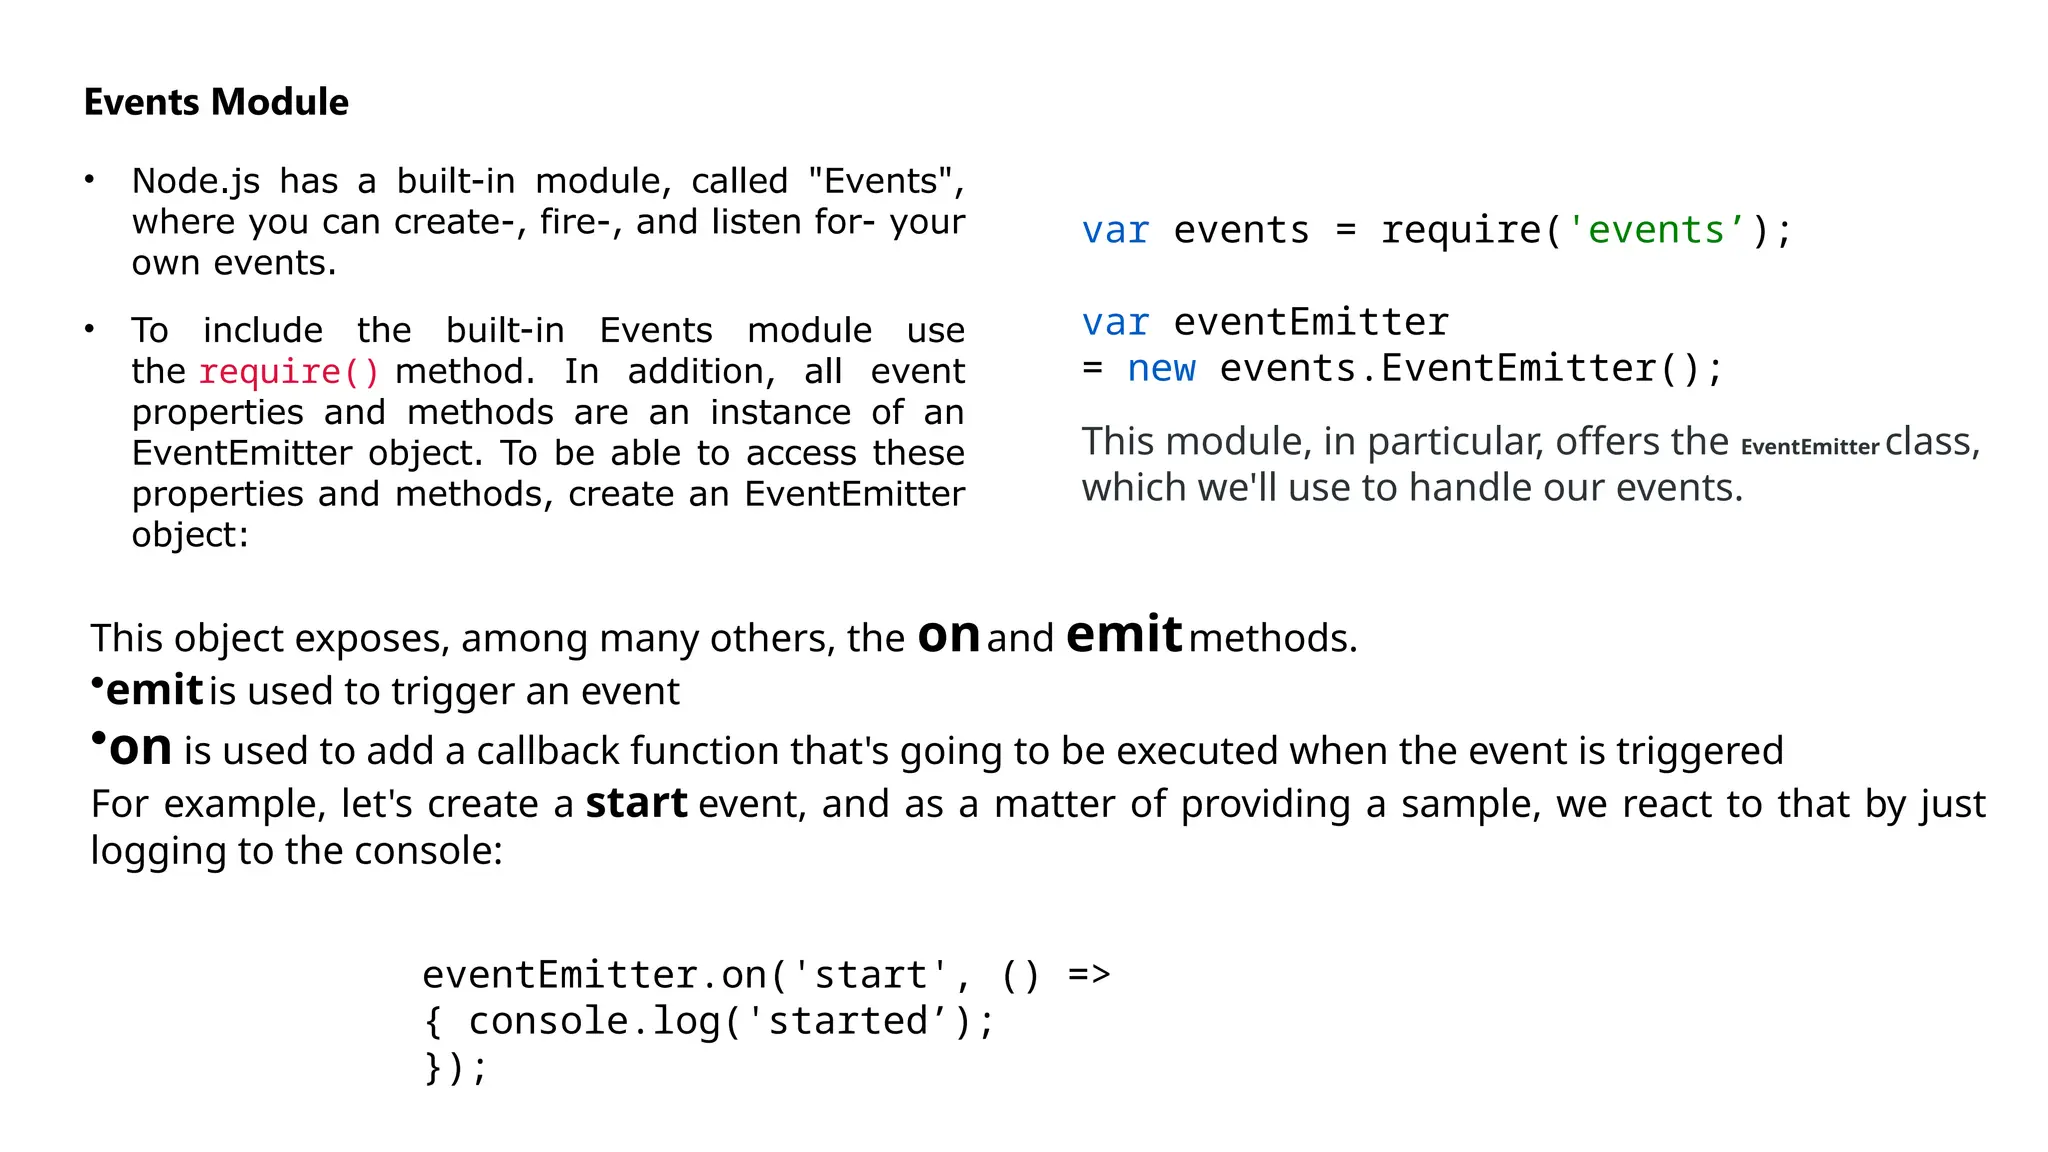
Events Module
• Node.jshas a built-in module, called "Events",
where you can create-, fire-, and listen for- your
own events.
• To include the built-in Events module use
the require() method. In addition, all event
properties and methods are an instance of an
EventEmitter object. To be able to access these
properties and methods, create an EventEmitter
object:
var events = require('events’);
var eventEmitter
= new events.EventEmitter();
This module, in particular, offers the EventEmitter class,
which we'll use to handle our events.
This object exposes, among many others, the onand emitmethods.
•emitis used to trigger an event
•on is used to add a callback function that's going to be executed when the event is triggered
For example, let's create a start event, and as a matter of providing a sample, we react to that by just
logging to the console:
eventEmitter.on('start', () =>
{ console.log('started’);
});
74.
When we run:the event handler function is triggered, and we get the console log.
eventEmitter.emit('start');
EventEmitter Class
At the core of the Node.js event system is the EventEmitter class. This class allows objects to emit
named events that can be listened to by other parts of your application. It is included in the built-in
events module.
Key Features of EventEmitter:
•Event Registration: You can register listeners for specific events using the on() method.
•Event Emission: Use the emit() method to trigger an event and call all registered listeners for that
event.
•Asynchronous Execution: Listeners can execute asynchronously, allowing other operations to
continue while waiting for events.
75.
Removing Listener
The eventEmitter.removeListener()takes two argument event and listener, and removes that listener from the listeners array that is subscribed to
that event.
While eventEmitter.removeAllListeners() removes all the listener from the array which are subscribed to the mentioned event.
Syntax:
eventEmitter.removeListener(event, listener)
eventEmitter.removeAllListeners([event])
// Importing events const EventEmitter = require('events’);
// Initializing event emitter instances
var eventEmitter = new EventEmitter();
var fun1 = (msg) => {
console.log("Message from fun1: " + msg); };
var fun2 = (msg) => {
console.log("Message from fun2: " + msg); }; // Registering
fun1 and fun2
eventEmitter.on('myEvent', fun1);
eventEmitter.on('myEvent', fun1);
eventEmitter.on('myEvent', fun2); // Removing listener
eventEmitter.removeListener('myEvent', fun1);
// Triggering myEvent
eventEmitter.emit('myEvent', "Event occurred");
// Removing all the listeners to myEvent
eventEmitter.removeAllListeners('myEvent’);
// Triggering myEvent eventEmitter.emit('myEvent', "Event
76.
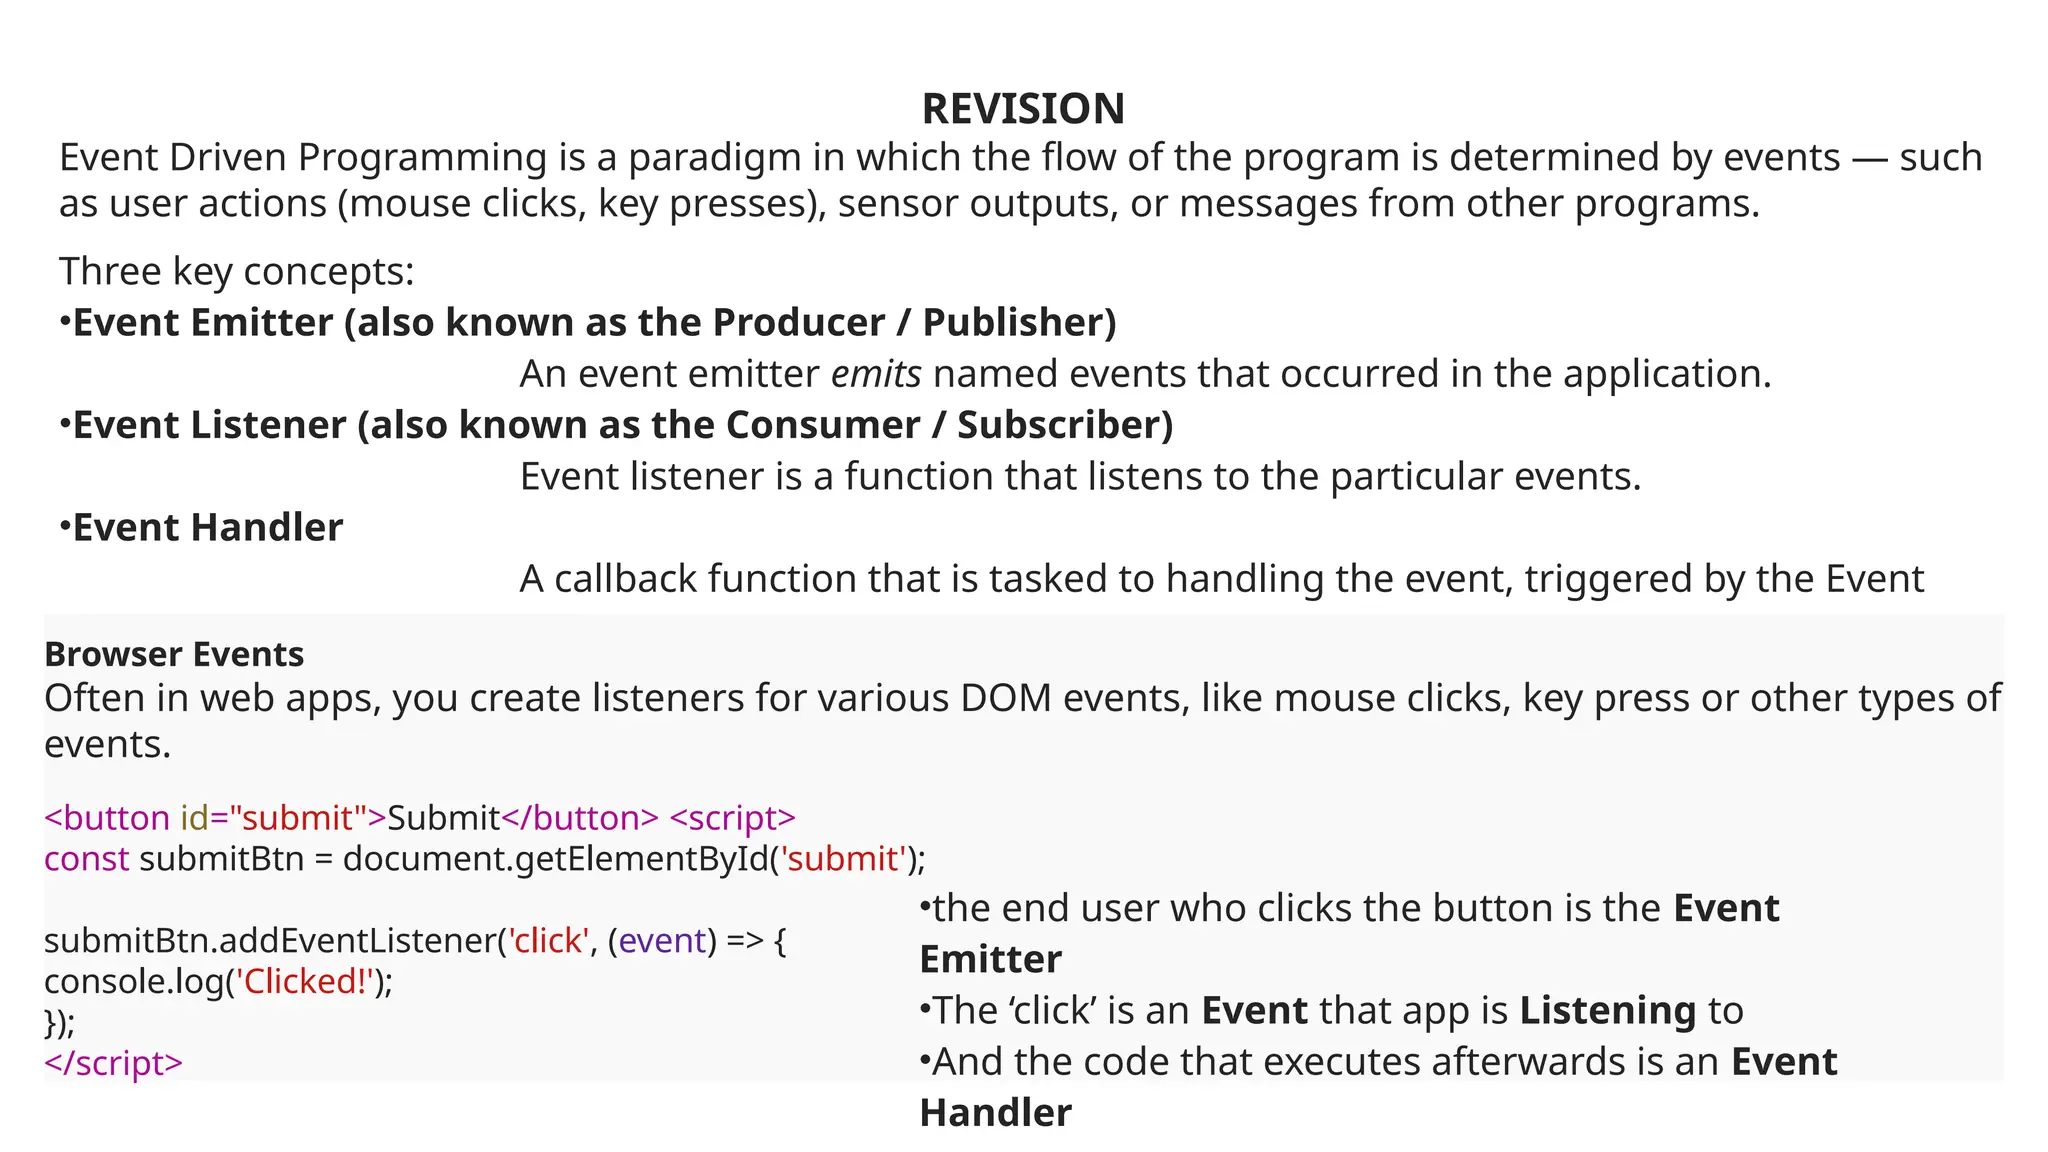
REVISION
Event Driven Programmingis a paradigm in which the flow of the program is determined by events — such
as user actions (mouse clicks, key presses), sensor outputs, or messages from other programs.
Three key concepts:
•Event Emitter (also known as the Producer / Publisher)
An event emitter emits named events that occurred in the application.
•Event Listener (also known as the Consumer / Subscriber)
Event listener is a function that listens to the particular events.
•Event Handler
A callback function that is tasked to handling the event, triggered by the Event
Listener.
Browser Events
Often in web apps, you create listeners for various DOM events, like mouse clicks, key press or other types of
events.
<button id="submit">Submit</button> <script>
const submitBtn = document.getElementById('submit');
submitBtn.addEventListener('click', (event) => {
console.log('Clicked!');
});
</script>
•the end user who clicks the button is the Event
Emitter
•The ‘click’ is an Event that app is Listening to
•And the code that executes afterwards is an Event
Handler
77.
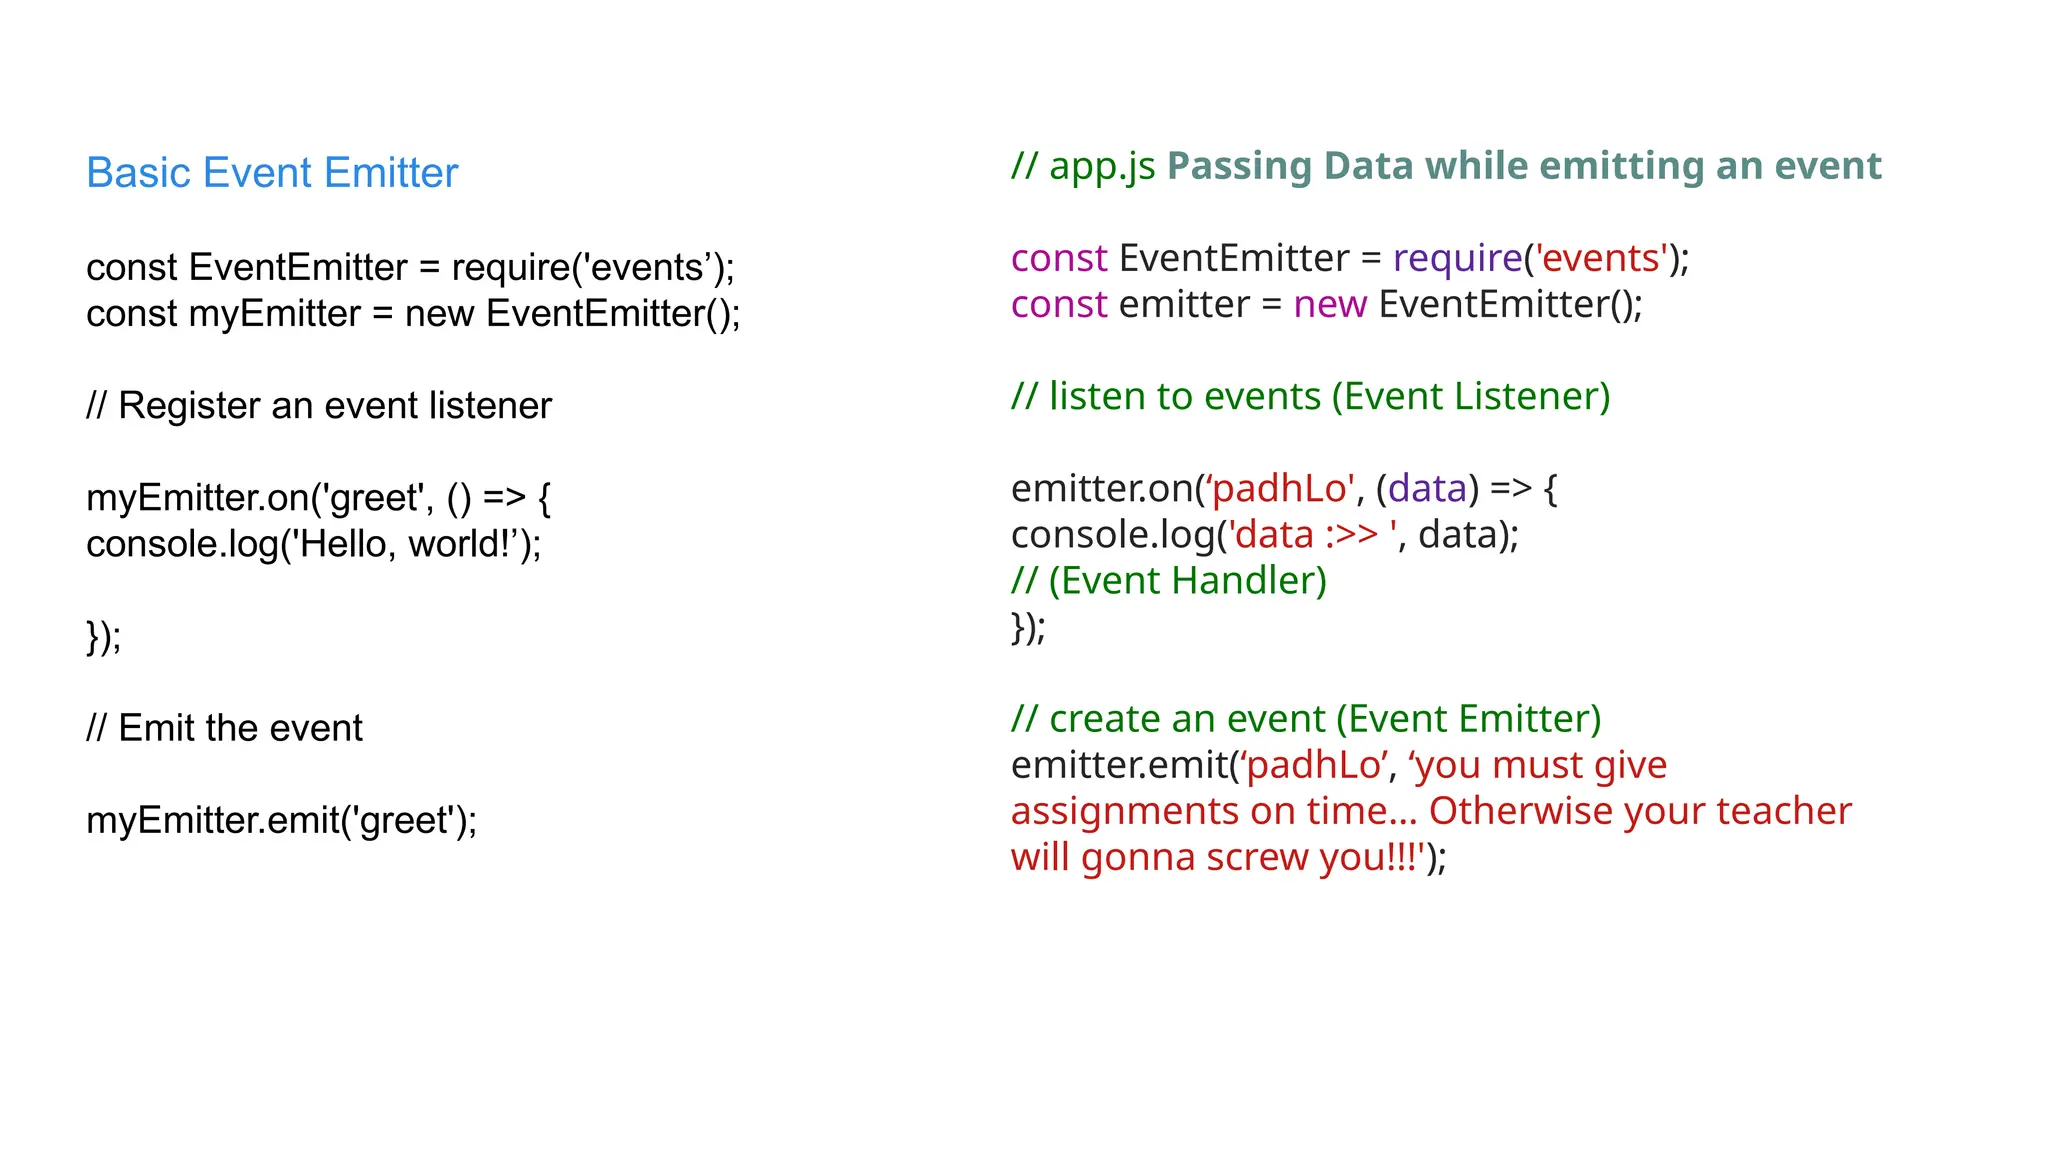
// app.js PassingData while emitting an event
const EventEmitter = require('events');
const emitter = new EventEmitter();
// listen to events (Event Listener)
emitter.on(‘padhLo', (data) => {
console.log('data :>> ', data);
// (Event Handler)
});
// create an event (Event Emitter)
emitter.emit(‘padhLo’, ‘you must give
assignments on time… Otherwise your teacher
will gonna screw you!!!');
Basic Event Emitter
const EventEmitter = require('events’);
const myEmitter = new EventEmitter();
// Register an event listener
myEmitter.on('greet', () => {
console.log('Hello, world!’);
});
// Emit the event
myEmitter.emit('greet');
78.
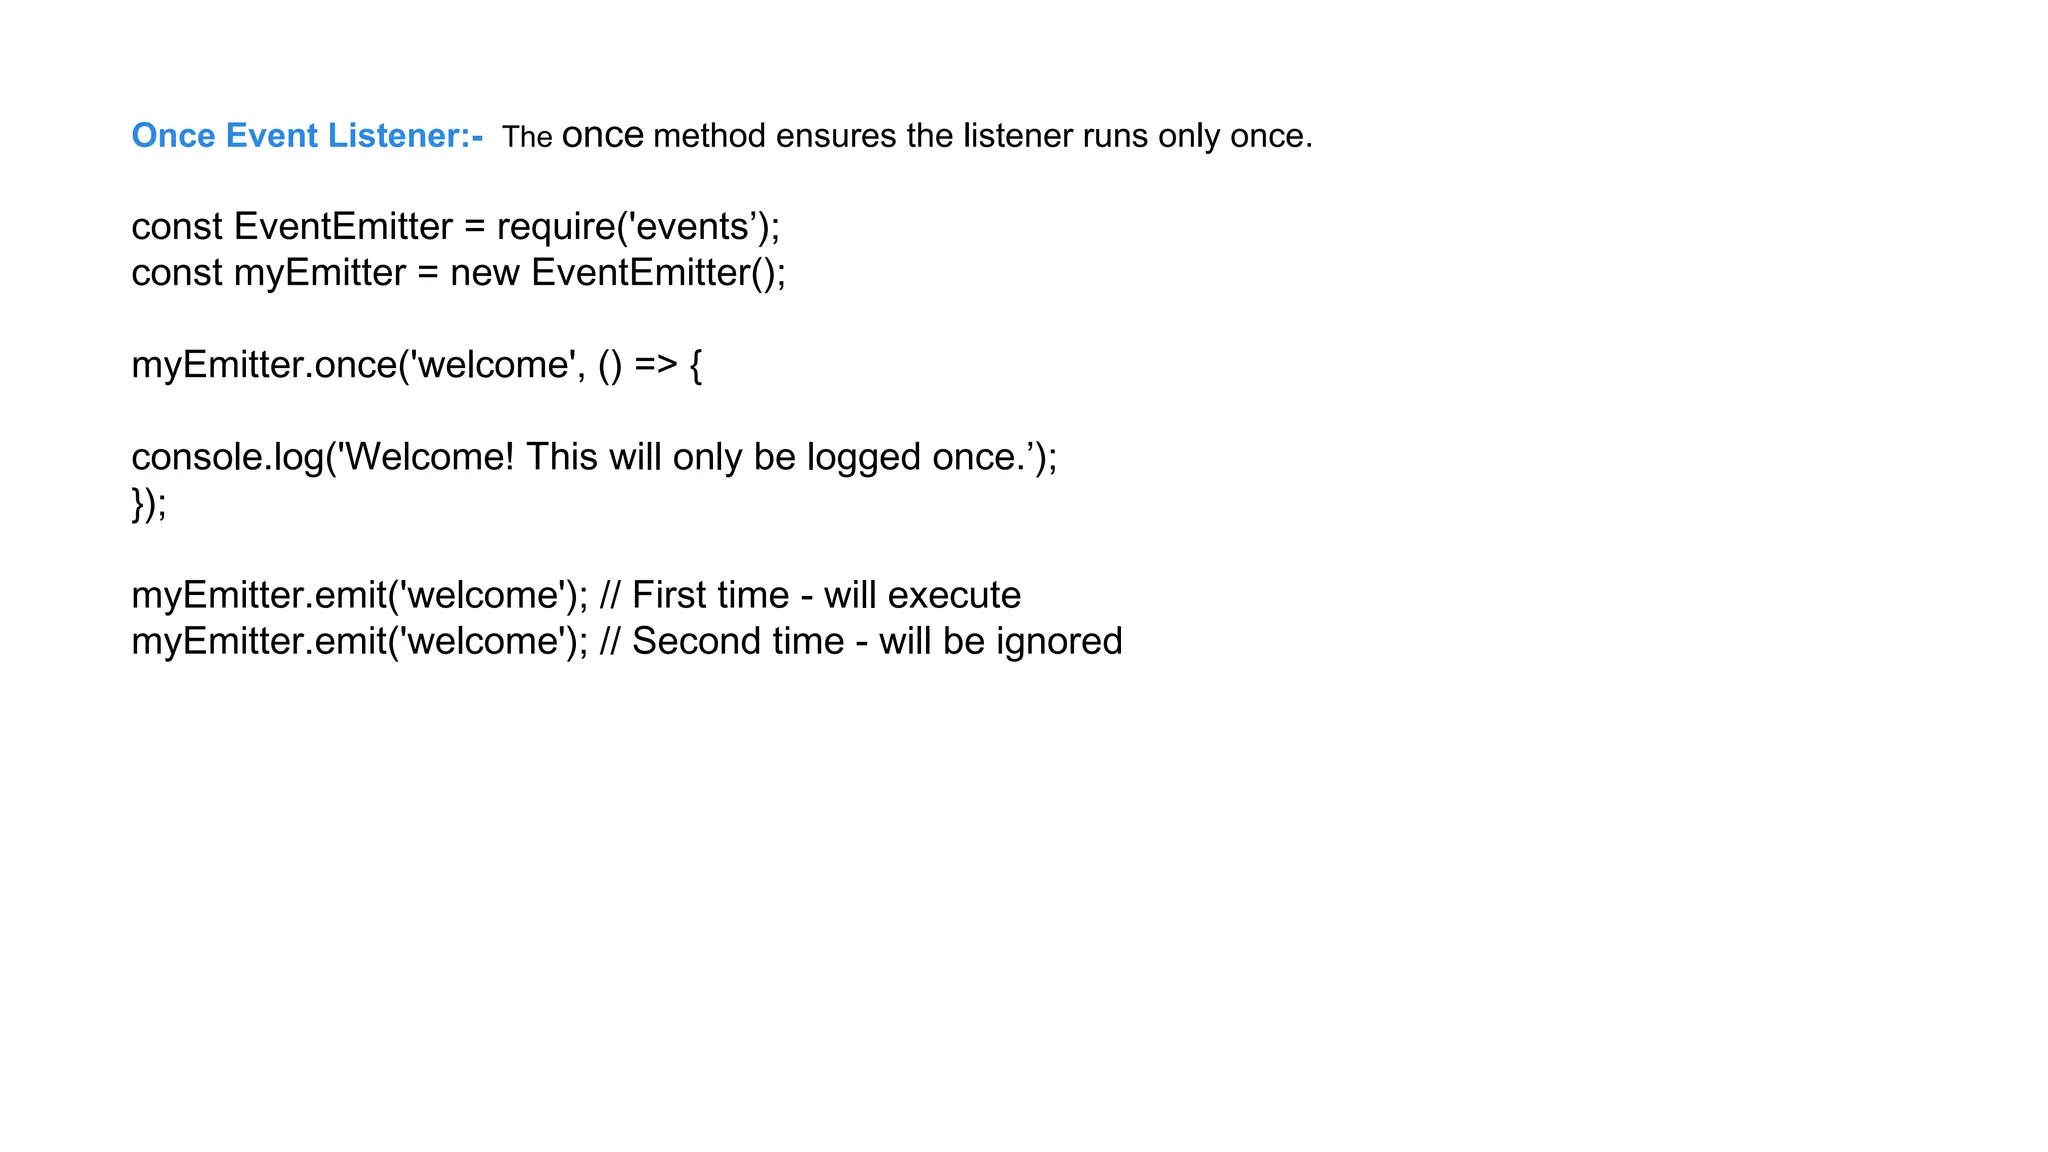
Once Event Listener:-The once method ensures the listener runs only once.
const EventEmitter = require('events’);
const myEmitter = new EventEmitter();
myEmitter.once('welcome', () => {
console.log('Welcome! This will only be logged once.’);
});
myEmitter.emit('welcome'); // First time - will execute
myEmitter.emit('welcome'); // Second time - will be ignored
79.
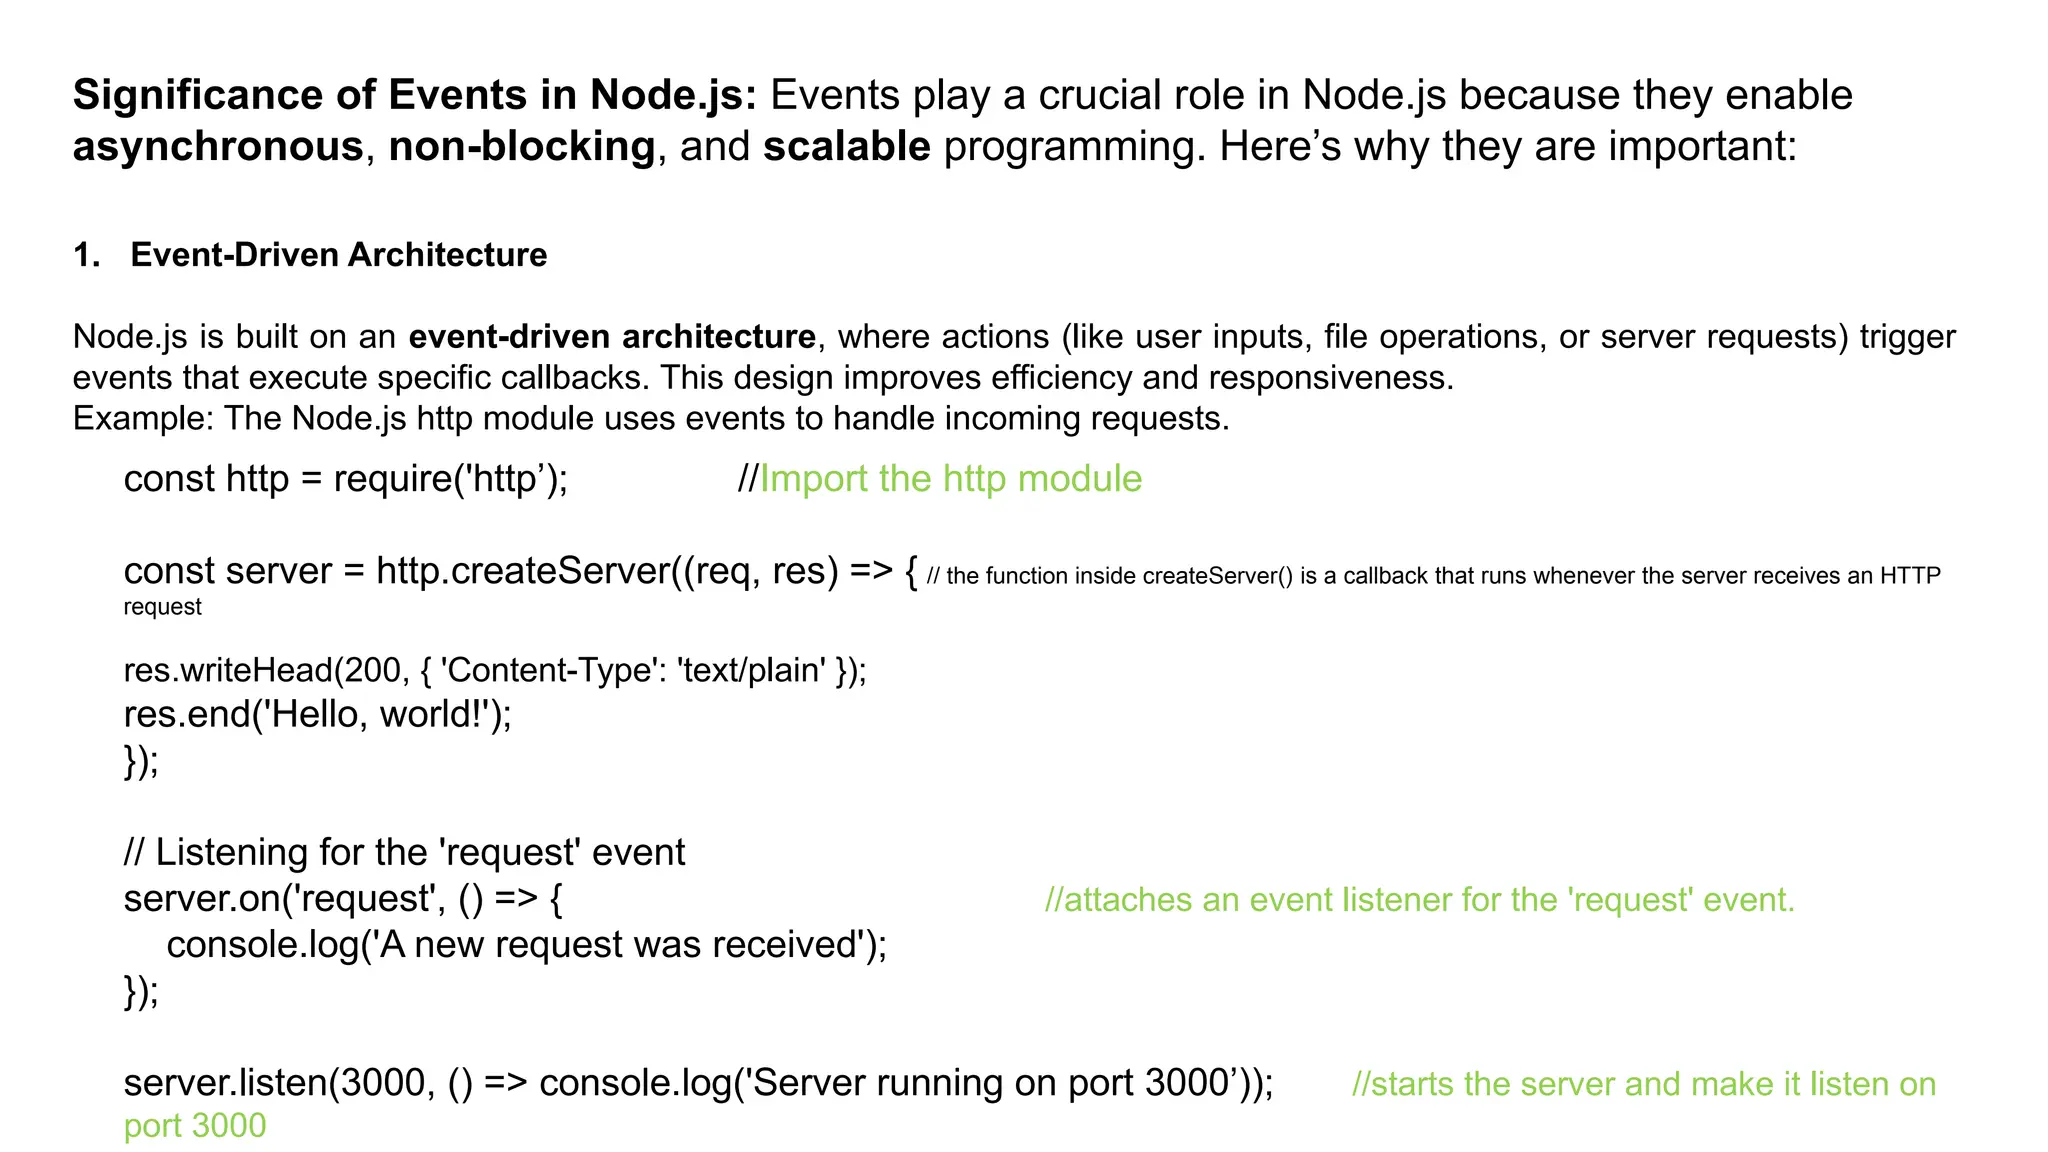
Significance of Eventsin Node.js: Events play a crucial role in Node.js because they enable
asynchronous, non-blocking, and scalable programming. Here’s why they are important:
1. Event-Driven Architecture
Node.js is built on an event-driven architecture, where actions (like user inputs, file operations, or server requests) trigger
events that execute specific callbacks. This design improves efficiency and responsiveness.
Example: The Node.js http module uses events to handle incoming requests.
const http = require('http’); //Import the http module
const server = http.createServer((req, res) => { // the function inside createServer() is a callback that runs whenever the server receives an HTTP
request
res.writeHead(200, { 'Content-Type': 'text/plain' });
res.end('Hello, world!');
});
// Listening for the 'request' event
server.on('request', () => { //attaches an event listener for the 'request' event.
console.log('A new request was received');
});
server.listen(3000, () => console.log('Server running on port 3000’)); //starts the server and make it listen on
port 3000
80.
2. Non-Blocking AsynchronousOperations
Events allow Node.js to execute tasks without waiting for
previous tasks to complete, making it fast and efficient.
Example: File reading using events.
const fs = require('fs’);
fs.readFile('example.txt', 'utf8', (err, data) => {
if (err) throw err;
console.log('File content:', data);
});
// The program does not wait for the file to be read; it
continues execution.
console.log('Reading file...');
3. Real-Time Applications
Events are essential for building real-time
applications like chat apps, stock market
trackers, and multiplayer games. [Imagine multile
users in a chat room]
Example: Using WebSockets with socket.io library
const io = require('socket.io')(3000); //initialize web socket server
io.on('connection', (socket) => { //listens for new clients
connecting.
console.log('New user connected’);
socket.on('message', (msg) => { //listens for a "message"
event
console.log('Received:', msg);
io.emit('message', msg);
// Broadcast message to all clients
}); });
81.
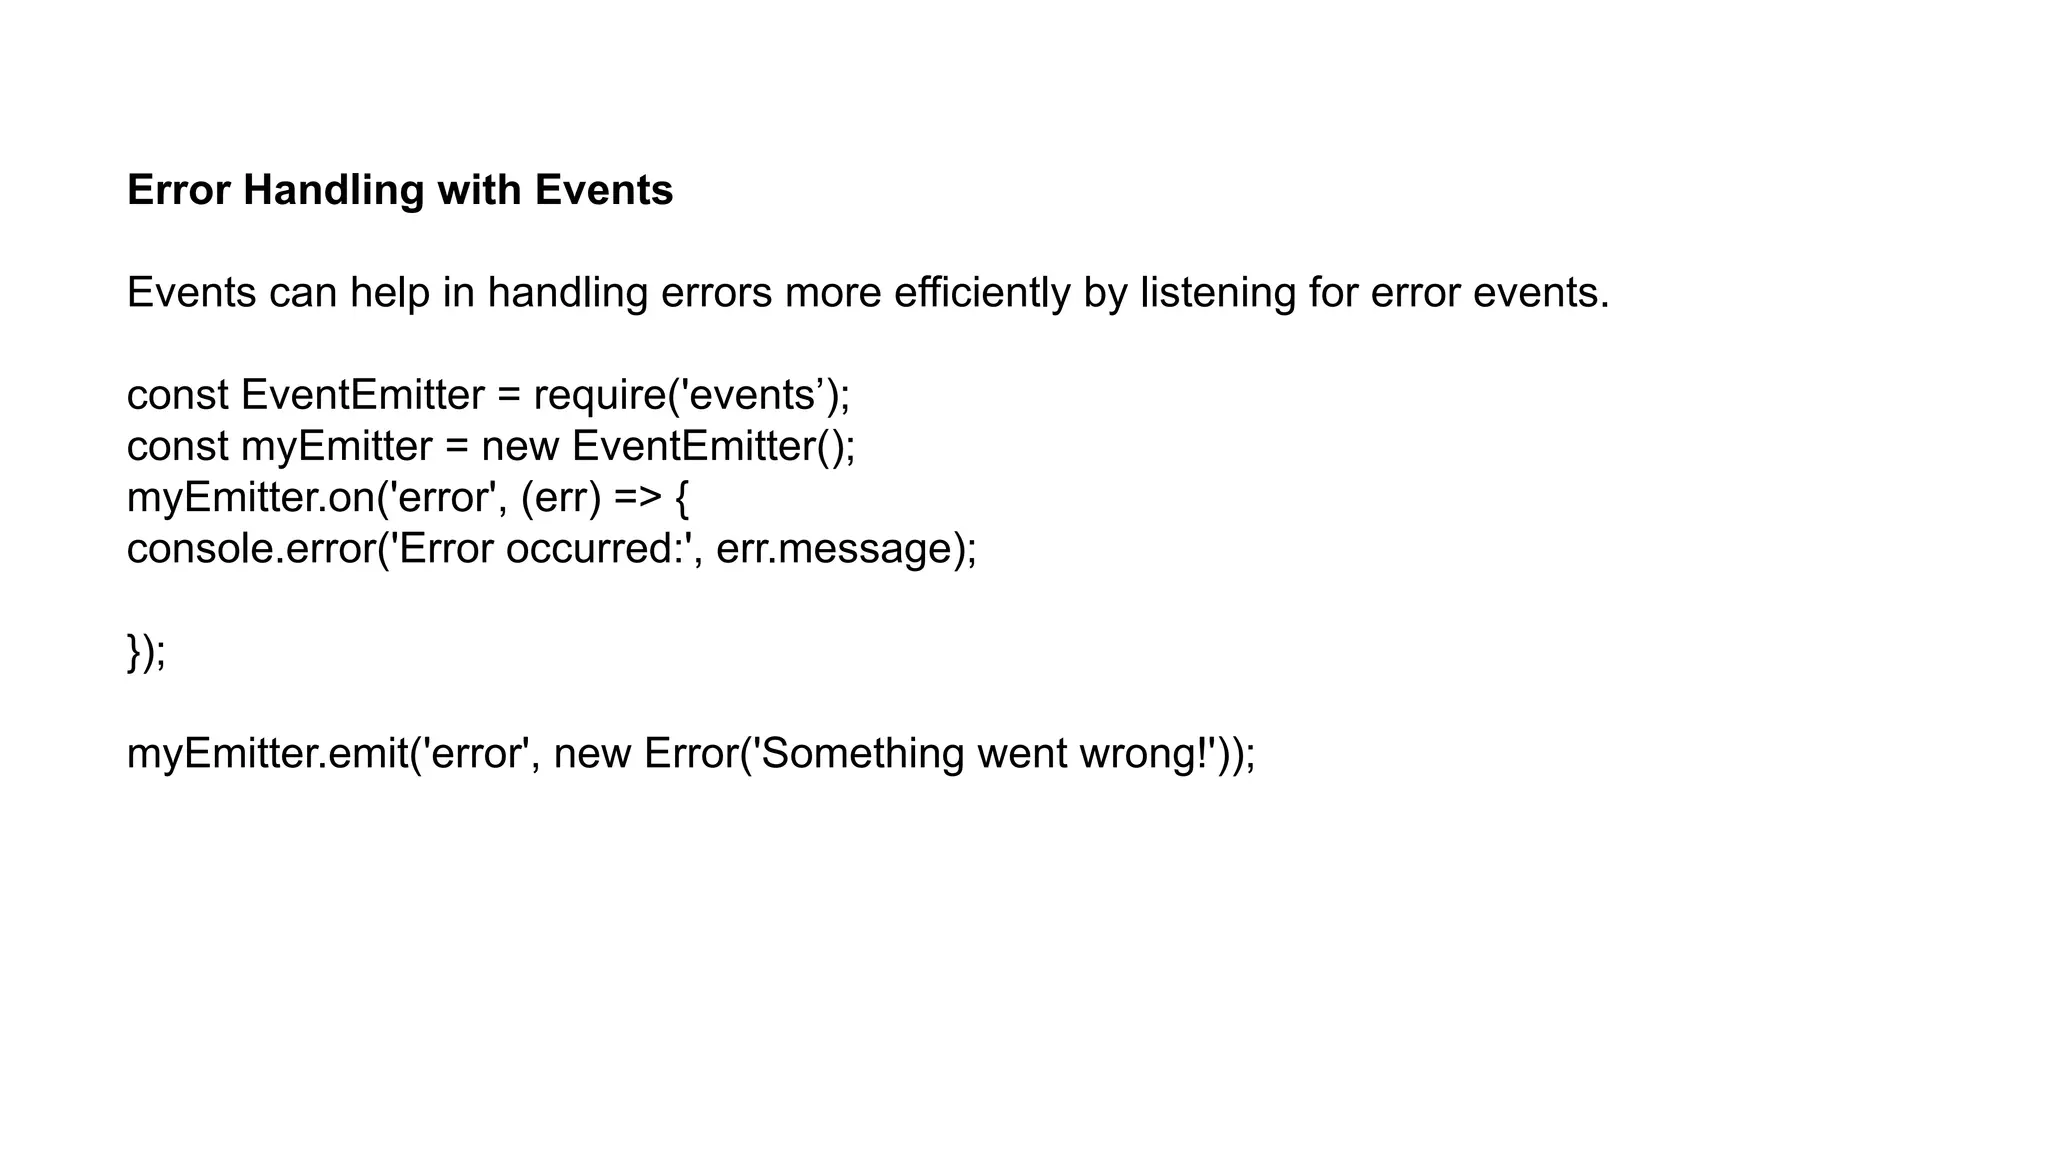
Error Handling withEvents
Events can help in handling errors more efficiently by listening for error events.
const EventEmitter = require('events’);
const myEmitter = new EventEmitter();
myEmitter.on('error', (err) => {
console.error('Error occurred:', err.message);
});
myEmitter.emit('error', new Error('Something went wrong!'));
82.
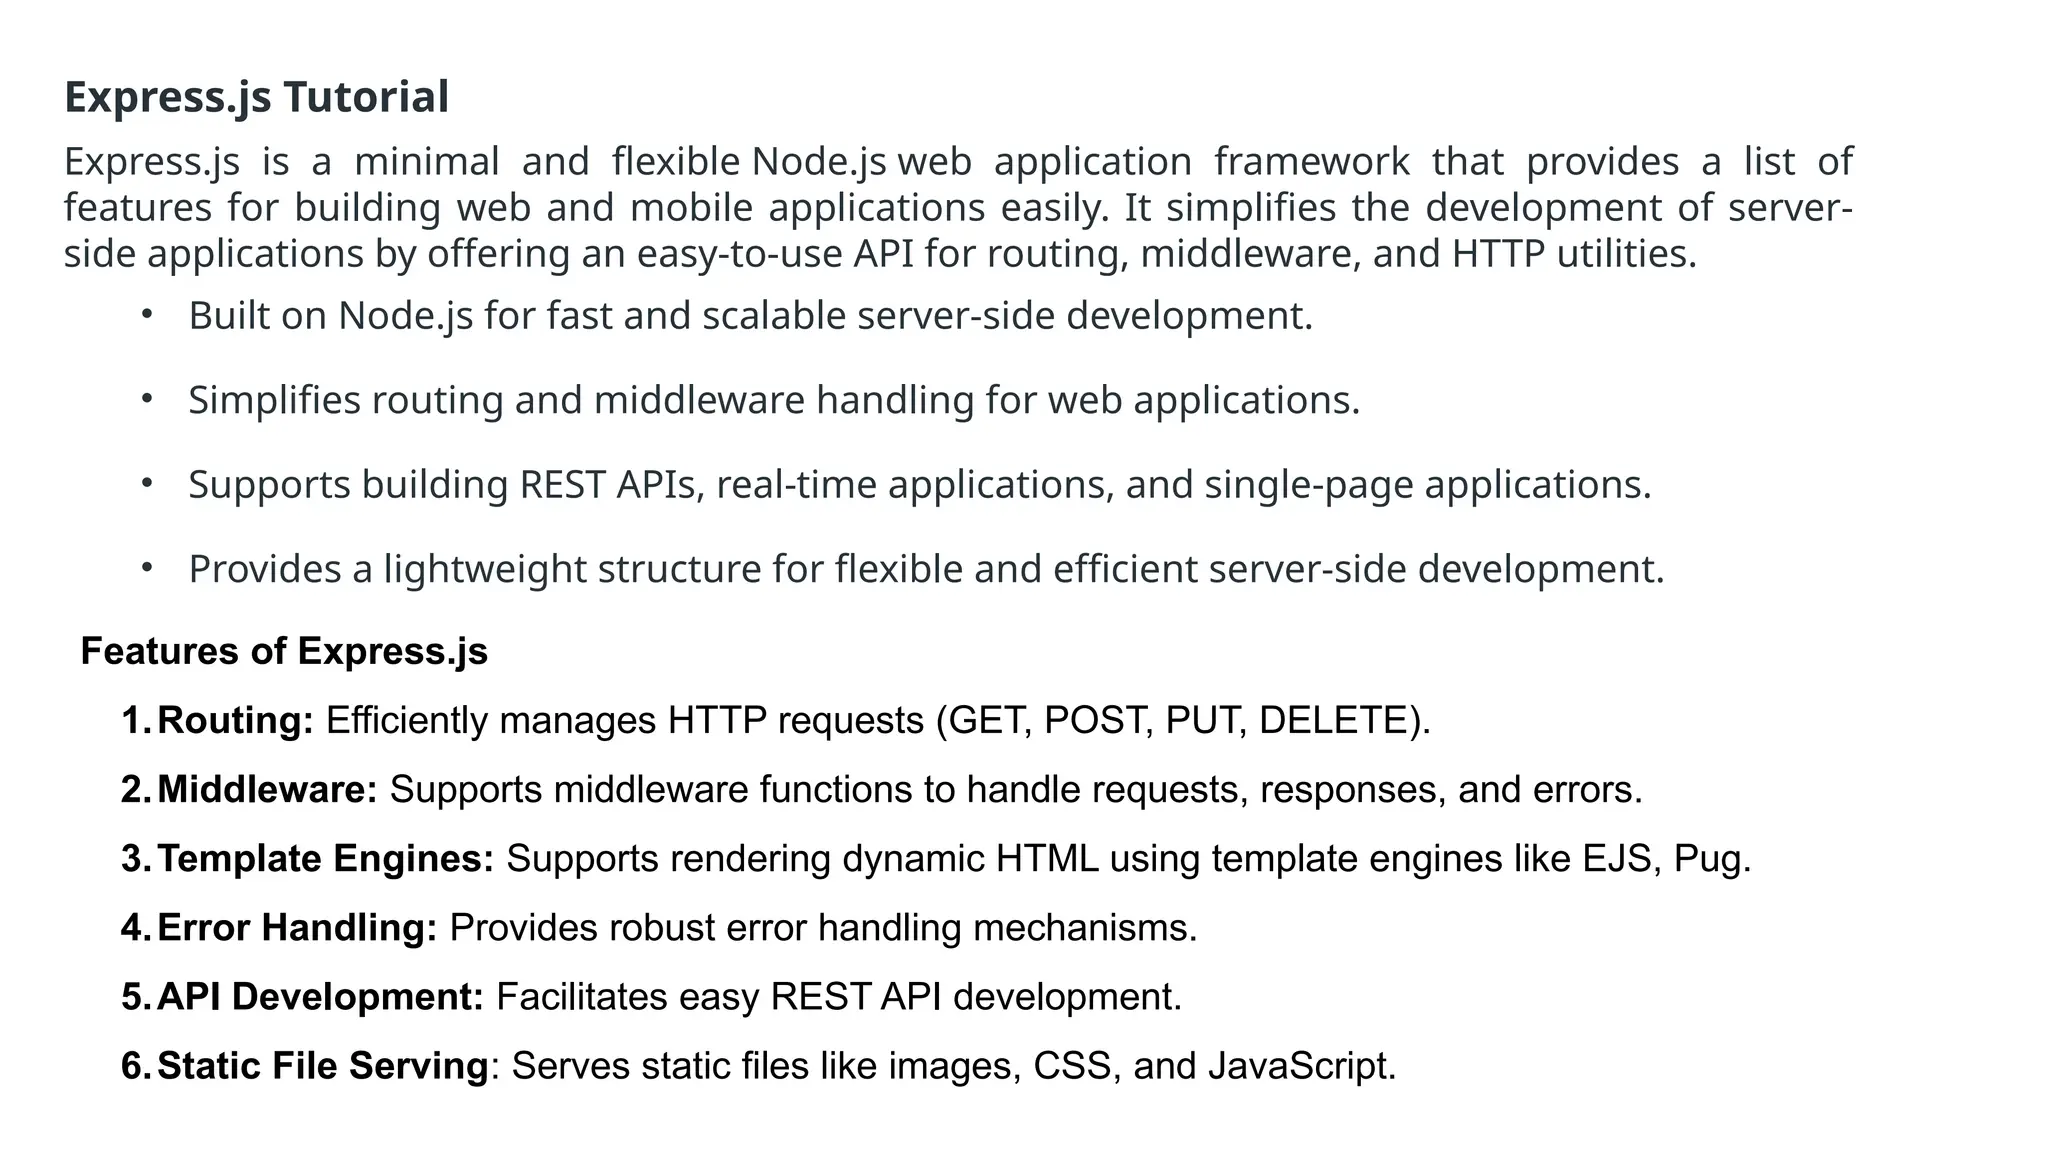
Express.js Tutorial
Express.js isa minimal and flexible Node.js web application framework that provides a list of
features for building web and mobile applications easily. It simplifies the development of server-
side applications by offering an easy-to-use API for routing, middleware, and HTTP utilities.
• Built on Node.js for fast and scalable server-side development.
• Simplifies routing and middleware handling for web applications.
• Supports building REST APIs, real-time applications, and single-page applications.
• Provides a lightweight structure for flexible and efficient server-side development.
Features of Express.js
1.Routing: Efficiently manages HTTP requests (GET, POST, PUT, DELETE).
2.Middleware: Supports middleware functions to handle requests, responses, and errors.
3.Template Engines: Supports rendering dynamic HTML using template engines like EJS, Pug.
4.Error Handling: Provides robust error handling mechanisms.
5.API Development: Facilitates easy REST API development.
6.Static File Serving: Serves static files like images, CSS, and JavaScript.
WHAT IS EXPRESS.JS?
•Express.js is a minimalist web application framework built
on top of node.js providing a robust set of features and tools
for building web applications and APIs.
• Express.js offers a simple and flexible approach to web
development , allowing developers to define routes, handle
request and responses and manage middleware to perform
various tasks.
• With express.js, developers can easily build APIs , create
dynamic web pages, handle authentication and sessions,
and integrate with databases and other external services.
85.
WHY USE EXPRESS.JS?
•Scalability : Node.js can handle a
large number of concurrent requests
efficiently, making it suitable for
applications with high traffic and real-
time interactions.
• Code Reusabiliy : JavaScript is a
universal language that can be used
both on the client side and server-
side, enabling code reuse and sharing
of logic between the front-end and
back-end.
86.
WHY USE EXPRESS.JS?
•Vast Ecosystem : Node.js has a
vast ecosystem of modules and
packages available through npm,
allowing developers to easily
incorporate existing solutions and
libraries into their projects.
• Fast Development : Express.js
provides a concise and intuitive
syntax, along with powerful
middleware, which accelerates the
development process and enables
rapid prototyping.
87.
WHY USE EXPRESS.JS?
•Community and
Support : Node.js and
Express.js have active
communities ,extensive documentation ,
and a wealth of online resources,
making it easy to find help and learn
from others.
89.
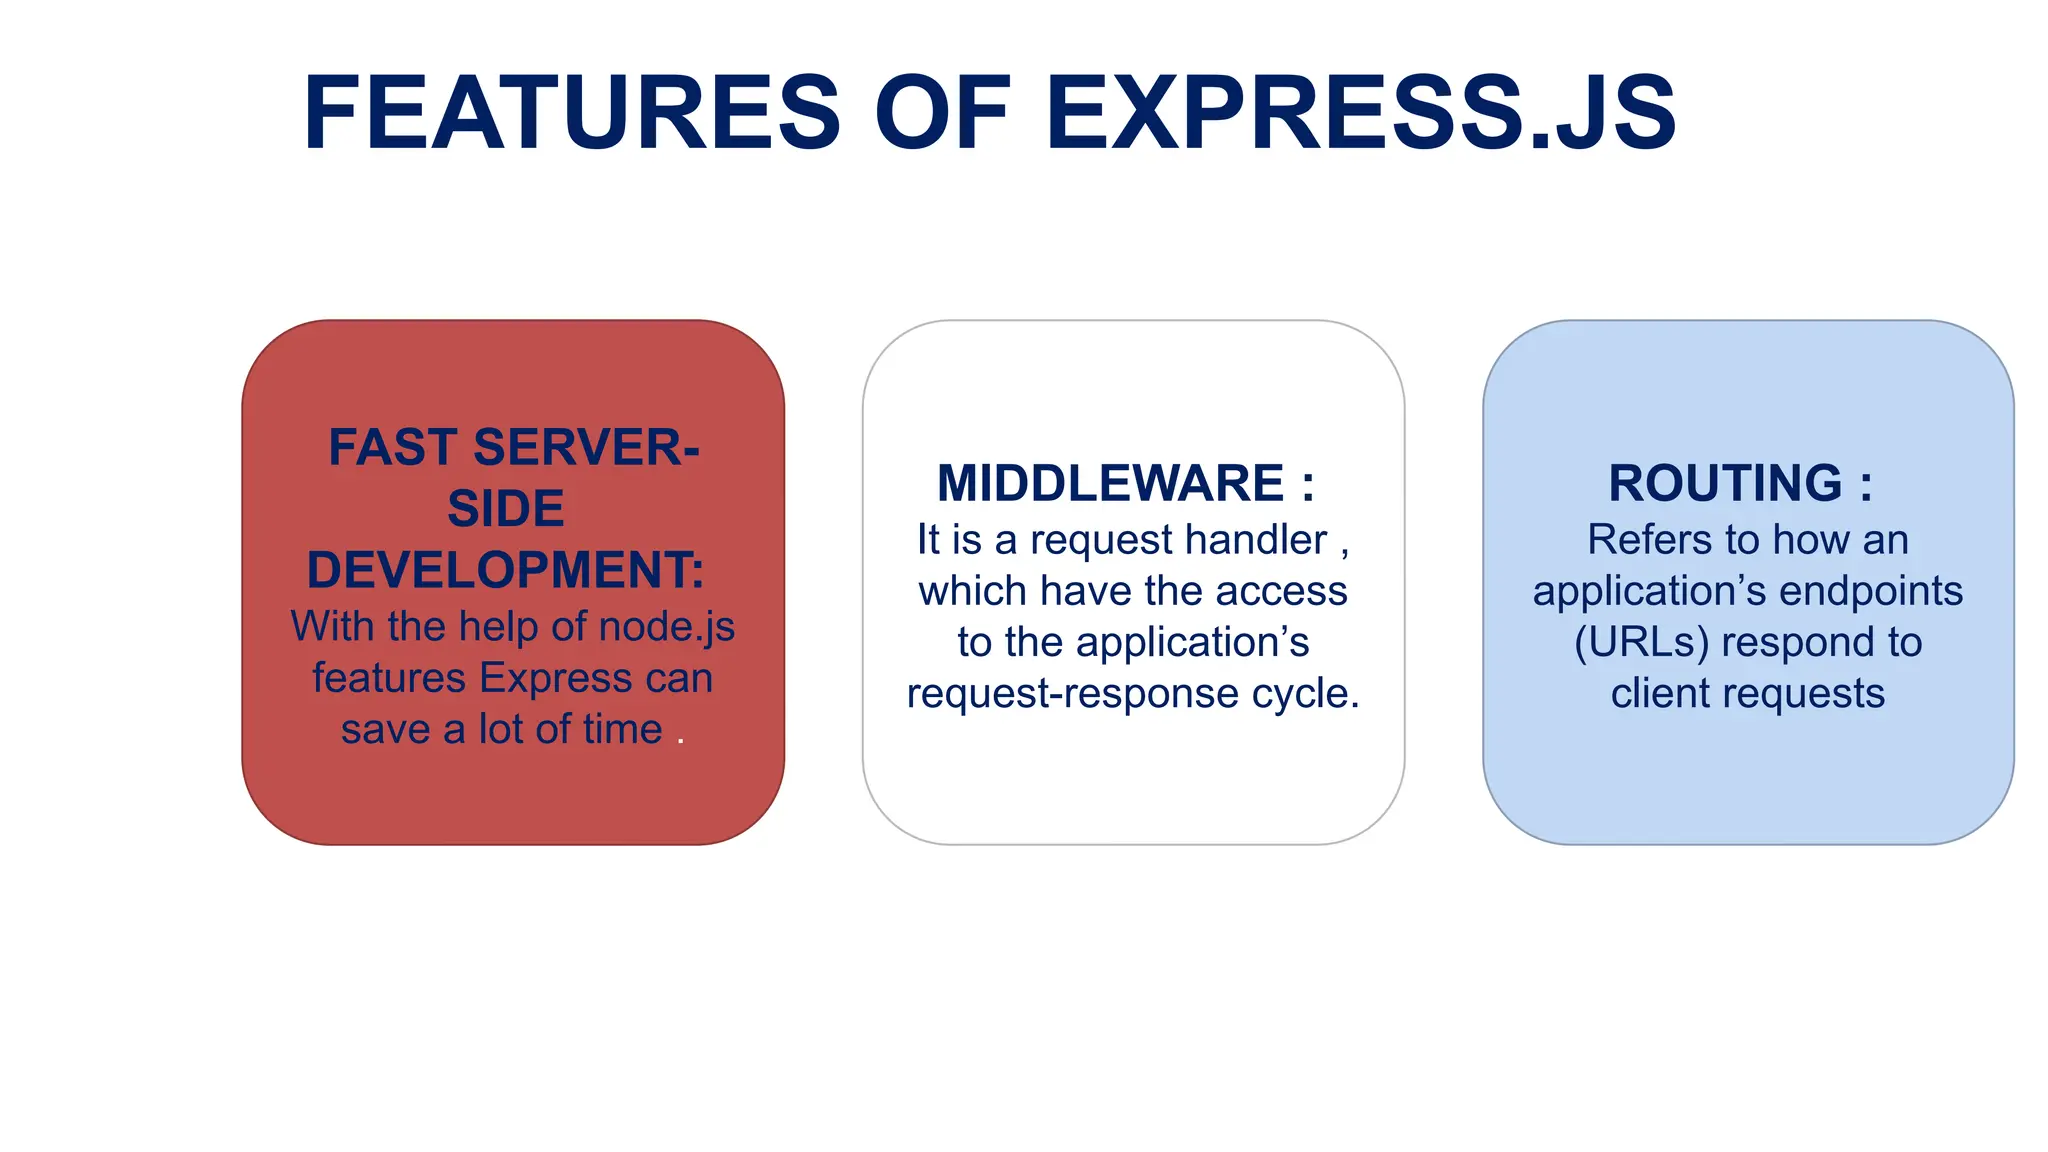
FEATURES OF EXPRESS.JS
FASTSERVER-
SIDE
DEVELOPMENT:
With the help of node.js
features Express can
save a lot of time .
MIDDLEWARE :
It is a request handler ,
which have the access
to the application’s
request-response cycle.
ROUTING :
Refers to how an
application’s endpoints
(URLs) respond to
client requests
90.
FEATURES OF EXPRESS.JS
TEMPLATING:
Creates a html template files
with less code and render
HTML pages.
DEBBUGING :
Express makes it easier as it
identifies the exact part
where bugs are.
91.
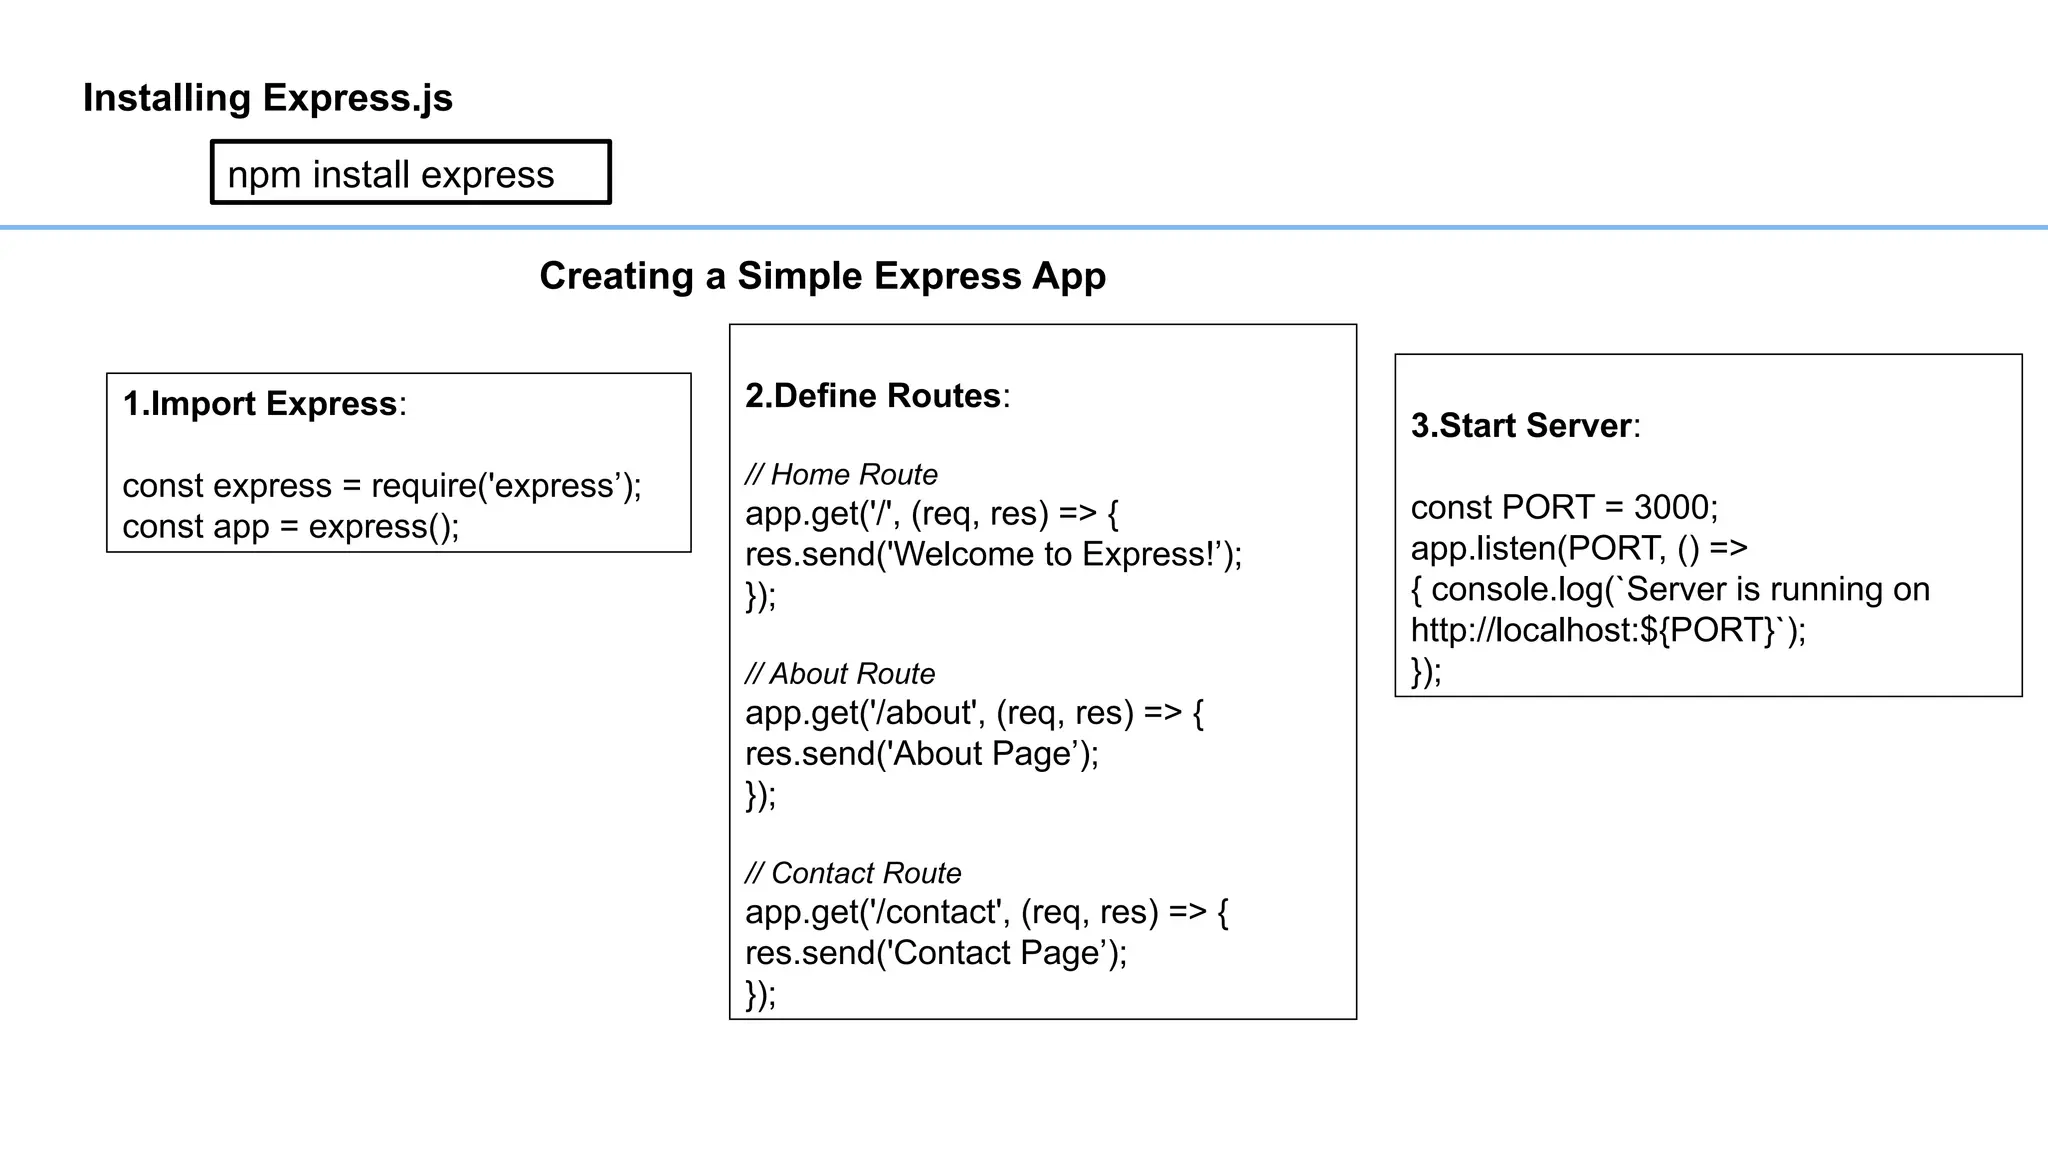
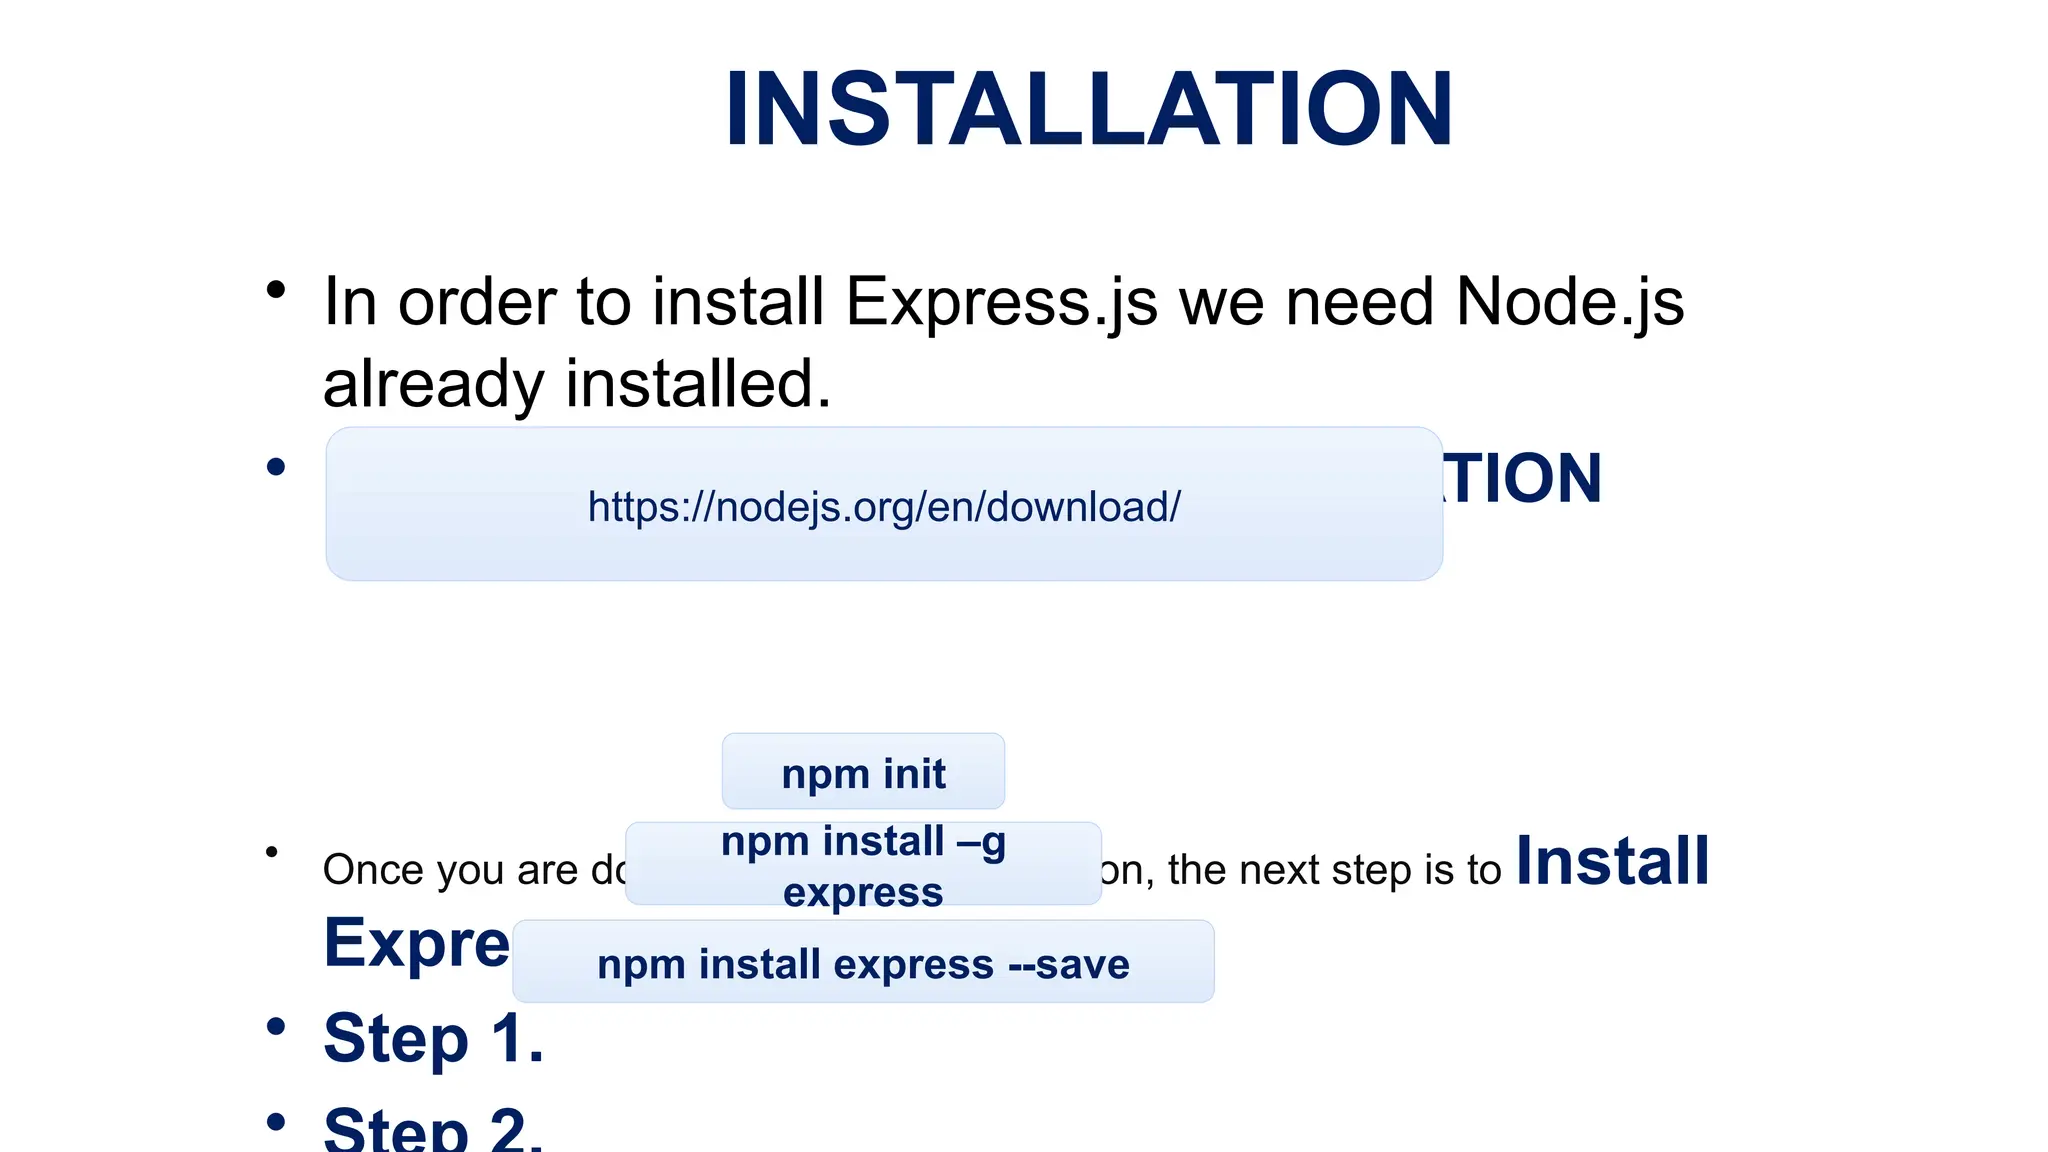
INSTALLATION
• In orderto install Express.js we need Node.js
already installed.
• NODE.JS INSTALLATION
• Once you are done with Node.js installation, the next step is to Install
Express.
• Step 1.
•
https://nodejs.org/en/download/
npm init
npm install –g
express
npm install express --save
92.
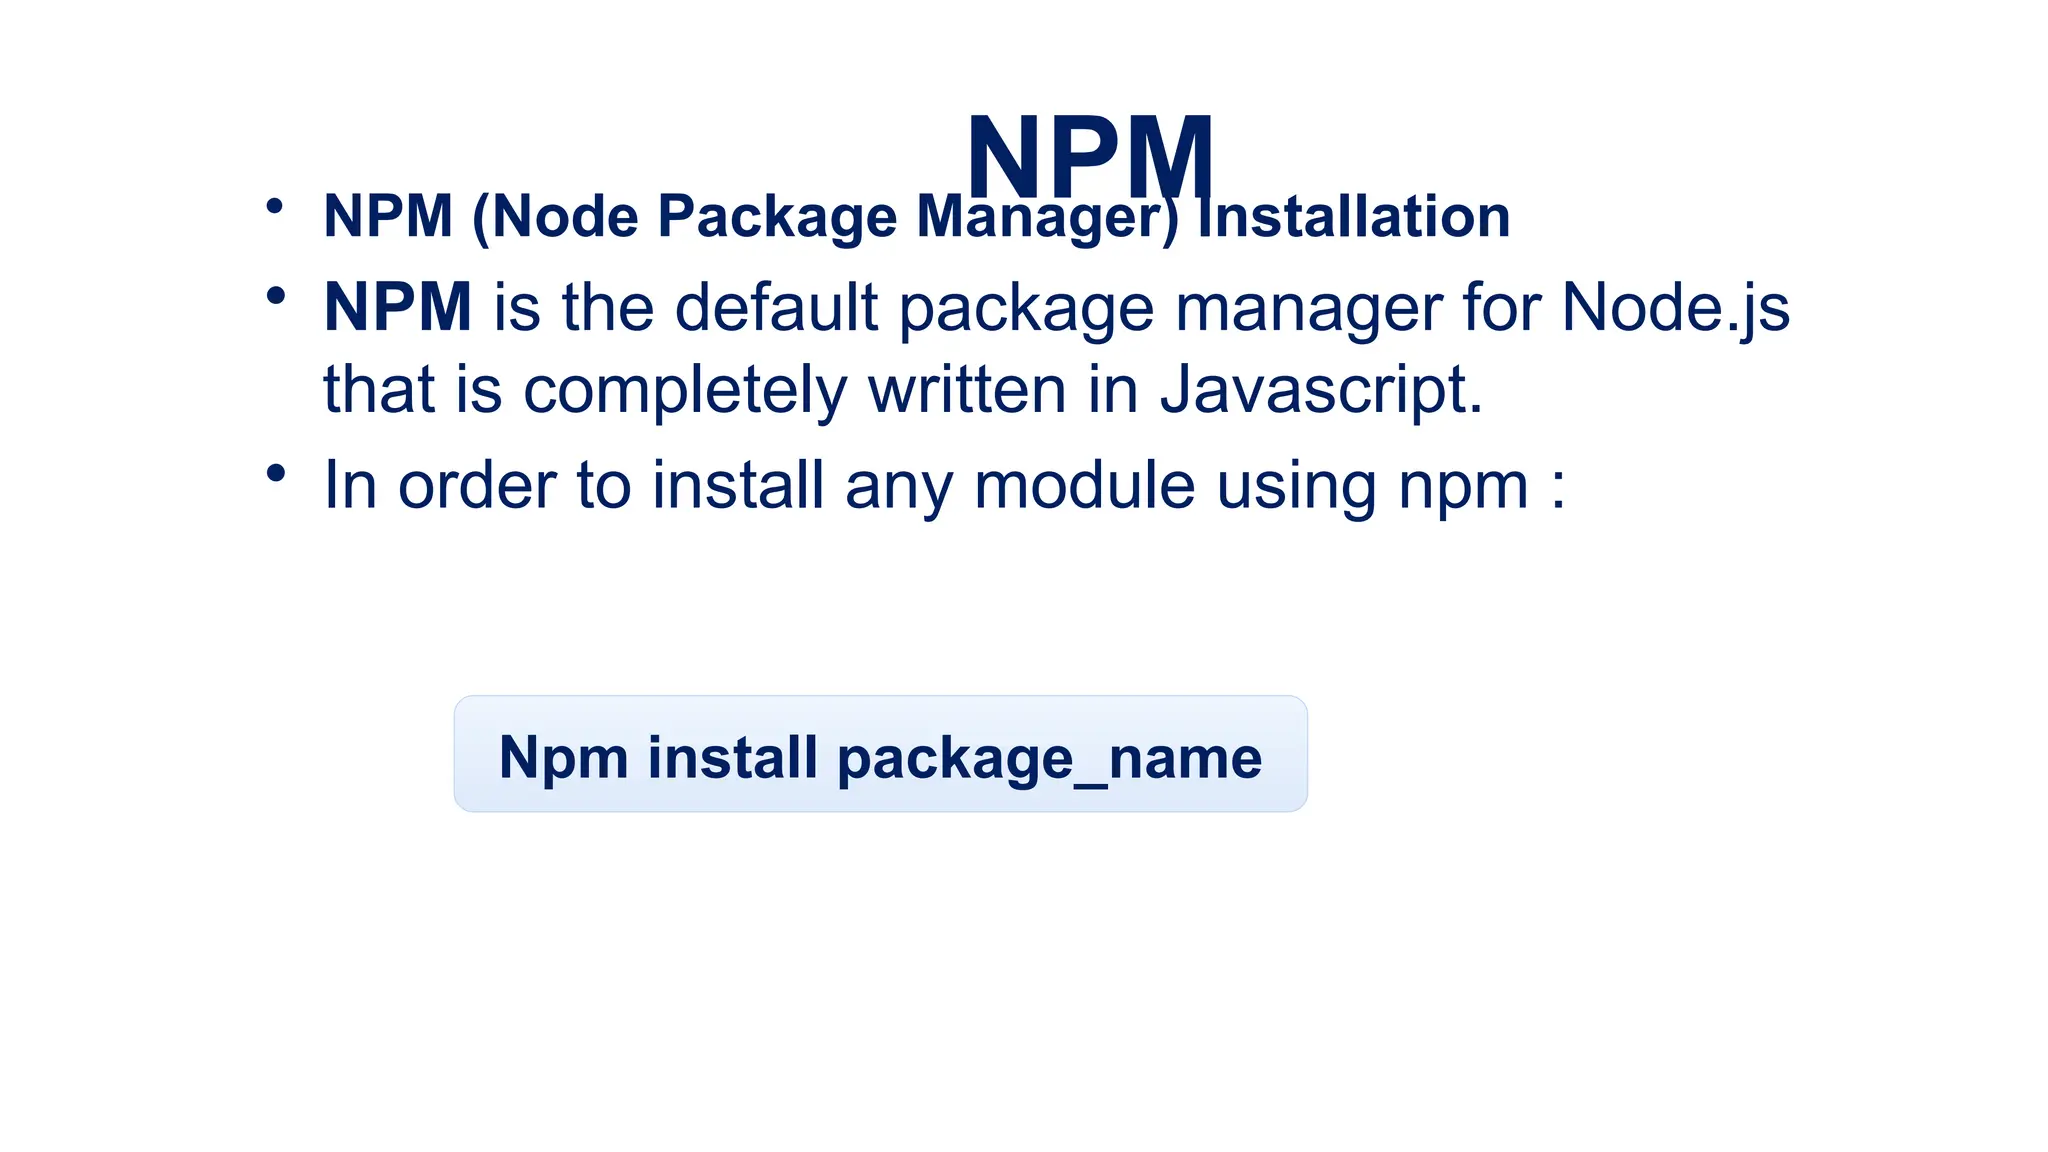
NPM
• NPM (NodePackage Manager) Installation
• NPM is the default package manager for Node.js
that is completely written in Javascript.
• In order to install any module using npm :
Npm install package_name
93.
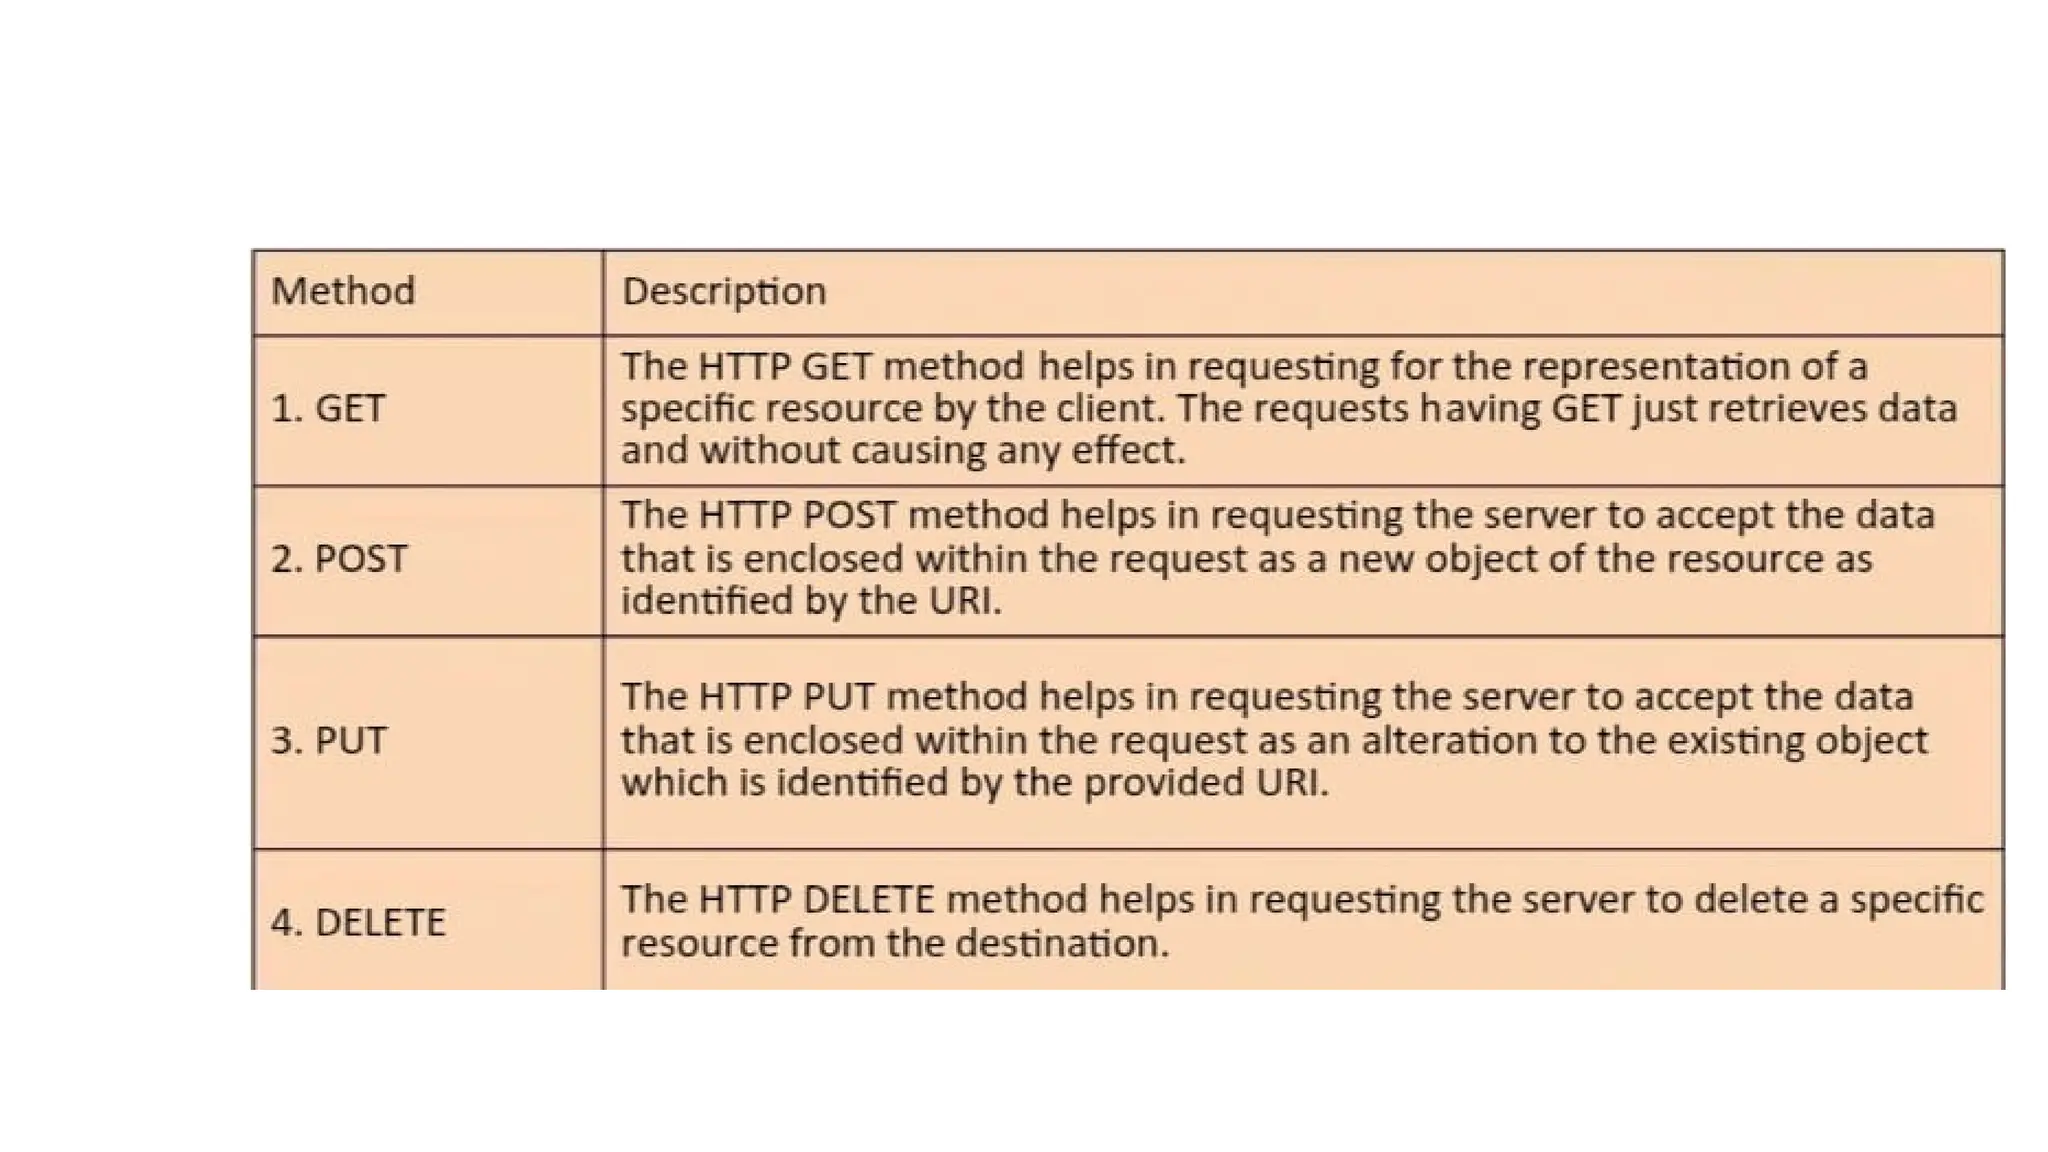
ROUTING AND HTTPMETHODS
• Routing refers to the process of determining a specific
behavior of an application.
• It determines how an application responds to a client
request to a particular endpoints.
Structure of Routing in Express :
app .METHOD( PATH, HANDLER)
95.
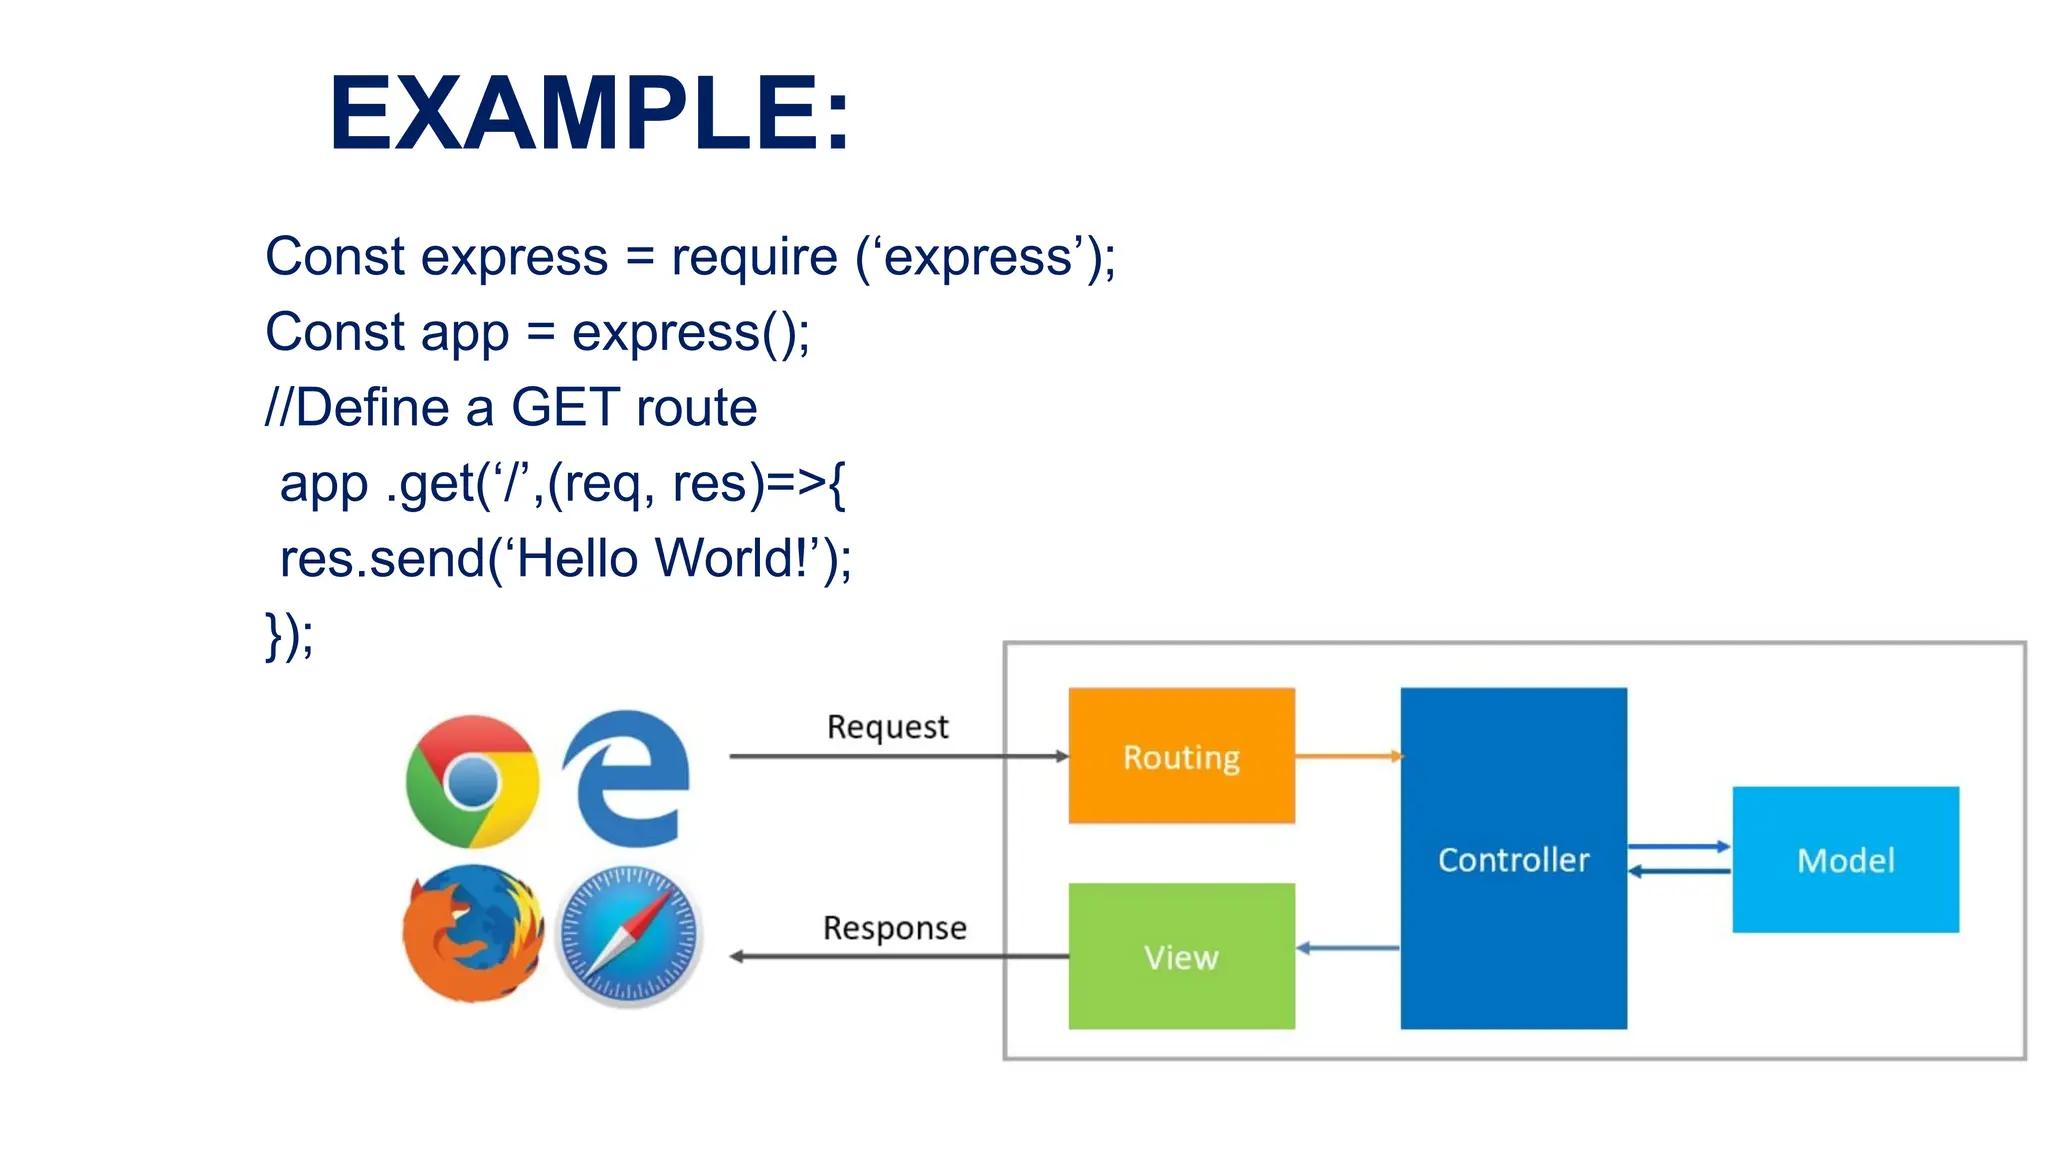
EXAMPLE:
Const express =require (‘express’);
Const app = express();
//Define a GET route
app .get(‘/’,(req, res)=>{
res.send(‘Hello World!’);
});
96.
MIDDLEWARE
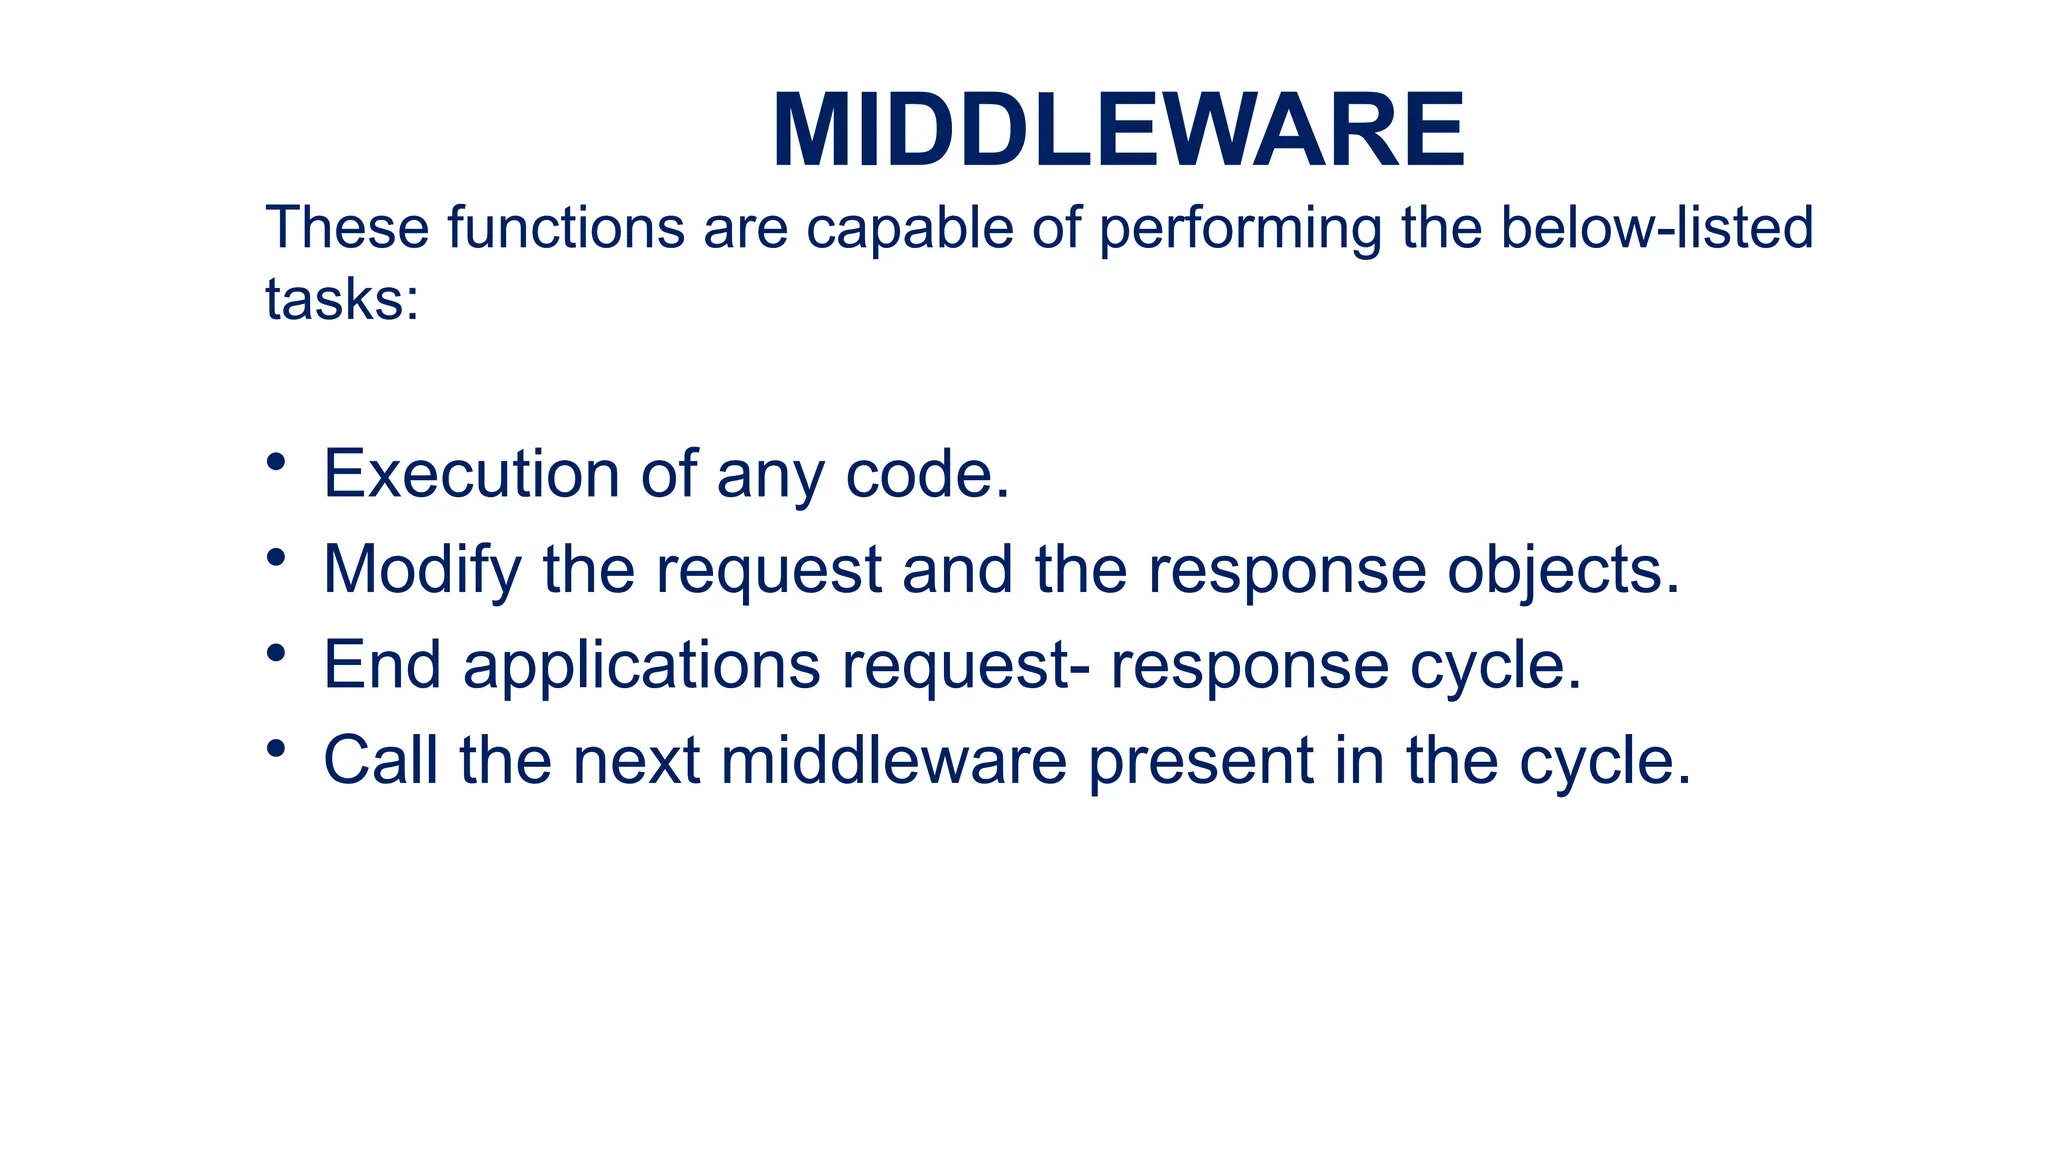
These functions arecapable of performing the below-listed
tasks:
• Execution of any code.
• Modify the request and the response objects.
• End applications request- response cycle.
• Call the next middleware present in the cycle.
97.
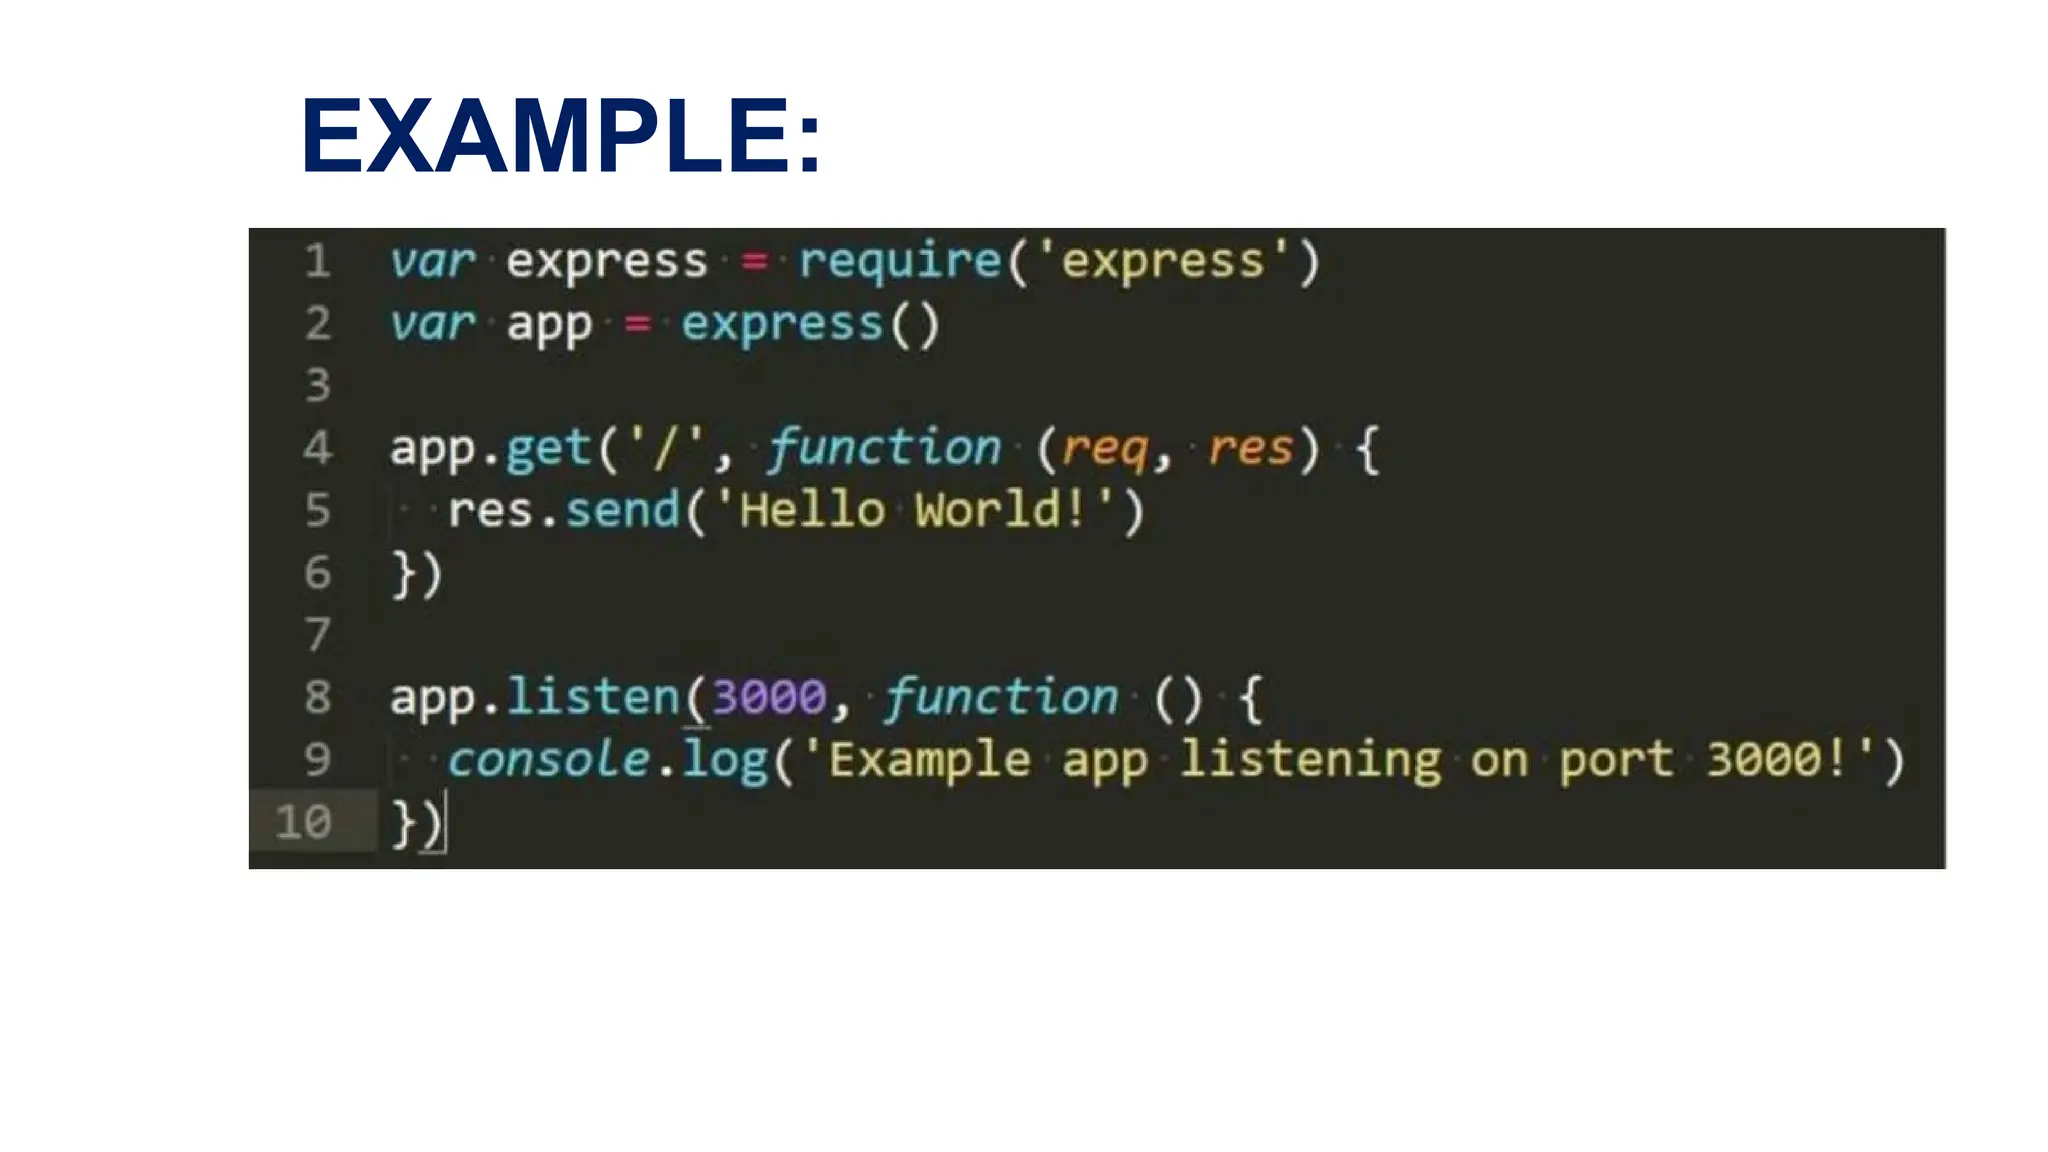
EXAMPLE:
• This appstarts a server and listens on port 3000 for
connections . The app responds with “Hello World! “
for requests to the root URL(/) or route
98.
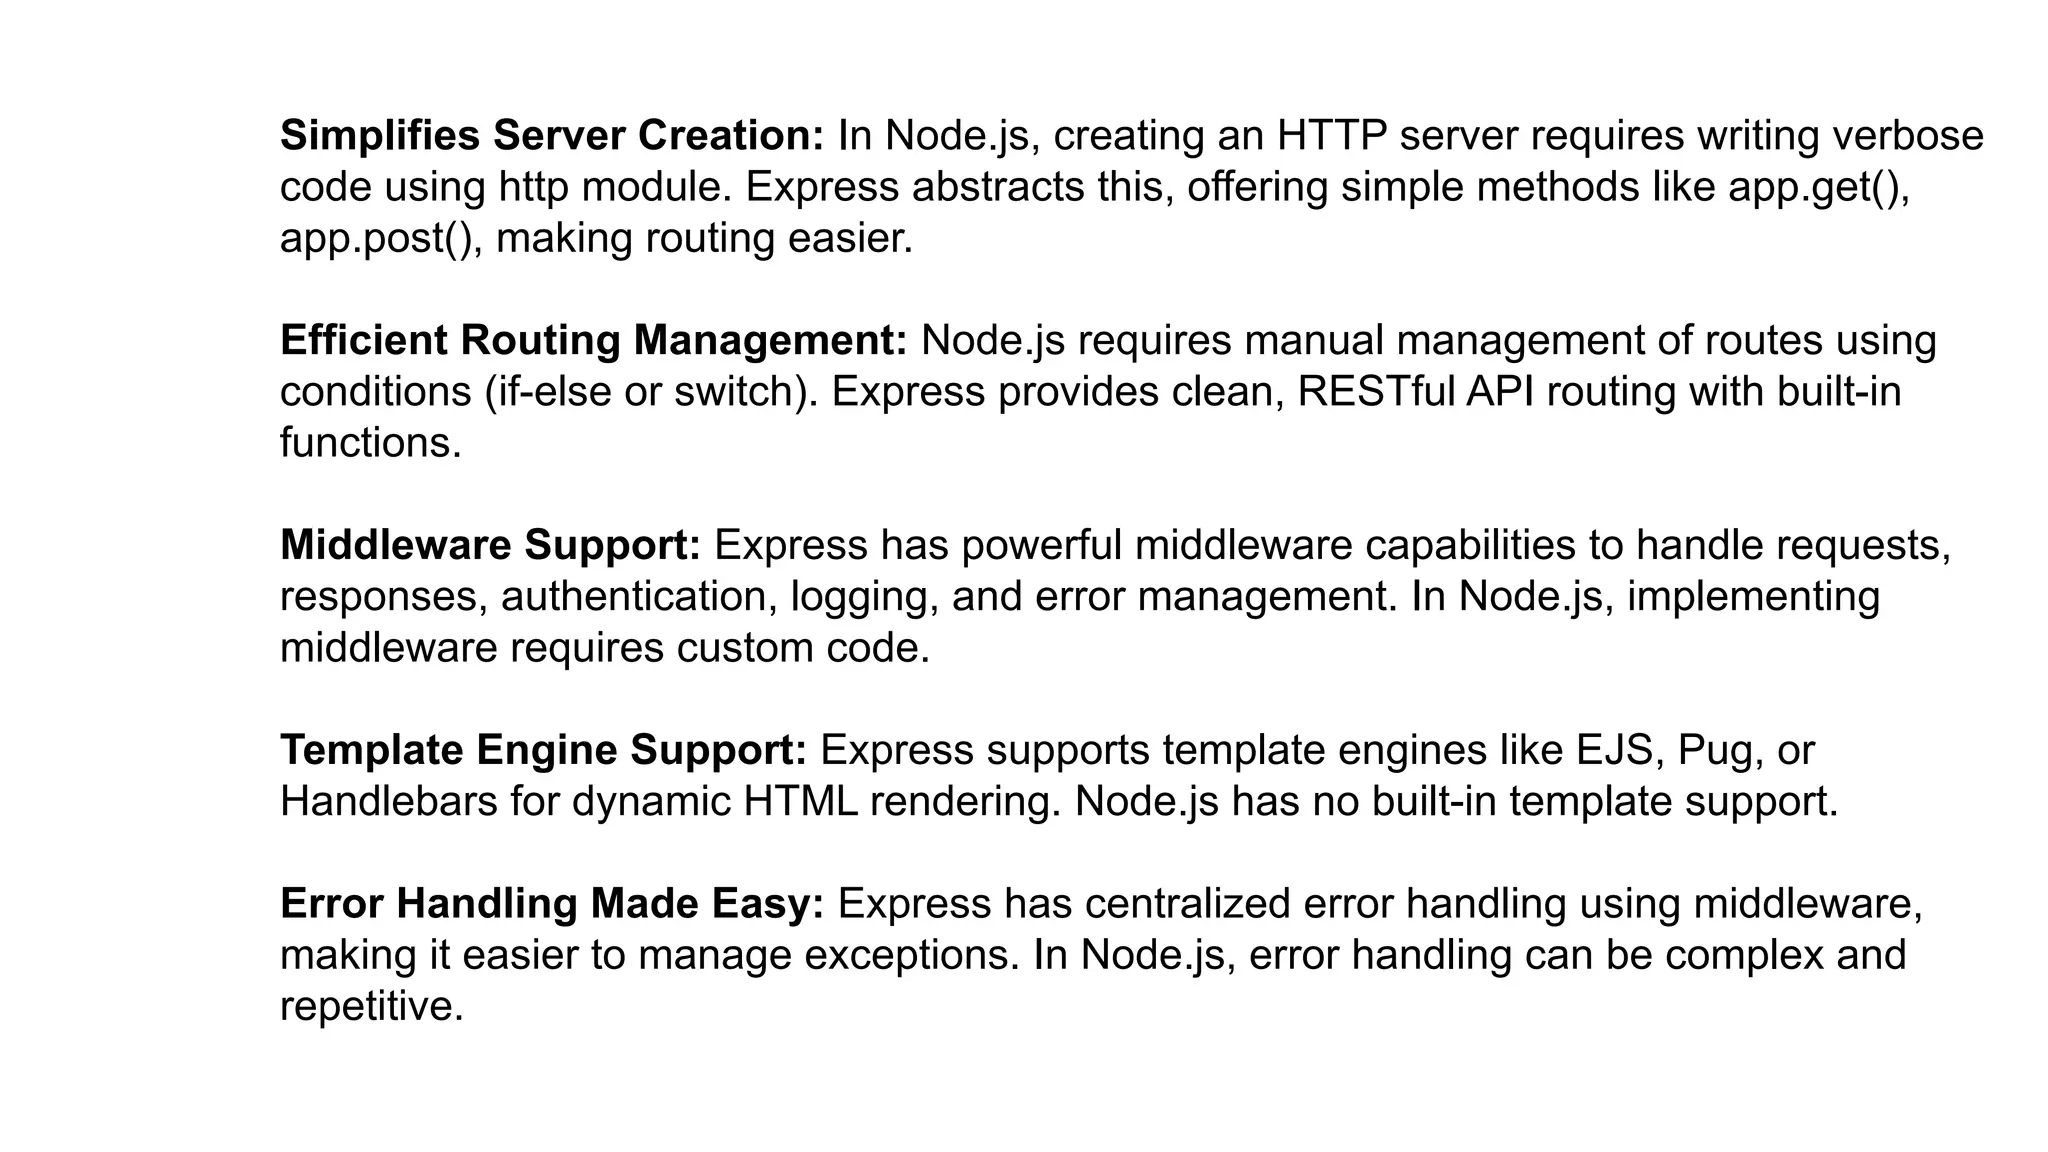
Simplifies Server Creation:In Node.js, creating an HTTP server requires writing verbose
code using http module. Express abstracts this, offering simple methods like app.get(),
app.post(), making routing easier.
Efficient Routing Management: Node.js requires manual management of routes using
conditions (if-else or switch). Express provides clean, RESTful API routing with built-in
functions.
Middleware Support: Express has powerful middleware capabilities to handle requests,
responses, authentication, logging, and error management. In Node.js, implementing
middleware requires custom code.
Template Engine Support: Express supports template engines like EJS, Pug, or
Handlebars for dynamic HTML rendering. Node.js has no built-in template support.
Error Handling Made Easy: Express has centralized error handling using middleware,
making it easier to manage exceptions. In Node.js, error handling can be complex and
repetitive.
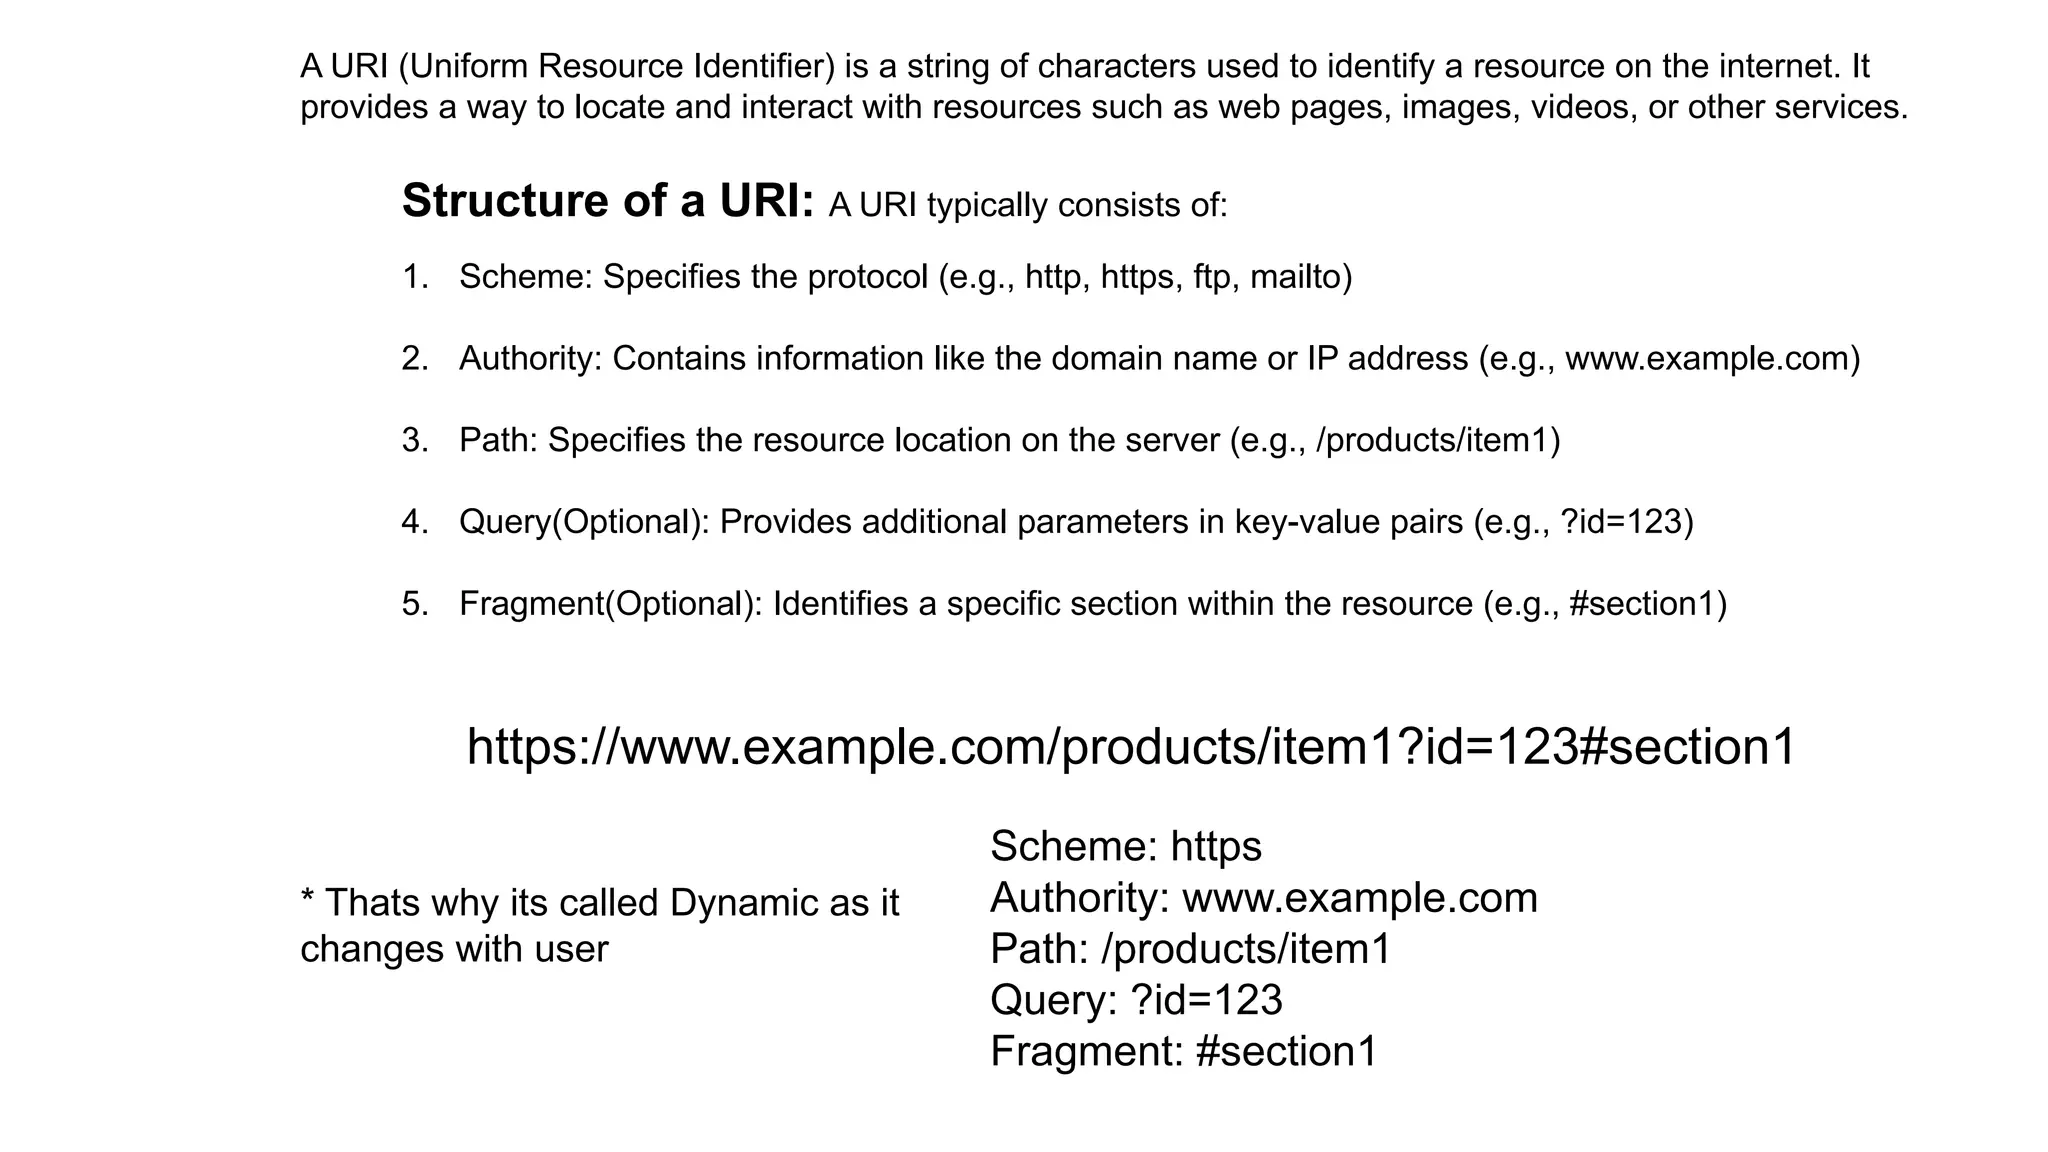
A URI (UniformResource Identifier) is a string of characters used to identify a resource on the internet. It
provides a way to locate and interact with resources such as web pages, images, videos, or other services.
Structure of a URI: A URI typically consists of:
1. Scheme: Specifies the protocol (e.g., http, https, ftp, mailto)
2. Authority: Contains information like the domain name or IP address (e.g., www.example.com)
3. Path: Specifies the resource location on the server (e.g., /products/item1)
4. Query(Optional): Provides additional parameters in key-value pairs (e.g., ?id=123)
5. Fragment(Optional): Identifies a specific section within the resource (e.g., #section1)
https://www.example.com/products/item1?id=123#section1
Scheme: https
Authority: www.example.com
Path: /products/item1
Query: ?id=123
Fragment: #section1
* Thats why its called Dynamic as it
changes with user
102.
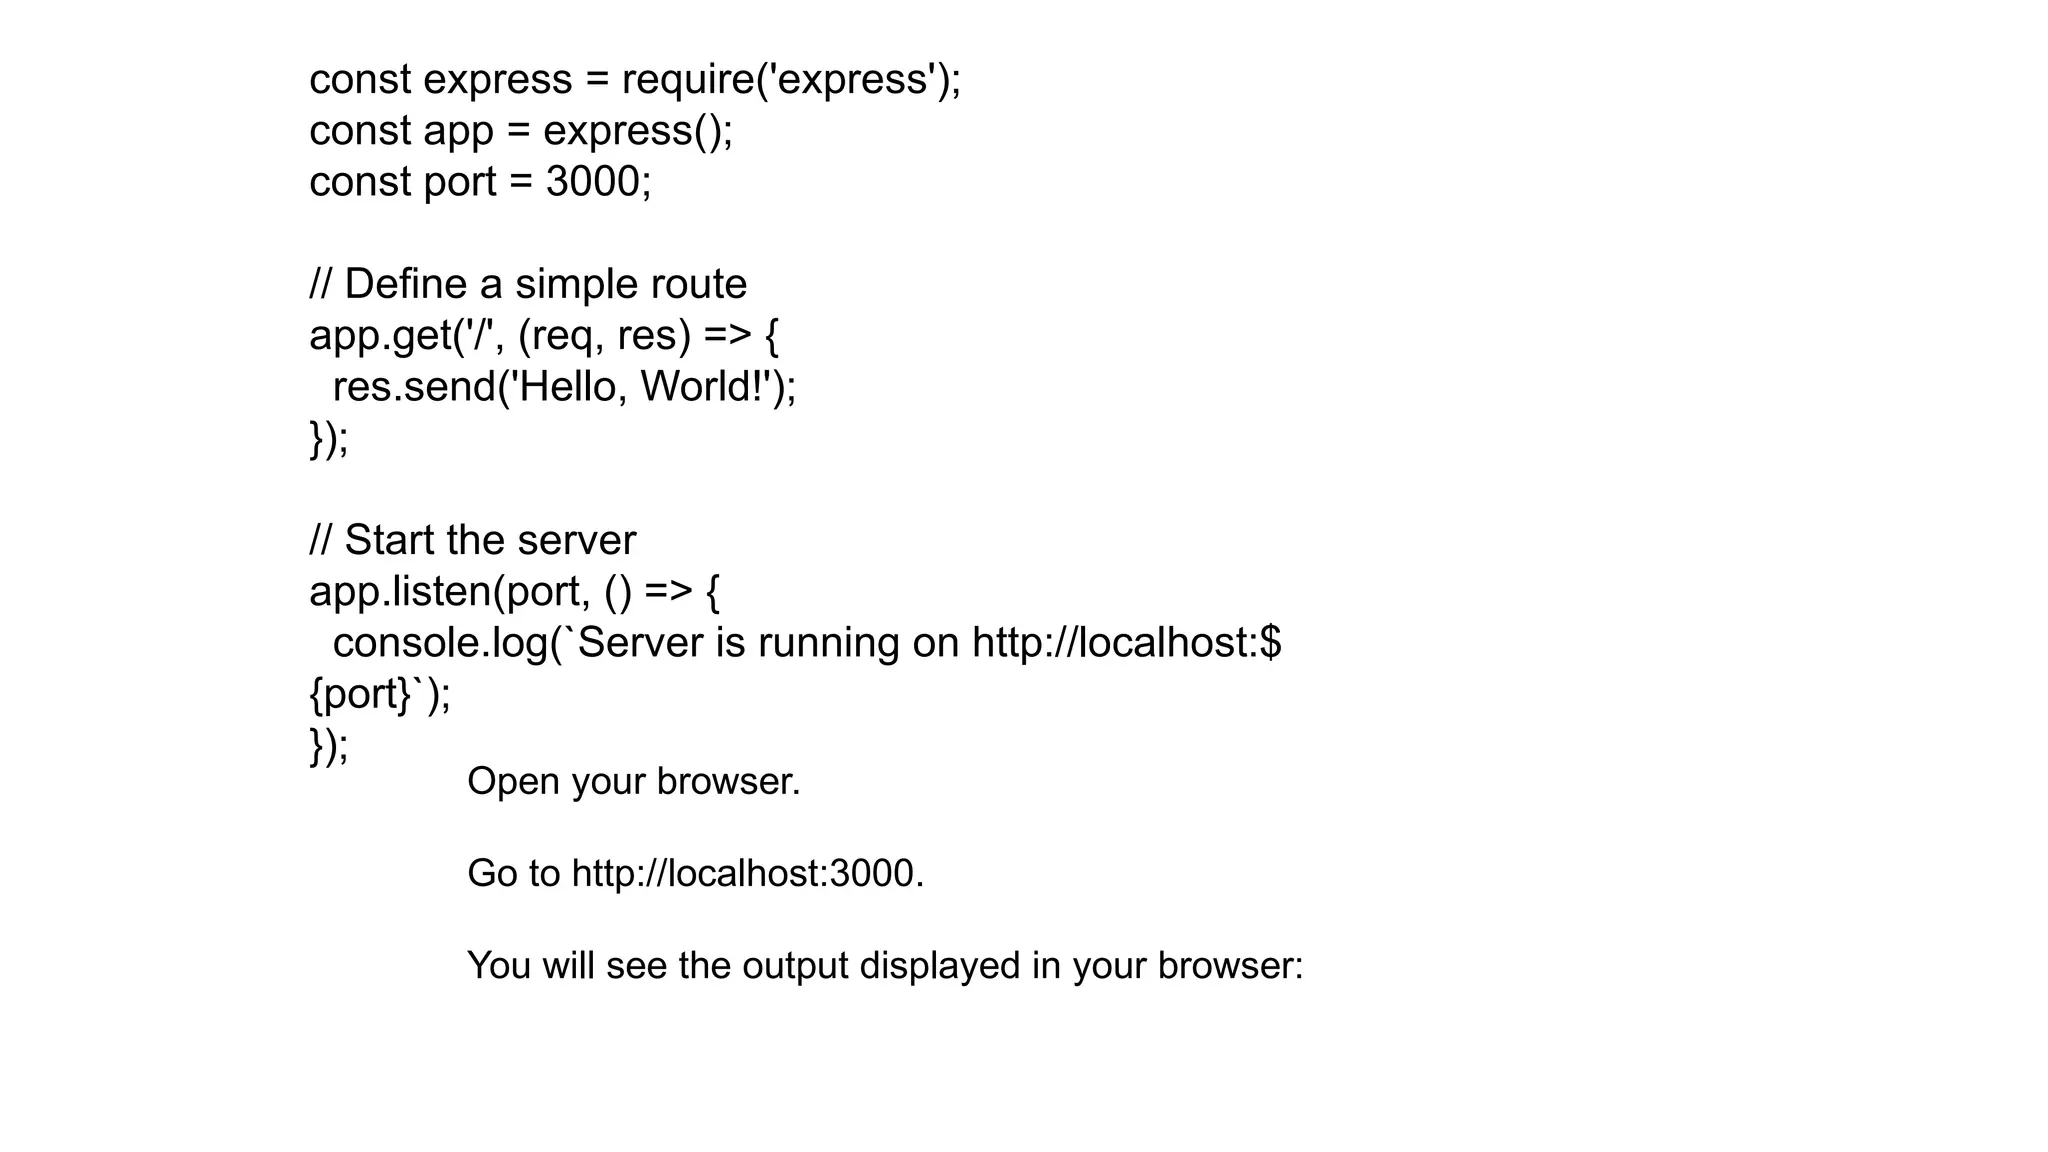
const express =require('express');
const app = express();
const port = 3000;
// Define a simple route
app.get('/', (req, res) => {
res.send('Hello, World!');
});
// Start the server
app.listen(port, () => {
console.log(`Server is running on http://localhost:$
{port}`);
});
Open your browser.
Go to http://localhost:3000.
You will see the output displayed in your browser:
103.
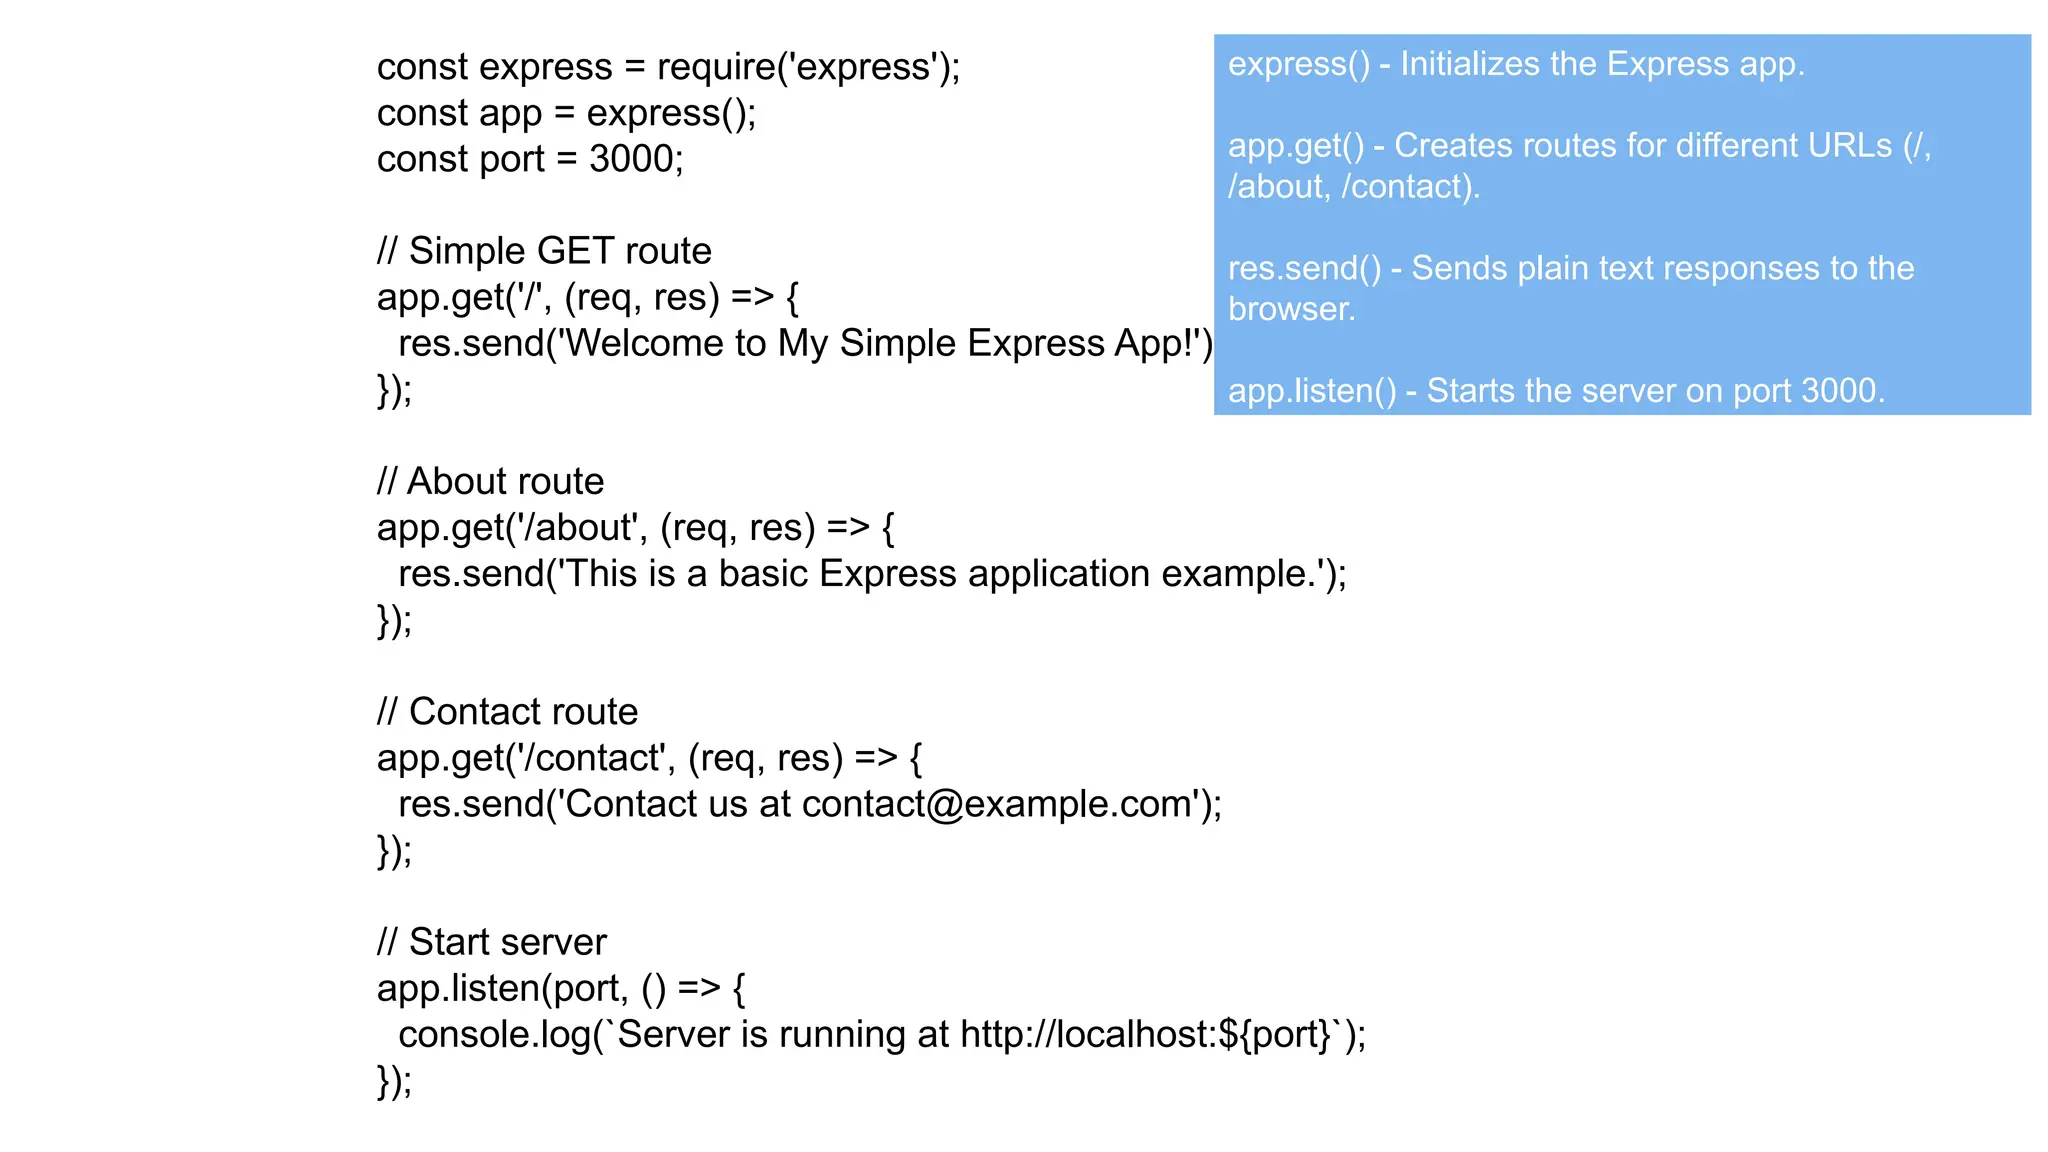
const express =require('express');
const app = express();
const port = 3000;
// Simple GET route
app.get('/', (req, res) => {
res.send('Welcome to My Simple Express App!');
});
// About route
app.get('/about', (req, res) => {
res.send('This is a basic Express application example.');
});
// Contact route
app.get('/contact', (req, res) => {
res.send('Contact us at contact@example.com');
});
// Start server
app.listen(port, () => {
console.log(`Server is running at http://localhost:${port}`);
});
express() - Initializes the Express app.
app.get() - Creates routes for different URLs (/,
/about, /contact).
res.send() - Sends plain text responses to the
browser.
app.listen() - Starts the server on port 3000.
104.
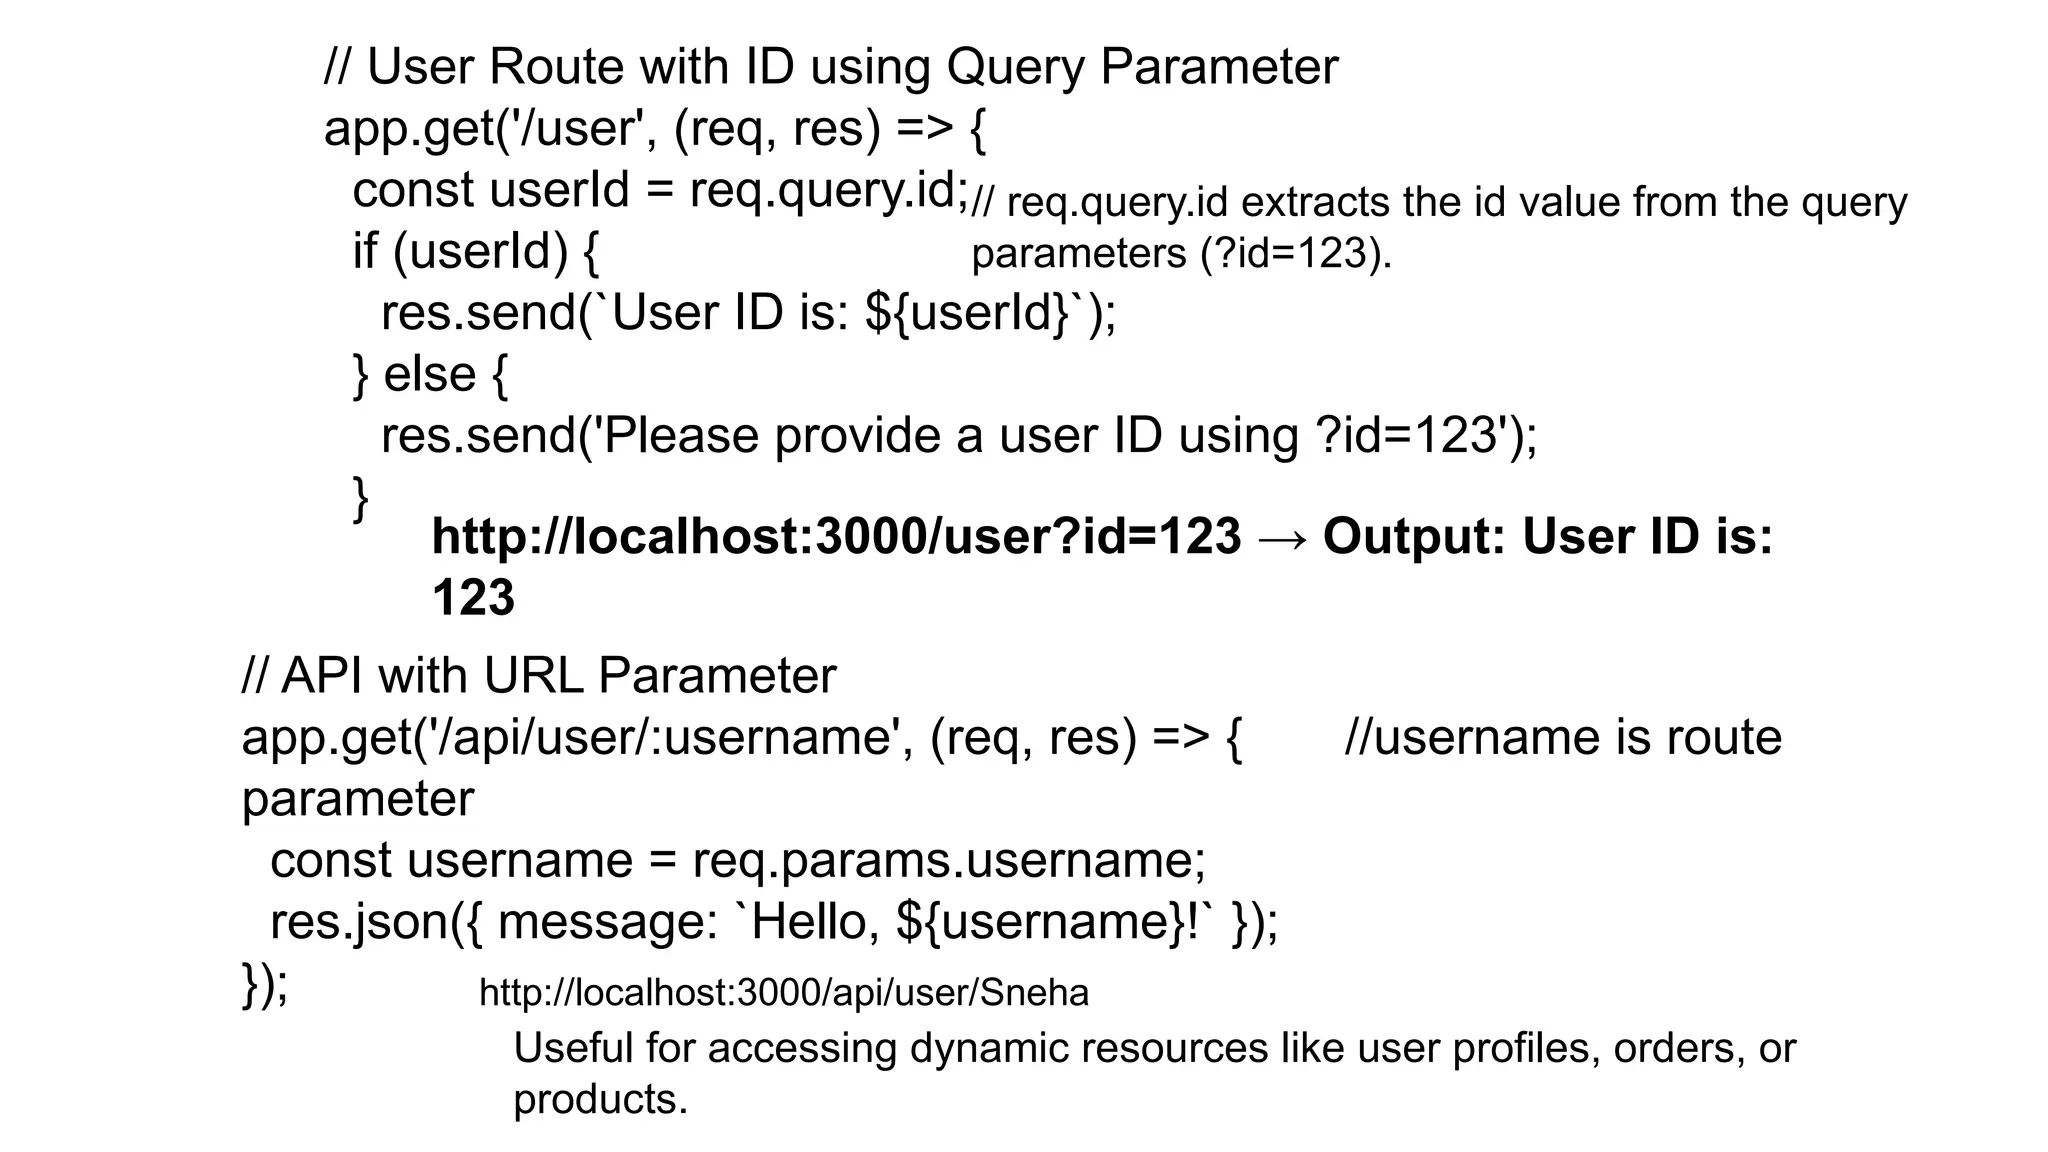
// User Routewith ID using Query Parameter
app.get('/user', (req, res) => {
const userId = req.query.id;
if (userId) {
res.send(`User ID is: ${userId}`);
} else {
res.send('Please provide a user ID using ?id=123');
}
// req.query.id extracts the id value from the query
parameters (?id=123).
http://localhost:3000/user?id=123 → Output: User ID is:
123
// API with URL Parameter
app.get('/api/user/:username', (req, res) => { //username is route
parameter
const username = req.params.username;
res.json({ message: `Hello, ${username}!` });
});
Useful for accessing dynamic resources like user profiles, orders, or
products.
http://localhost:3000/api/user/Sneha
105.
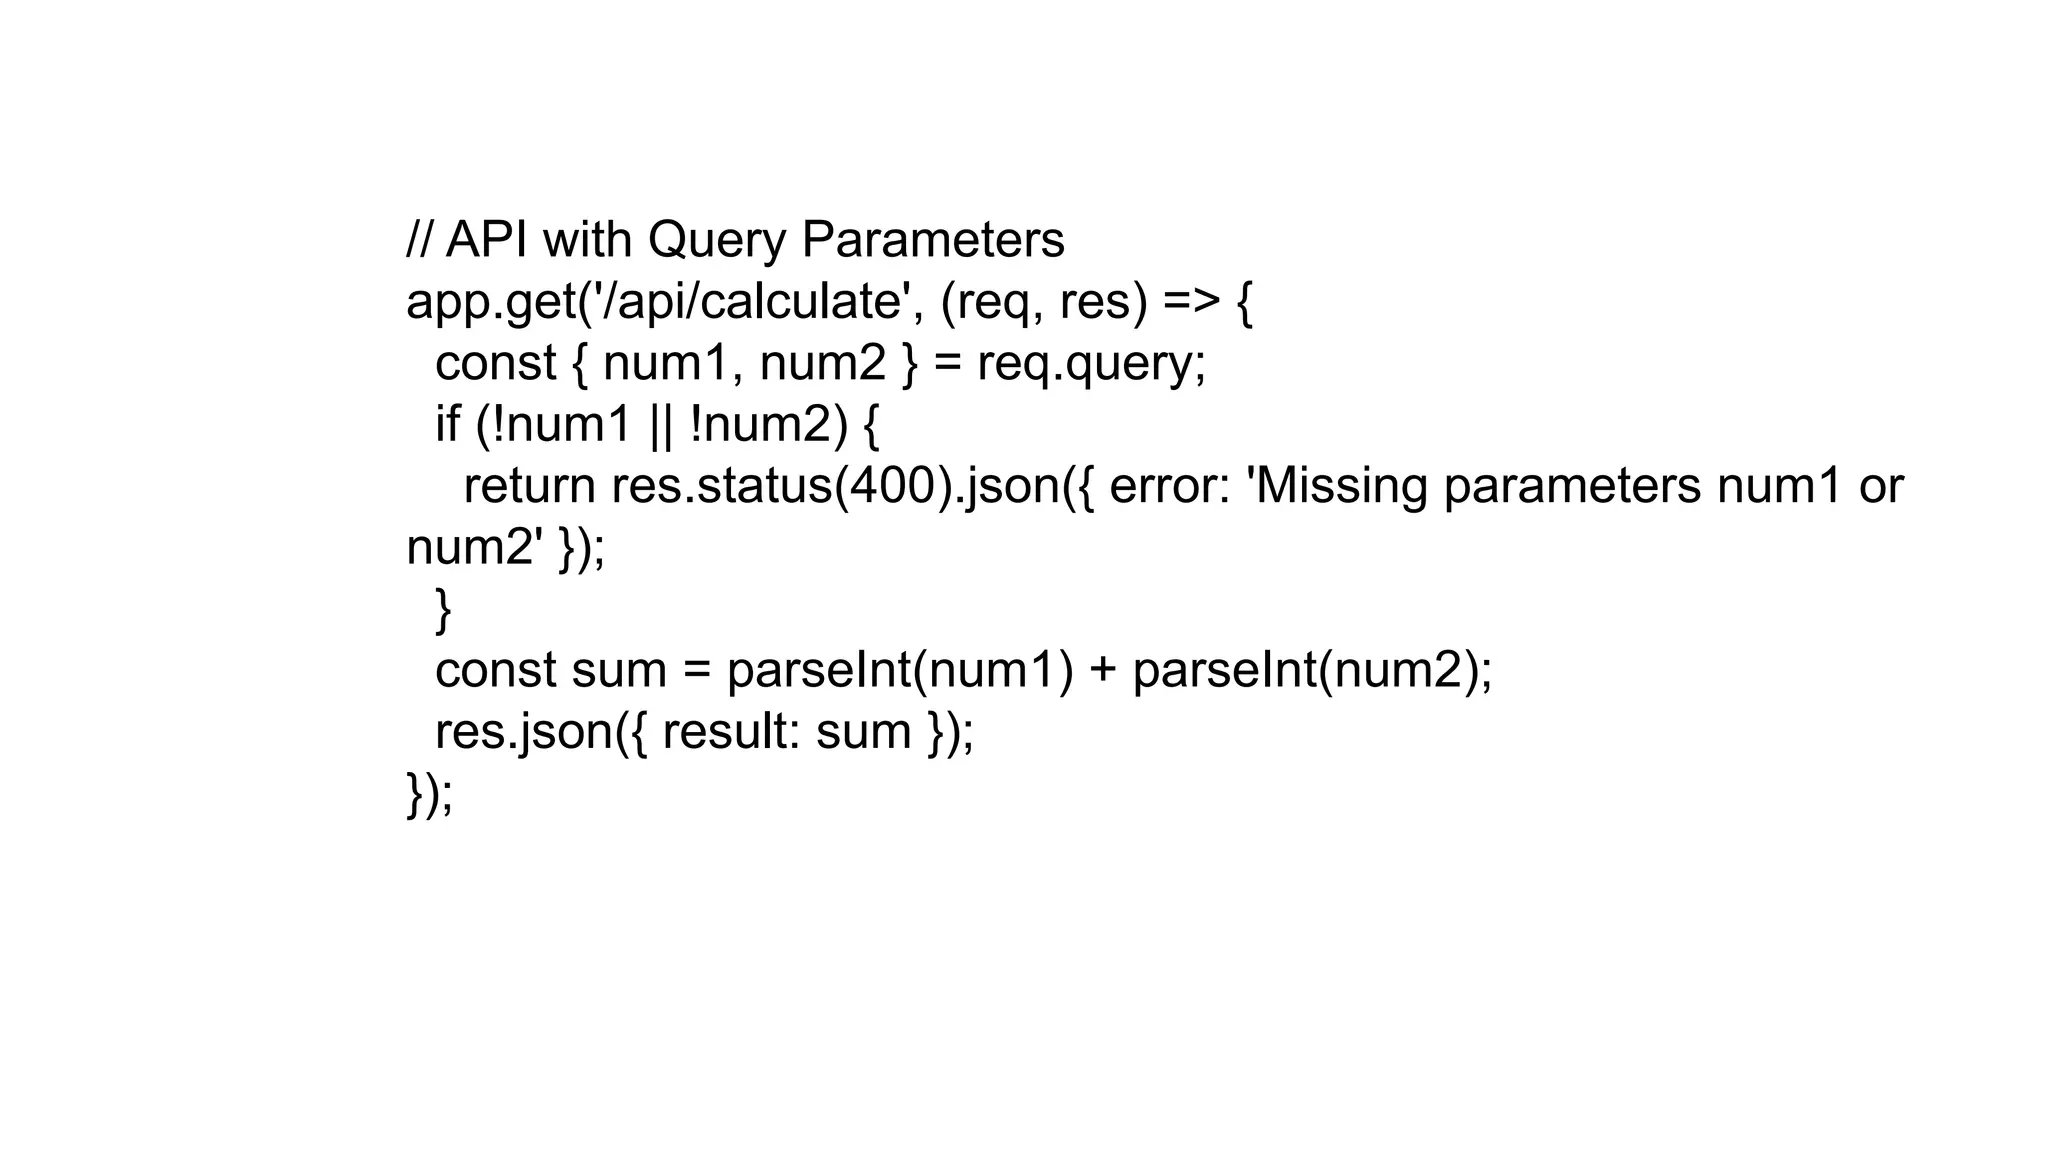
// API withQuery Parameters
app.get('/api/calculate', (req, res) => {
const { num1, num2 } = req.query;
if (!num1 || !num2) {
return res.status(400).json({ error: 'Missing parameters num1 or
num2' });
}
const sum = parseInt(num1) + parseInt(num2);
res.json({ result: sum });
});
106.
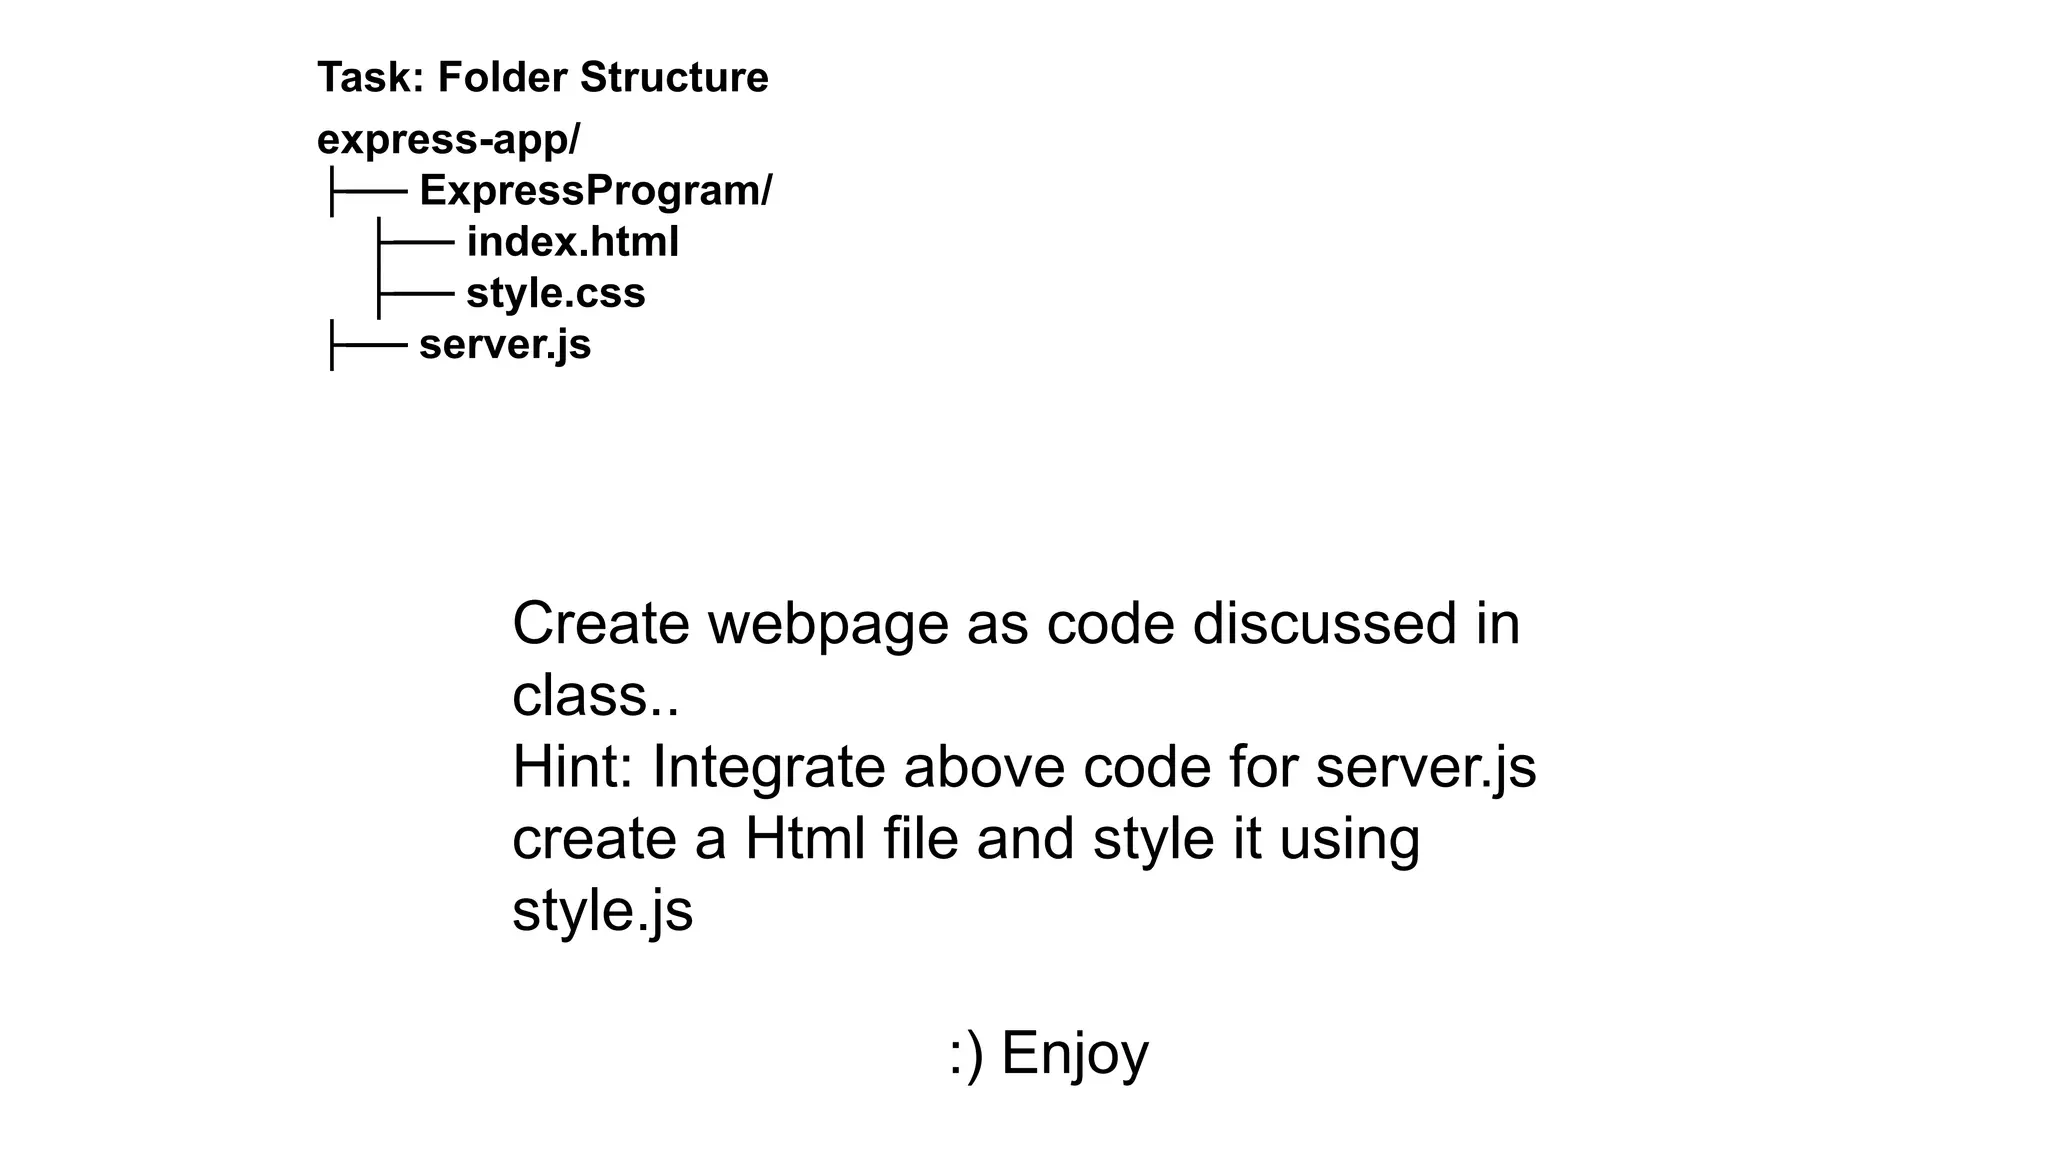
Task: Folder Structure
express-app/
├──ExpressProgram/
├── index.html
├── style.css
├── server.js
Create webpage as code discussed in
class..
Hint: Integrate above code for server.js
create a Html file and style it using
style.js
:) Enjoy
107.
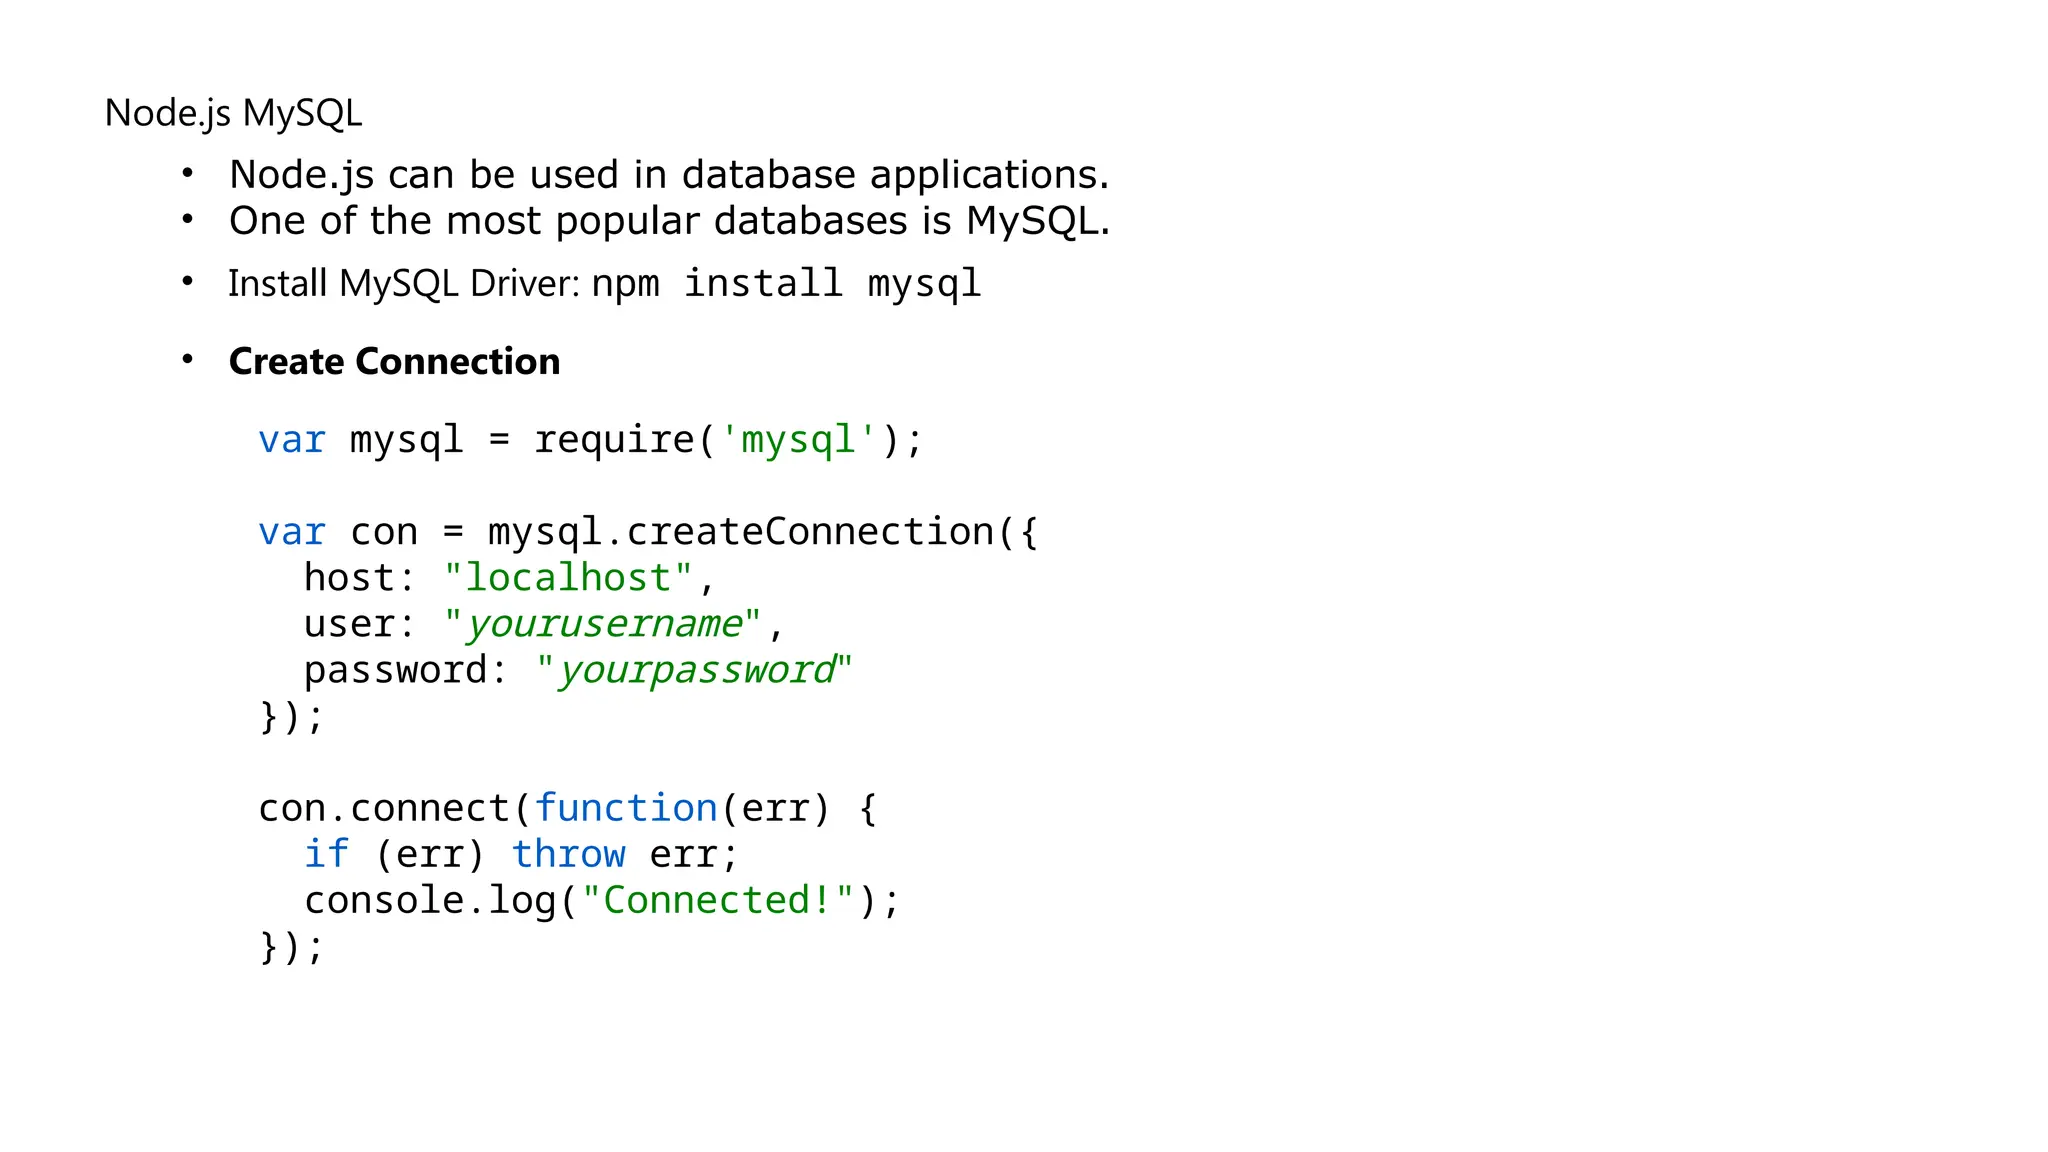
Node.js MySQL
• Node.jscan be used in database applications.
• One of the most popular databases is MySQL.
• Install MySQL Driver: npm install mysql
• Create Connection
var mysql = require('mysql');
var con = mysql.createConnection({
host: "localhost",
user: "yourusername",
password: "yourpassword"
});
con.connect(function(err) {
if (err) throw err;
console.log("Connected!");
});
108.
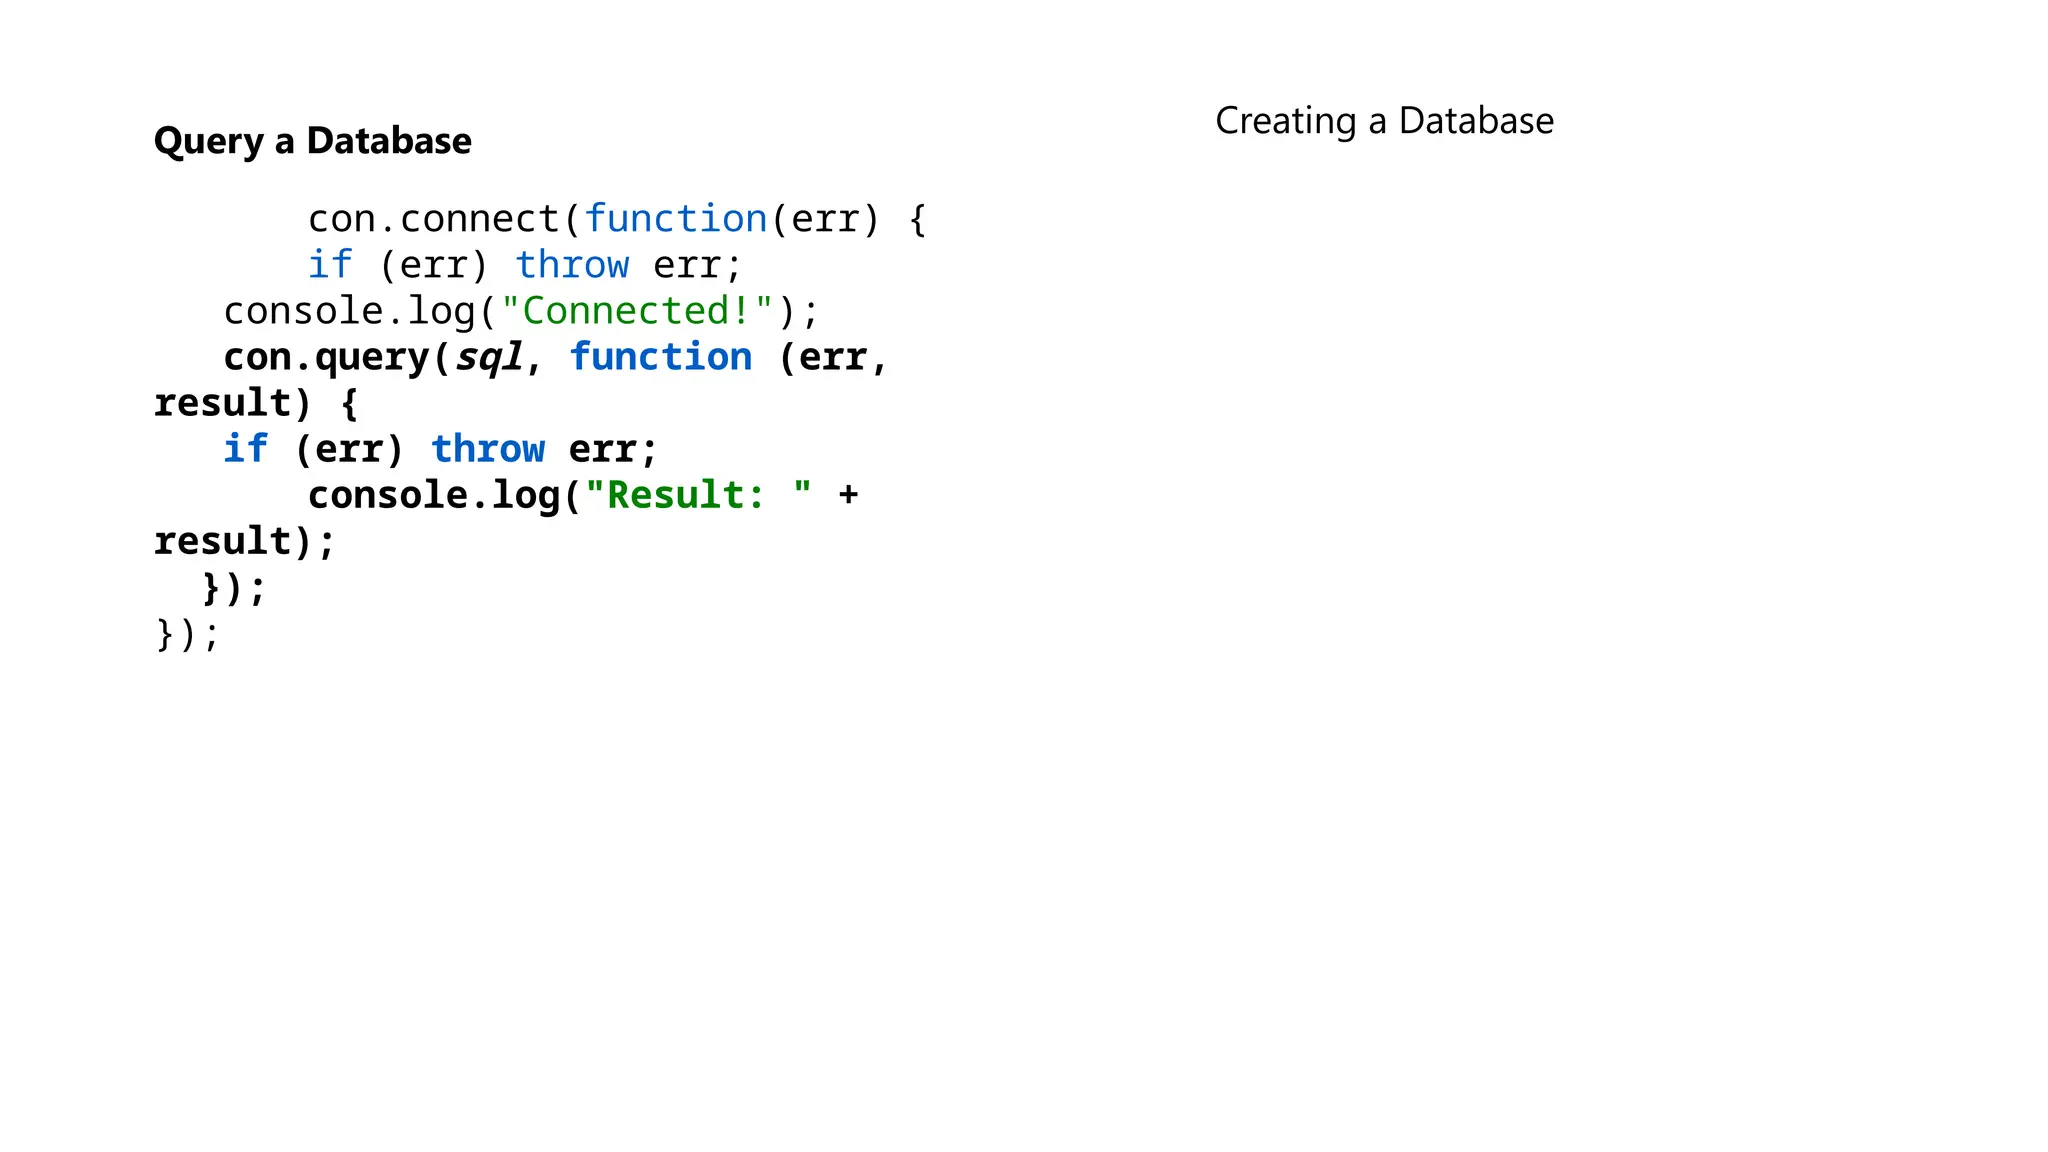
Query a Database
con.connect(function(err){
if (err) throw err;
console.log("Connected!");
con.query(sql, function (err,
result) {
if (err) throw err;
console.log("Result: " +
result);
});
});
Creating a Database


![Method Description
fs.readFile(fileName [,options], callback) Reads existing file.
fs.writeFile(filename, data[, options], callback) Writes to the file. If file exists then overwrite the content otherwise
creates new file.
fs.open(path, flags[, mode], callback) Opens file for reading or writing.
fs.rename(oldPath, newPath, callback) Renames an existing file.
fs.chown(path, uid, gid, callback) Asynchronous chown.
fs.stat(path, callback) Returns fs.stat object which includes important file statistics.
fs.link(srcpath, dstpath, callback) Links file asynchronously.
fs.unlink(path, callback); Delete a file.
fs.symlink(destination, path[, type], callback) Symlink asynchronously.
fs.rmdir(path, callback) Renames an existing directory.
fs.mkdir(path[, mode], callback) Creates a new directory.
fs.readdir(path, callback) Reads the content of the specified directory.
fs.utimes(path, atime, mtime, callback) Changes the timestamp of the file.
fs.exists(path, callback) Determines whether the specified file exists or not.
fs.access(path[, mode], callback) Tests a user's permissions for the specified file.
fs.appendFile(file, data[, options], callback) Appends new content to the existing file.
Important method of fs module](https://image.slidesharecdn.com/1-250708112353-f01d16fc/75/Server-Side-Web-Development-Unit-1-of-Nodejs-pptx-59-2048.jpg)
![No Method Description
1 Buffer.alloc(size) It creates a buffer and allocates size to it.
2 Buffer.from(initialization) It initializes the buffer with given data.
3 Buffer.write(data) It writes the data on the buffer.
4 toString() It read data from the buffer and returned it.
5 Buffer.isBuffer(object)
It checks whether the object is a buffer or
not.
6 Buffer.length It returns the length of the buffer.
7 Buffer.copy(buffer,subsection size) It copies data from one buffer to another.
8 Buffer.slice(start, end=buffer.length)
It returns the subsection of data stored in a
buffer.
9 Buffer.concat([buffer,buffer]) It concatenates two buffers.
Buffer Methods:](https://image.slidesharecdn.com/1-250708112353-f01d16fc/75/Server-Side-Web-Development-Unit-1-of-Nodejs-pptx-66-2048.jpg)

![Creating an Initialized Buffer
Use Buffer.alloc to create a buffer and initialize it with zeroes.
const buffer = Buffer.alloc(10);
console.log(buffer); // Initialized buffer with a size of 10
Writing to a Buffer
You can write data to a buffer using the write method.
const buffer = Buffer.alloc(20);
buffer.write('Hello', 'utf-8’);
console.log(buffer.toString('utf-8')); // Hello
Reading from a Buffer
You can read data from a buffer by converting it to a string or accessing its individual bytes.
const buffer = Buffer.from('Hello, World!', 'utf-8');
console.log(buffer.toString('utf-8')); // Hello, World!
console.log(buffer[0]); // 72 (ASCII code for 'H')](https://image.slidesharecdn.com/1-250708112353-f01d16fc/75/Server-Side-Web-Development-Unit-1-of-Nodejs-pptx-71-2048.jpg)

![Removing Listener
The eventEmitter.removeListener() takes two argument event and listener, and removes that listener from the listeners array that is subscribed to
that event.
While eventEmitter.removeAllListeners() removes all the listener from the array which are subscribed to the mentioned event.
Syntax:
eventEmitter.removeListener(event, listener)
eventEmitter.removeAllListeners([event])
// Importing events const EventEmitter = require('events’);
// Initializing event emitter instances
var eventEmitter = new EventEmitter();
var fun1 = (msg) => {
console.log("Message from fun1: " + msg); };
var fun2 = (msg) => {
console.log("Message from fun2: " + msg); }; // Registering
fun1 and fun2
eventEmitter.on('myEvent', fun1);
eventEmitter.on('myEvent', fun1);
eventEmitter.on('myEvent', fun2); // Removing listener
eventEmitter.removeListener('myEvent', fun1);
// Triggering myEvent
eventEmitter.emit('myEvent', "Event occurred");
// Removing all the listeners to myEvent
eventEmitter.removeAllListeners('myEvent’);
// Triggering myEvent eventEmitter.emit('myEvent', "Event](https://image.slidesharecdn.com/1-250708112353-f01d16fc/75/Server-Side-Web-Development-Unit-1-of-Nodejs-pptx-75-2048.jpg)
![2. Non-Blocking Asynchronous Operations
Events allow Node.js to execute tasks without waiting for
previous tasks to complete, making it fast and efficient.
Example: File reading using events.
const fs = require('fs’);
fs.readFile('example.txt', 'utf8', (err, data) => {
if (err) throw err;
console.log('File content:', data);
});
// The program does not wait for the file to be read; it
continues execution.
console.log('Reading file...');
3. Real-Time Applications
Events are essential for building real-time
applications like chat apps, stock market
trackers, and multiplayer games. [Imagine multile
users in a chat room]
Example: Using WebSockets with socket.io library
const io = require('socket.io')(3000); //initialize web socket server
io.on('connection', (socket) => { //listens for new clients
connecting.
console.log('New user connected’);
socket.on('message', (msg) => { //listens for a "message"
event
console.log('Received:', msg);
io.emit('message', msg);
// Broadcast message to all clients
}); });](https://image.slidesharecdn.com/1-250708112353-f01d16fc/75/Server-Side-Web-Development-Unit-1-of-Nodejs-pptx-80-2048.jpg)