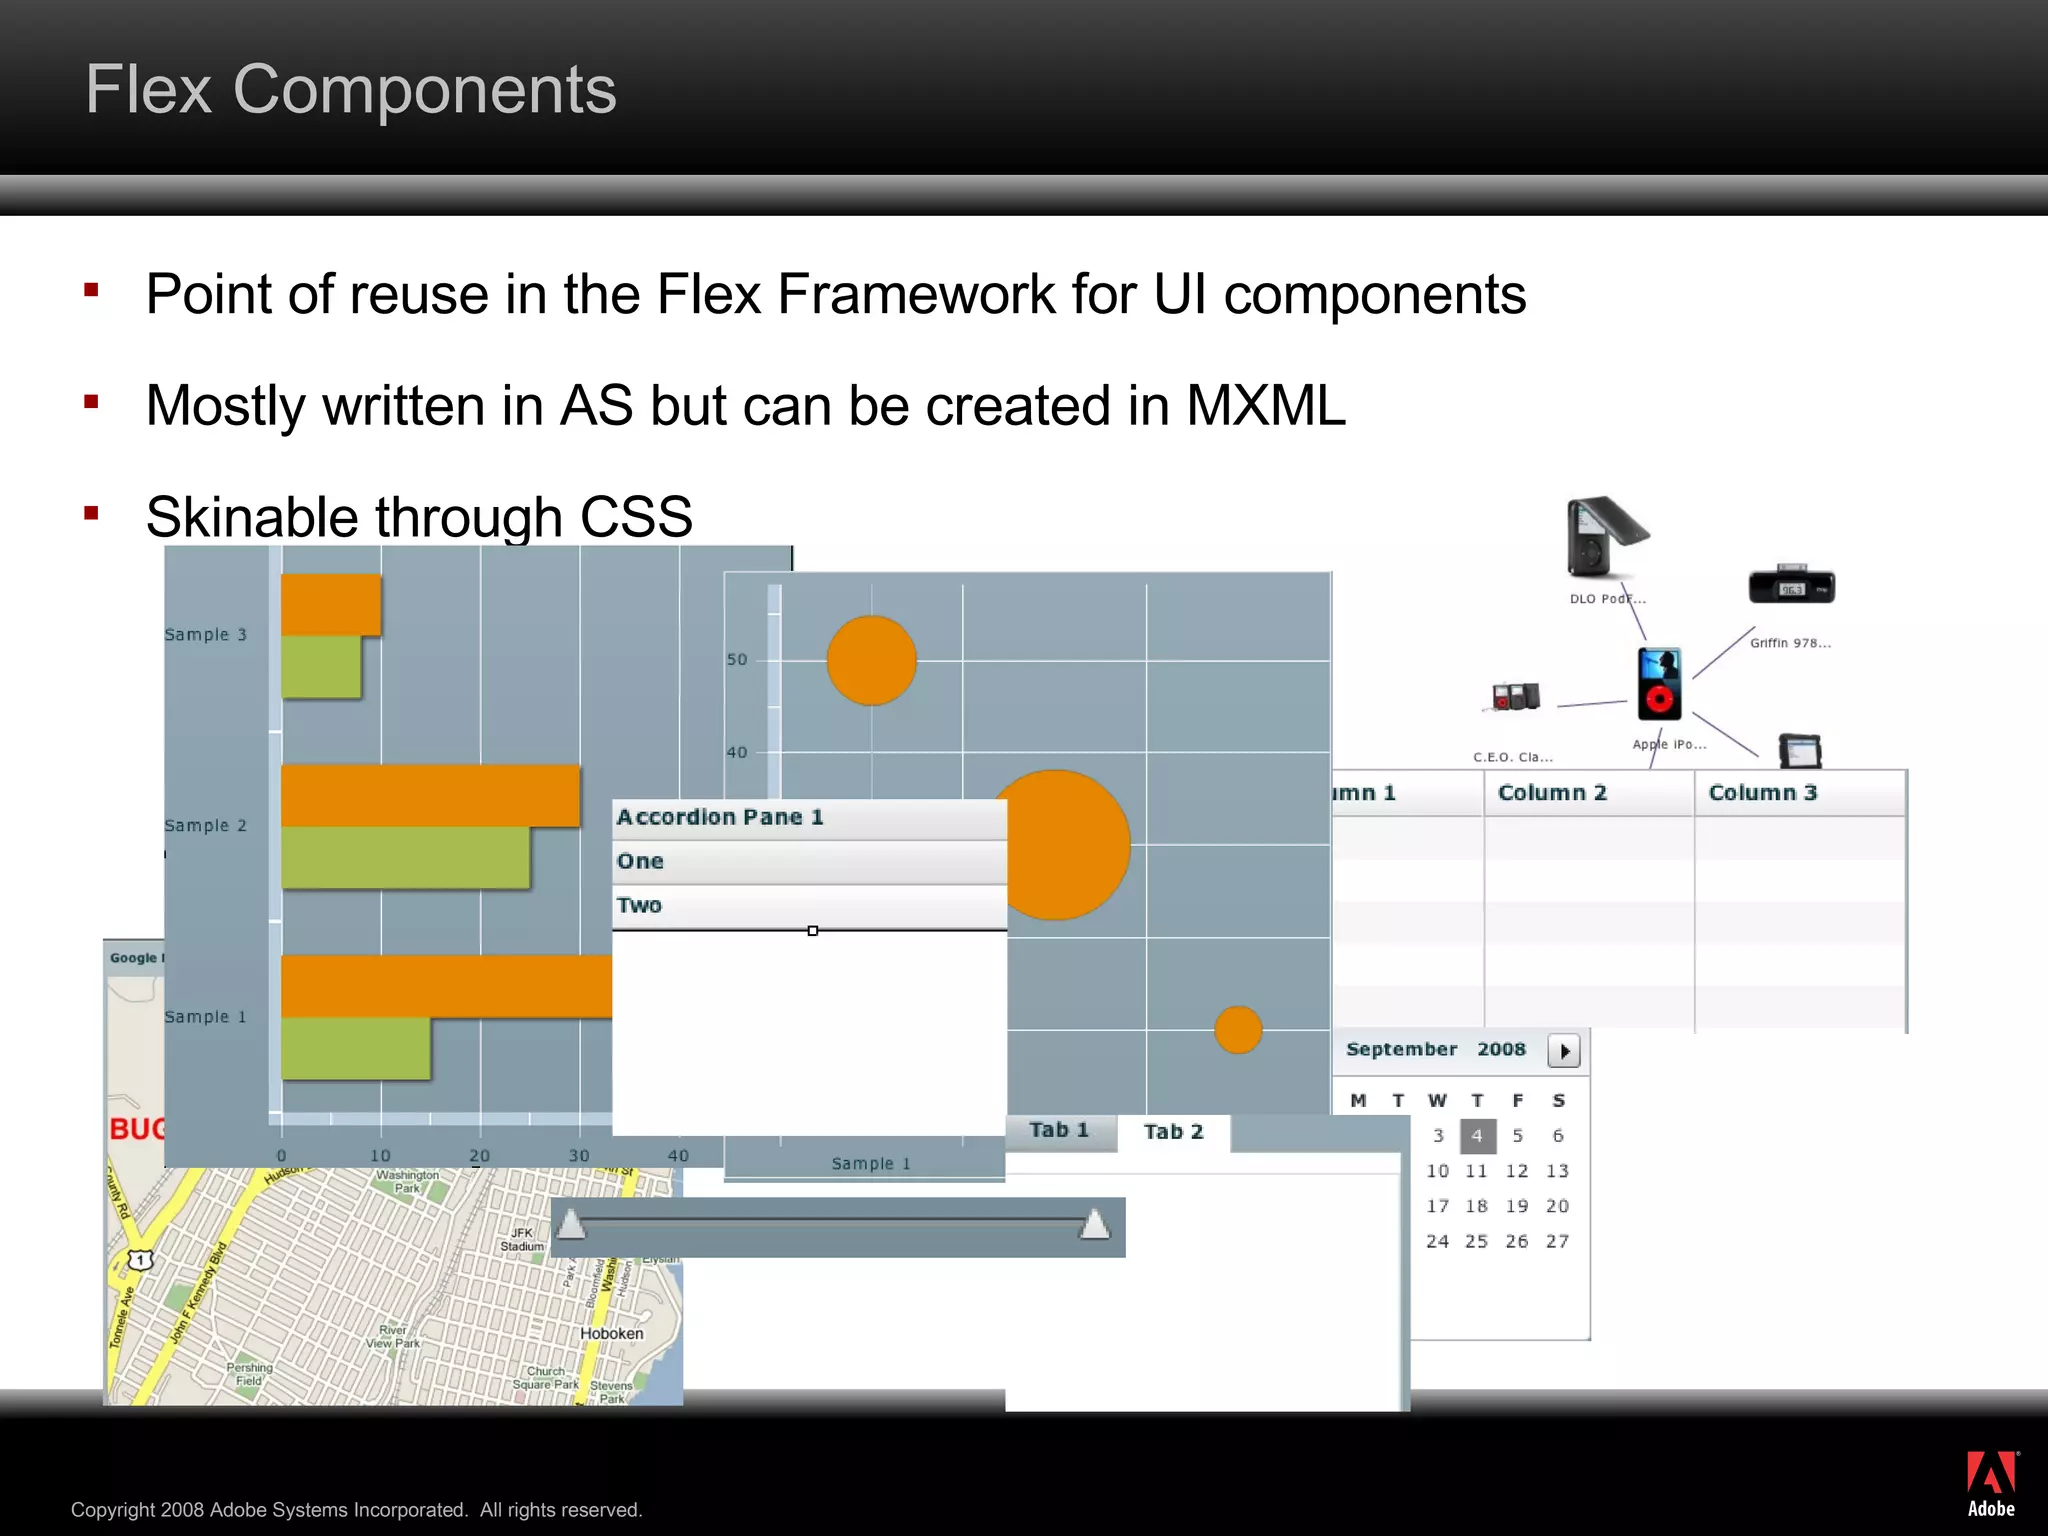
Flex Component 101 dan mcweeney
What’s Flex “… is a cross platform, open source framework for creating rich Internet applications that run identically in all major browsers and operating systems, and now the desktop with Adobe AIR” Runs just on the Flash Player “ Flash content reaches 99.0% of Internet viewers”
What’s Flex “… is a cross platform, open source framework for creating rich Internet applications that run identically in all major browsers and operating systems, and now the desktop with Adobe AIR” Runs just on the Flash Player “ Flash content reaches 99.0% of Internet viewers” Makes Pretty Uis easy Integrates with SAP Web Services Java via BlazeDS Flash Islands
Point of reuse in the Flex Framework for UI components Mostly written in AS but can be created in MXML Skinable through CSS Flex Components
Flex Applications Created with many components Stitched together using Actionscript The actual run-able unit
Flash Islands Allows Flex Applications to talk to the Web Dynpro Framework Set Data Get Data Receive and Fire Events Why the hell are you talking about Components!?!?
Flex Basics MXML (backronymed to Magic eXtensible Markup Language) XML based markup for defining UI and components <mx:Button  fillColors=“[blue,blue]” color=“red”  label=“This is a button”> </mx:Button>
Flex Basics Actionscript 3 Object oriented language similar to Javascript, both adhere closely to ECMAScript standards package { import mx.controls.Button; public class MyButton extends Button { public function MyButton() { super(); setStyle( &quot;fillColors&quot;, [&quot;blue&quot;,&quot;blue&quot;]); setStyle( &quot;color&quot;, &quot;red&quot;); label =  ”This is a button&quot;; } } }
Actionscript Cheat Sheet Class Syntax package  i.could.be.useful  { public   class  Foo  extends  Bar  { public   var  imPublic:XML; protected   var  imProtected:Number; private   var  imPrivate:String; public   function  Foo() { super (); } } }
Actionscript Cheat Sheet Traverse XML private   function  traverseXML(xml:XML):Boolean{ for   each ( var  node:XML  in  xml.collectionToTraverse){ trace ( &quot;do something with the name&quot; ); } return   true ; } Get an attribute of a XML Node [email_address]
Actionscript Cheat Sheet Binding Bindings allow you to connect a component to a data set Data bindings are one way in Flex, from the data to the control.  The control has event[s] to allow you to update the data item e.g. “ changed ”
Actionscript Cheat Sheet Setters and Getters Flex has public properties but also setters and getters The standard way package { public   class  Foo{ private   var  _myString:String; public   function  Foo(){ } public   function   get  myString():String{ return  _myString; } public   function   set  myString(o:String){ _myString = o; } } }
Actionscript Cheat Sheet Component Methods you might need addChild(child:DisplayObject):DisplayObject
Actionscript Cheat Sheet Print to Console trace(“this will make it to the console to help you debug”); Alert Window Alert.show(“This is the text”,”this is the title”);
Flex Components Point of reuse in the Flex Framework for UI components Mostly written in AS but can be created in MXML Skinable through CSS
Mnemonics
Mnemonics - Introduction Mnemonics are the small square graphics used as application icons in product and to represent Adobe’s products and technologies in marketing materials. Mnemonics occasionally change, so please be sure to consult Brand Center (www.adobe.com/brandcenter) to make sure you are using the latest versions. Do NOT create your own mnemonics or alter them in any way. CS3 vs. CS4 style CS3 style mnemonics have white lettering. CS4 style mnemonics have dark lettering. As of the publishing date of this deck, CS4 products have not launched, so only use the CS4 mnemonics when talking about the future version of the product.
Mnemonics – Using the mnemonics in PPT PowerPoint-ready versions (PNG files) of the mnemonics can be found on Brand Center in two versions - with and without a drop shadow.  You may choose to use the version with a drop shadow to help make them stand out from the background.  If your slide has a lot of design, it might be cleaner to use the version without a drop shadow. The mnemonics should always be visually tied to the product name. Please  note: The EPS files on Brand Center are not for use in PowerPoint. They will have a white (not transparent) background in PPT. Also, the PNG files will keep your overall file size down. No shadow With shadow EPS file PNG file
Mnemonics - Sizing Mnemonics are perfect squares and should always be resized proportionally so they never loose their square shape.  The minimum size for the mnemonic is .25&quot; and it should not be scaled over 4&quot;. 4” 4” .25”
Color Palette
Color Palette R - 108 G - 142 B - 62 R - 191 G - 215 B - 149 R - 75 G - 137 B - 132 R - 100 G - 148 B - 172 R - 204 G - 0 B - 0 R - 200 G - 131 B - 80 R - 0 G - 0 B - 0 R - 192 G - 192 B - 192 R - 221 G - 221 B - 221 Main Extended R - 230 G - 186 B - 122 R - 235 G - 221 B - 183 R - 175 G - 200 B - 213 R - 140 G - 176 B - 194 R - 166 G - 182 B - 86
Charts and Graphs
Graph Before Conversion Relevant Bullet $X
Pie Charts Relevant Bullet XXX XX% XXX XX% Standard 53% Pie 1 for two categories, gradients OK Pie 2 for three or more categories, use solid colors XXX XX% XXX XX% XXX XX% XXX XX%
Financial Highlights ($Millions) Q104 Q404 Q105 Revenue $000 $000 $000 Operating Margin $000 $000 $000 EPS 00% 00% 00%
Financial Highlights Relevant Bullet ($Millions) Q104 Q404 Q105 Revenue $000 $000 $000 Operating Margin $000 $000 $000 EPS 00% 00% 00%
Block Diagrams Nesting One Two Three Four Five Six
Point A Point B Point C Point D Nesting One Two Three Four Five Six Point A Point B Point C Point D Nesting One Two Three Four Five Six Resizing a box is an annoying task. After enlarging the whole object, you have to ungroup and manually resize the shadow and highlight, and adjust the corner radii on all three objects Changed the color of the arrow to add emphasis to a point Shadows can be added on lighter backgrounds – remember to only add a shadow to the base object, and not the reflection or shadow Due to the nature of the diagonal gradient, semi-transparent shadows are the way to go when nesting. That way you can use the same shadow color for all boxes and it will look right
Diagram Blocks
Guidelines for using imagery
Image Guidelines Adobe  must  own the rights to the image You can find photography on Brand Center on the product page the image was intended to represent.  Always follow specified usage rights /expiration dates. If you need to buy new images, send them for review to  [email_address]  before purchasing. Image should be simple, and have a professional look Image ideally should be >5.49” (or 800px) tall, and >96dpi - scaling down in PowerPoint is OK, but scaling up past 100% is bad No, and I mean  NO  clip art – seriously Don’t use a title slide with no image – if nothing else, use the default Adobe corporate image No cheesy pictures (overhead shots of people looking up at you are out) Clip art:  BAD! Cheesy:  BAD! Blurry:  BAD!
Making Your Own Title Slide Image (1 of 2) Crop your image to 5.49” Tall by 4.34” Wide Make sure you are on the slide with the red crop guide box (should be two slides after this one) Insert your photo (Insert>Picture>From File...) Select just the photo, and in the Draw toolbar (probably located at the bottom of your screen), click the Draw menu, select Order, and choose Send to Back – if you don’t see the Order option, click the double-down arrows at the bottom to expand the menu Resize your image  (never resize the crop guide!)  so the crop guide can completely sit within the image (if the image becomes fuzzy or distorted, consider a different image, or find a higher-resolution version of the image you chose) Place the crop guide on the image, and move it around until you’re happy with the new crop (continued on next slide) Step 3 – Draw Toolbar Step 5 – Crop Guide on image Crop Guide 5.49” Tall by 4.34” Wide Double- down arrows
Making Your Own Title Slide Image (2 of 2) Hold the Control key and press G (Ctl-G) – the grid and guides window will appear Make sure “Snap objects to other objects” is checked, and  all  other checkboxes are  not  checked – You may wish to turn this off again when you’re done with this tutorial, as all objects will now snap to other objects Click just your image – the Picture toolbar should appear somewhere on the screen Choose the crop tool  - black handles should appear at the four corners of your image, as well as in the middle of each side Drag these handles toward the crop guide until they snap to the crop guide’s edges.  When you’re done, delete the crop guide (make sure to save your presentation as something else so you don’t lose the crop guide forever) Right-click the image and choose “Properties” (or double-click the image) – then click the Size tab and verify that the image is 5.49” tall by 4.34” wide Now click the position tab – Set the image’s position to 5.66” horizontal and 1.01” vertical, both from the top left corner Step 6 – Grid and Guides Step 8 – Picture toolbar Cropped image
Title Slide Crop Guide Feel free to move the crop guide around for cropping purposes, but NEVER resize it Crop Guide 5.5” Tall by 4.3” Wide
 
Copyright 2008 Adobe Systems Incorporated.  All rights reserved.

SDN Mentor Hands On - Exercise 2

  • 1.
    Flex Component 101dan mcweeney
  • 2.
    What’s Flex “…is a cross platform, open source framework for creating rich Internet applications that run identically in all major browsers and operating systems, and now the desktop with Adobe AIR” Runs just on the Flash Player “ Flash content reaches 99.0% of Internet viewers”
  • 3.
    What’s Flex “…is a cross platform, open source framework for creating rich Internet applications that run identically in all major browsers and operating systems, and now the desktop with Adobe AIR” Runs just on the Flash Player “ Flash content reaches 99.0% of Internet viewers” Makes Pretty Uis easy Integrates with SAP Web Services Java via BlazeDS Flash Islands
  • 4.
    Point of reusein the Flex Framework for UI components Mostly written in AS but can be created in MXML Skinable through CSS Flex Components
  • 5.
    Flex Applications Createdwith many components Stitched together using Actionscript The actual run-able unit
  • 6.
    Flash Islands AllowsFlex Applications to talk to the Web Dynpro Framework Set Data Get Data Receive and Fire Events Why the hell are you talking about Components!?!?
  • 7.
    Flex Basics MXML(backronymed to Magic eXtensible Markup Language) XML based markup for defining UI and components <mx:Button fillColors=“[blue,blue]” color=“red” label=“This is a button”> </mx:Button>
  • 8.
    Flex Basics Actionscript3 Object oriented language similar to Javascript, both adhere closely to ECMAScript standards package { import mx.controls.Button; public class MyButton extends Button { public function MyButton() { super(); setStyle( &quot;fillColors&quot;, [&quot;blue&quot;,&quot;blue&quot;]); setStyle( &quot;color&quot;, &quot;red&quot;); label = ”This is a button&quot;; } } }
  • 9.
    Actionscript Cheat SheetClass Syntax package i.could.be.useful { public class Foo extends Bar { public var imPublic:XML; protected var imProtected:Number; private var imPrivate:String; public function Foo() { super (); } } }
  • 10.
    Actionscript Cheat SheetTraverse XML private function traverseXML(xml:XML):Boolean{ for each ( var node:XML in xml.collectionToTraverse){ trace ( &quot;do something with the name&quot; ); } return true ; } Get an attribute of a XML Node [email_address]
  • 11.
    Actionscript Cheat SheetBinding Bindings allow you to connect a component to a data set Data bindings are one way in Flex, from the data to the control. The control has event[s] to allow you to update the data item e.g. “ changed ”
  • 12.
    Actionscript Cheat SheetSetters and Getters Flex has public properties but also setters and getters The standard way package { public class Foo{ private var _myString:String; public function Foo(){ } public function get myString():String{ return _myString; } public function set myString(o:String){ _myString = o; } } }
  • 13.
    Actionscript Cheat SheetComponent Methods you might need addChild(child:DisplayObject):DisplayObject
  • 14.
    Actionscript Cheat SheetPrint to Console trace(“this will make it to the console to help you debug”); Alert Window Alert.show(“This is the text”,”this is the title”);
  • 15.
    Flex Components Pointof reuse in the Flex Framework for UI components Mostly written in AS but can be created in MXML Skinable through CSS
  • 16.
  • 17.
    Mnemonics - IntroductionMnemonics are the small square graphics used as application icons in product and to represent Adobe’s products and technologies in marketing materials. Mnemonics occasionally change, so please be sure to consult Brand Center (www.adobe.com/brandcenter) to make sure you are using the latest versions. Do NOT create your own mnemonics or alter them in any way. CS3 vs. CS4 style CS3 style mnemonics have white lettering. CS4 style mnemonics have dark lettering. As of the publishing date of this deck, CS4 products have not launched, so only use the CS4 mnemonics when talking about the future version of the product.
  • 18.
    Mnemonics – Usingthe mnemonics in PPT PowerPoint-ready versions (PNG files) of the mnemonics can be found on Brand Center in two versions - with and without a drop shadow. You may choose to use the version with a drop shadow to help make them stand out from the background. If your slide has a lot of design, it might be cleaner to use the version without a drop shadow. The mnemonics should always be visually tied to the product name. Please note: The EPS files on Brand Center are not for use in PowerPoint. They will have a white (not transparent) background in PPT. Also, the PNG files will keep your overall file size down. No shadow With shadow EPS file PNG file
  • 19.
    Mnemonics - SizingMnemonics are perfect squares and should always be resized proportionally so they never loose their square shape. The minimum size for the mnemonic is .25&quot; and it should not be scaled over 4&quot;. 4” 4” .25”
  • 20.
  • 21.
    Color Palette R- 108 G - 142 B - 62 R - 191 G - 215 B - 149 R - 75 G - 137 B - 132 R - 100 G - 148 B - 172 R - 204 G - 0 B - 0 R - 200 G - 131 B - 80 R - 0 G - 0 B - 0 R - 192 G - 192 B - 192 R - 221 G - 221 B - 221 Main Extended R - 230 G - 186 B - 122 R - 235 G - 221 B - 183 R - 175 G - 200 B - 213 R - 140 G - 176 B - 194 R - 166 G - 182 B - 86
  • 22.
  • 23.
    Graph Before ConversionRelevant Bullet $X
  • 24.
    Graph Before ConversionRelevant Bullet $X
  • 25.
    Graph Before ConversionRelevant Bullet $X
  • 26.
    Pie Charts RelevantBullet XXX XX% XXX XX% Standard 53% Pie 1 for two categories, gradients OK Pie 2 for three or more categories, use solid colors XXX XX% XXX XX% XXX XX% XXX XX%
  • 27.
    Financial Highlights ($Millions)Q104 Q404 Q105 Revenue $000 $000 $000 Operating Margin $000 $000 $000 EPS 00% 00% 00%
  • 28.
    Financial Highlights RelevantBullet ($Millions) Q104 Q404 Q105 Revenue $000 $000 $000 Operating Margin $000 $000 $000 EPS 00% 00% 00%
  • 29.
    Block Diagrams NestingOne Two Three Four Five Six
  • 30.
    Point A PointB Point C Point D Nesting One Two Three Four Five Six Point A Point B Point C Point D Nesting One Two Three Four Five Six Resizing a box is an annoying task. After enlarging the whole object, you have to ungroup and manually resize the shadow and highlight, and adjust the corner radii on all three objects Changed the color of the arrow to add emphasis to a point Shadows can be added on lighter backgrounds – remember to only add a shadow to the base object, and not the reflection or shadow Due to the nature of the diagonal gradient, semi-transparent shadows are the way to go when nesting. That way you can use the same shadow color for all boxes and it will look right
  • 31.
  • 32.
  • 33.
    Image Guidelines Adobe must own the rights to the image You can find photography on Brand Center on the product page the image was intended to represent. Always follow specified usage rights /expiration dates. If you need to buy new images, send them for review to [email_address] before purchasing. Image should be simple, and have a professional look Image ideally should be >5.49” (or 800px) tall, and >96dpi - scaling down in PowerPoint is OK, but scaling up past 100% is bad No, and I mean NO clip art – seriously Don’t use a title slide with no image – if nothing else, use the default Adobe corporate image No cheesy pictures (overhead shots of people looking up at you are out) Clip art: BAD! Cheesy: BAD! Blurry: BAD!
  • 34.
    Making Your OwnTitle Slide Image (1 of 2) Crop your image to 5.49” Tall by 4.34” Wide Make sure you are on the slide with the red crop guide box (should be two slides after this one) Insert your photo (Insert>Picture>From File...) Select just the photo, and in the Draw toolbar (probably located at the bottom of your screen), click the Draw menu, select Order, and choose Send to Back – if you don’t see the Order option, click the double-down arrows at the bottom to expand the menu Resize your image (never resize the crop guide!) so the crop guide can completely sit within the image (if the image becomes fuzzy or distorted, consider a different image, or find a higher-resolution version of the image you chose) Place the crop guide on the image, and move it around until you’re happy with the new crop (continued on next slide) Step 3 – Draw Toolbar Step 5 – Crop Guide on image Crop Guide 5.49” Tall by 4.34” Wide Double- down arrows
  • 35.
    Making Your OwnTitle Slide Image (2 of 2) Hold the Control key and press G (Ctl-G) – the grid and guides window will appear Make sure “Snap objects to other objects” is checked, and all other checkboxes are not checked – You may wish to turn this off again when you’re done with this tutorial, as all objects will now snap to other objects Click just your image – the Picture toolbar should appear somewhere on the screen Choose the crop tool - black handles should appear at the four corners of your image, as well as in the middle of each side Drag these handles toward the crop guide until they snap to the crop guide’s edges. When you’re done, delete the crop guide (make sure to save your presentation as something else so you don’t lose the crop guide forever) Right-click the image and choose “Properties” (or double-click the image) – then click the Size tab and verify that the image is 5.49” tall by 4.34” wide Now click the position tab – Set the image’s position to 5.66” horizontal and 1.01” vertical, both from the top left corner Step 6 – Grid and Guides Step 8 – Picture toolbar Cropped image
  • 36.
    Title Slide CropGuide Feel free to move the crop guide around for cropping purposes, but NEVER resize it Crop Guide 5.5” Tall by 4.3” Wide
  • 37.
  • 38.
    Copyright 2008 AdobeSystems Incorporated. All rights reserved.