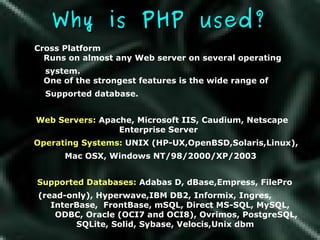
Downloaded 4,986 times

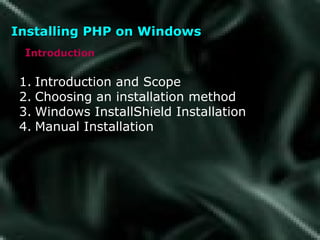
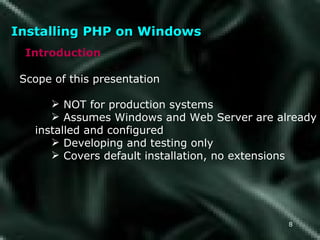

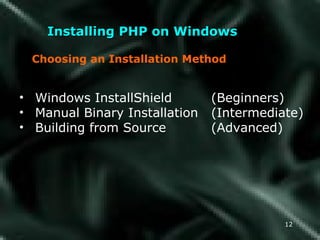
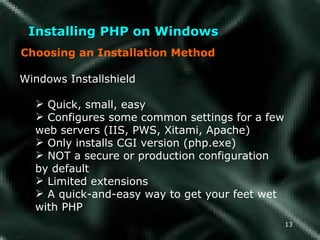
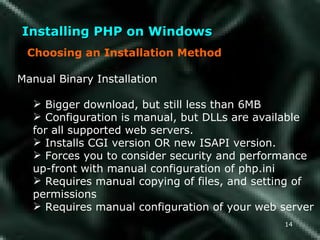
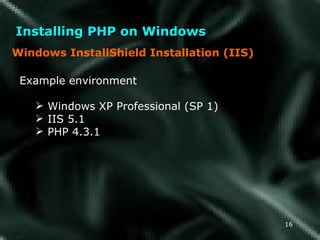
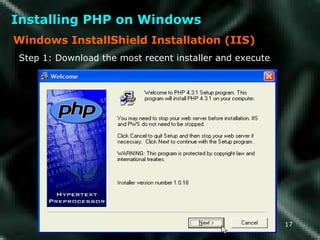
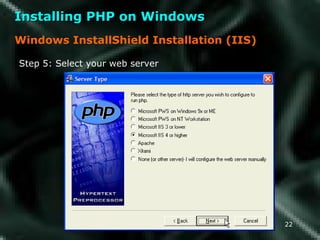
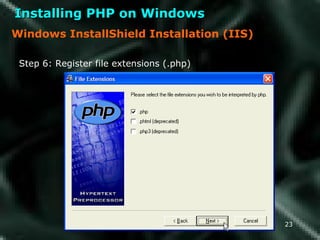
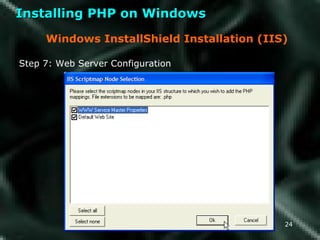
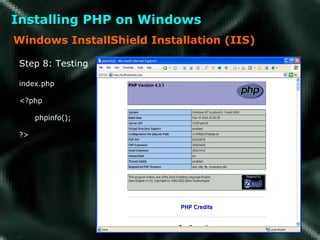
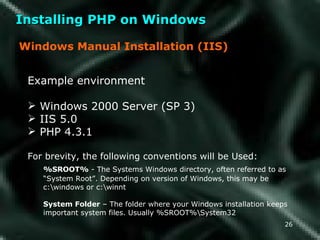
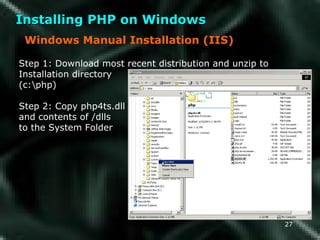
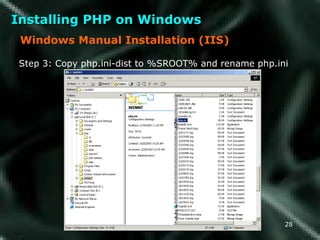
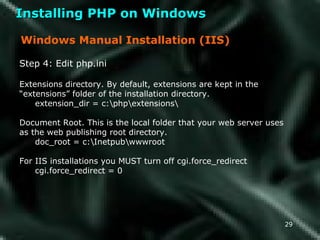
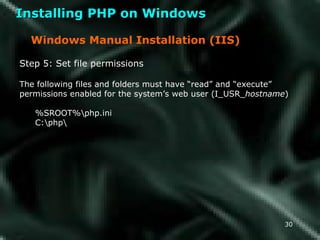
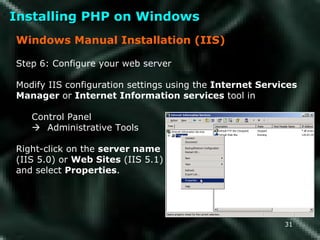
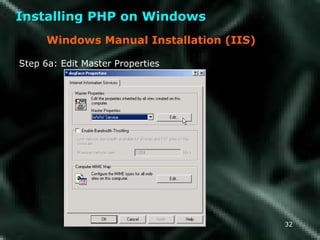
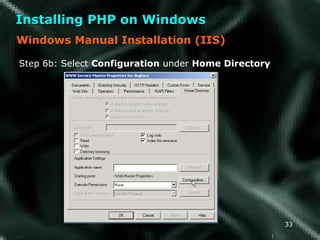
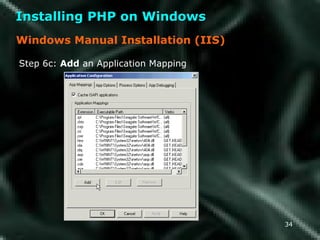
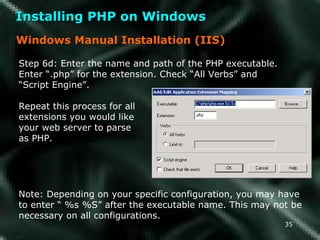
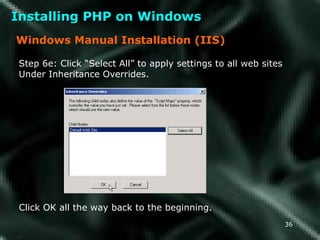
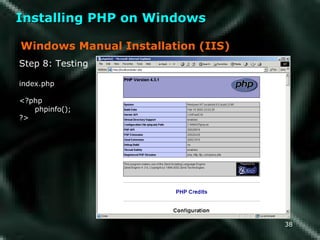

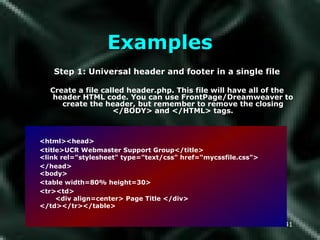
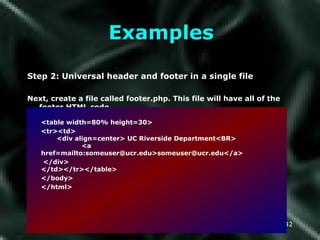
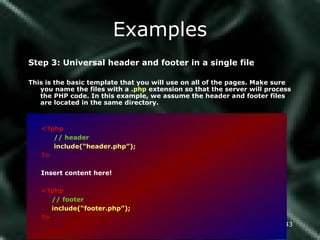
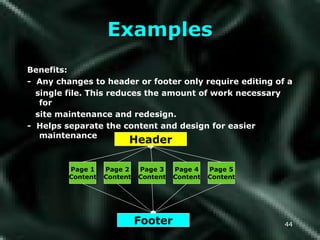
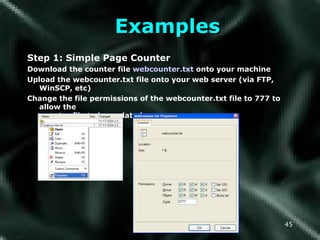
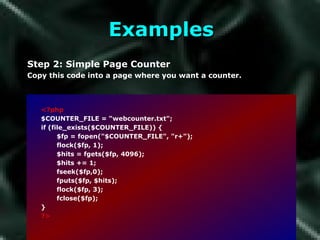


The document provides an overview of installing PHP on Windows systems. It discusses choosing between the Windows InstallShield method (for beginners) or manual binary installation. The InstallShield process is demonstrated step-by-step using IIS as an example, covering downloading, choosing options, file extensions, and testing. The manual method requires copying files, setting permissions, and configuring the web server by adding application mappings in IIS. Examples demonstrate including header and footer files to create templates.