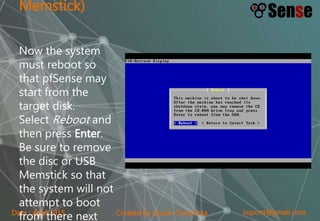
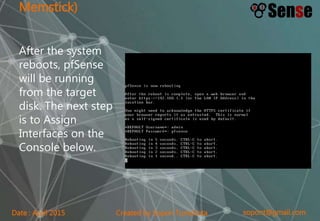
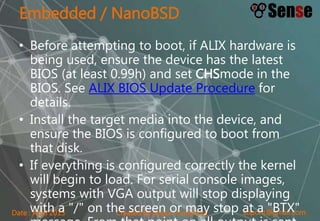
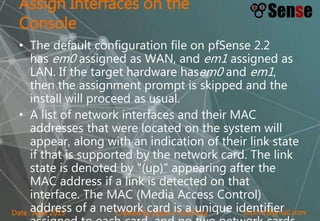
Downloaded 640 times
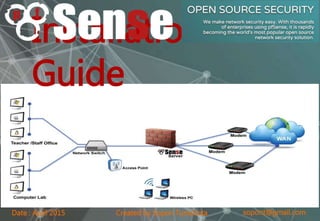
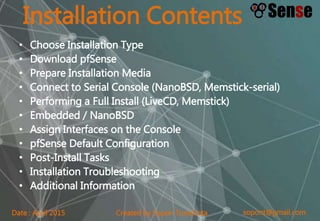
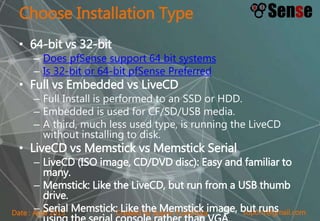
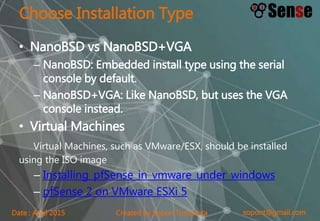
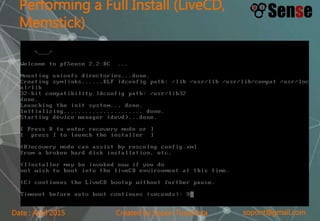
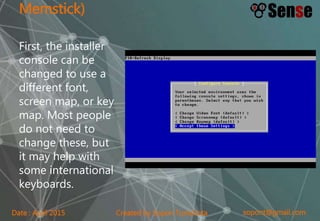
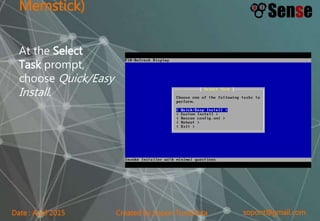

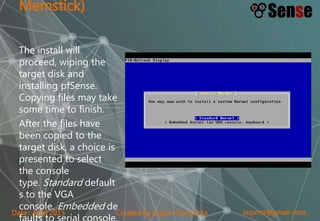


This document provides instructions for installing pfSense software on firewall appliances. It describes choosing installation types like full install or embedded, downloading the pfSense image, preparing installation media, performing the installation, assigning interfaces, configuring the default settings, and troubleshooting installation issues. The document is intended to guide users through the end-to-end pfSense installation process.


![Ccnp presentation [Day 1-3] Class](https://cdn.slidesharecdn.com/ss_thumbnails/ccnppresentation-day1-3demo-200416075108-thumbnail.jpg?width=640&height=640&fit=bounds)