Download to read offline

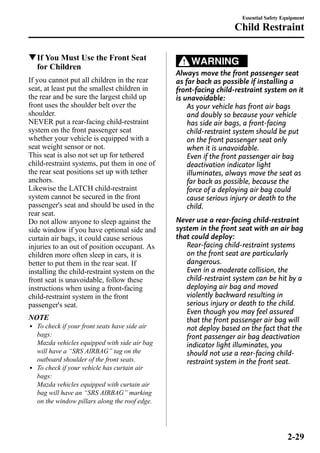
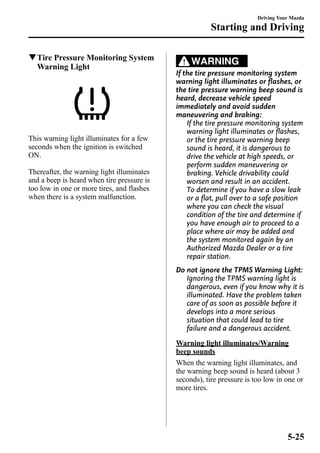
![AWord to Mazda Owners
Thank you for choosing a Mazda. We at Mazda design and build vehicles with complete
customer satisfaction in mind.
To help ensure enjoyable and trouble-free operation of your Mazda, read this manual
carefully and follow its recommendations.
An Authorized Mazda Dealer knows your vehicle best. So when maintenance or service is
necessary, that's the place to go.
Our nationwide network of Mazda professionals is dedicated to providing you with the best
possible service.
We assure you that all of us at Mazda have an ongoing interest in your motoring pleasure
and in your full satisfaction with your Mazda product.
Mazda Motor Corporation
Important Notes About This Manual
Keep this manual in the glove box as a handy reference for the safe and enjoyable use of your Mazda. Should you
resell the vehicle, leave this manual with it for the next owner.
All specifications and descriptions are accurate at the time of printing. Because improvement is a constant goal at
Mazda, we reserve the right to make changes in specifications at any time without notice and without obligation.
Air Conditioning and the Environment
Your Mazda's genuine air conditioner is filled with HFC134a (R134a), a refrigerant that has been found not to
damage the earth's ozone layer. If the air conditioner does not operate properly, consult an Authorized Mazda
Dealer.
Perchlorate
Certain components of this vehicle such as [air bag modules, seat belt pretensioners, lithium batteries, ...] may
contain Perchlorate Material– Special handling may apply for service or vehicle end of life disposal. See
www.dtsc.ca.gov/hazardouswaste/perchlorate.
Please be aware that this manual applies to all models, equipment and options. As a result, you may find
some explanations for equipment not installed on your vehicle.
©2011 Mazda Motor Corporation
Printed in Japan Aug. 2011 (Print1)](https://image.slidesharecdn.com/mazda28cc8-ec-11hedition1e-141109113915-conversion-gate01/85/Mazda2-8-cc8-ec-11h_edition1_e-4-320.jpg)

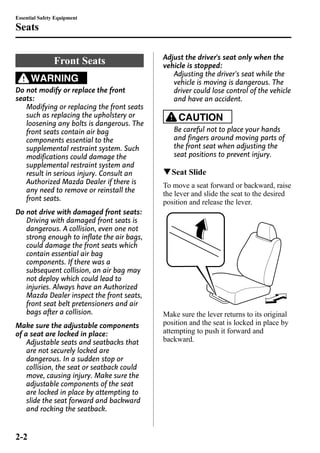


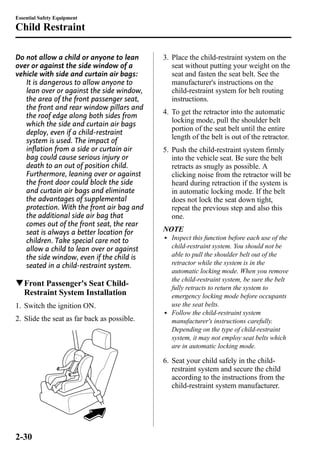

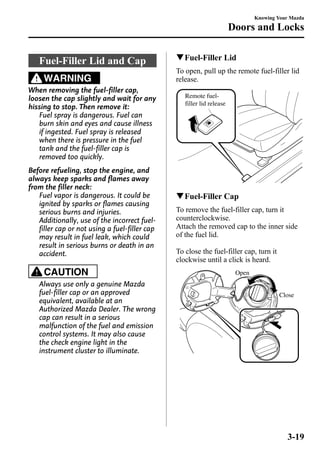
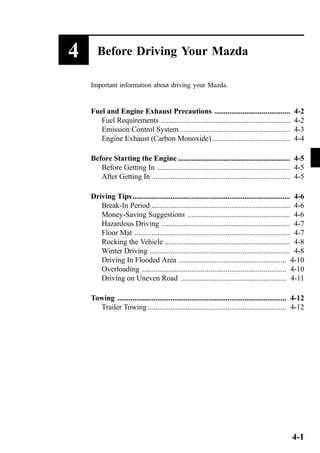
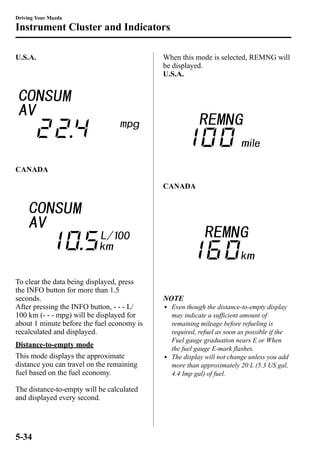
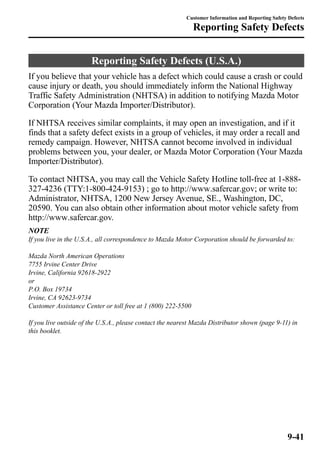
![Before Driving Your Mazda
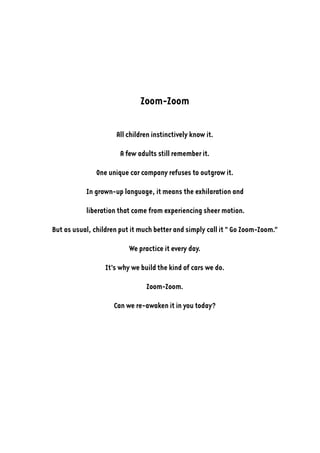
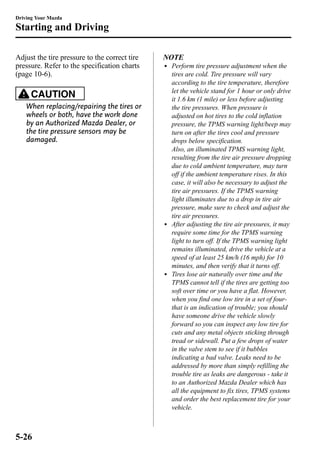
Fuel and Engine Exhaust Precautions
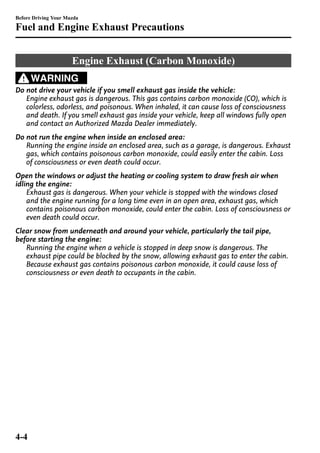
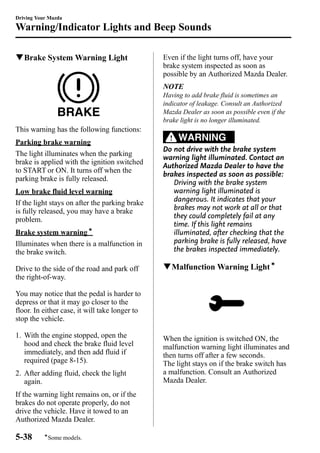
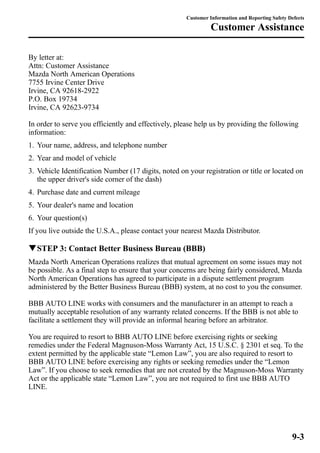
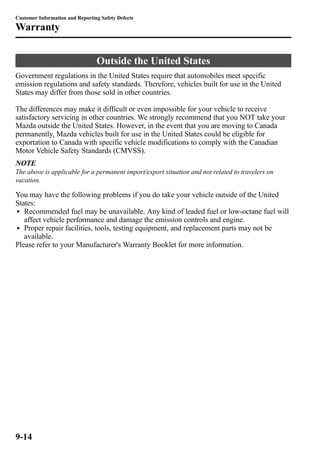
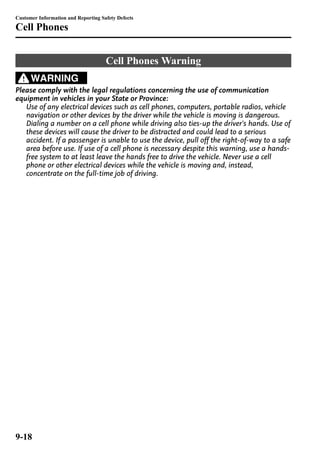
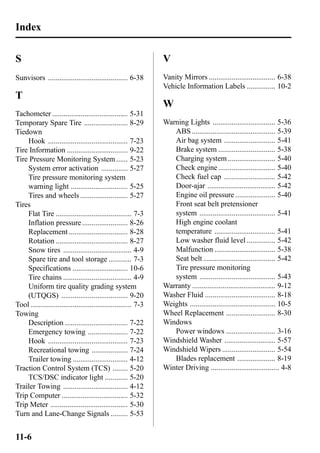
Fuel Requirements
Vehicles with catalytic converters or oxygen sensors must use ONLY UNLEADED FUEL,
which will reduce exhaust emissions and keep spark plug fouling to a minimum.
Your Mazda will perform best with fuel listed in the table.
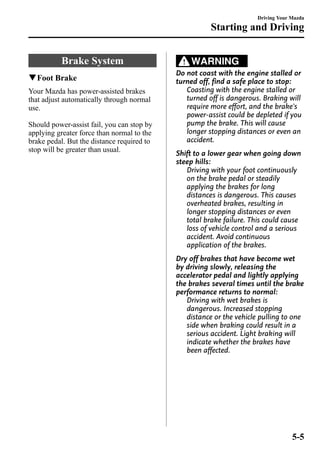
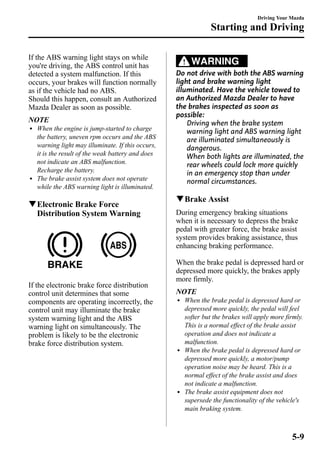
Fuel Octane Rating*(Anti-knock index)
Regular unleaded fuel 87 [ (R+M)/2 method] or above (91 RON or above)
* U.S. federal law requires that octane ratings be posted on gasoline station pumps.
Fuel with a rating lower than 87 octane (91 RON) could cause the emission control system
to lose effectiveness. It could also cause engine knocking and serious engine damage.
CAUTION
Ø USE ONLY UNLEADED FUEL.
Leaded fuel is harmful to the catalytic converter and oxygen sensors and will lead
to deterioration of the emission control system and or failures.
Ø Your vehicle can only use oxygenated fuels containing no more than 10 % ethanol
by volume. Damage to your vehicle may occur when ethanol exceeds this
recommendation, or if the gasoline contains any methanol. Stop using gasohol of
any kind if your vehicle engine is performing poorly.
Ø Never add fuel system additives. Otherwise, the emission control system could be
damaged. Consult an Authorized Mazda Dealer for details.
Gasoline blended with oxygenates such as alcohol or ether compounds are generally
referred to as oxygenated fuels. The common gasoline blend that can be used with your
vehicle is ethanol blended at no more than 10%. Gasoline containing alcohol, such as
ethanol or methanol, may be marketed under the name “Gasohol”.
Vehicle damage and drivability problems resulting from the use of the following may not
be covered by the Mazda warranty.
l Gasohol containing more than 10% ethanol.
l Gasoline or gasohol containing methanol.
l Leaded fuel or leaded gasohol.
4-2](https://image.slidesharecdn.com/mazda28cc8-ec-11hedition1e-141109113915-conversion-gate01/85/Mazda2-8-cc8-ec-11h_edition1_e-99-320.jpg)


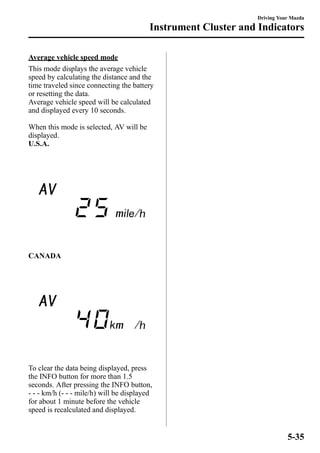


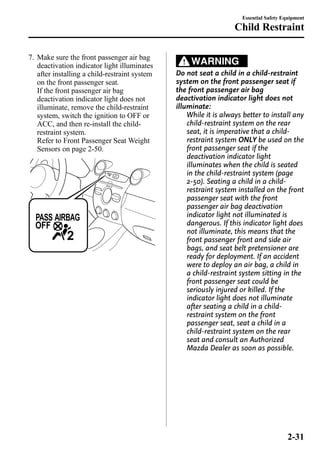
![Customer Information and Reporting Safety Defects
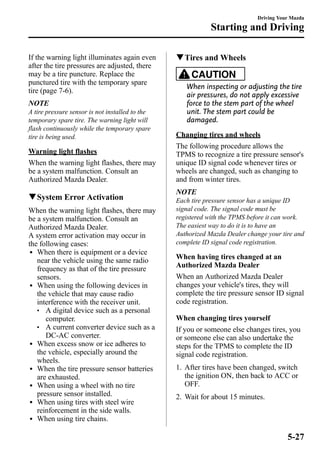
Customer Assistance
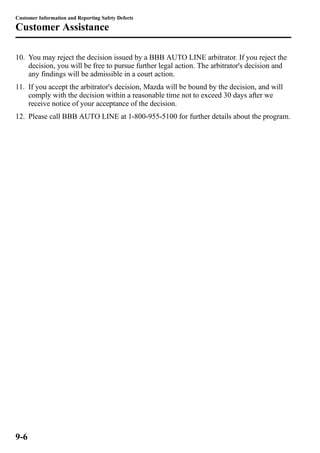
The whole process normally takes 40 days or less. The arbitration decision is not binding
on you or Mazda unless you accept the decision. For more information about BBB AUTO
LINE, including current eligibility standards, please call 1-800-955-5100 or visit the BBB
website at www.lemonlaw.bbb.org.
Being truly committed to customer satisfaction is more than a phrase with Mazda. We hope
to satisfy every customer directly, but if there is ever a question about our decision, Mazda
believes in providing a fast, fair and free method such as the BBB AUTO LINE to ensure
Mazda delivers on our commitment to do the right thing for our customers!
qCalifornia Customers
1. Mazda North American Operations participates in BBB AUTO LINE, a mediation/
arbitration program administered by the Council of Better Business Bureaus [4200
Wilson Boulevard, Arlington, Virginia 22203] through local Better Business Bureaus.
BBB AUTO LINE and Mazda have been certified by the Arbitration Certification
Program of the California Department of Consumer Affairs.
2. If you have a problem arising under a Mazda written warranty, we encourage you to
bring it to our attention. If we are unable to resolve it, you may file a claim with BBB
AUTO LINE. Claims must be filed with BBB AUTO LINE within six (6) months after
the expiration of the warranty.
3. To file a claim with BBB AUTO LINE, call 1-800-955-5100. There is no charge for the
call.
4. In order to file a claim with BBB AUTO LINE, you will have to provide your name and
address, the brand name and vehicle identification number (VIN) of your vehicle, and a
statement of the nature of your problem or complaint. You will also be asked to provide:
the approximate date of your acquisition of the vehicle, the vehicle's current mileage, the
approximate date and mileage at the time any problem(s) were first brought to the
attention of Mazda or one of our dealers, and a statement of the relief you are seeking.
5. BBB AUTO LINE staff may try to help resolve your dispute through mediation. If
mediation is not successful, or if you do not wish to participate in mediation, claims
within the program's jurisdiction may be presented to an arbitrator at an informal
hearing. The arbitrator's decision should ordinarily be issued within 40 days from the
time your complaint is filed; there may be a delay of 7 days if you did not first contact
Mazda about your problem, or a delay of up to 30 days if the arbitrator requests an
inspection/report by an impartial technical expert or further investigation and report by
BBB AUTO LINE.
9-4](https://image.slidesharecdn.com/mazda28cc8-ec-11hedition1e-141109113915-conversion-gate01/85/Mazda2-8-cc8-ec-11h_edition1_e-291-320.jpg)
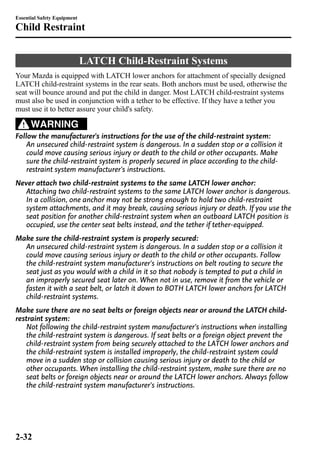
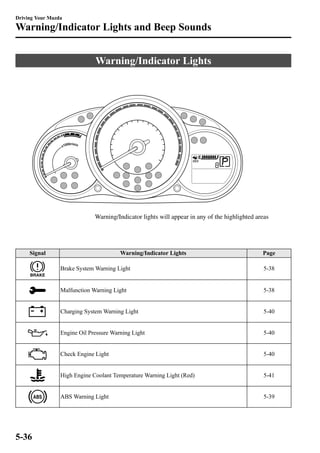
![Customer Information and Reporting Safety Defects
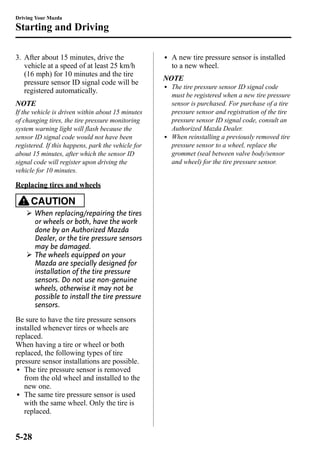
Customer Assistance
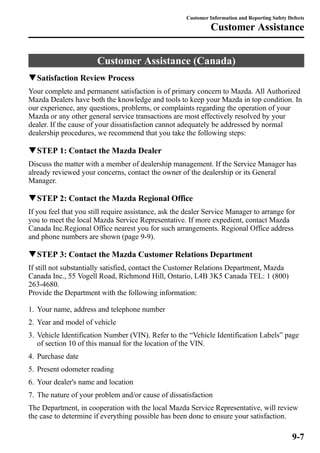
6. You are required to use BBB AUTO LINE before asserting in court any rights or
remedies conferred by California Civil Code Section 1793.22. You are also required to
use BBB AUTO LINE before exercising rights or seeking remedies created by Title I of
the Magnuson-Moss Warranty Act, 15 U.S.C. sec. 2301 et seq. If you choose to seek
redress by pursuing rights and remedies not created by California Civil Code Section
1793.22 or Title I of the Magnuson-Moss Warranty Act, resort to BBB AUTO LINE is
not required by those statutes.
7. California Civil Code Section 1793.2 (d) requires that, if Mazda or its representative is
unable to repair a new motor vehicle to conform to the vehicle's applicable express
warranty after a reasonable number of attempts, Mazda may be required to replace or
repurchase the vehicle. California Civil Code Section 1793.22 (b) creates a presumption
that Mazda has had a reasonable number of attempts to conform the vehicle to its
applicable express warranties if, within 18 months from delivery to the buyer or 18,000
miles on the vehicle's odometer, whichever occurs first, one or more of the following
occurs:
l The same nonconformity [a failure to conform to the written warranty that
substantially impairs the use, value or safety of the vehicle] results in a condition that
is likely to cause death or serious bodily injury if the vehicle is driven AND the
nonconformity has been subject to repair two or more times by Mazda or its agents
AND the buyer or lessee has directly notified Mazda of the need for the repair of the
nonconformity; OR
l The same nonconformity has been subject to repair 4 or more times by Mazda or its
agents AND the buyer has notified Mazda of the need for the repair of the
nonconformity; OR
l The vehicle is out of service by reason of repair of nonconformities by Mazda or its
agents for a cumulative total of more than 30 calendar days after delivery of the
vehicle to the buyer.
NOTICE TO Mazda AS REQUIRED ABOVE SHALL BE SENT TO THE
FOLLOWING ADDRESS:
Mazda North American Operations
7755 Irvine Center Drive
Irvine, CA 92618
ATTN: Customer Mediation
8. The following remedies may be sought in BBB AUTO LINE: repairs, reimbursement
for money paid to repair a vehicle or other expenses incurred as result of a vehicle
nonconformity, repurchase or replacement of your vehicle, and compensation for
damages and remedies available under Mazda's written warranty or applicable law.
9. The following remedies may not be sought in BBB AUTO LINE: punitive or multiple
damages, attorneys' fees, or consequential damages other than as provided in California
Civil Code Section 1794 (a) and (b).
9-5](https://image.slidesharecdn.com/mazda28cc8-ec-11hedition1e-141109113915-conversion-gate01/85/Mazda2-8-cc8-ec-11h_edition1_e-292-320.jpg)


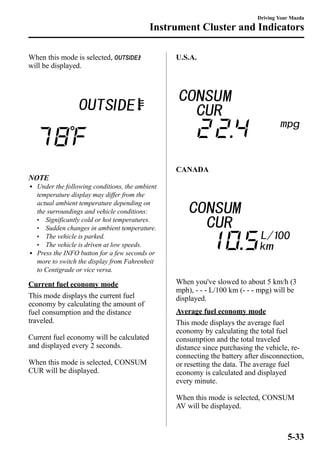
This document is an owner's manual for a Mazda vehicle. It provides information to Mazda owners about operating and maintaining their vehicles safely and properly. Some key points covered include how to use safety equipment like seat belts, how to operate vehicle controls and features, basic maintenance guidelines, what to do in emergencies, and contacting Mazda for service or support. The manual emphasizes reading it cover to cover to understand how to enjoy driving a Mazda and get the most from the vehicle.


