Download to read offline


![Route Groups
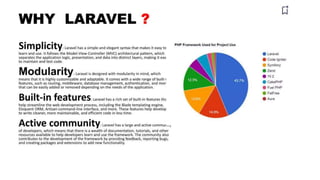
• With Route groups, one can easily share route attributes like middleware
across several routes without describing the qualities of each Route.
• Route groups gives you way to group a set of routes (Routes sharing
common route attributes such as namespaces or middleware) in single
route definition instead of defining those attributes individually.
• Nested route groups are a great way to merge the parent group traits with
the features of the group.
• In cases where conditions and middleware are combined, names and
prefixes are added while slashes and namespace delimiters are
automatically added where needed. This is one of the huge advantage of
laravel application development that have contributed to its overall
popularity.
Route::group(['middleware' => 'auth'], function () {
Route::get('student/profile', function () {
// Uses Auth Middleware
});
});](https://image.slidesharecdn.com/laravelunitiv2-240506095409-228294ac/85/introduction-to-Laravel-and-its-Basic-and-origin-34-320.jpg)


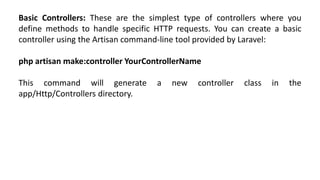


![Passing Data to Views:
You can pass data from your controllers to your views in Laravel easily. Here's an
example:
// In your controller
public function welcome()
{
$name = 'John Doe';
return view('welcome', ['name' => $name]);
}
Now, in your welcome.blade.php view, you can access the $name variable like so:
<h1>Welcome, {{ $name }}!</h1>
This will output "Welcome, John Doe!" in the rendered HTML.](https://image.slidesharecdn.com/laravelunitiv2-240506095409-228294ac/85/introduction-to-Laravel-and-its-Basic-and-origin-47-320.jpg)


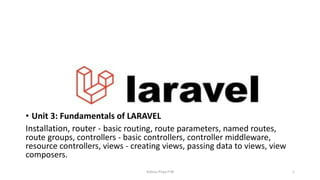
The document outlines essential features of Laravel, focusing on web application security, routing, and view handling. It details methods for password security, user authentication, and CSRF protection, alongside explaining routing capabilities such as route parameters, named routes, and route groups. Additionally, it covers the creation and management of controllers, including resource controllers that handle CRUD operations, and emphasizes the organization of views and data passing within the Laravel framework.