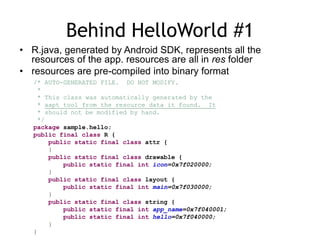
Download to read offline


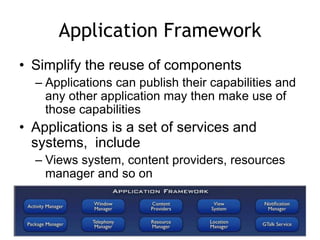


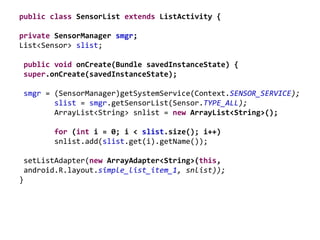


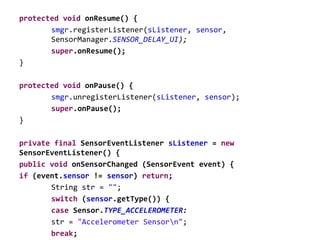

![case Sensor.TYPE_TEMPERATURE:
str = "Temperature Sensorn";
break;
case Sensor.TYPE_LINEAR_ACCELERATION:
str = "Liner Accelerometer Sensorn";
break;
case Sensor.TYPE_ROTATION_VECTOR:
str = "Rotation Sensorn";
break;
}
for (int i = 0; i < event.values.length; i++) {
str = str + "values[" + i + "]: " + event.values[i] + "n";
str2 += event.values[i] + " ";
}
data.add(str2);
str = str + "Accuracy: " + event.accuracy;
tv.setText(str);
}](https://image.slidesharecdn.com/androidtutorialeclipsev1-160324015245/85/Introduction-to-Android-before-2015-83-320.jpg)


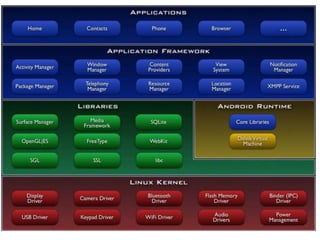
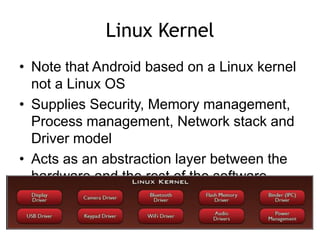
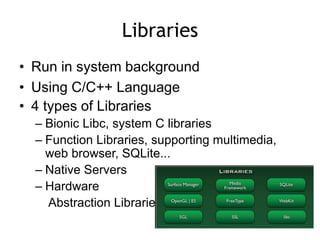
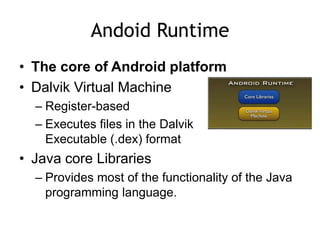
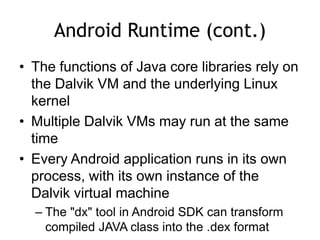
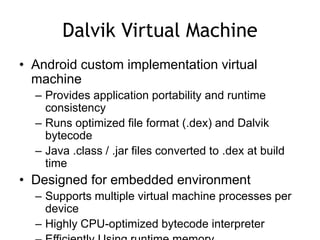
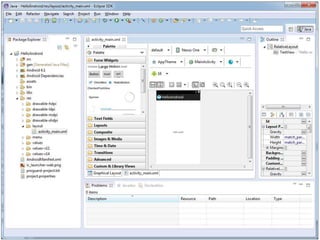
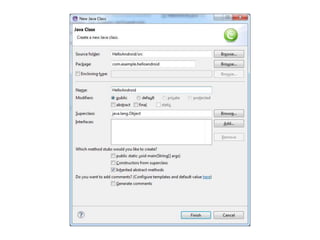
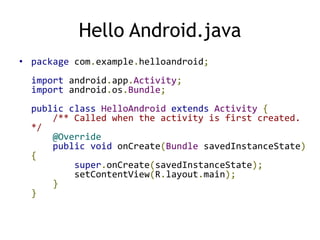
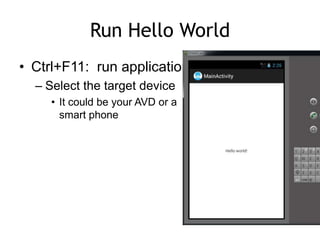
Android is an operating system for mobile devices that is developed by the Open Handset Alliance led by Google. It uses a Linux kernel with middleware, libraries and APIs written in C/C++. The Android runtime uses the Dalvik virtual machine and Java core libraries. Applications are developed using the Android SDK and written in Java. The document provides details on the architecture including system components like activities, services, content providers and intents. It also covers topics like sensors, media recording, and the Android development environment.