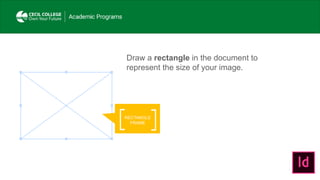
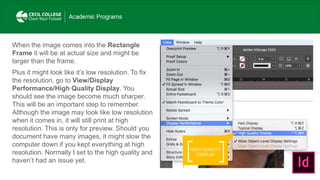
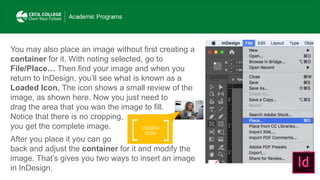
- In InDesign, images can be placed into rectangle frames that represent the size of the image. The image will initially appear at its actual size which may be larger than the frame.
- To improve image quality for preview, go to View > Display Performance > High Quality Display. This will make the image sharper without affecting how it prints.
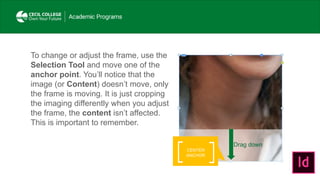
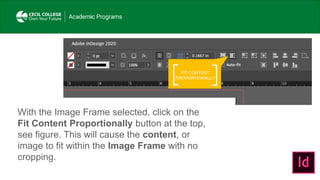
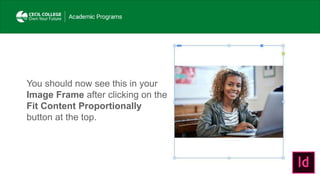
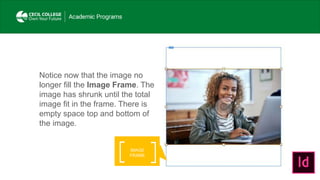
- Adjusting the frame size only crops the image; the image content itself does not move or resize. Clicking the "Fit Content Proportionally" button fits the image within the frame without cropping.