Downloaded 114 times
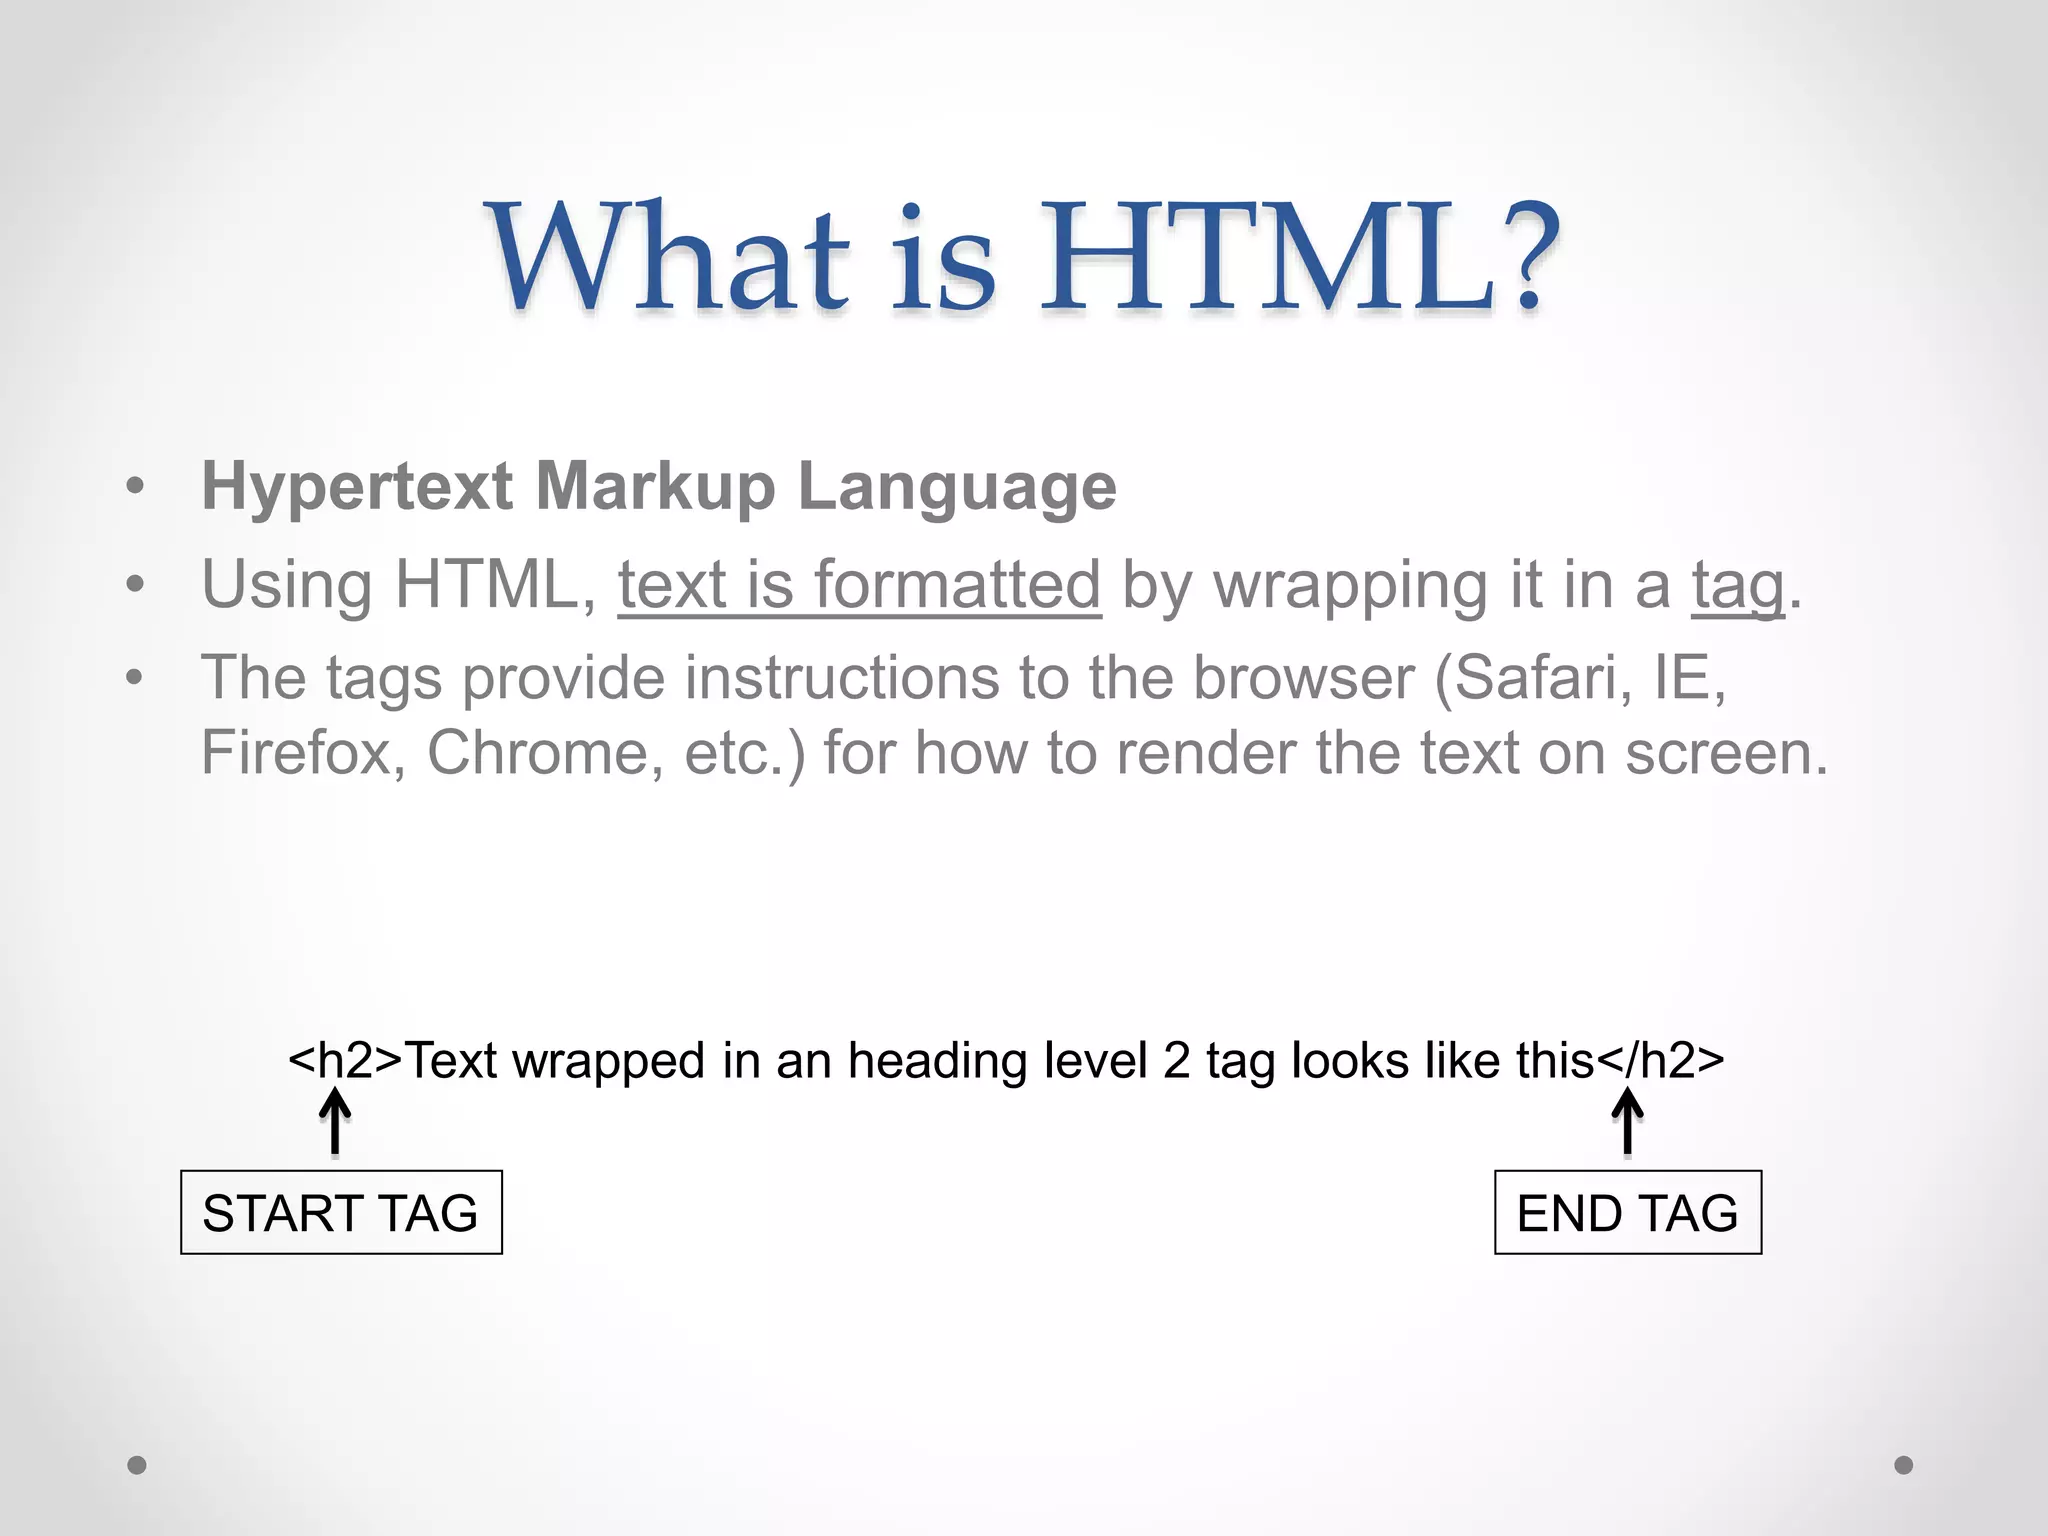
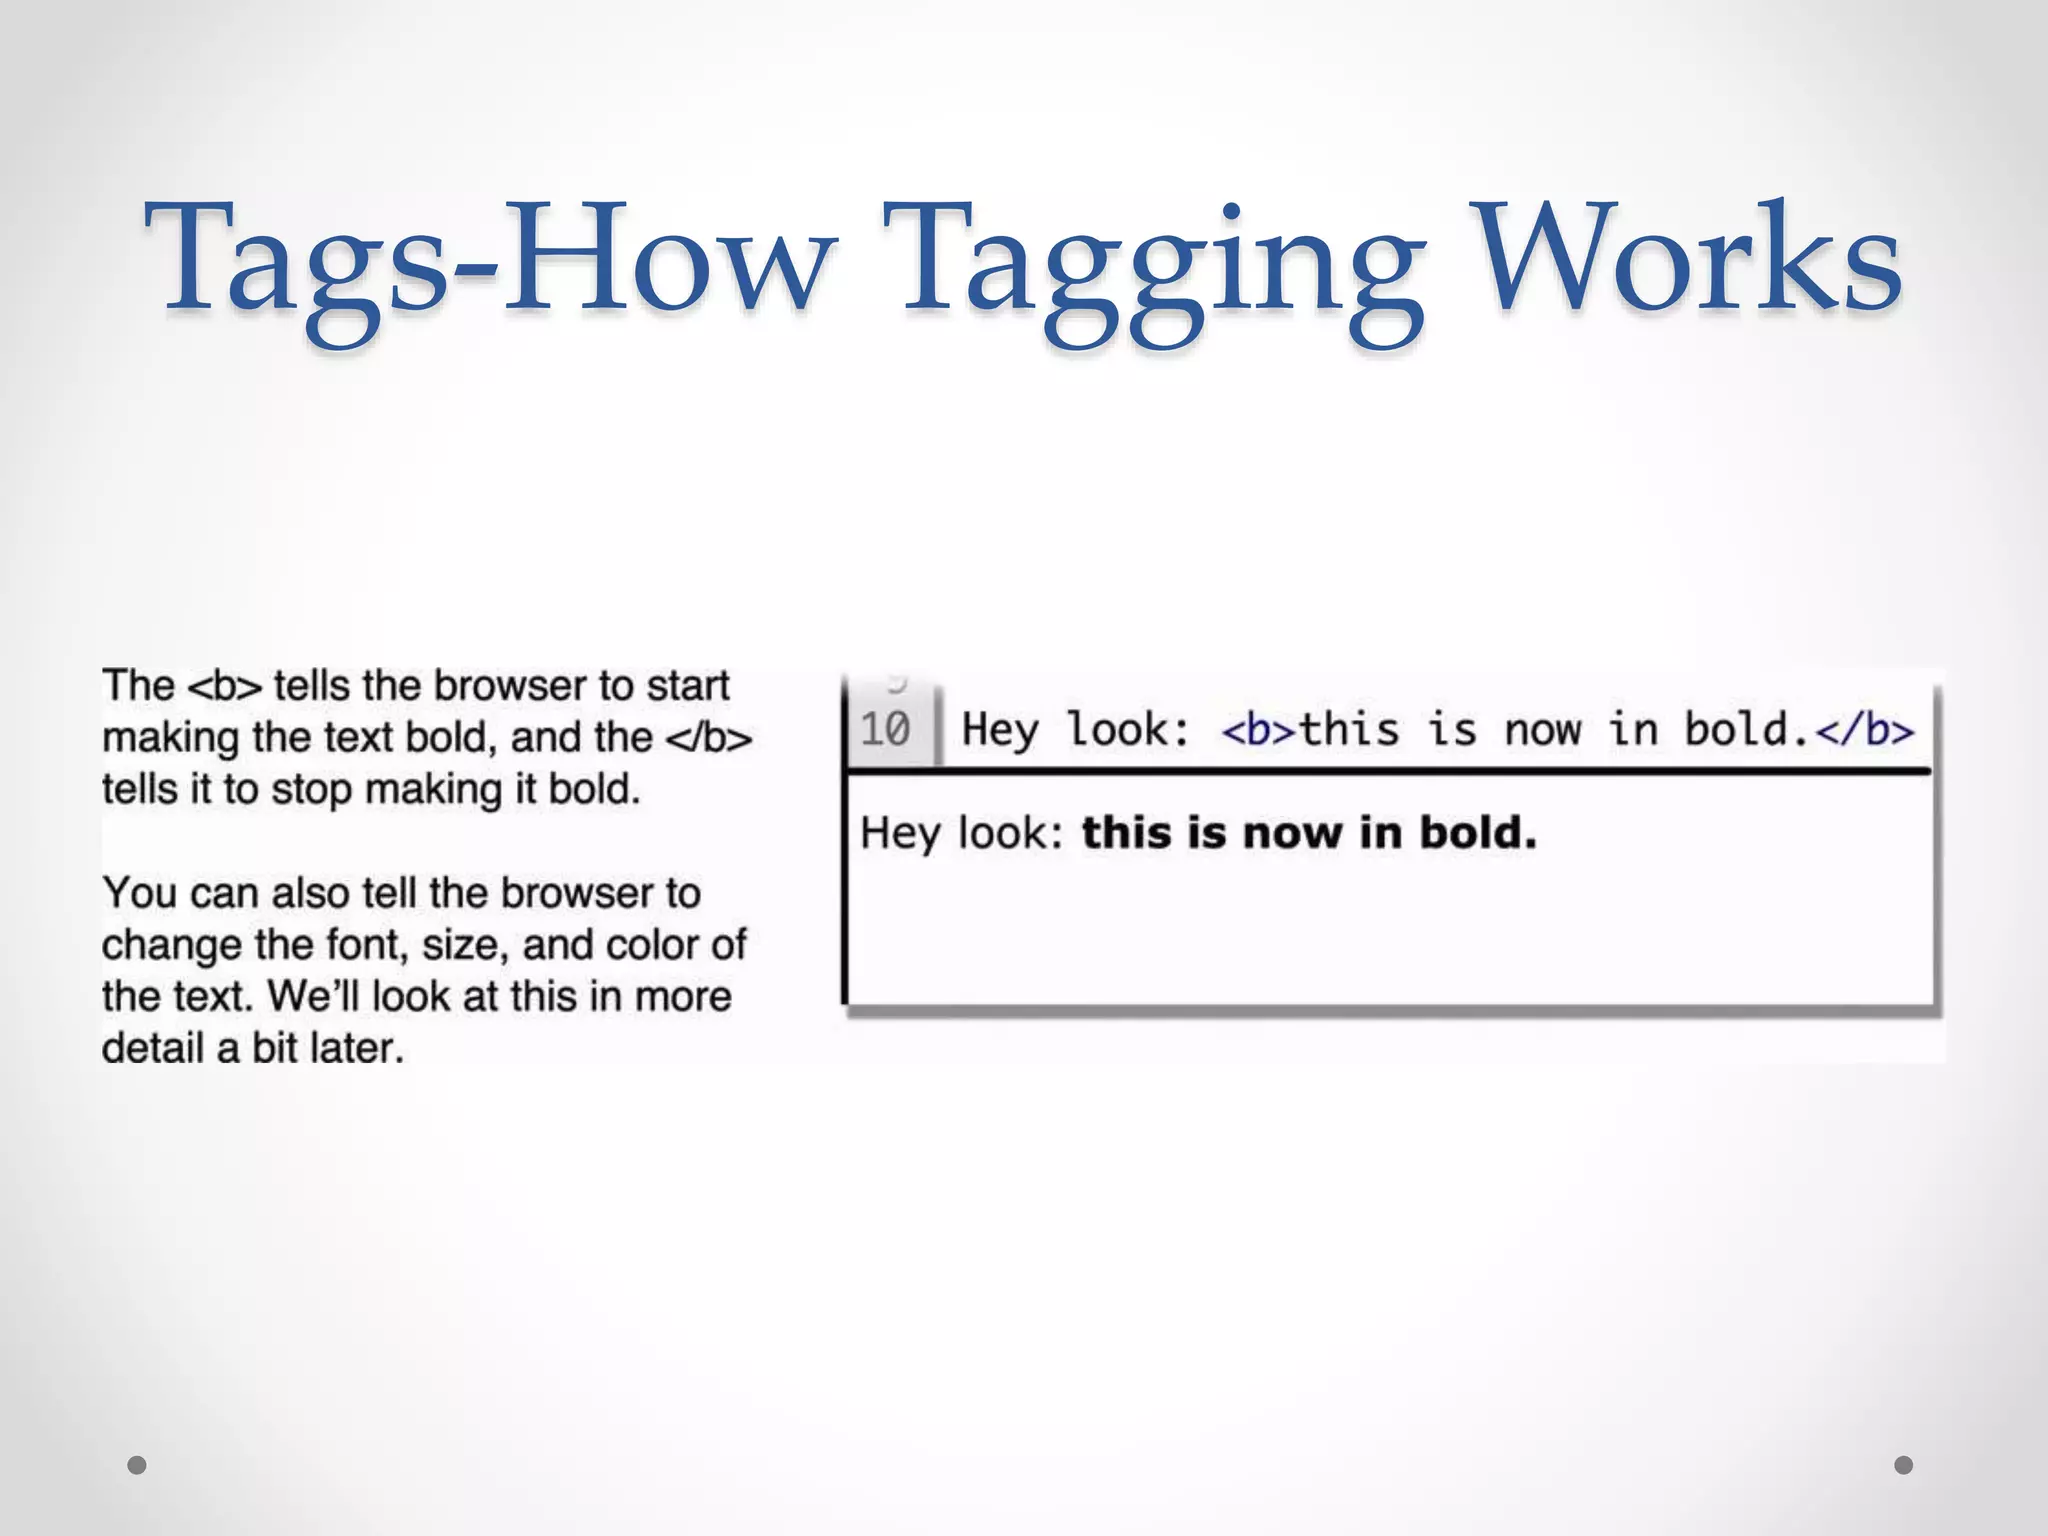
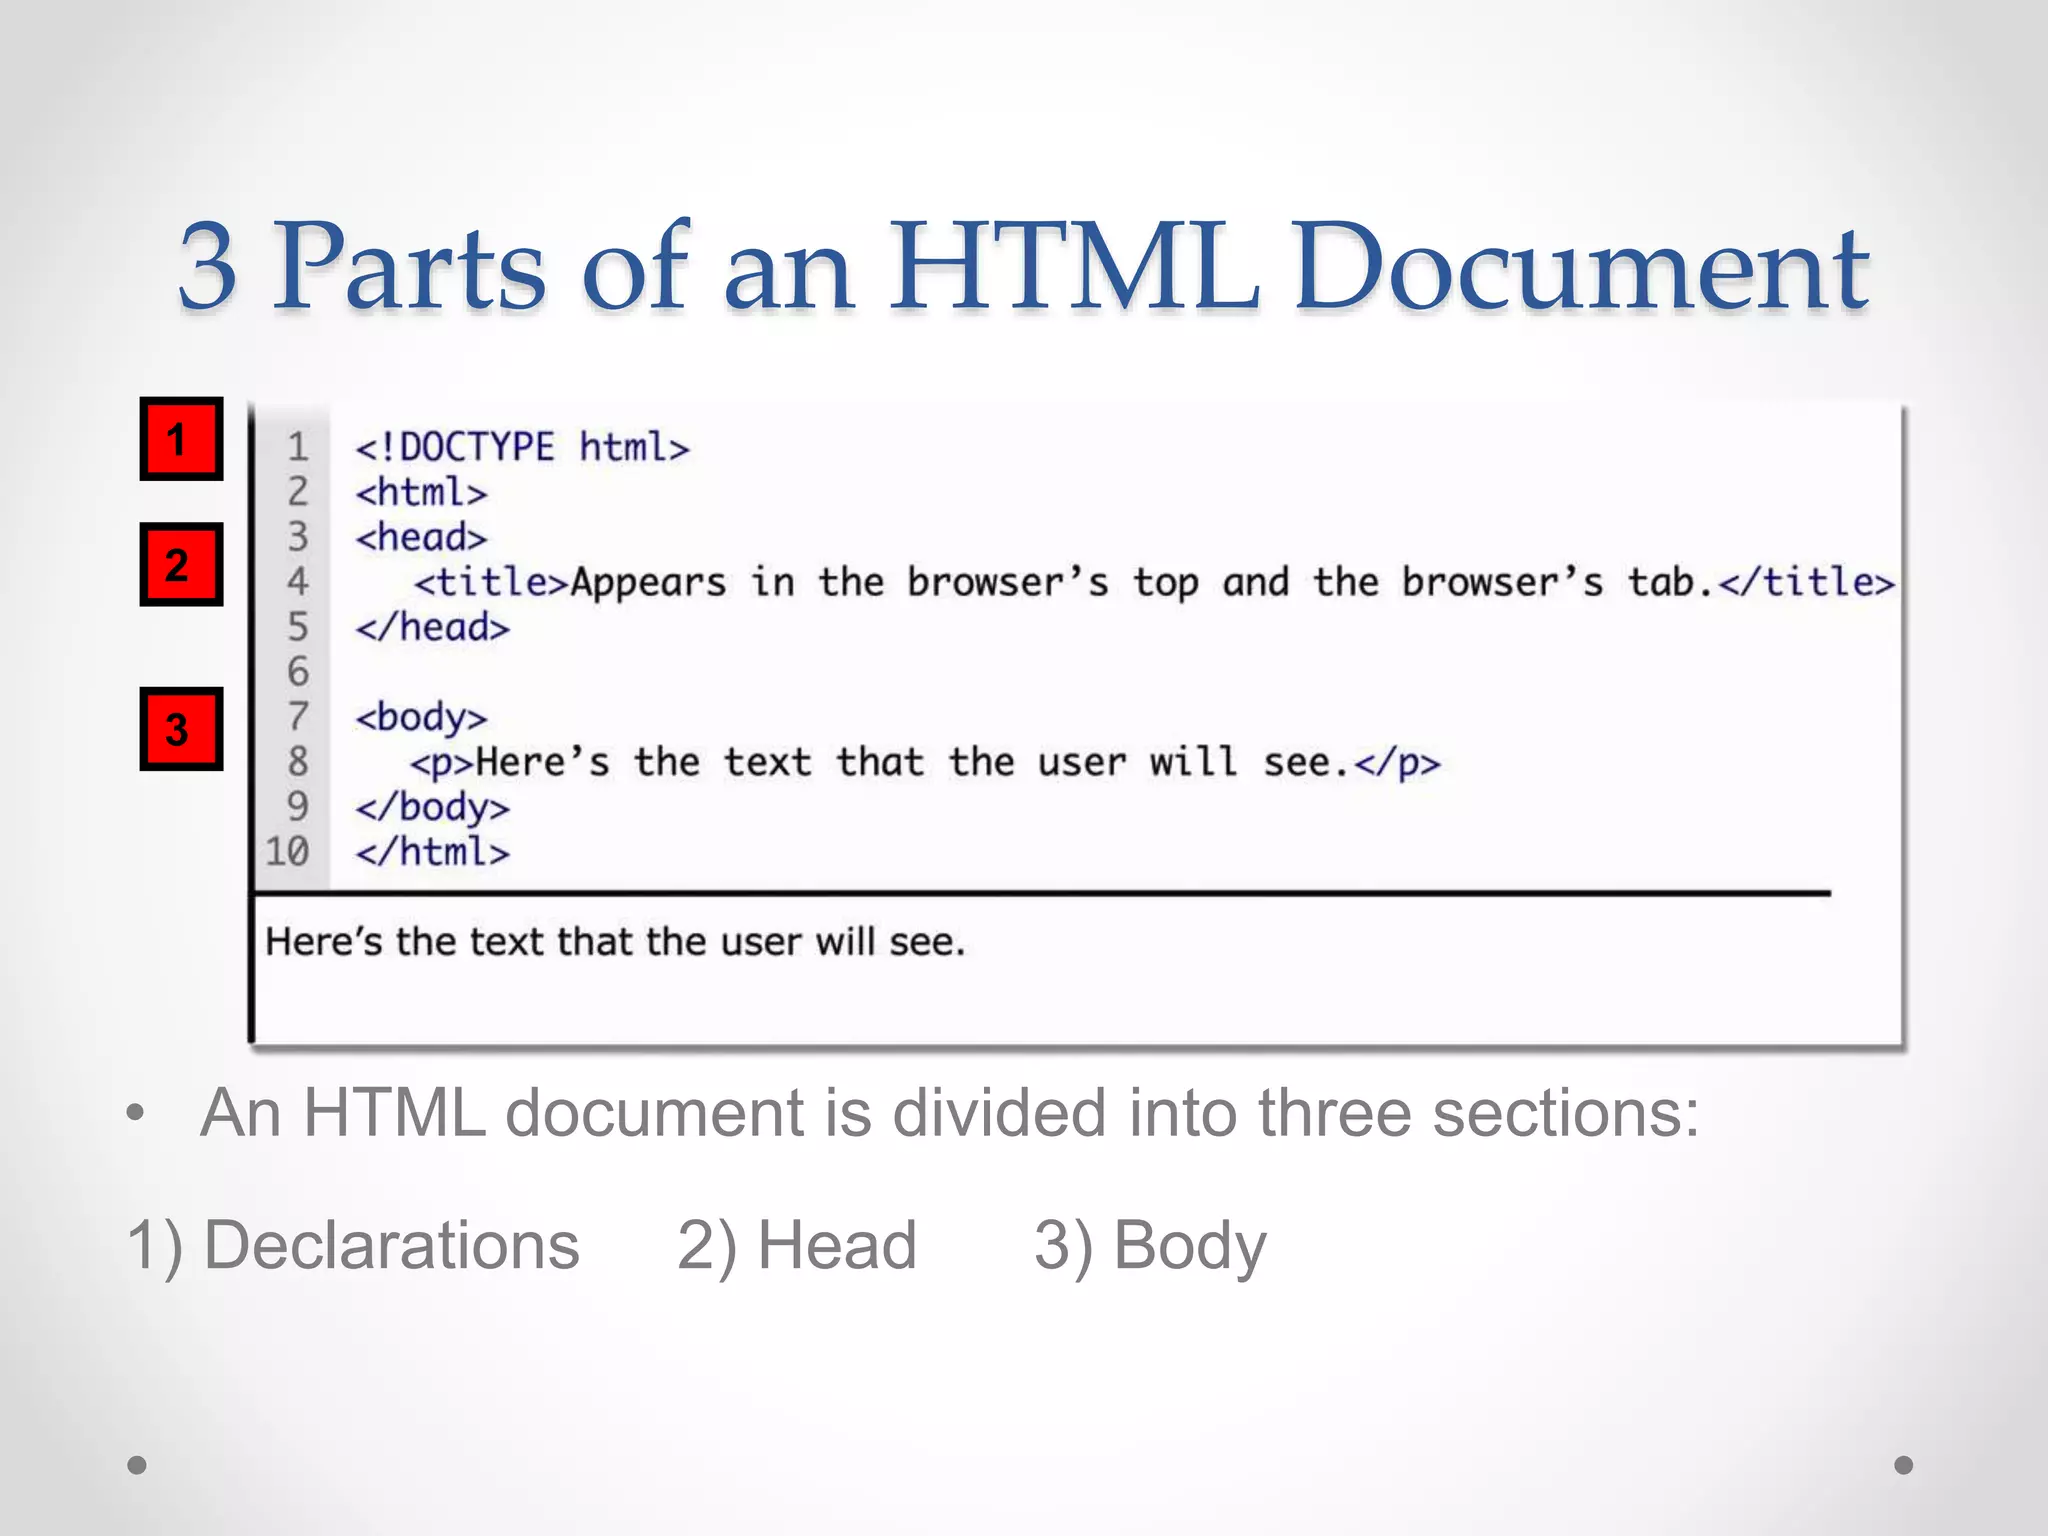
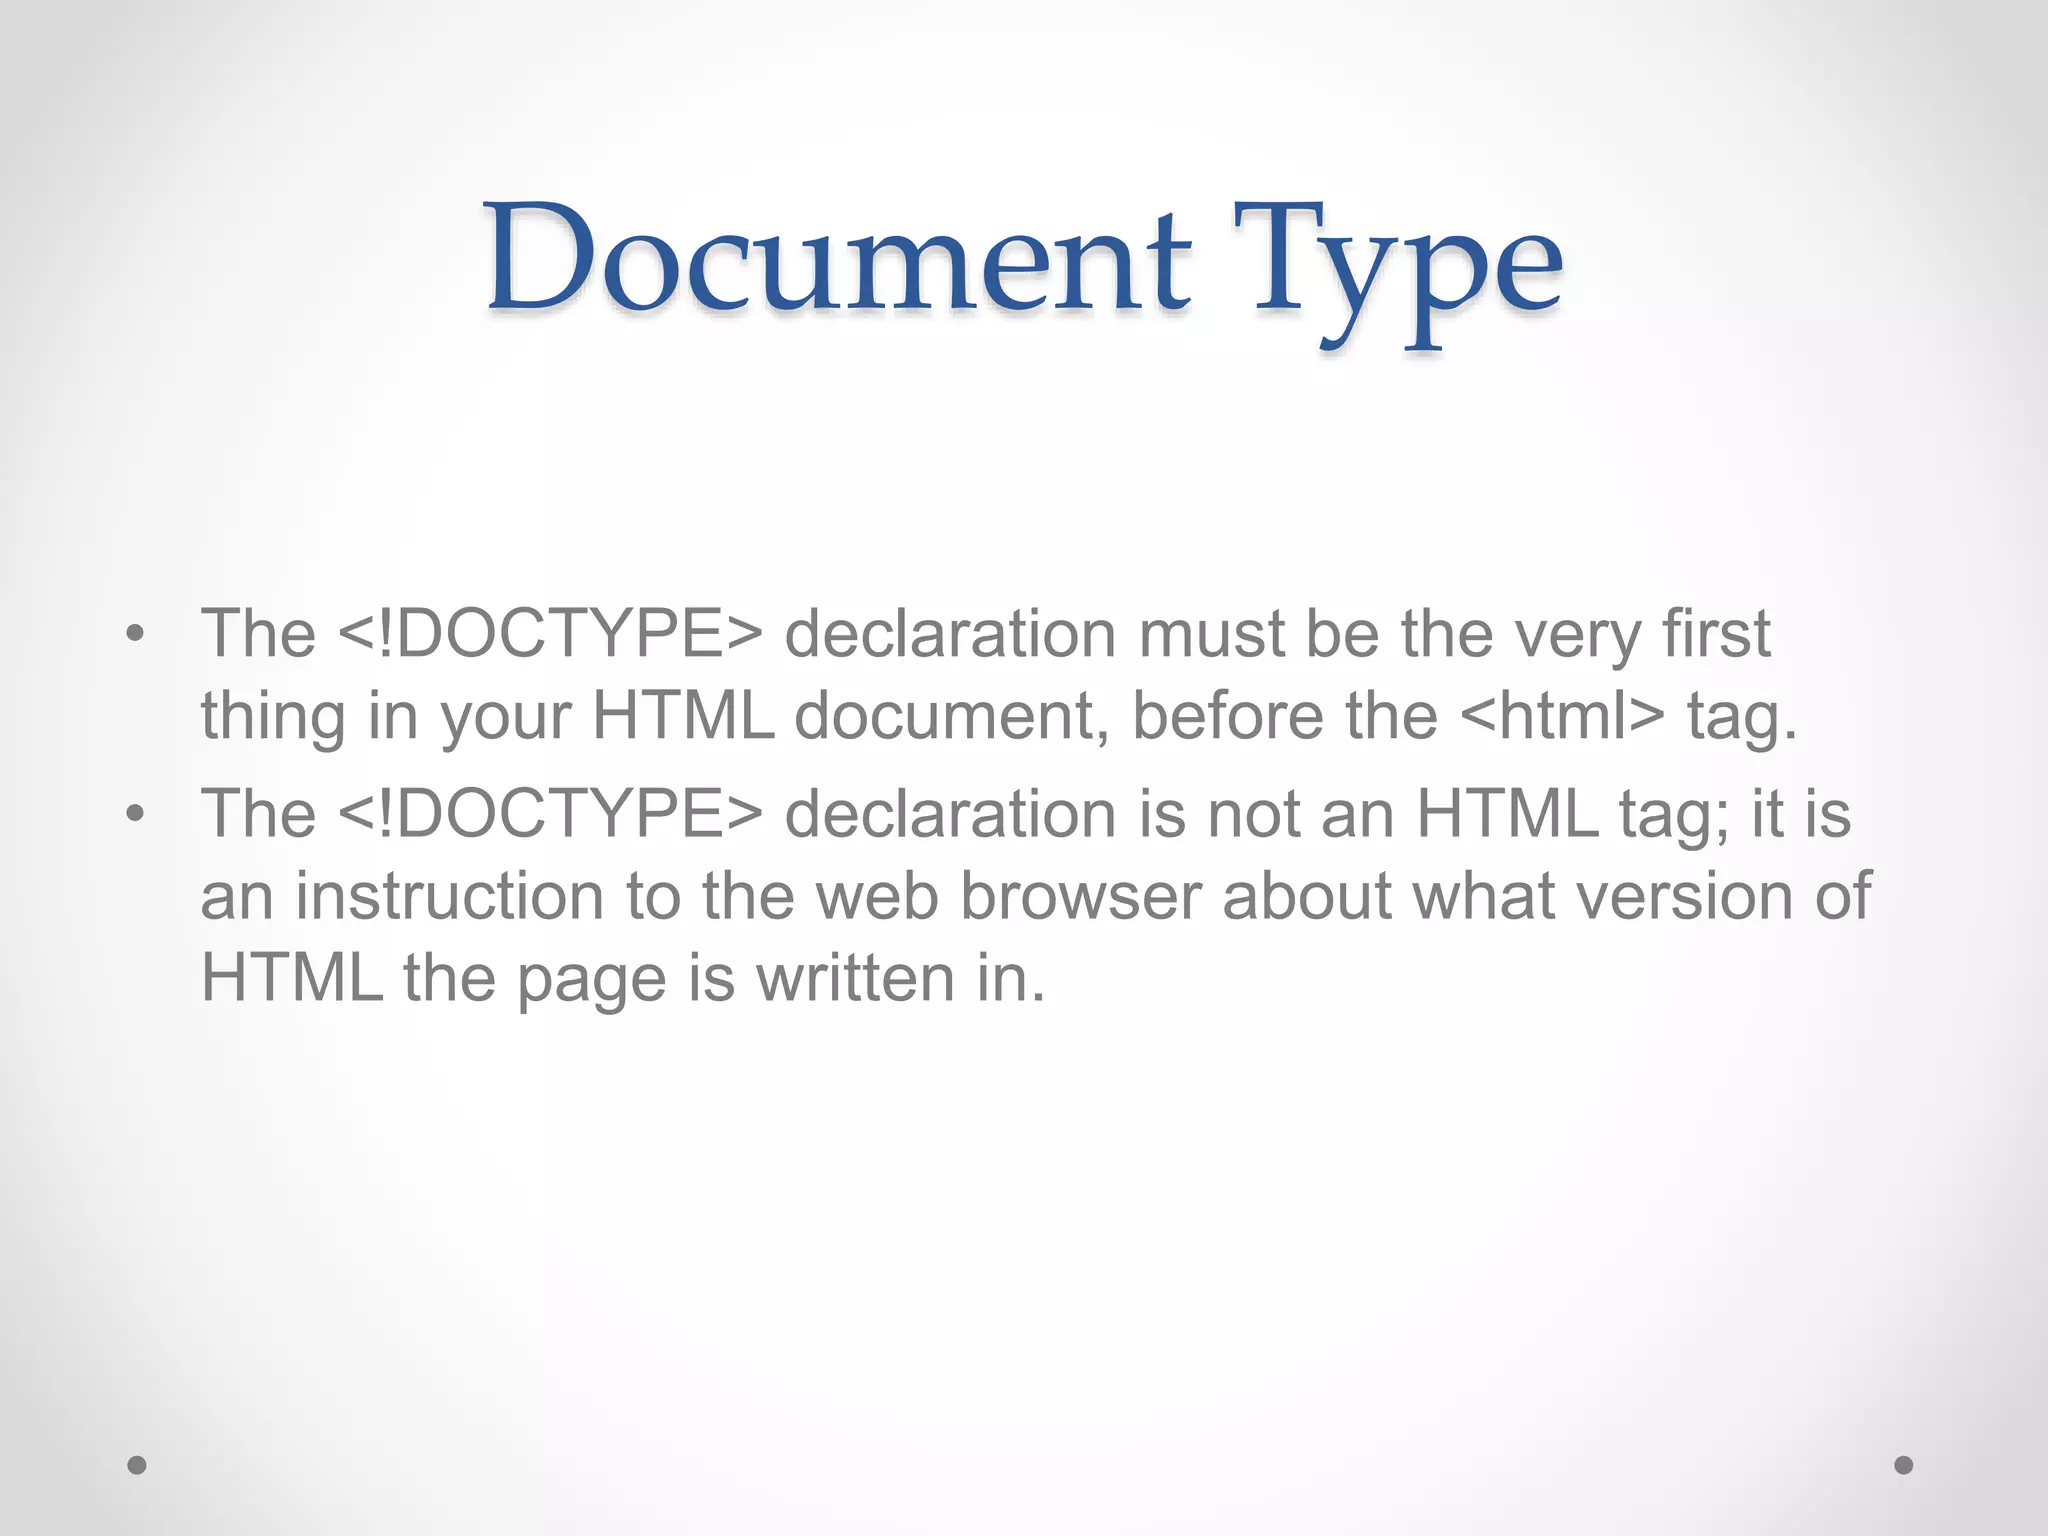
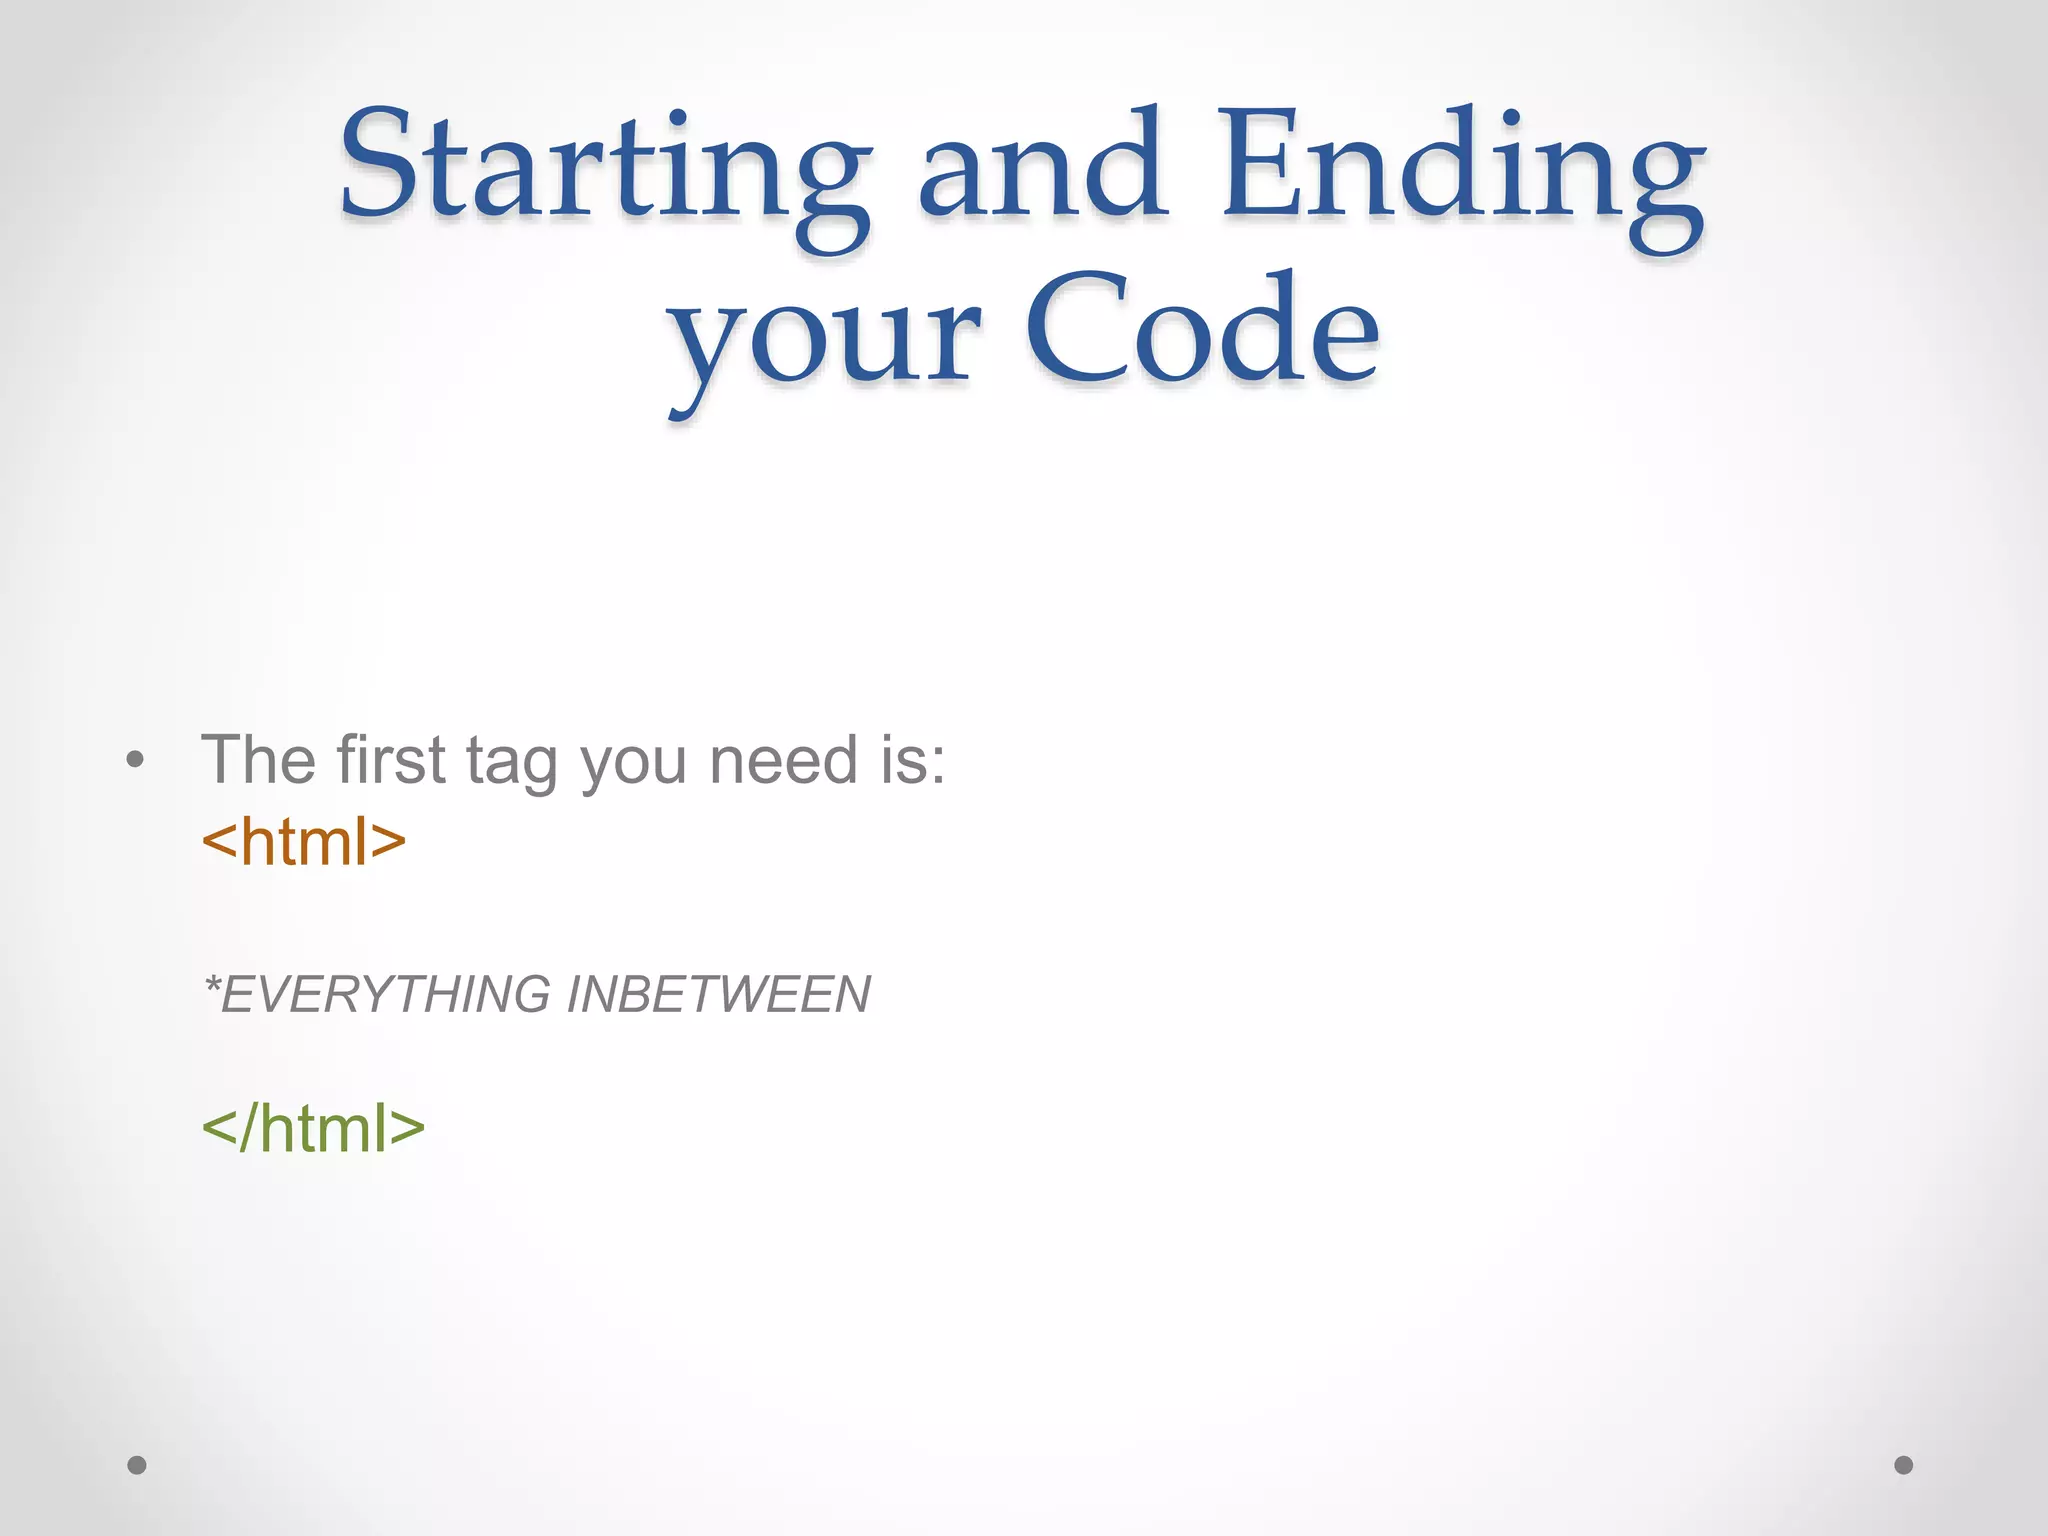
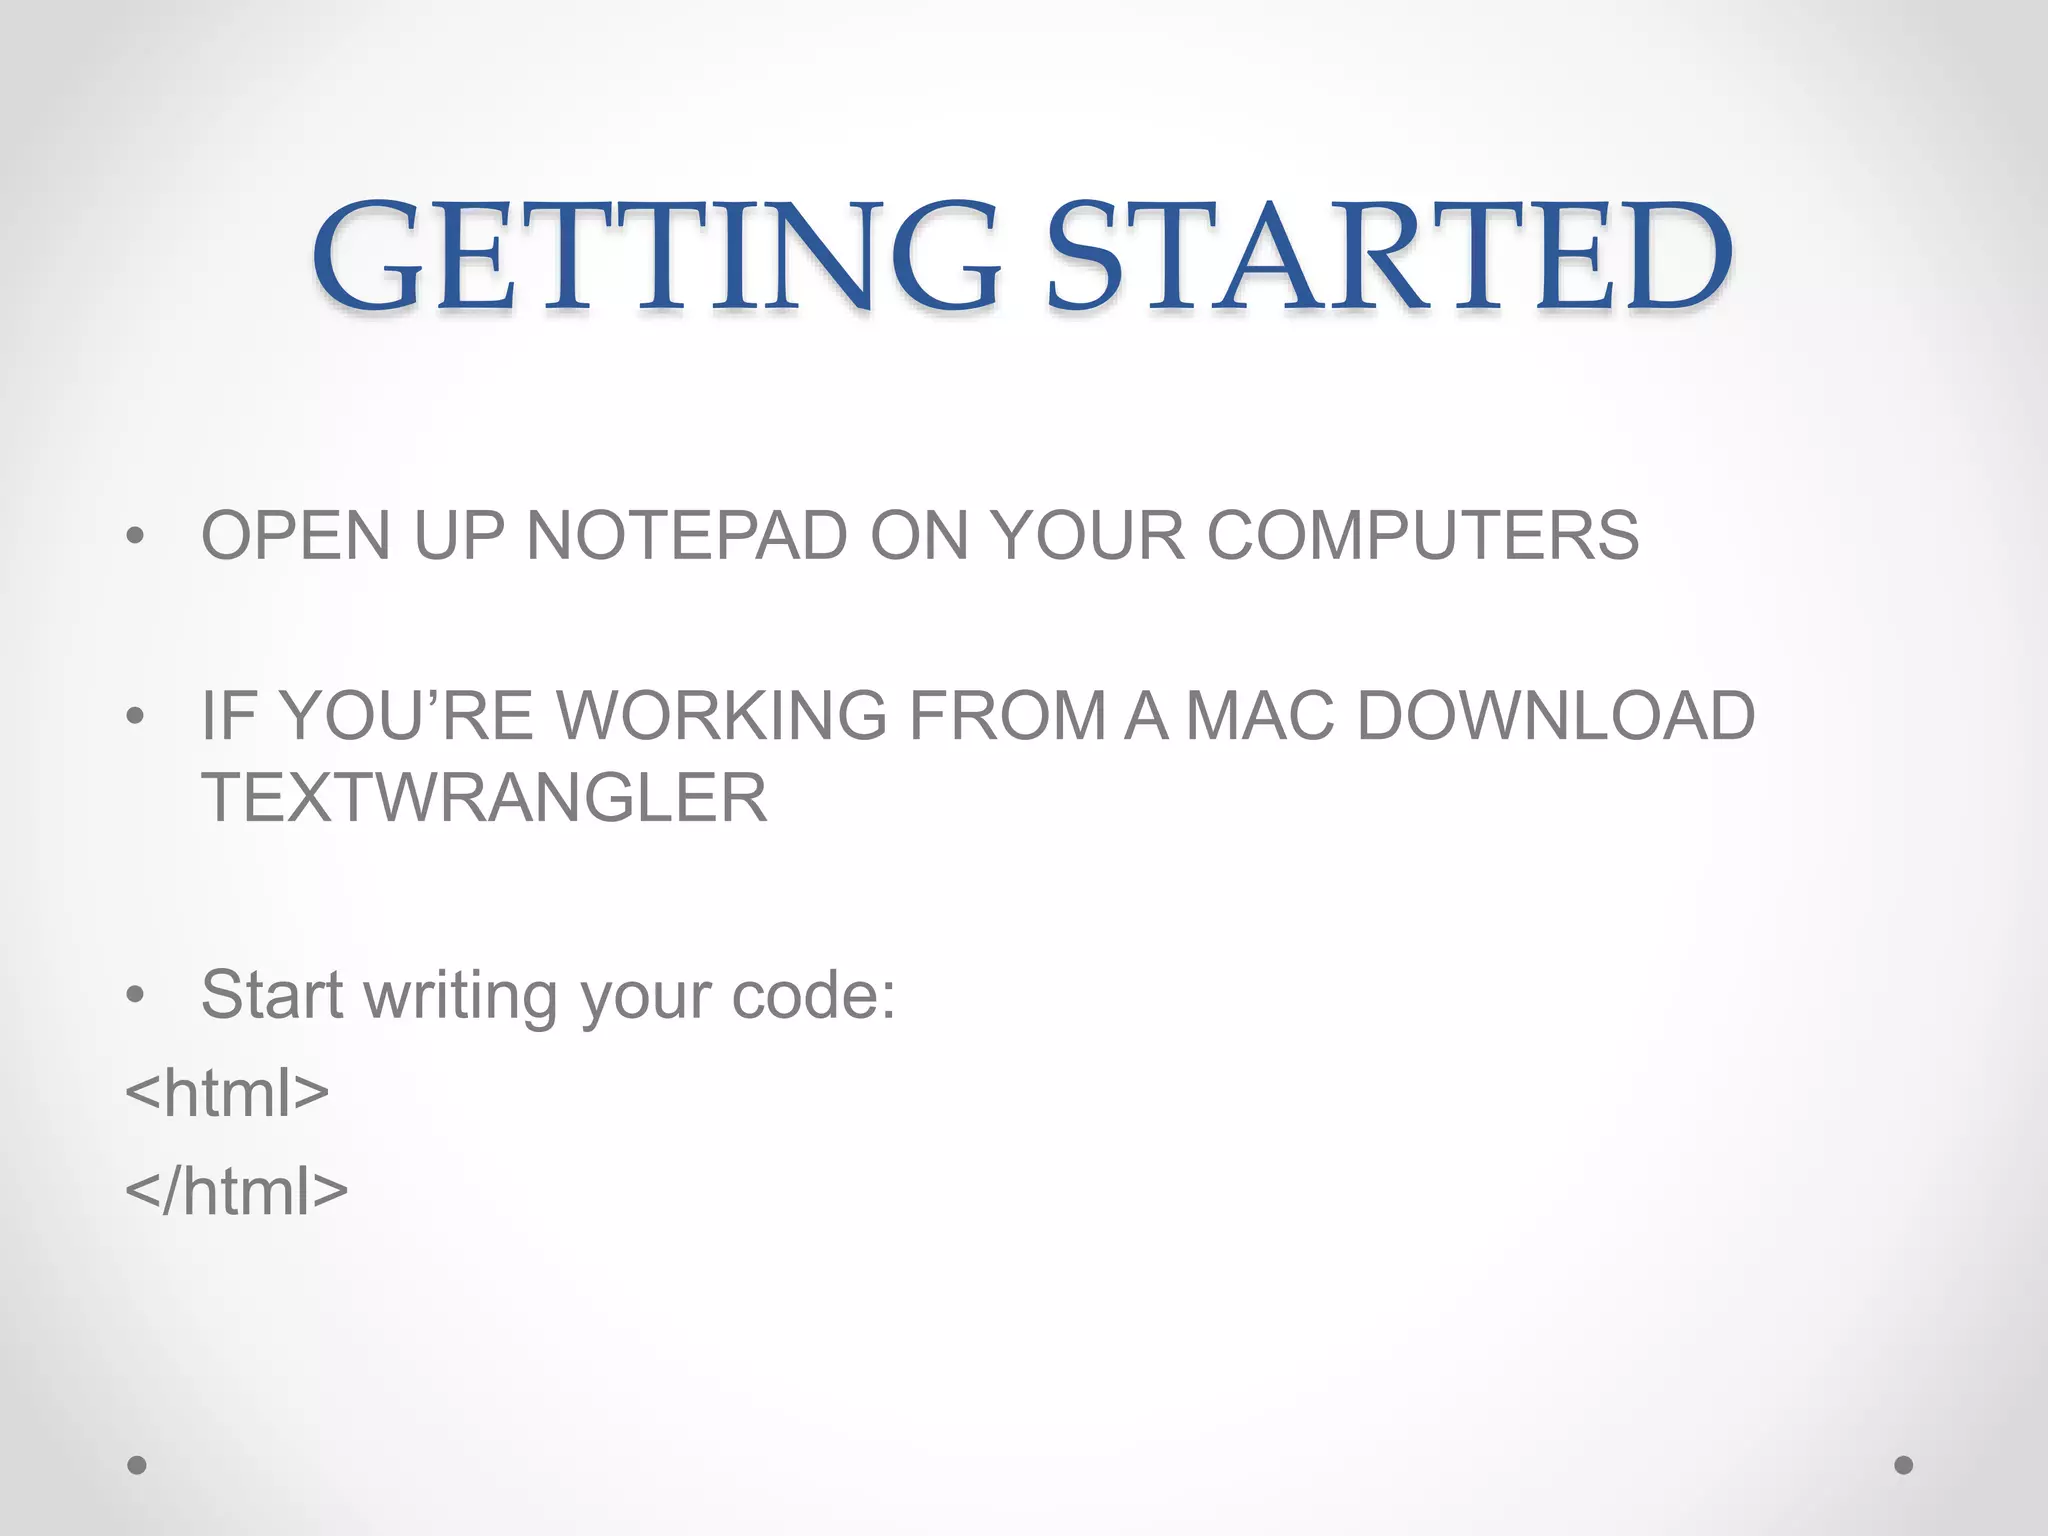
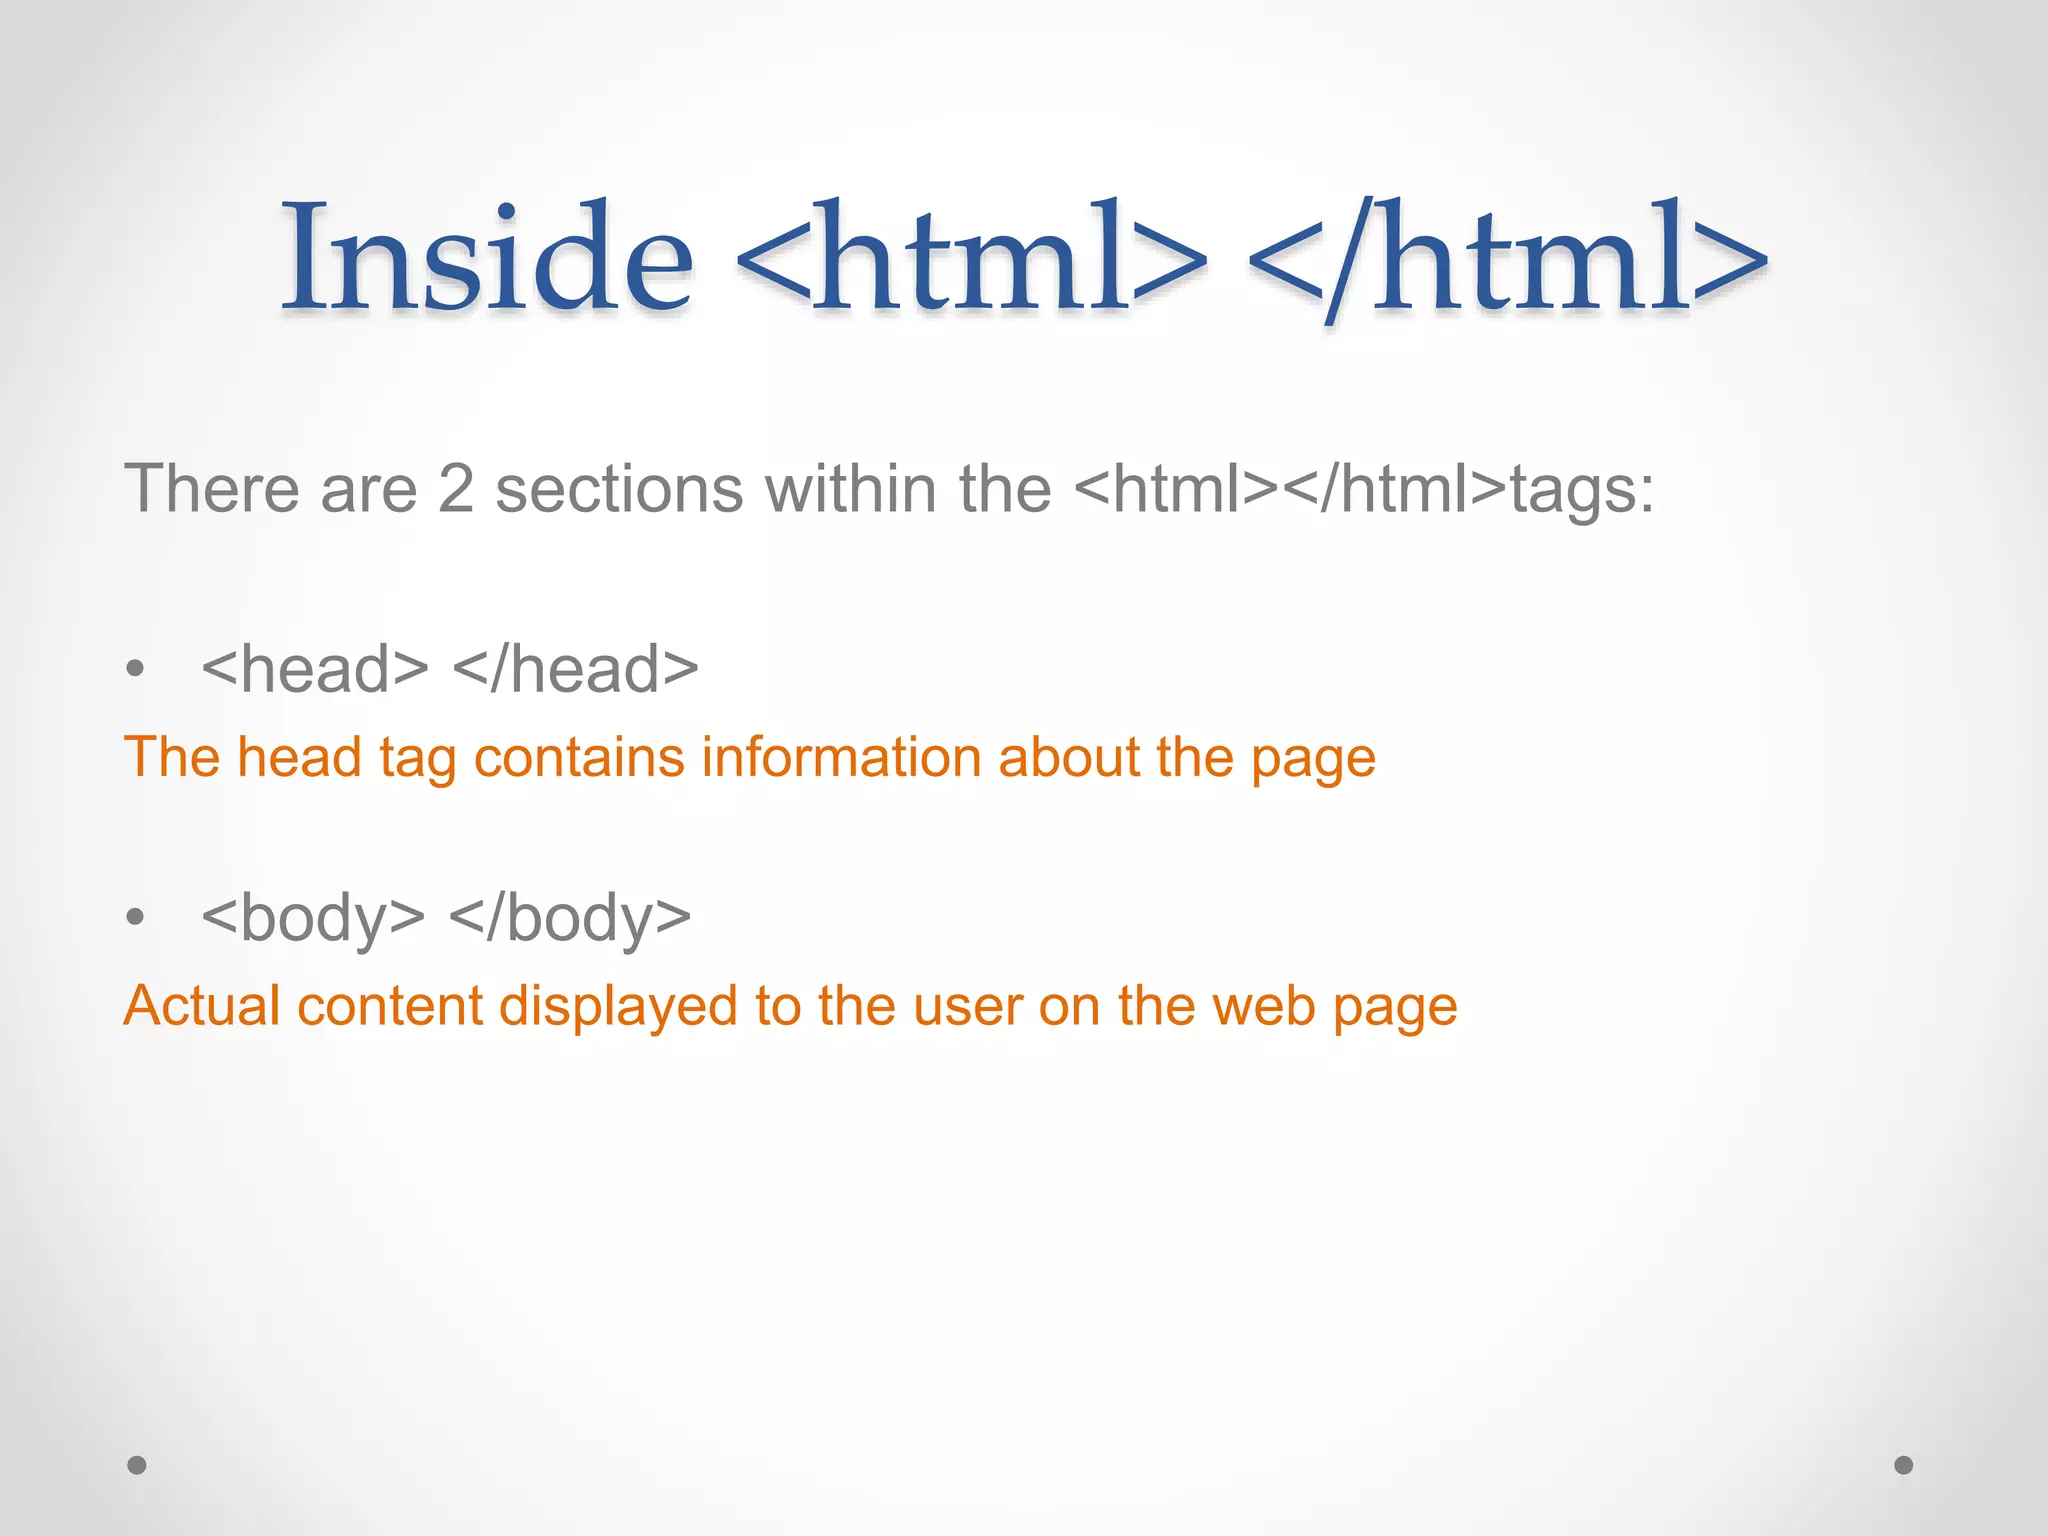
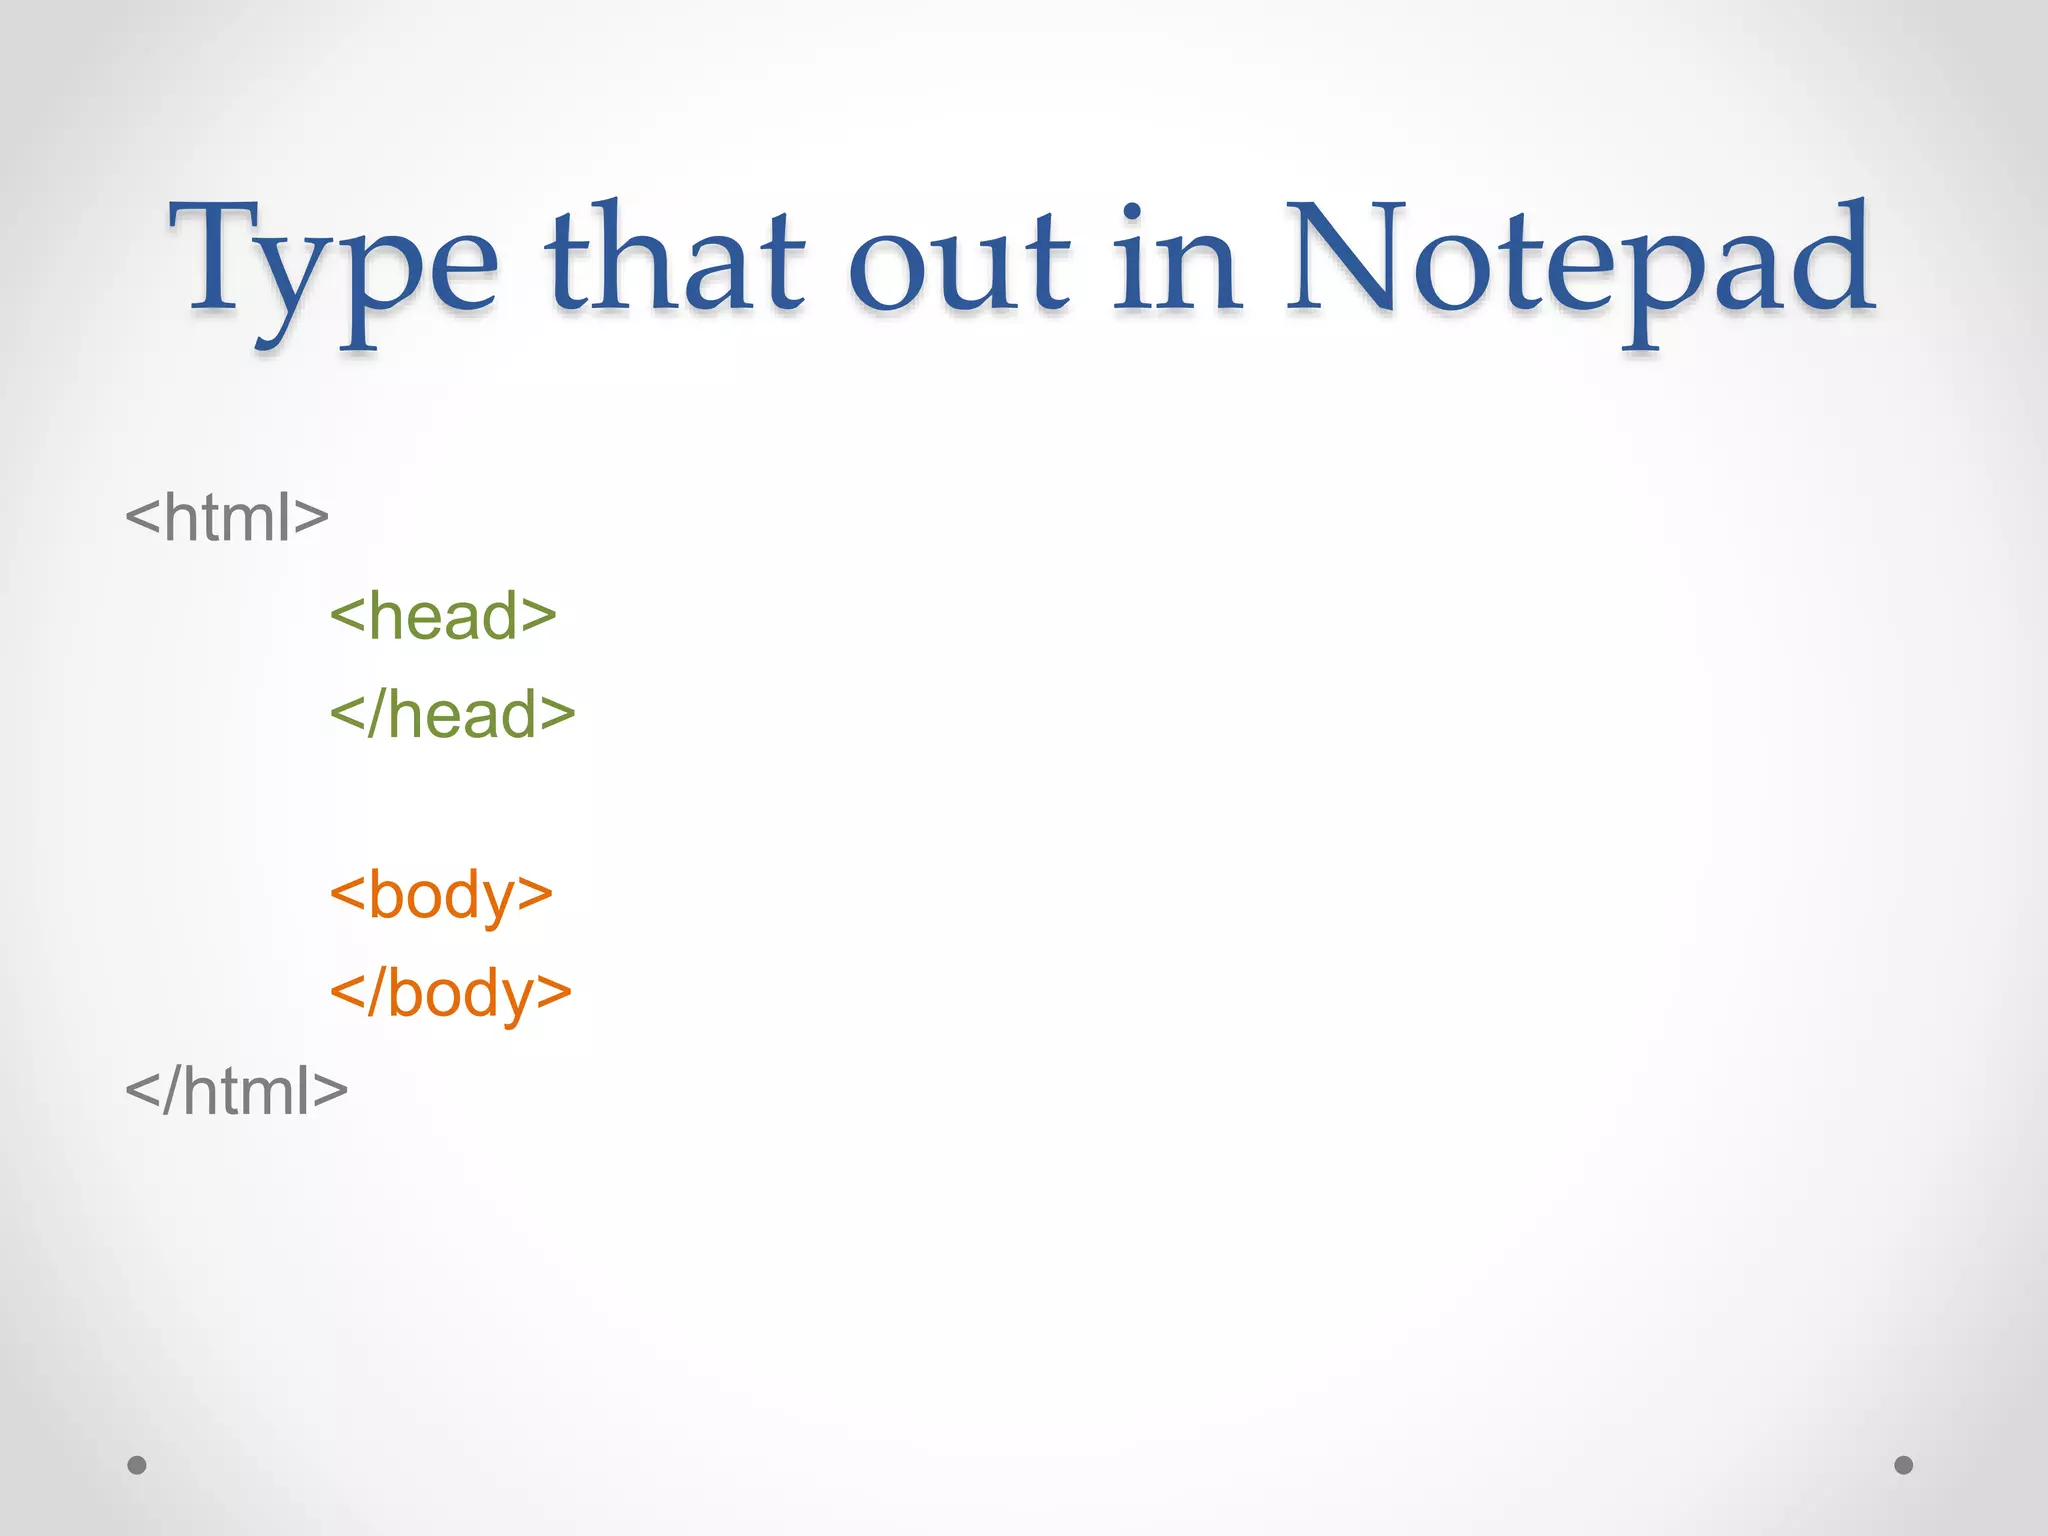
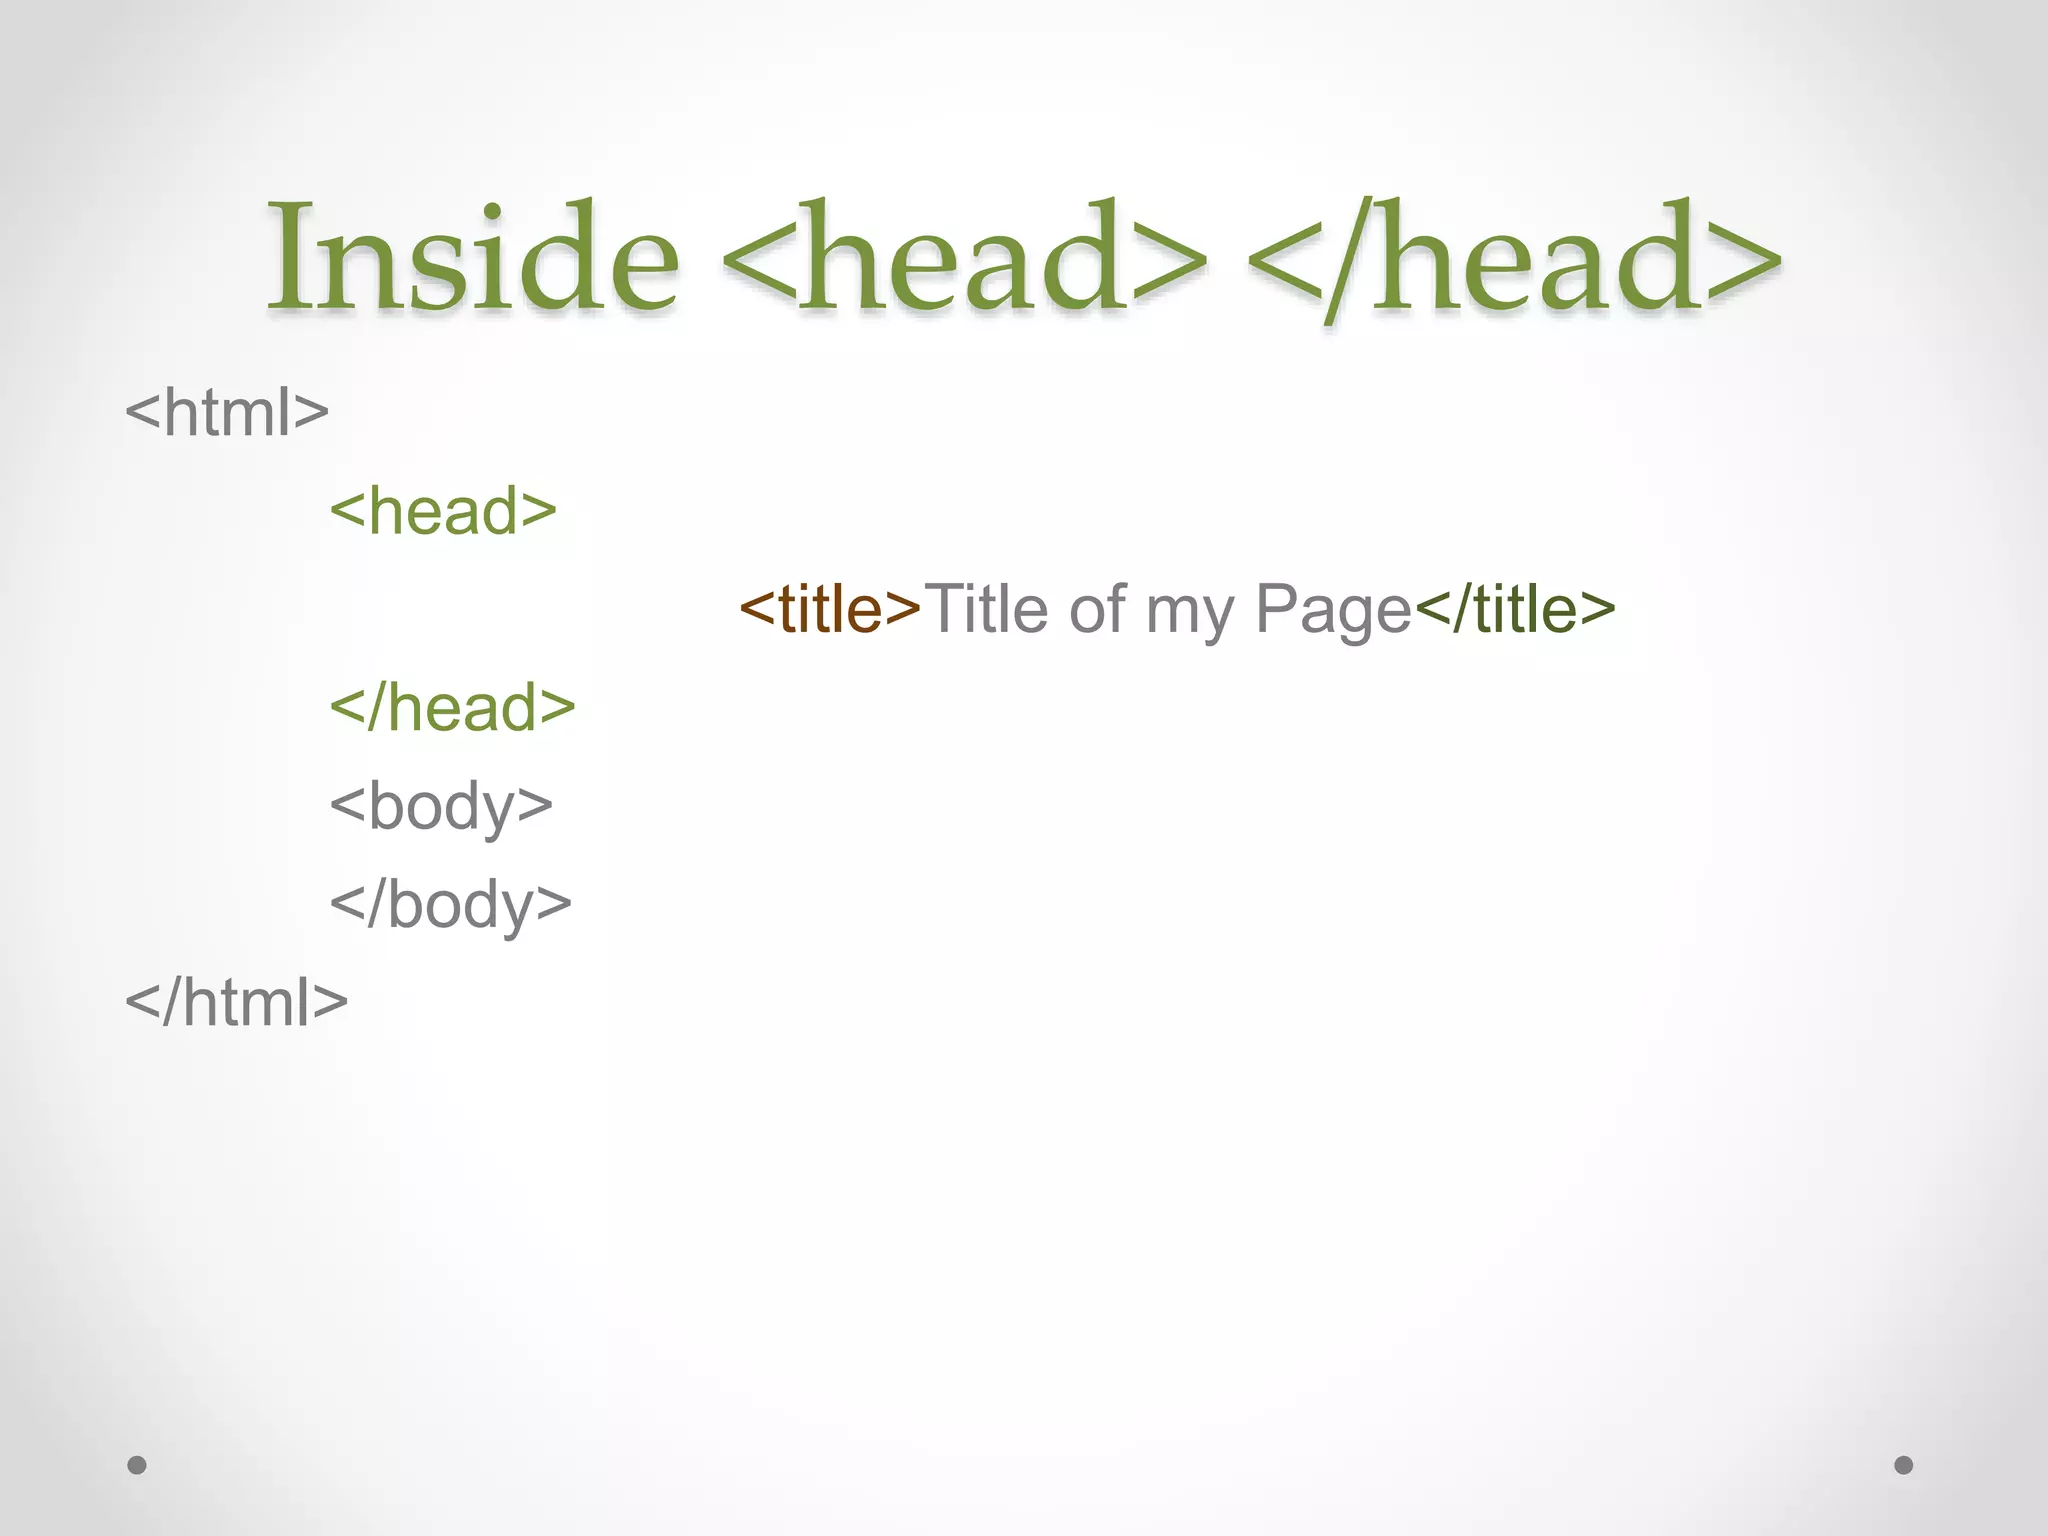
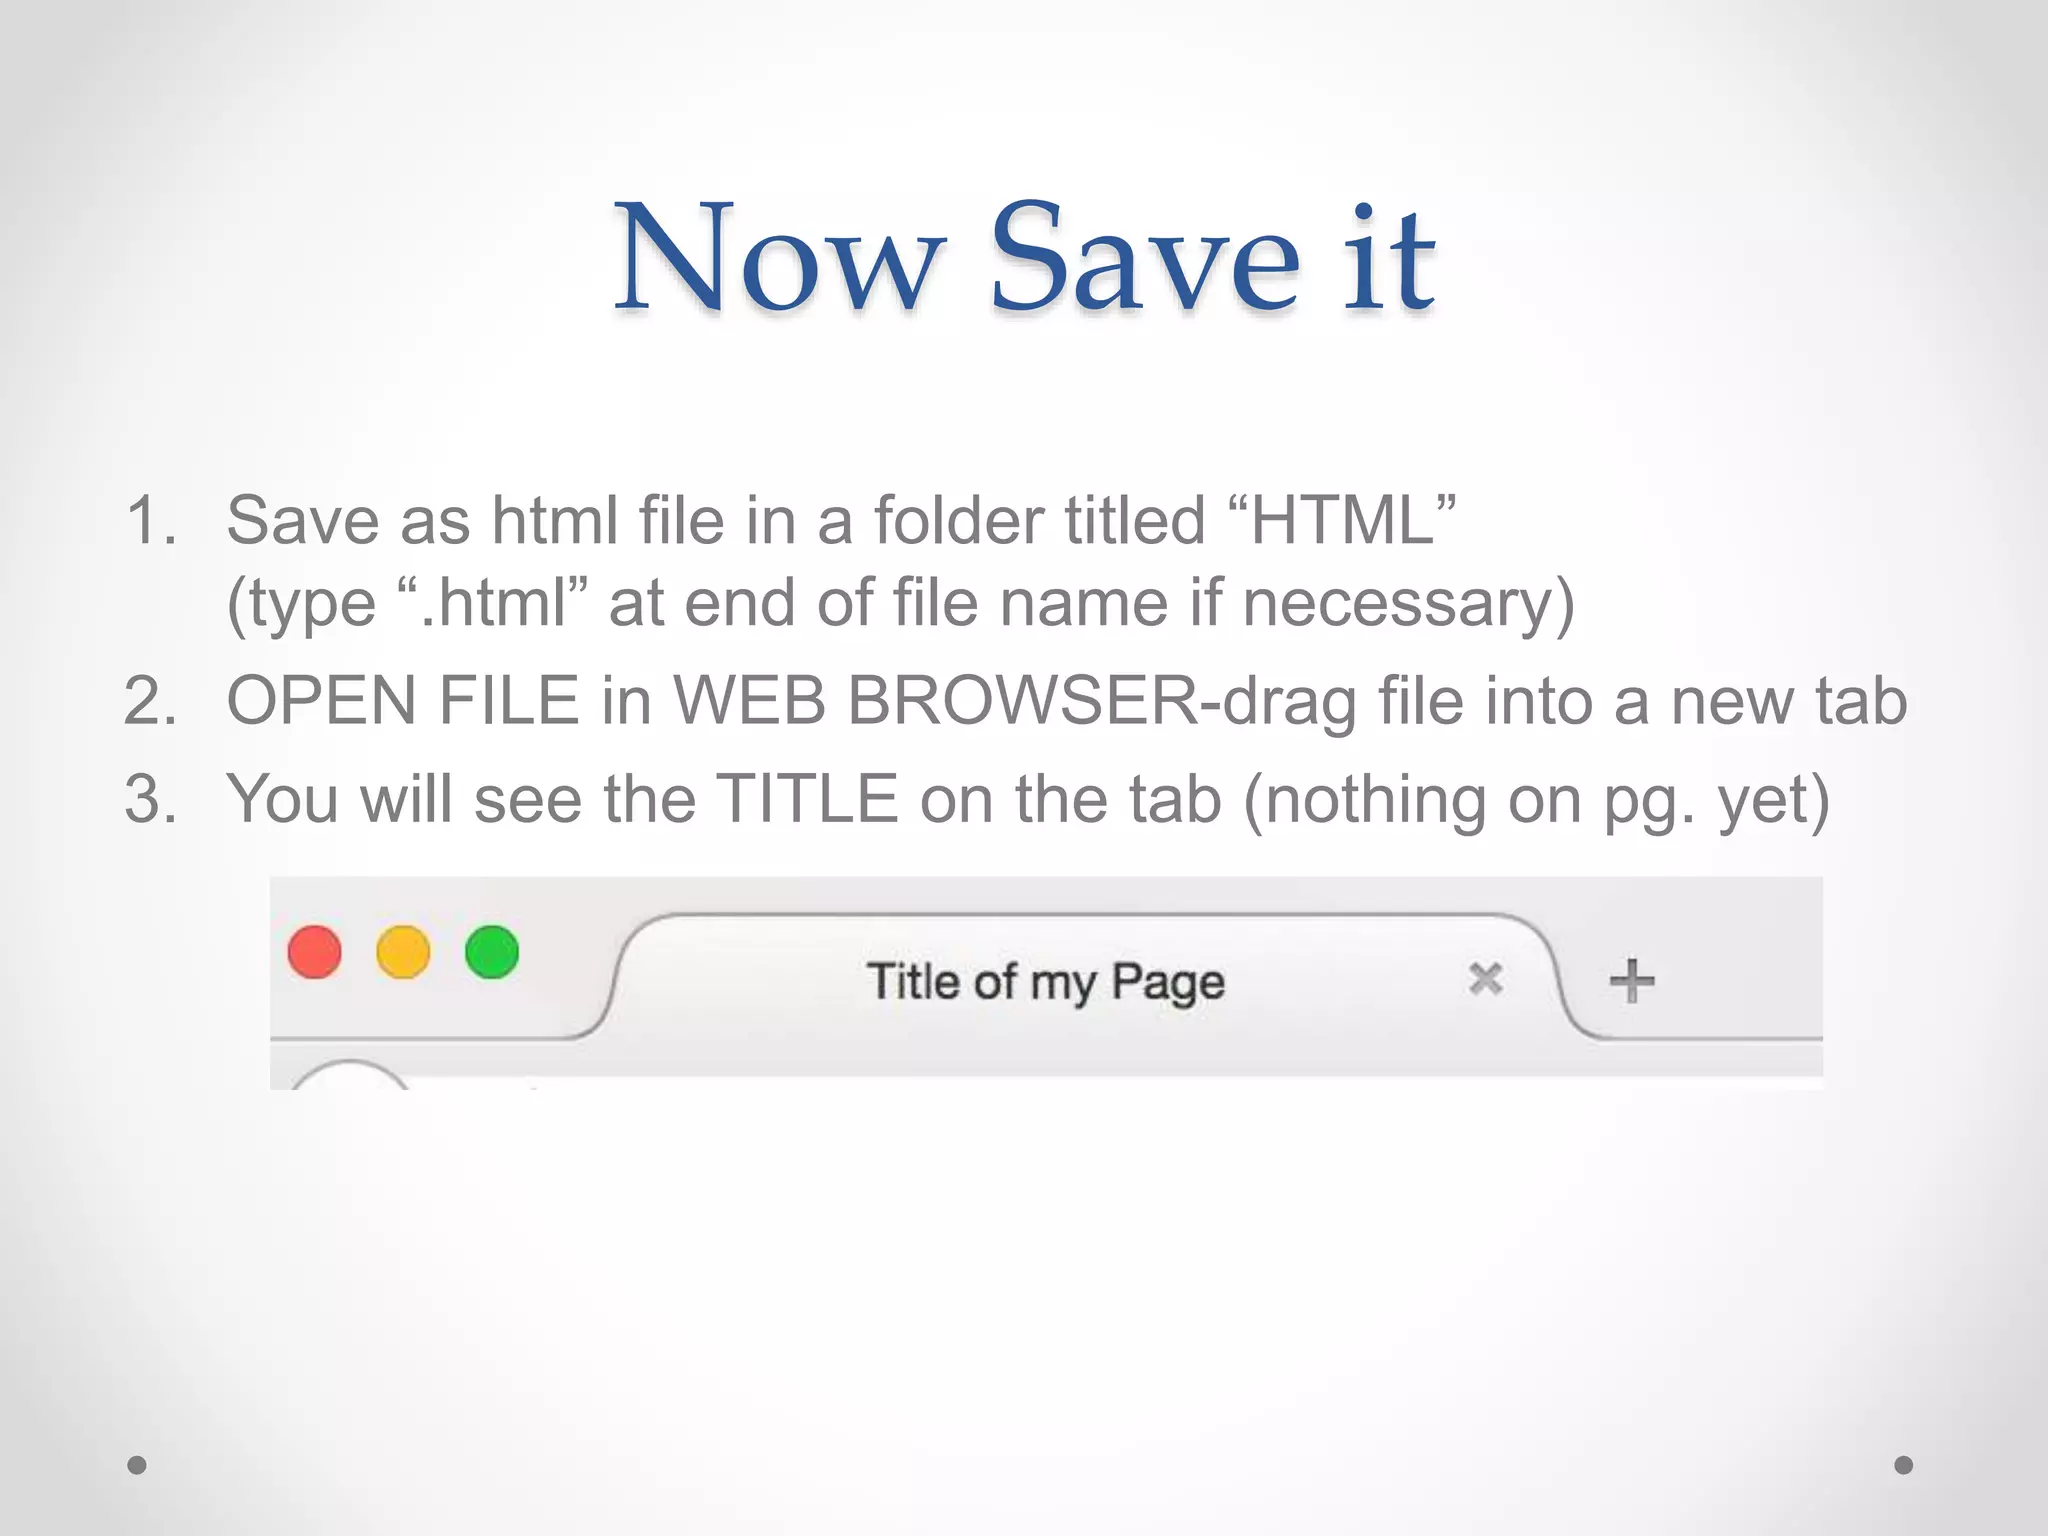
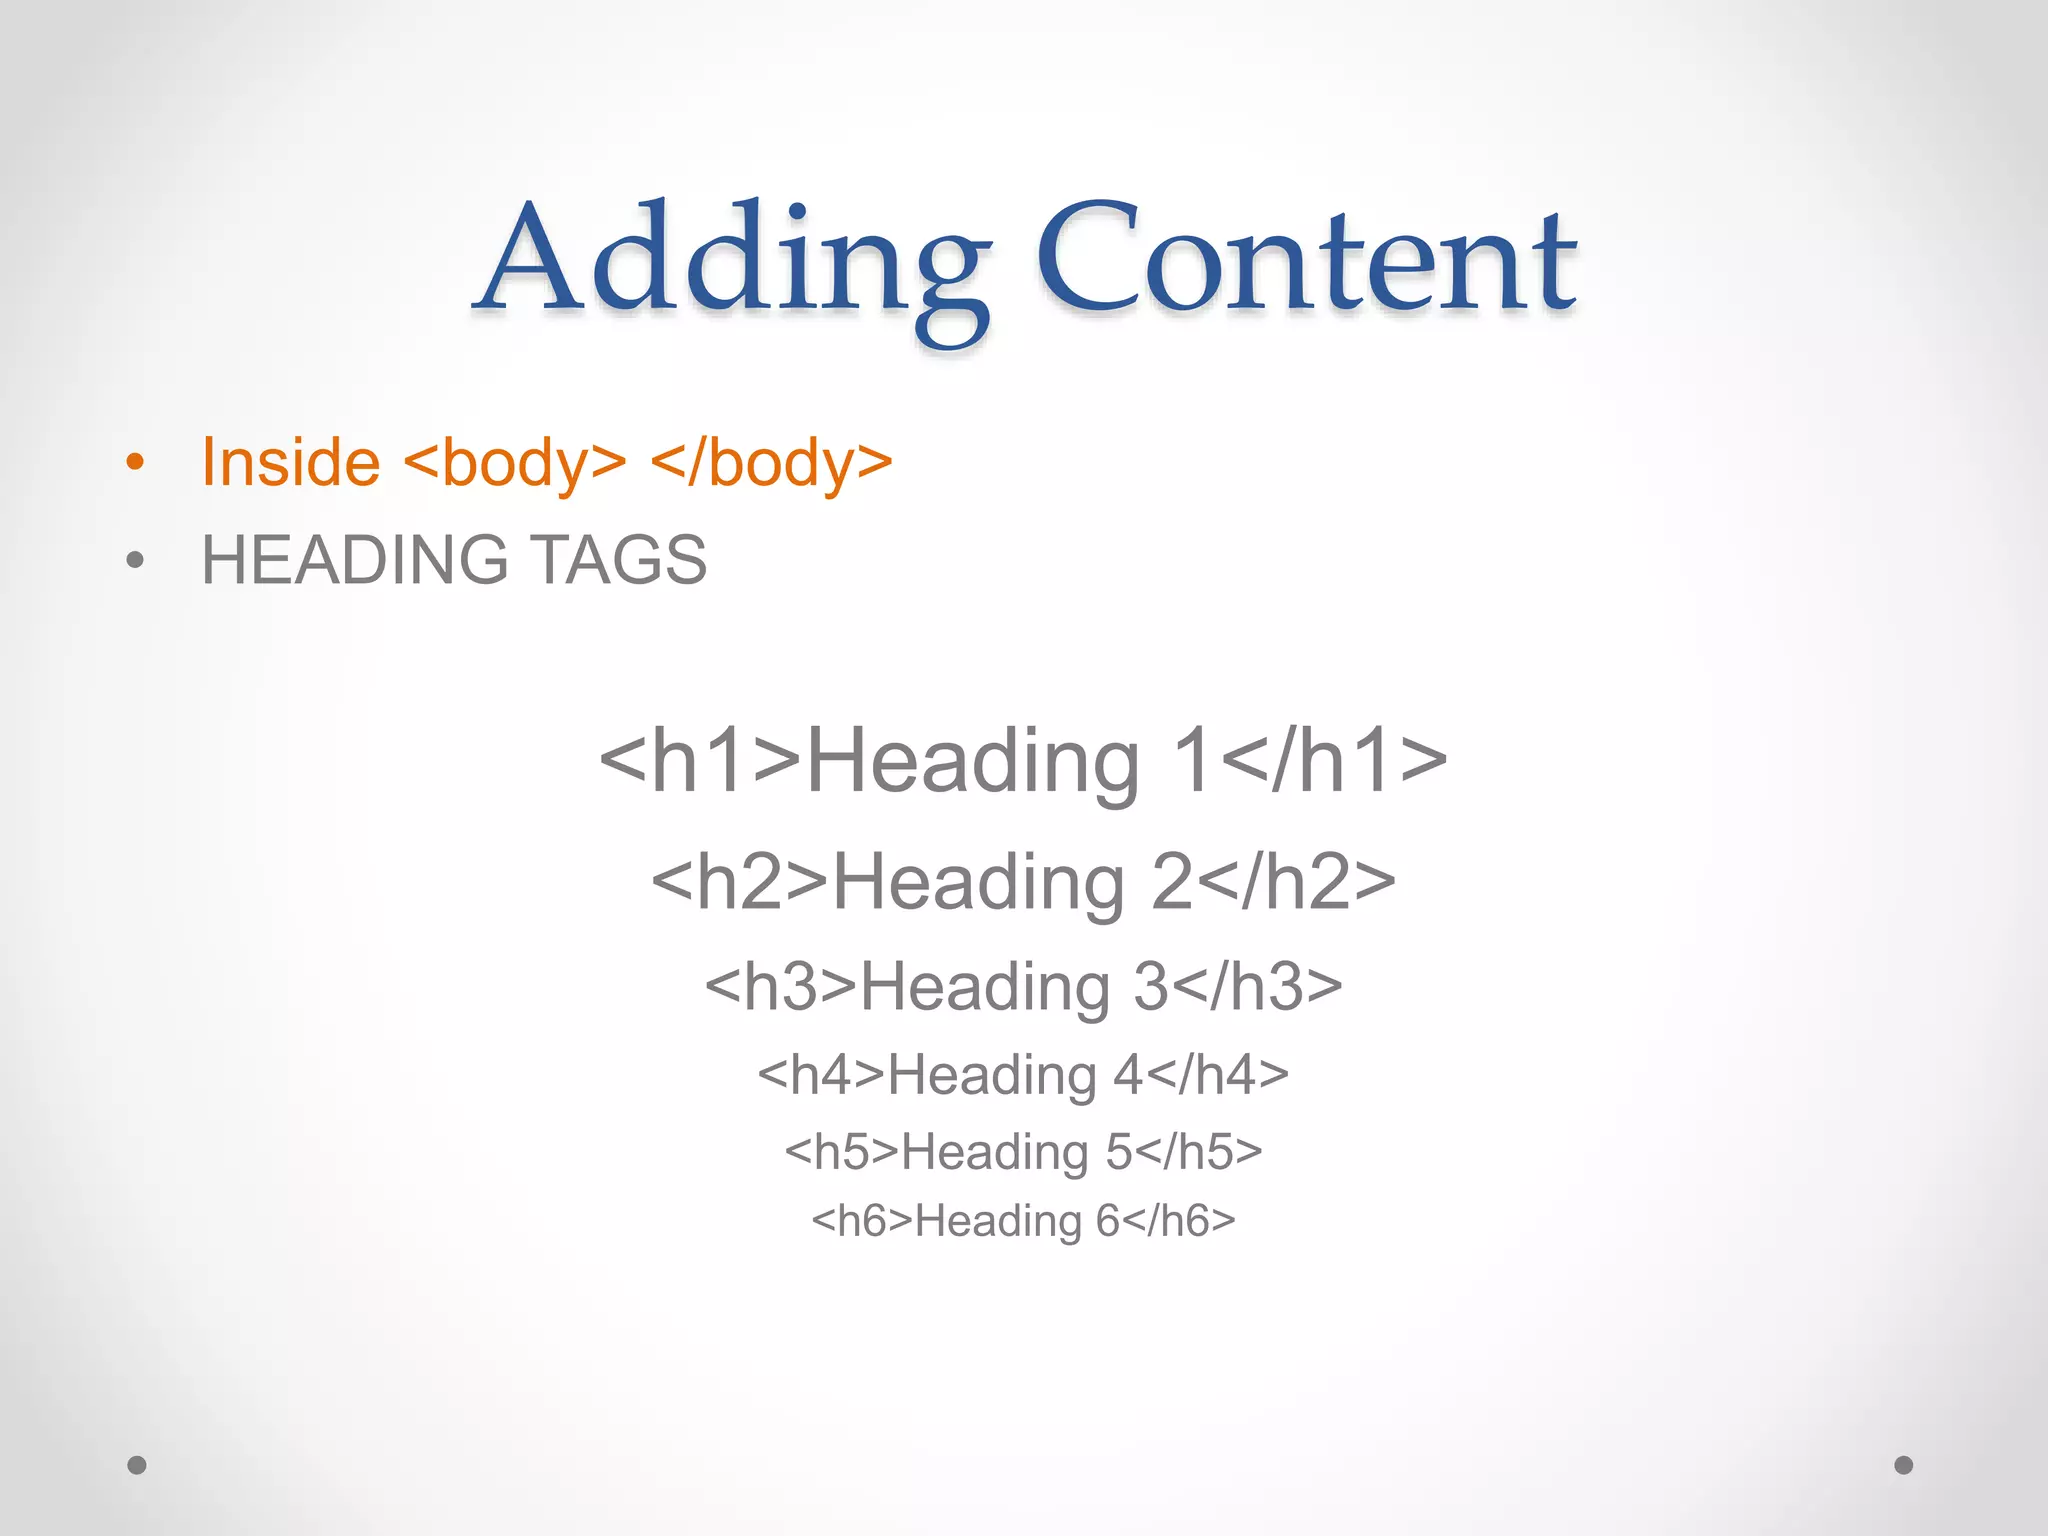
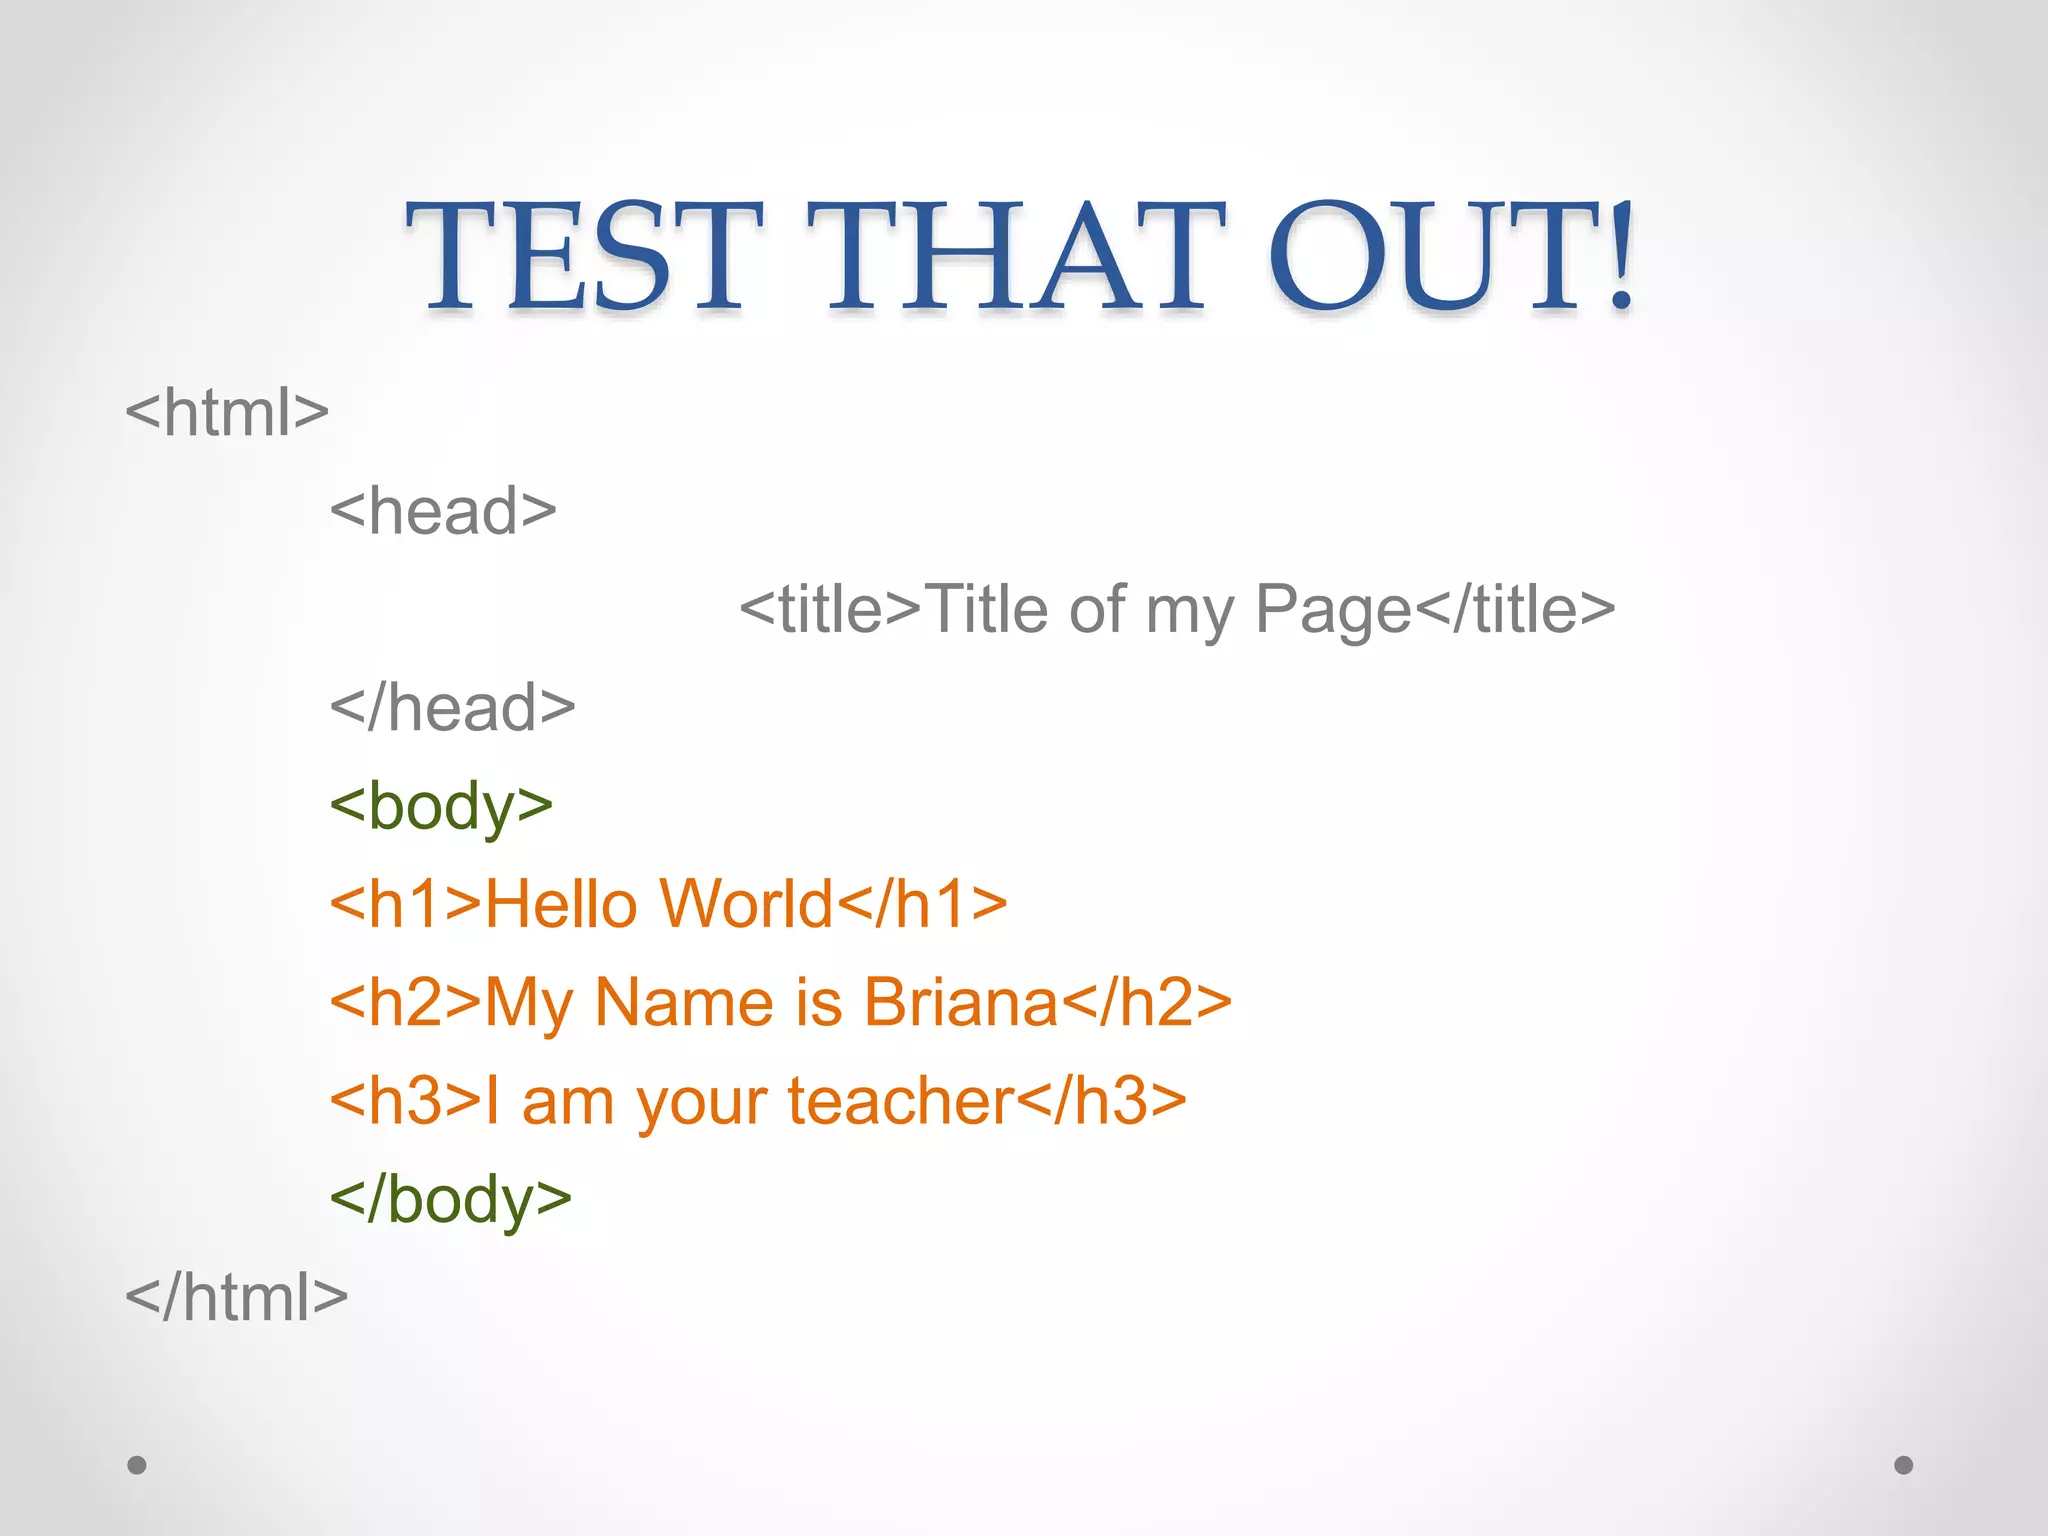
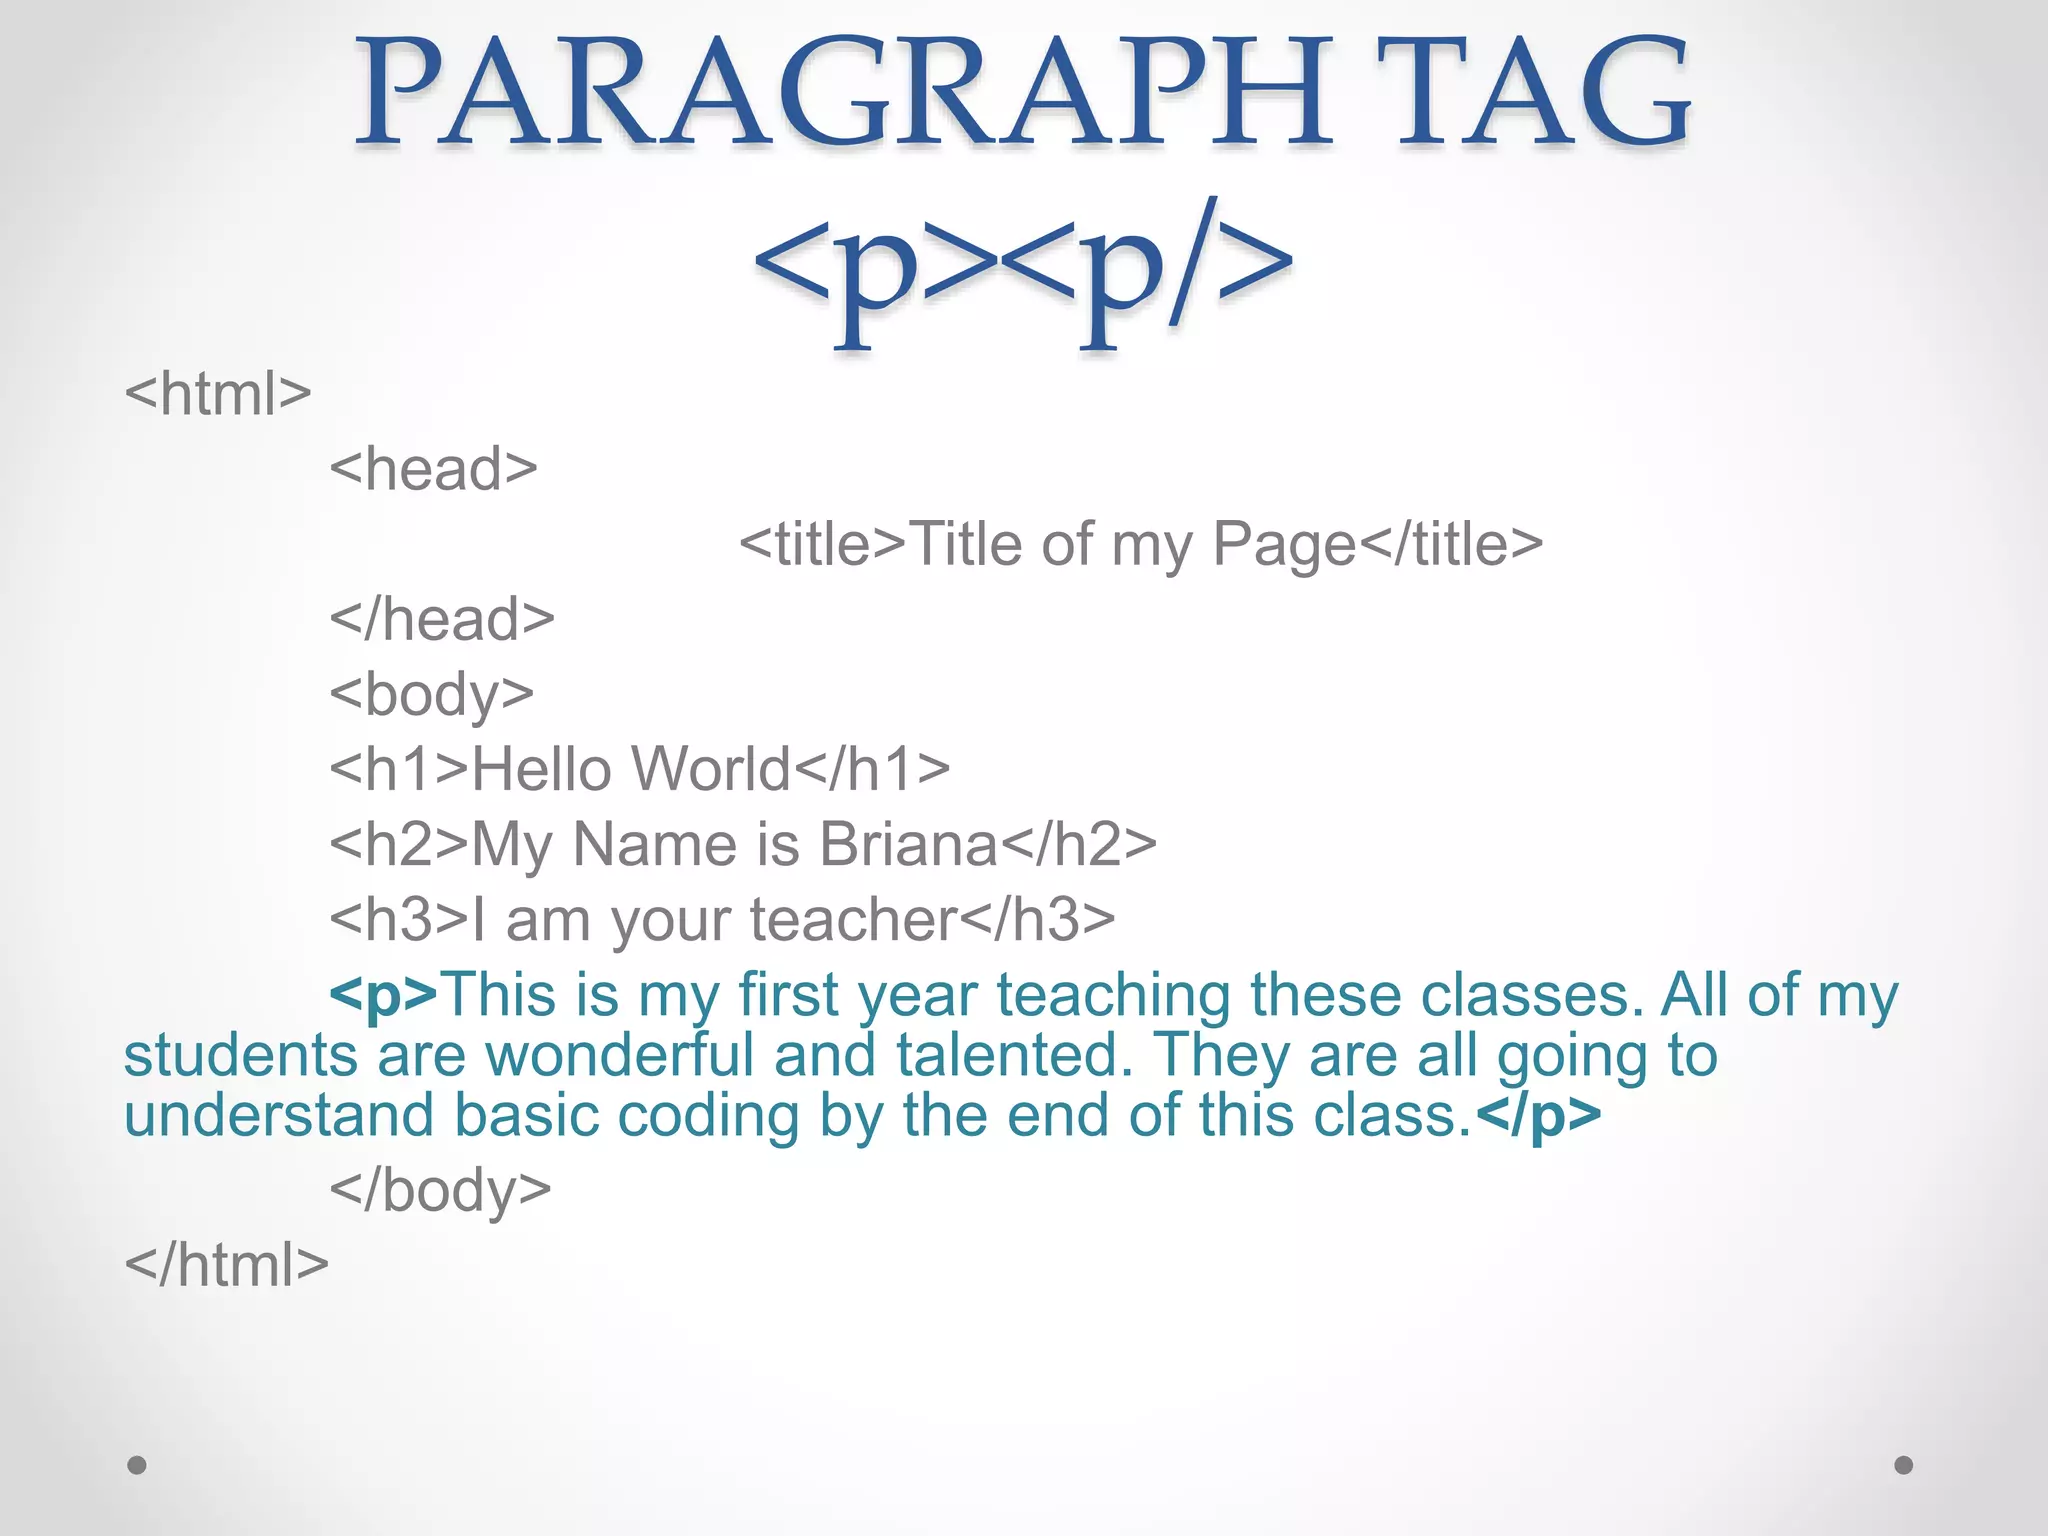
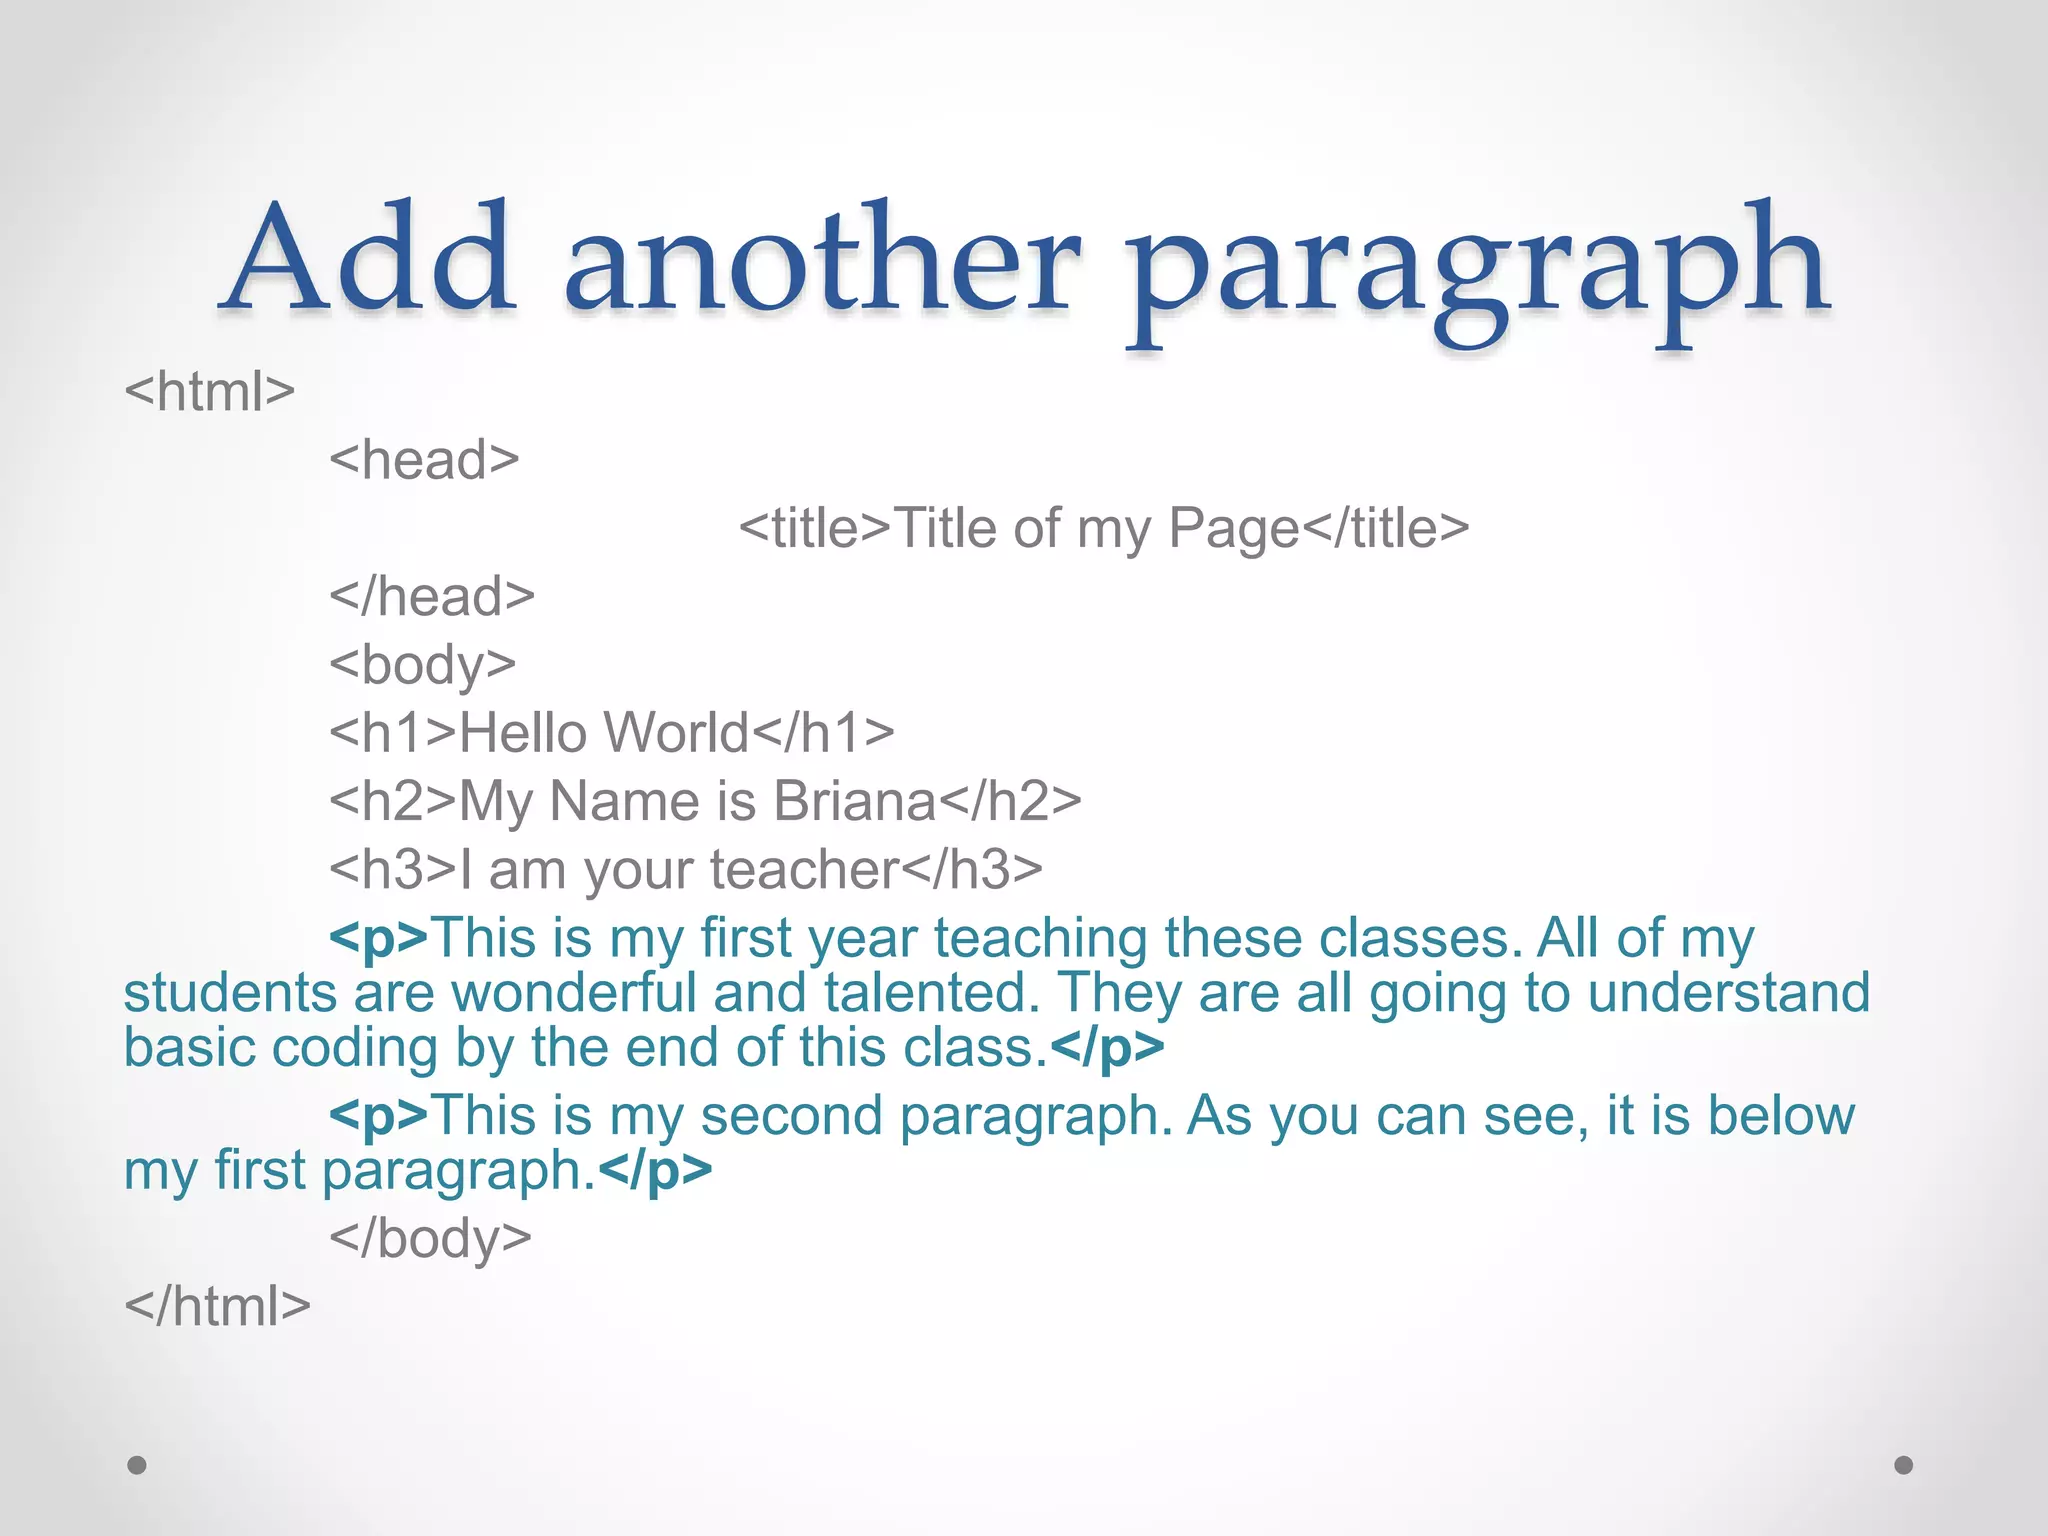

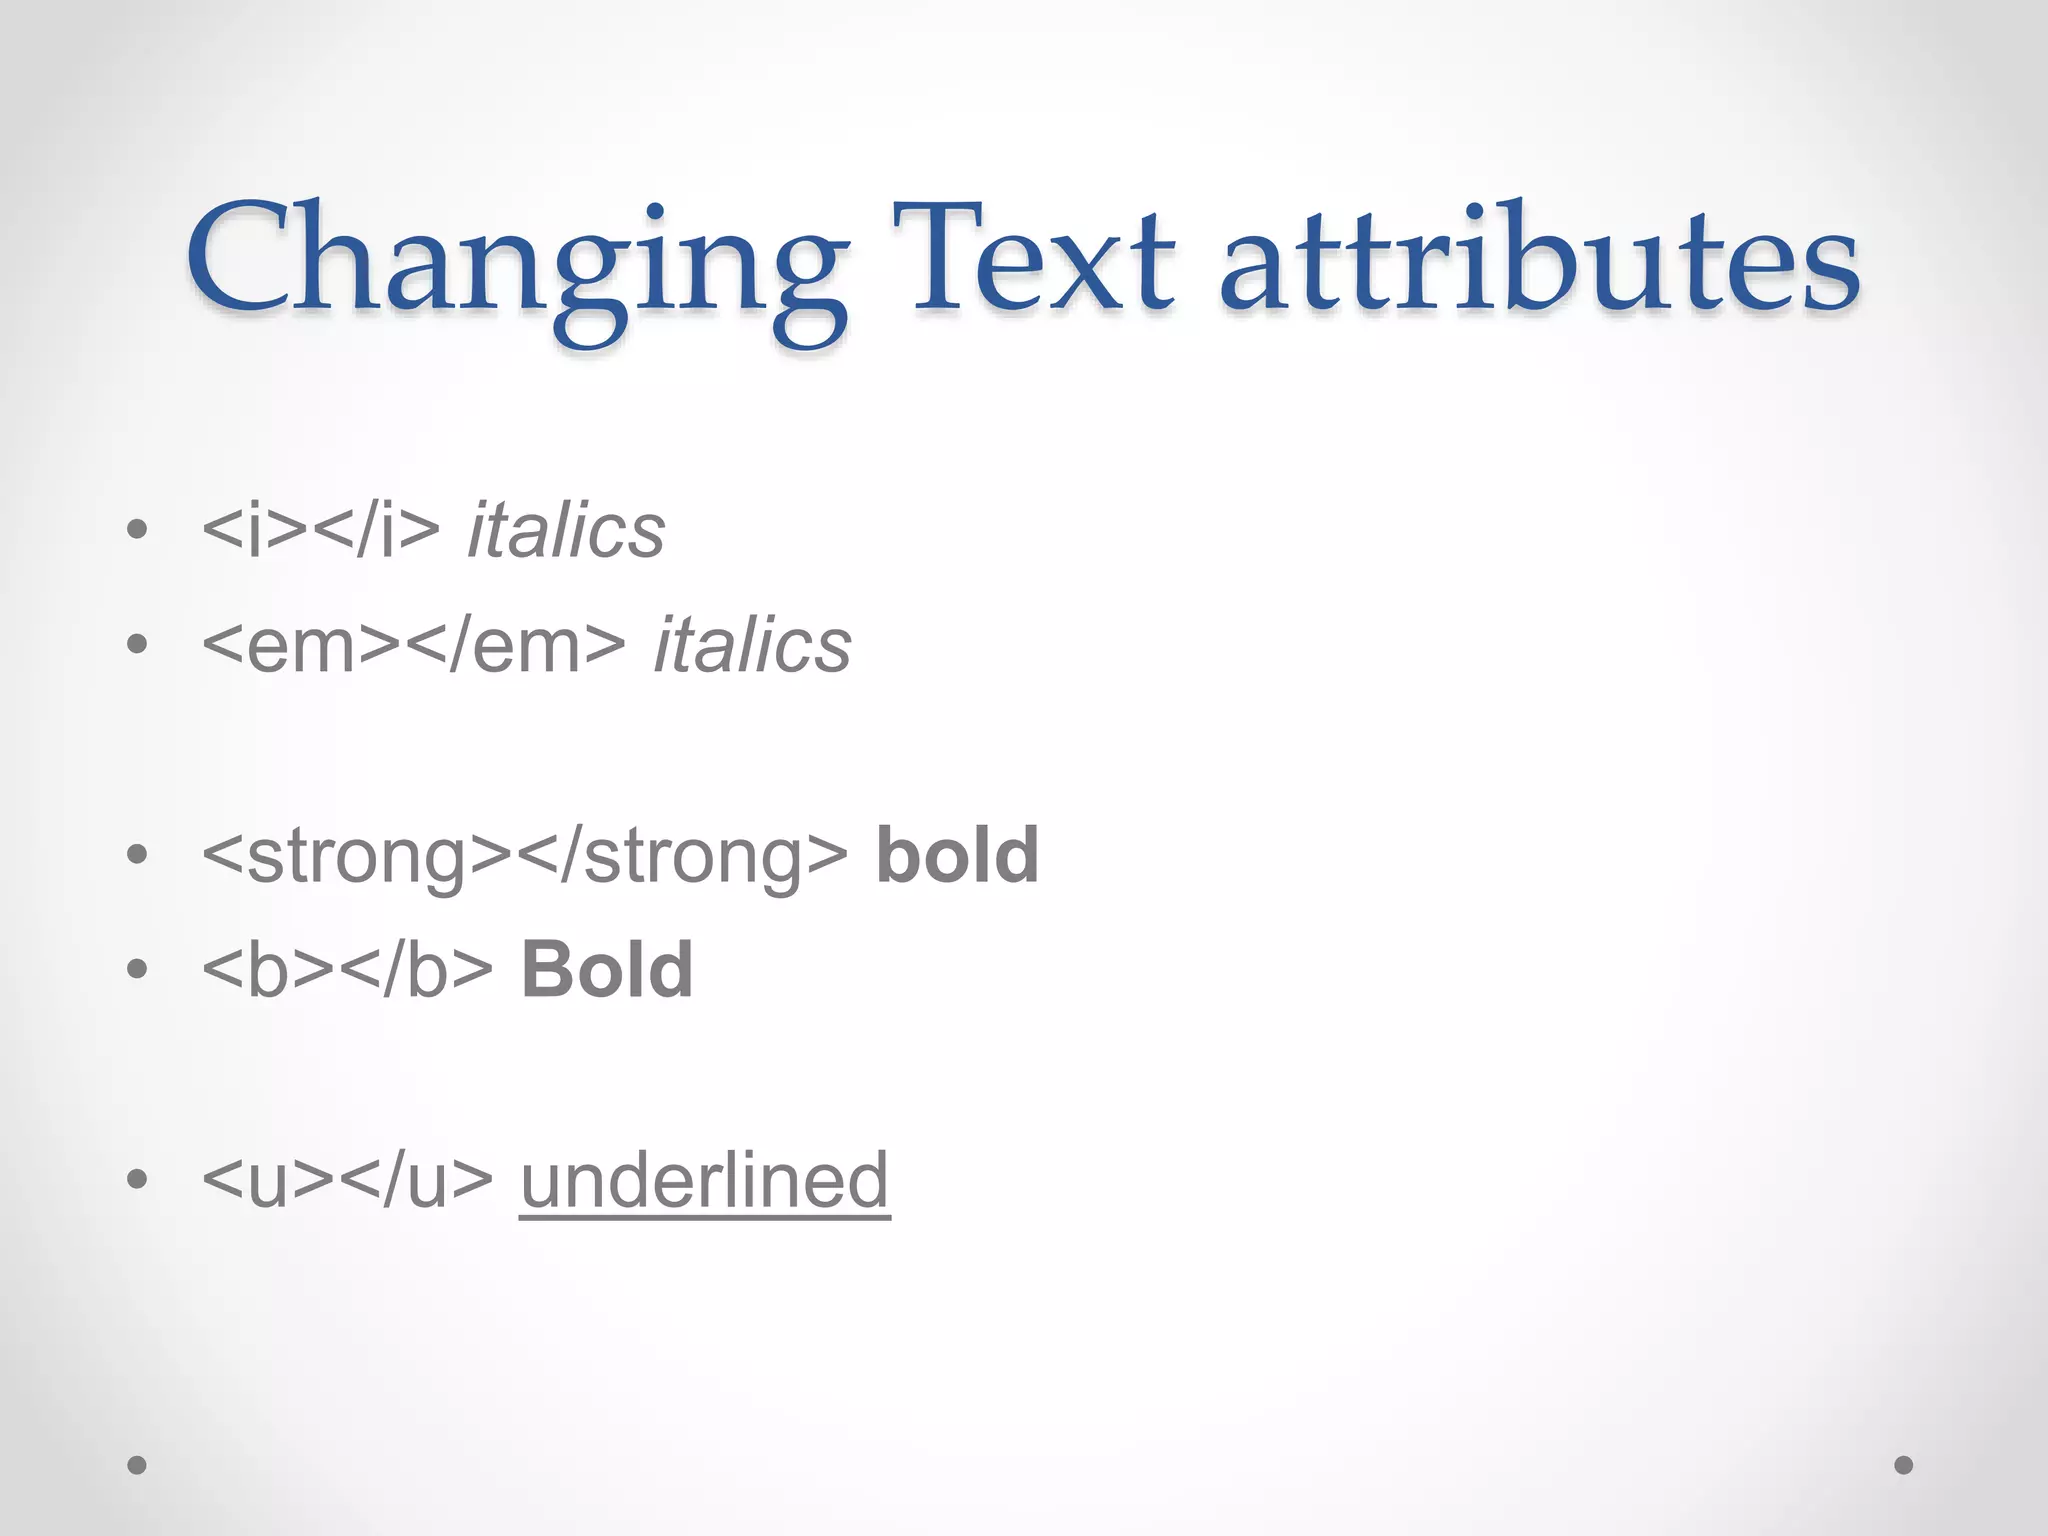
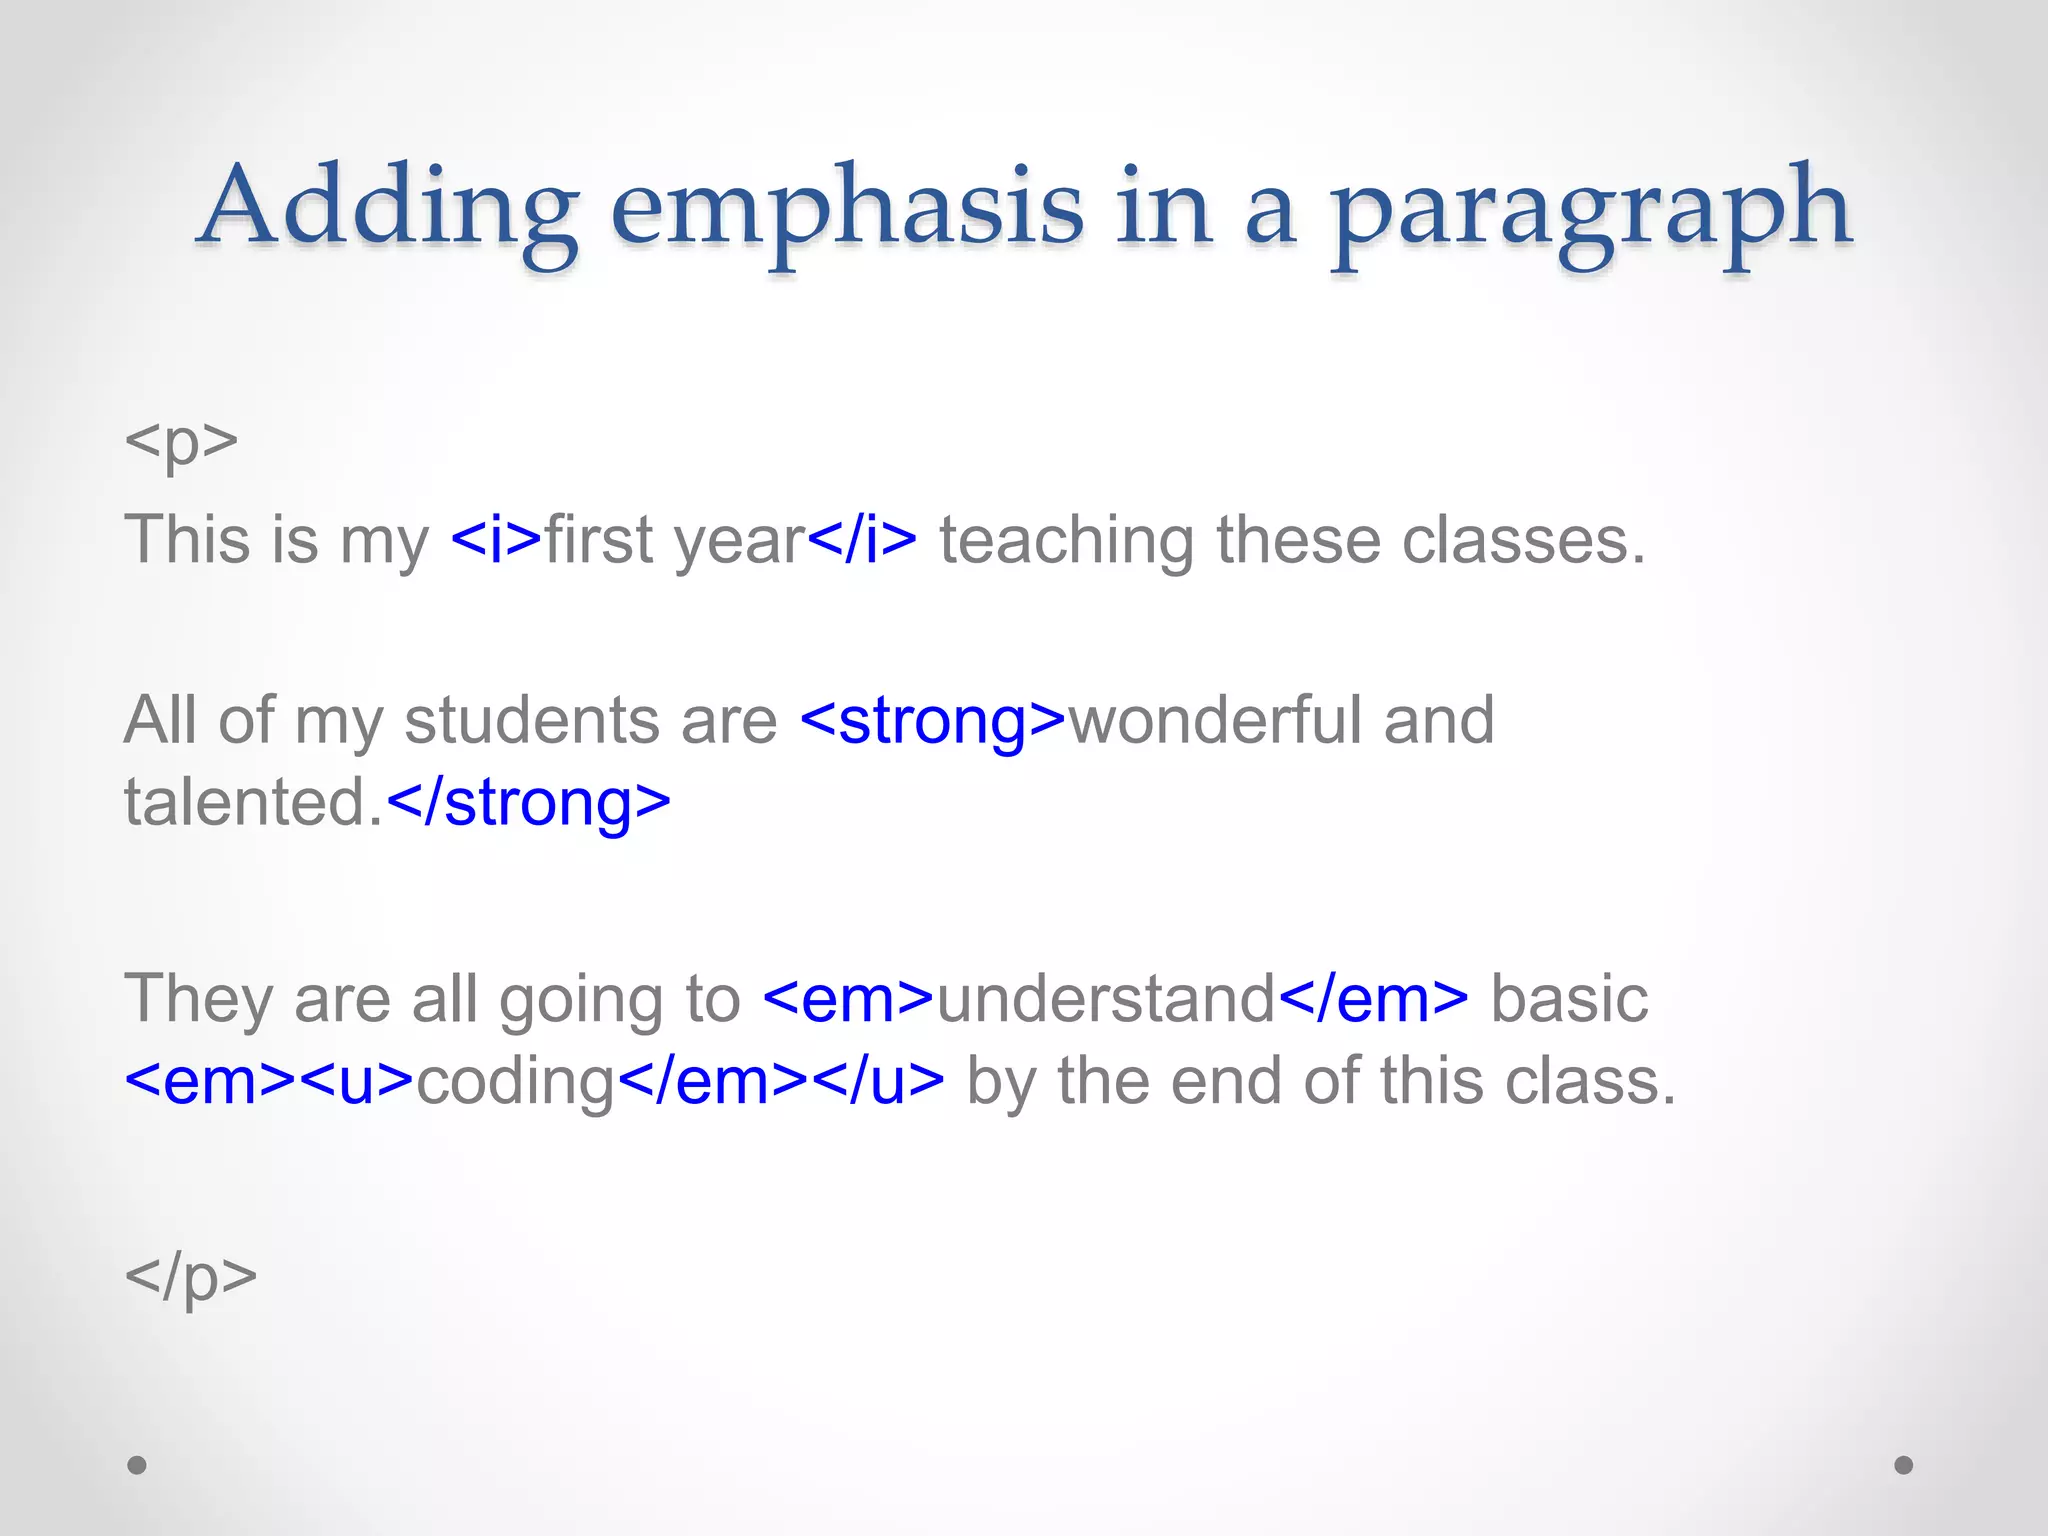
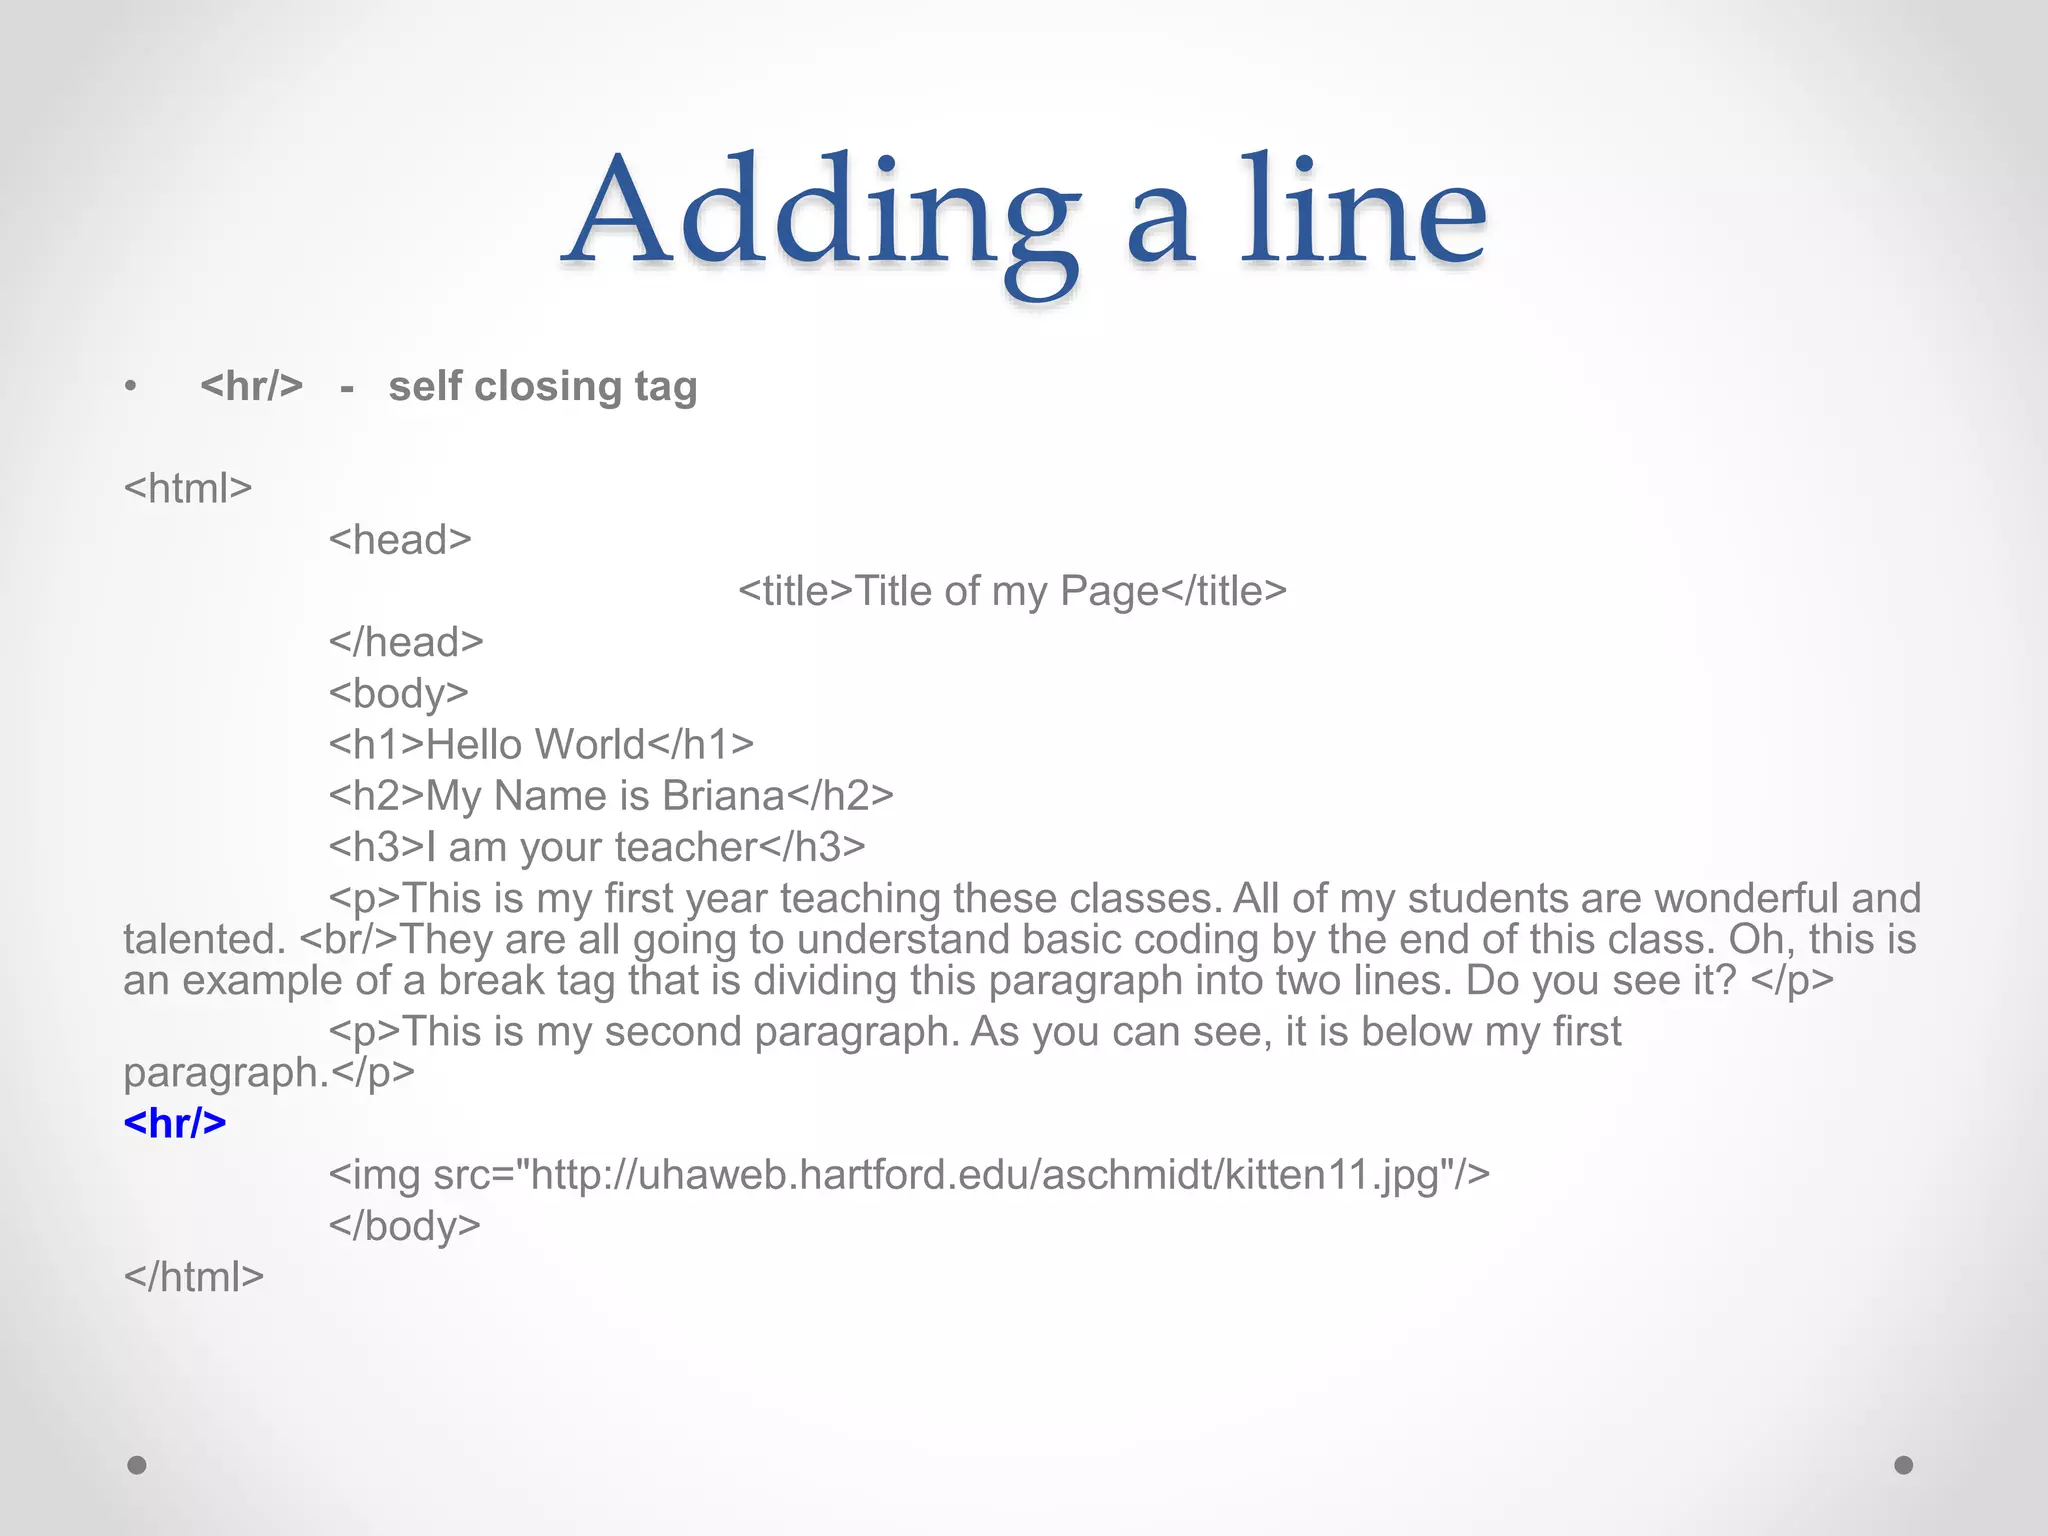


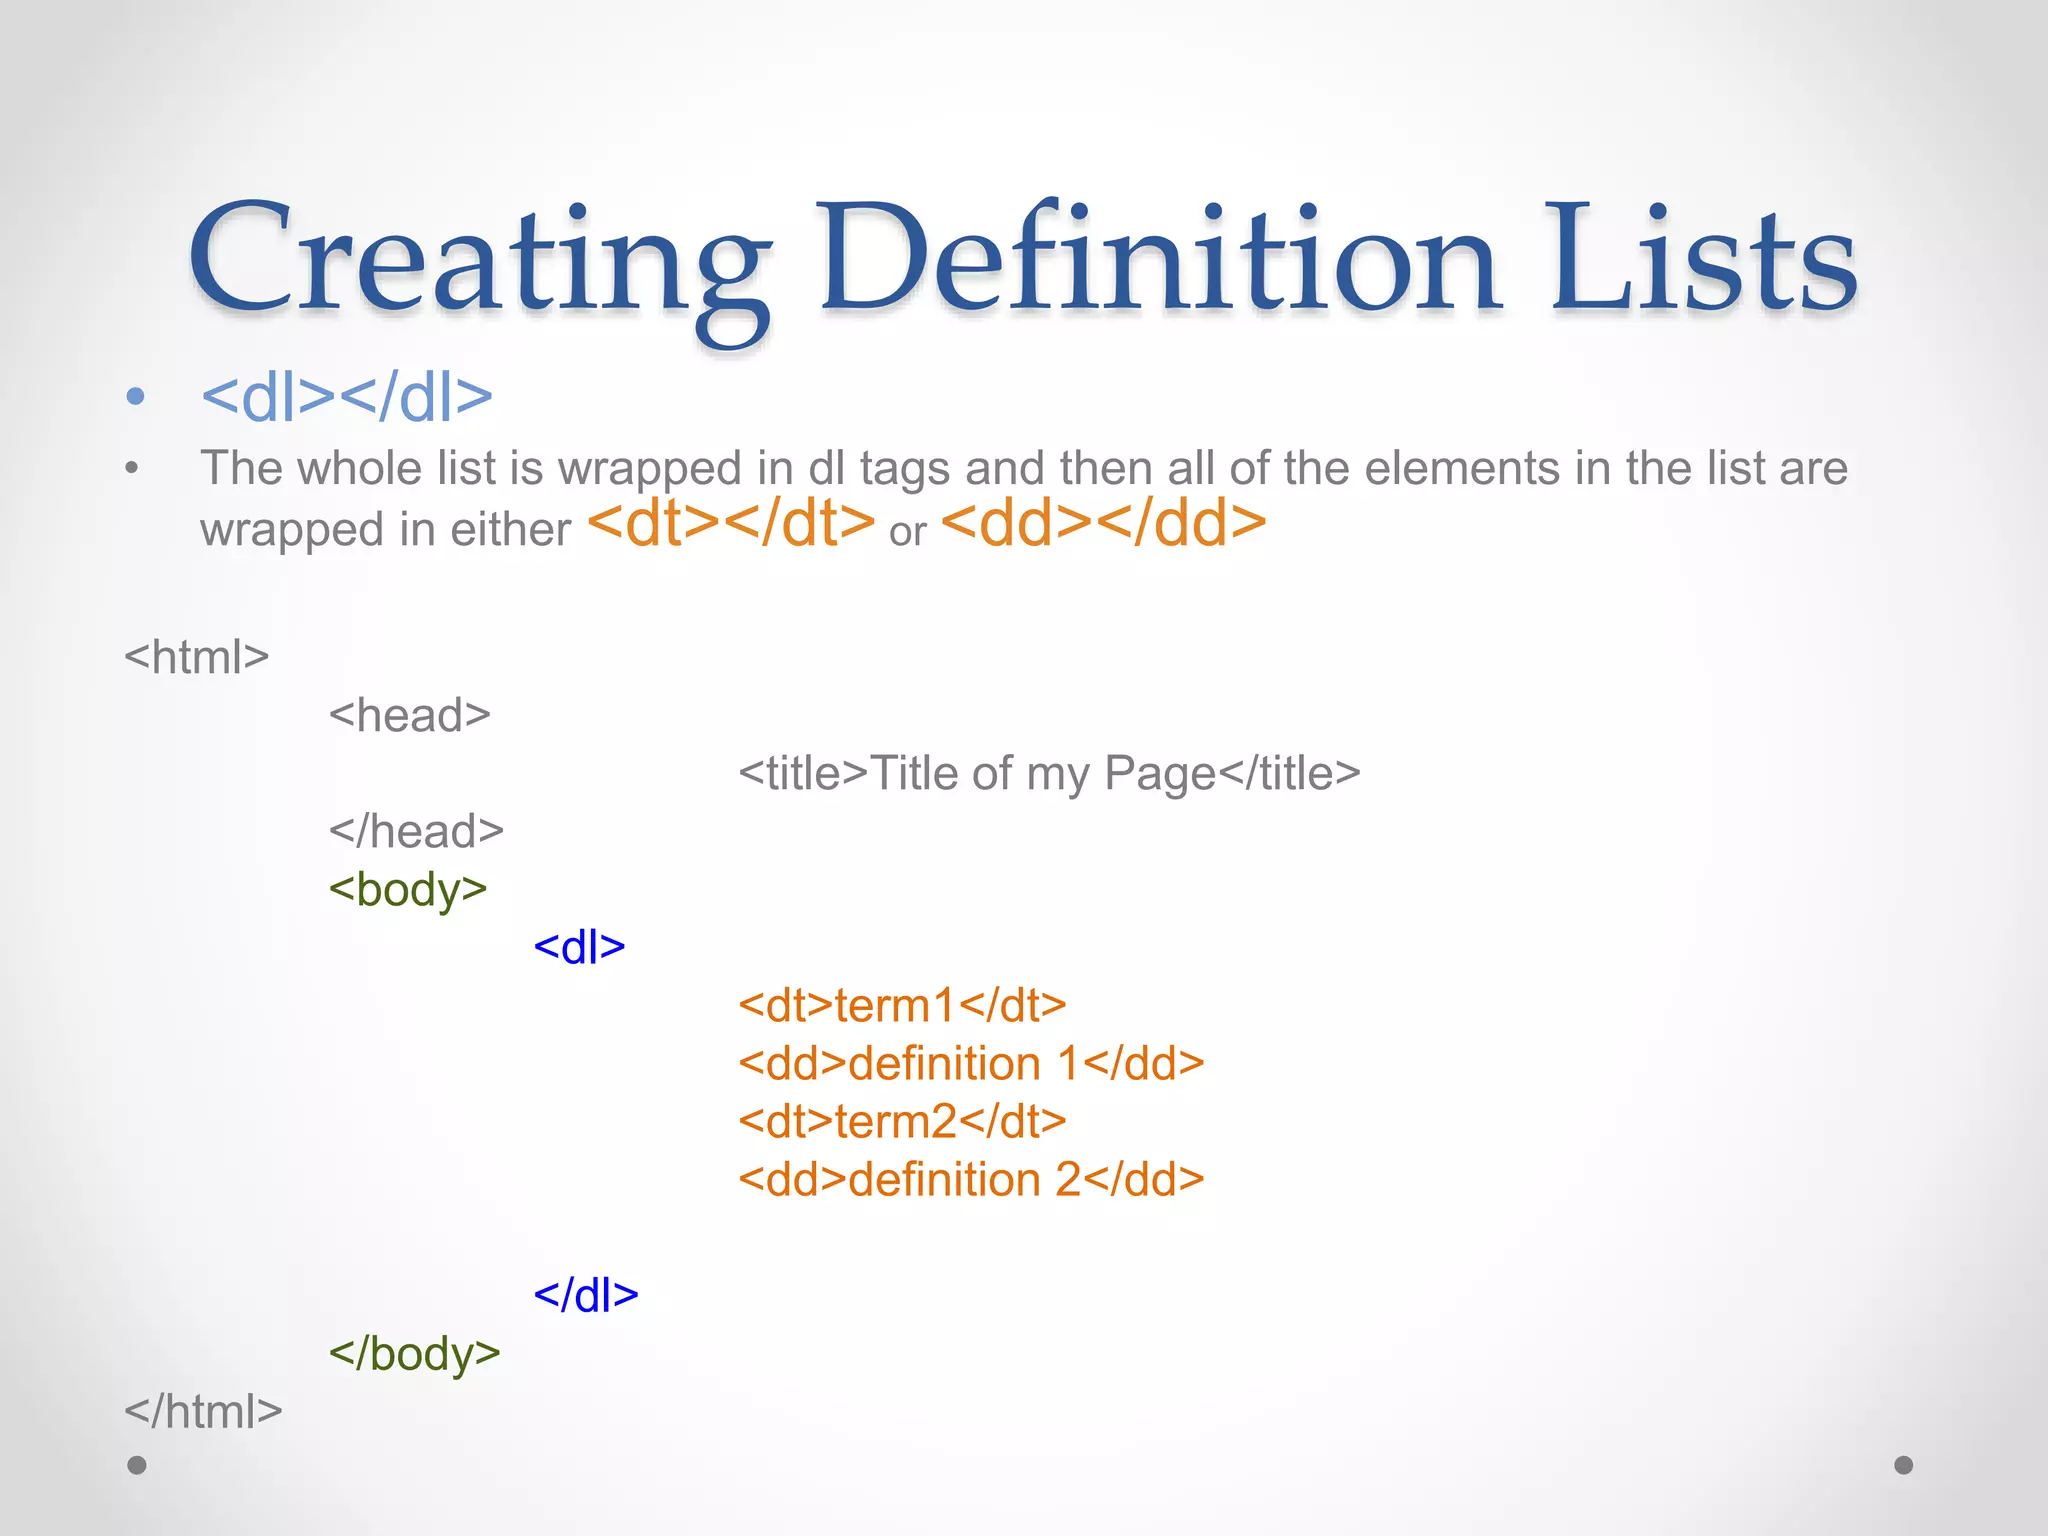
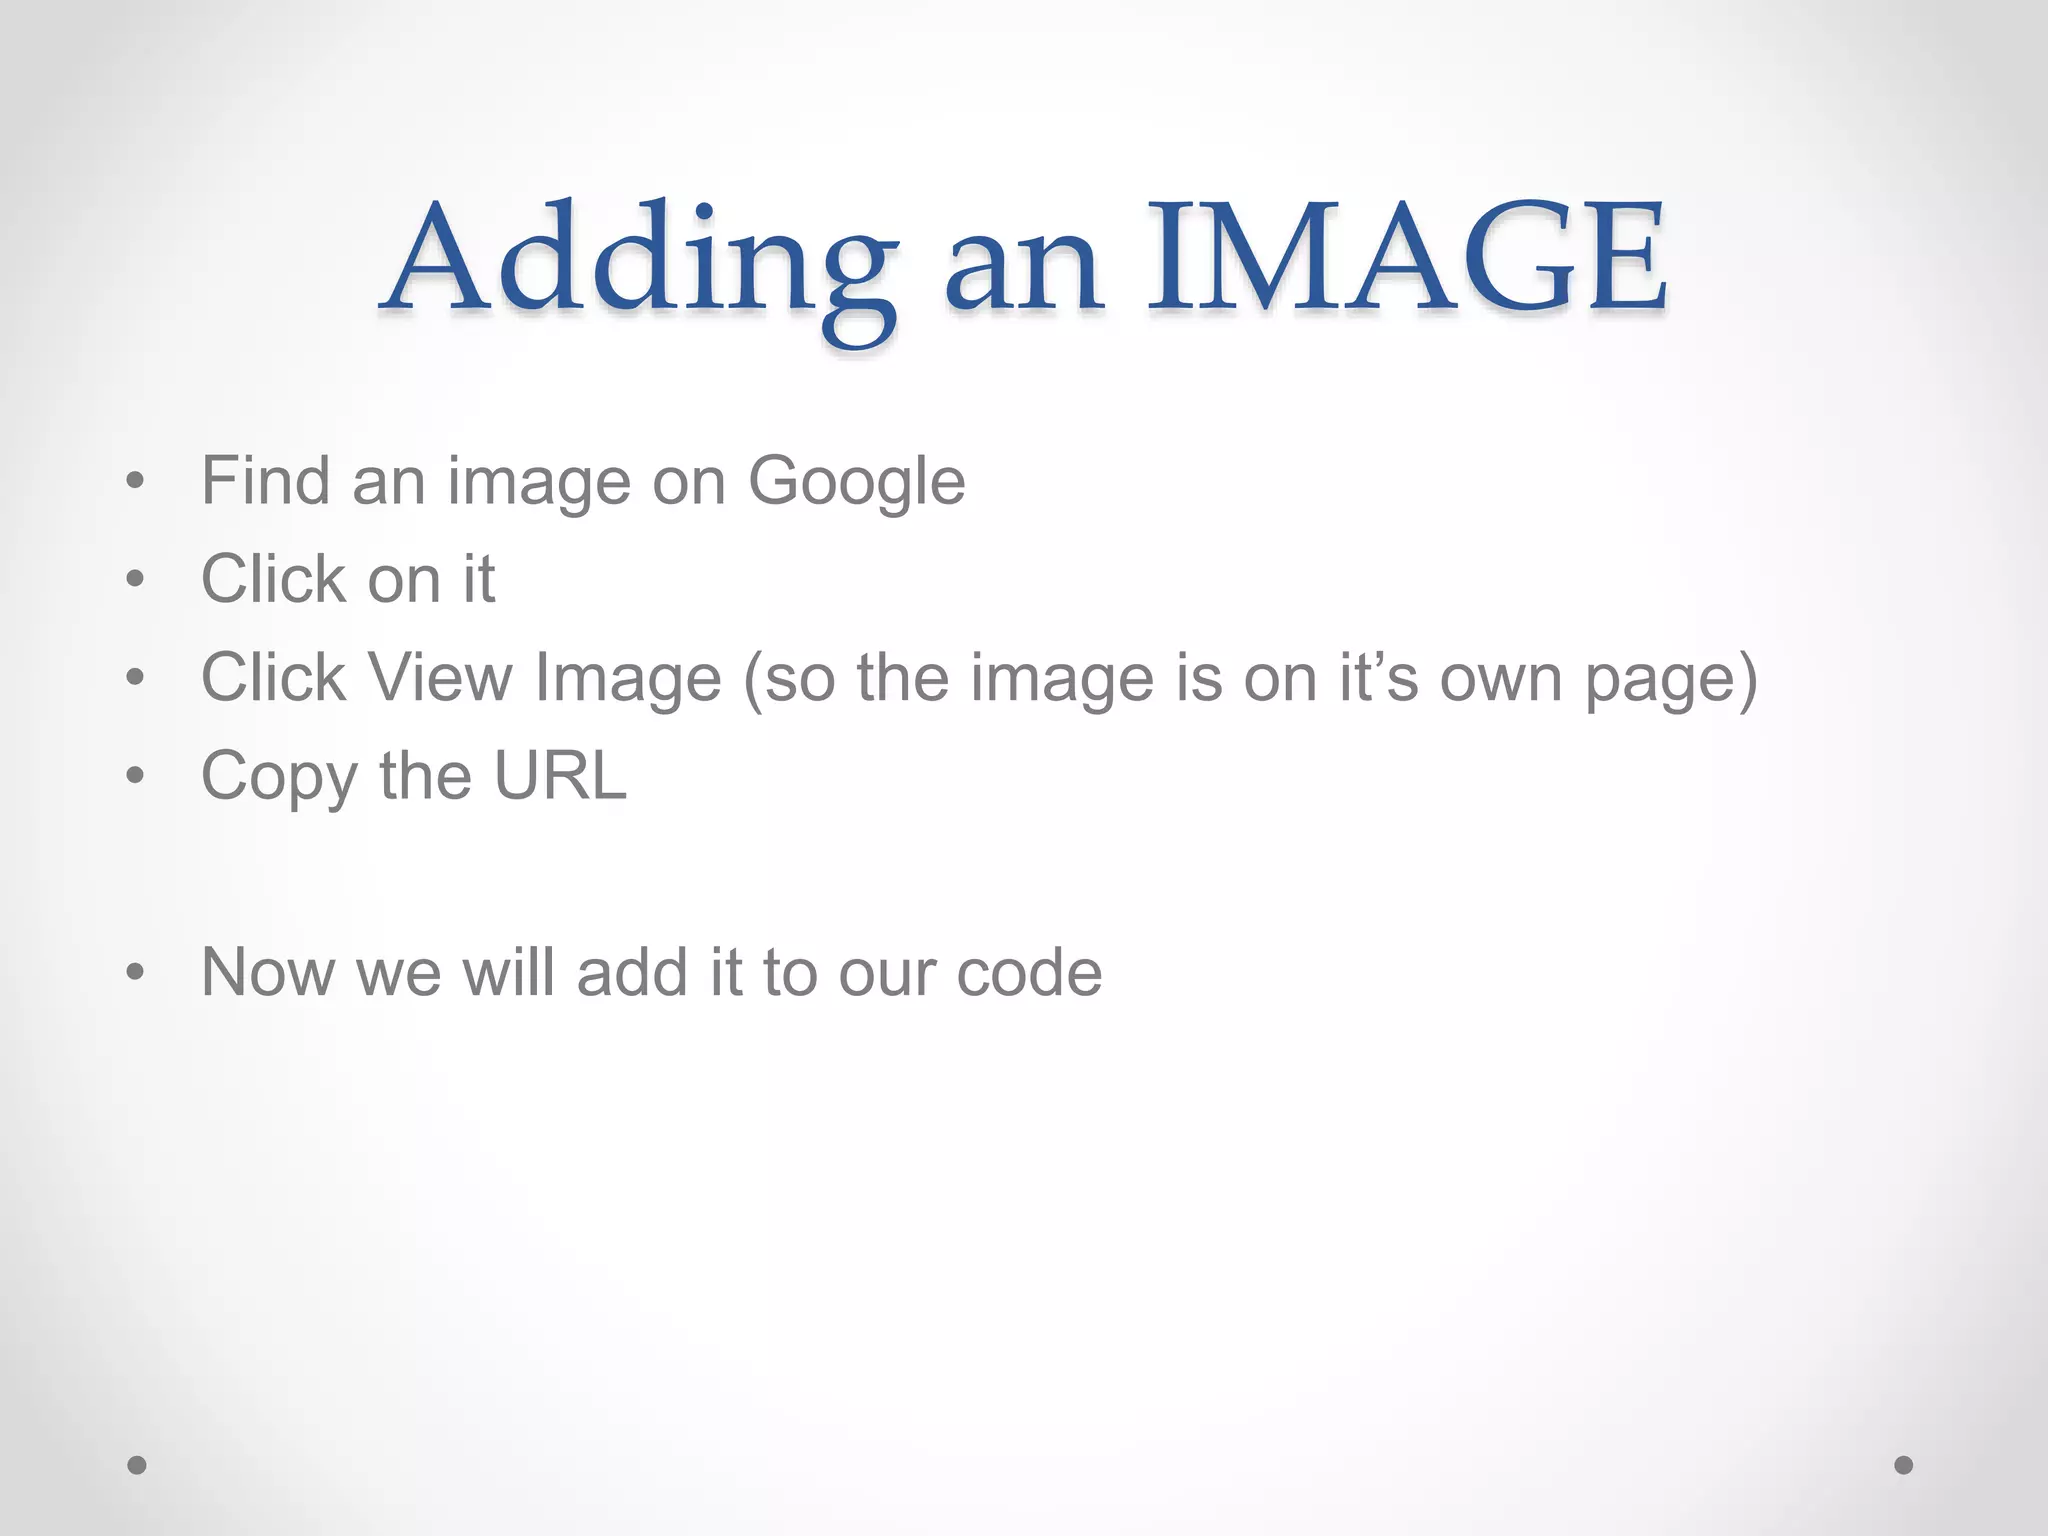
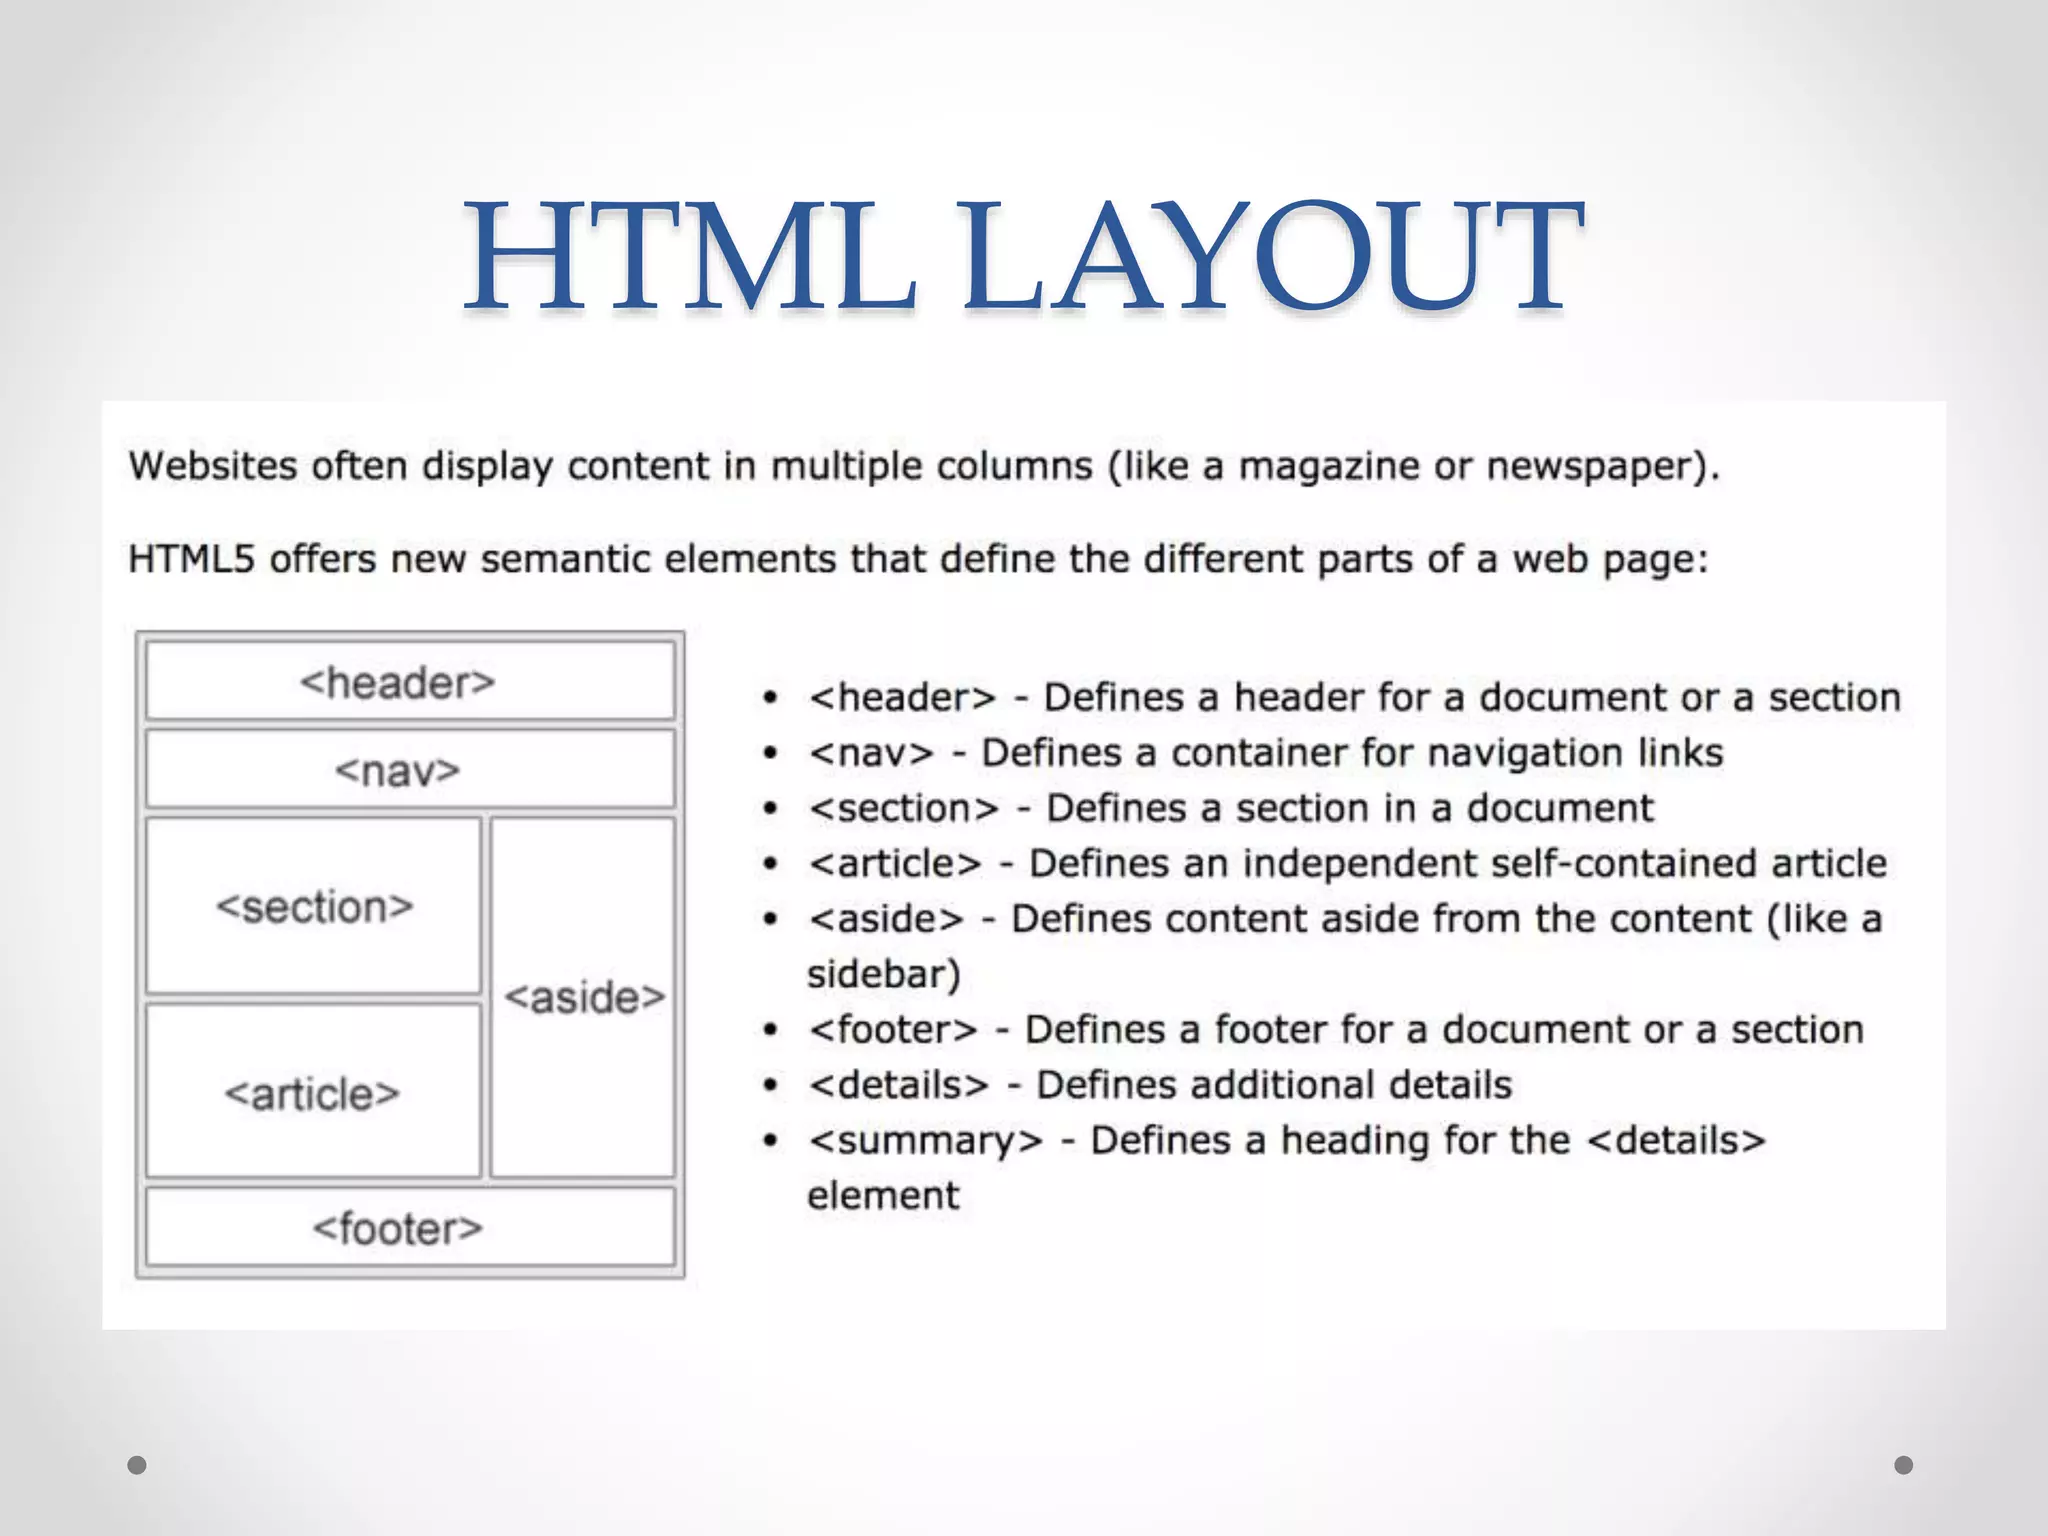
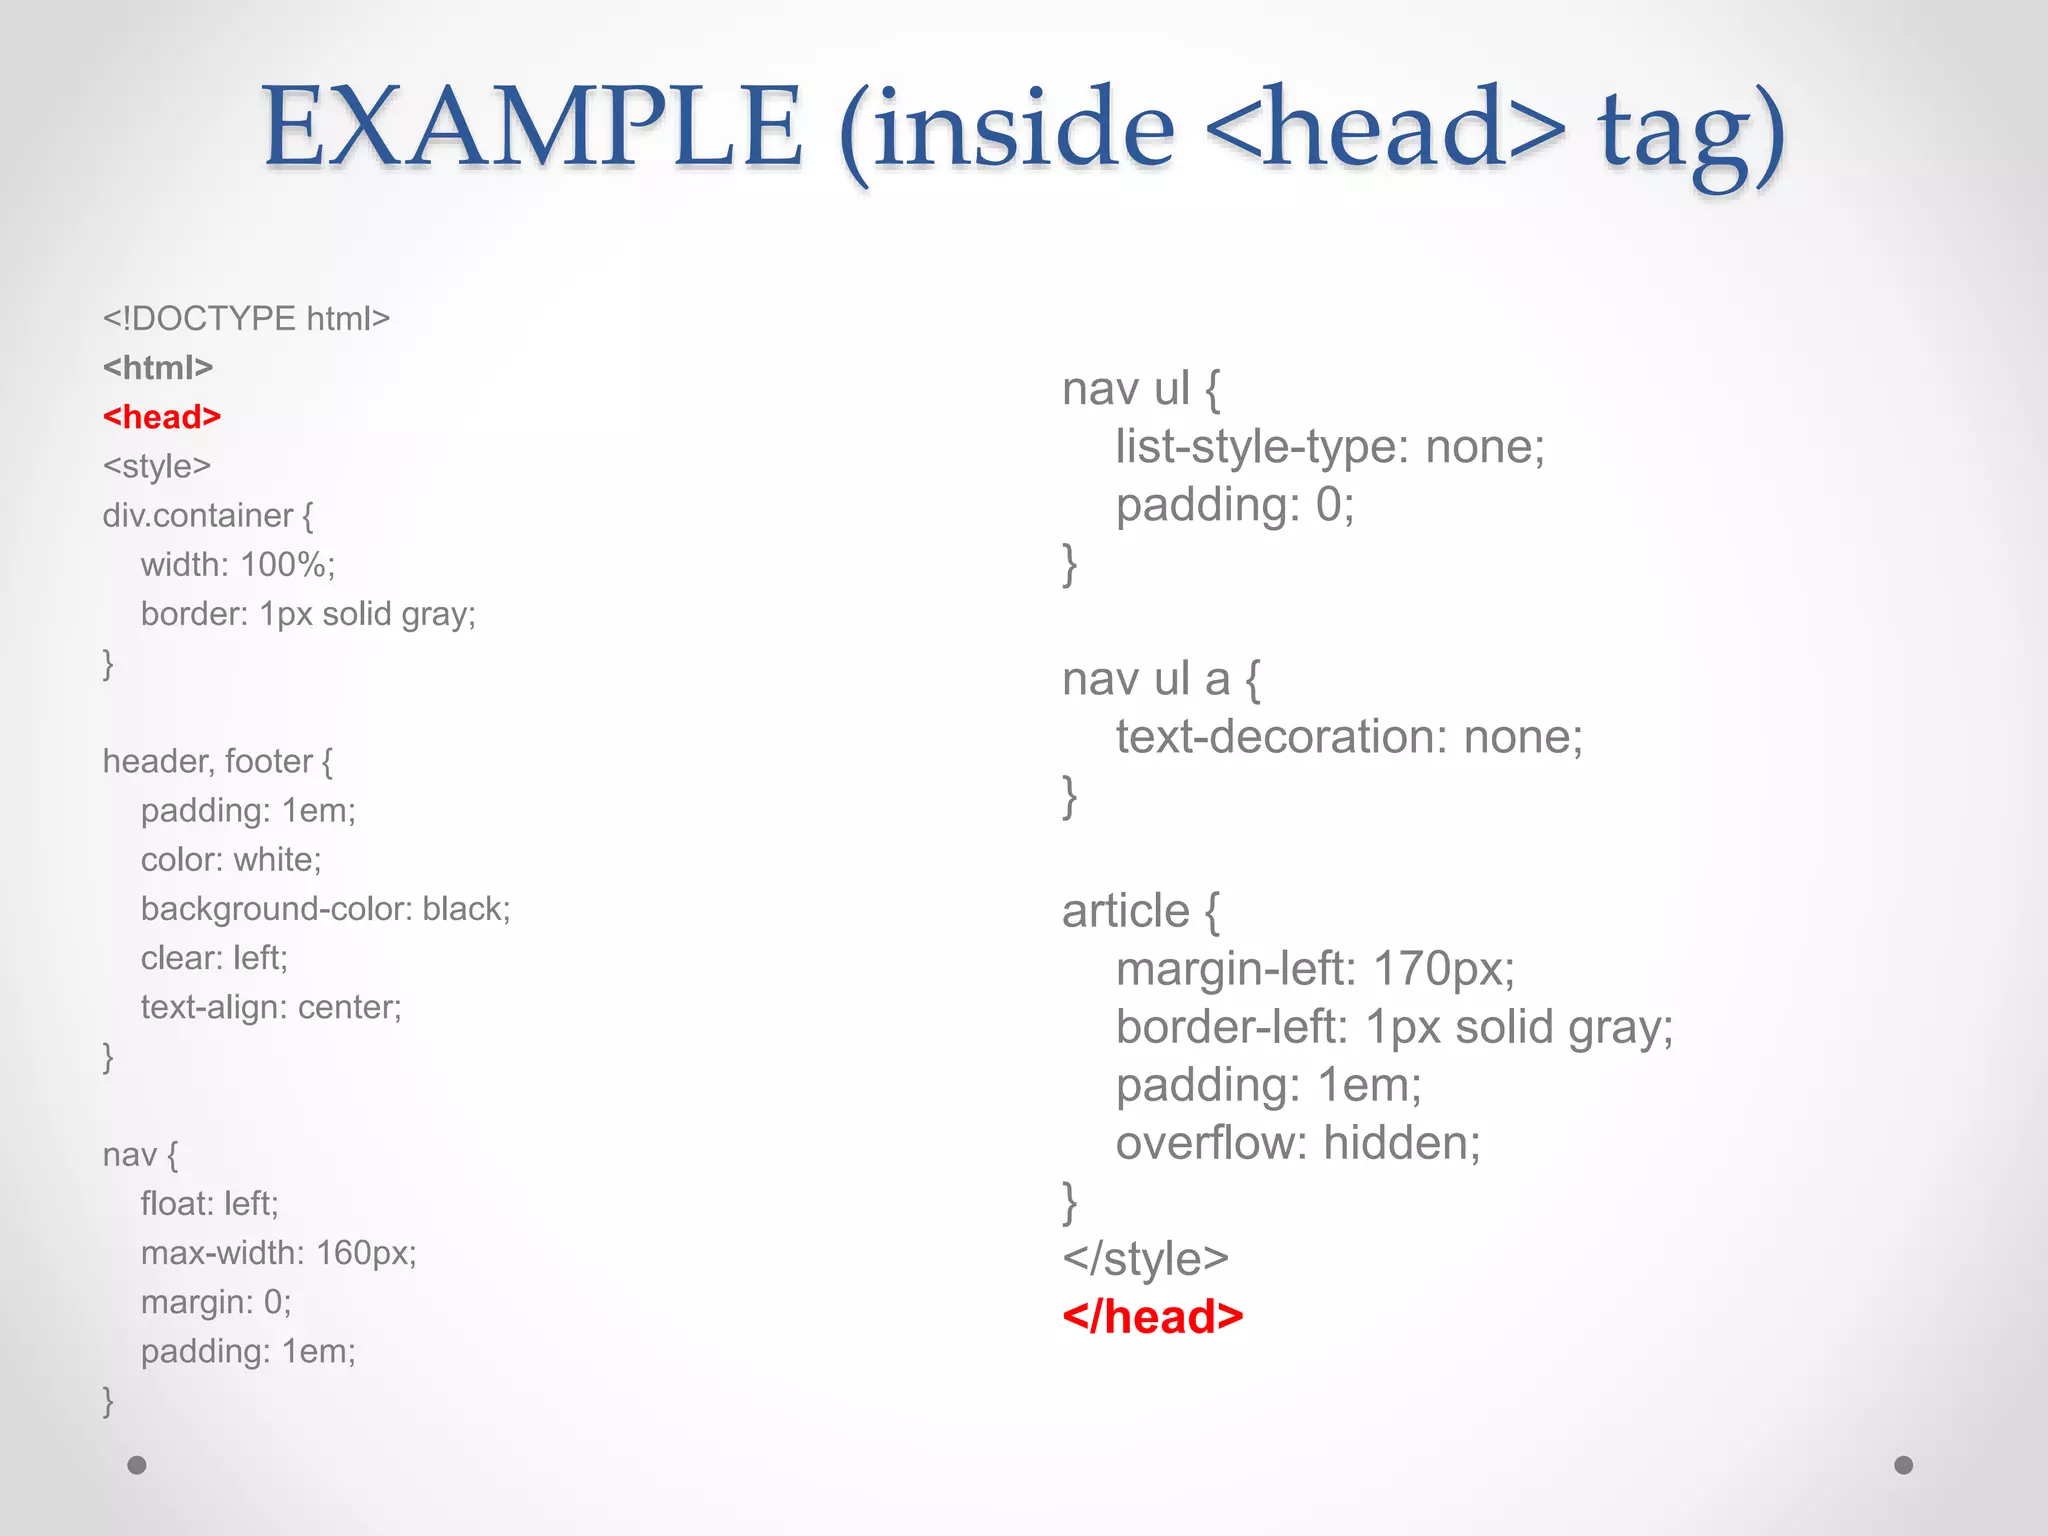
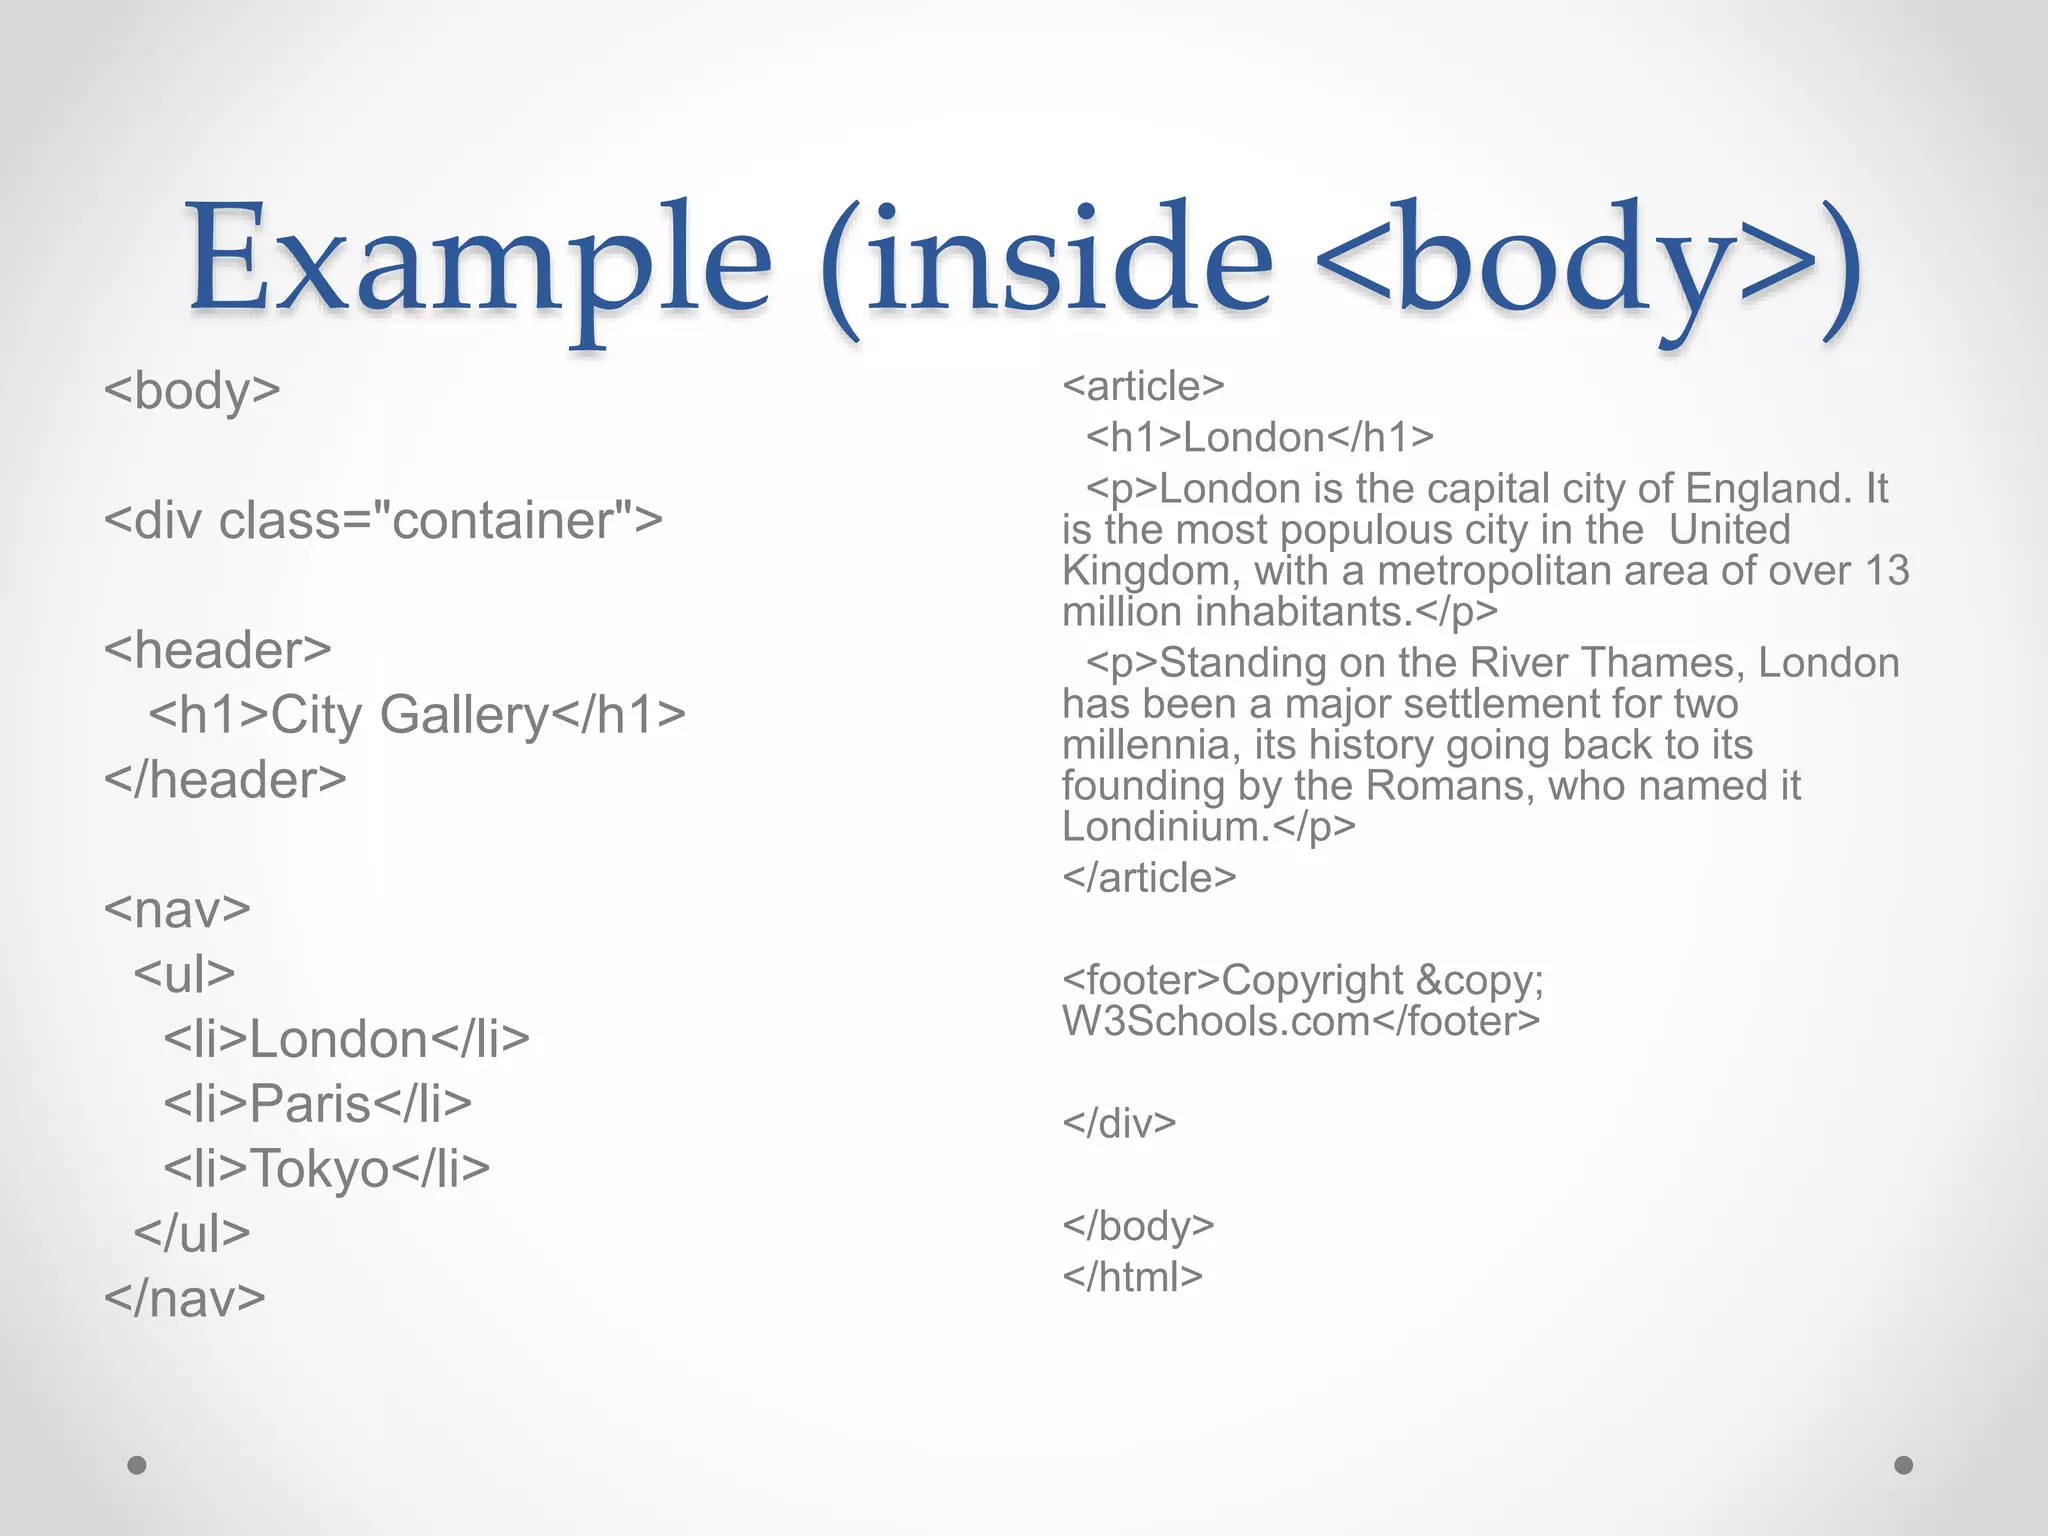
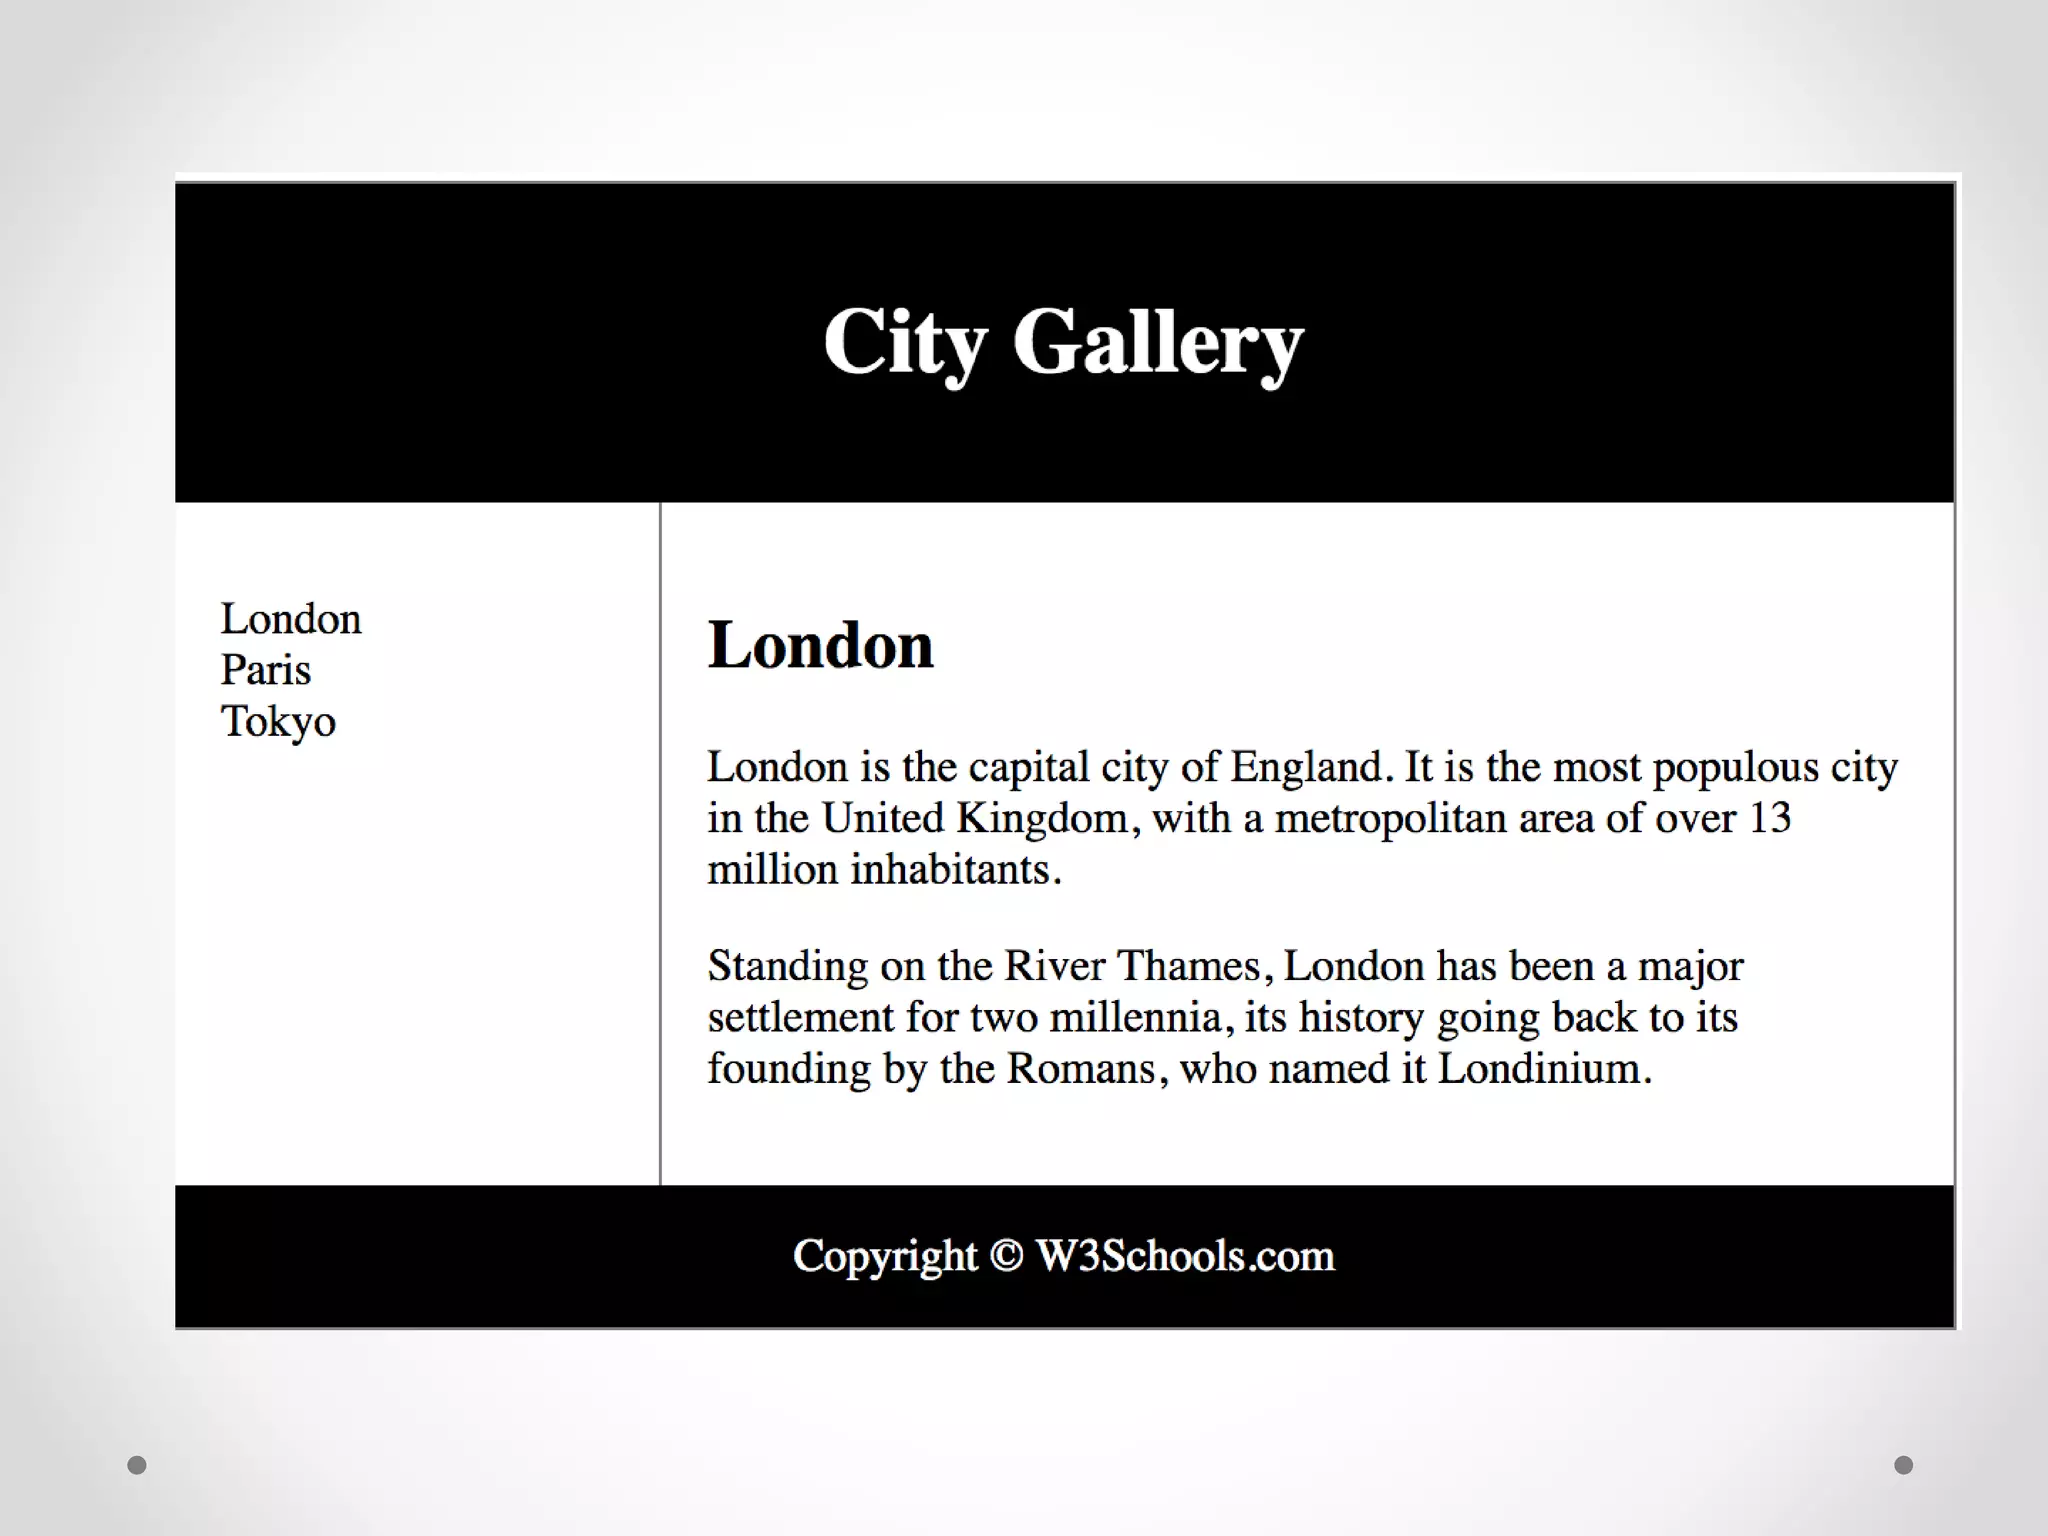


HTML Basics document provides an overview of HTML elements and tags used to format text and structure web pages. It discusses the basic structure of an HTML document including the <head>, <title>, and <body> sections. Common text formatting tags like <p>, <h1>-<h6>, <strong>, <em>, and <br> are demonstrated. Other elements covered include images, lists, links, and basic styling with inline CSS. The document serves as an introduction to basic HTML syntax and structure.