

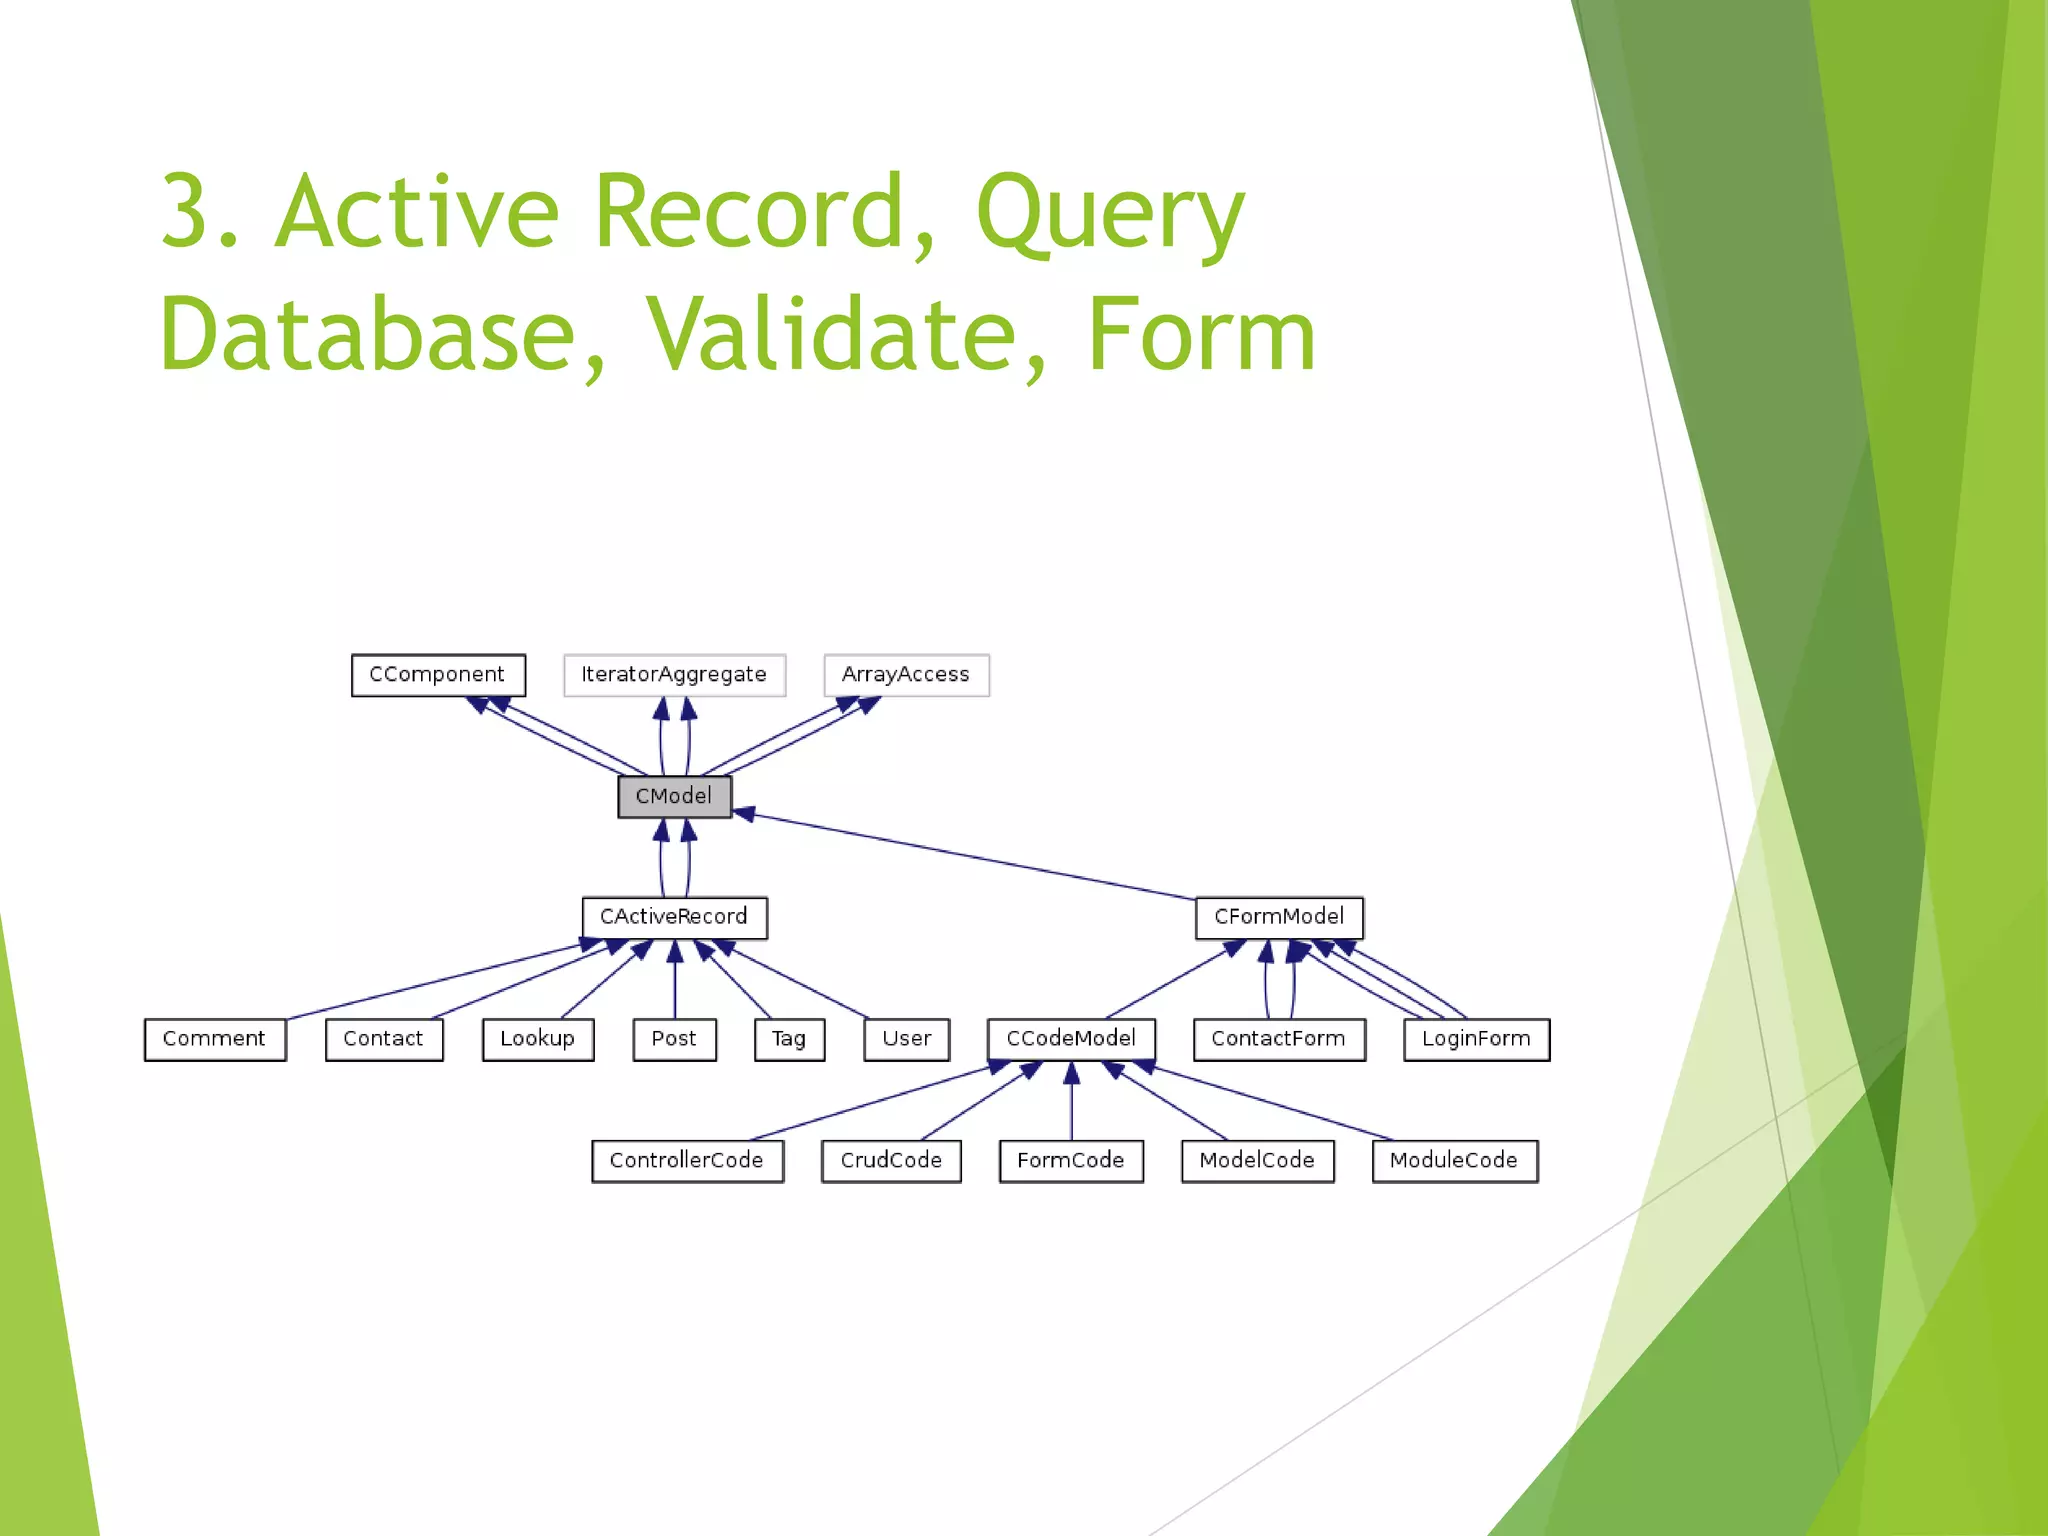
![Update Active Record
Update:
$post=Post::model()->findByPk(10);
$post->title='new post title';
$post->save();
// save the change to database
//From POST
$post->attributes=$_POST['Post'];
$post->save();](https://image.slidesharecdn.com/gioithieuveyii-nguyennhutuan-150109223859-conversion-gate02/75/Gi-i-thi-u-Yii-Framework-1-10-2048.jpg)


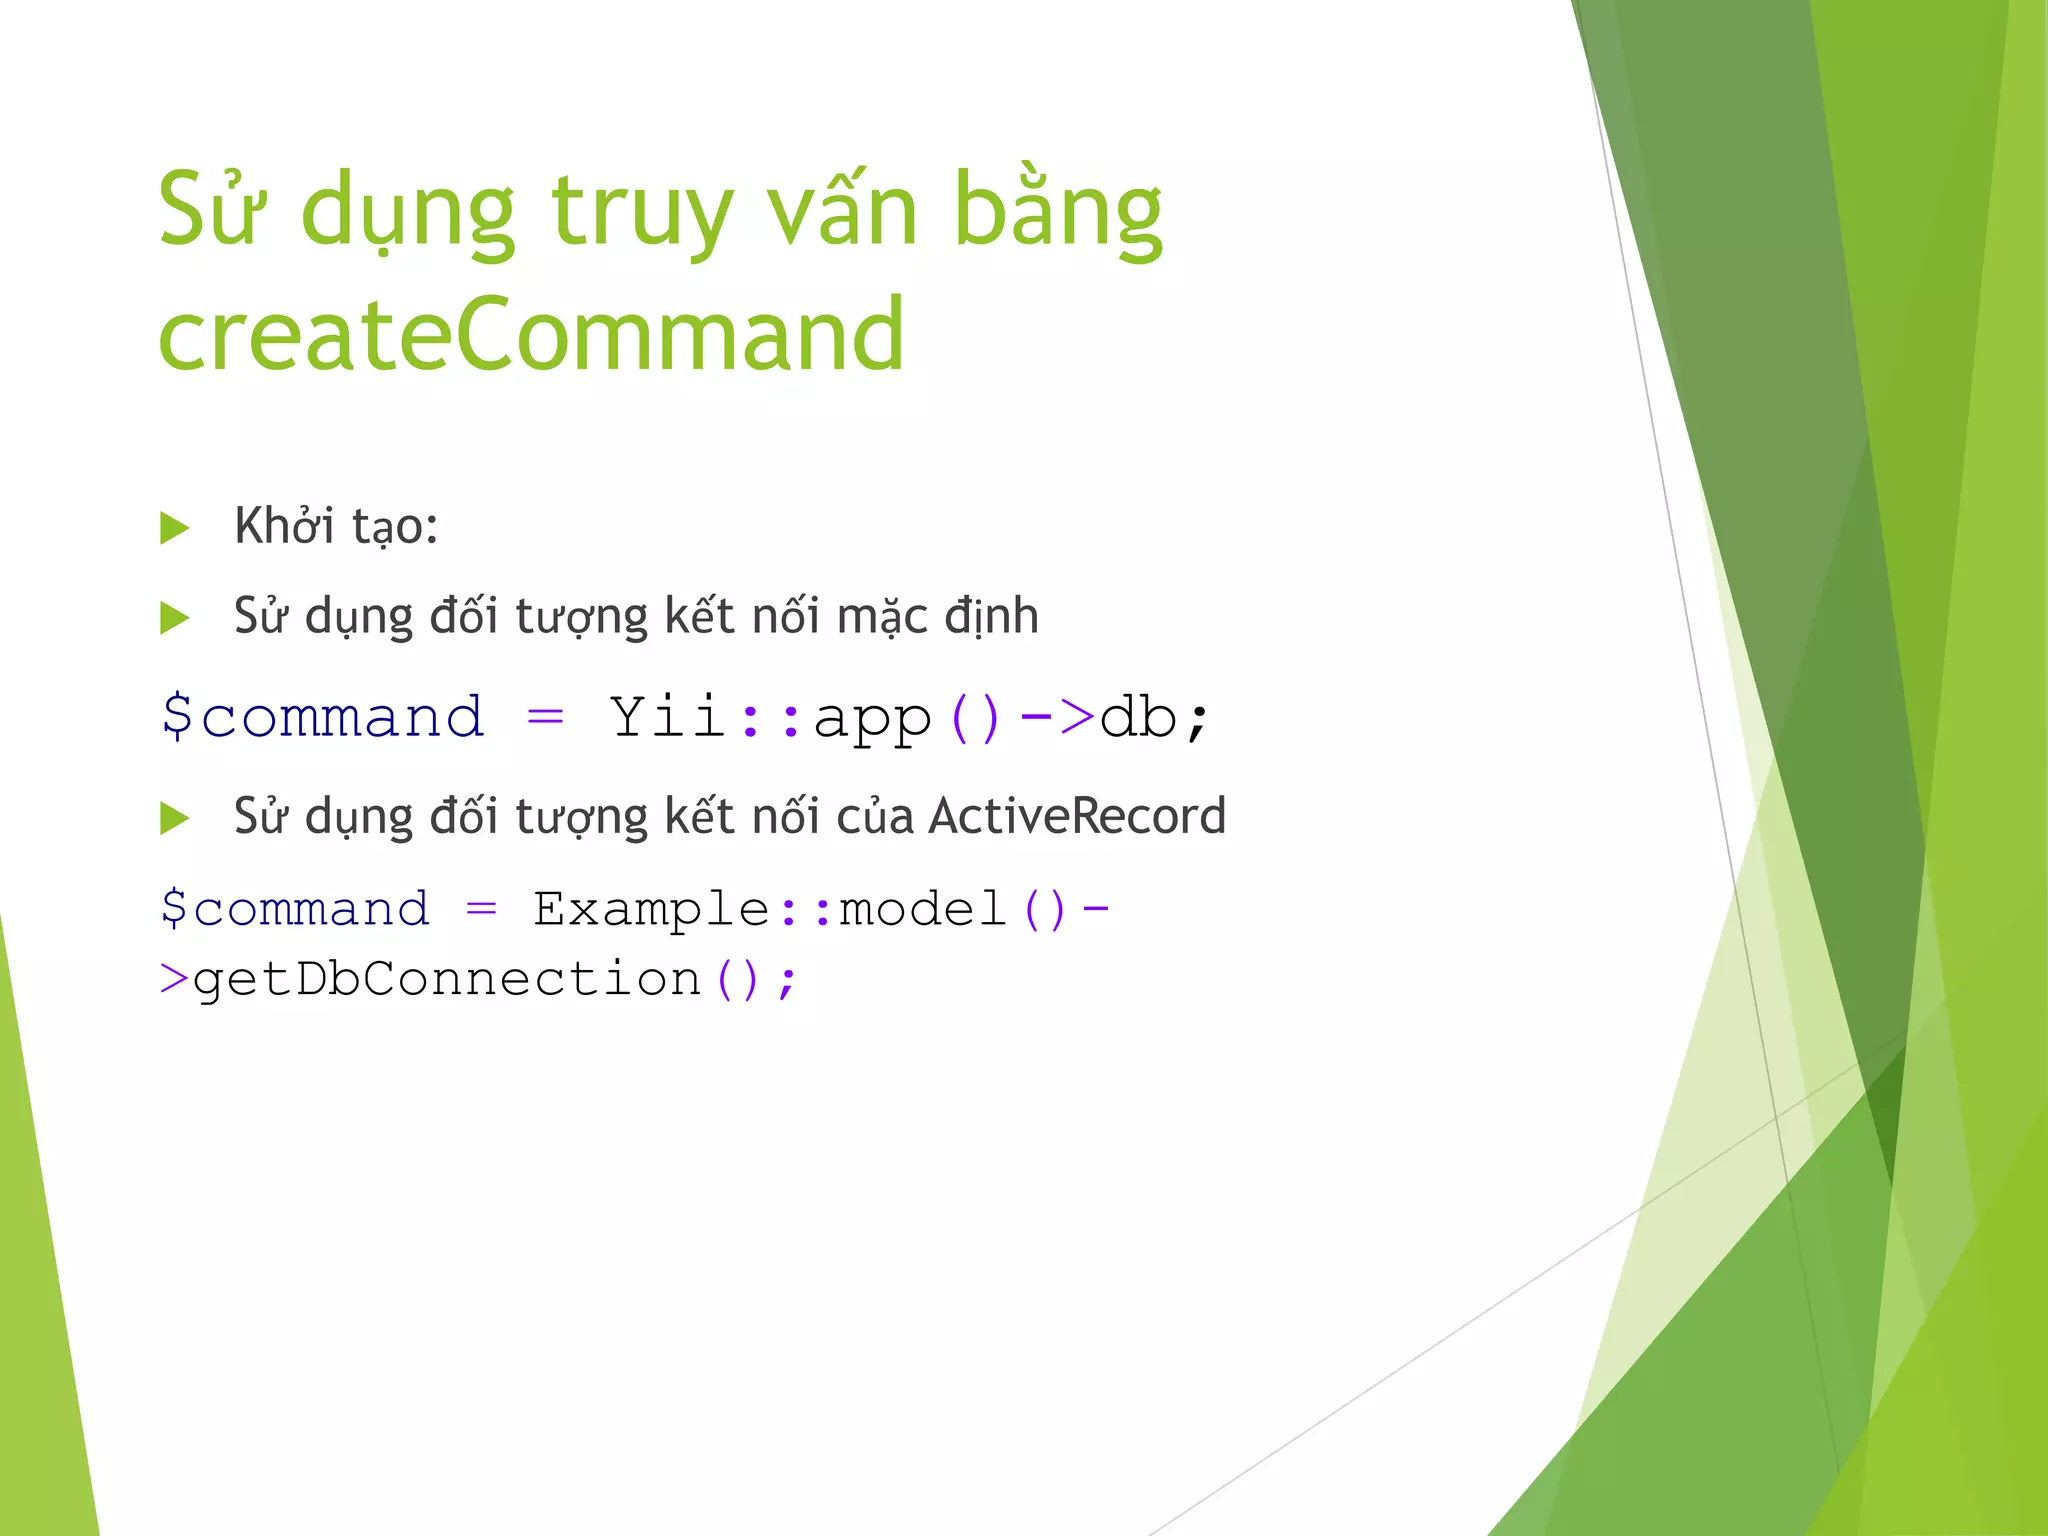
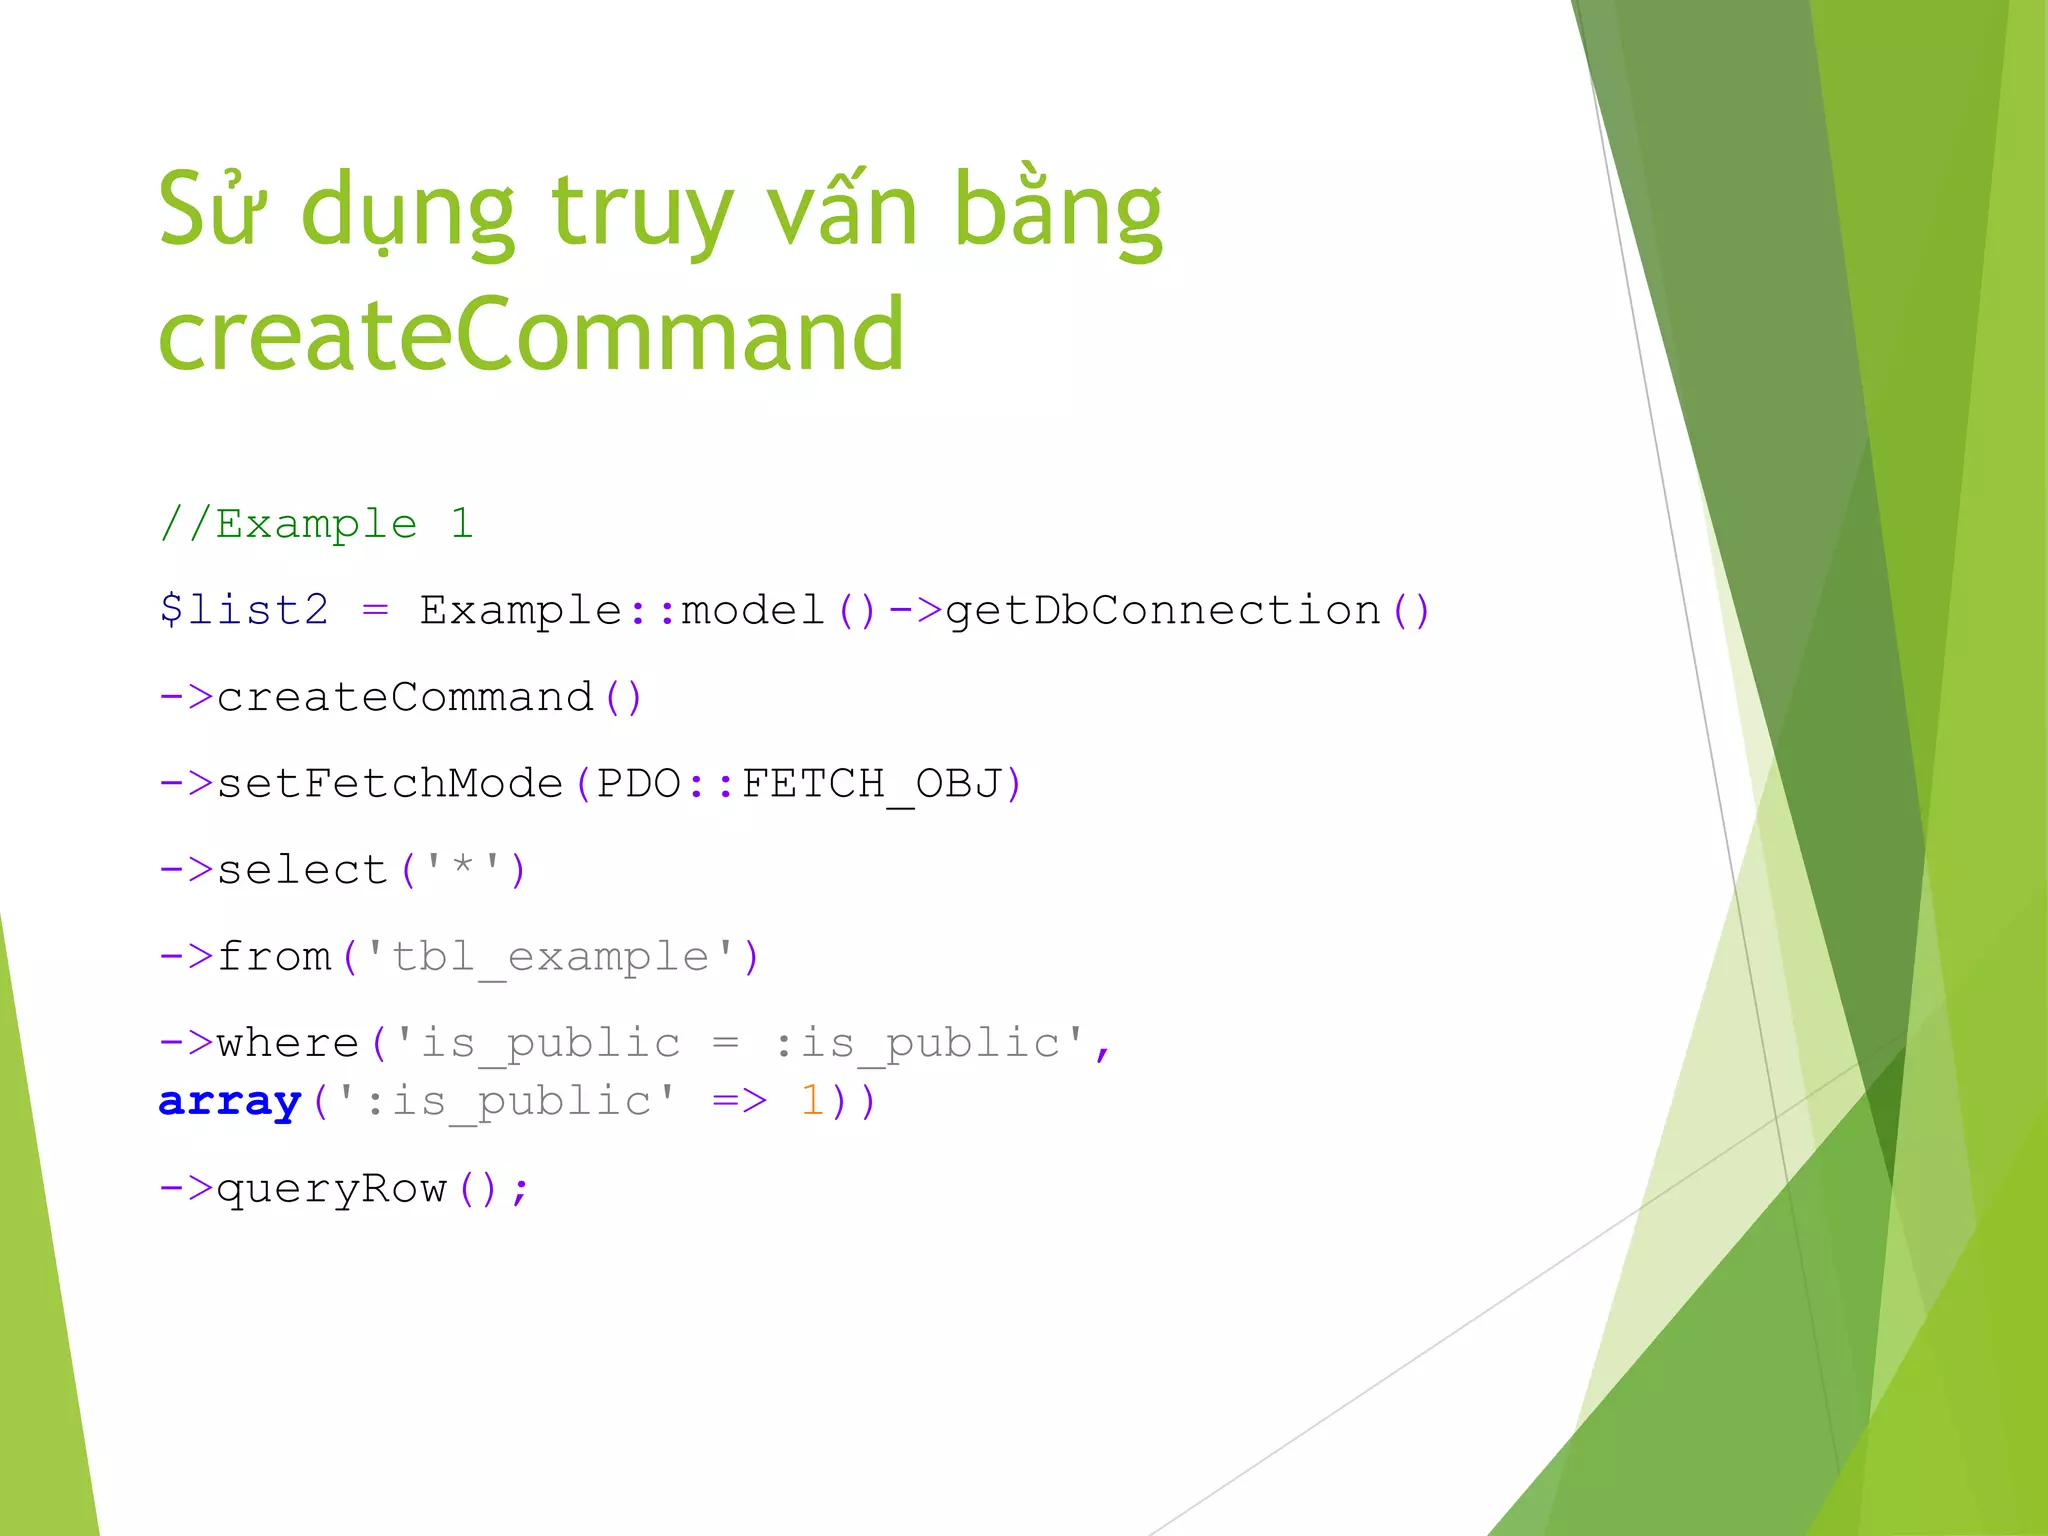


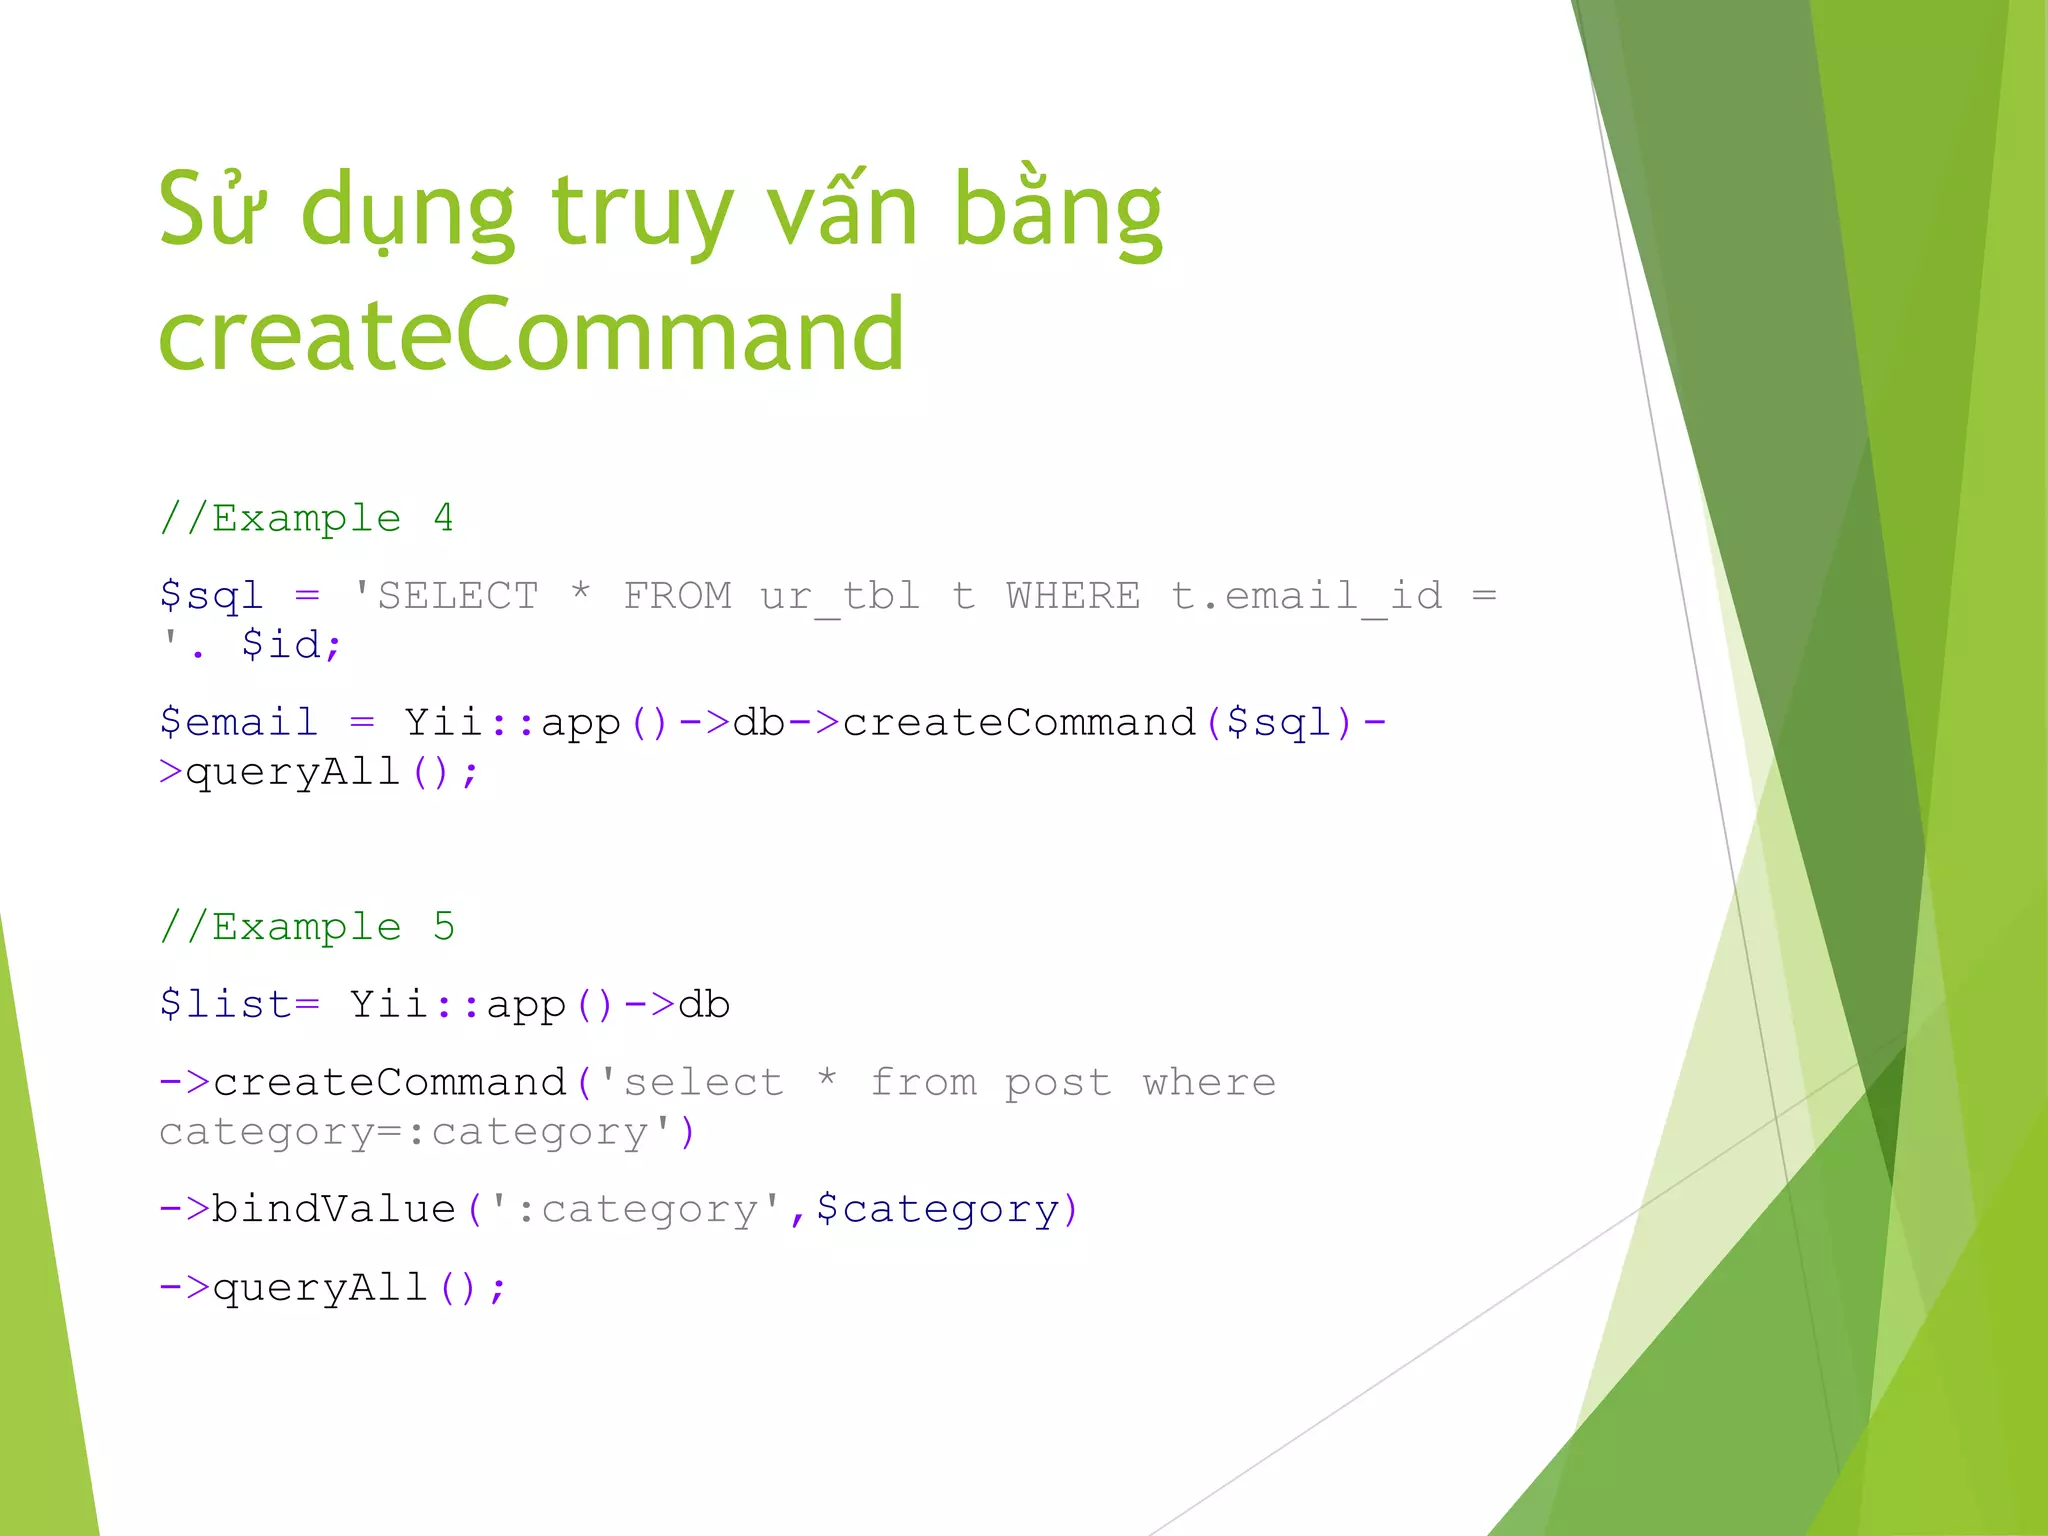
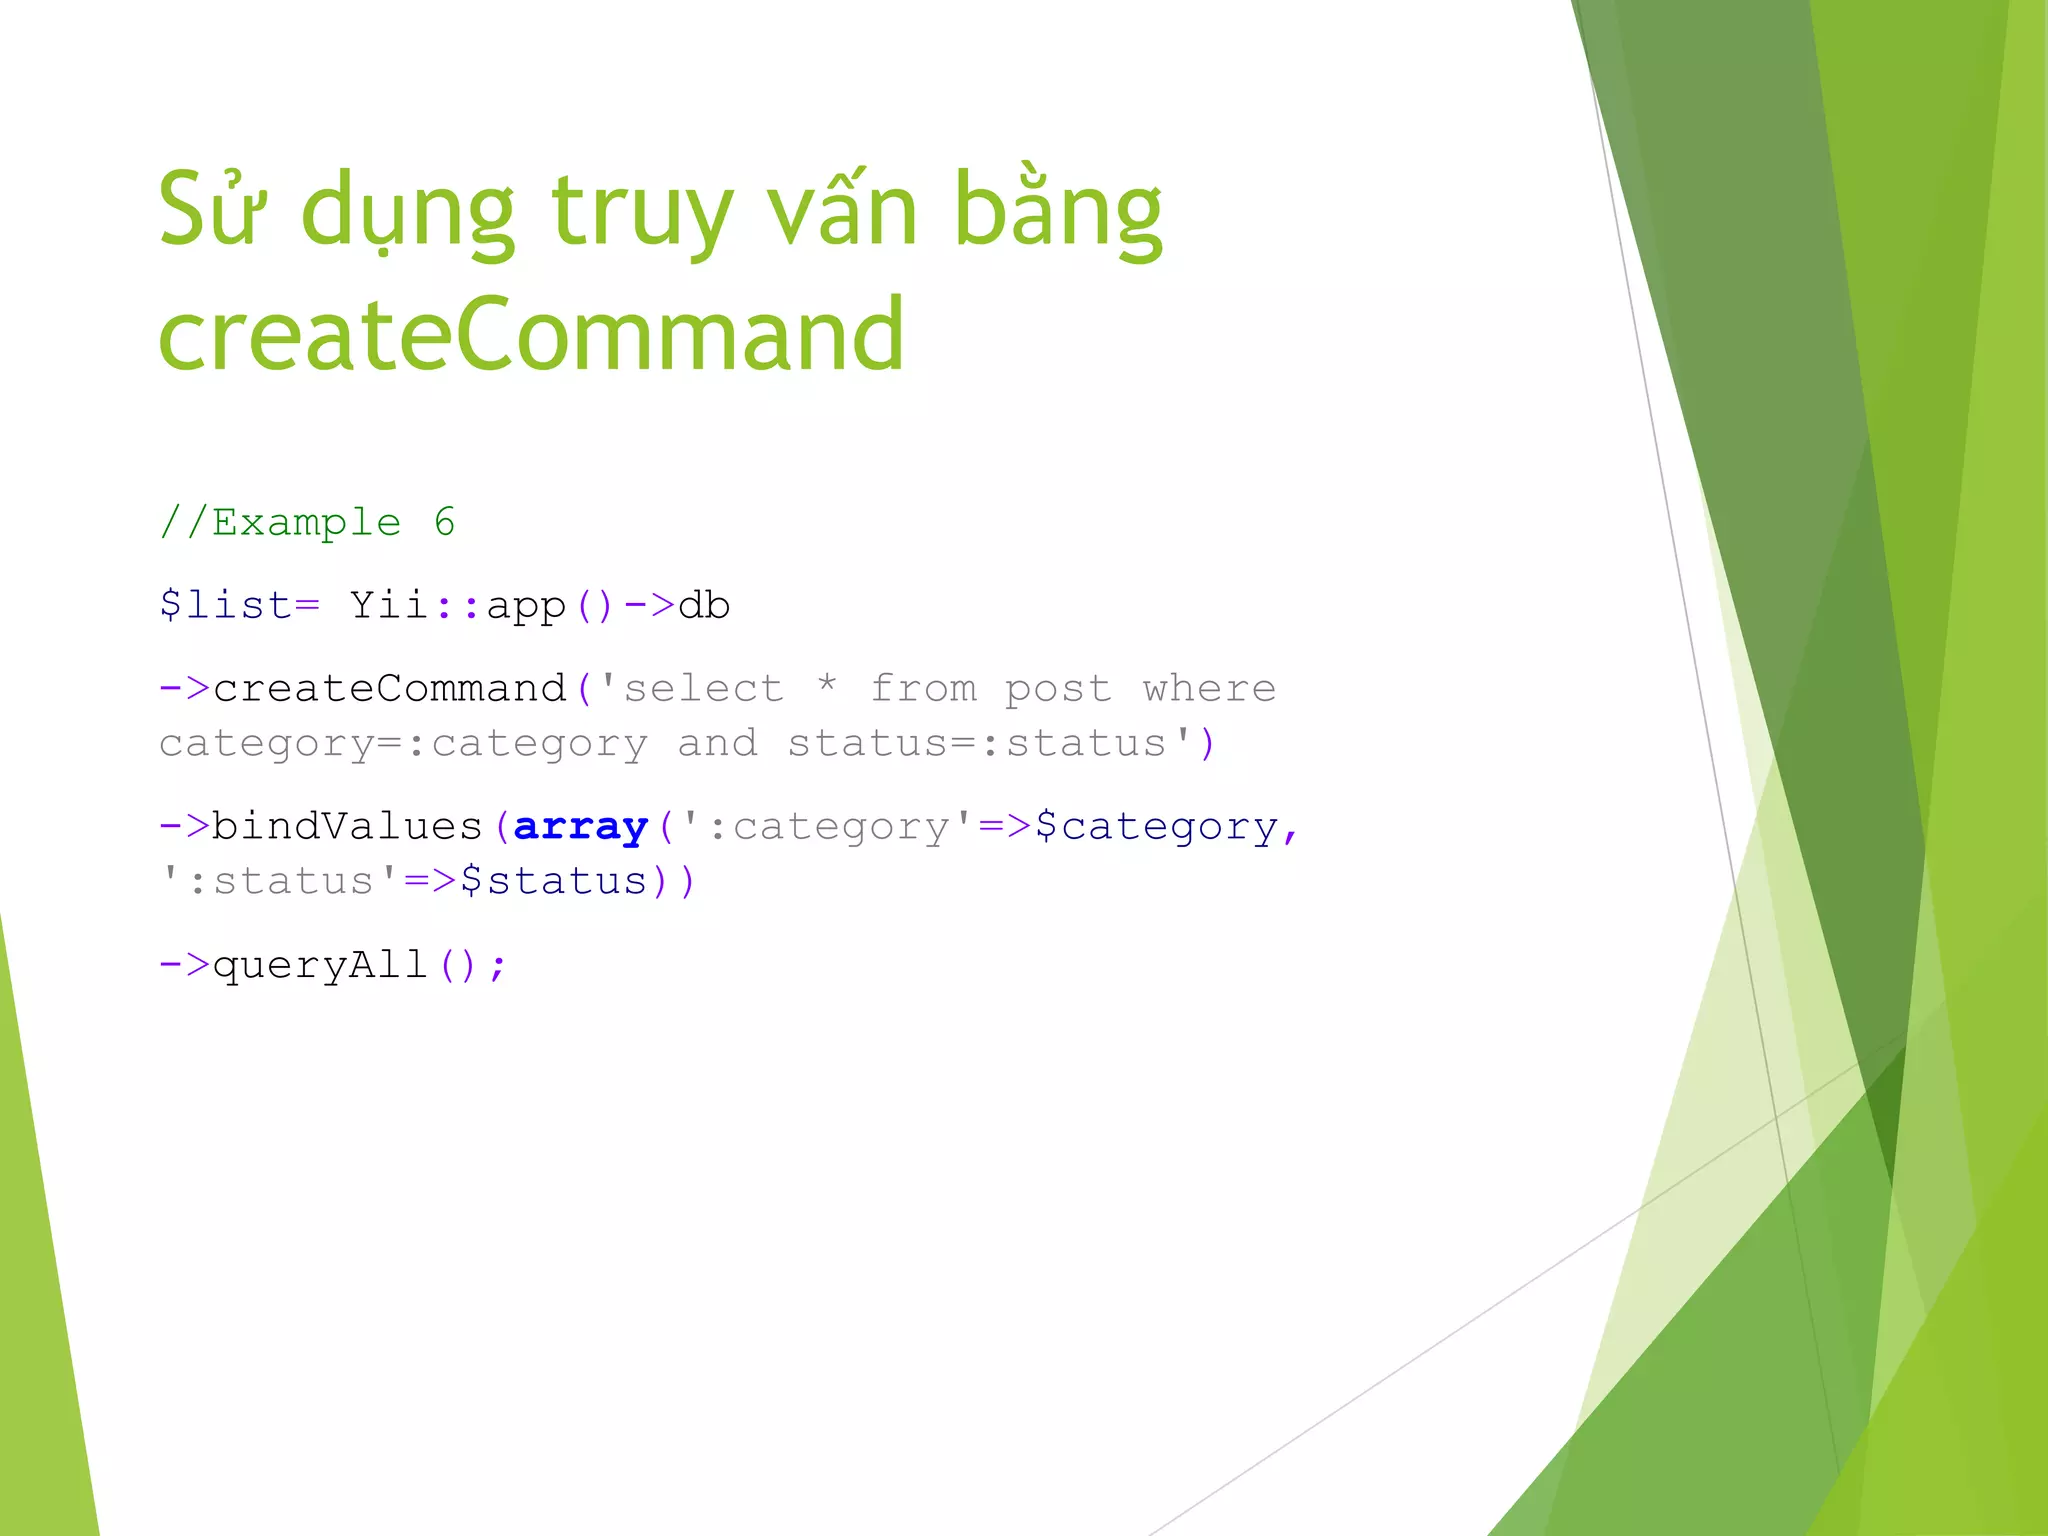
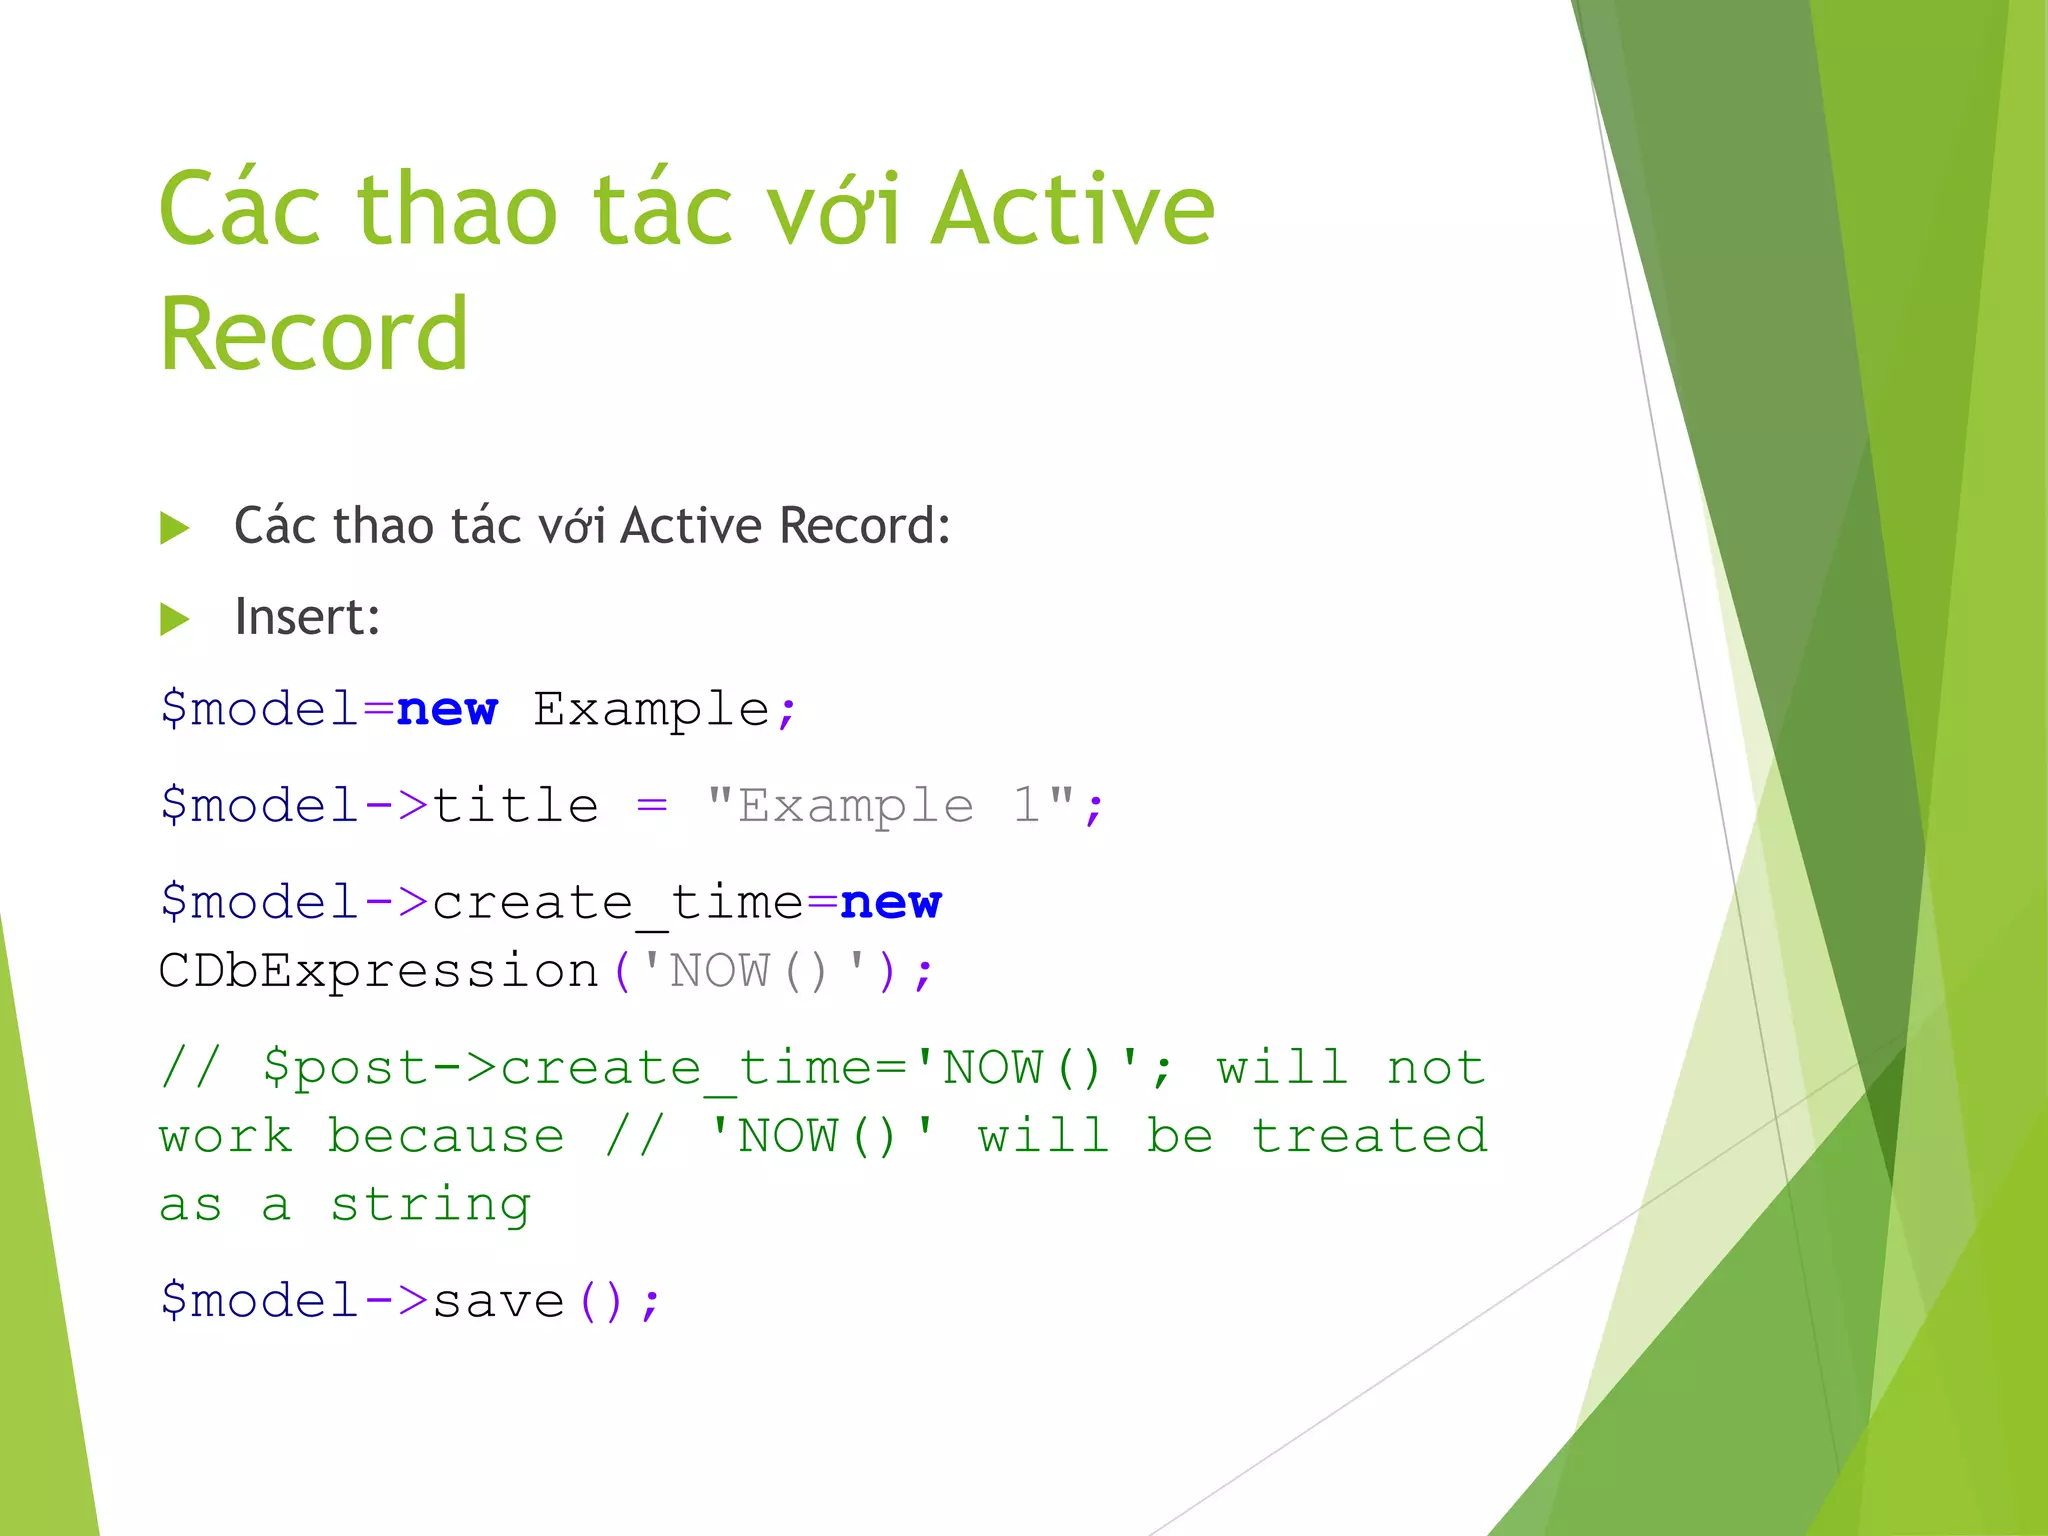
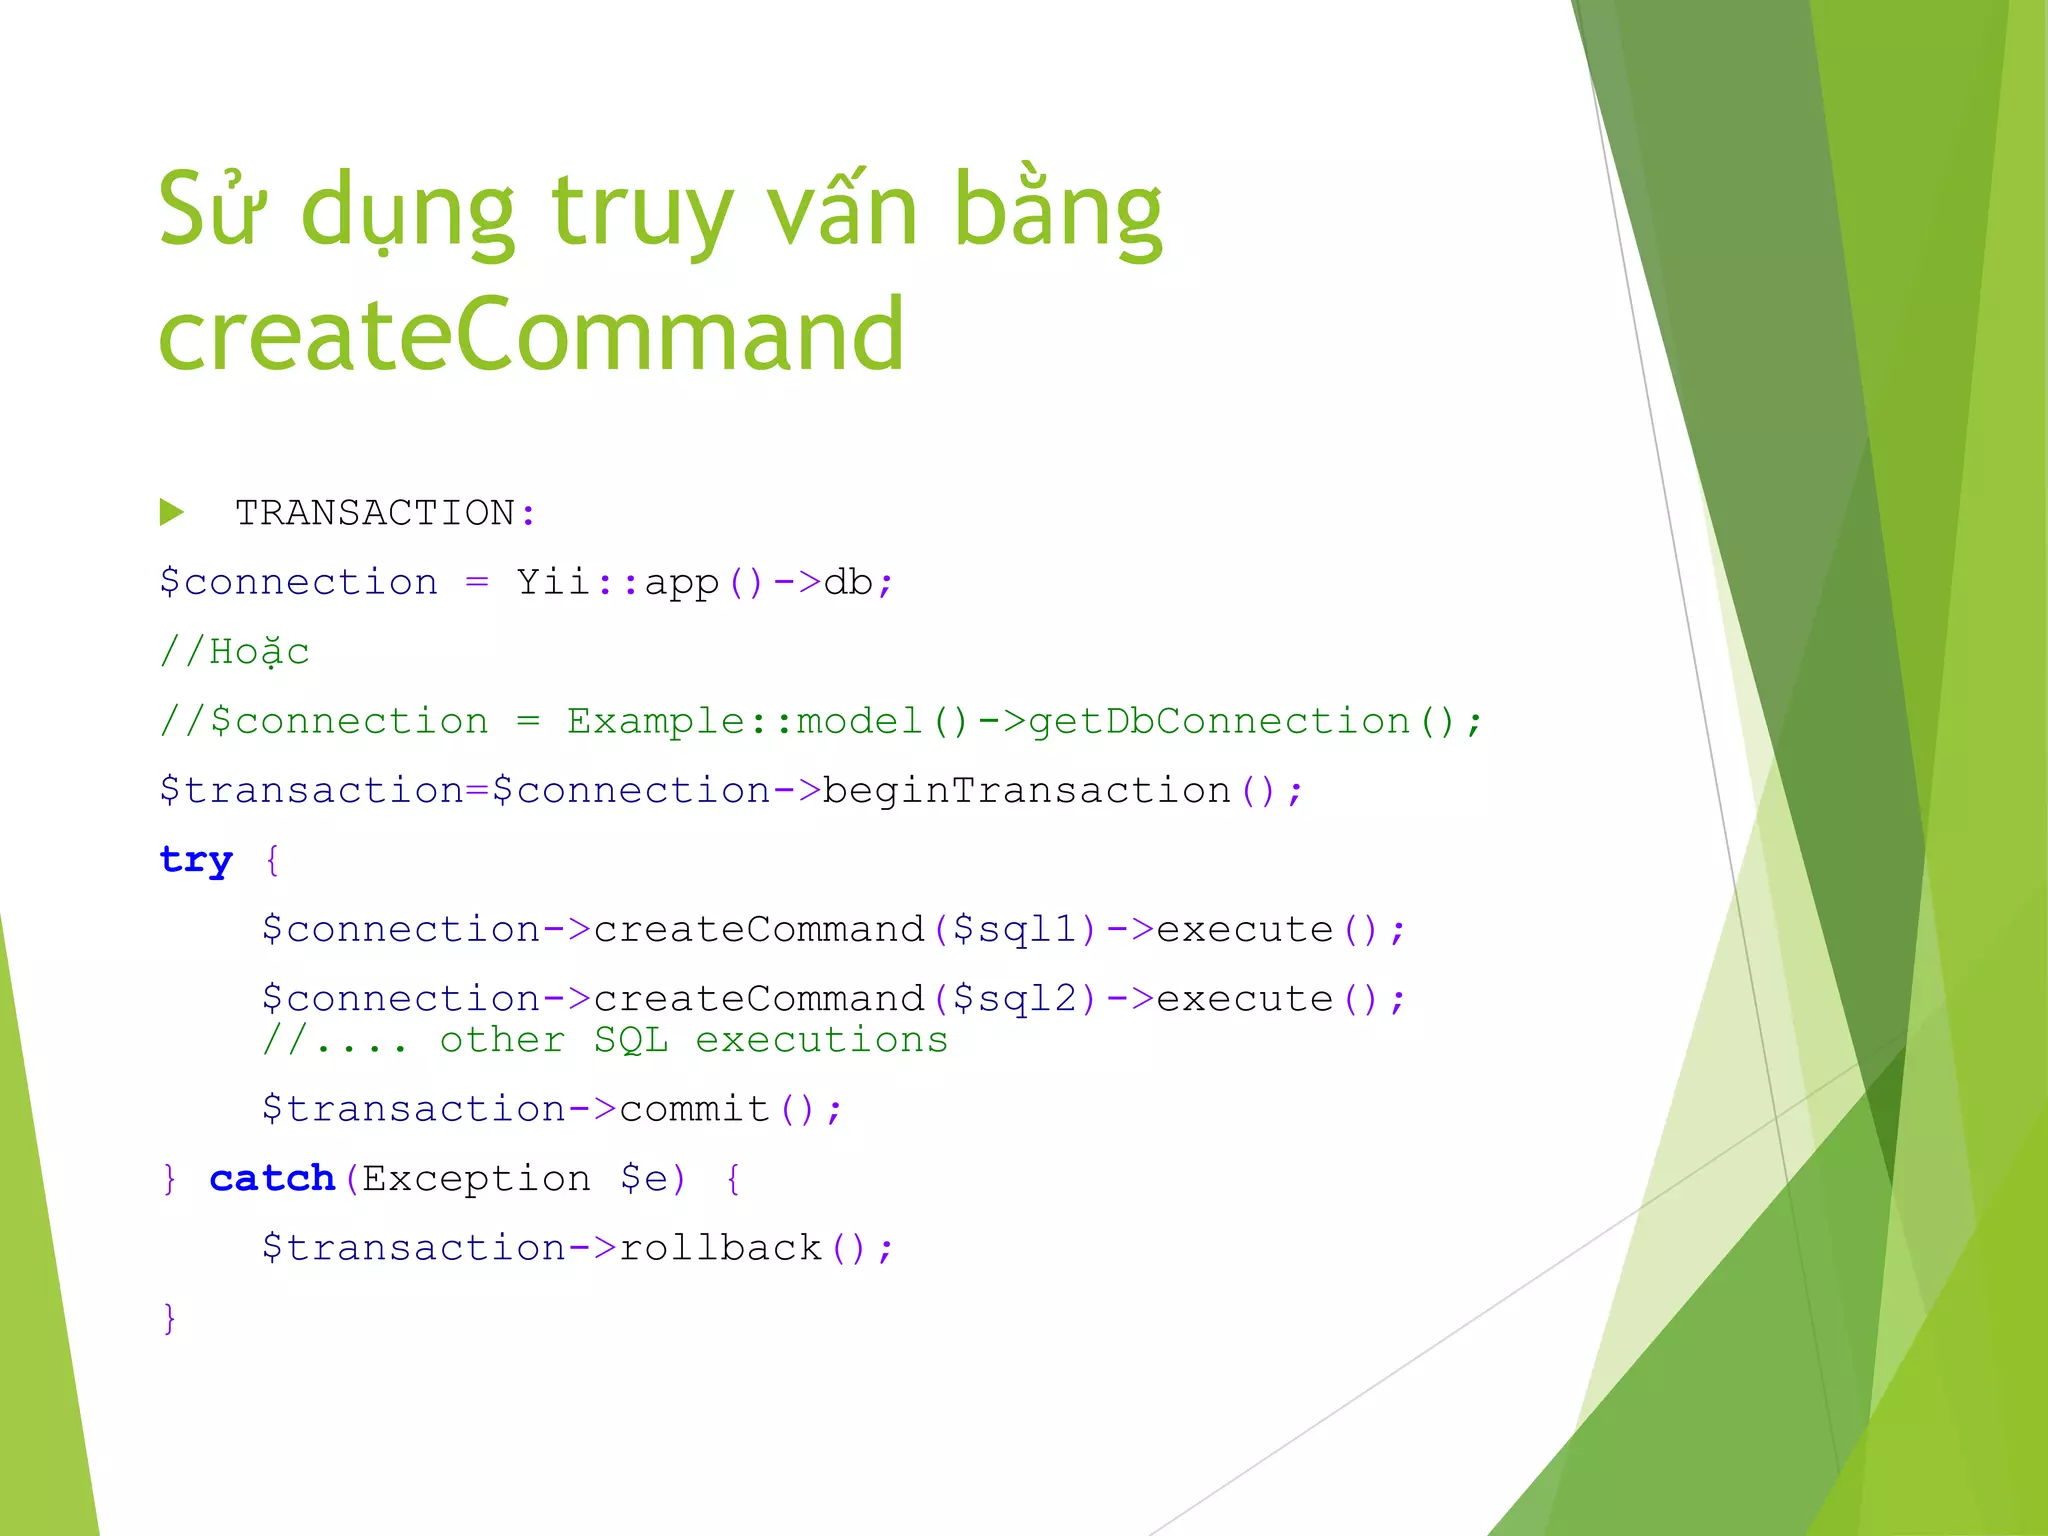
![Sử dụng truy vấn bằng
createCommand
//Example 7
Yii::app()->db->createCommand('delete * from post')->query();
//Example 8
Yii::app()->db->createCommand()
->insert('user', [ 'name' => 'Sam', 'age' => 30, ])
->execute();
//Example 9
$user = Yii::app()->db->createCommand()
->select('id, username, profile')
->from('tbl_user u')
->join('tbl_profile p', 'u.id=p.user_id')
->where('id=:id', array(':id'=>$id))
->queryRow();](https://image.slidesharecdn.com/gioithieuveyii-nguyennhutuan-150109223859-conversion-gate02/75/Gi-i-thi-u-Yii-Framework-1-24-2048.jpg)

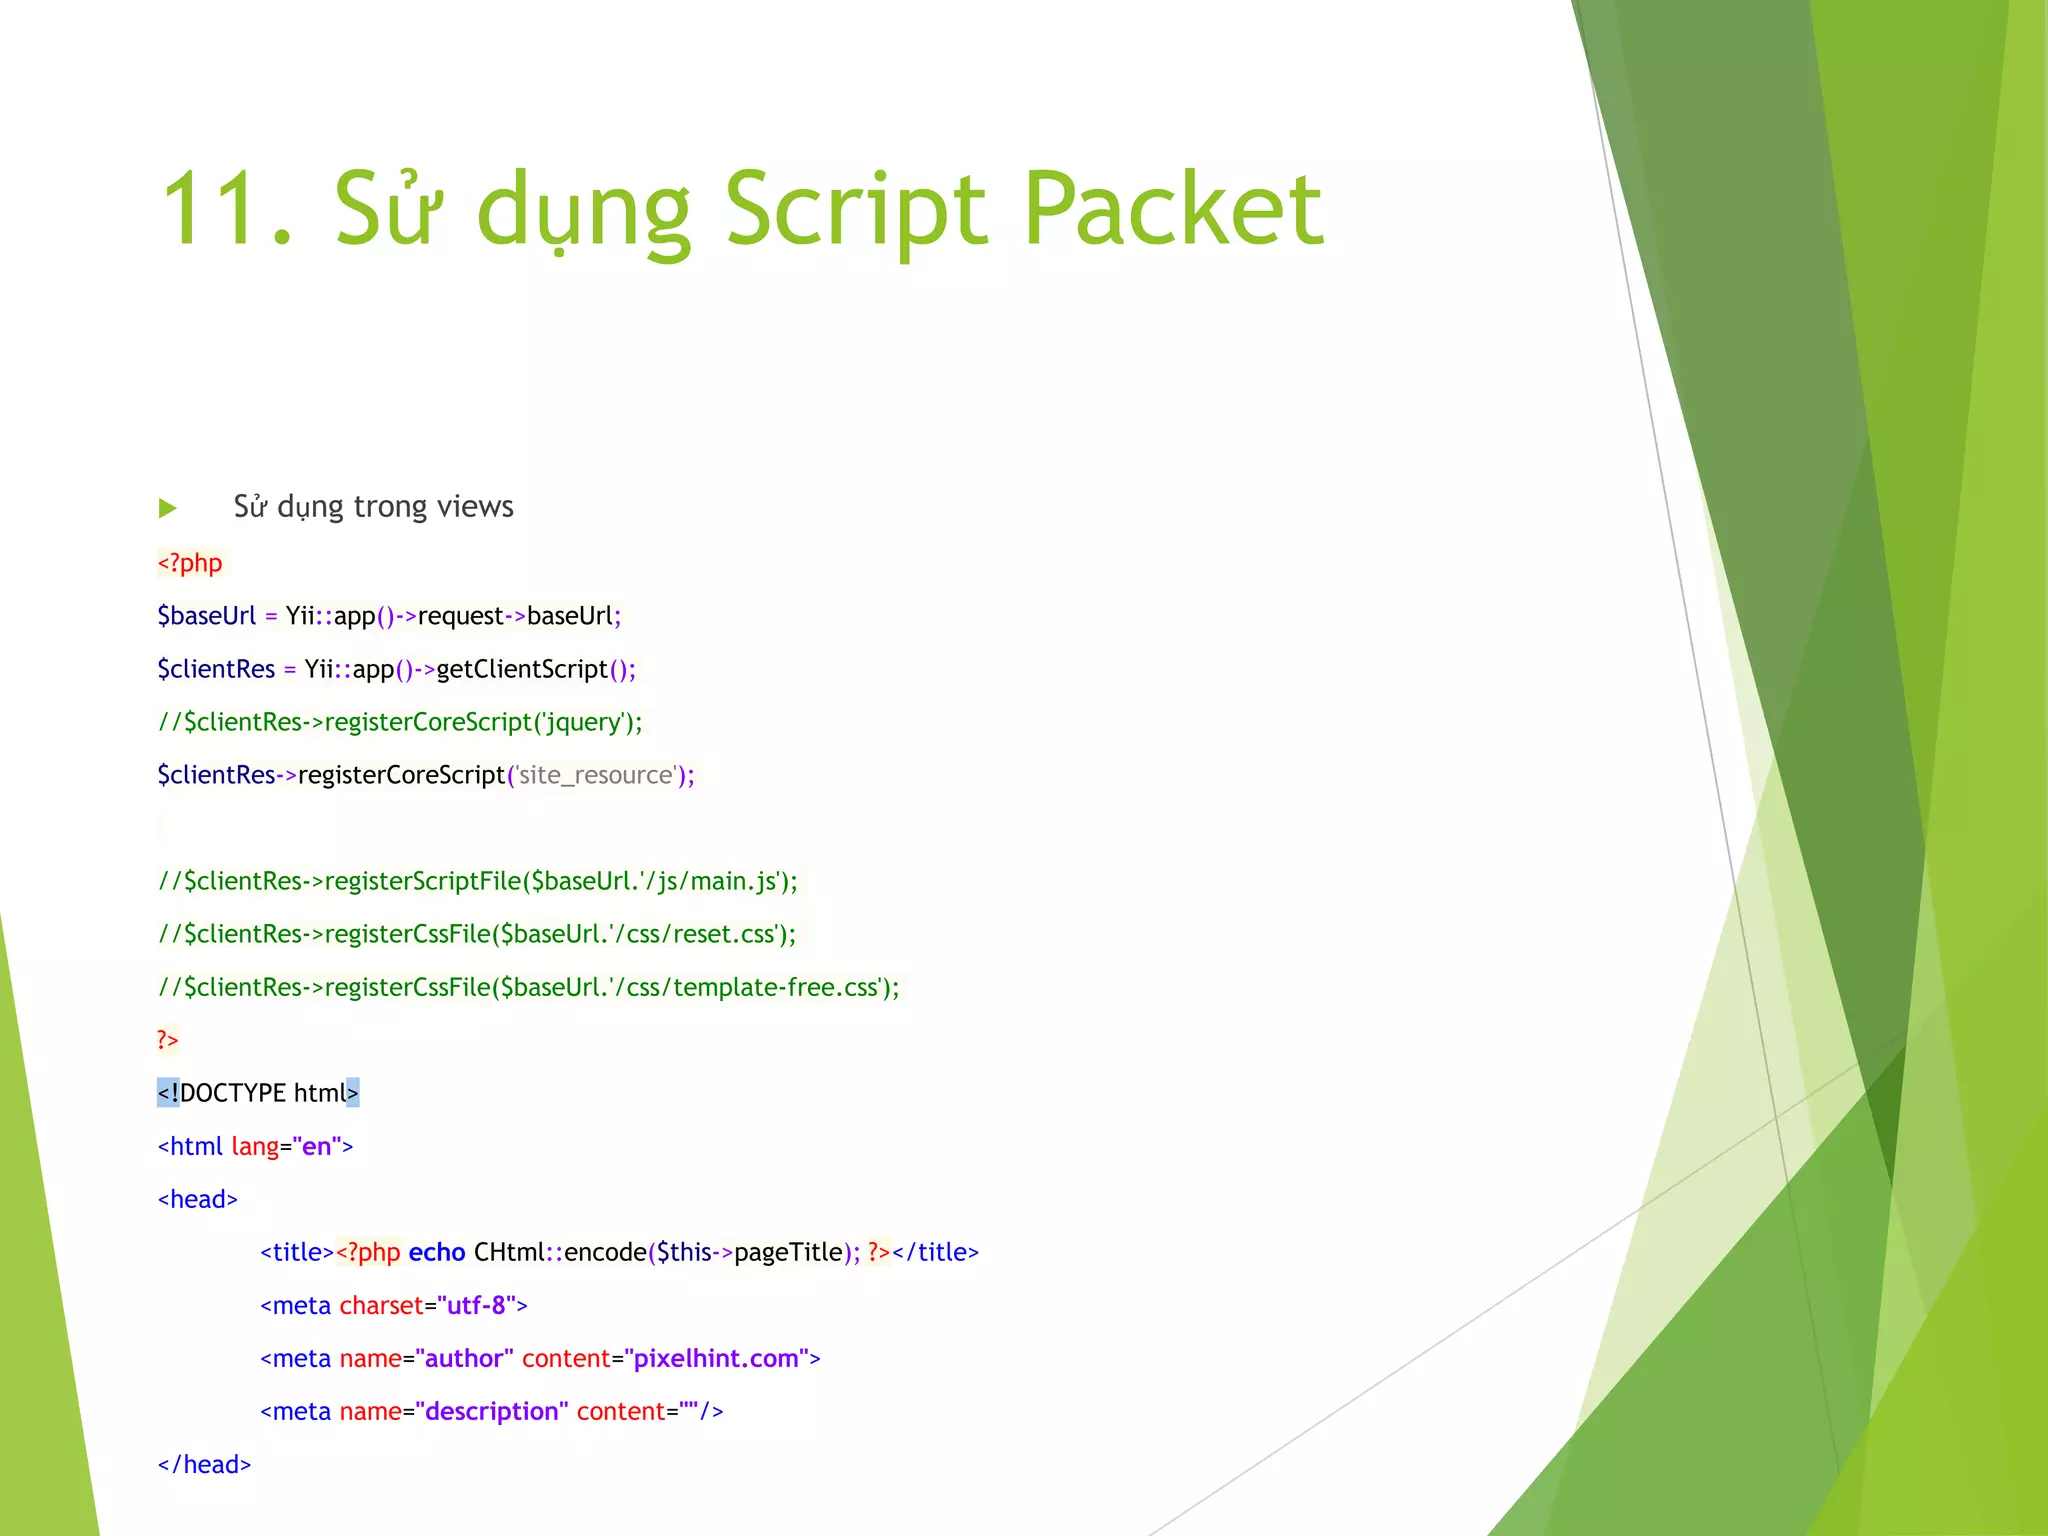

Tài liệu giới thiệu về Yii Framework 1, bao gồm cài đặt, sử dụng công cụ Gii để tạo model, controller, và view, cũng như các tính năng như Active Record và custom login. Nó cũng đề cập đến routing, quản lý layout, tạo module, widget, và các thành phần tùy chỉnh khác. Cuối cùng, tài liệu trình bày về quốc tế hóa (i18n) và cách sử dụng script package để tổ chức tài nguyên JavaScript và CSS.