Download to read offline
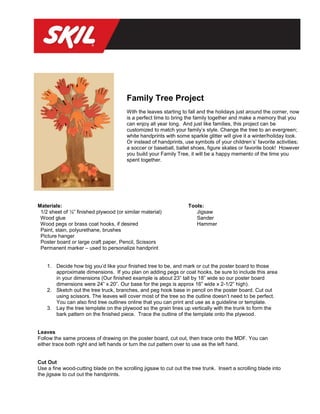


This document provides instructions for creating a family tree project using plywood, poster board, paint, and handprints. The project involves sketching and cutting out a tree shape from poster board and plywood, then cutting out handprints to represent family members. Handprints are decorated with names and ages before being glued onto the tree. Finally, a picture hanger is added to display the finished family tree.


