Download to read offline
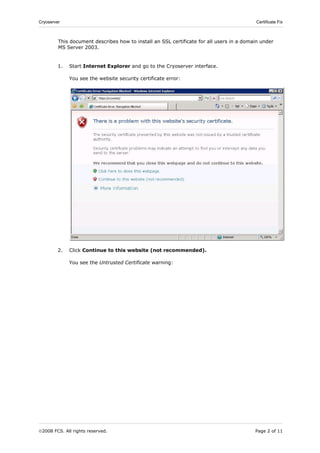
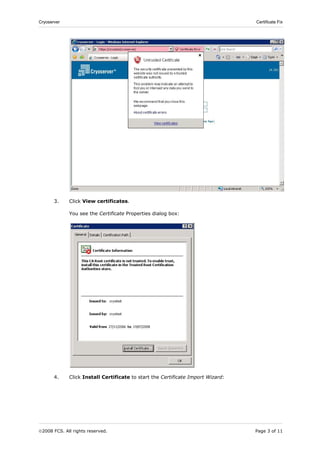
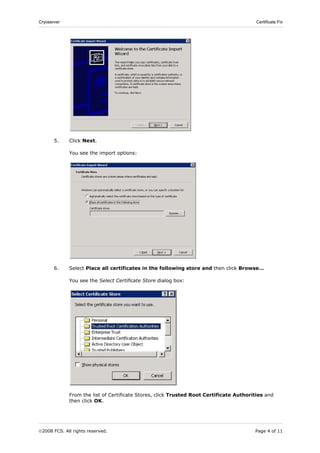

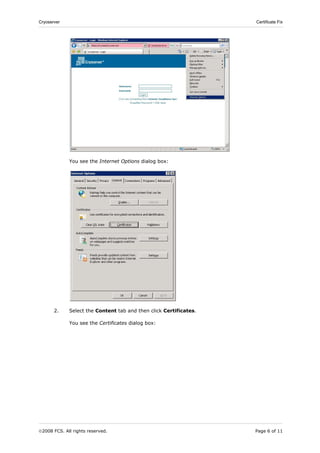


This document provides steps to install an SSL certificate for all users in a Microsoft Server 2003 domain. It describes importing the certificate into the trusted root certificate store of the local computer, exporting it, and then importing it into the Group Policy Object Editor to distribute it to all users in the domain. After importing the certificate through group policy, it may take 15 minutes or more to propagate to domain users, who then must log off and back on for the certificate trust to take effect.


