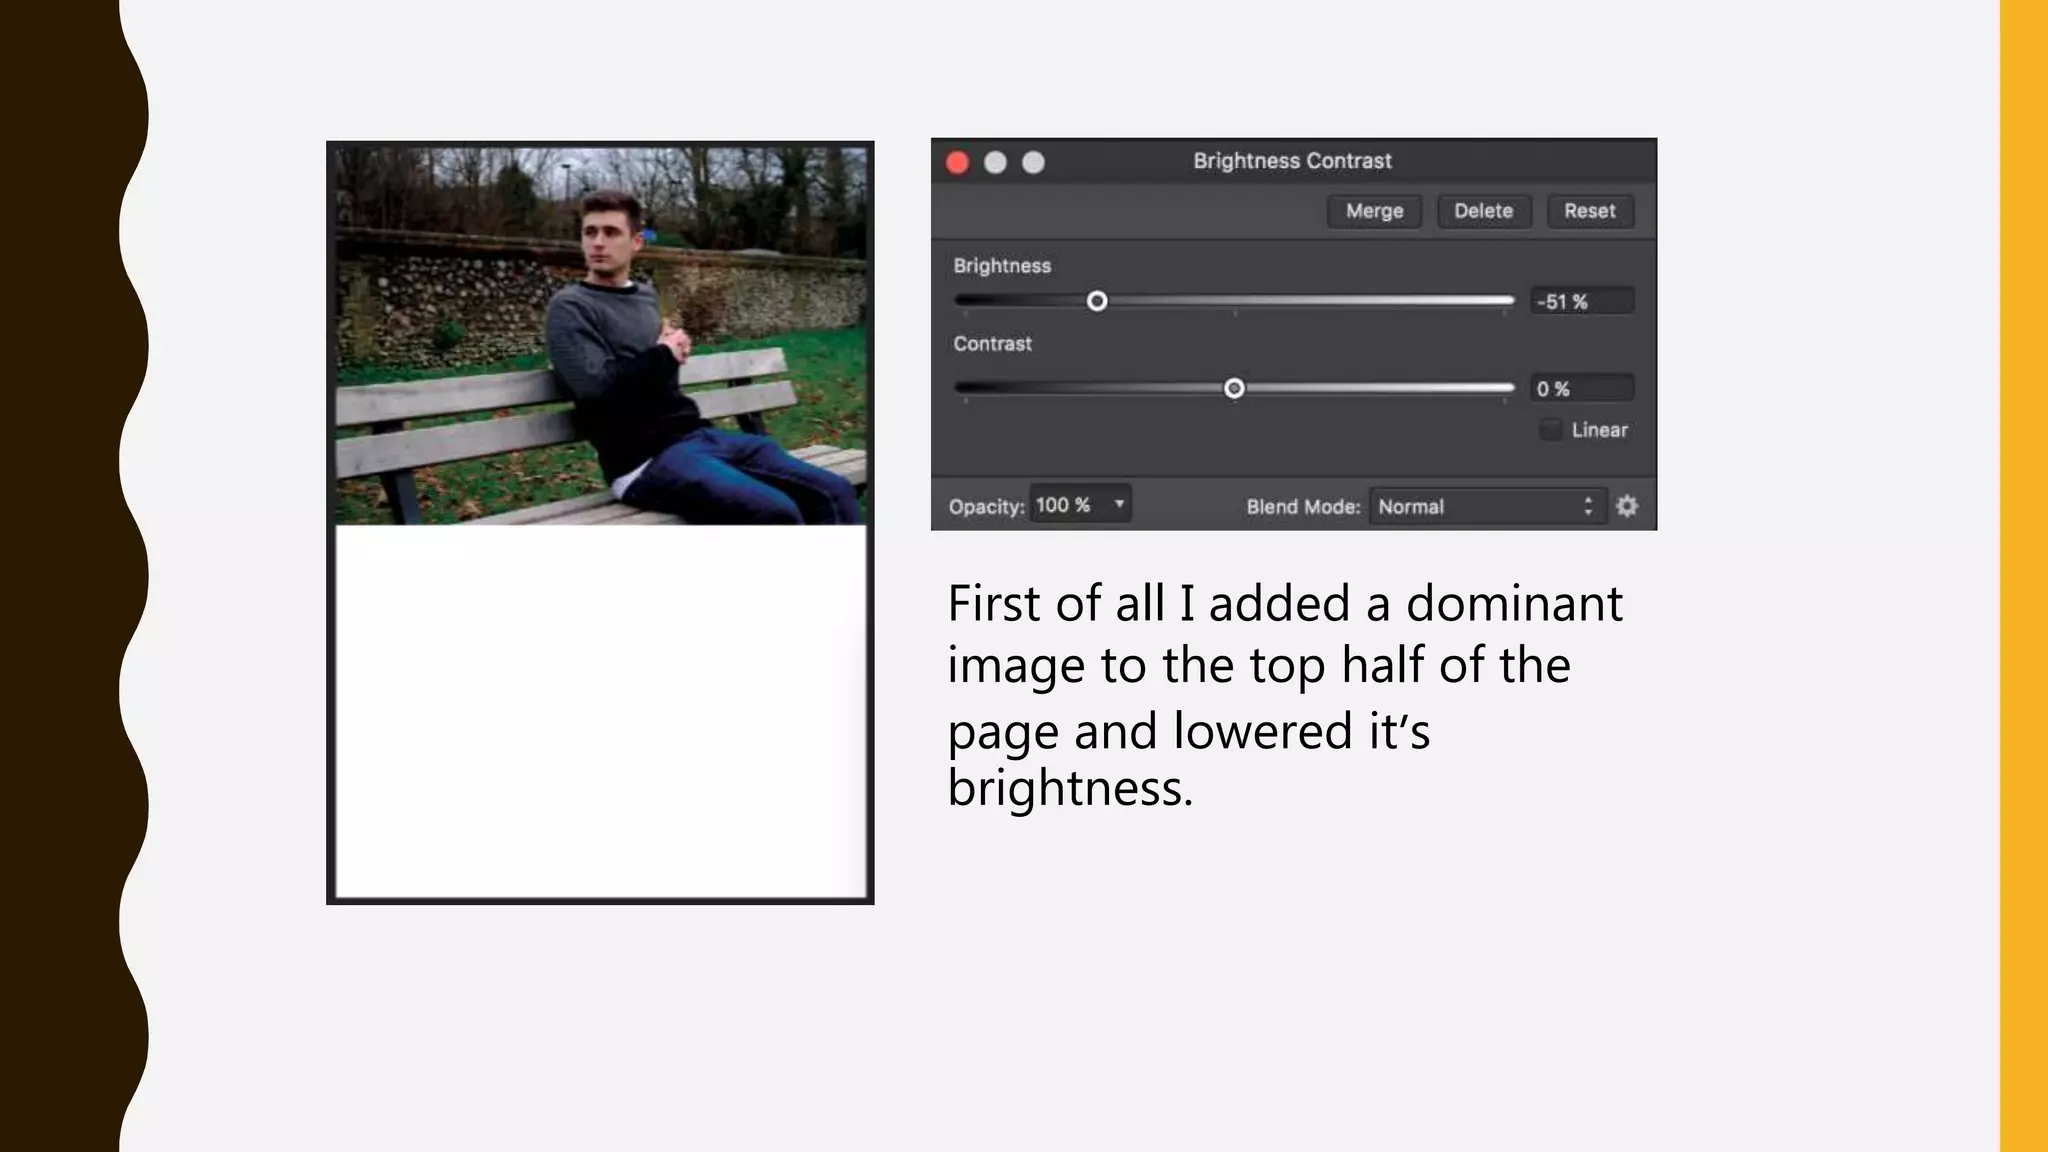
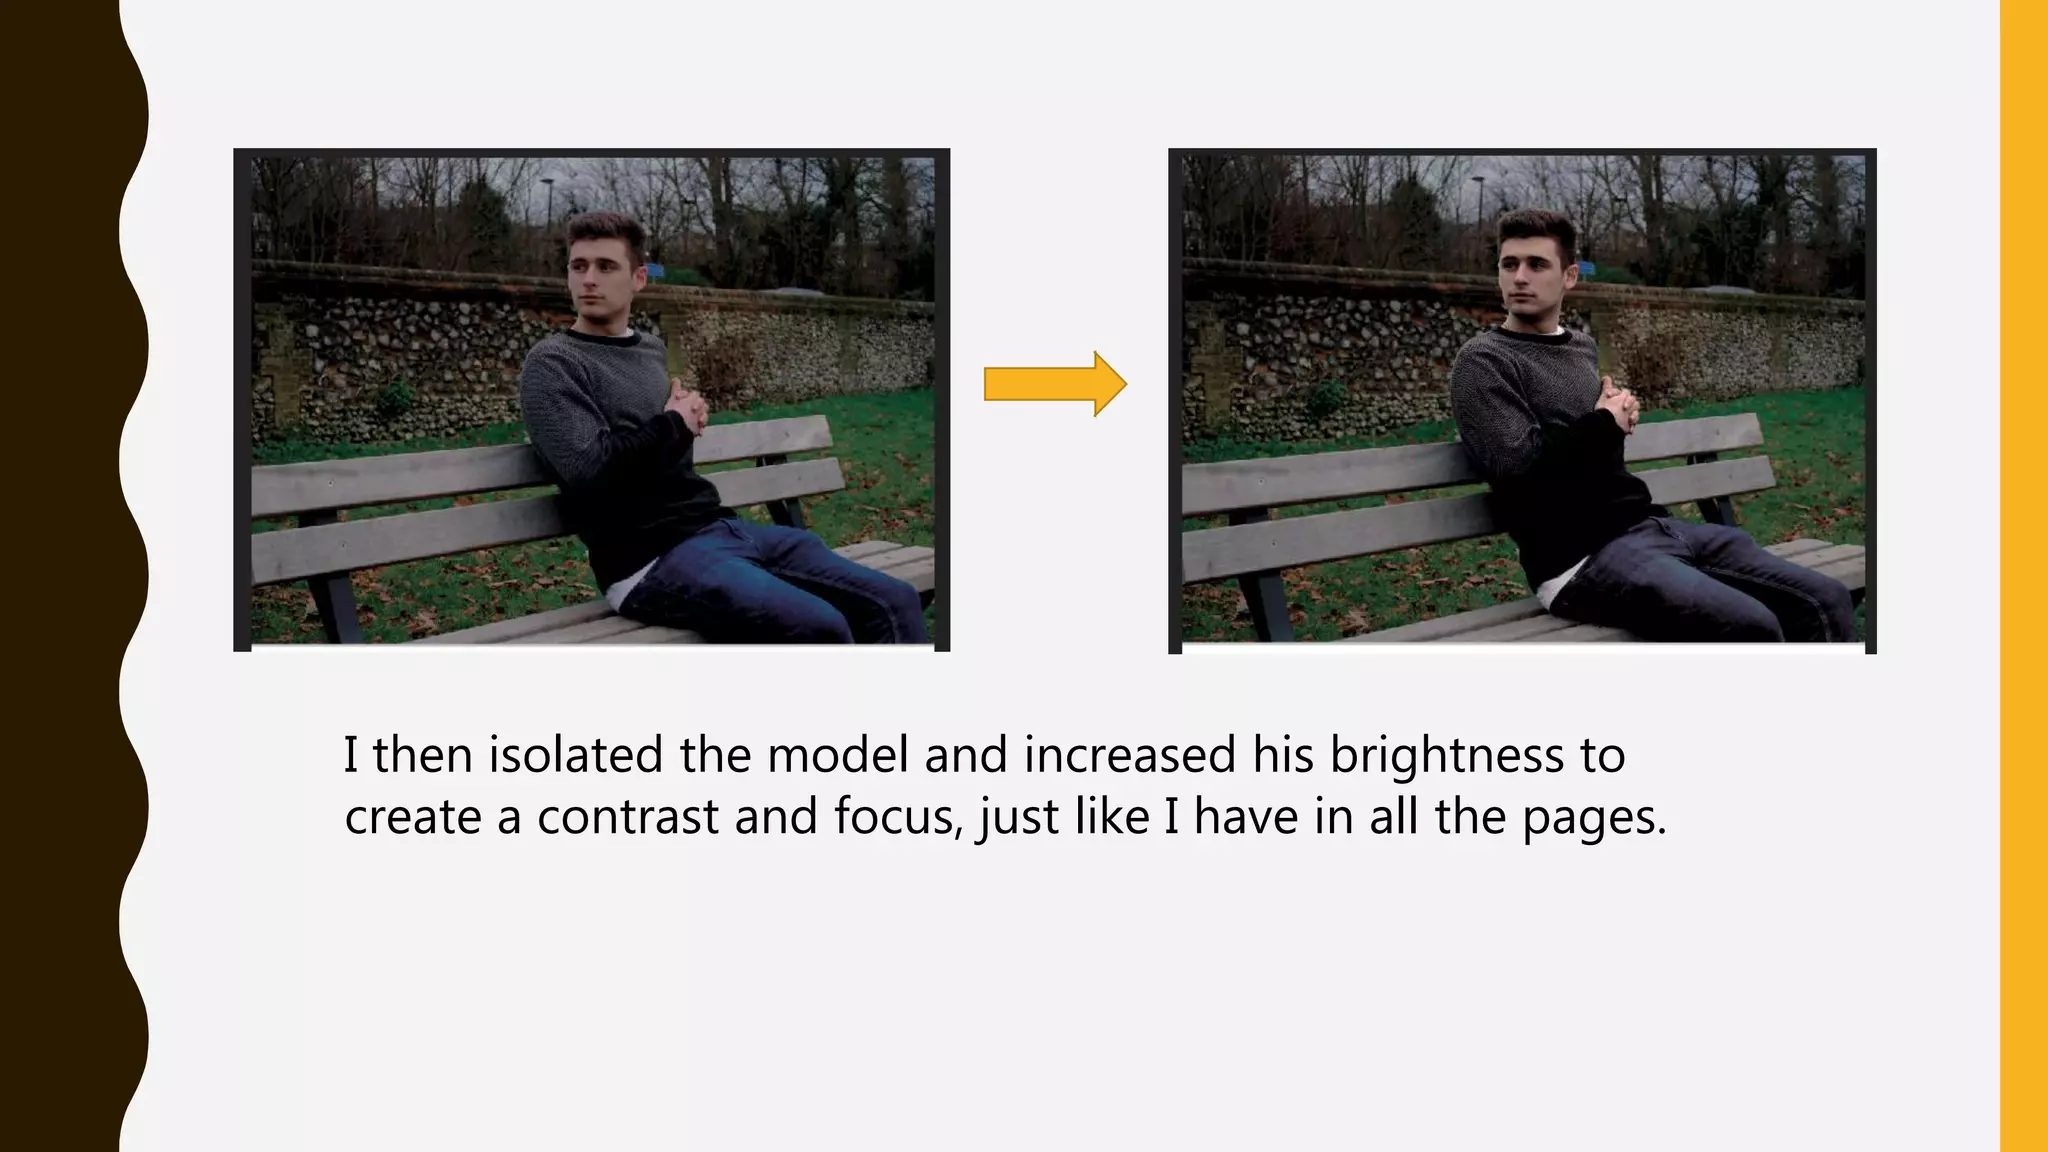
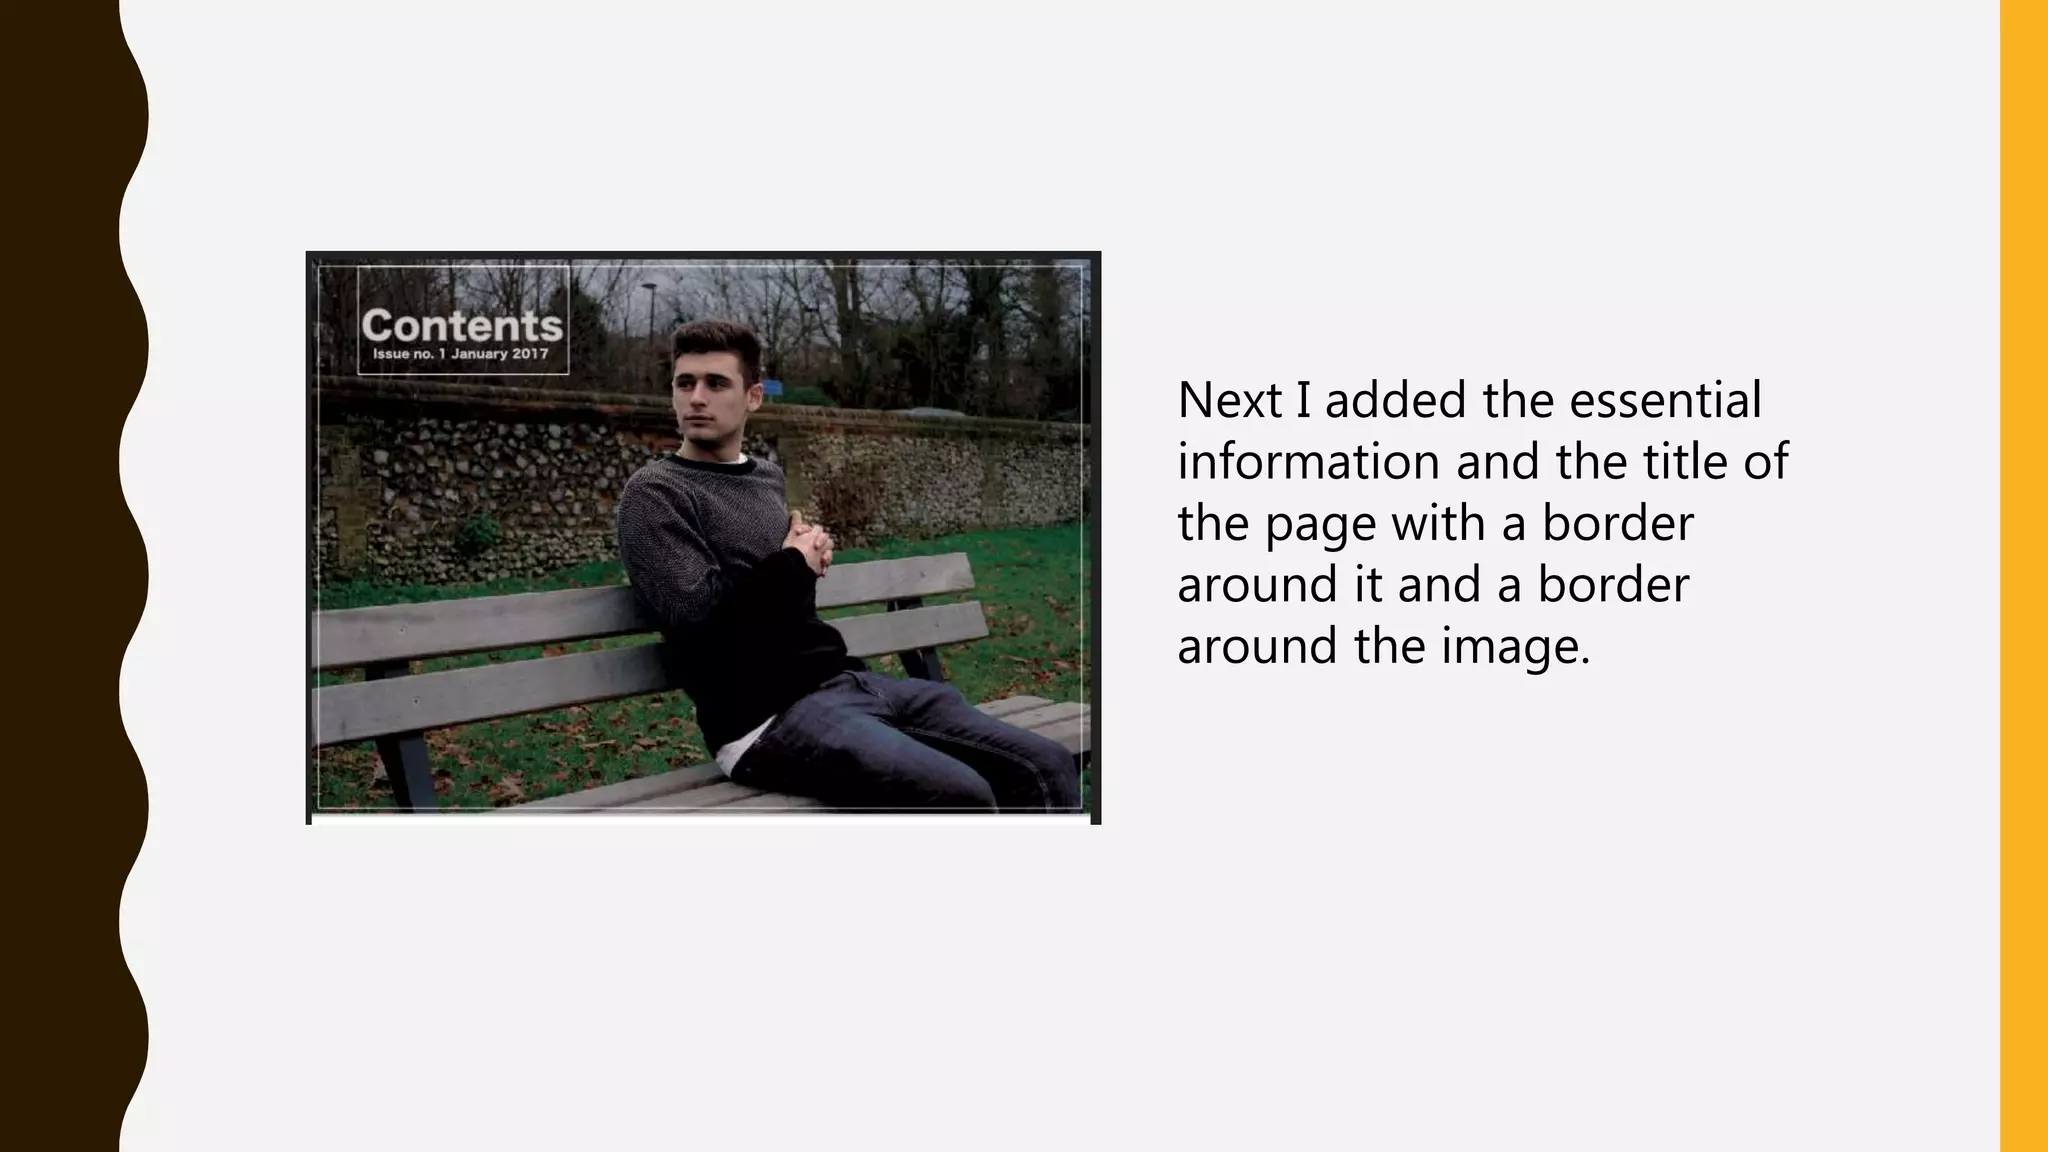
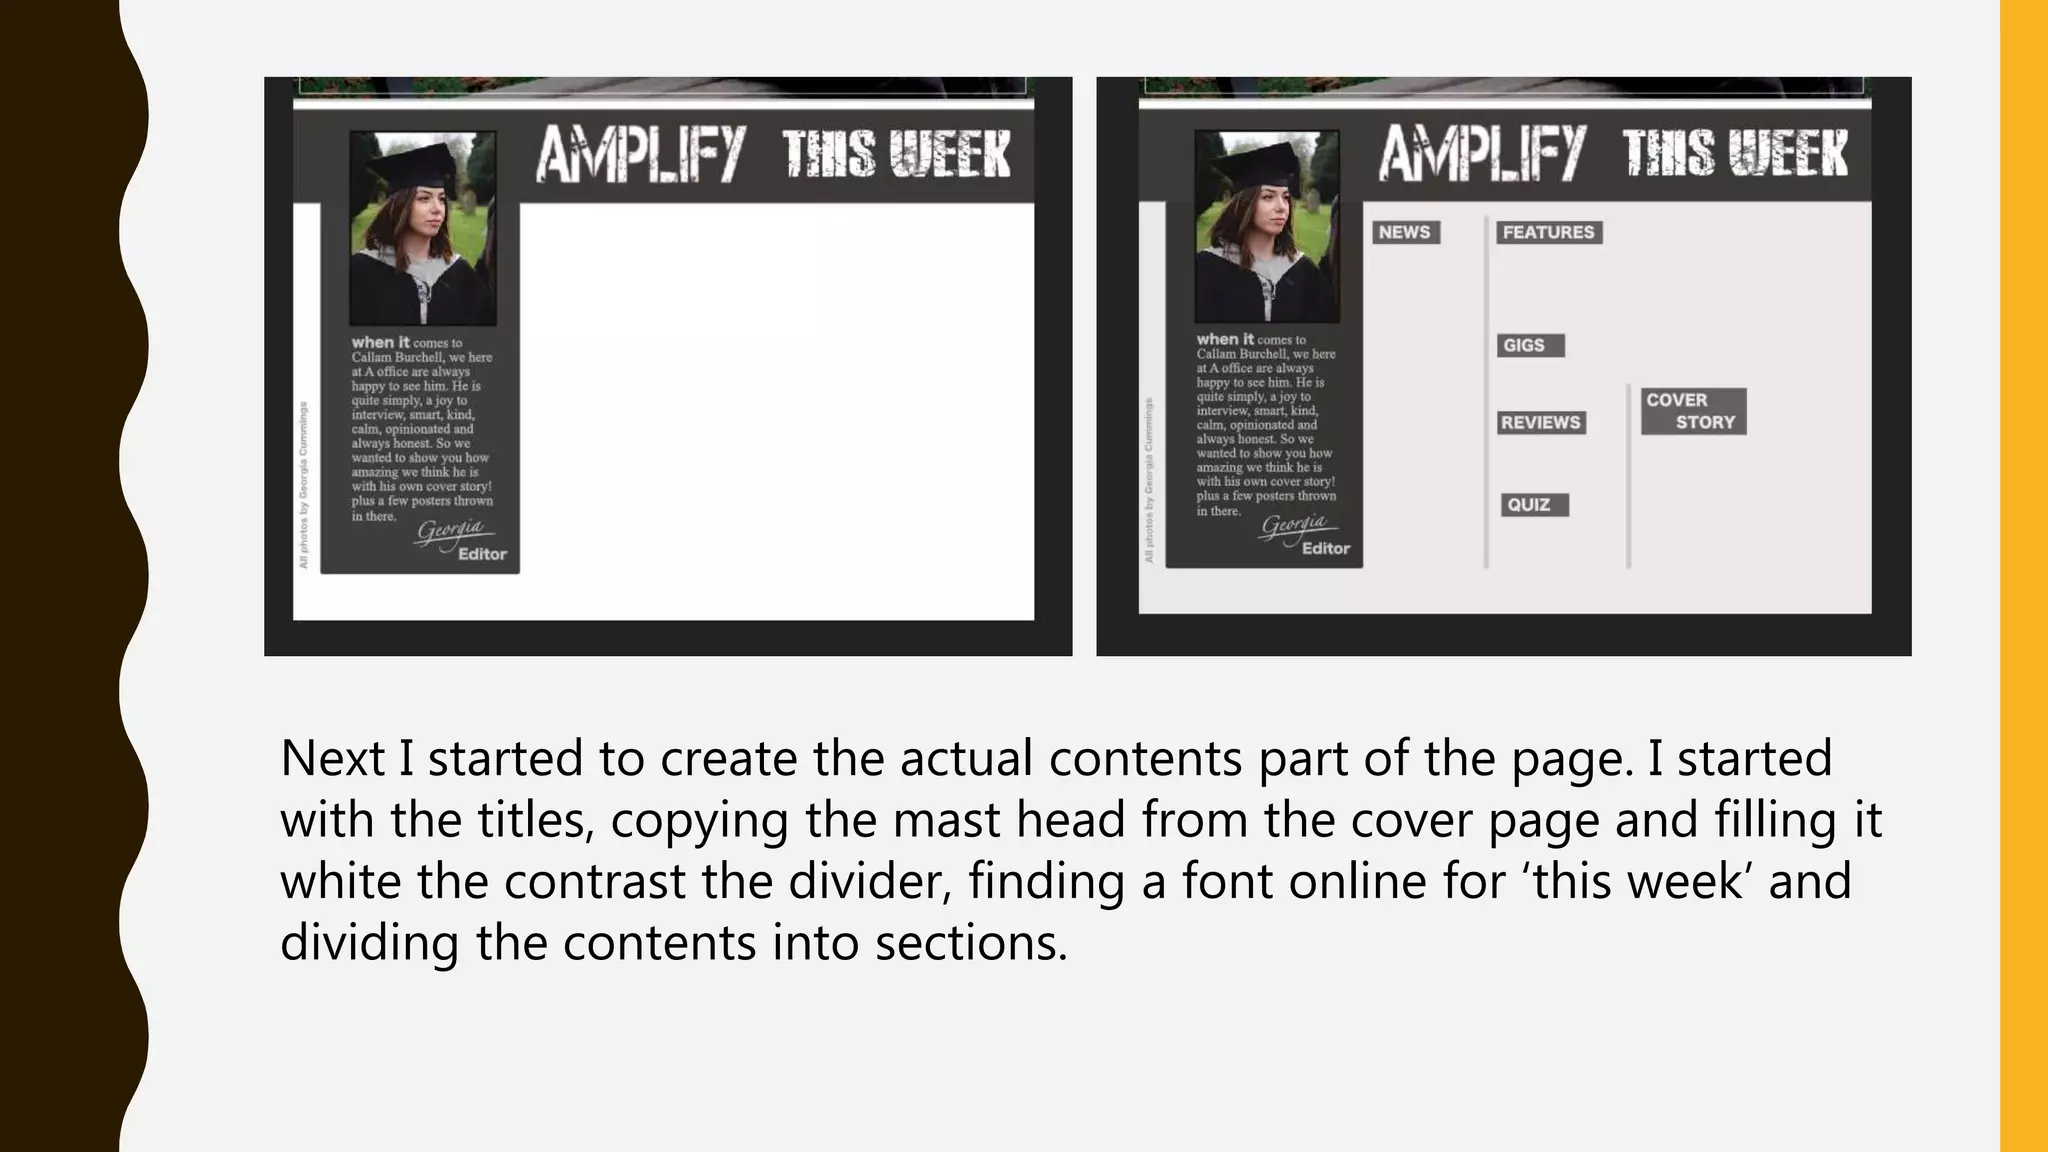
CONTENTS PAGE
First of all I added a dominant
image to the top half of the
page and lowered it’s
brightness.
I then isolated the model and increased his brightness to
create a contrast and focus, just like I have in all the pages.
Next I added the essential
information and the title of
the page with a border
around it and a border
around the image.
I added a few sub
images in the
form of posters,
gave them a white
border and then
gave them a plug.
For the bottom half I created a divider that
will be the backdrop for a title and created
another separate section for the editor.
Adding a portrait and writing a message
from the ‘editor’. Using a calligraphy font as
the signature and drawing a line underneath.
Next I started to create the actual contents part of the page. I started
with the titles, copying the mast head from the cover page and filling it
white the contrast the divider, finding a font online for ‘this week’ and
dividing the contents into sections.
Pretty much all that was left to do was write out the information so I
started with the main article headlines and then the details. Next was
the colour changes to follow the theme and then I added the page
numbers. I had free space do I decided to add a few plugs. One with
a competition and one with contact details and subscriptions.
Final product

Contents process

  • 1.
  • 2.
    First of allI added a dominant image to the top half of the page and lowered it’s brightness.
  • 3.
    I then isolatedthe model and increased his brightness to create a contrast and focus, just like I have in all the pages.
  • 4.
    Next I addedthe essential information and the title of the page with a border around it and a border around the image.
  • 5.
    I added afew sub images in the form of posters, gave them a white border and then gave them a plug.
  • 6.
    For the bottomhalf I created a divider that will be the backdrop for a title and created another separate section for the editor. Adding a portrait and writing a message from the ‘editor’. Using a calligraphy font as the signature and drawing a line underneath.
  • 7.
    Next I startedto create the actual contents part of the page. I started with the titles, copying the mast head from the cover page and filling it white the contrast the divider, finding a font online for ‘this week’ and dividing the contents into sections.
  • 8.
    Pretty much allthat was left to do was write out the information so I started with the main article headlines and then the details. Next was the colour changes to follow the theme and then I added the page numbers. I had free space do I decided to add a few plugs. One with a competition and one with contact details and subscriptions.
  • 9.