Download as ODP, PPTX
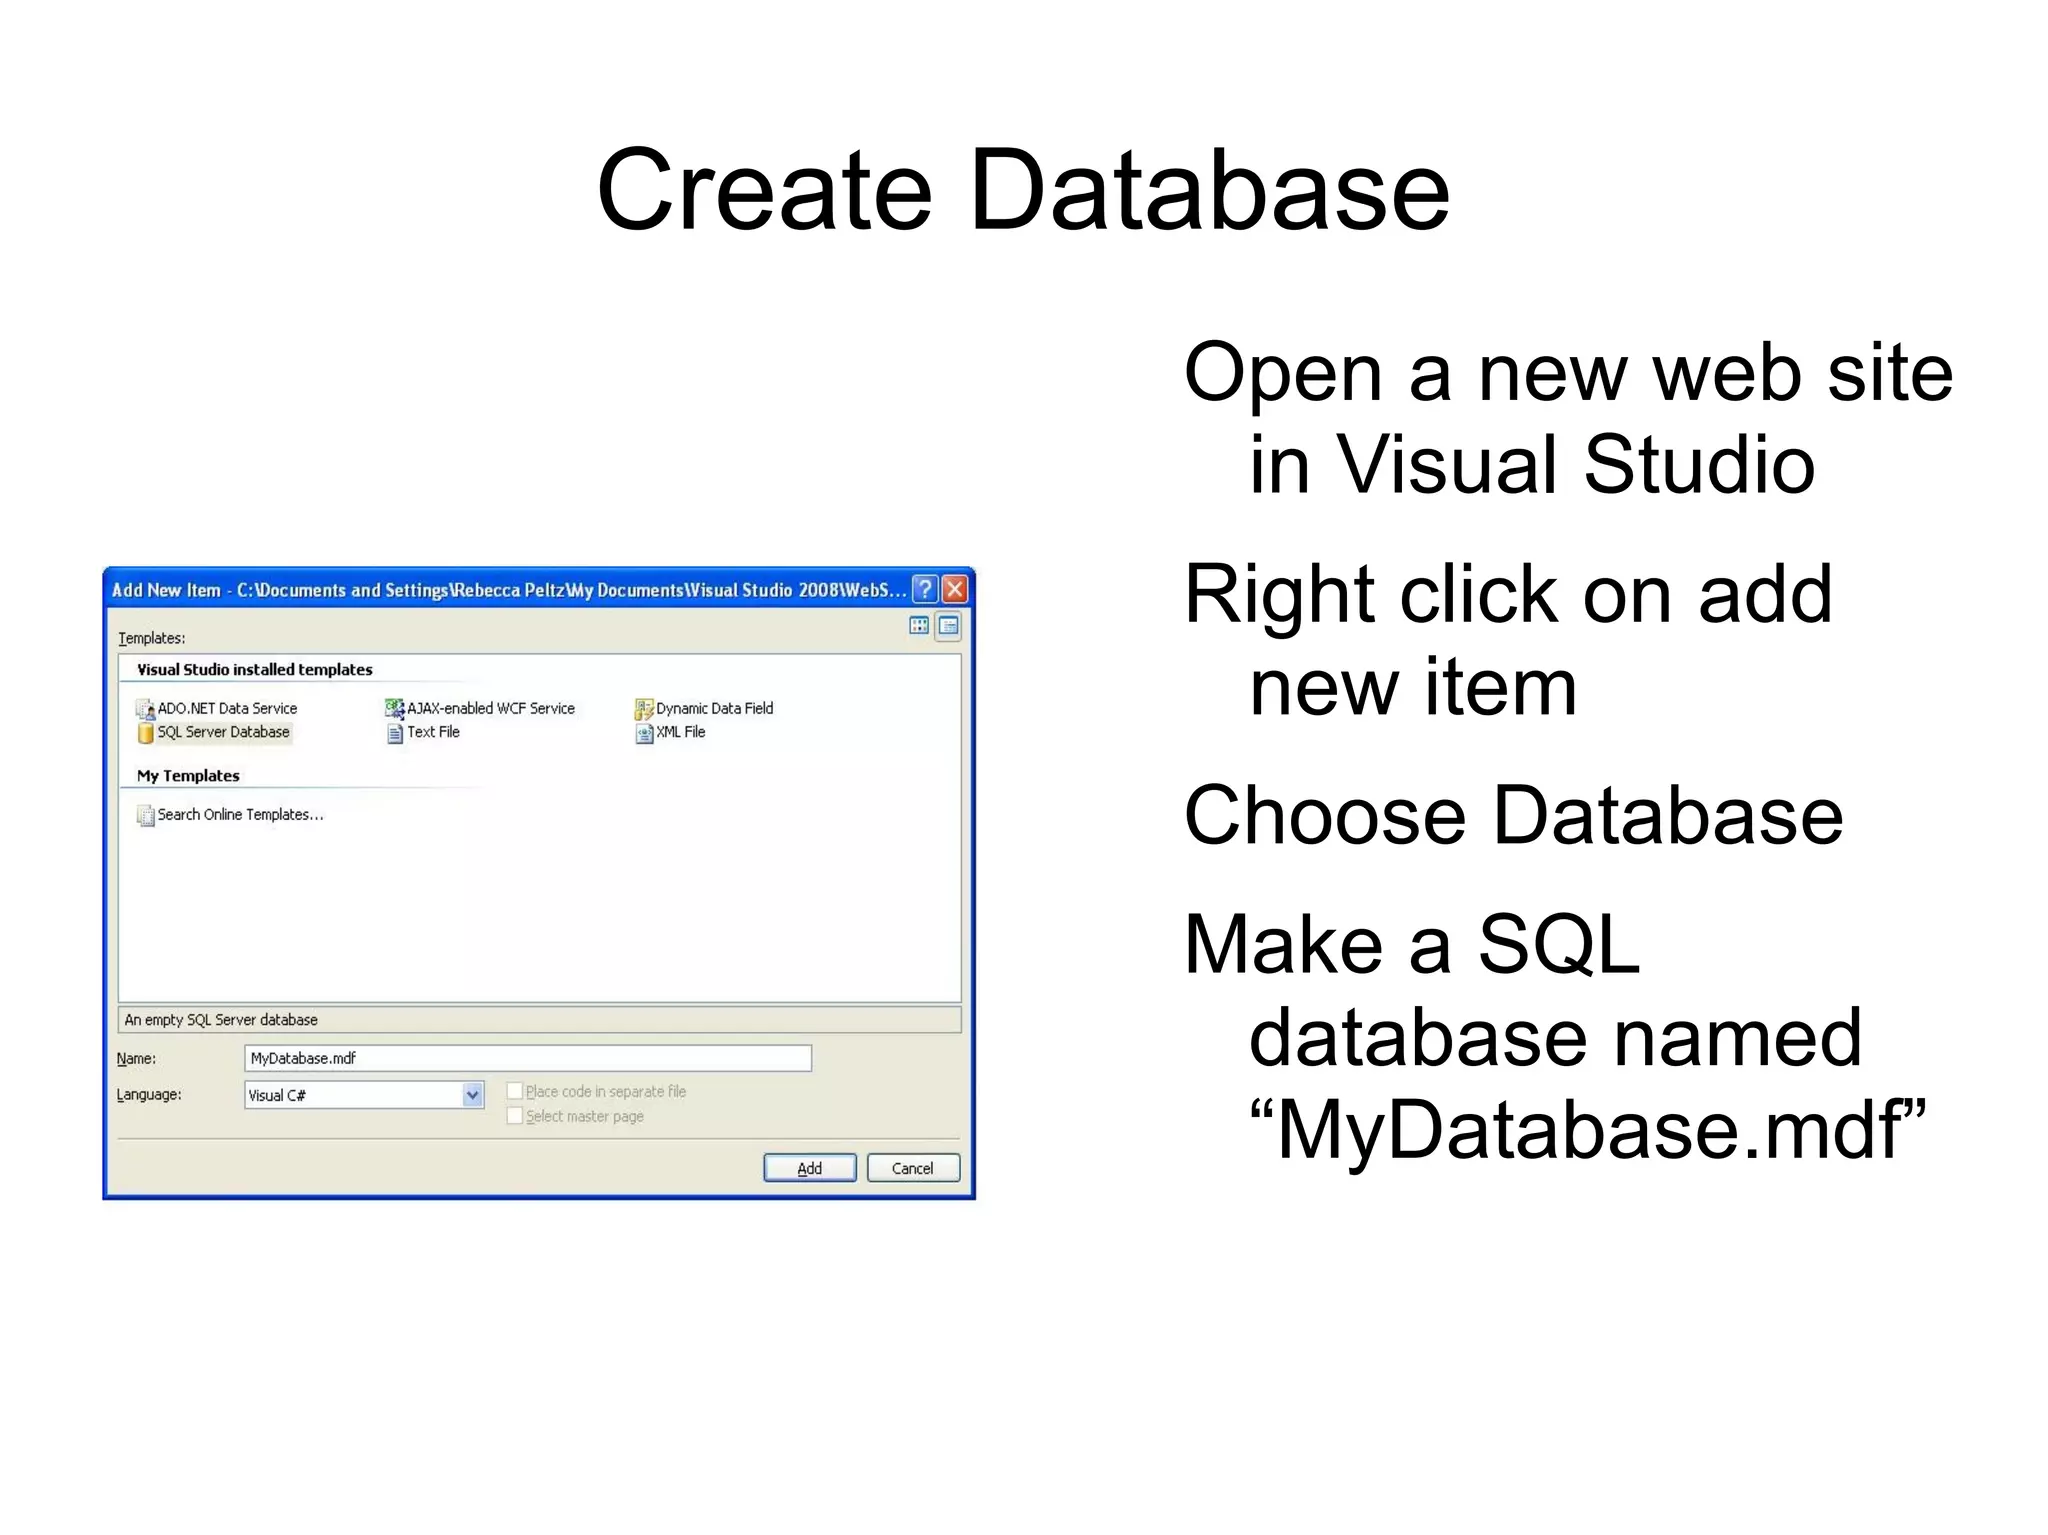
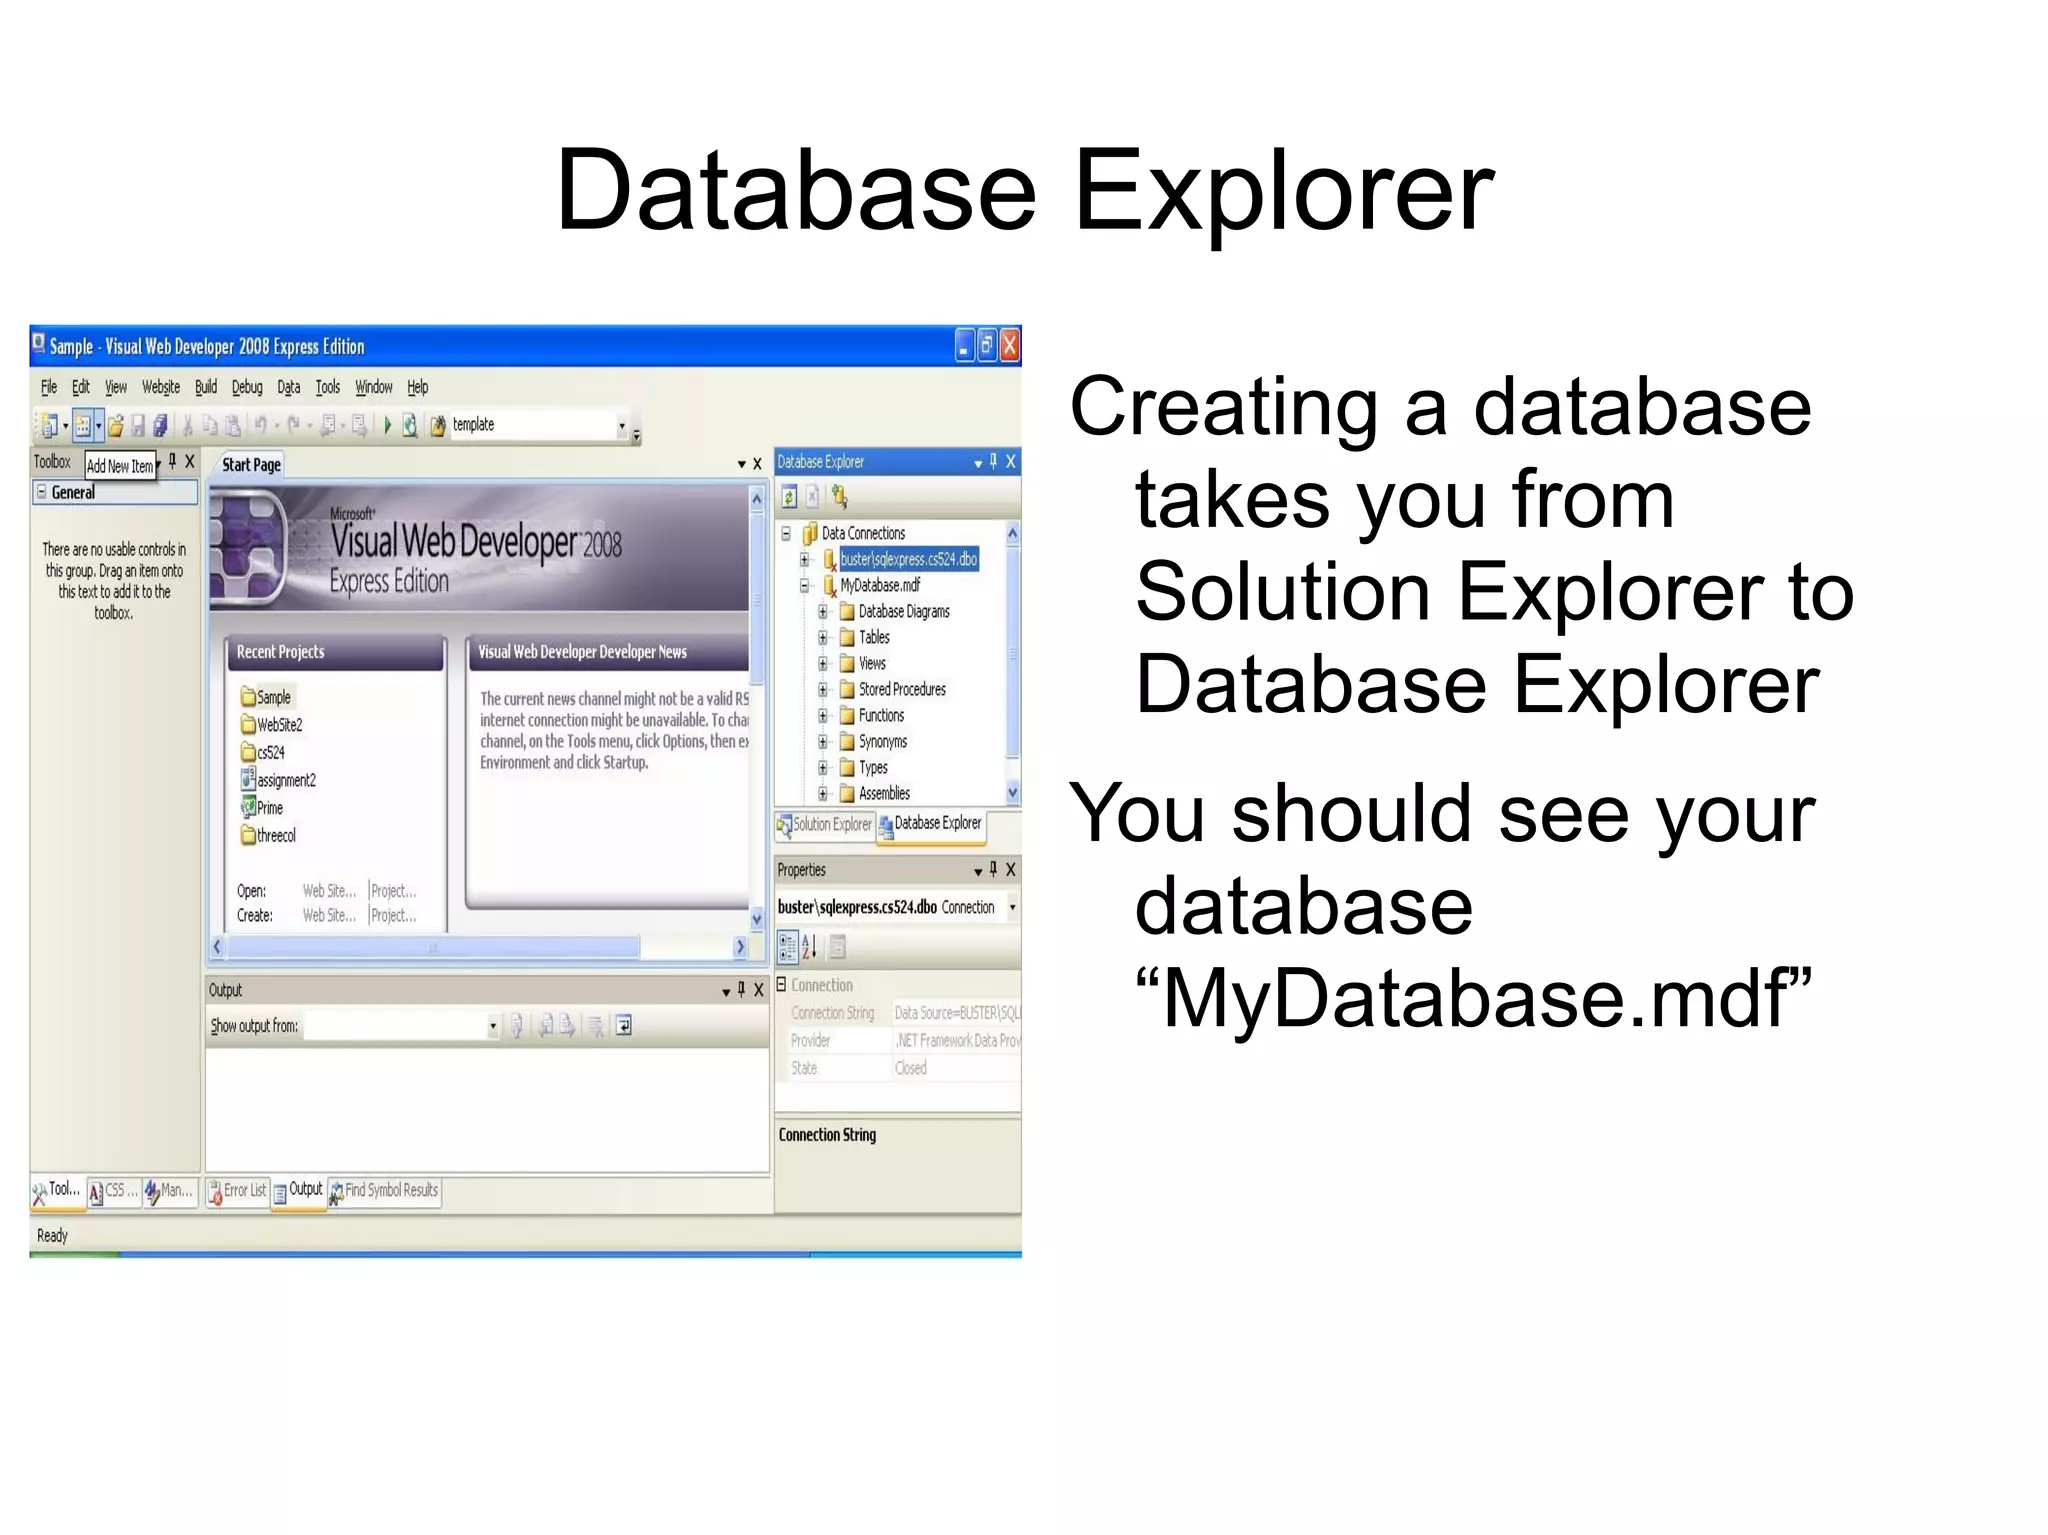
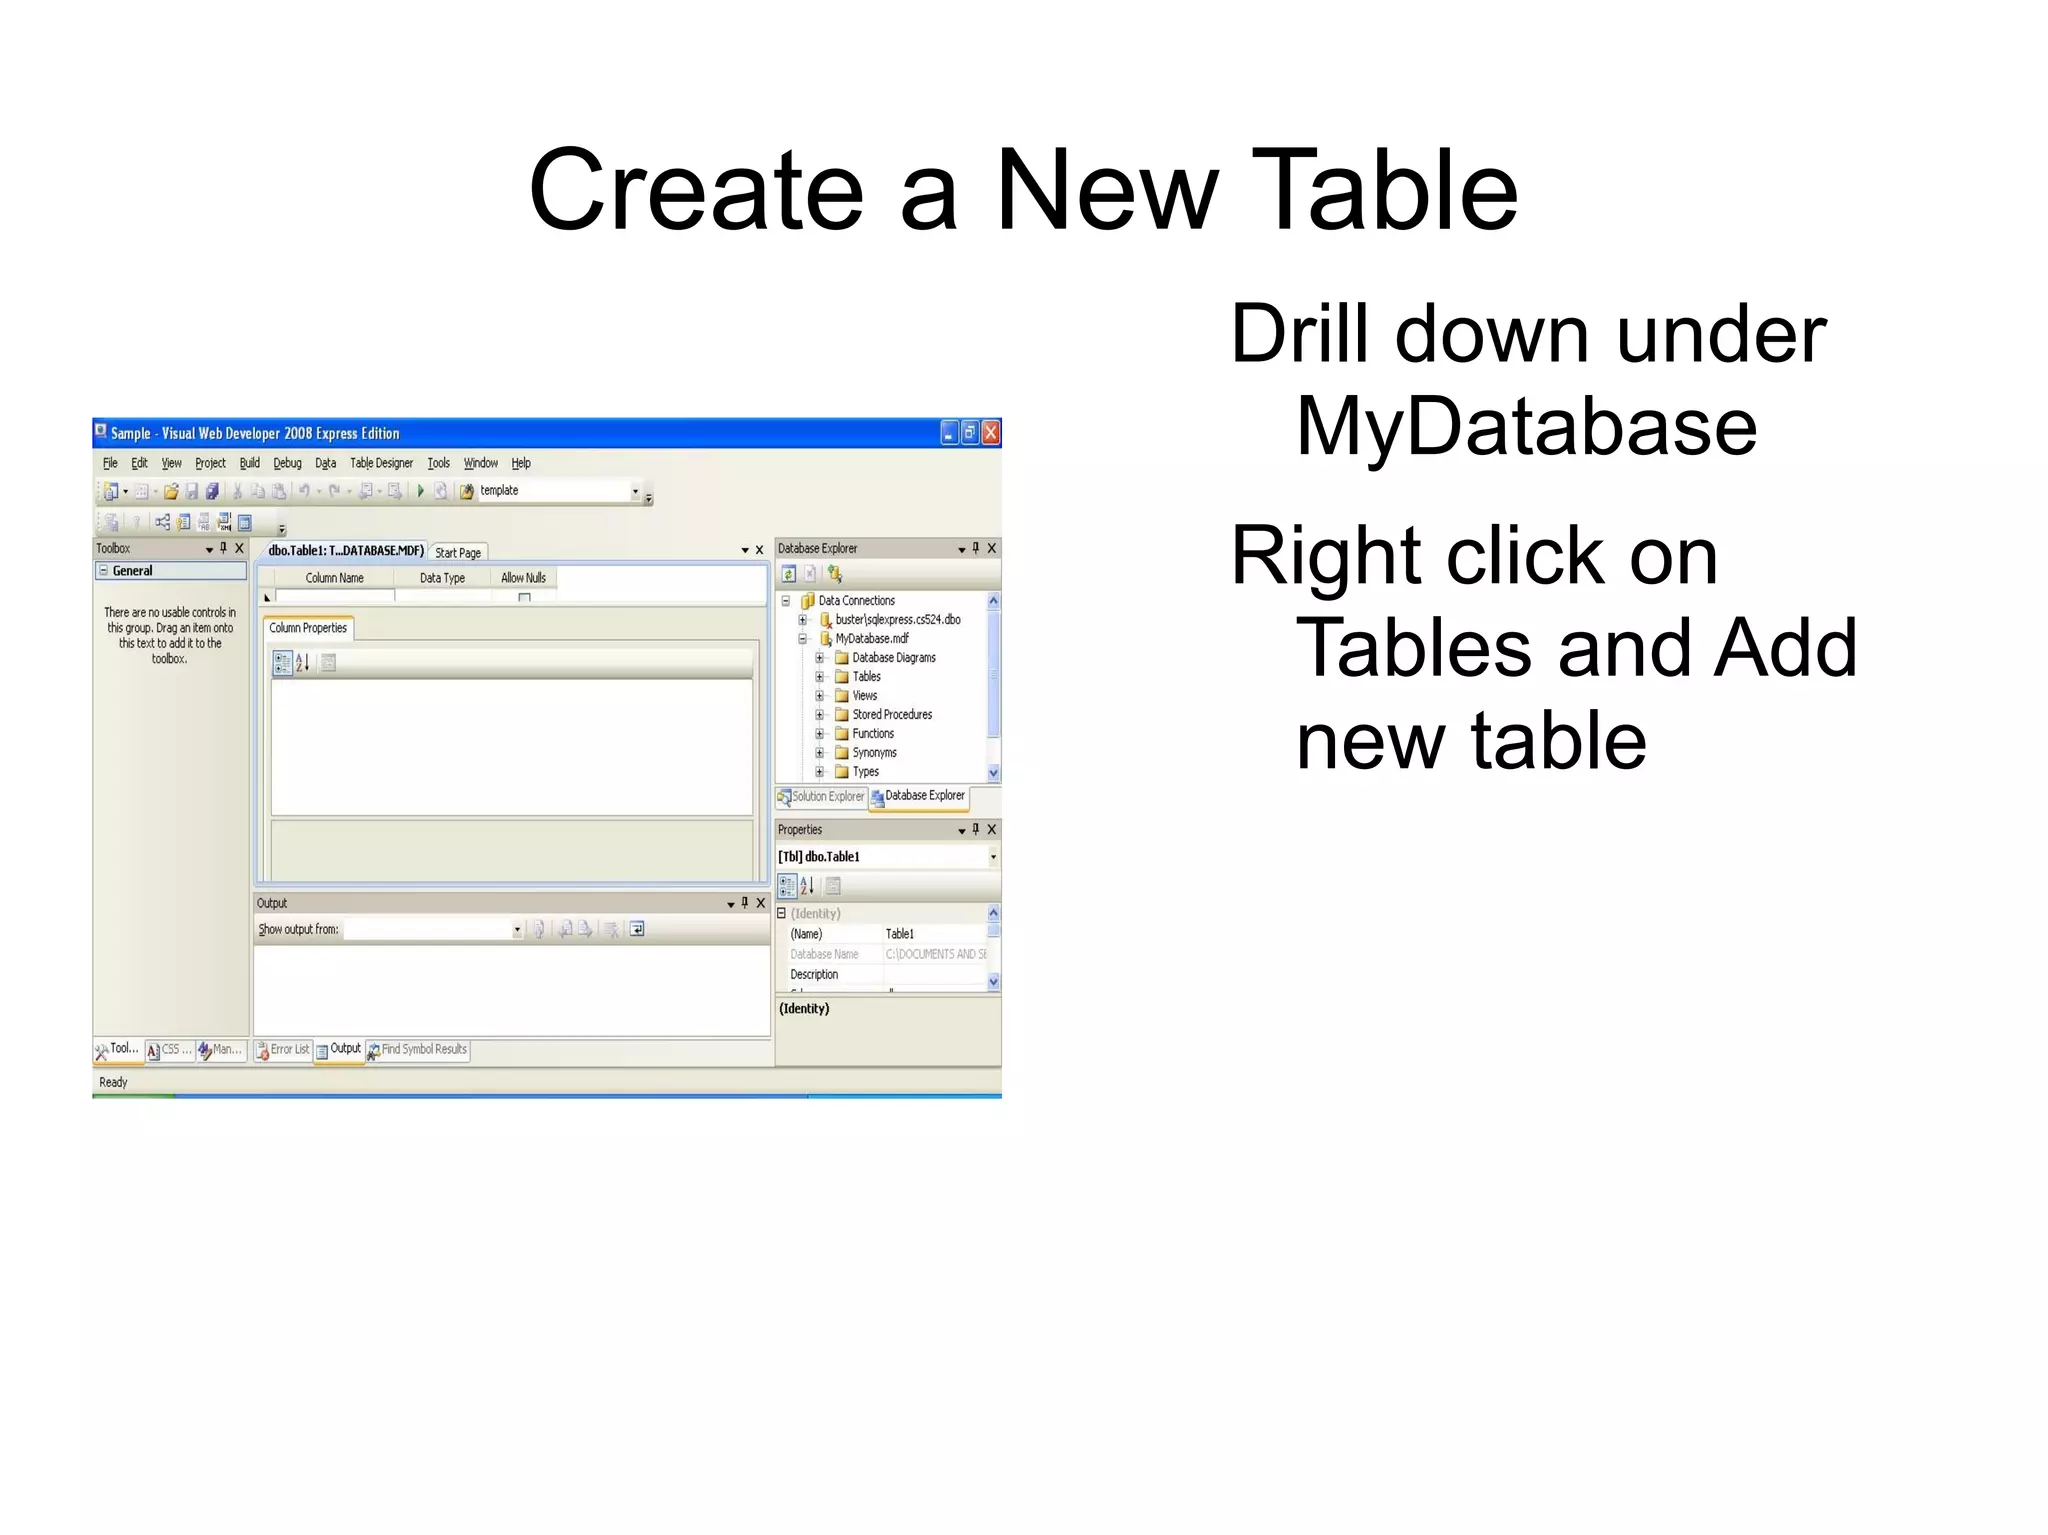
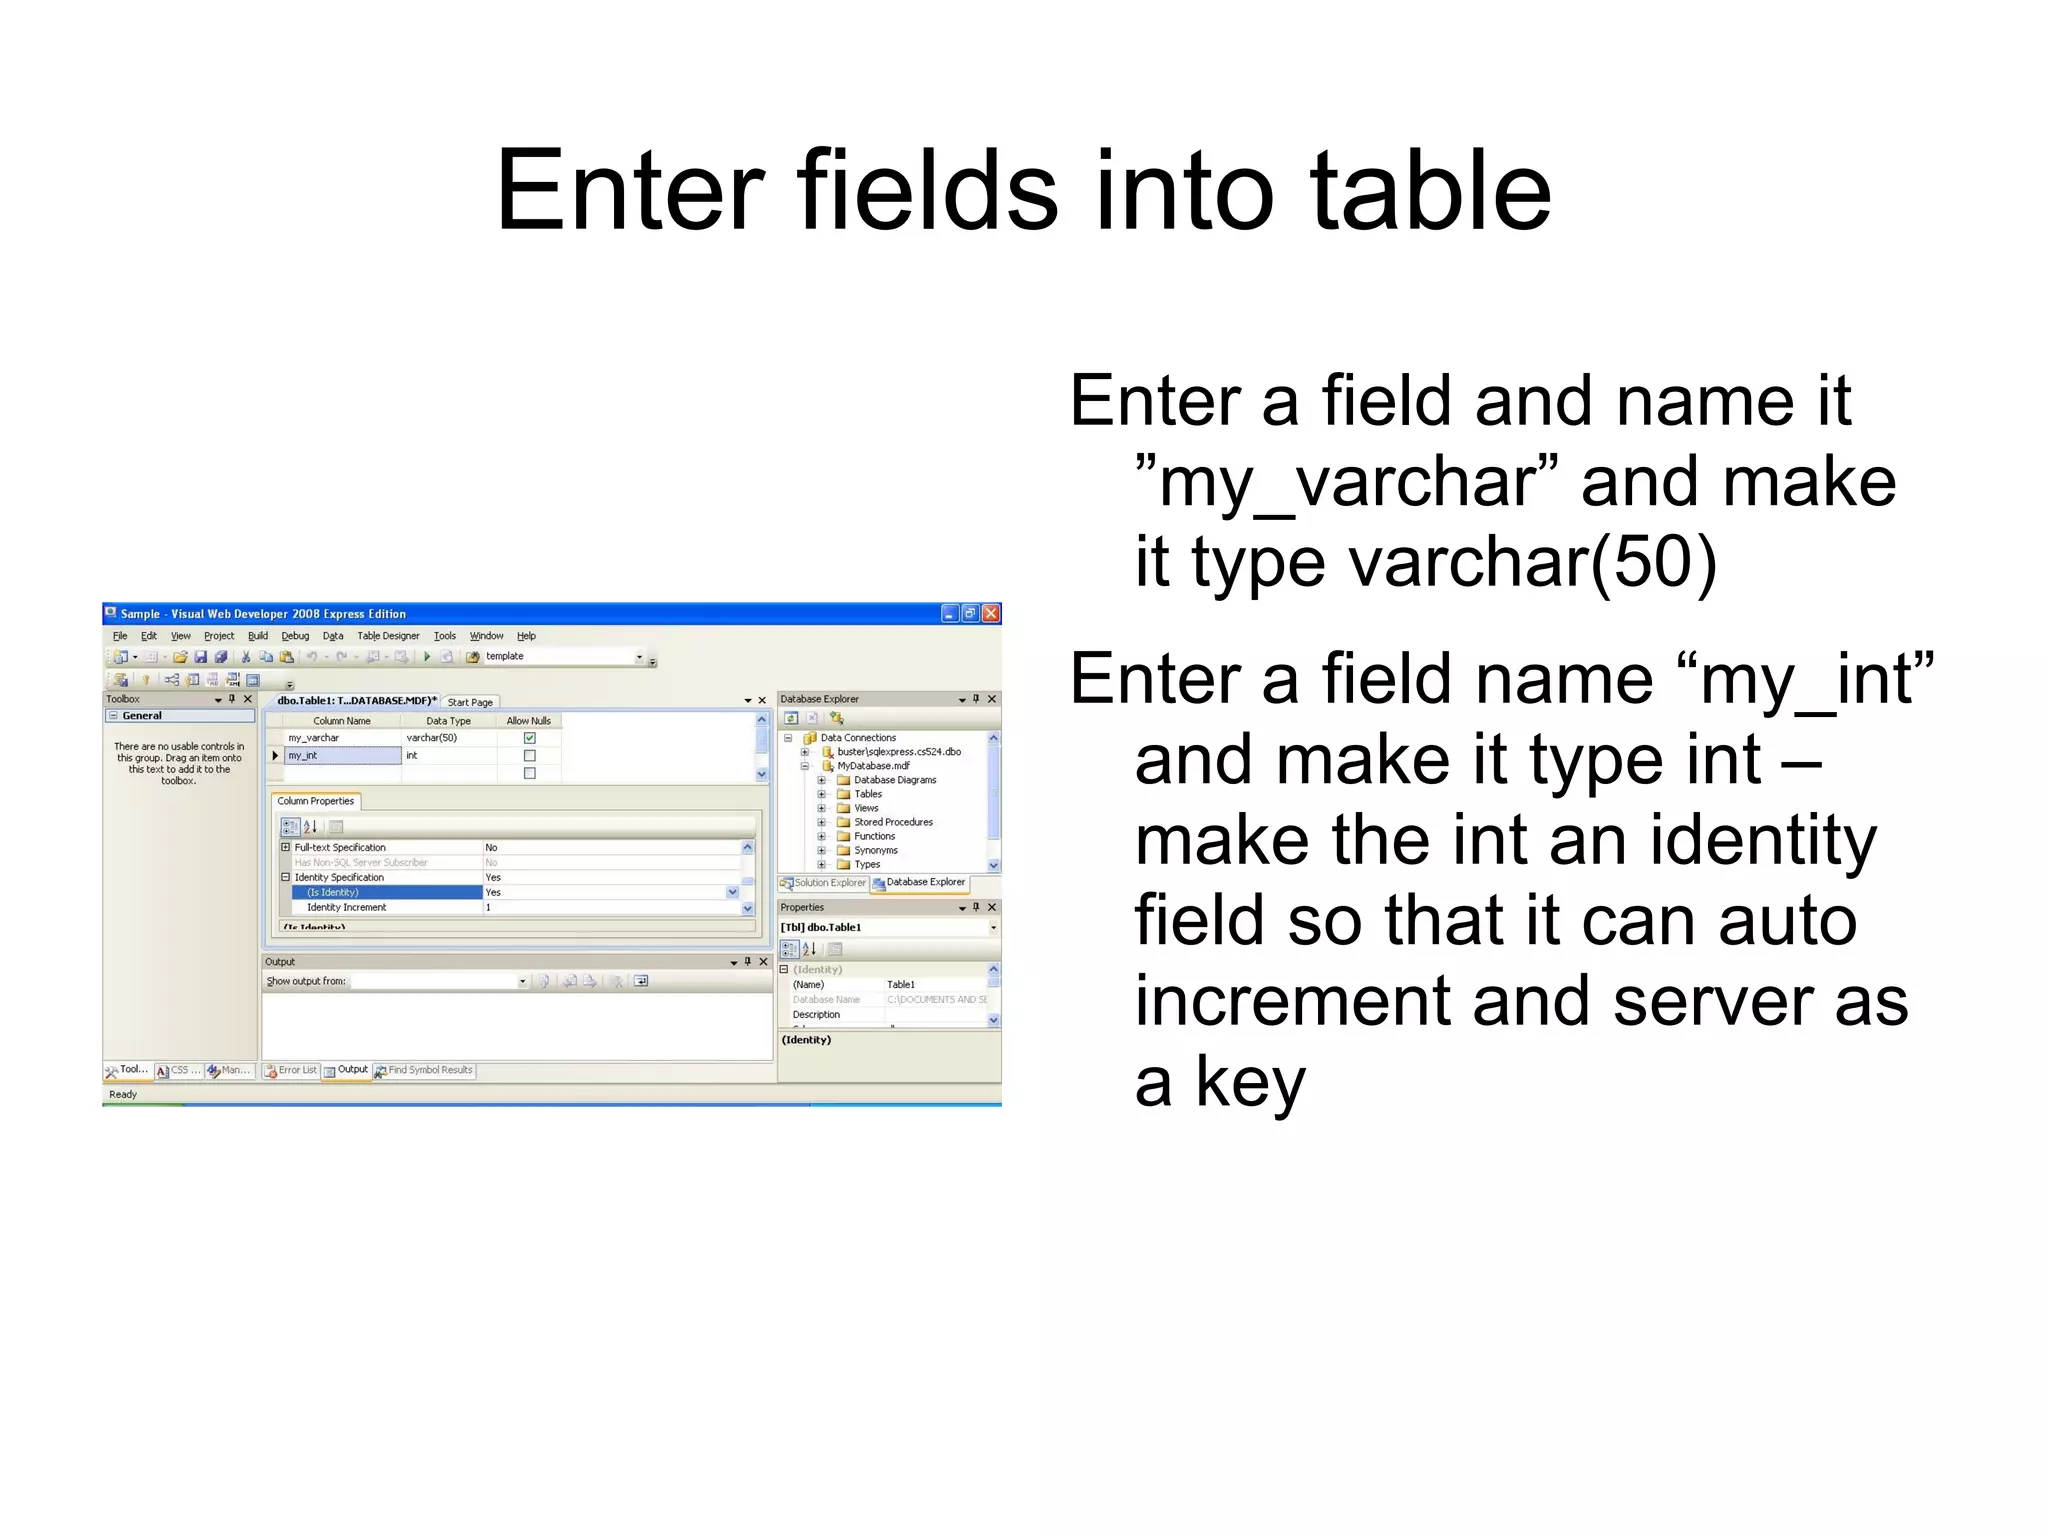
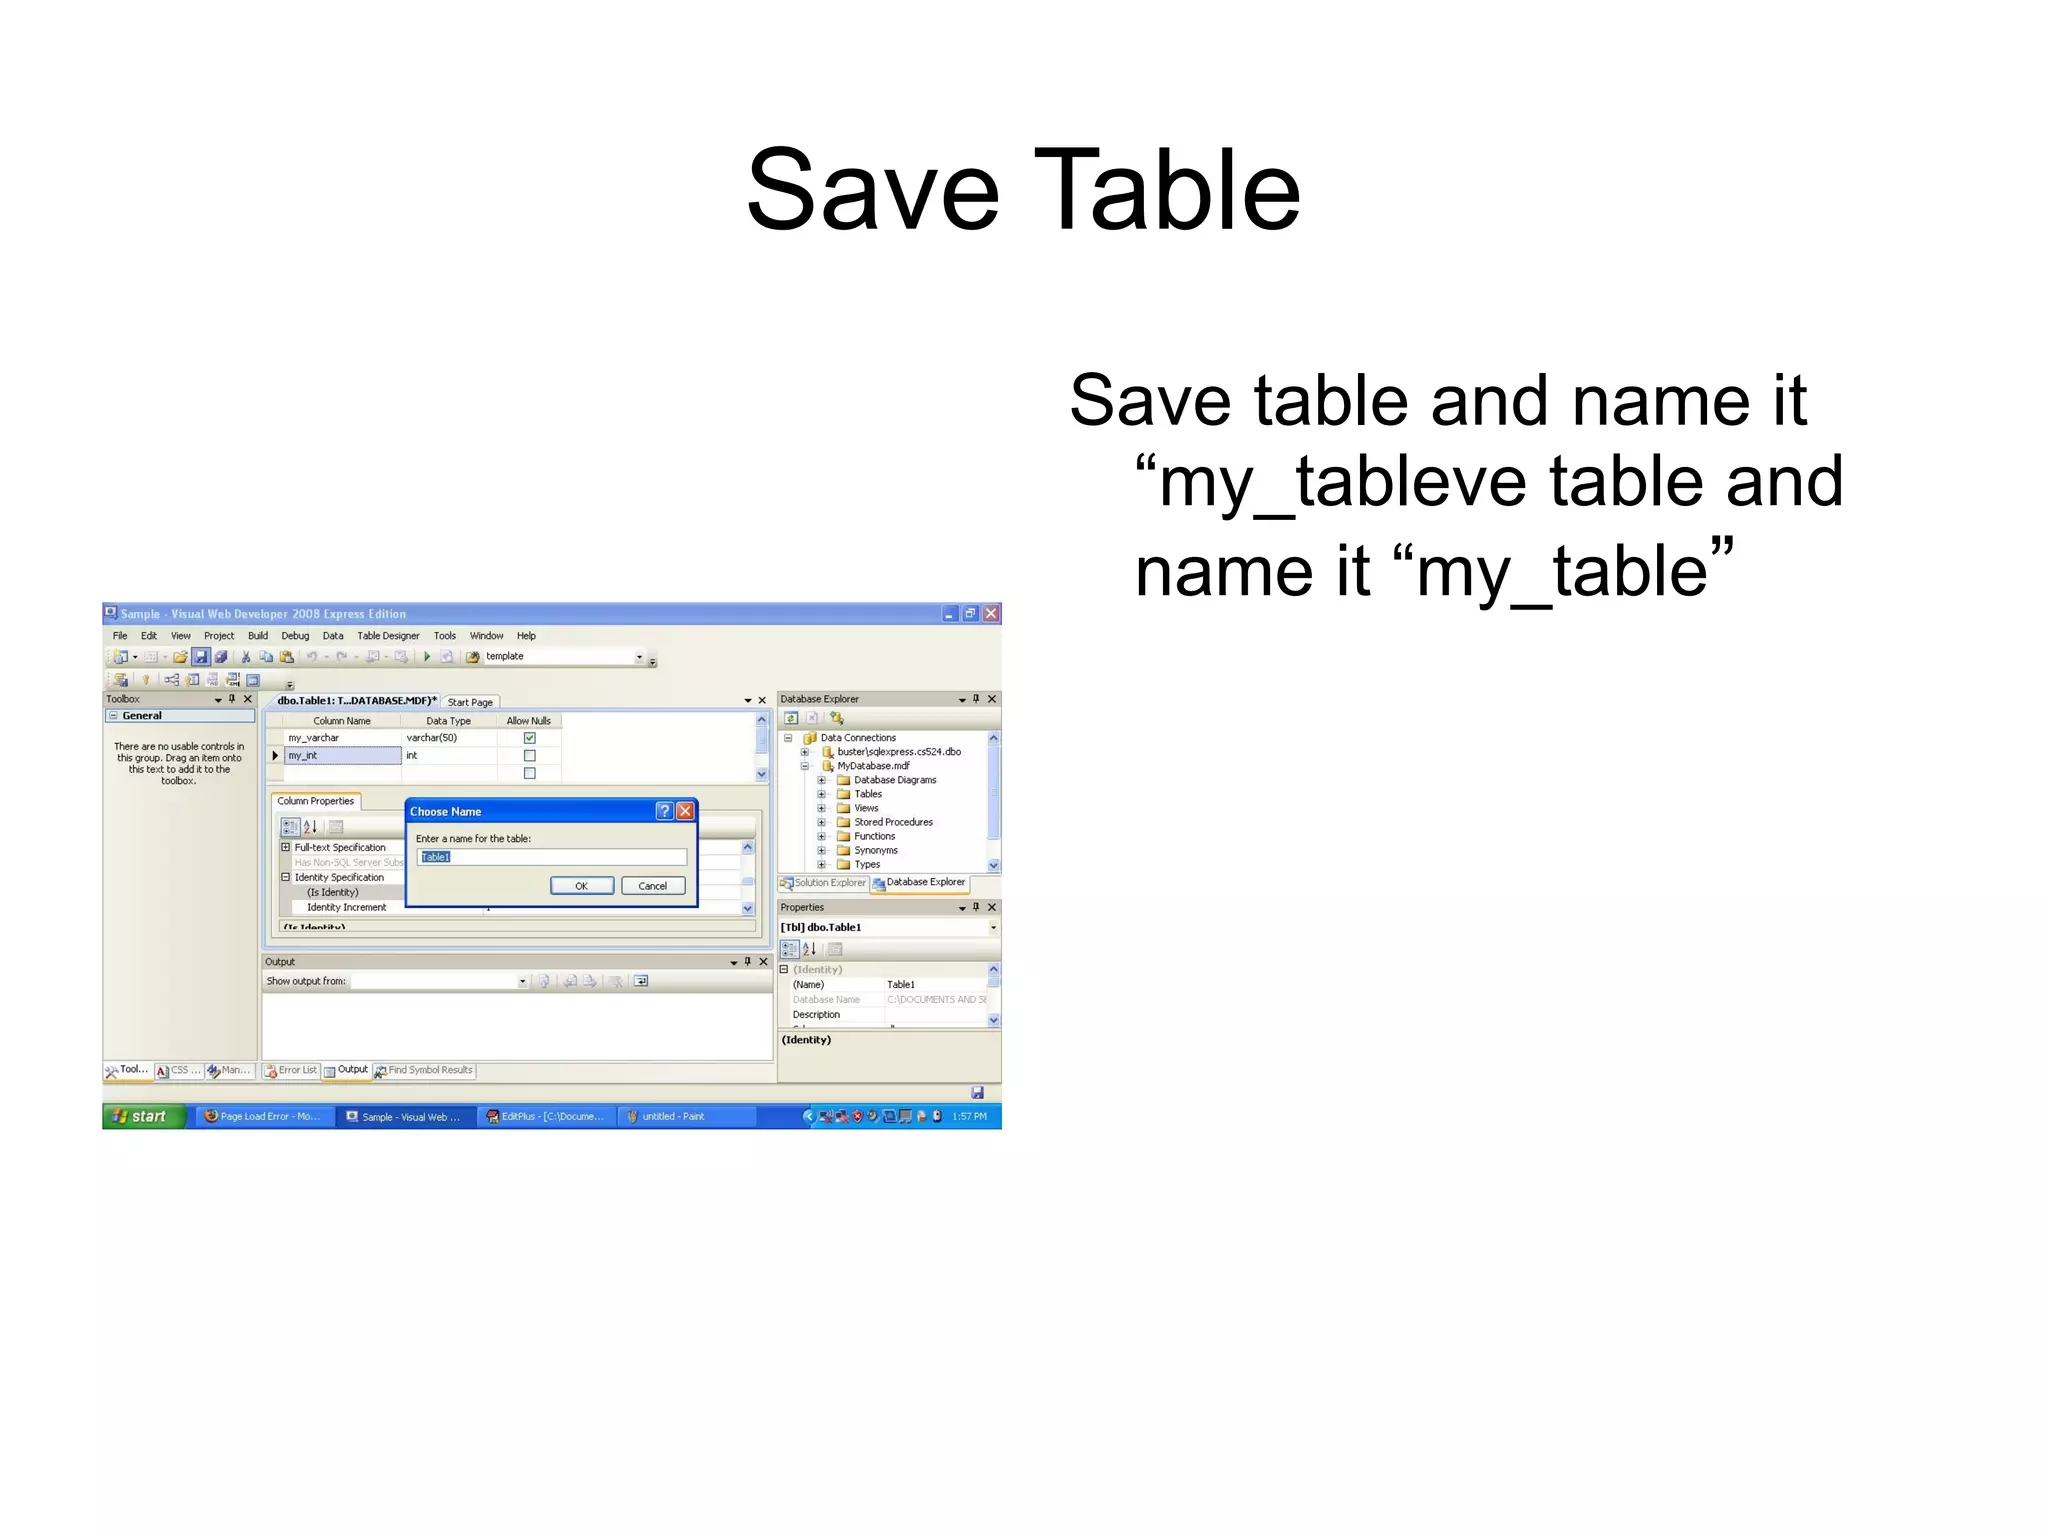

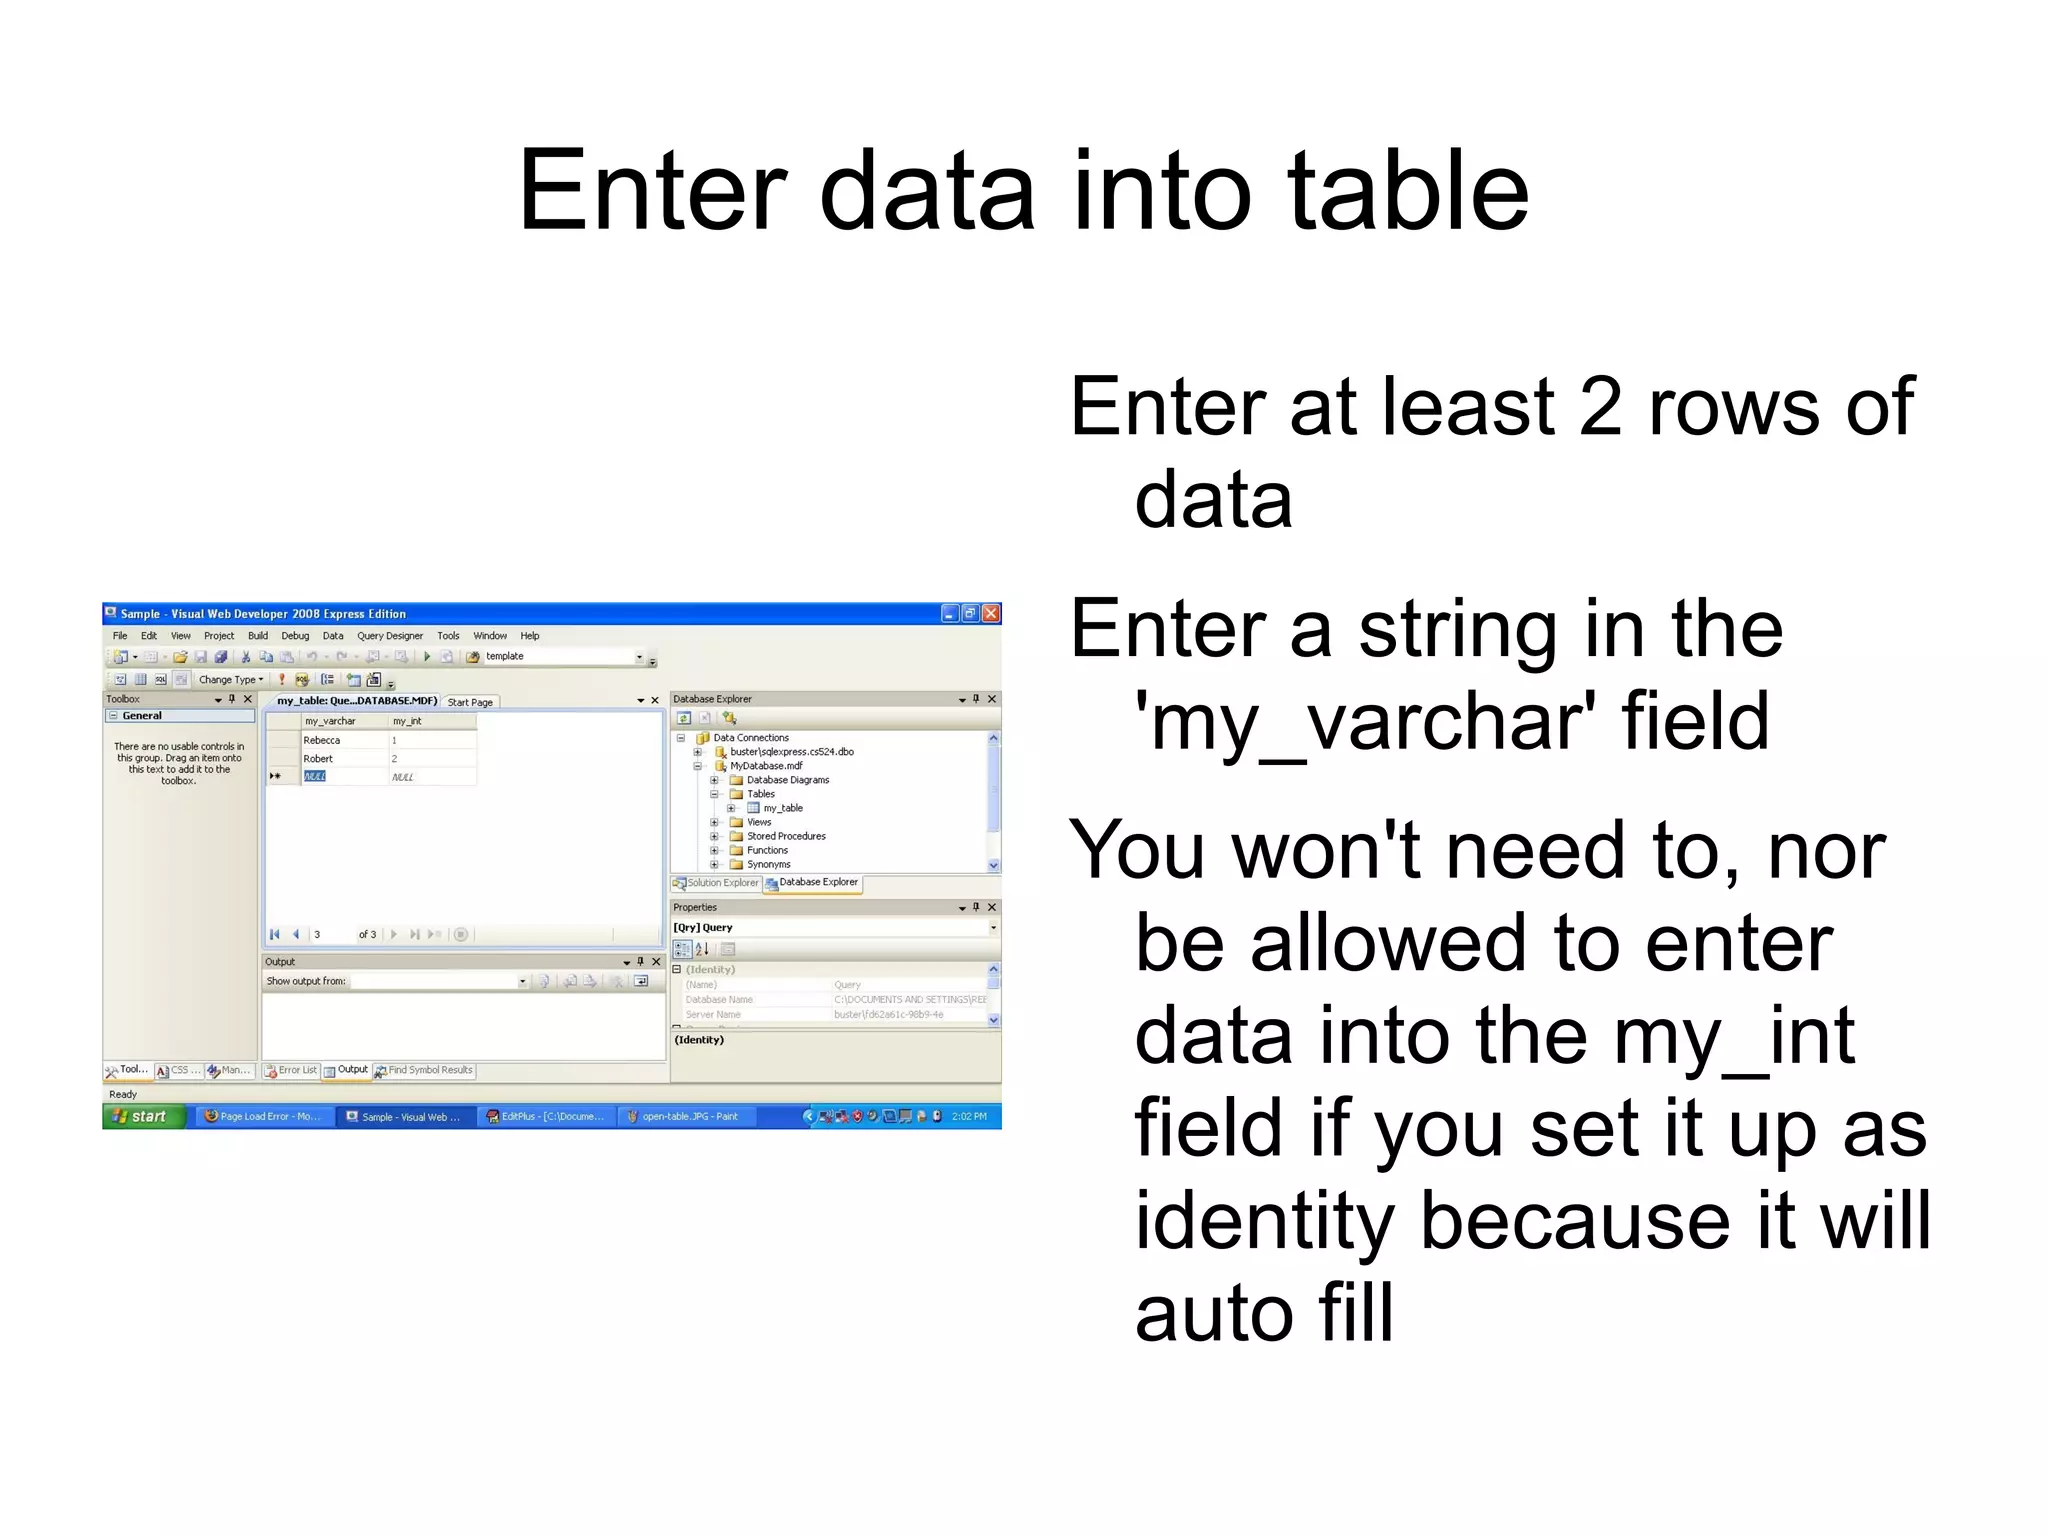

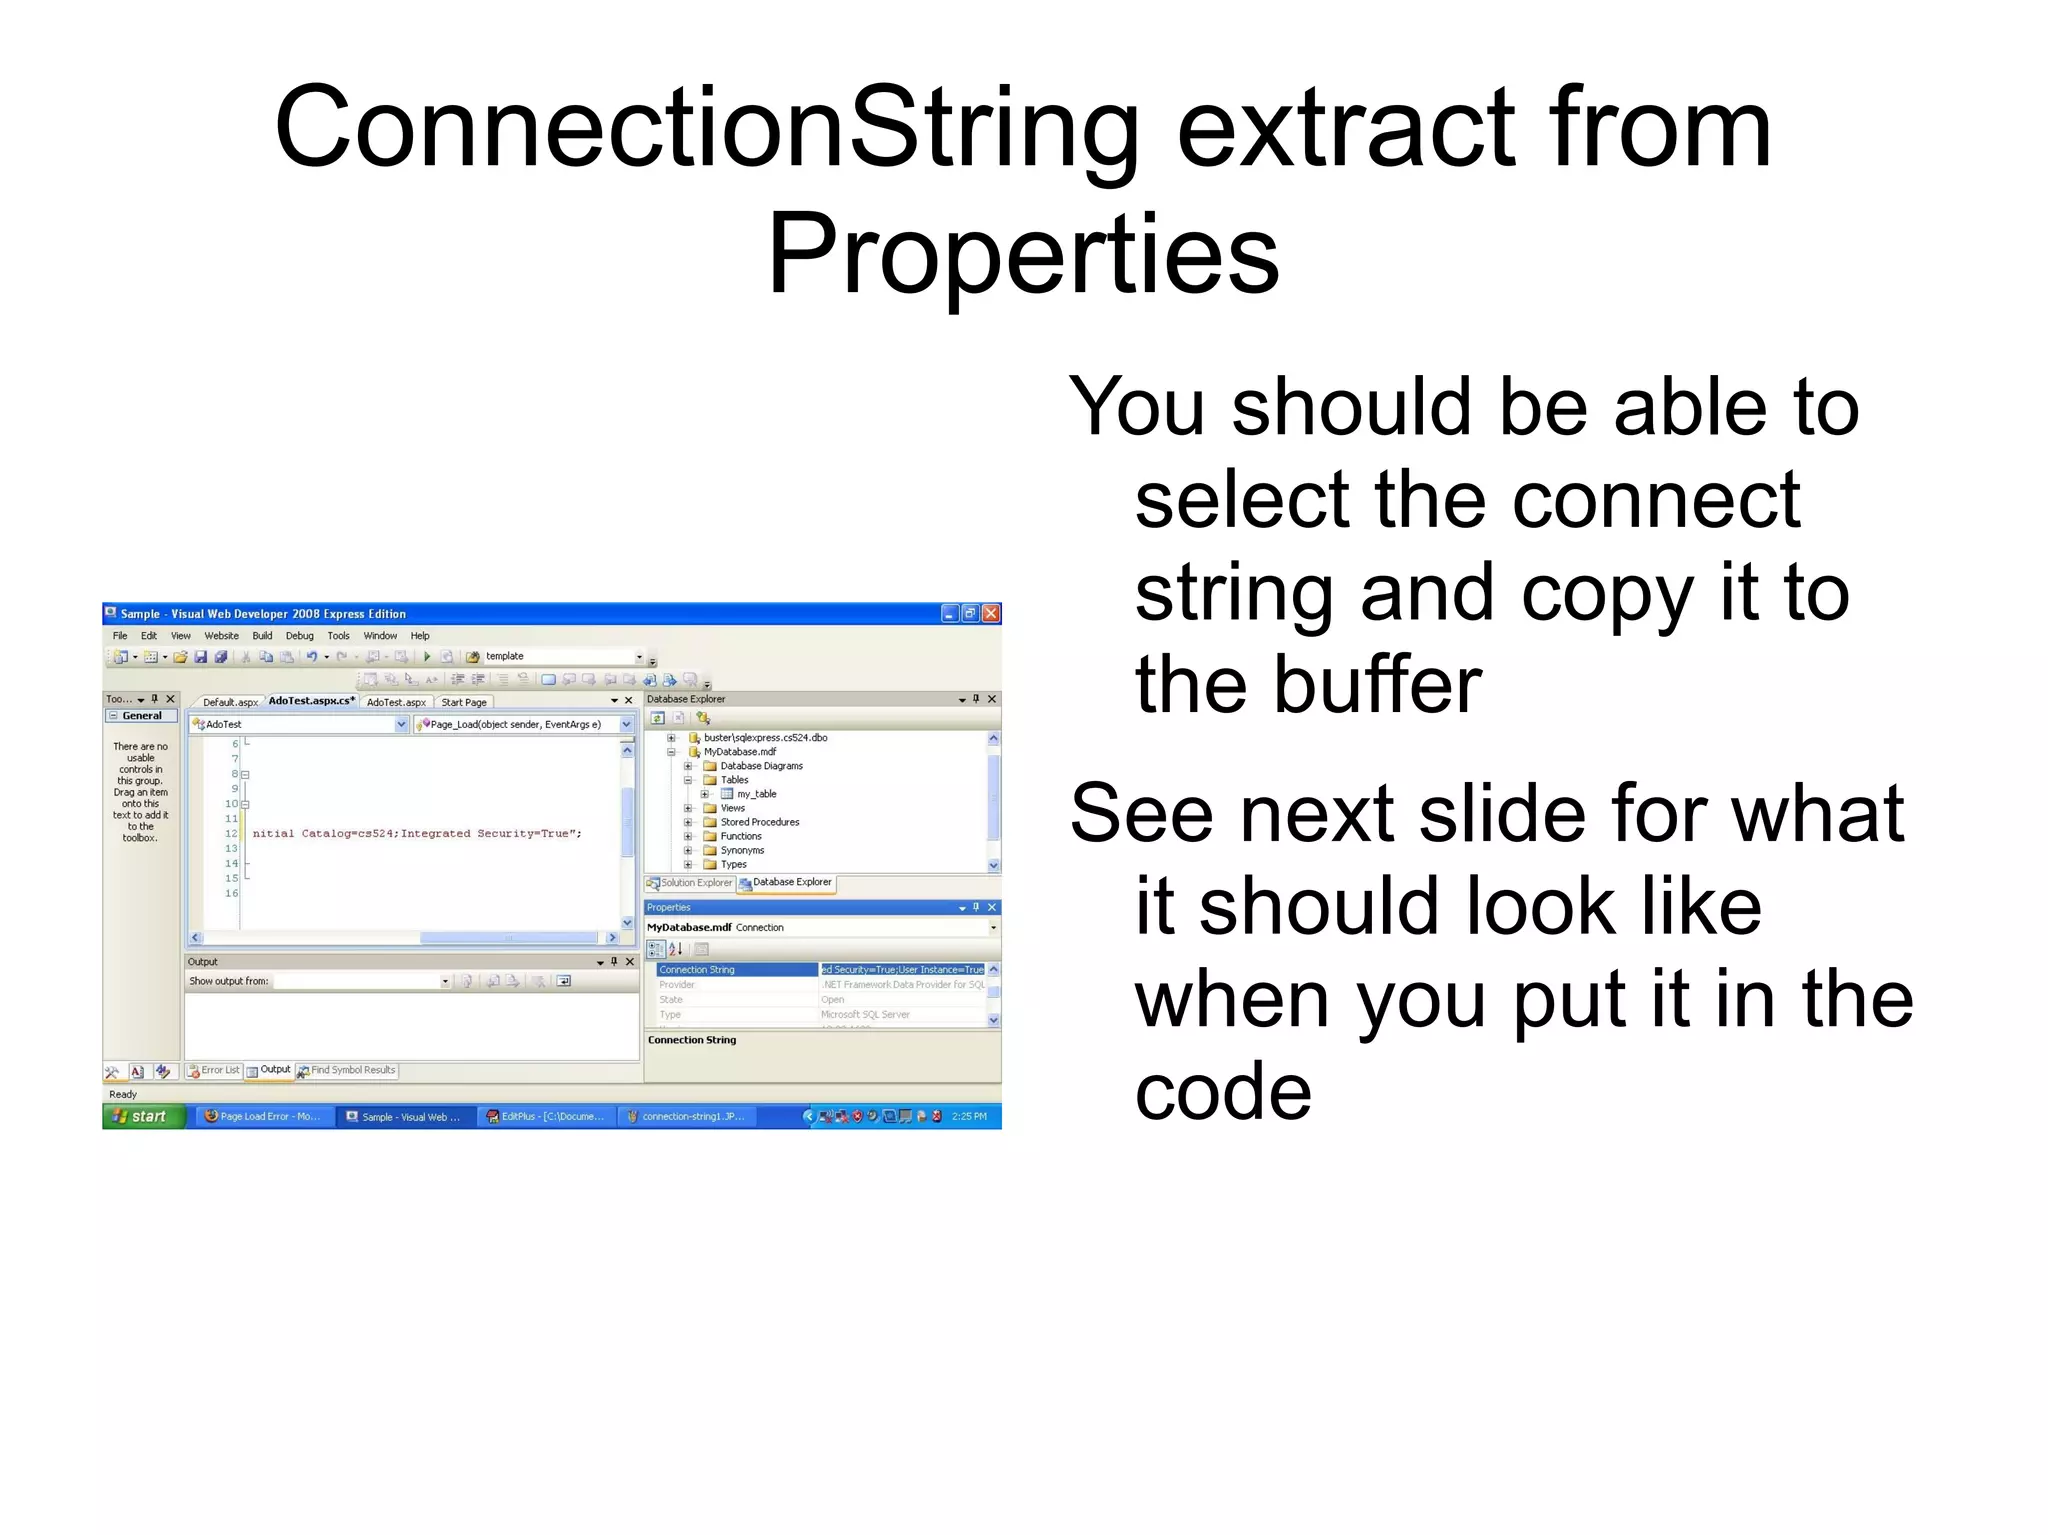
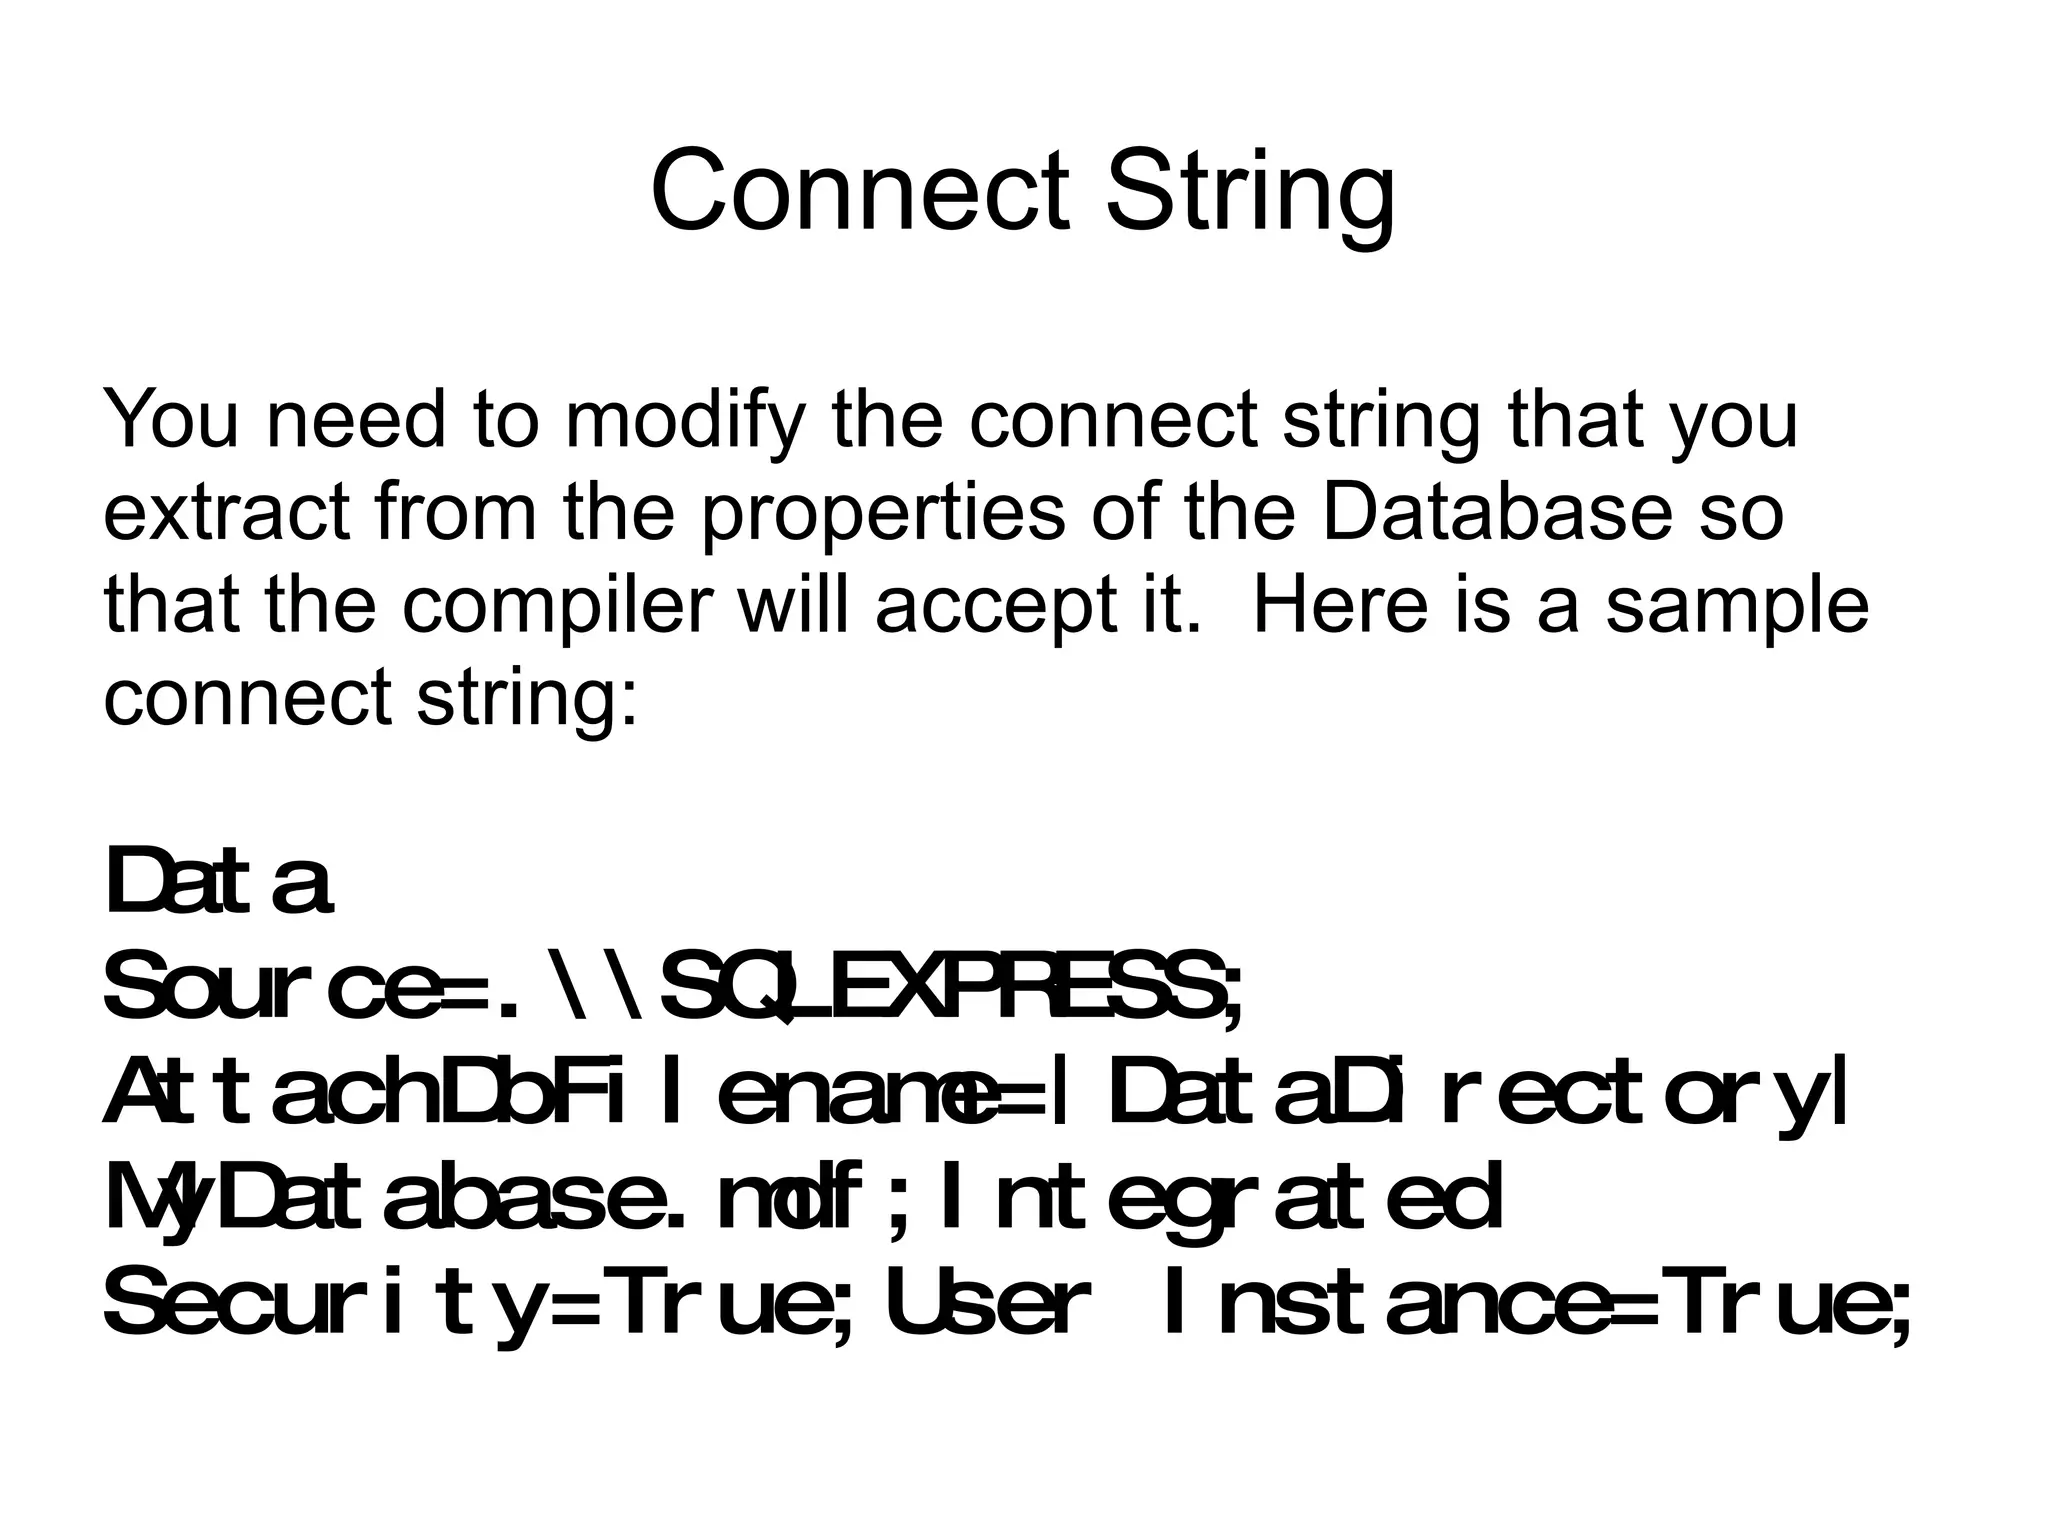
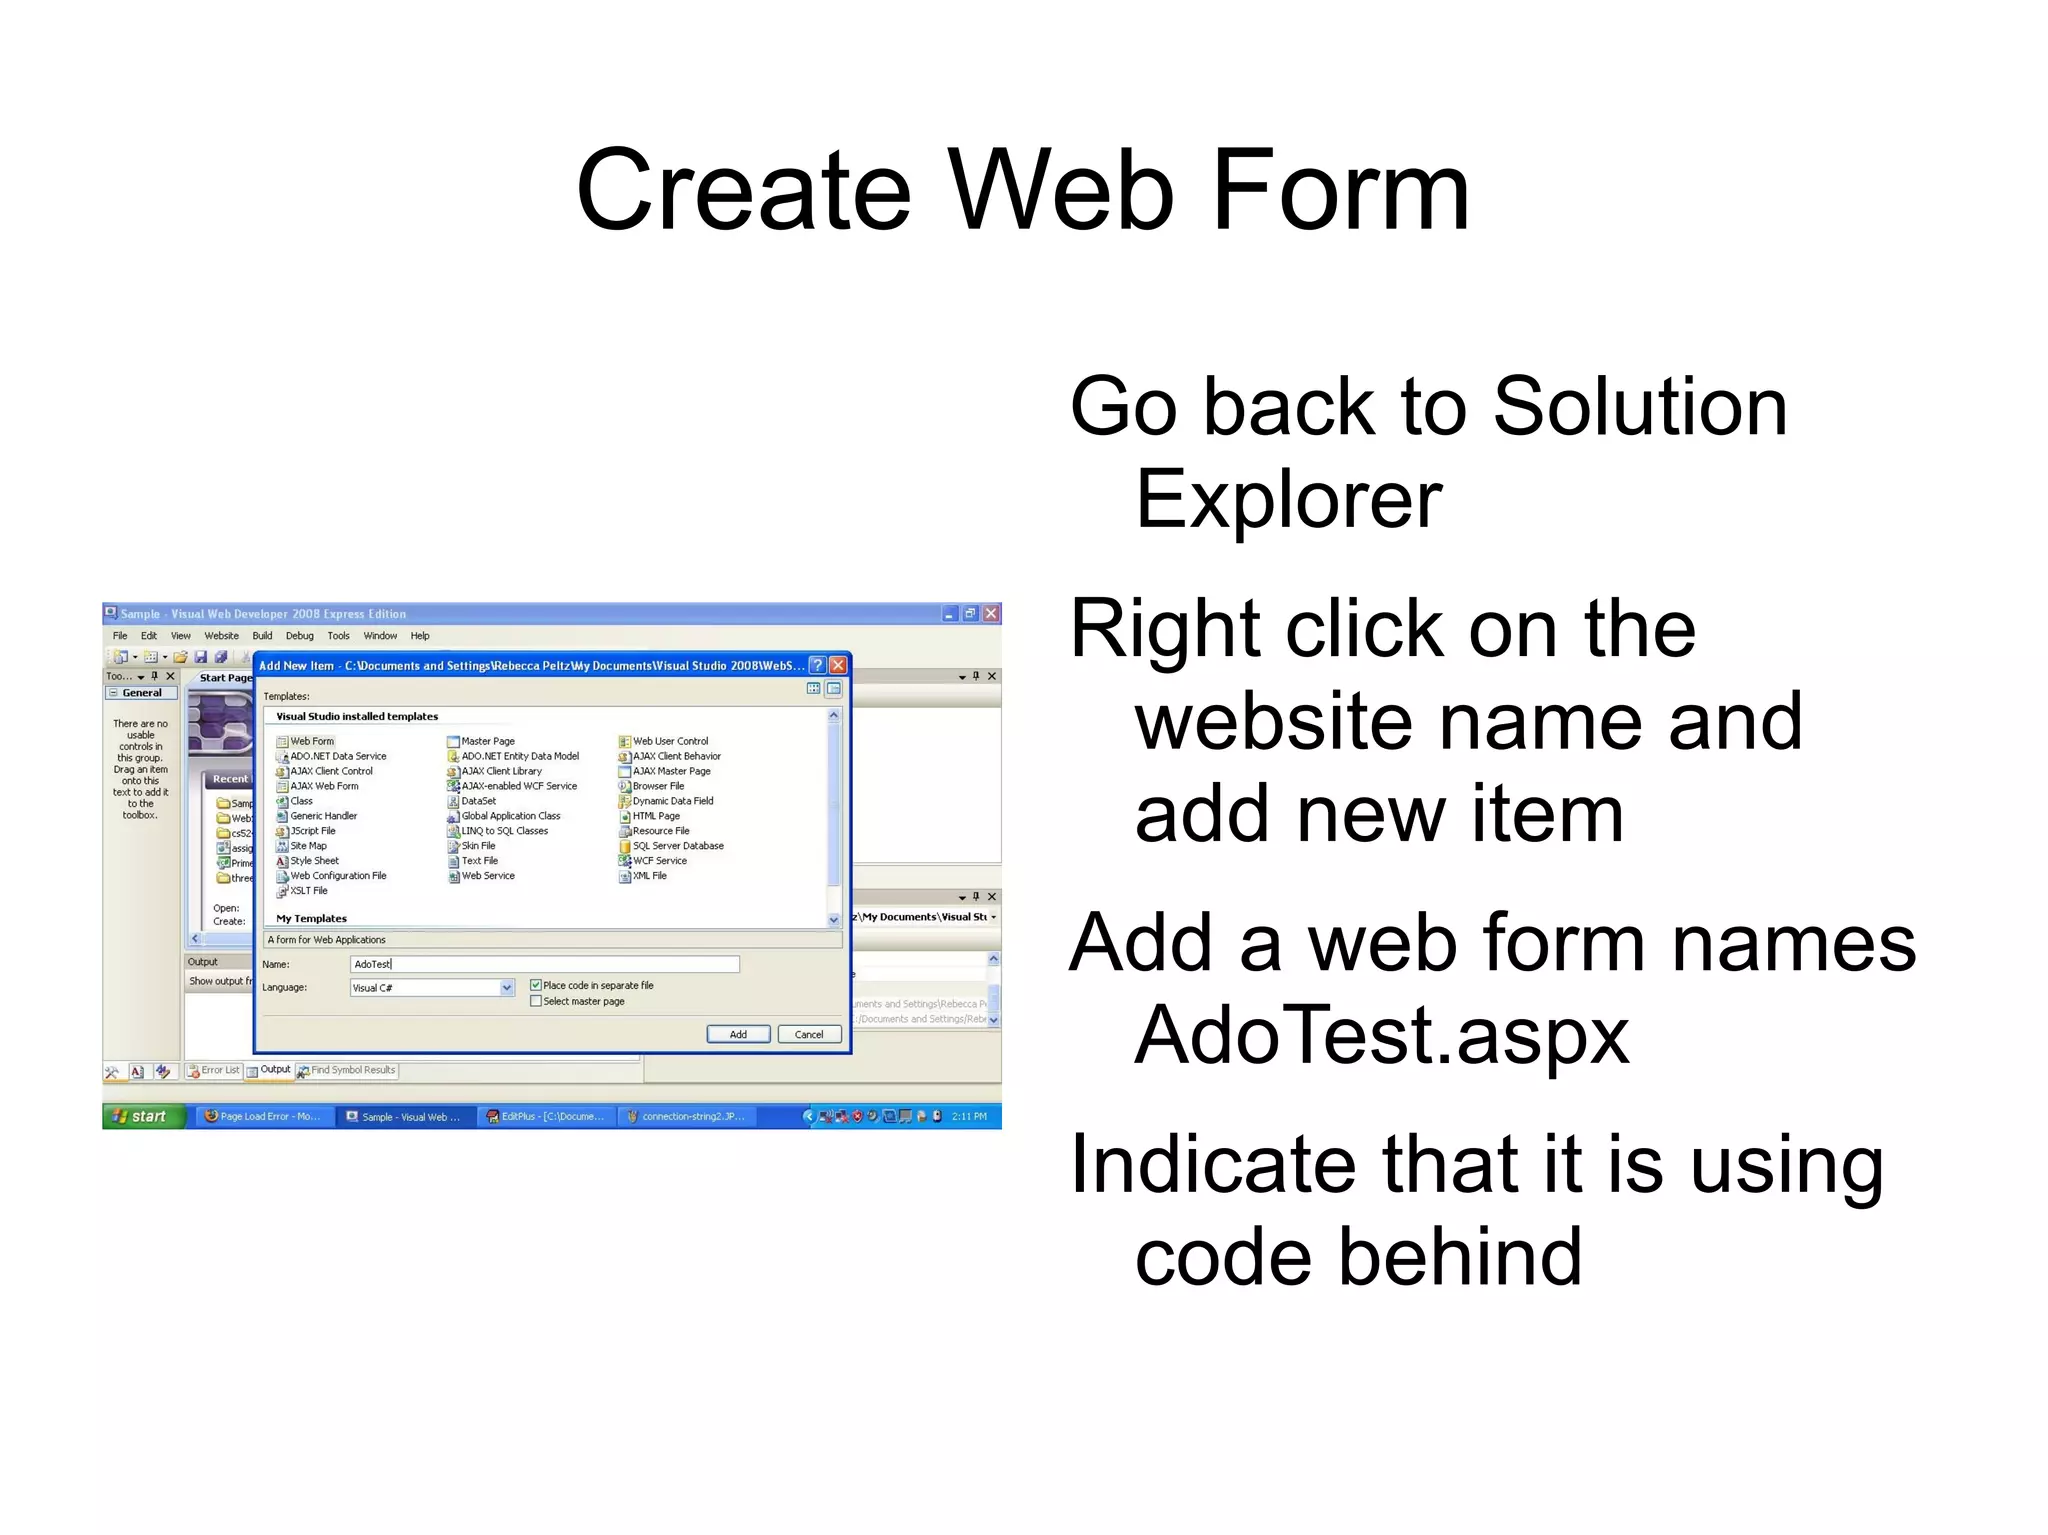
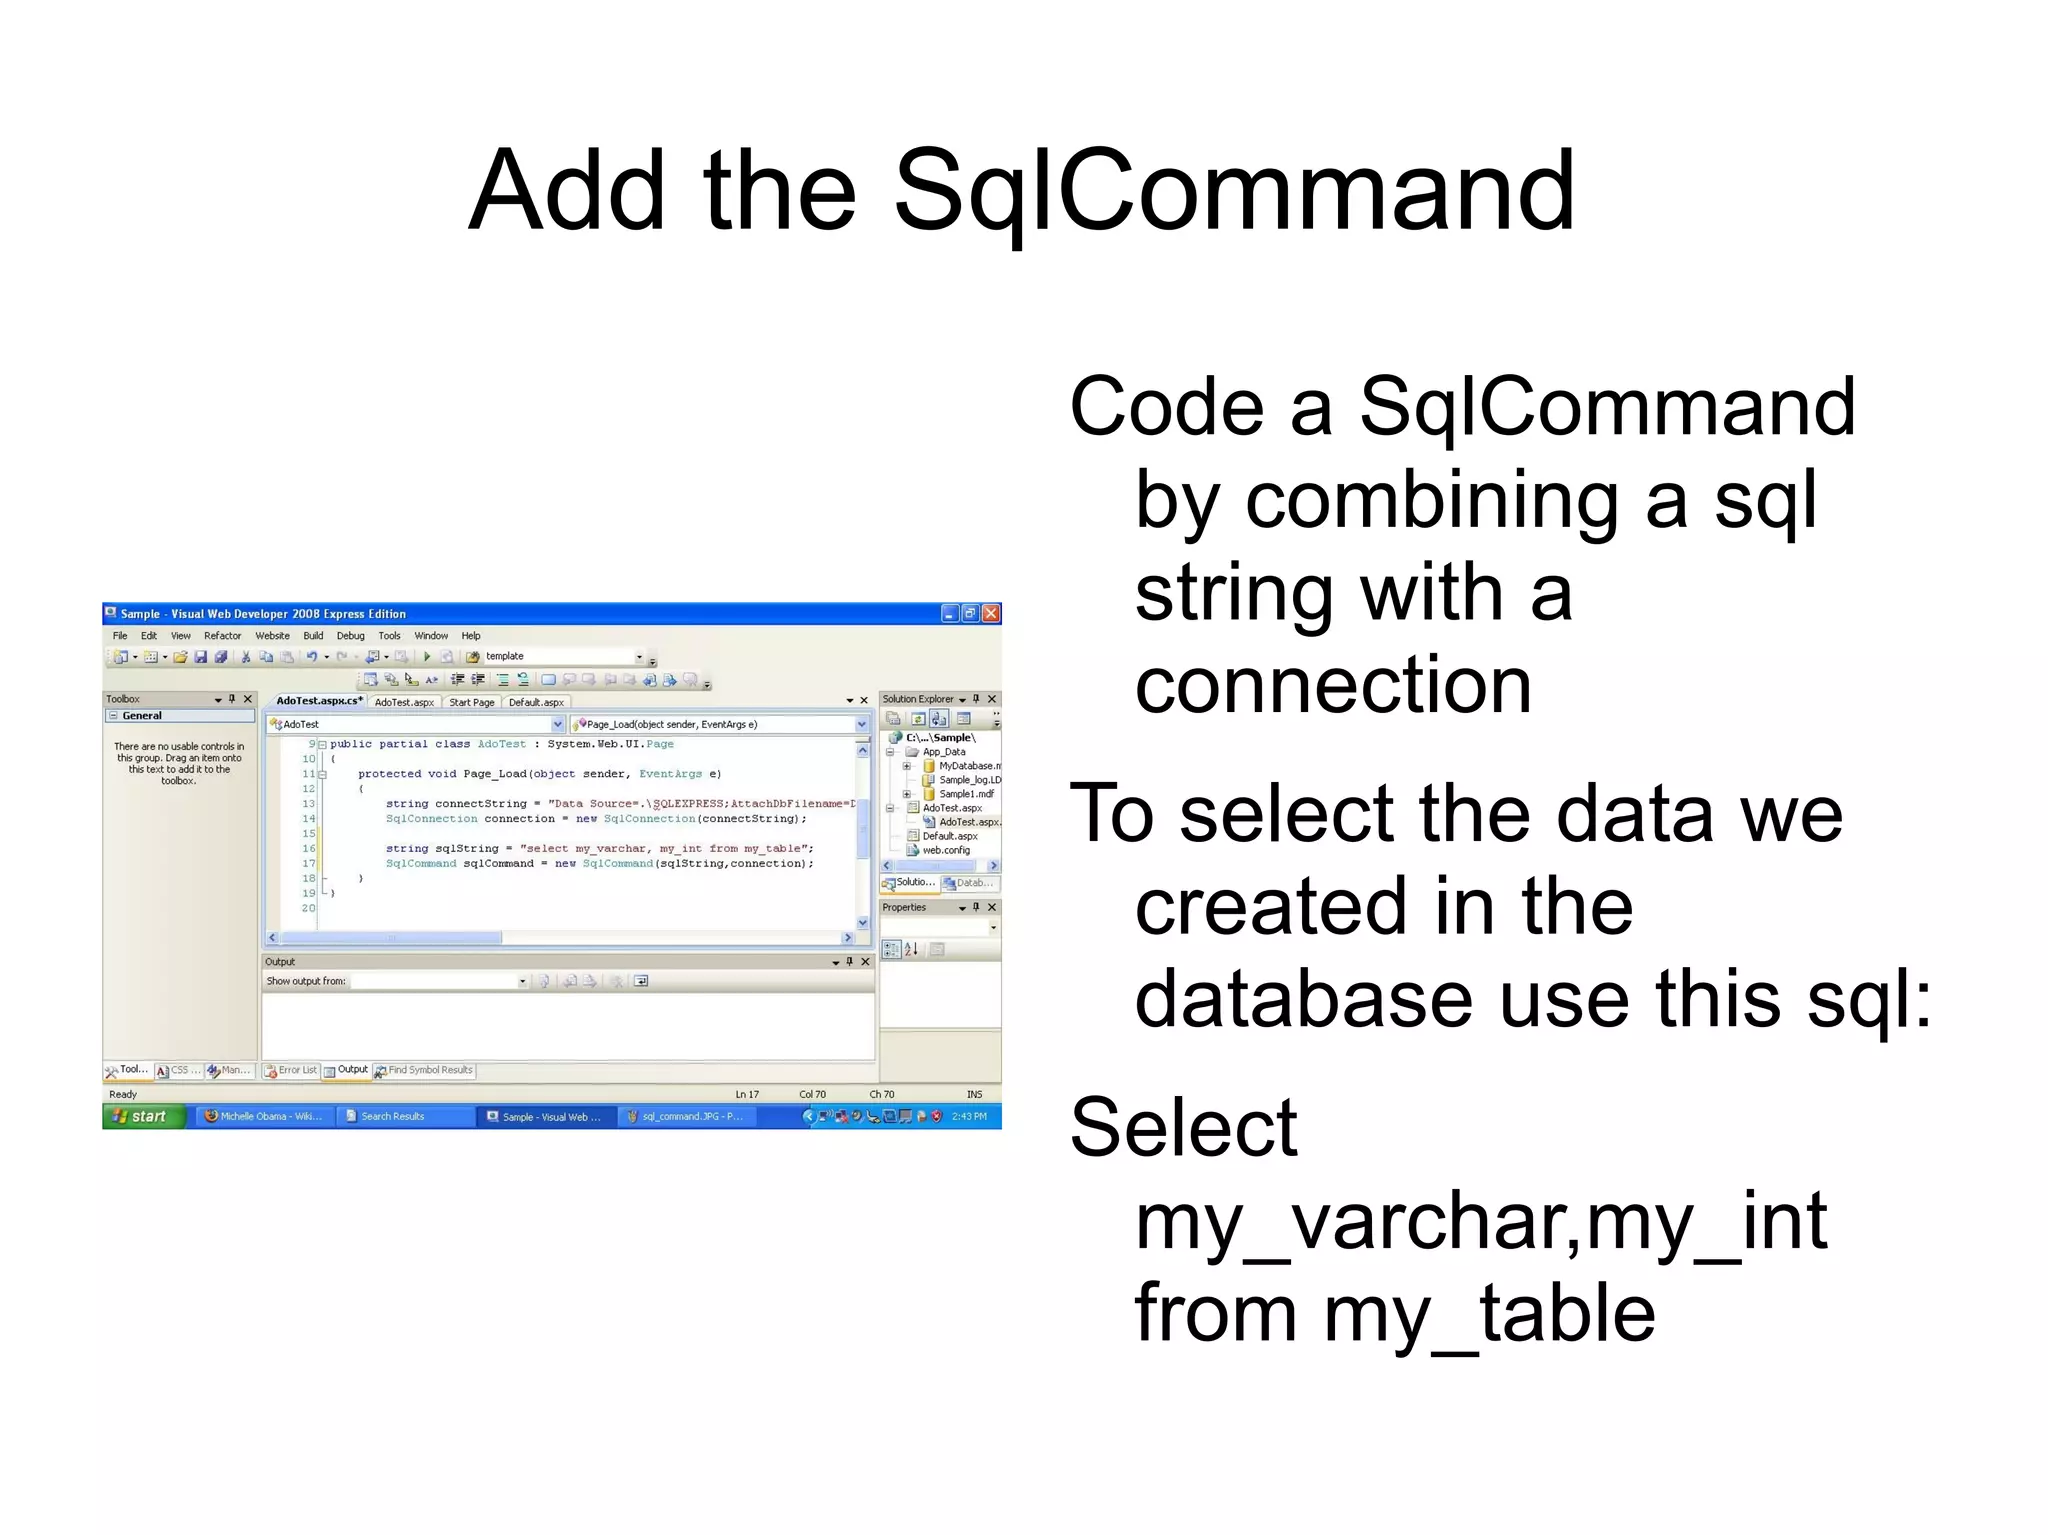
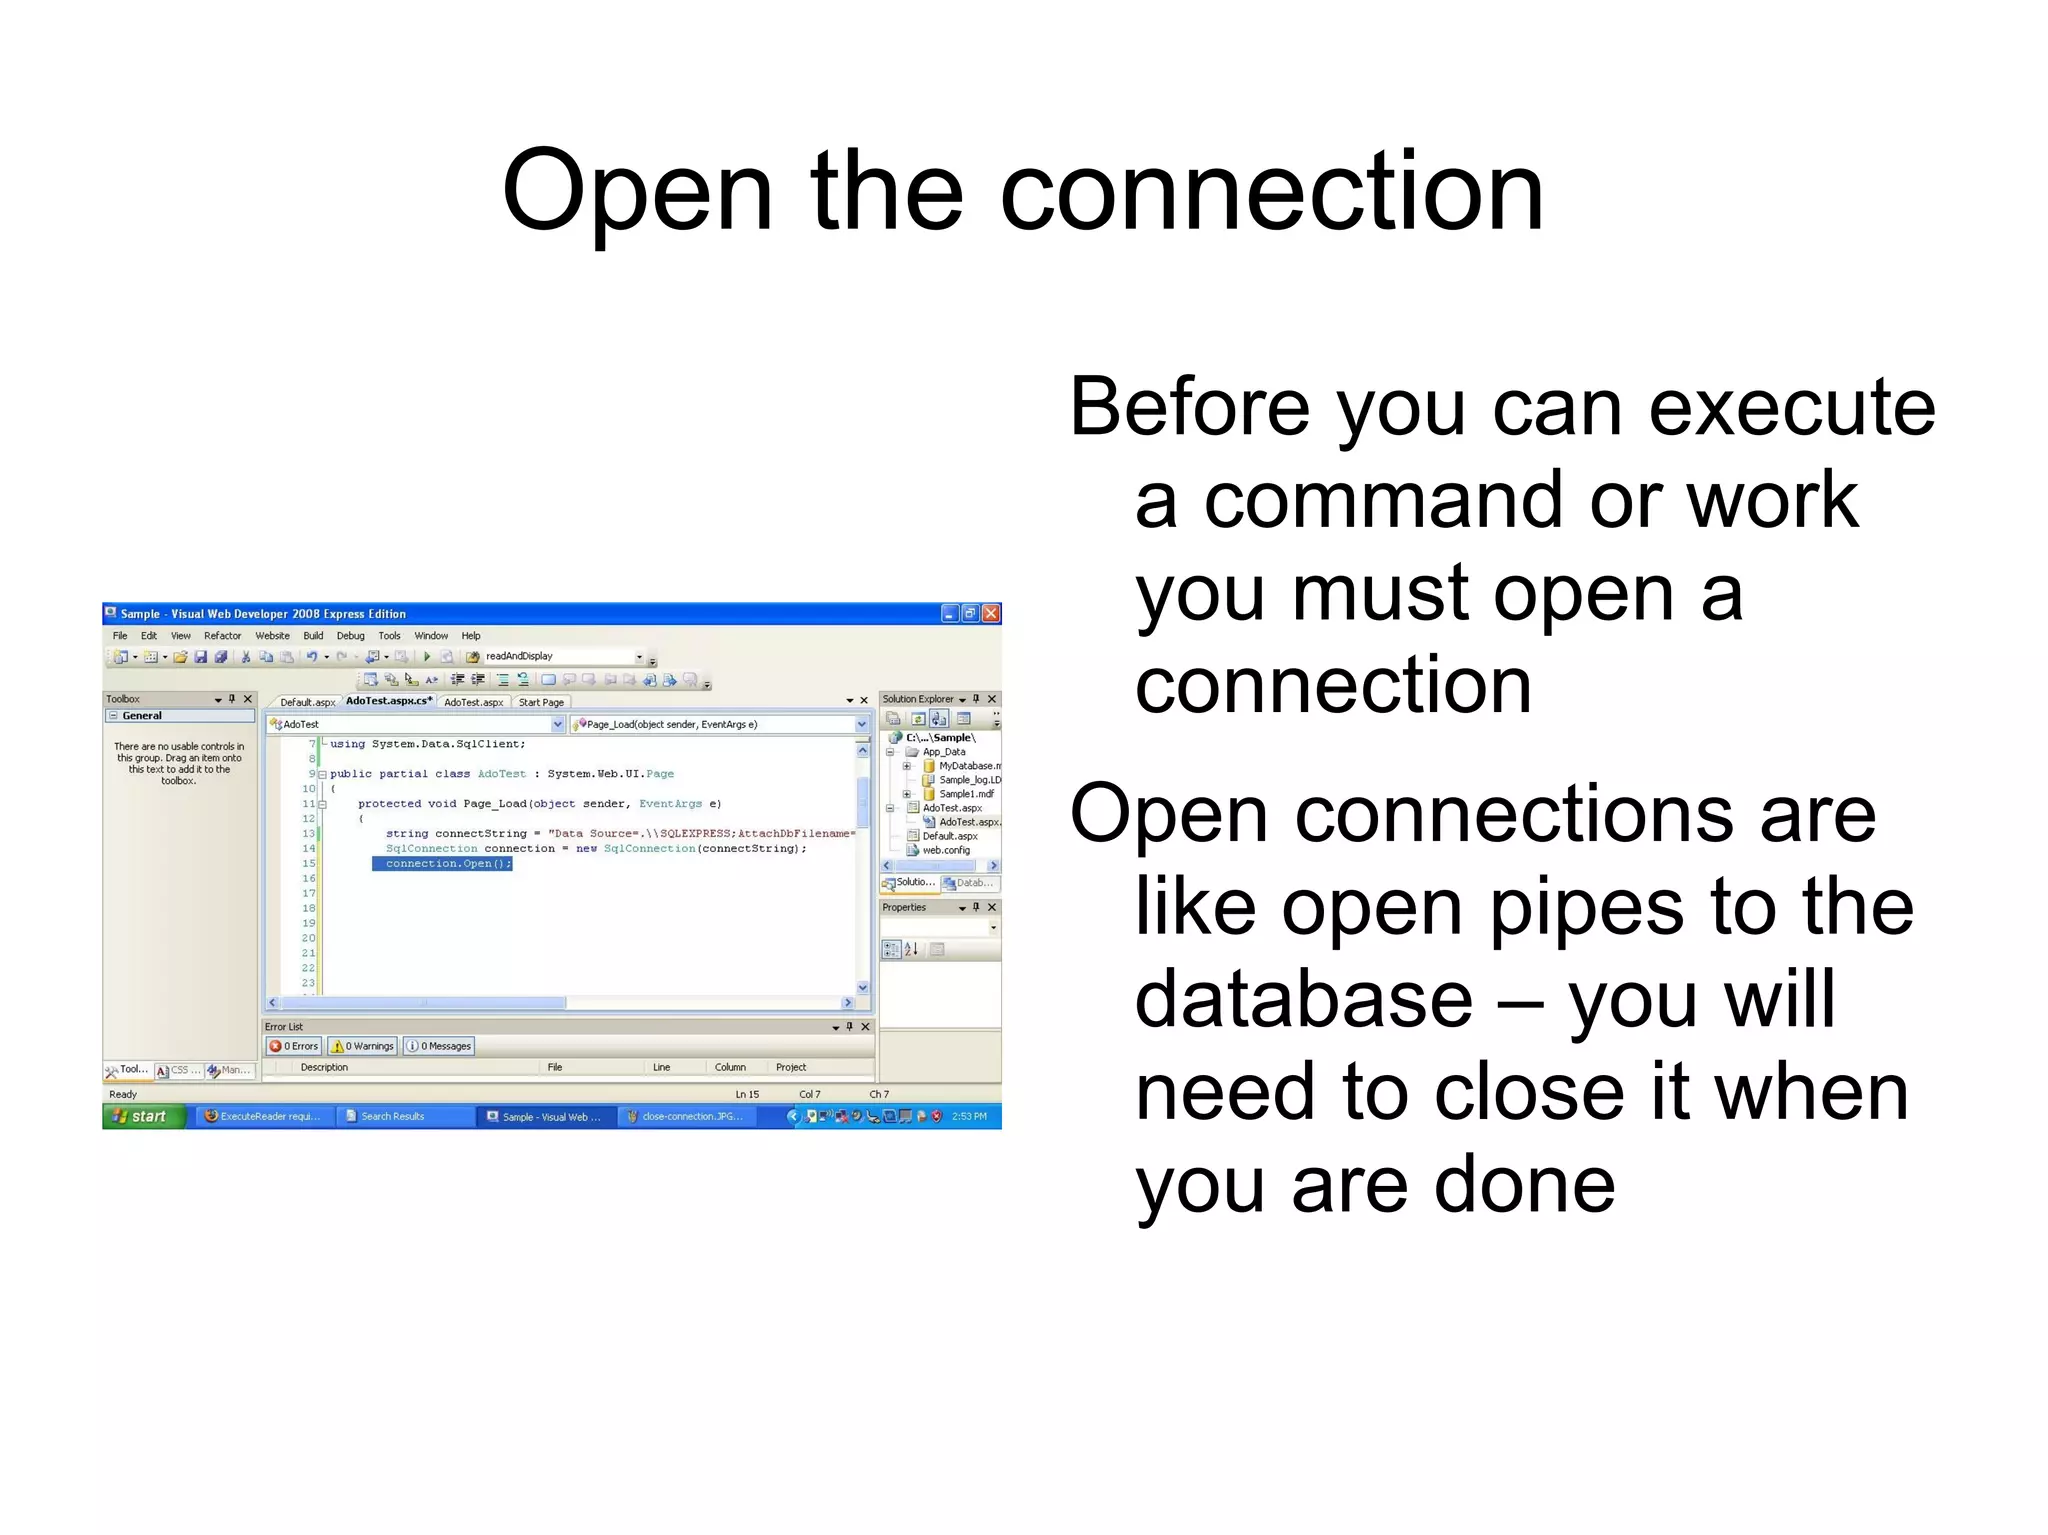
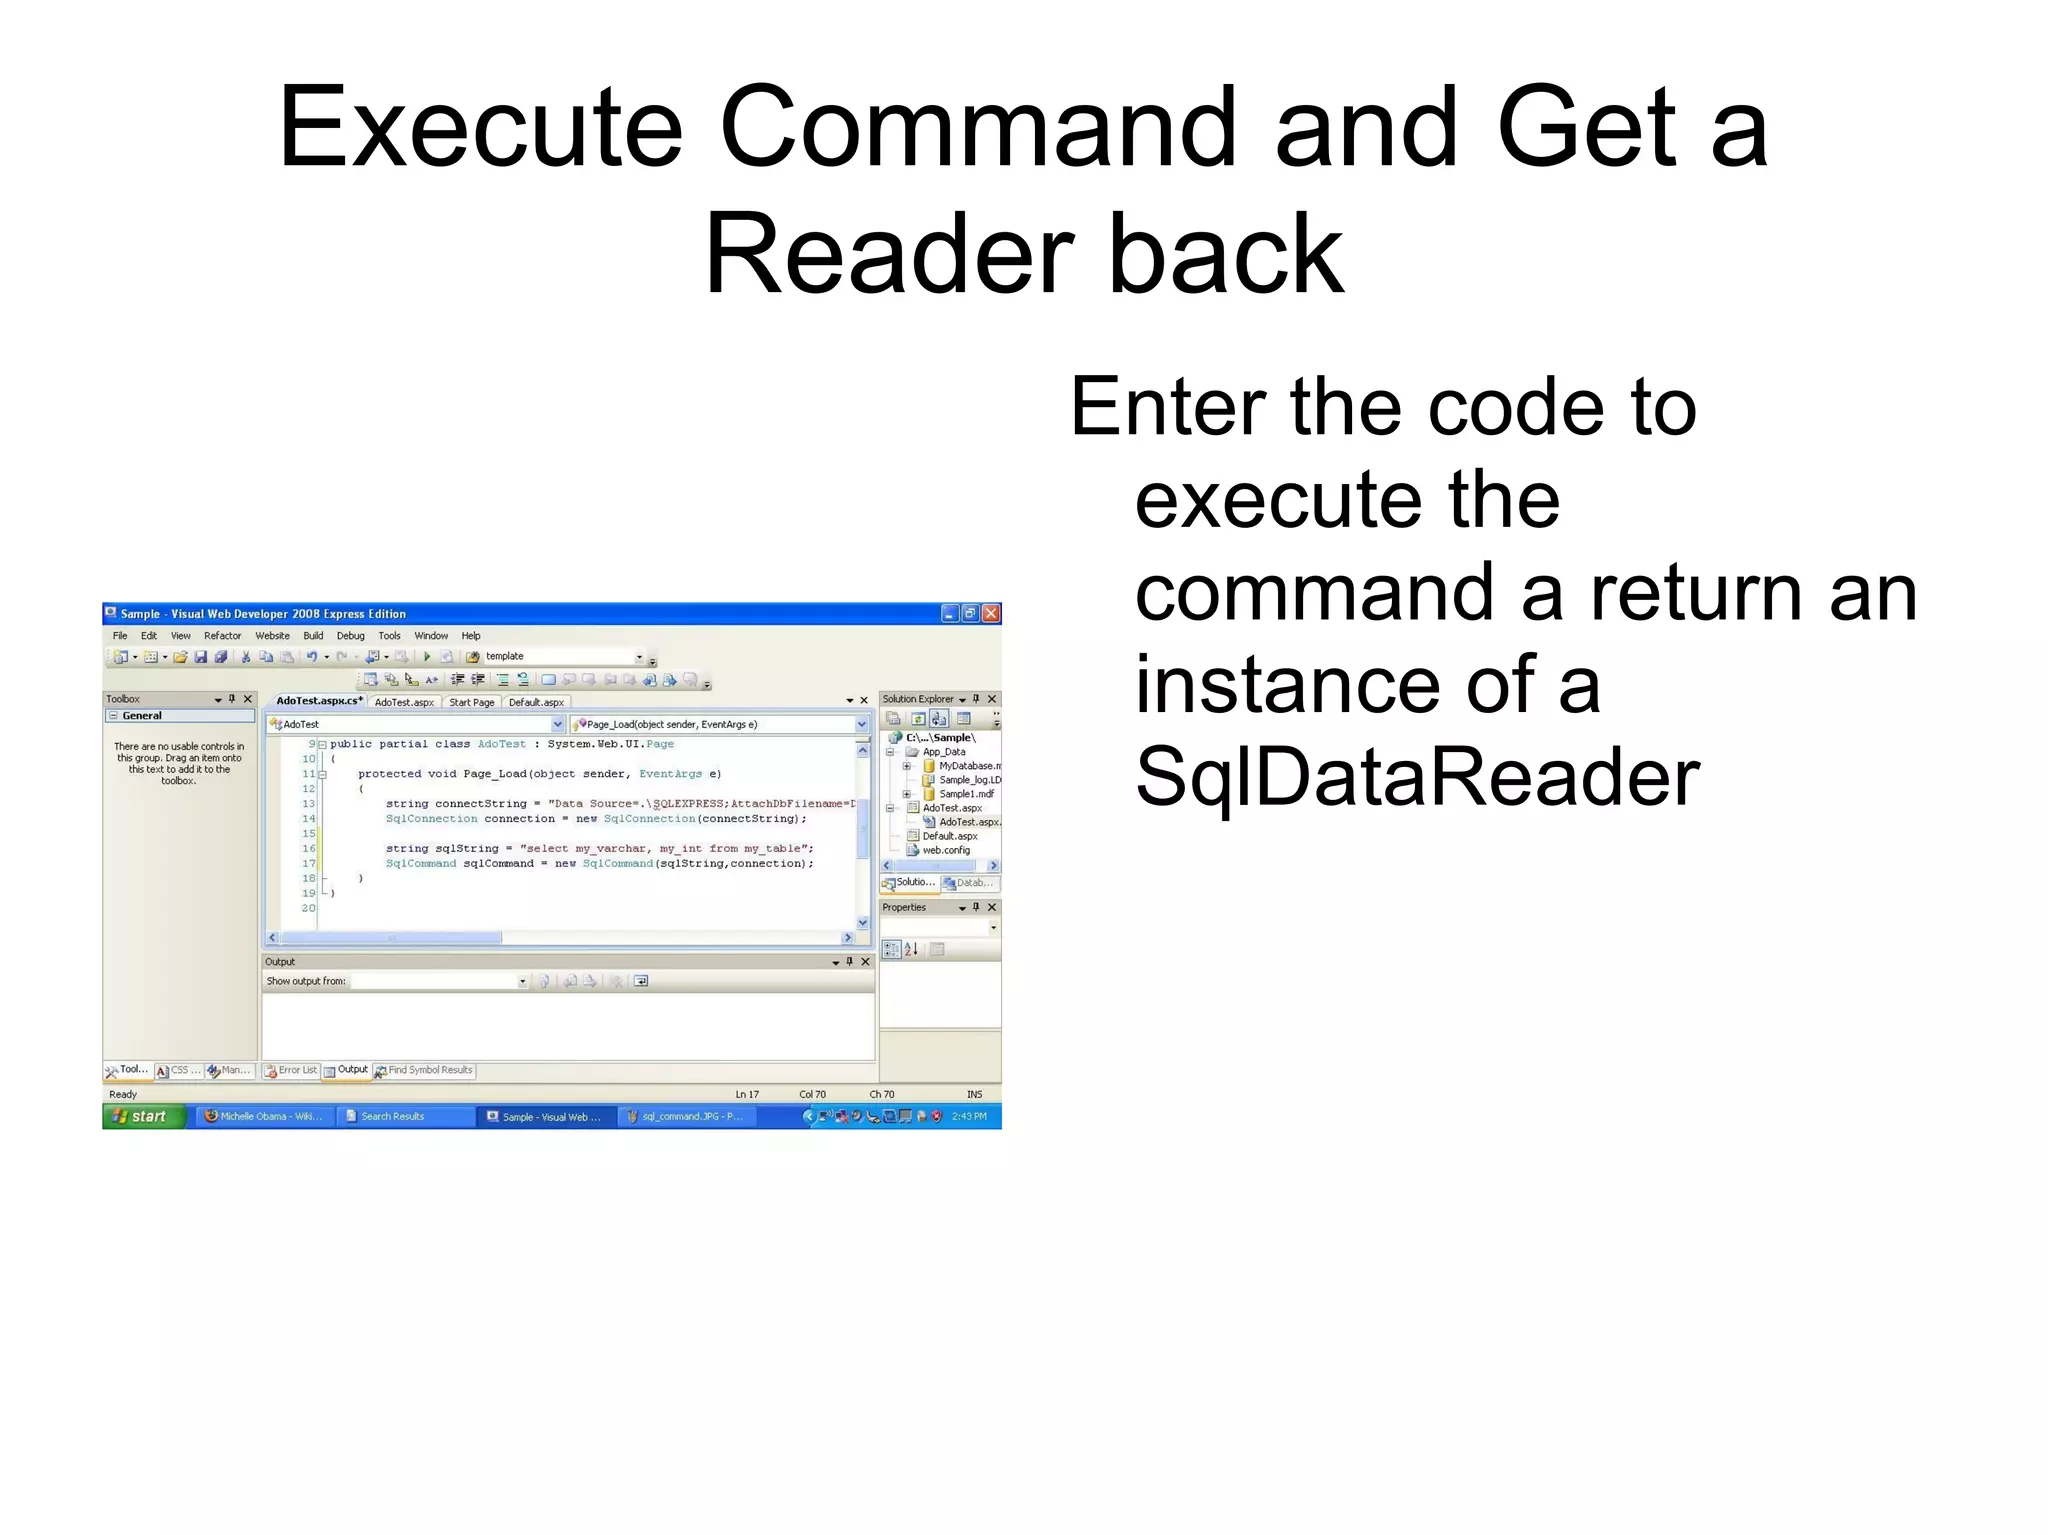
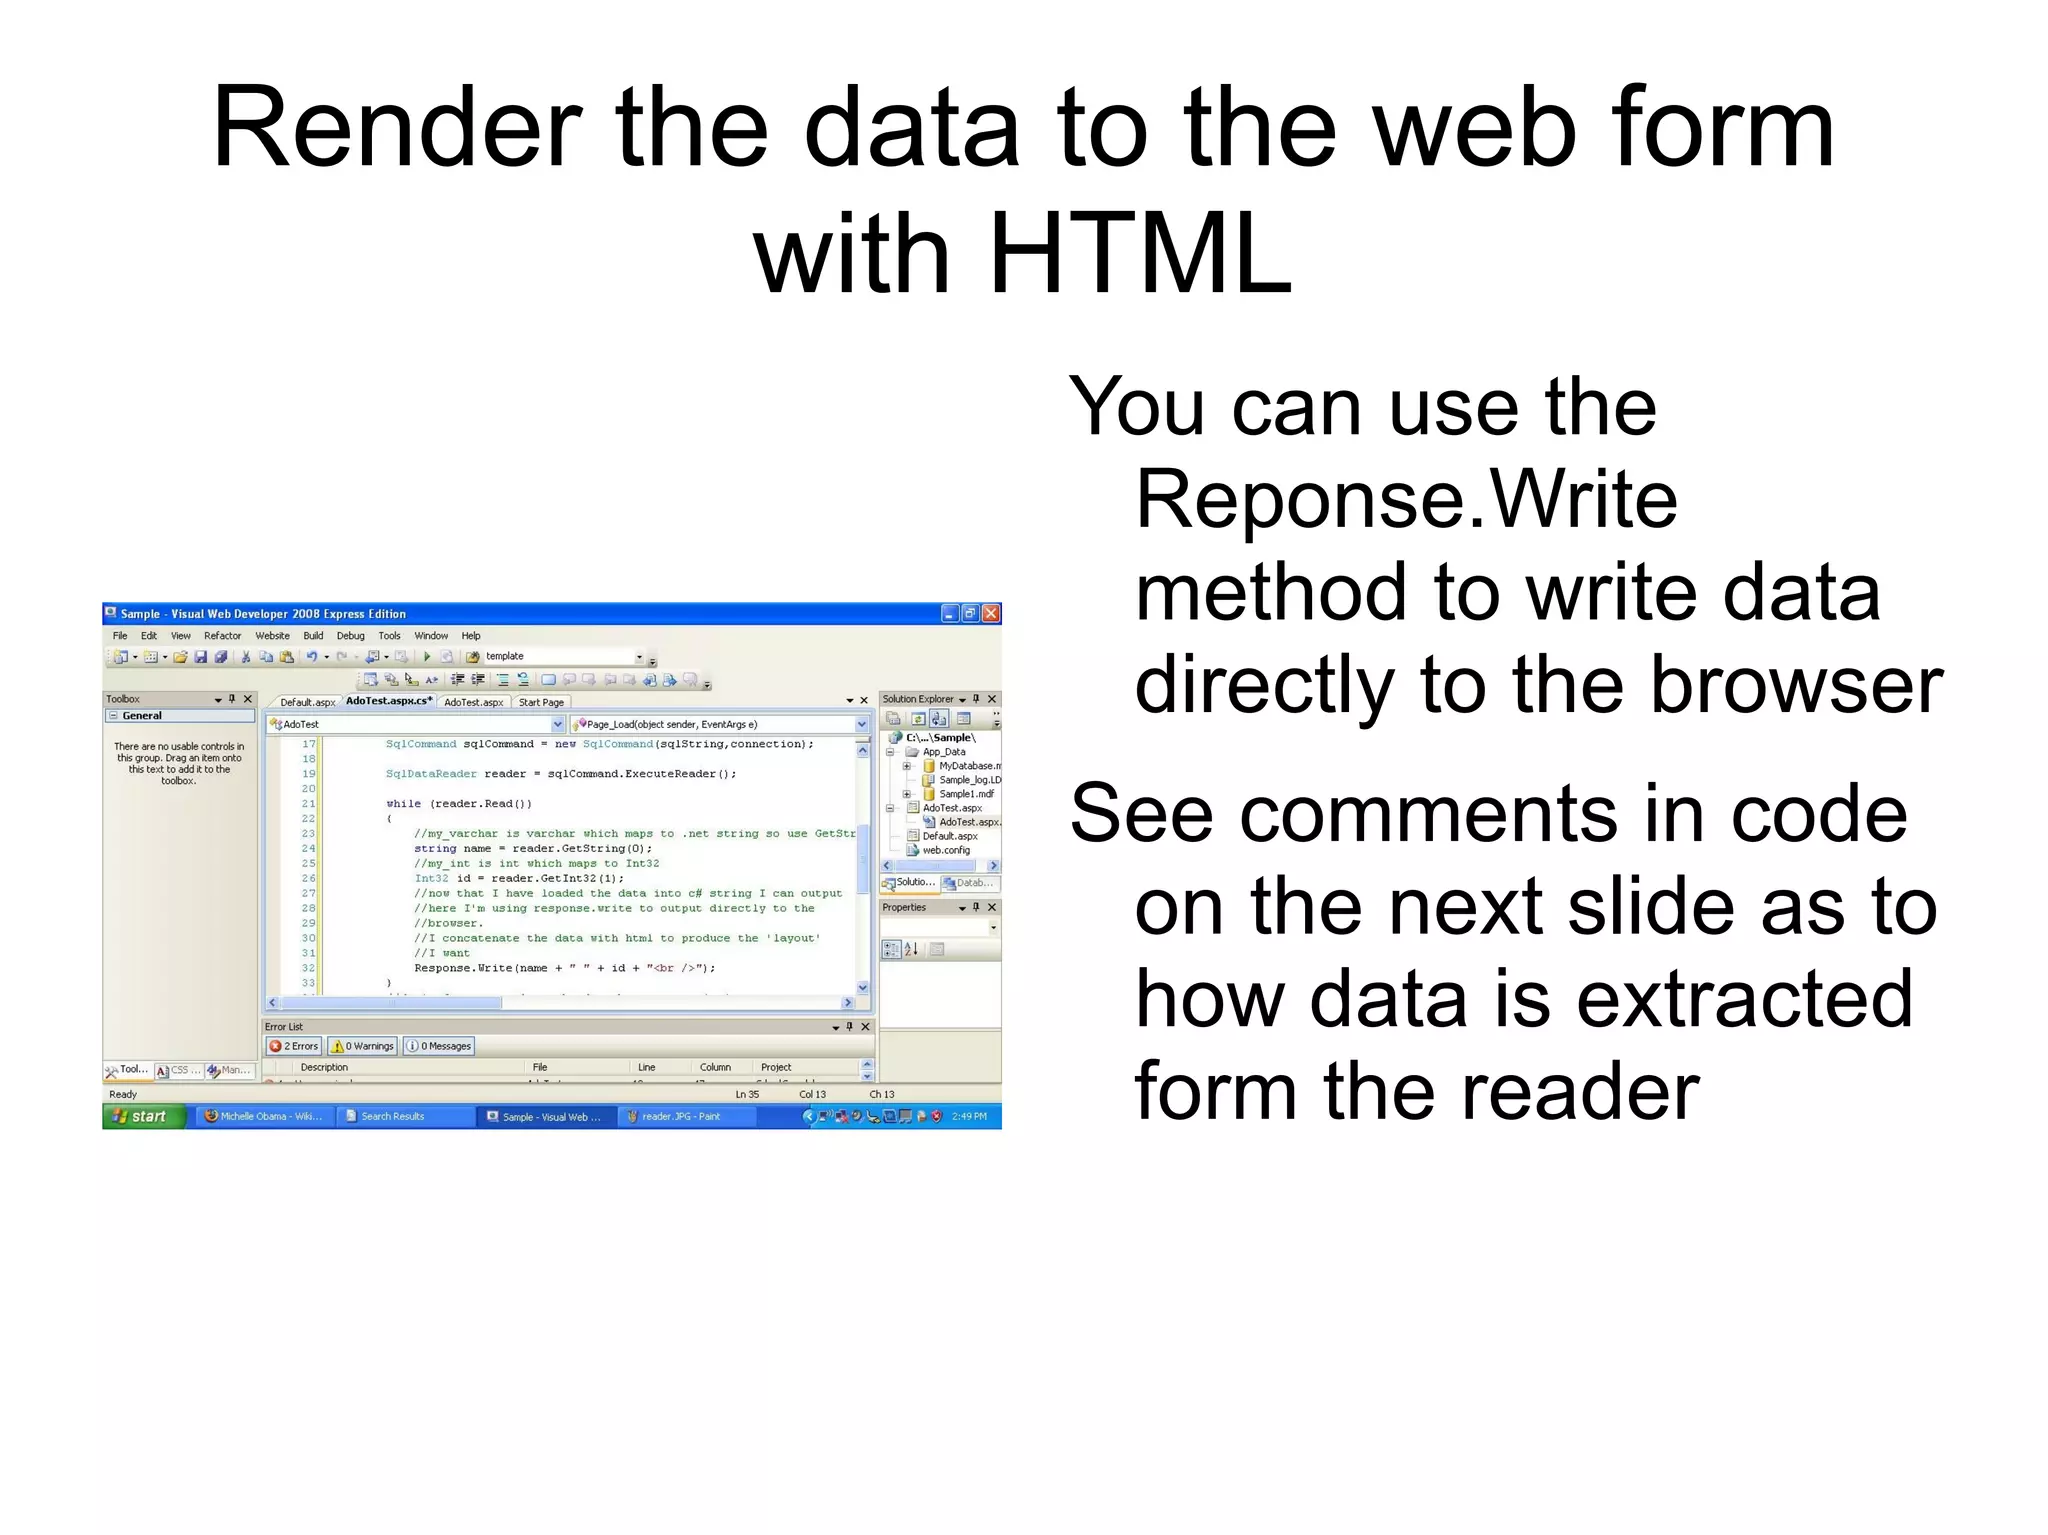

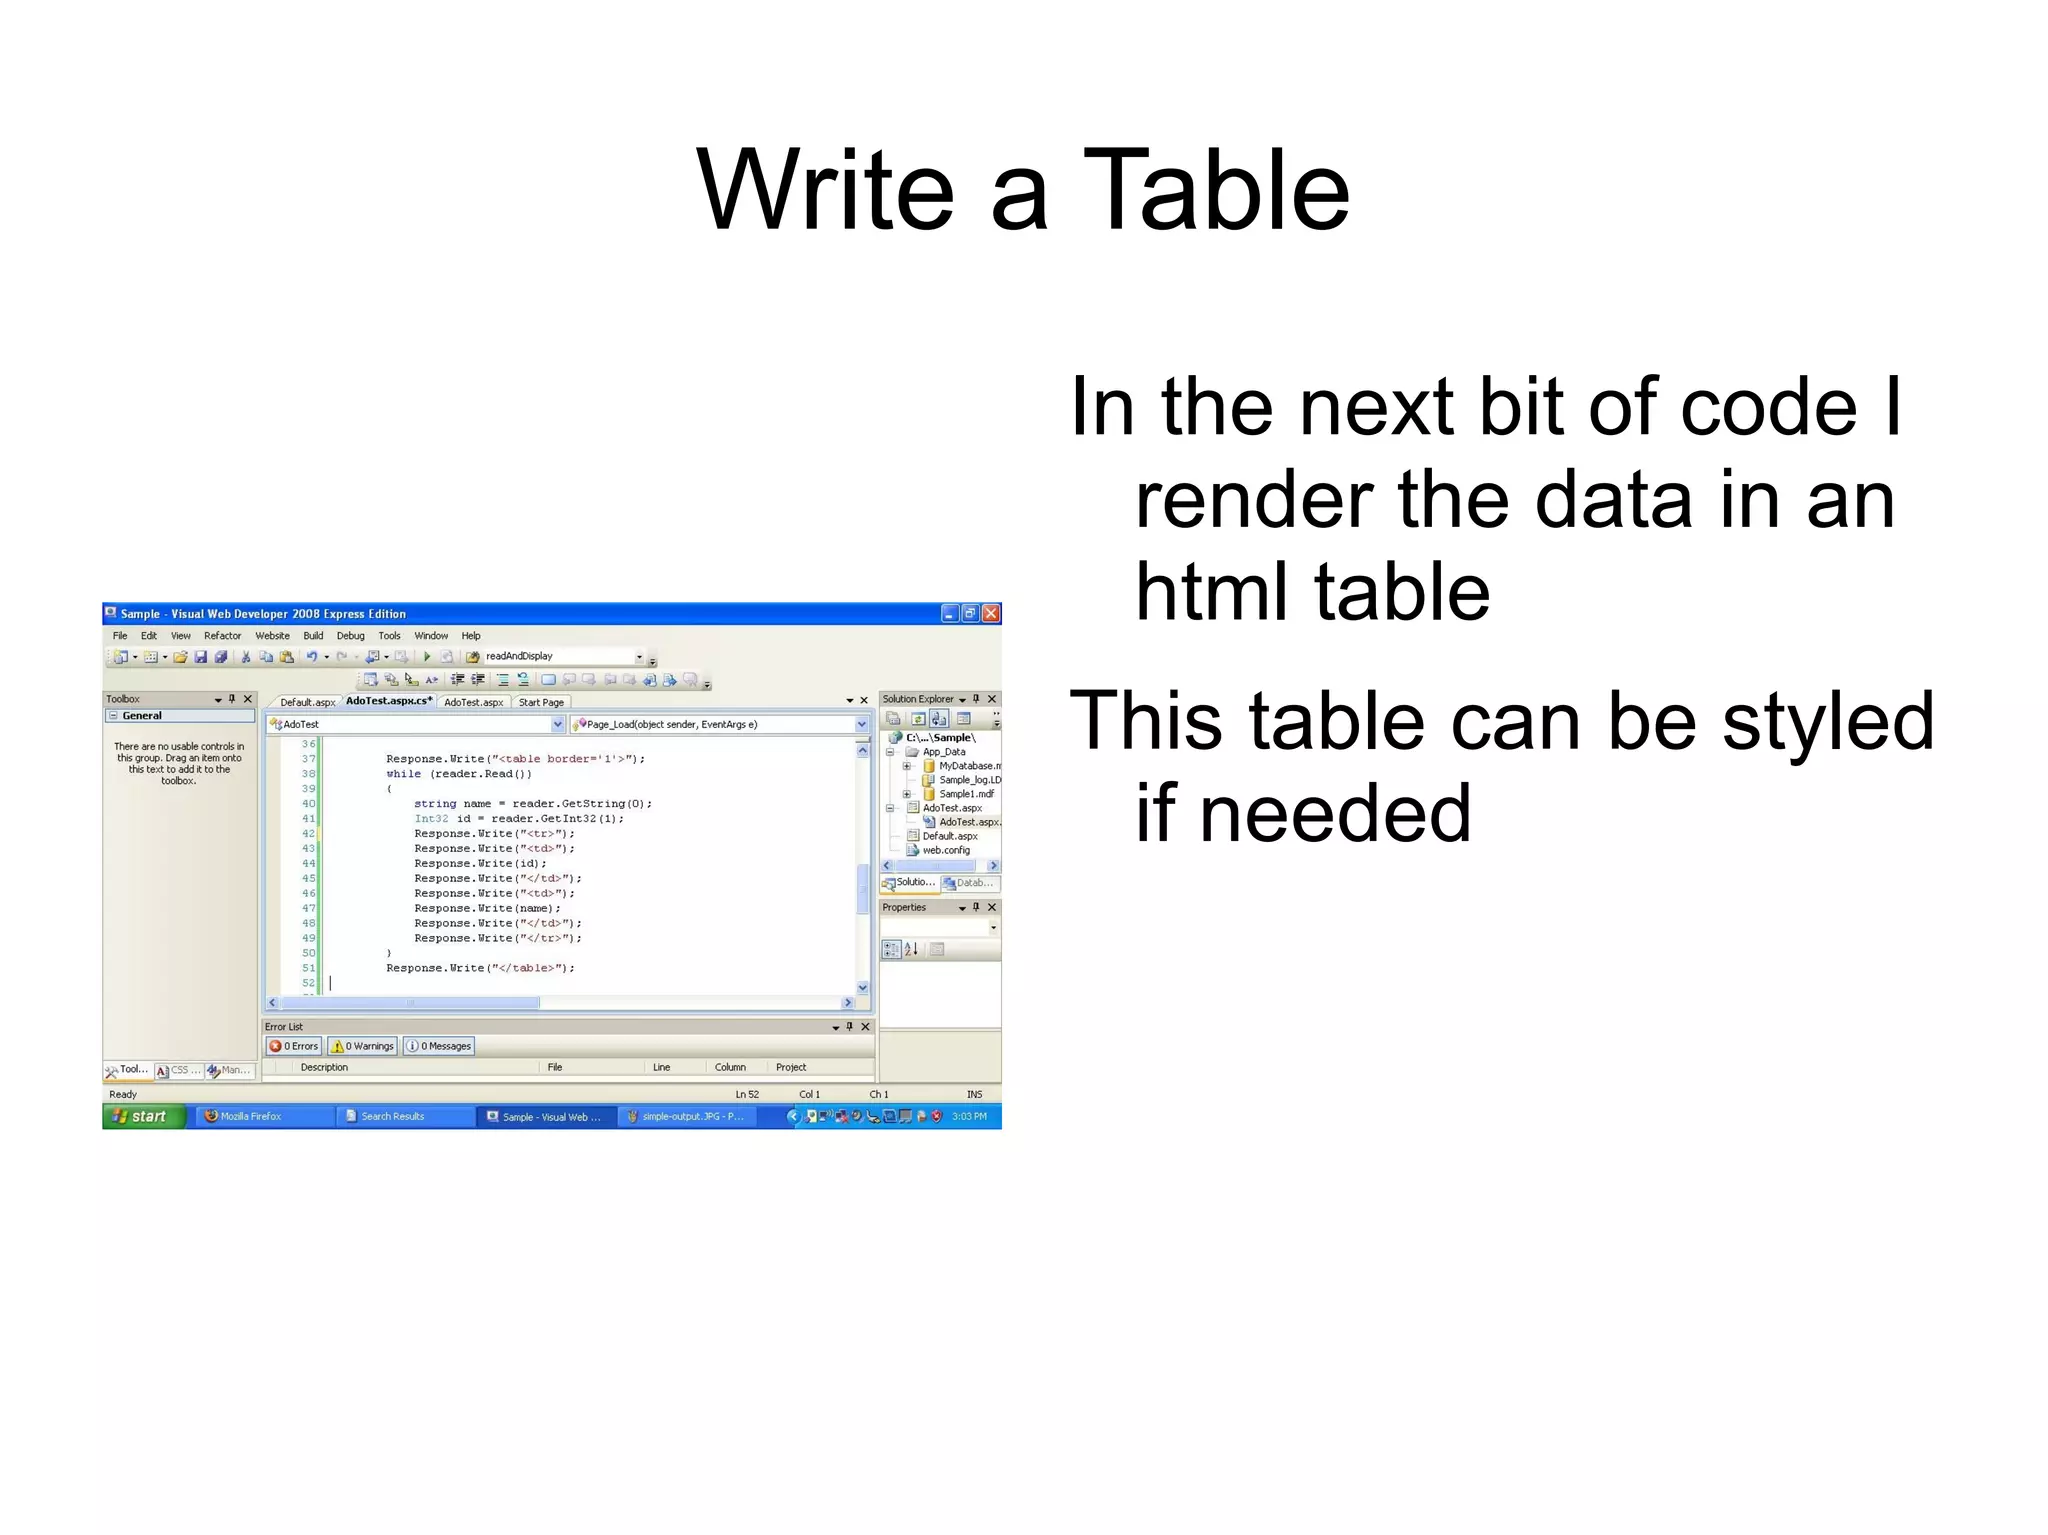
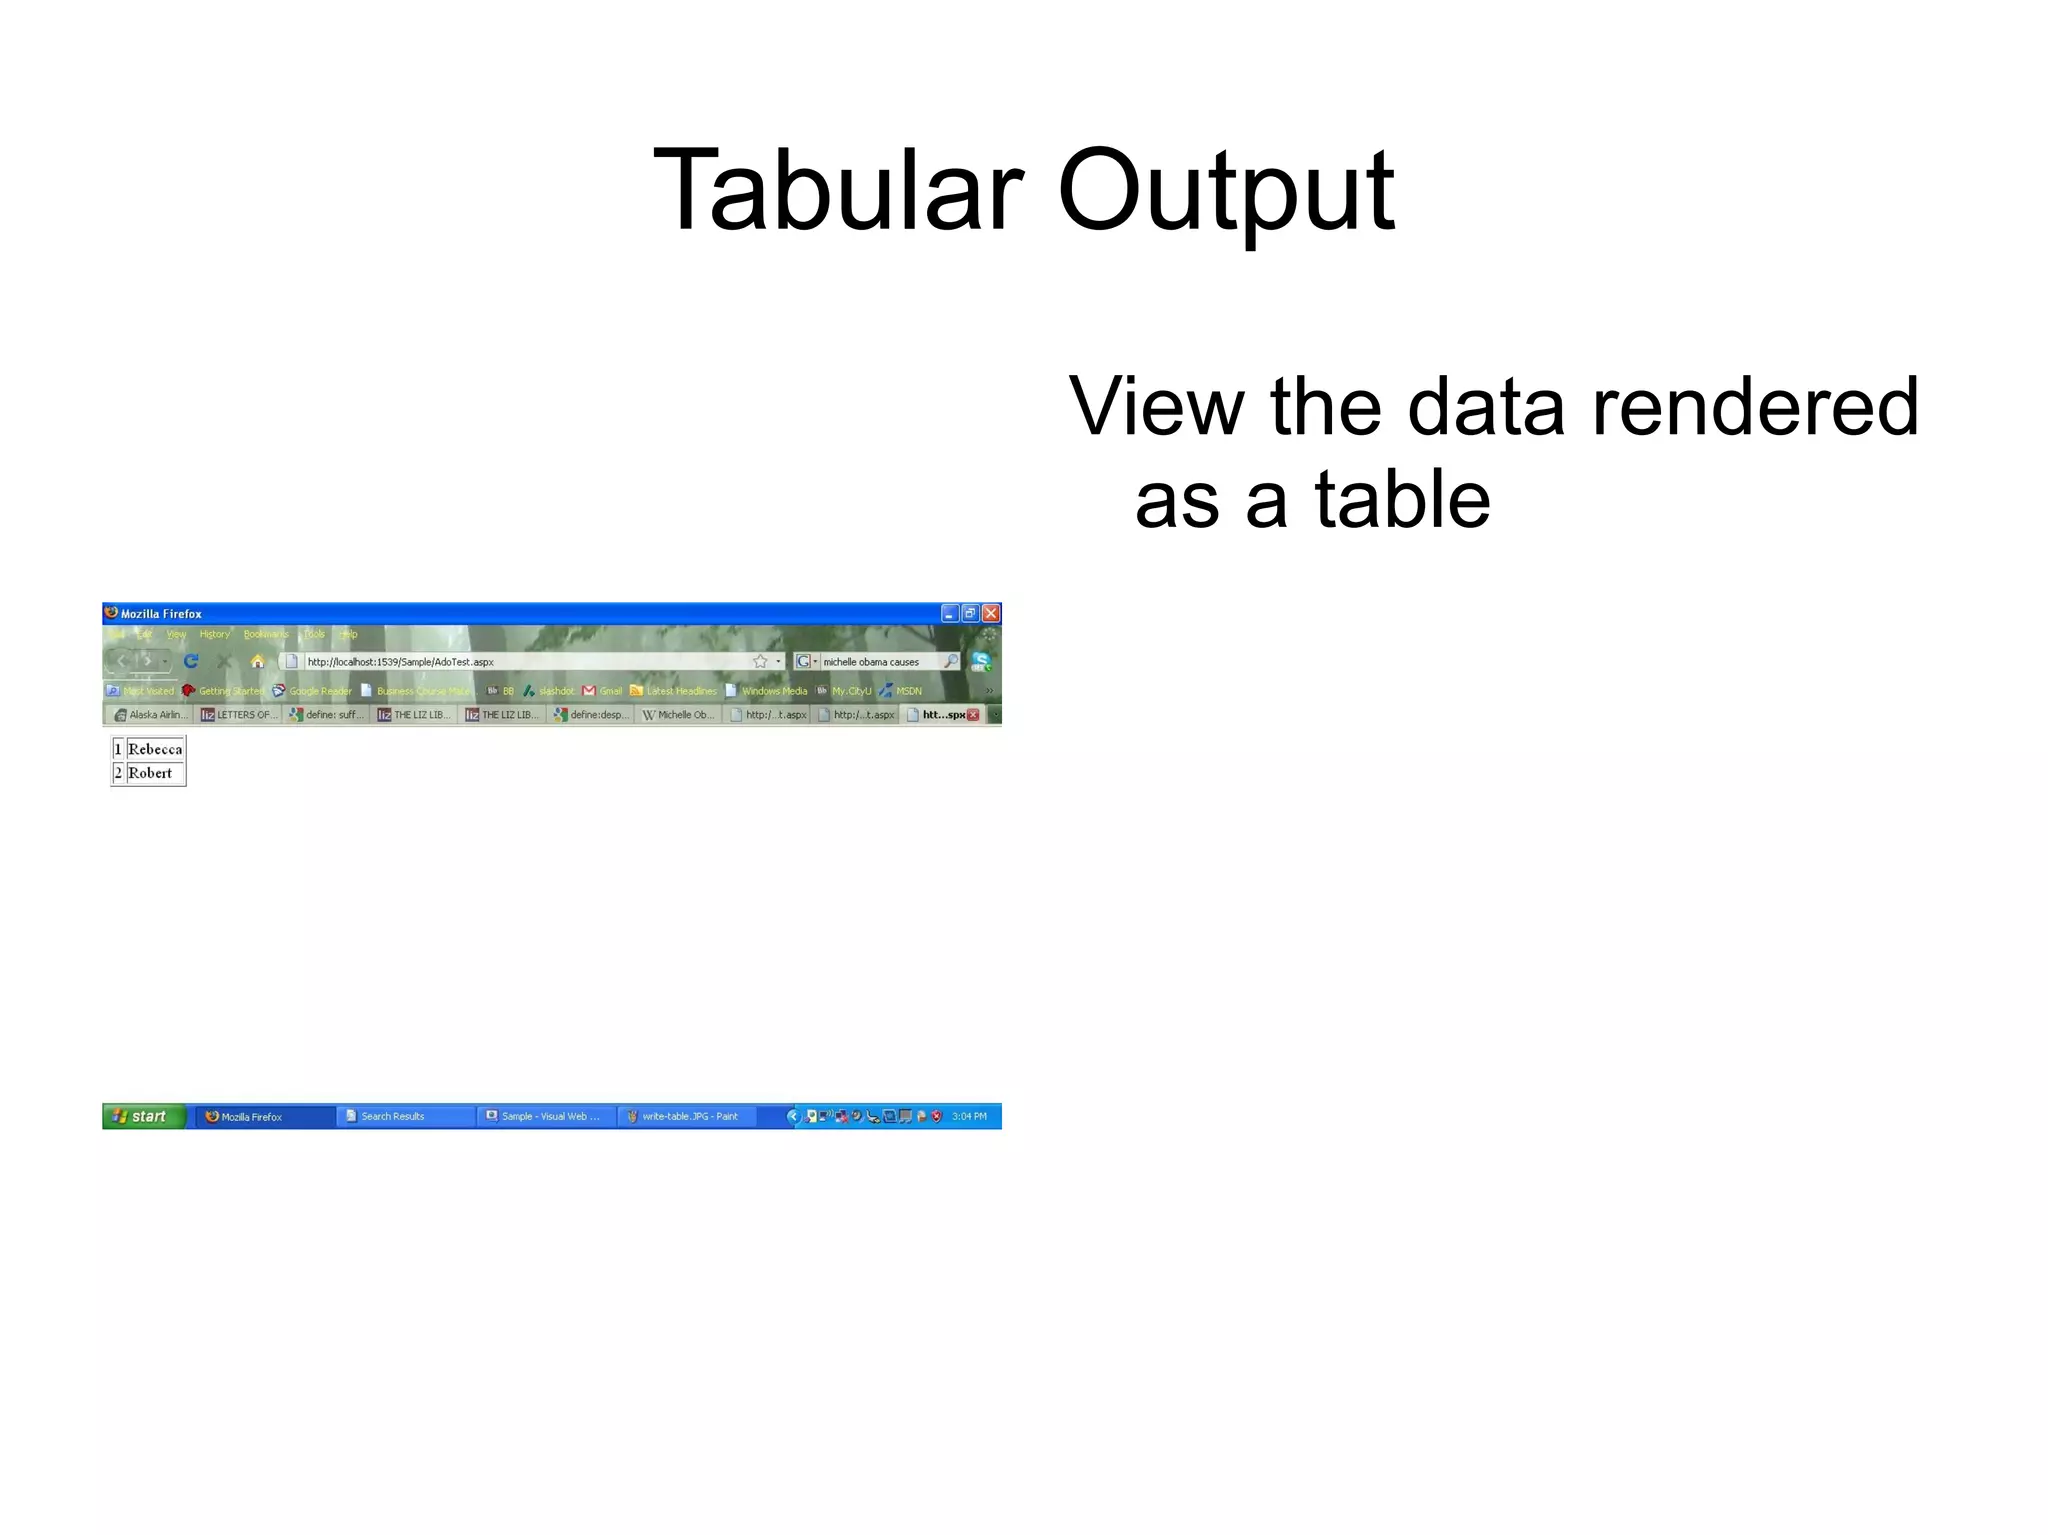

This document provides steps to create a simple web form application in Visual Studio that connects to a SQL database and retrieves data from a table to display on an ASP.NET web page. It describes how to create a database and table, get the connection string, write C# code behind to connect and execute a command to retrieve data from the table, and render the results on the web page.