5. (3) Paper Support Extension
Supports paper loaded in the Auto Sheet Feeder. Pull it
out before loading paper.
6. (4) Paper Guide
When loading paper, ensure the left edge of the paper just
touches this guide.
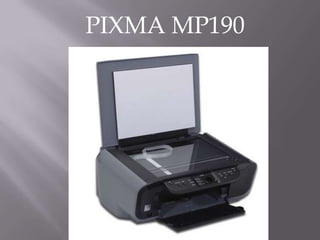
7. (5) Auto Sheet Feeder
Load paper here. Paper feeds automatically, one sheet at
a time.
8. (6) Paper Output Tray
Printouts are output to this tray. Open the tray before you start
copying or printing. When not being used, keep it closed in the
machine.
9. (7) Direct Print Port
Used to connect a PictBridge-compliant device to the machine
when printing images directly from the camera.
11. (9) Operation Panel
Displays the operational status of the machine. It is also used
to change or check the settings of each function. For details,
see page 15.
13. Open the Paper Support (1), then pull out the Paper Support
Extension (2).
14. Place a stack of paper (print side up) in the Auto Sheet
Feeder (1), pinch the Paper Guide (A) and adjust it to the left
side of the stack (2).
15. 1. Lift the Document Cover.
2. Load your document.
3. Gently close the Document Cover.
4. Press [+] repeatedly to select the number of copies (max. 20
copies).
5. Press [Color] for color copying, or [Black] for black & white
copying.