Download to read offline
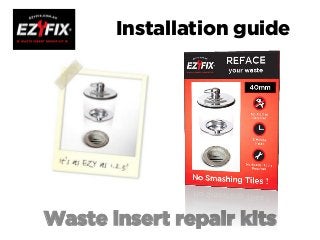
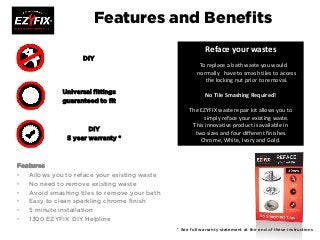

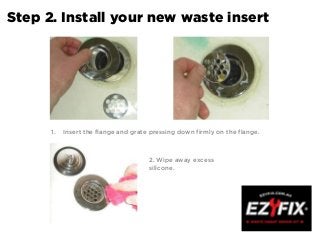
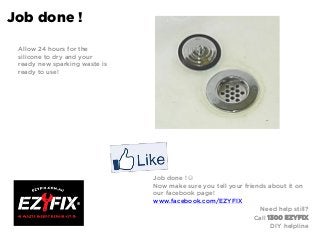

Replacing your bath waste is a costly and messy job to under take. It involves smashing your tiles to access the locking nut beneath your bath. You would then have to replace the existing waste and the smashed tiles. It could cost you hundreds of dollars! HERE’S THE EZYFIX SOLUTION The revolutionary range of inser ts that let you replace your old worn and revolting bath waste outlets with SPARKLING NEW ONES quick and EZY as 1 ,2,3 Features at a Glace NO Tiles smashing required Timeless, Stylish Design Guaranteed to Fit


