
Recommended
More Related Content
Similar to Alternator rebuild
Similar to Alternator rebuild (12)
Recently uploaded
Recently uploaded (20)
Alternator rebuild
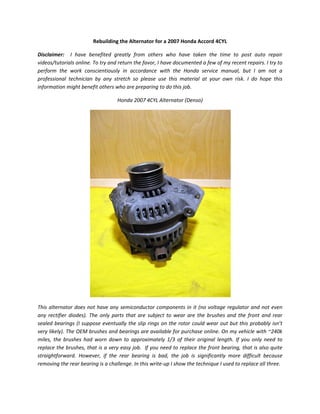
- 1. Rebuilding the Alternator for a 2007 Honda Accord 4CYL Disclaimer: I have benefited greatly from others who have taken the time to post auto repair videos/tutorials online. To try and return the favor, I have documented a few of my recent repairs. I try to perform the work conscientiously in accordance with the Honda service manual, but I am not a professional technician by any stretch so please use this material at your own risk. I do hope this information might benefit others who are preparing to do this job. Honda 2007 4CYL Alternator (Denso) This alternator does not have any semiconductor components in it (no voltage regulator and not even any rectifier diodes). The only parts that are subject to wear are the brushes and the front and rear sealed bearings (I suppose eventually the slip rings on the rotor could wear out but this probably isn’t very likely). The OEM brushes and bearings are available for purchase online. On my vehicle with ~240k miles, the brushes had worn down to approximately 1/3 of their original length. If you only need to replace the brushes, that is a very easy job. If you need to replace the front bearing, that is also quite straightforward. However, if the rear bearing is bad, the job is significantly more difficult because removing the rear bearing is a challenge. In this write‐up I show the technique I used to replace all three.
- 40. Problems you may encounter: As you can probably tell, removing the rear bearing is not easy and likely requires some kind of specialized tool (blind bearing puller or puller with very fine arms). However, if you only have to replace the brushes and/or front bearing, the job is quite straightforward and you might be able to save yourself some money by repairing your alternator rather than purchasing a rebuilt unit. I suspect also that it is probably more common for the front bearing to go bad then the back given that the front bearing has most of the loading of the serpentine belt tension on it. Hope this was helpful! John C.