Developer Data Modeling Mistakes: From Postgres to NoSQL
Align and distribute objects in CorelDRAW
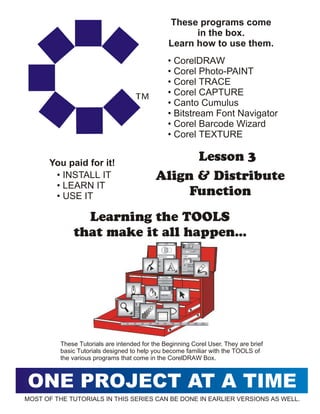
1. These programs come
in the box.
Learn how to use them.
• CorelDRAW
• Corel Photo-PAINT
• Corel TRACE
• Corel CAPTURE
™ • Canto Cumulus
• Bitstream Font Navigator
• Corel Barcode Wizard
• Corel TEXTURE
You paid for it!
Lesson 3
• INSTALL IT Align & Distribute
• LEARN IT
• USE IT Function
Learning the TOOLS
that make it all happen...
These Tutorials are intended for the Beginning Corel User. They are brief
basic Tutorials designed to help you become familiar with the TOOLS of
the various programs that come in the CorelDRAW Box.
ONE PROJECT AT A TIME
MOST OF THE TUTORIALS IN THIS SERIES CAN BE DONE IN EARLIER VERSIONS AS WELL.
2. ONE PROJECT AT A TIME
•Aligining & Distributing Objects
The ability to align objects precisely can be an important requirement for virtually any type of
drawing. CorelDRAW provides controls that allow for the exact alignment of any series of objects.
You can specify whether you want objects to line up horizontally or vertically (or both), using their
edges or center points. When you've indicated how you want to align the objects, you indicate where
you want to line them up: the edge of the page or the center of the page. For maximum precision,
you can also choose to align the objects to the grid line nearest to the alignment point you selected.
To line up objects, CorelDRAW uses the imaginary boxes selection boxes that surround selected
objects. When you select an object using the Pick tool, its frame and handles become visible,
allowing you to manipulate the object.
By distributing objects, you can give your drawing a polished, professional look. You can arrange
objects so that their center points or specific edges (for example, top or right) are separated at equal
intervals. You can also distribute objects so that they sit an equal distance apart. Once you've
indicated how you want to distribute the objects, you can choose the area over which you want to
distribute them. In each case, you can choose to distribute the objects to the extent of the length or
width of the selection box that surrounds them, or to the length or width of the Drawing Page.
Snapping objects forces them to line up with the grid, guideline, or other objects in your drawing,
depending on what you specify. For information on aligning objects using snapping, see
• Glossary of terminology we will be using throughout this Tutorial
Align: Means selecting an object(s) on your page and aligning to the Top, Bottom, Side, or
Middle of another object on your page.
Target Object: Means the object that you want the other object(s) to align with.
Shift/Select: Means selecting one object on your page and holding the shift key down while you
continue to select other objects on your page.
If you get stuck during this tutorial give Corelman
a call via e-mail at jim@squareonegraphics.com or
call him on Firetalk at User ID 13478.
Page 1
3. ONE PROJECT AT A TIME
1. Start by creating three rectangles at various locations on your page.
2. Fill each rectangle with a different color of your choice.
3. Select the last rectangle you created and while holding down the shift key select the
second rectangle you created and finally select the first rectangle you created.
4. Next go up to Arrange/Align and Distribute. The Align and Distribute dialog box like the one
shown below in Figure 1 will appear
Figure 1
5 Next check the Align Left Horizontally box on your Align and Distribute dialog box and click OK.
You rectangles should now be all aligned to the Left Side of your original rectangle like the
rectangles shown below in Figure 2..
X
Figure 2
Page 2
4. ONE PROJECT AT A TIME
6. Starting with a new drawing page create six circles of various sizes. You should have six
circles on your drawing page now like the six circles shown below in Figure 3.
Figure 3
7. Select the largest circle, hold down the shift key and select the rest of the circles one-by-one
according to size ending with the smallest circle like shown below in Figure 4.
Figure 4
8. Again go up to Arrange/Align and Distribute opening the Align and Distribute dialog bob.
9. This time be sure that Align Center is checked both Horizontally and Vertically and click OK.
Your Align and Distribute dialog box should look like the on below in Figure 5 prior to
clicking OK.
X
X
Figure 6
Figure 5
If you followed the instructions correctly you should have six perfectly aligned circle on your
drawing page. Experiment with this Align and Distribute function. Like the old saying goes
“Practice makes perfect”. HAVE FUN ALL. Corelman
Page 3