How to prepare a color image for printing using photoshop
1. How To Prepare a Color Image For
Printing Using Photoshop
Photoshop is the most versatile and user friendly software. It provides you a lot of
flexibility in your works making it more systematic and absorbing for any job.
Preparation of colour image should be done quite carefully. You seed see the resolution
and size of your image are appropriate or not. There are set of instruction to be followed
before finally printing out the image which can help in optimization of your image in the
right way. This will help you creating the right approach towards the preparation
eliminating the errors in the way.
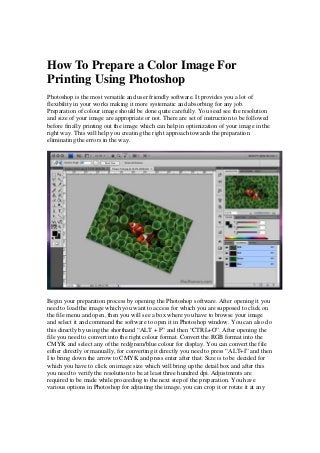
Begin your preparation process by opening the Photoshop software. After opening it you
need to load the image which you want to access for which you are supposed to click on
the file menu and open, then you will see a box where you have to browse your image
and select it and command the software to open it in Photoshop window. You can also do
this directly by using the shorthand “ALT + F” and then “CTRL+O”. After opening the
file you need to convert into the right colour format. Convert the RGB format into the
CMYK and select any of the red/green/blue colour for display. You can convert the file
either directly or manually, for converting it directly you need to press “ALT+I” and then
I to bring down the arrow to CMYK and press enter after that. Size is to be decided for
which you have to click on image size which will bring up the detail box and after this
you need to verify the resolution to be at least three hundred dpi. Adjustments are
required to be made while proceeding to the next step of the preparation. You have
various options in Photoshop for adjusting the image, you can crop it or rotate it at any
2. orientation. After finally finishing all the necessary steps you need to back up your image
file by saving it at any of the location for which you can simply press “ALT+A” and then
select the location where you want to save it and press ok for the final confirmation of
your move. Generally the image files are saved in the .esp or .tif or may be the .pdf
formats which are the most common of the other types. After this you can finally move
on to print the image on your system and give command to your colour printer to do so.
For the best result you can try various orientation and experimentation with the image in
the beginning to make it more effective. You have the option to insert the text in the
middle or at any side of your image. You should be careful about the fact that three
hundred dpi image should not be enlarged more than 125% because it can cause the
image deterioration to happen which will fail your work. While saving the file you should
be careful that you didn’t use the same file name to save the original and altered file
because it will replace the original with the altered one.
Business Card Printing http://www.samedayprinting.com/business‐card‐printing.html
Flyer Printing http://www.samedayprinting.com/flyers.html
Postcard Printing http://www.samedayprinting.com/postcards.html
Poster Printing http://www.samedayprinting.com/posters.html
Banner Printing http://www.samedayprinting.com/banners.html
Brochure Printing http://www.samedayprinting.com/brochure‐printing.html
Sticker Printing http://www.samedayprinting.com/sticker‐printing.html
EDDM Printing
http://www.samedayprinting.com/direct‐mail‐printing‐
eddm.html